


The motherboard is the backbone of your entire PC, connected to every other component, so it’s vital that you get things right now to avoid trouble further down the line.
Before Getting Started
If you want the process to go smoothly, there are a few things you can do before ever unpacking the motherboard.
First, prepare your workspace – This means cleaning your workspace to ensure that it is free of any dust or debris. Exposed mechanical components are sensitive to particles in the environment. Of course, it’s probably obvious to move any liquids or clutter, but a dust-free environment is optimal.
Next, gather your tools – Another likely obvious tip for seasoned individuals, gather and organize the tools you’ll need. A Phillips Head screwdriver, tweezers, and even small zip ties are things you don’t want to look for while holding the motherboard in place.
Now, consider safety – We aren’t talking about your safety (of course it’s a good idea to make sure your power supply isn’t connected to anything to avoid an electrical shock). We’re talking about your motherboard’s safety. Again, some seasoned users say they’ve never used ESD bands or mats and have never had an issue. However, some of us feel it’s better to be safe than sorry. Using rubber gloves (no powder) prevents any oils from your hand damaging the components while an ESD band or mat will prevent static electricity damage.
1. Unpack the board

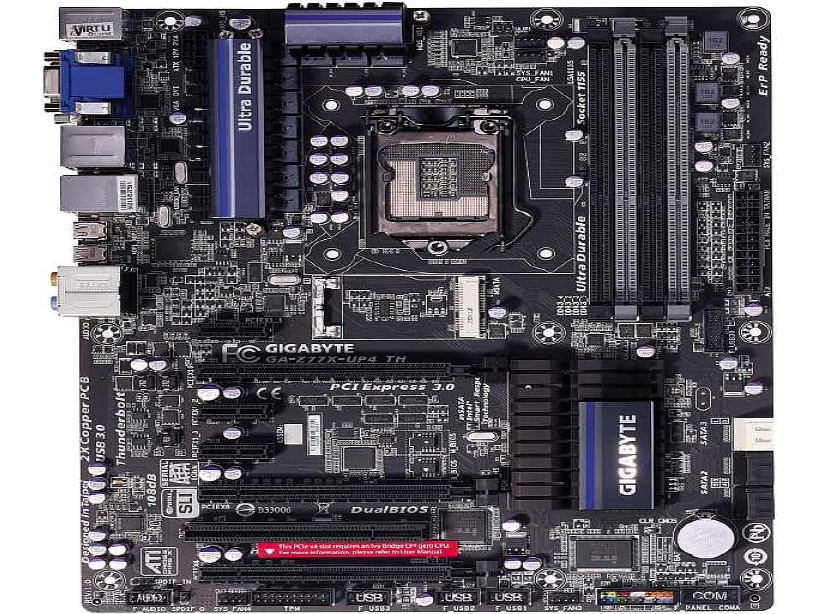
Open your motherboard’s box. You’ll see lots of cables, a driver CD, a metal blanking plate with holes cut out and a manual. Take these components out and put them to one side, as you’ll need them later on.
The motherboard will be inside an anti-static bag and resting on top of anti-static foam. Slide the motherboard out of the bag, but leave it attached to the foam for now. Place the motherboard and foam on top of the anti-static bag, and take out the metal blanking plate.
2. Measure blanking plate

The blanking plate fits into the case and gives you access only to the ports that your motherboard has. However, some motherboard manufacturers use generic blanking plates that fit their entire range of boards. With these, you may need to remove some metal covers to give access to your motherboard’s ports.
The easiest way to see is to hold the blanking plate up to the motherboard until the cutouts match the ports on your board. The blanking plate should be pushed against the motherboard with the ridge pointing out, so any text is readable. It will only fit one way, so maneuver it until it’s the right way. Make a note of any ports that are covered.
3. Remove unnecessary bits

If you need to remove any parts of the blanking plate, you should do that now. You’ll have two options for doing this. First, you may have to remove a bit of metal, in a similar way to the metal blanking plates on your case. These should be rocked gently out until the metal snaps.
Second, some ports may be covered by a flap. In this case, the flap should be bent inwards (towards where the motherboard will be). Make sure that you bend it far enough for the motherboard’s port to be given enough clearance to pass underneath.
4. Install the blanking plate

From the inside of the case, you need to take the blanking plate and push it into the gap at the rear of the case. Remember to align it so that it’s the same way up as when you measured it against your motherboard.
The ridge around the outside of the plate should clip into the hole. Be warned that this can be really fiddly and the blanking plates don’t always fit perfectly. It should, however, clip into place and remain stable without any support.
5. Measure where the motherboard goes

Next, you need to see where the screw holes for the motherboard will go. Lie the case flat on the desk and make sure that all the internal cables are out of the way. When you’ve got a clear case, take the motherboard off its foam backing and slide it gently into the case. Make sure that its rear ports are pushed up against the blanking plate correctly. Take a note of where the screw holes in the motherboard go, and remove the board. Place it back on its foam.
6. Fit the risers

You need to fit risers where you noted the screw holes. These will be included with the case and look like tall copper screws. Their job is to hold the motherboard off the bottom of the case, so it isn’t shorted out when its contacts touch the metal. The risers simply screw into the pre-drilled holes in the case. Use as many risers as there are screw holes in the motherboard, making sure that you screw them tightly into position with your fingers.
7. Slide the motherboard into place
Put the motherboard back in the case, making sure that all its screw holes have risers underneath. If some are missing, check to make sure that you haven’t screwed the risers into the wrong place. You’ll probably notice that the motherboard has a tendency to be slightly off from the risers. This is normal and is caused by pressure from the backplate pushing against the motherboard. Simply line up the motherboard’s ports with the backplate and push the motherboard towards it until the screw holes line up. This will take a bit of gentle force.
8. Screw the motherboard down

With the motherboard in place, you can start to screw it in. Start with the corners, holding the motherboard firmly, so that its screw holes line up with the risers that you put in. When screwing the screws in, don’t use too much pressure as you don’t want to break the motherboard. Ideally, you want the screws tight enough for the board to be secure, but not so tight that it feels as though the board is going to start cracking.
Once you’ve done the corners, you can put screws in the other holes. How many you put in is up to you, but you shouldn’t need to do all of them to make the motherboard secure. Keep going until the motherboard is firmly in place.
9. Identify ATX connectors

With the motherboard in place, you’re ready to connect it to the power supply. There are two connectors that you’ll need to plug in. The first is the ATX connector. On modern motherboards, you need a 24-pin connector. There’s only one of these on the power supply. However, as older motherboards only required a 20-pin connector, there’s usually a four-pin connector that can be detached. Make sure that this is connected and that you have an unbroken 24-pin connector.
10. Plug in the ATX connector

You need to plug this 24-pin connector into the matching connector on the motherboard. This should be easy to find, but it’s usually located by the IDE ports on the right-hand side of the motherboard.
The ATX connector will only plug in one way, so you can’t get it wrong. Once it’s lined up, the connector should plug in smoothly. There’s a clip on it to hold it in place. This will require gentle pressure to get it to clip in, but no more. If you’re having to force the cable, then the chances are that you’ve got the connector the wrong way round. Once the cable is in place, give it a gentle tug to make sure that it’s secure.
11. Identify secondary connector

Modern motherboards also have a secondary power connector. On most boards, this is a single four-pin connector, but some require eight-pin connectors. Check to see what your power supply has, as you may need to buy an adaptor.
In a similar way to the 24-pin connector, the eight-pin connector on power supplies can be split into two. If your motherboard has only a four-pin connector, you’ll have to split it into two halves. Only one of these will plug into the motherboard.
12. Connect secondary connector

Locate the secondary motherboard power connector. Your board’s manual will tell you exactly where it’s located, but on most motherboards, it’s near the processor socket. Next, plug the power supply’s secondary connector into it. This plug will only go in one way, so there’s no chance of getting it wrong.
The connector should slide gently into the plug. You’ll need to apply a bit of force in order to get the clip to lock into place, and you should hear it click when it’s in properly.
Related Posts
 How and Where to Properly Install PC Cables and Wires for SSD, Panel Switches, and More
 How to Install and Use an SSD (Solid-State Drive)
 How to Install Custom Google Fonts for Google Docs
 What to Do if Your Android Device Won’t Download or Install Apps
 How To FIx the Error USB_Driver ADB Unable to Install Your Android
 How To Fix a Roblox Install That Won’t Open on Any Device
 How to Install Python in VS Code
 How To Fix a VLC Install that Keeps Crashing
 How to Install NumPy in VS Code
Disclaimer: Some pages on this site may include an affiliate link. This does not effect our editorial in any way.


