Device Links
Cloudflare is equipped with tools that automatically scan for DNS records for your website and displays them on your account dashboard. However, these scans are far from perfect.
If your DNS records are incomplete or inaccurate, the Cloudflare DNS server may not be able to find your website, and users will see an error message instead of your website. This can be a major problem if you’re trying to build a strong brand and repeat-guest list.
This tutorial will walk you through the steps to add DNS on Cloudflare using the Cloudflare DNS management tool.
How to Add DNS Records in Cloudflare on a PC
Cloudflare offers a web-based control panel that can be accessed from any PC, making it easy to manage your domains from anywhere.
Here’s how to add DNS records in Cloudflare on a PC:
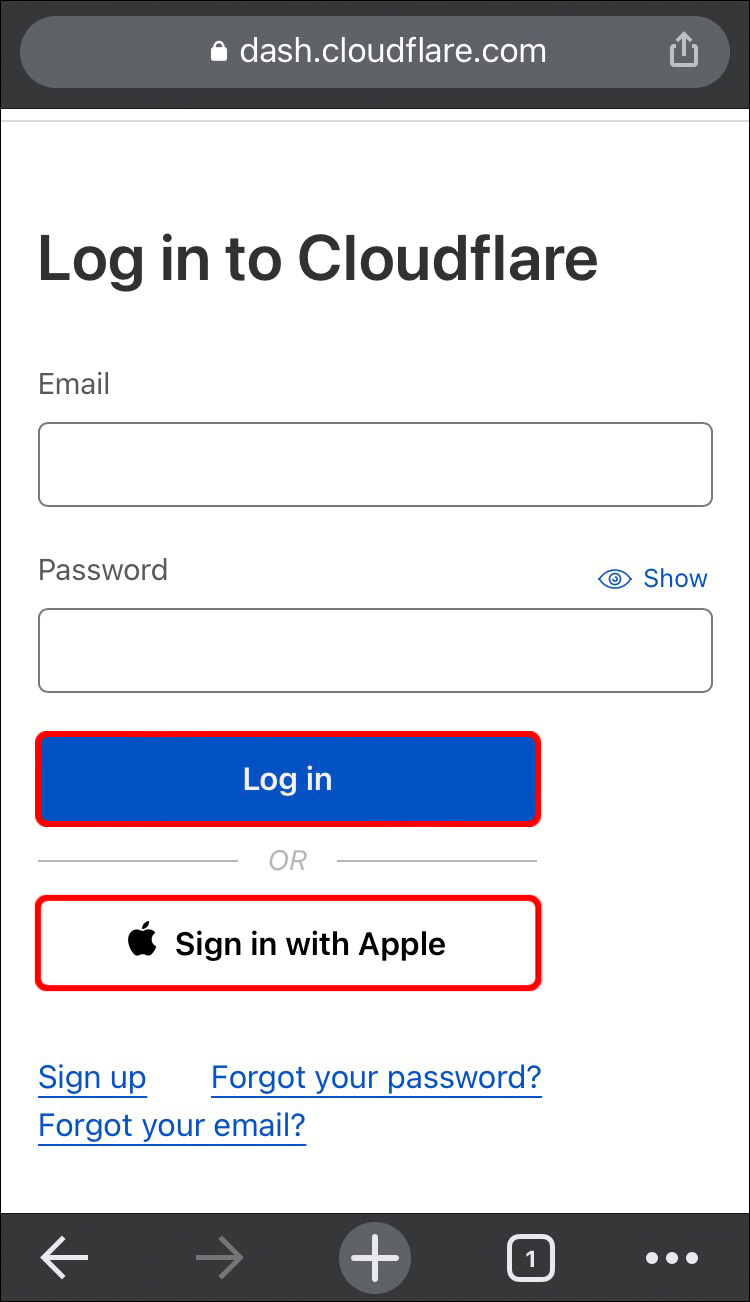
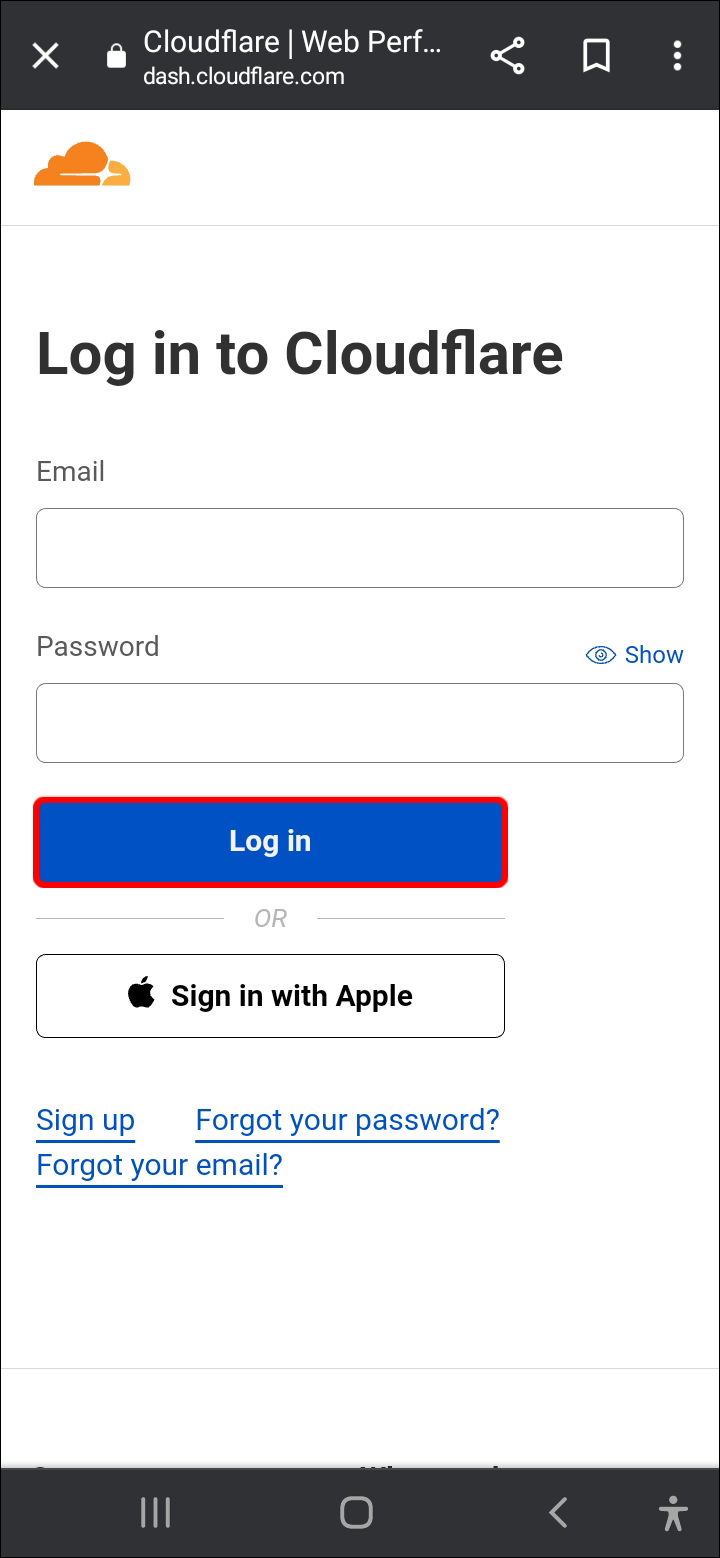
- Open your browser and visit the Cloudflare dashboard.
- Enter your login credentials to sign into your account.

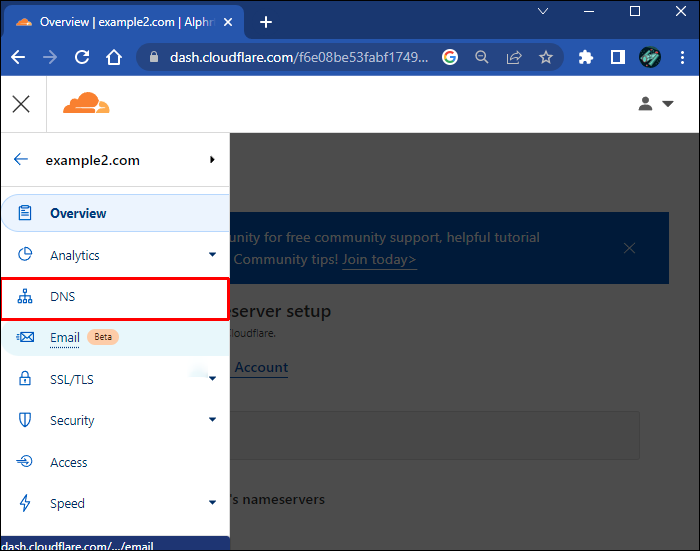
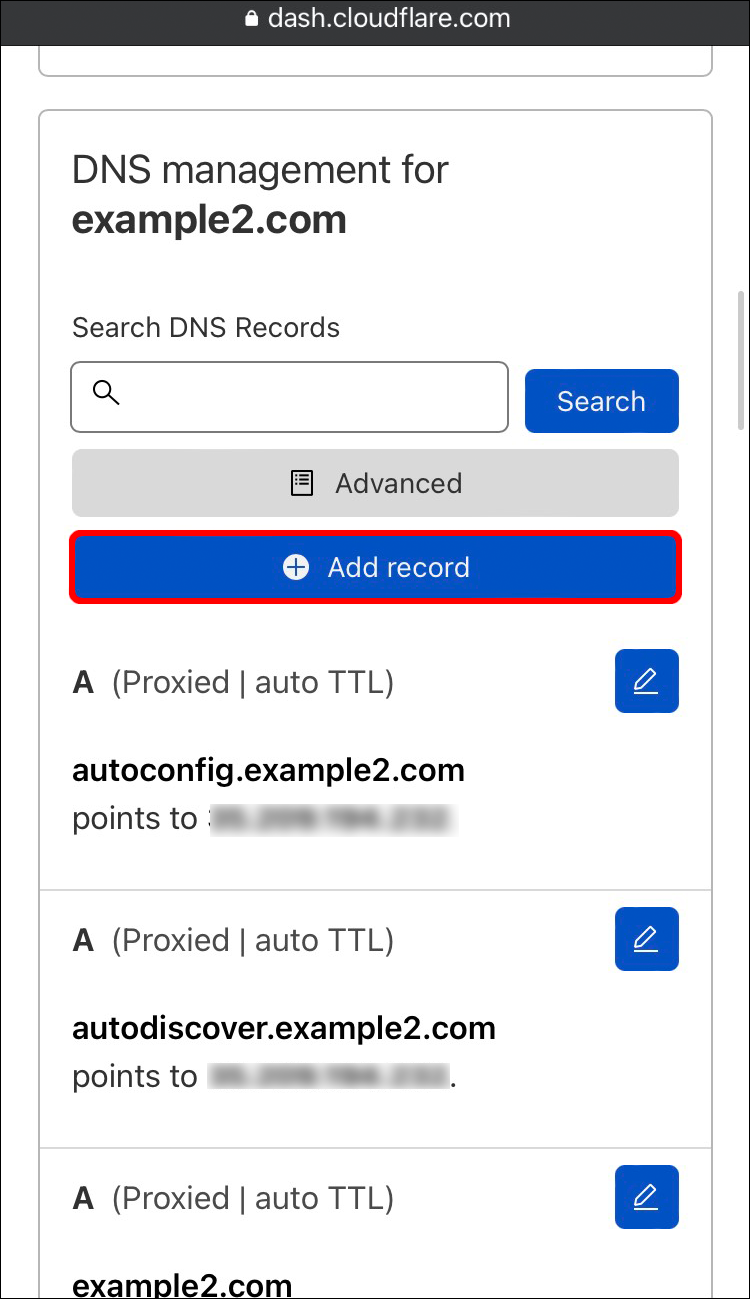
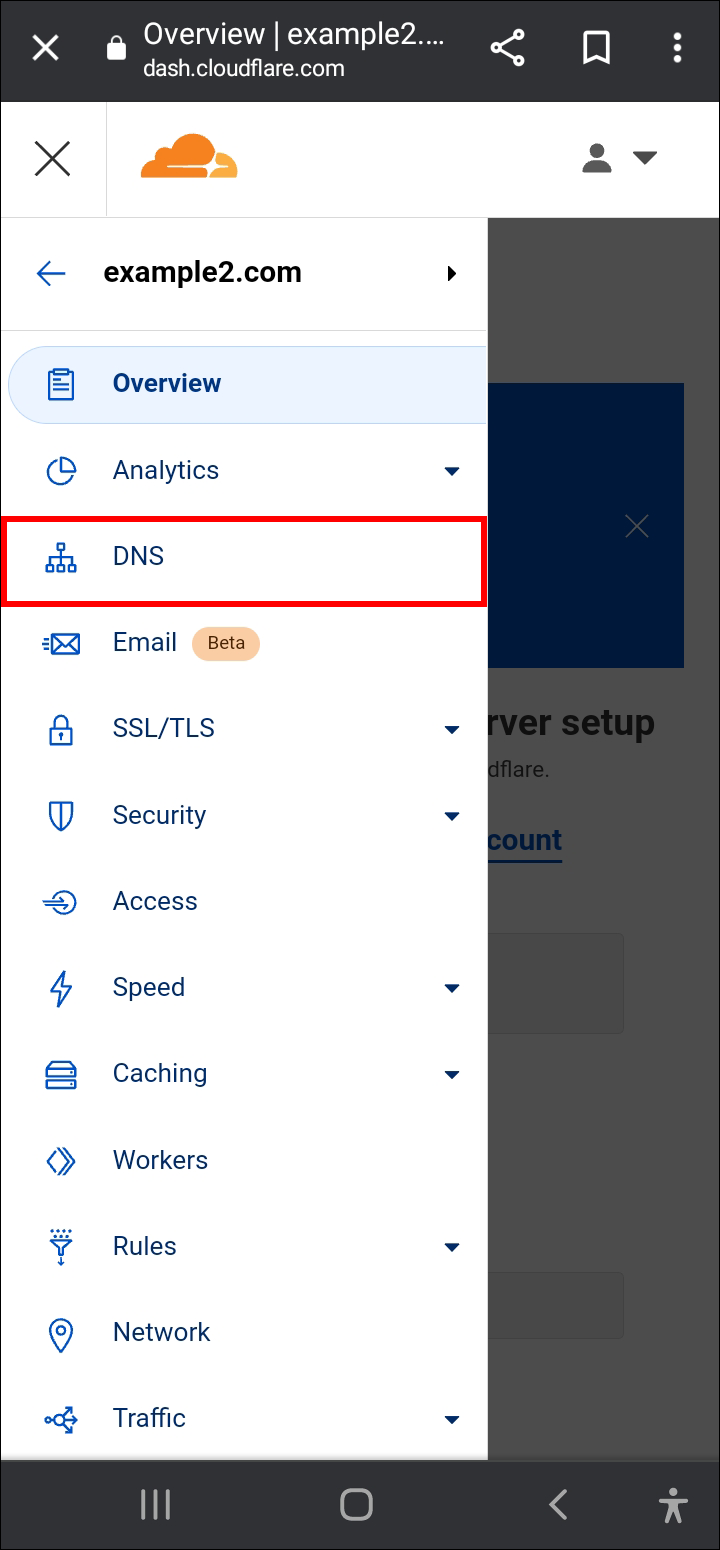
- Click on the “DNS” tab to open the DNS management section.
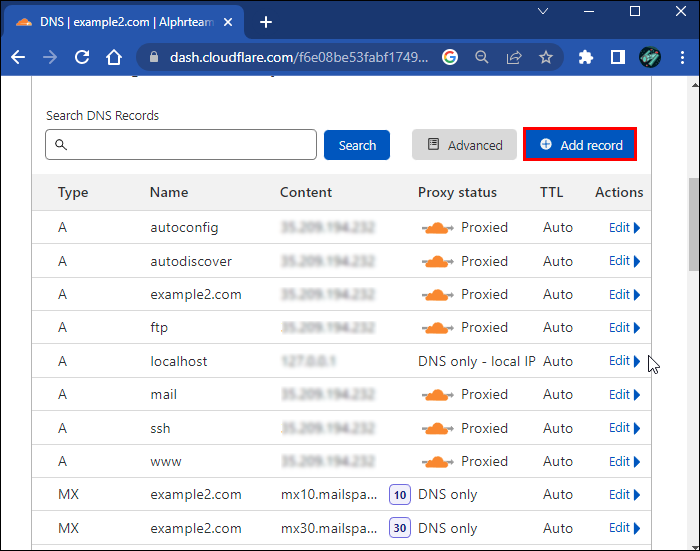
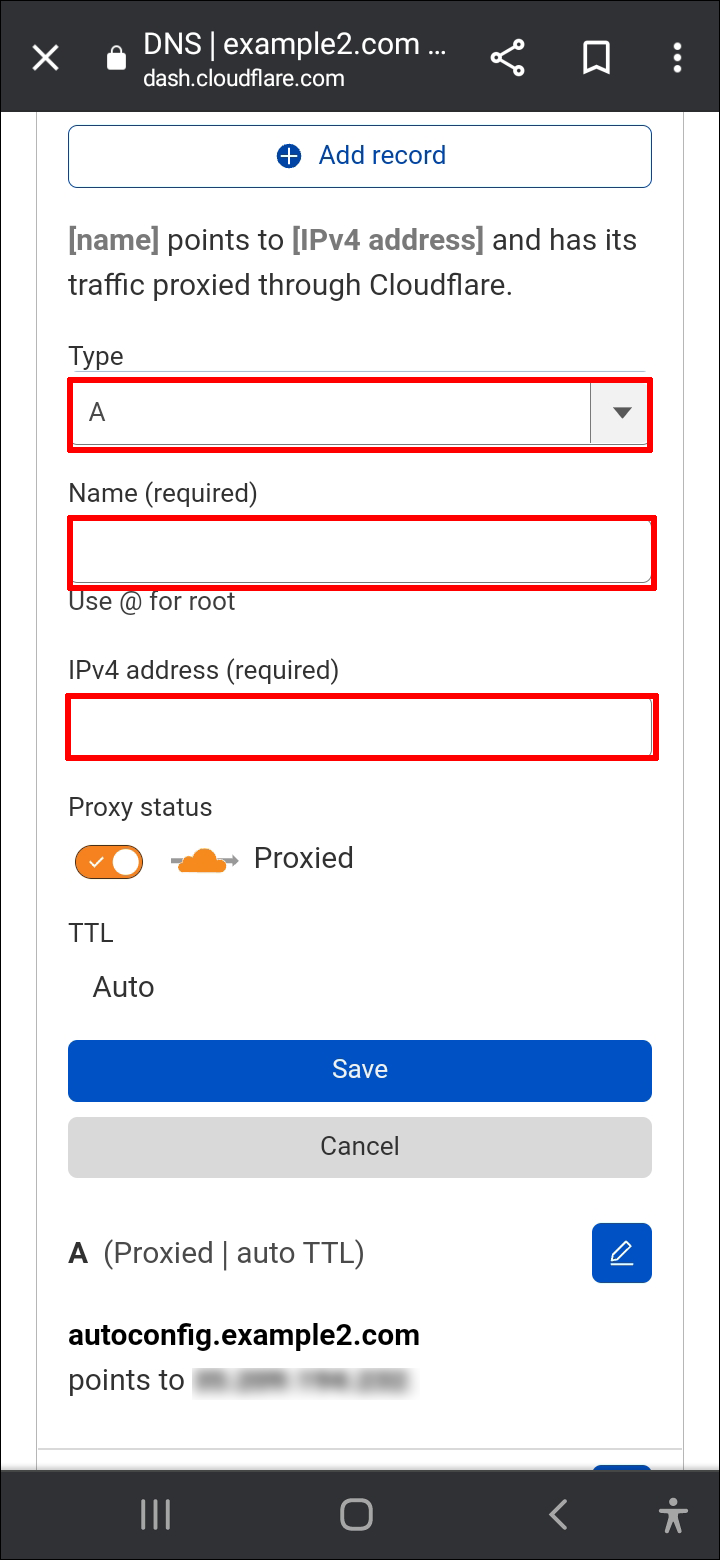
- Click on “Add Record.”
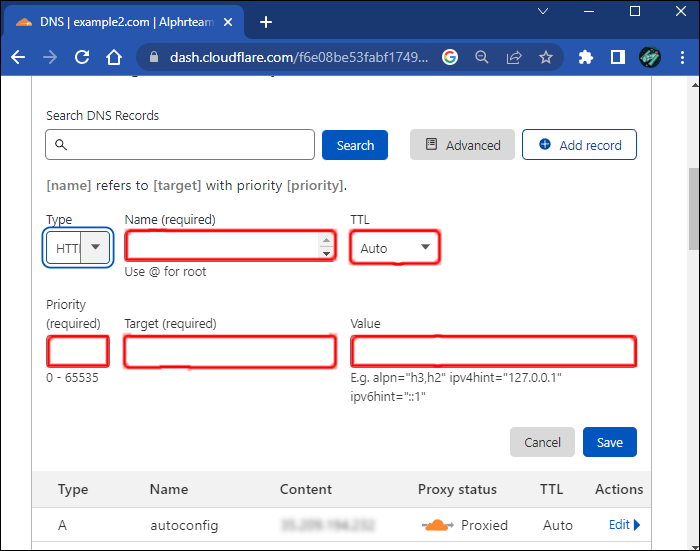
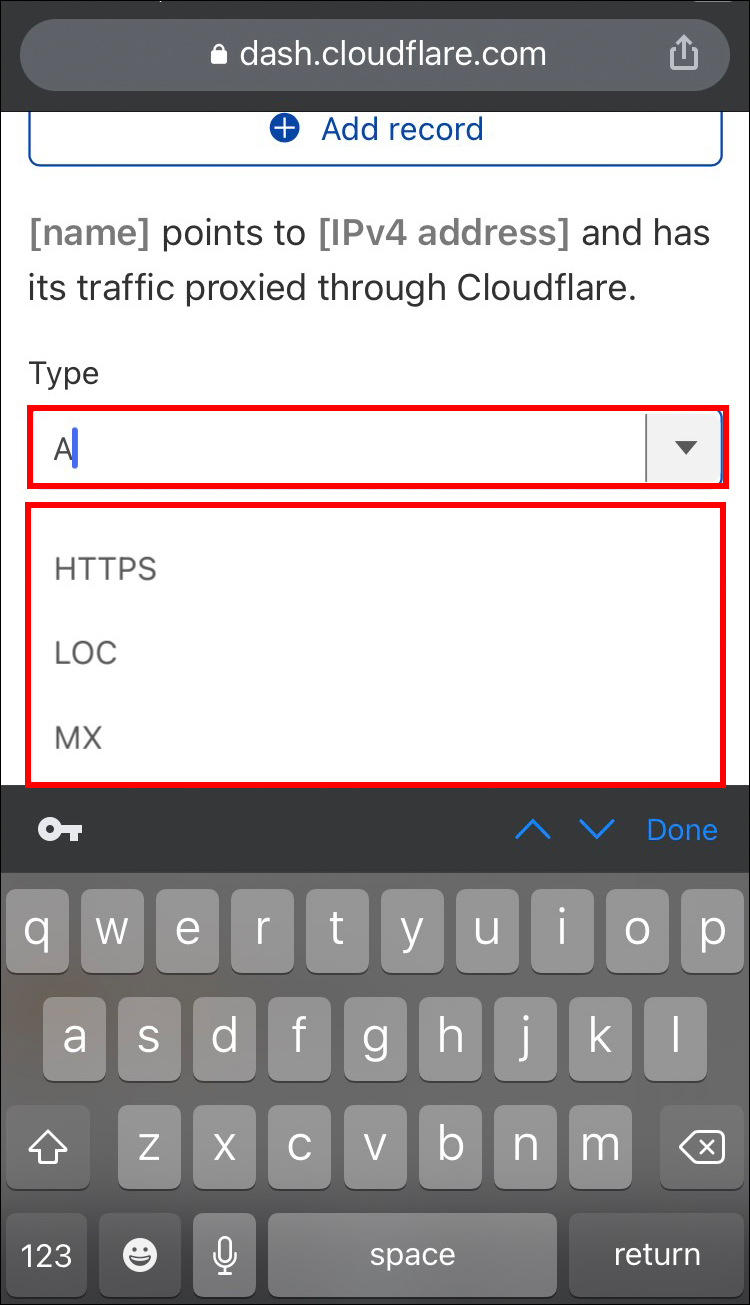
- Click on “Type” and select the type of record you’d like to add.
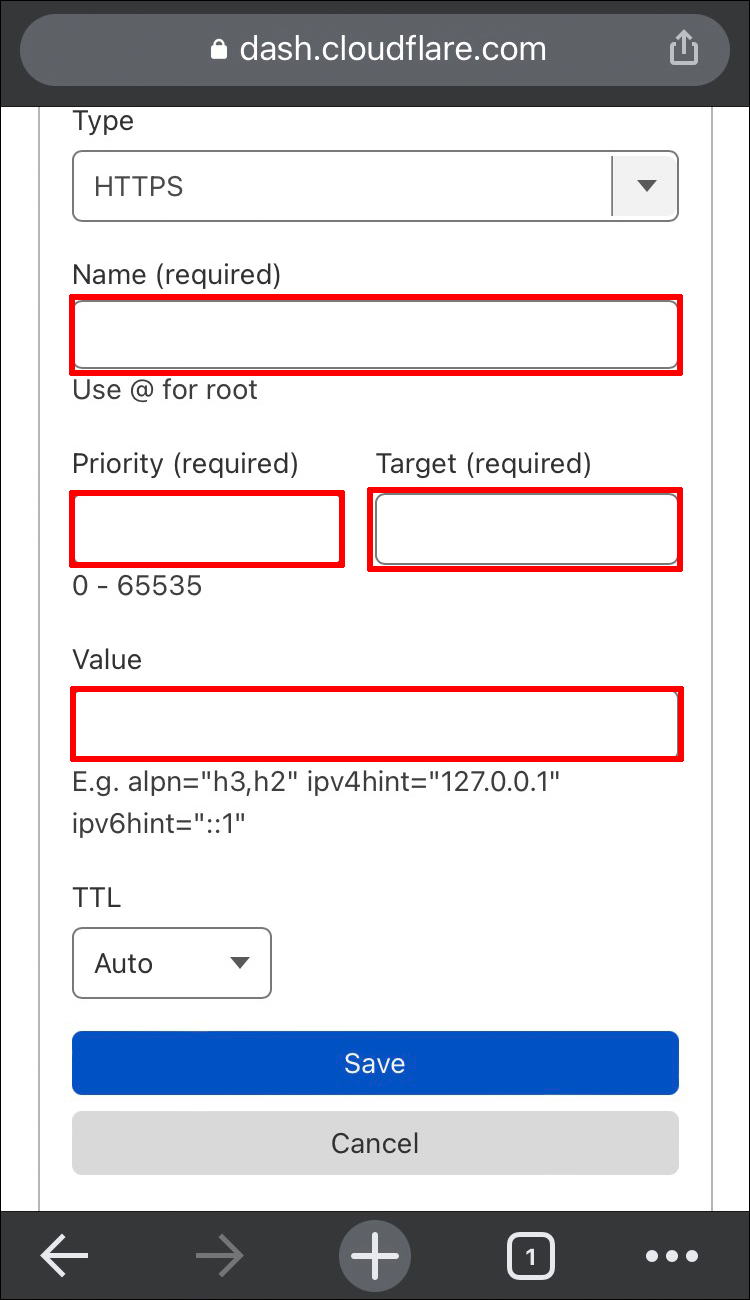
- Fill in the required fields. Each record type comes with a unique set of fields, so make sure you’re working on the correct record.
- Hit the “Save” button to confirm the changes.


And that’s it. Cloudflare has made DNS management a straightforward task that can even be completed on the go. However, the changes may take a few hours to propagate throughout the internet.
It’s important to select the correct record type in step 5 because each type comes with a unique set of fields, and any unintended alterations can create problems for users trying to access your domains. The following fields are particularly important:
Proxy status: Be sure to specify whether you’d like the hostname traffic to be proxied through Cloudflare.
Time to Live (TTL): This field allows you to dictate how long a record remains valid. The longer the TTL, the longer it takes for record updates to reach users.
How to Add DNS Records in Cloudflare on an iPhone
Apple has had a long and successful professional relationship with Cloudflare. For example, the two recently struck a deal that allows Apple users running iOS 16 to buy new domain names directly from within the Settings app. Therefore, it’s no surprise that you can actually manage your DNS records on an iPhone.
Here’s how to add DNS records in Cloudflare if you’re using an iPhone:
- Open your preferred browser and visit the Cloudflare dashboard.
- Enter your email and password to sign into your account. Alternatively, you can click on the “Sign in with Apple” button at the bottom of the screen and sign in with your Apple ID. But this only works if you use the same email for your Apple and Cloudflare accounts.
- Select “DNS” to launch the DNS management section.
- Tap on “Add Record.”
- Tap on “Type” and then choose the type of record you want to add from the dropdown menu.
- Populate the required fields.
- Tap the “Save” button to confirm the changes.


Et voila! You have successfully changed the DNS records for your domain.
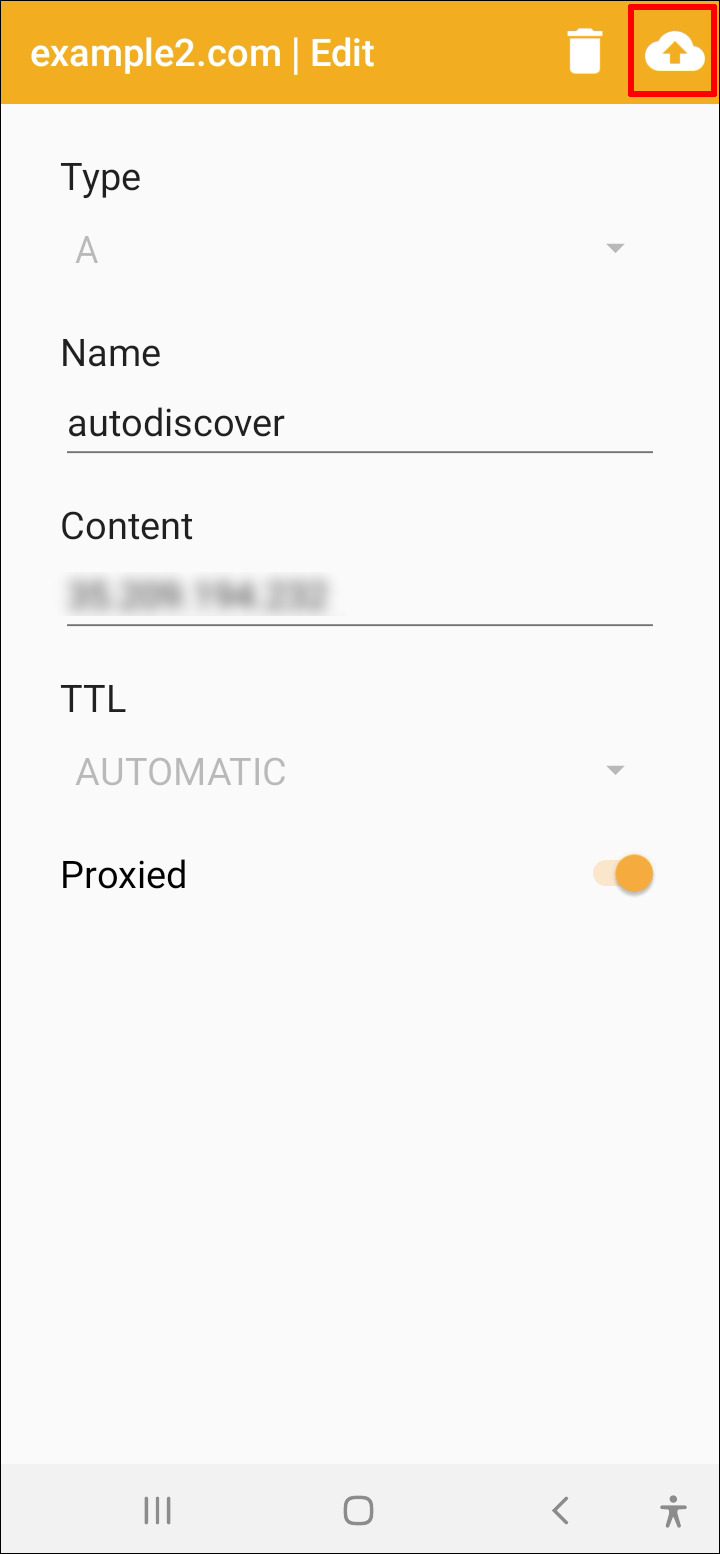
How to Add DNS Records in Cloudflare on an Android Device
If you want to manage DNS records in Cloudflare but you have an Android smartphone, you’ll be pleased to learn that Cloudflare’s web-based control panel supports Android devices. Whether you want to run a fresh scan of your DNS records or add new ones manually, you can do it all in a few simple steps.
To add new DNS records:
- Visit the Cloudflare dashboard and enter your credentials to sign into your account.
- Tap on the “DNS” tab to open the DNS management section.
- Tap on “Add Record” and then select the type of record you’re looking to add.
- Carefully fill the required fields.
- Hit “Save.”


Your new DNS record will now be added to your domain in Cloudflare.
Cloudflare’s web-based control panel works well with both PCs and mobile devices, but there’s also CloudMare – an app specifically designed for Android devices that can help you add DNS records in just a few taps.
Domain owners with Cloudflare accounts can use CloudMare to change their website’s DNS records, page rules, and other configurations. CloudMare fetches data from the website owner’s Cloudflare account and then displays it in an editable format. This allows you to change, edit, or add new DNS records for your website without having to visit the official web-based control panel.
To add DNS records in Cloudflare using the CloudMare Android app:
- Download and install the app on your device.
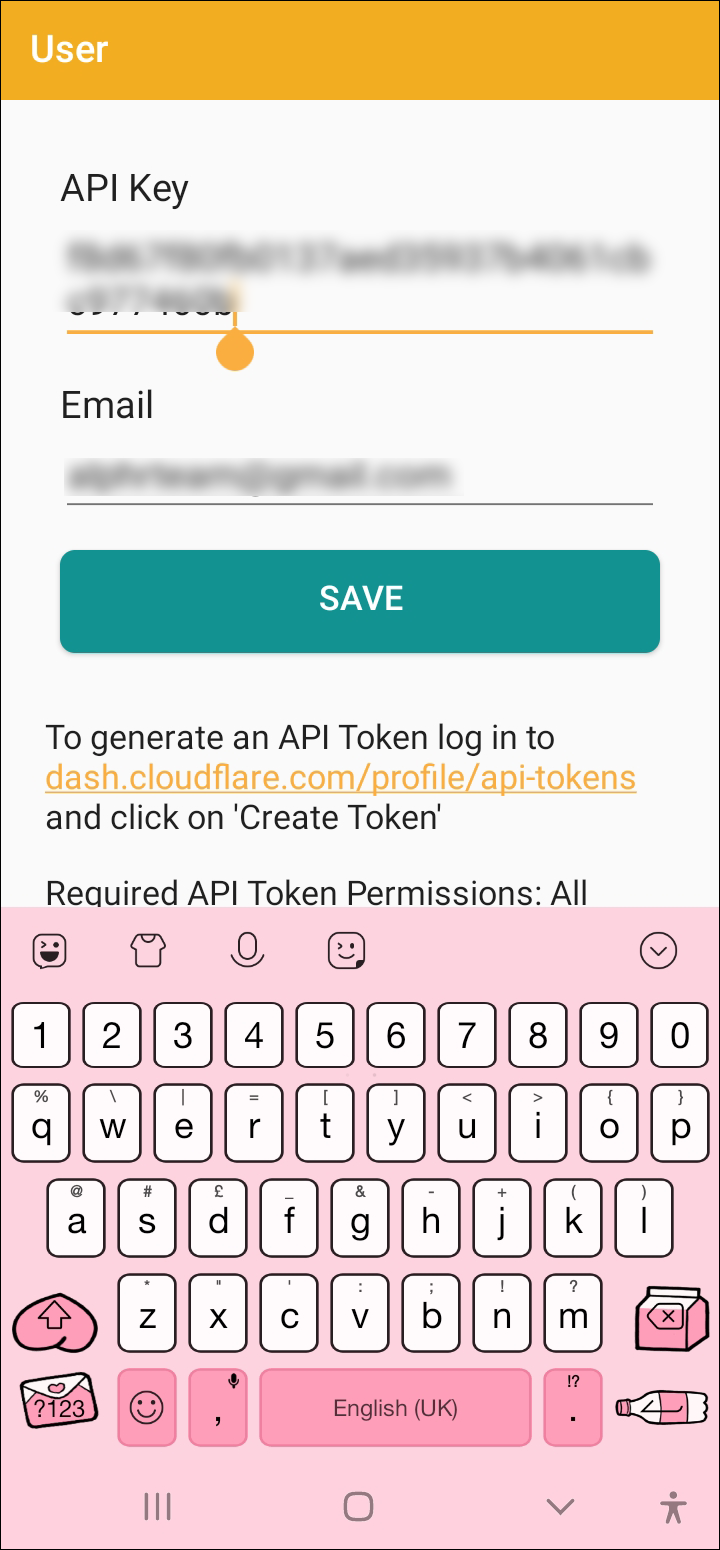
- Enter your email and Cloudflare API key to sign into your account.
- Once you’ve signed in successfully, you should be able to see all the configured domains. To modify a domain, select it and then tap on “DNS.”
- Enter the required information and then tap on “Save” in the top right corner.


Perhaps the best thing about CloudMare is that it has a simple user interface that’s easy to navigate, even for first-time users. However, CloudMare isn’t an official app from Cloudflare but rather a third-party tool developed to help manage the domains of websites running on Cloudflare. As such, you should use it with a fair bit of precaution.
Optimize Your Domain’s Accessibility
DNS records are an important part of configuring your website. They tell the world where your website is hosted. By adding them to your Cloudflare account, you can improve your website’s performance and security.
To manage your DNS records on Cloudflare, you need to visit your Cloudflare dashboard or install the CloudMare android app. Once news DNS records have been added, Cloudflare will automatically begin routing traffic for your website through its global network of data centers.
Adding DNS records manually can help optimize the accessibility of your website while also ensuring that your online guests are protected from malware attacks.
Are you a Cloudflare enthusiast? What’s your experience with the web-based Cloudflare dashboard?
Let us know in the comments section below.
Disclaimer: Some pages on this site may include an affiliate link. This does not effect our editorial in any way.