There are many reasons why you may love filming and editing. You can film places you visited, people you love, and capture any special moment you wish to remember. Being creative is possible for anyone today, even if you aren’t a pro. All you need are apps for editing your videos.
CapCut is one of the apps that can help. But what happens when you can’t reverse your video after you made changes? This article will tell you everything you need to know.
CapCut: What to Do When Reverse Isn’t Working
If you made some changes to your video, but decided you didn’t like them, you might need the reverse option. This will save you from having to film all over again. Which might even be impossible, if the video was taken on vacation.
But if the reverse option doesn’t seem to work, what do you do? Bugs like these can happen with any app. Here’s what you’d do in this case:
- Export the video.
- Save it in your “Camera roll.”
- Restart CapCut.
- Try to reverse your video again.
It can happen again that this doesn’t work. In that case, we recommend switching to some other app this time around.
How to Reverse Videos in CapCut on Your Phone
When doing creative stuff like making videos, you may get overwhelmed with interesting ideas. But if something doesn’t turn out right, don’t worry. You can always reverse these changes in CapCut.
Here’s how it’s done:
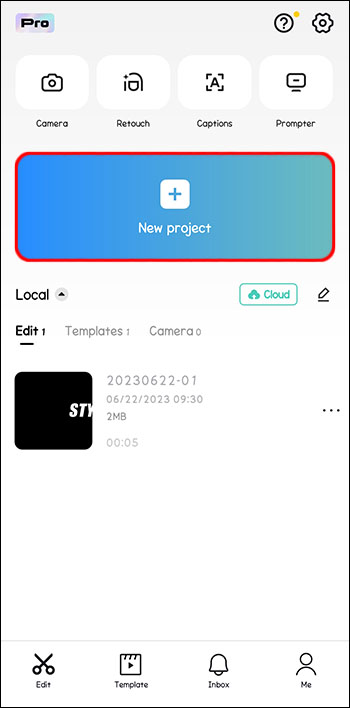
- Open the CapCut app.
- Click on “New Project.”

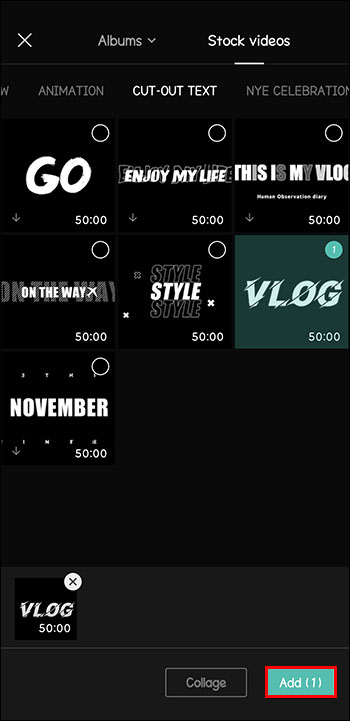
- Find your desired video and click “Add.”
- In case you wish to preview the video first, click “Play.”
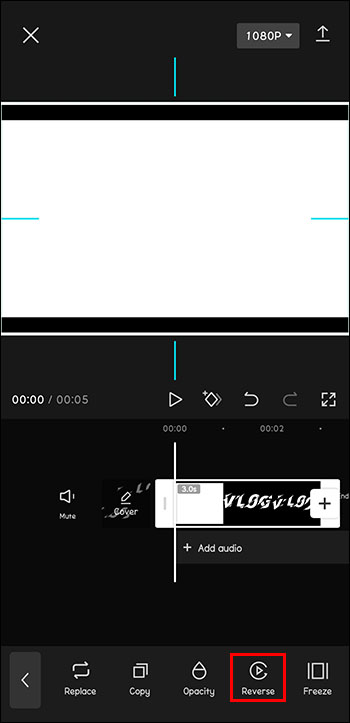
- Click “Edit” at the bottom of the menu.
- Click on “Reverse” in the menu bar.
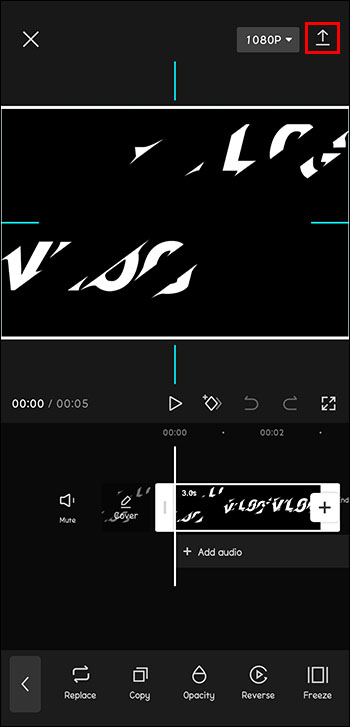
- Once the process is complete, click on the arrow at the top right corner.


Now you can enjoy the video or make new changes you might want to implement in it. The possibilities are endless.
How to Reverse Videos in CapCut on Your PC
Other users might want to edit their videos on their PC. Here’s how it’s done:
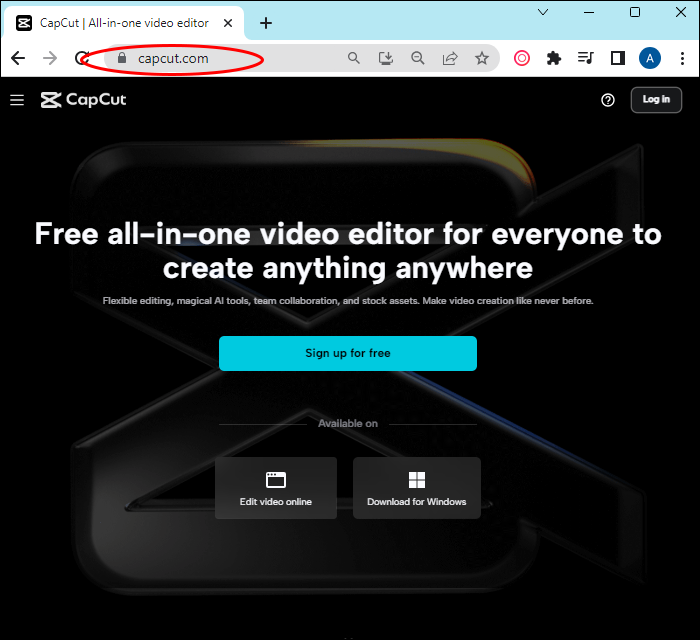
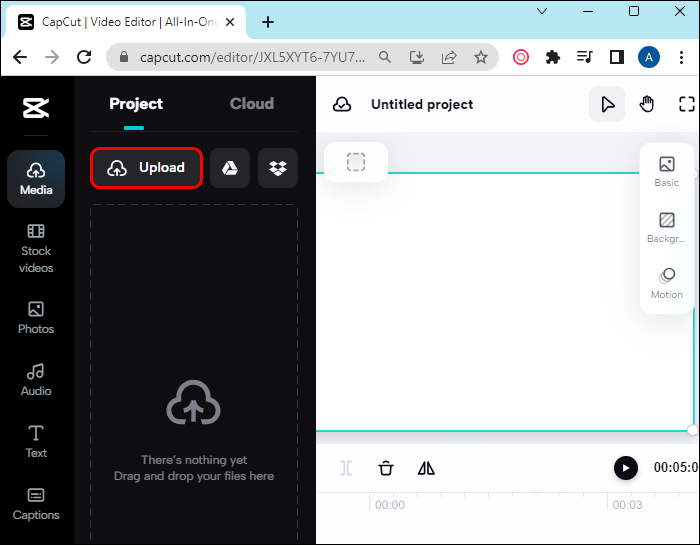
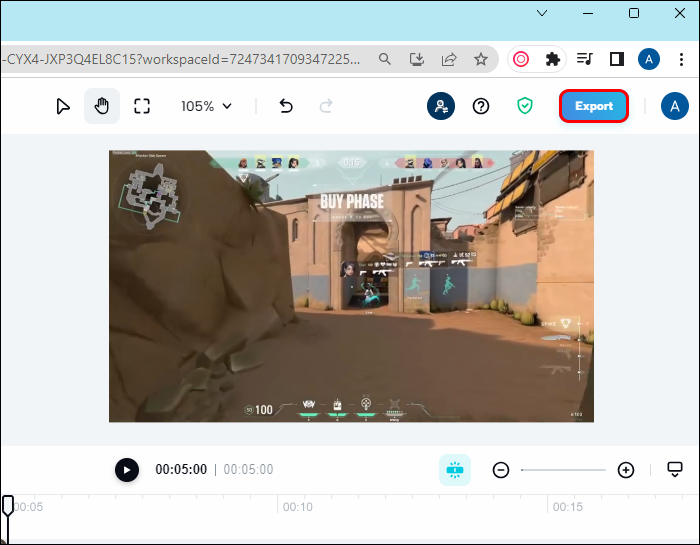
- Go to CapCut’s website.
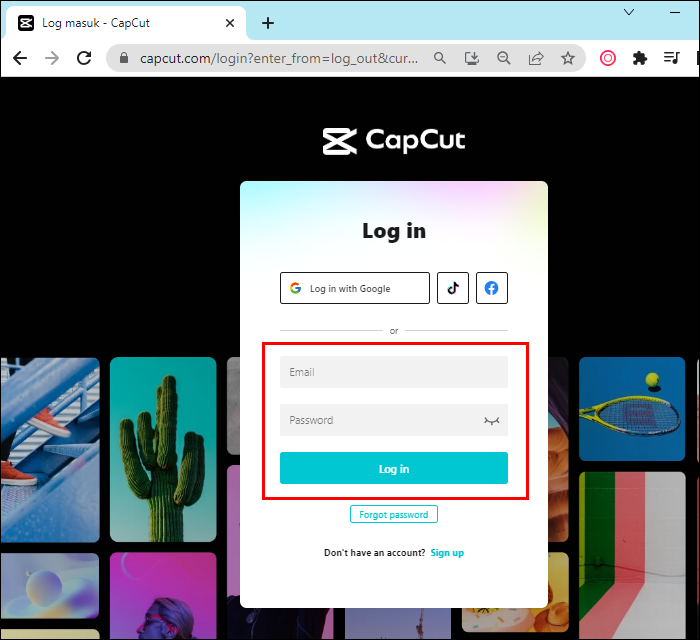
- Log in to your account.
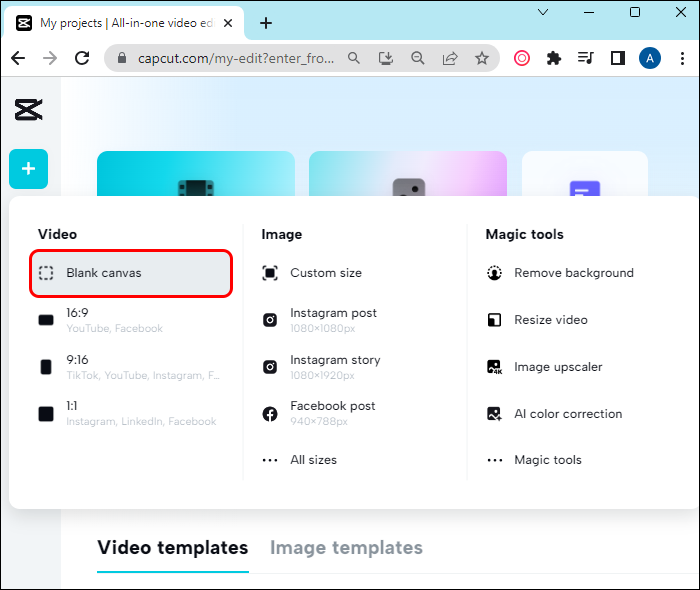
- Click “Blank Canvas” or choose a preset.
- Click “Upload” and choose your video.
- Click on your video in the timeline.
- Click “Reverse.”
- Click “Export.”


As you can see, in just a few steps you’ll be able to try different ideas in your videos and decide which ones you’d like to keep. This way you won’t lose precious time by doing it from the start. You might even think of different angles for editing the story in the process.
Can You Reverse Audio in CapCut?
If you wondering if reversing the video to a previous version might affect the audio, the answer is yes and no. In case the original audio from the video, it’ll be reversed. However, if you add some tune to the background, there’s no way of reversing the sound.
So when it comes to the sound, make sure your choice is final, as it’s not as easy to make changes later.
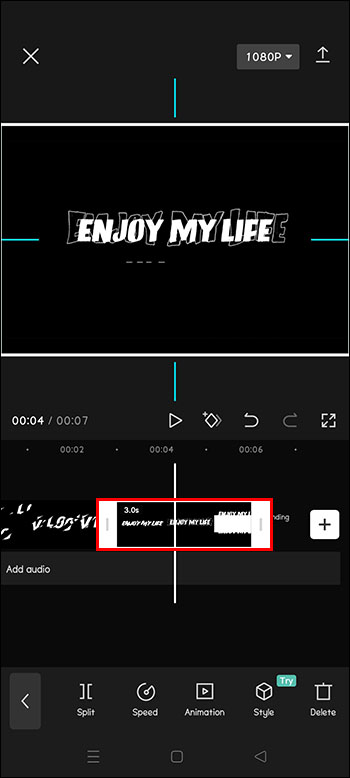
How to Trim Videos in CapCut
Time is of essence, and it often limits your creativity. But don’t worry if your video turns out to be longer that it should be.
If you want to trim videos, you’re in luck. Here’s how it’s done:
- Open the CapCut app.
- Put your finger on the “Playhead” (white line under “Play”). Drag this line left if you wish to trim the ending. Drag right if you wish to trim the beginning.
- Your video will now end/ start where you want it to.
The same action can be done using your computer.
- Log in to your account on CapCut’s website.
- Use your mouse instead of your finger.
As you can see, it’s undemanding to make your video shorter. This may especially come in handy when trying to make them meet time requirements, like with “Shorts” on YouTube.
How to Merge Multiple Clips in CapCut
You might have been just editing your video and realized that it would go so well with another video you made earlier. Luckily, videos and easily be joined in CapCut.
Follow these steps to join multiple videos into one using CapCut:
- Open your clip in “CapCut.”
- On the right of the “Timeline,” press “Plus.”
- Choose the video you wish to add.
- This new video will appear on the right side of the timeline, next to your old one.
- You can add even more videos by repeating these steps.

Of course, you can switch up the order of your clips as well. Just click on the clip in question and drag it on the desired place on the timeline. This can help you change the flow and story of the clip completely, without filming a new one all over again.
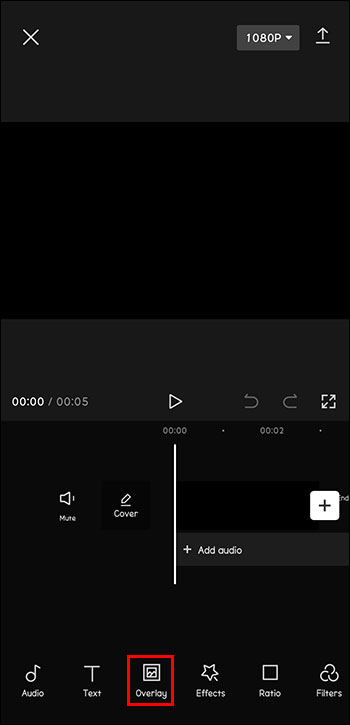
How to Add a Background Image to Your Videos Using CapCut
Creative videos might ask for a special background, rather than just a blank white wall. But you don’t need to go to a special scenery to film these, as this might be costly and sometimes impossible.
If you want to add a background image to your video instead, this is relatively easy to do too.
Follow these steps:
- Open CapCut and click on “New Project.”
- Choose an image.
- Click on “Add Overly” if you wish to edit the image.
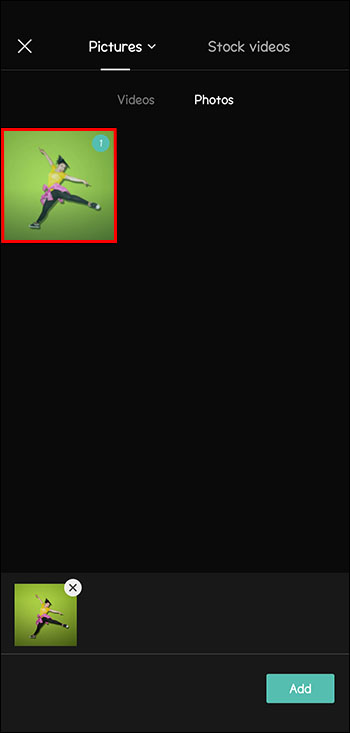
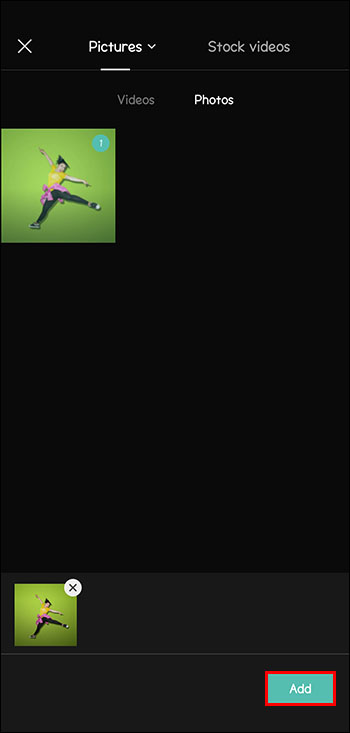
- Now pick any image with a green screen background from your phone.
- Click “Add.”
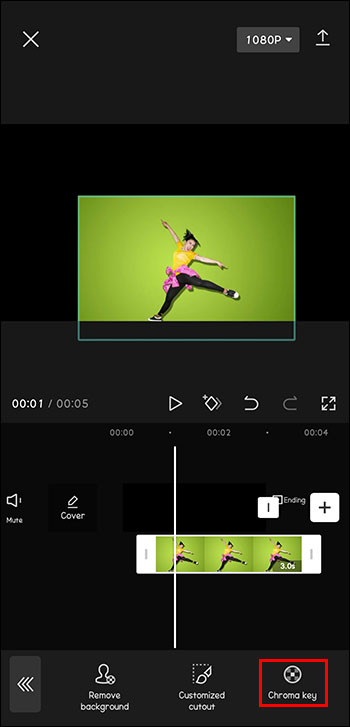
- Choose “Chroma Key” from the bottom of the screen.
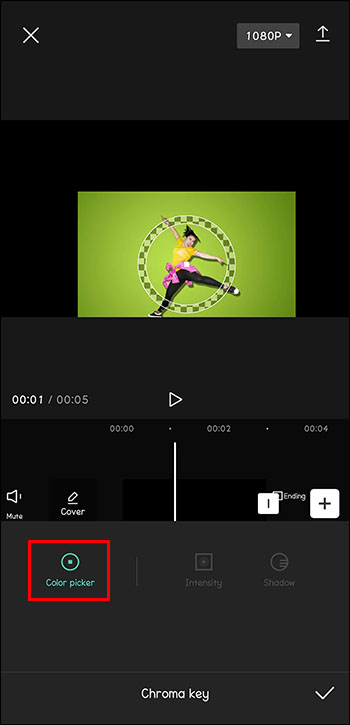
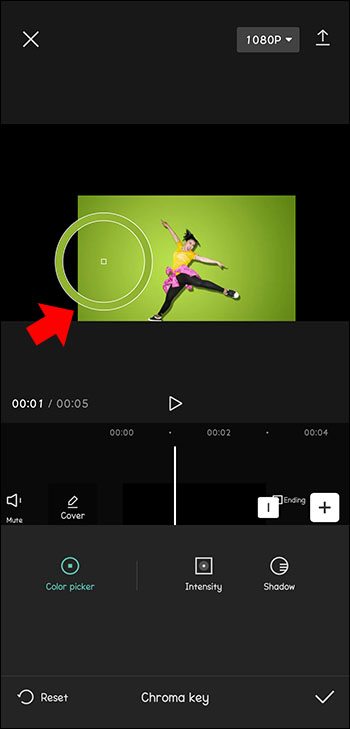
- Choose “Color Picker.”
- Choose a shade of green for the background.
- Choose the shade and intensity to make it look realistic and click “Save.”


Now you’ll be able to make any video type you like and pretend to be anywhere you want. These will especially come in handy for social media creators out there, as it can make their work more unique and attention-grabbing. You can pretend to be in another country, or even on another planet.
Editing Videos Even When You’re Not a Professional
There’re many reasons for editing videos. It can be for personal reasons, to save special moments and share them with friends. It can also be for professional purposes, working as a content creator. Possibilities are endless and the need for this is definitely growing. And you may be uncertain which tools to use in the process.
CapCut can help with all your editing needs. It lets you resize your videos, add music, background, subtitles, filters, and many other things. Plus, it’s especially popular on TikTok. Adding all these listed features will make your work stand out from the crowd. This might increase your number of followers, which are a KPI of your performance online.
Have you ever struggled with the reverse not working on CapCut? Which features do you like most? Tell us in the comments section below.
Disclaimer: Some pages on this site may include an affiliate link. This does not effect our editorial in any way.