There are many different tools you can use to analyze network traffic. Maybe you require a better understanding of page content loading issues or simply want to monitor your network to maximize performance. A network protocol analyzer like Wireshark can provide you with loads of valuable information.
Wireshark is widely-used to inspect what’s happening on your network. It deeply inspects hundreds of different protocols and runs on both Windows PCs and Macs. But how do you capture all network traffic with this tool? In this article, we’ll show you how to accomplish the task along with some other valuable information.
Wireshark How to Capture All Network Traffic on a PC
You can easily capture all network traffic with Wireshark on your PC. If you haven’t installed Wireshark’s free software on your Windows PC, you can find it here. To learn how to capture the traffic you want to analyze on a PC, follow the instructions below.
- Open an internet browser on your PC.
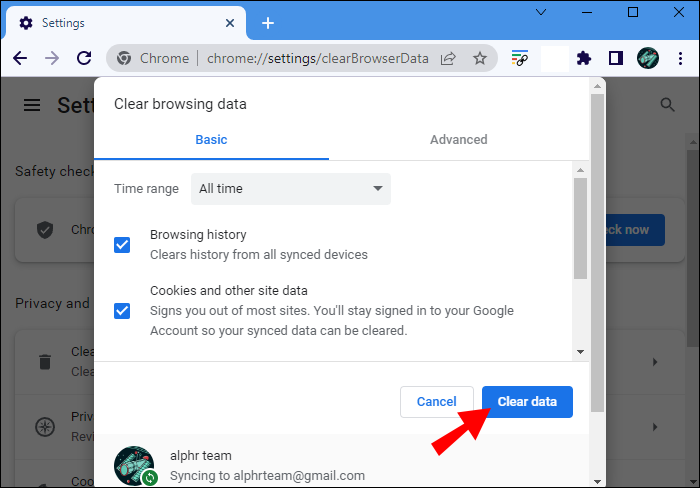
- Clear your browser’s cache by pressing “Control + Shift + Delete” and clicking “Clear Data.”

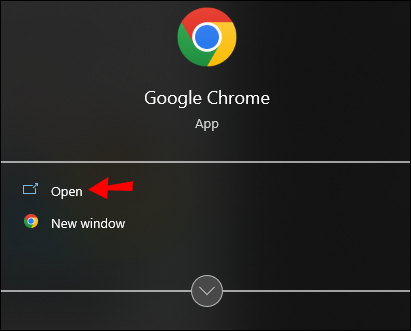
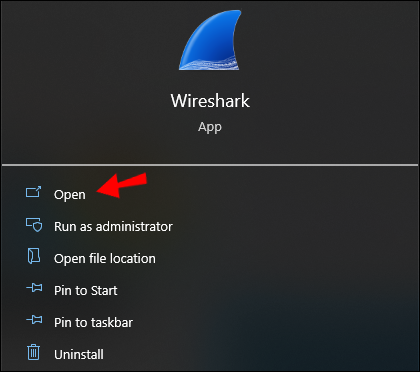
- Open Wireshark.
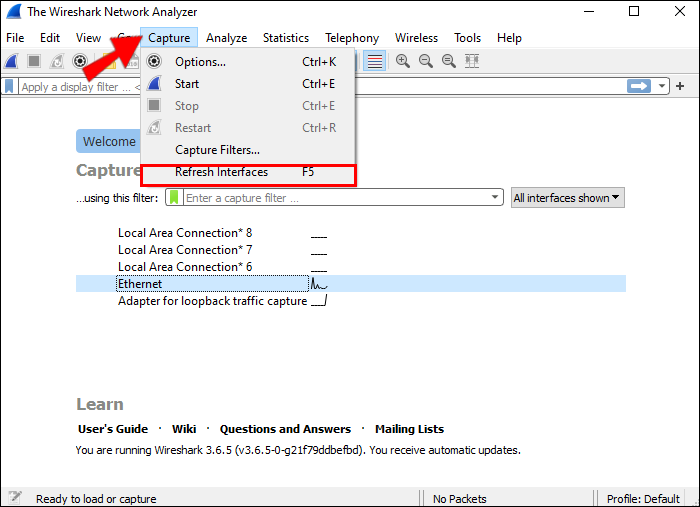
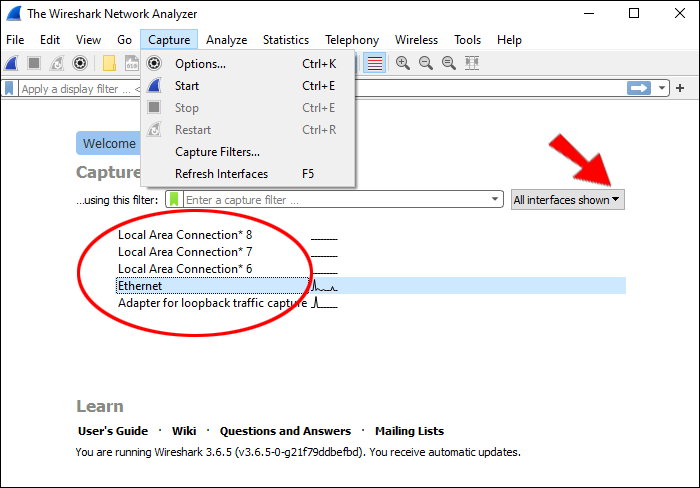
- At the top of the screen, click “Capture” and then “Refresh Interfaces” from the drop-down menu.
- From the pop-up window, select all available interfaces or just the ones you want to capture.
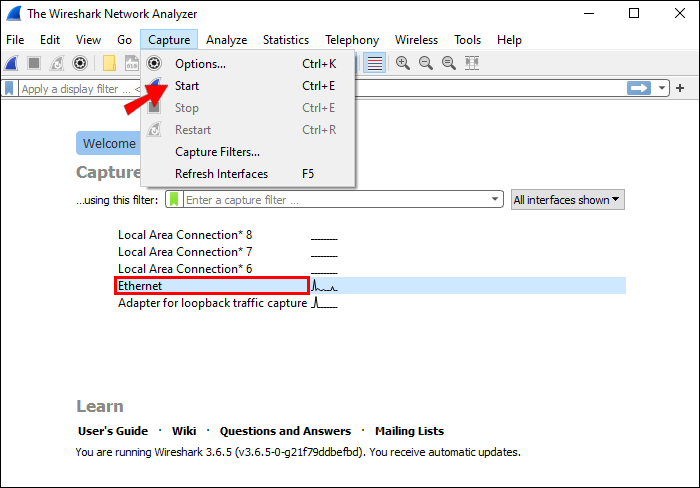
- With your interface(s) now selected, click “Start.”
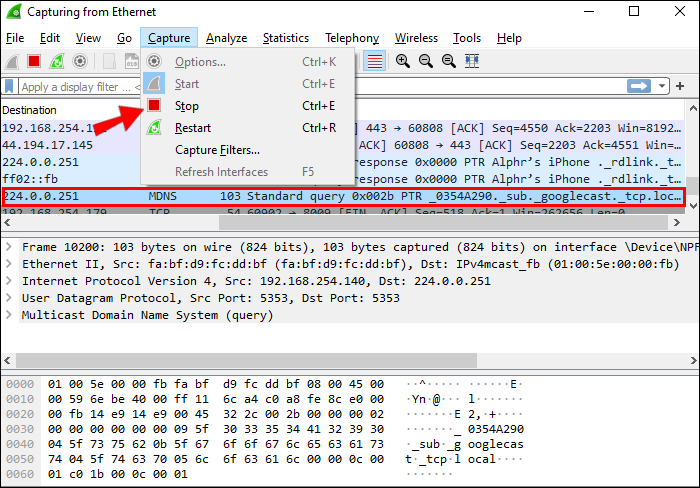
- Go back to your browser and open the URL you want to capture network traffic from.
- When you’ve finished, press “Control + E” to stop capturing data.
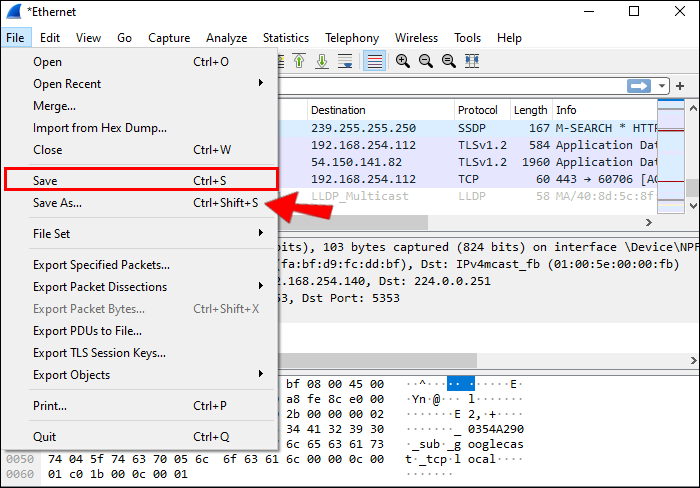
- Save the captured data by selecting “Save” and “Save as” from the top menu.
- Choose the location where you’d like to save the document and save it as a .pcap file.


You’re now armed with the information you’ll need to diagnose network issues or improve its efficiency. The saved pcap file can be emailed to your network administrator or you can view it yourself.
How to Capture All Network Traffic on a Mac
Capturing all network traffic with Wireshark on your Mac is a straightforward process. If you don’t have Wireshark’s free software installed on your Mac, you can find it here. To capture the traffic on a Mac, follow the instructions below.
- Open an internet browser on your Mac.
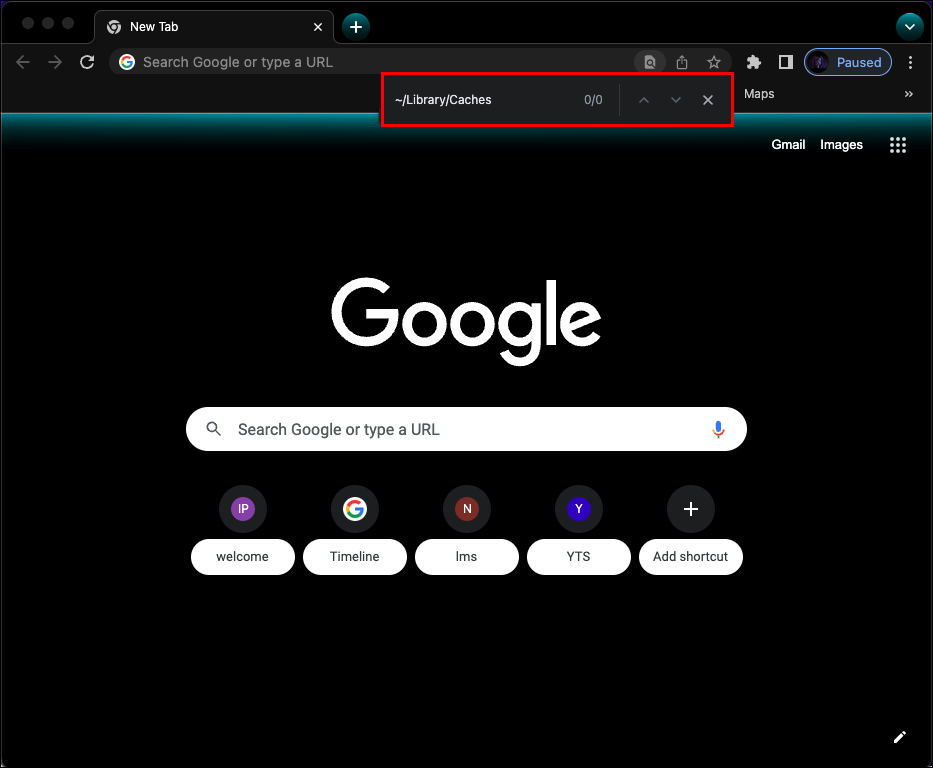
- Clear your browser’s cache by pressing “Command + Shift + G.”
- In the pop-up window, type “
~/Library/Caches” and tap “Go.” - Press “Command + A” and then “Command + Delete.”
- In the pop-up window, type “
- Launch Wireshark.
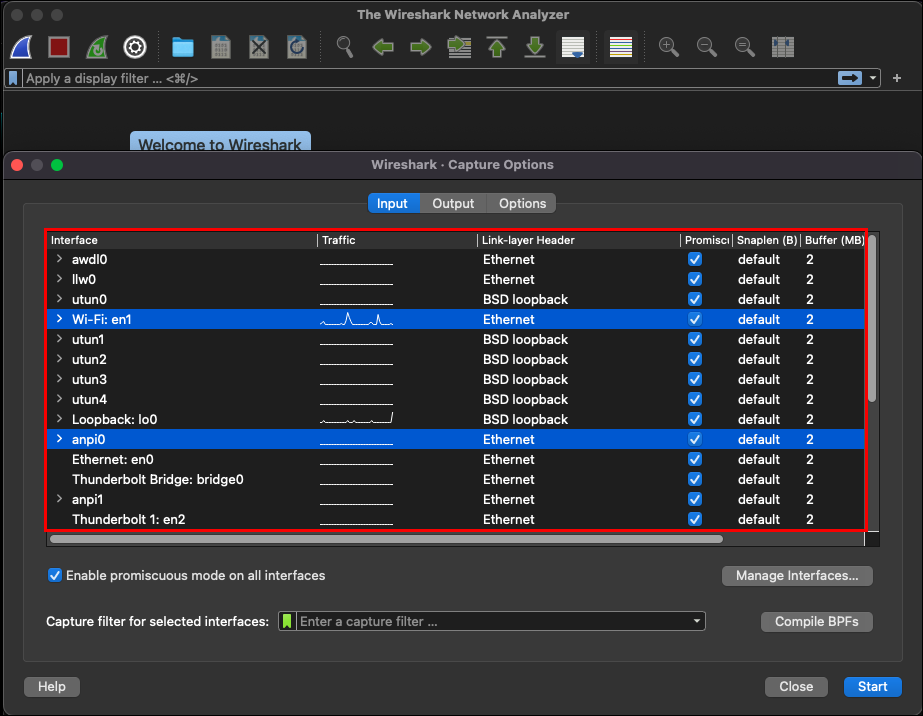
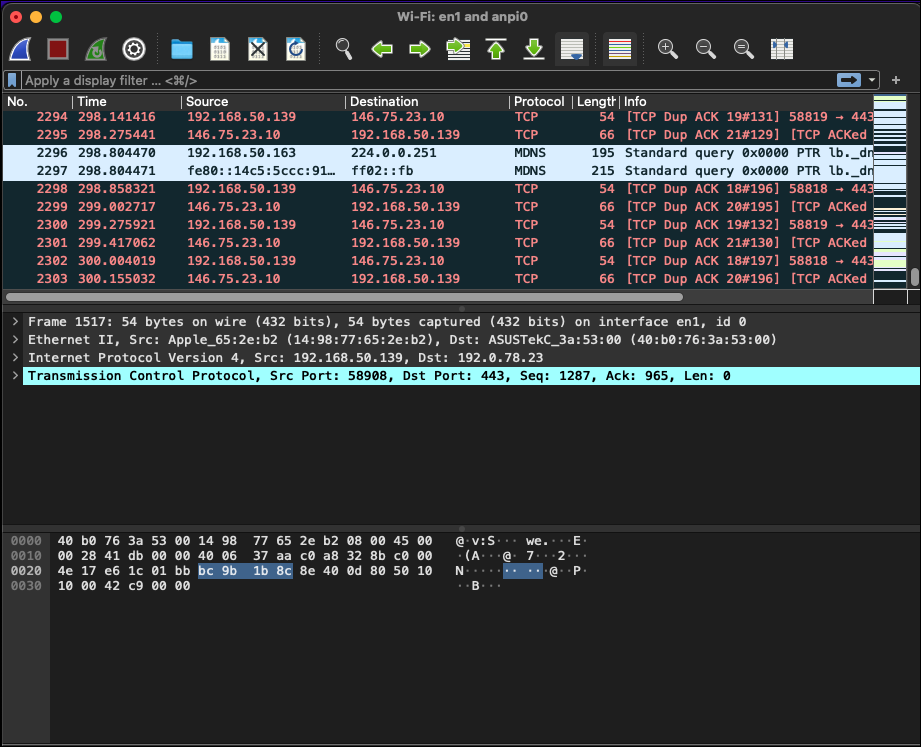
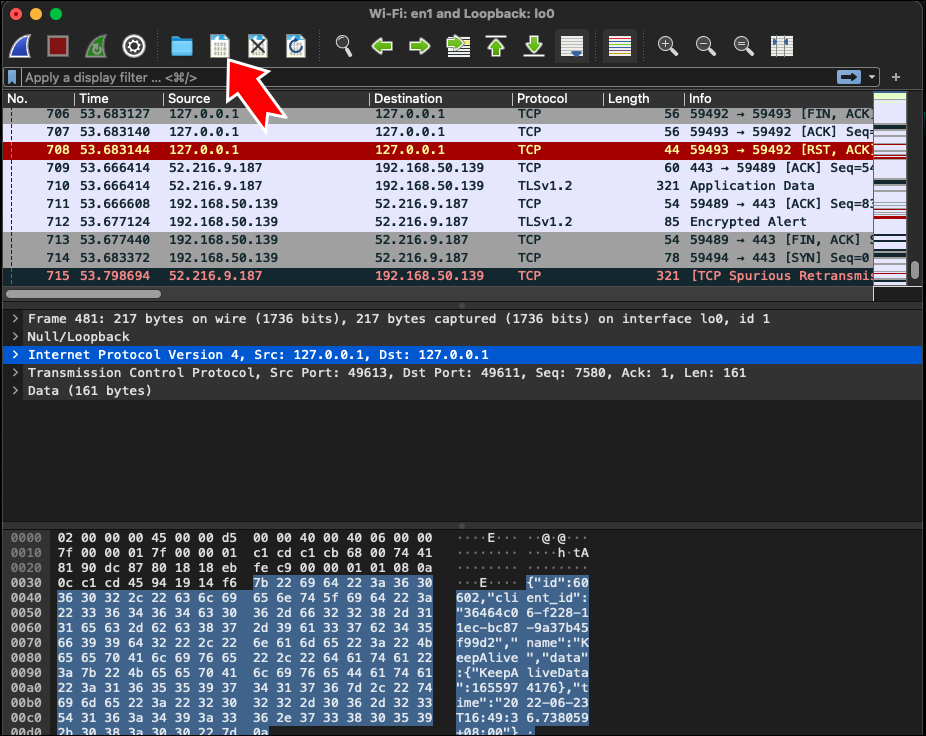
- Tap “Capture” at the top of the screen and then “Interfaces” from the drop-down menu.
- Select all available interfaces from the pop-up window, or just the ones you want to capture.
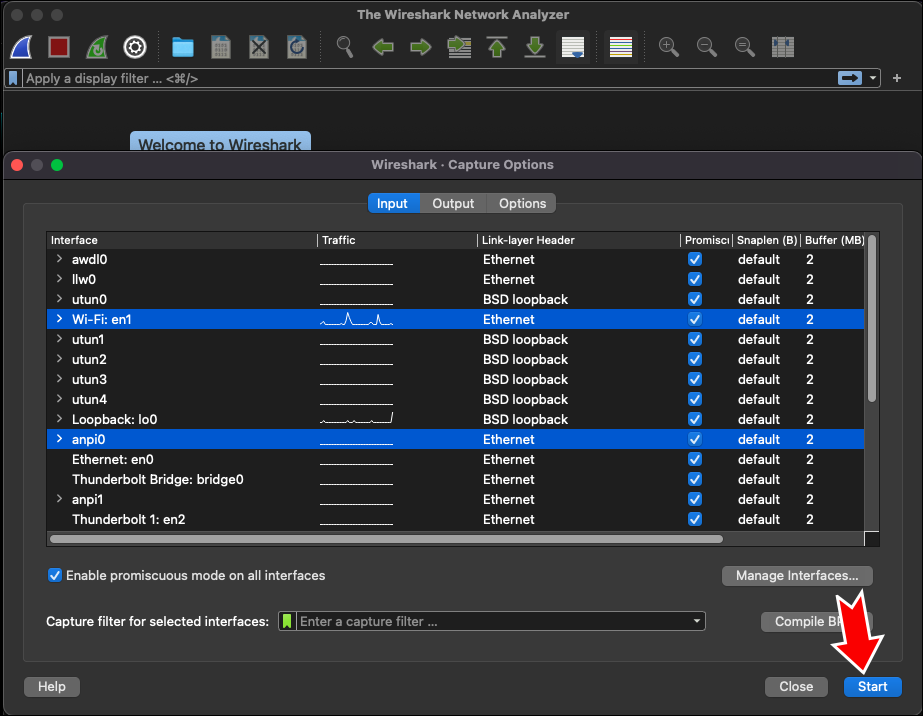
- Once you’ve selected your interface(s), click “Start.”
- Go back to your browser and open the URL you want to capture all network traffic from.
- Once you’ve collected enough data, press “Command + E” to stop capturing data.
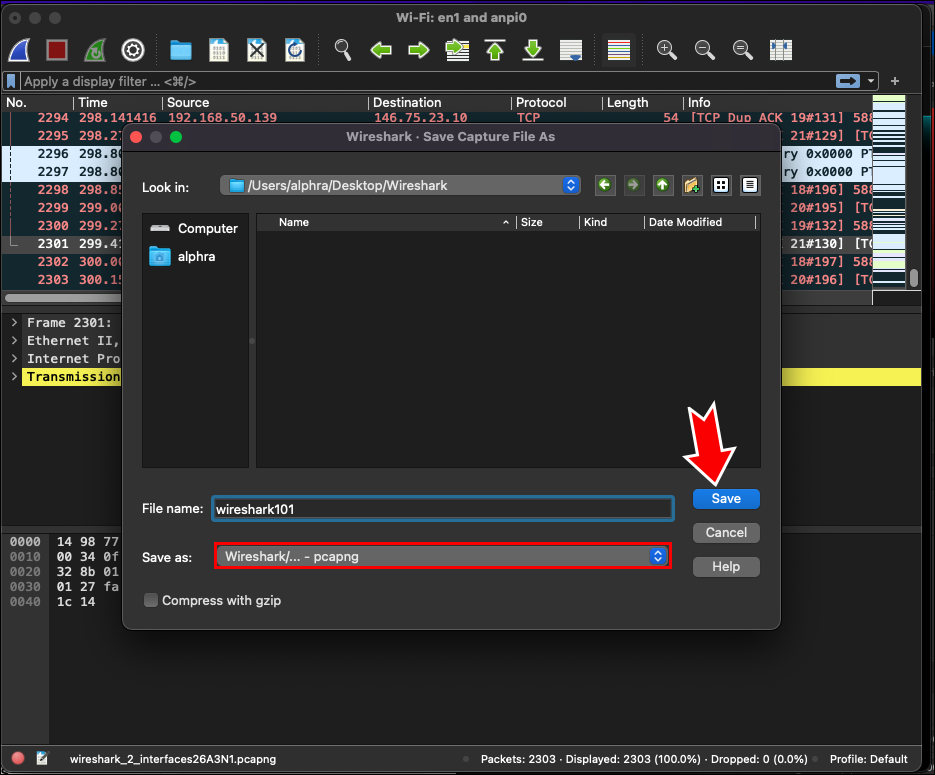
- Select “Save” and “Save as” from the top menu to save the captured data.
- Select the location where you’d like to save the document and save it as a .pcap file.


You now have all the information you’ll need to diagnose network issues or to improve your network’s efficiency. You can email your network administrator the pcap file for analysis or view it yourself.
FAQs
What type of information does Wireshark provide and why is it important?
Network protocol analyzers help network engineers to gain insight into what information travels over their network. This information includes timestamps, packet length, packet type, source and destination internet protocol addresses, along with other important data. This information is used to analyze network activity.
This information helps network engineers evaluate potential threats to network security, monitor bandwidth, and identify which parts of the network are slow and causing bottlenecks. Network protocol analyzers like Wireshark are valuable tools to ensure their network is operating efficiently. This data can provide deeper insight when troubleshooting performance issues, debugging new protocols, or monitoring overall network health.
Wireshark isn’t showing my interfaces. What should I do?
If this is the first time you’re running Wireshark, you’ll need to reboot your computer. You don’t need network privileges for Wireshark to show your interfaces, but a component that runs in the background, WinPcap, does. It’s installed as part of Wireshark but won’t allow you network privileges until you’ve rebooted your computer.
Which network media devices can Wireshark capture traffic from?
Wireshark can capture network traffic from a variety of different network media. This includes Ethernet, Wireless LAN, LWAN, USB, Bluetooth, and many others. However, some media types may be limited depending on your hardware and operating system. For a list of media devices that work with Wireshark, you can find more detailed information here.
Wireshark Takes the Bite Out of Analyzing Network Traffic
Troubleshooting your network issues or improving its performance can be easily accomplished with Wireshark. It will provide you with the information you need to make smart, informed decisions. This powerful network protocol analyzer is a high-performing tool to keep your network running smoothly.
Have you used Wireshark to capture all of your network’s traffic? Did you use the same method outlined in this article? Let us know in the comments section below.
Disclaimer: Some pages on this site may include an affiliate link. This does not effect our editorial in any way.


