Device Links
Creating or joining a Facebook group has its benefits and makes engaging with like-minded people simple. However, you may find there are groups you no longer engage with, and the notifications that come with them have become frustrating.
If you want to delete a Facebook group or two, then keep reading. In this article, we will show you the quick and easy steps to follow to delete those unwanted Facebook groups from your feed.
How to Delete a Group in Facebook on a PC
How you set about deleting a Facebook group depends on the role you play within the group. If you are the creator of the group, you will need to remove each of the participants before you can permanently delete the group. If you are a member of a group but didn’t create it, you have the option to leave the group and delete it from your profile (the group will remain for other active members).
Let’s look at the steps to follow for both these methods when using a PC:
To delete a Facebook group you created:
- If you haven’t already done so, log in to your Facebook account.
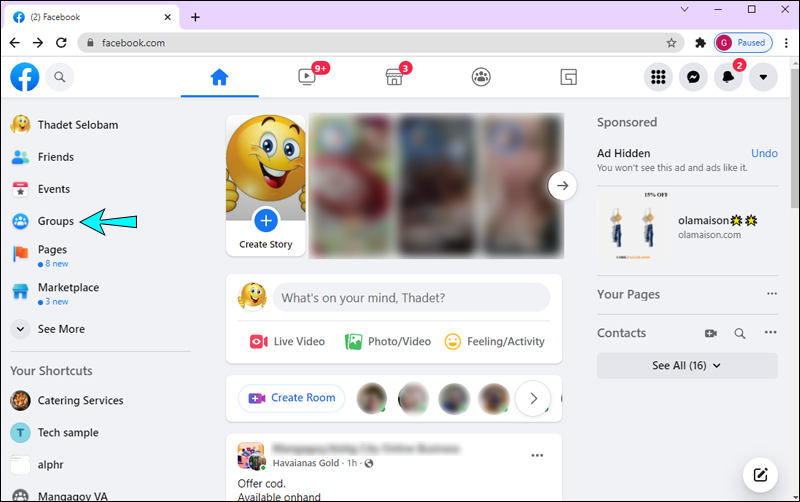
- On your News Feed, select “Groups” from the menu on the left, scroll and click on the one you want to delete.

- Select the “Members” tab located below the group name.
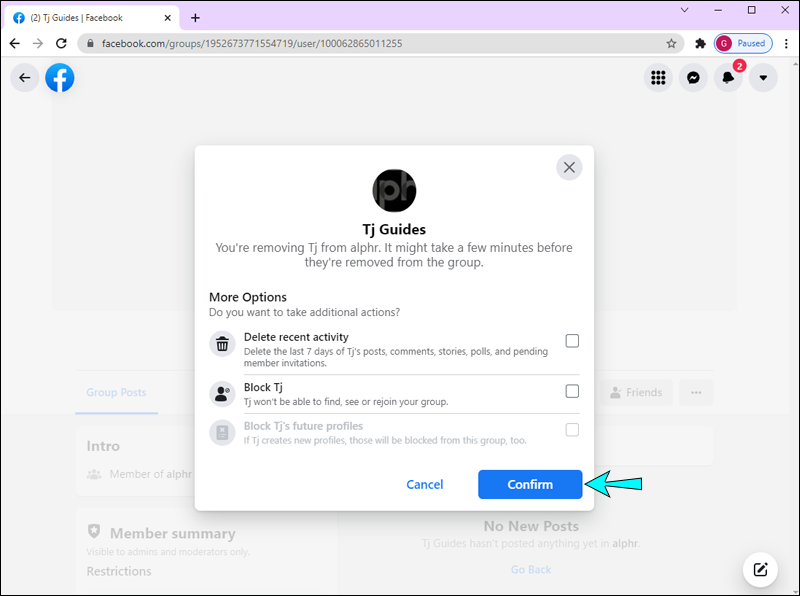
- Click the three-dot icon next to each member’s name and choose “Remove Member.”
- Click on “Confirm.”
- Once you have removed all members in the group, select the three-dot icon next to your name and choose “Leave Group.”
- Confirm by clicking “Delete Group.”


Doing this deletes the group permanently. Facebook doesn’t inform group participants when you delete a group. If you want to delete a group you didn’t create from your feed, you will need to follow these steps:
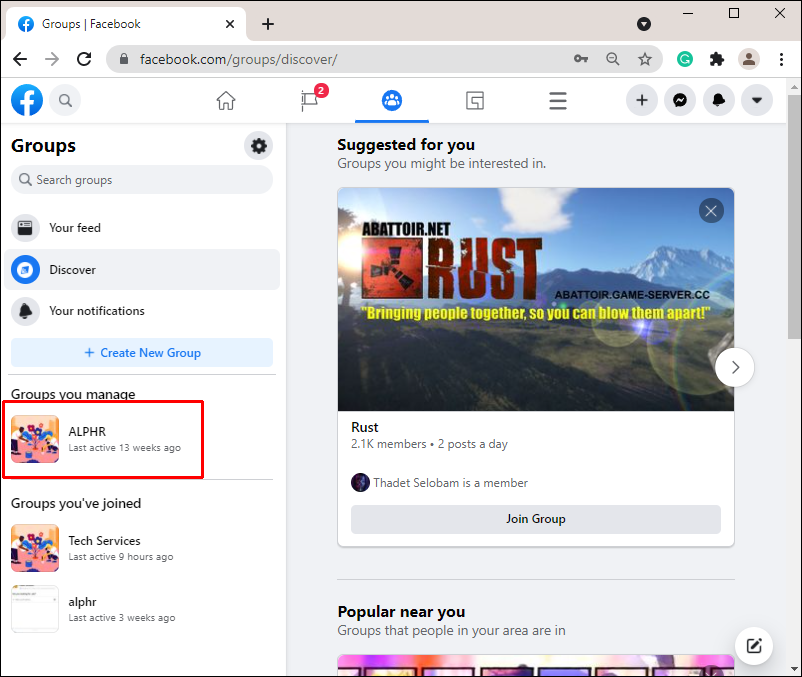
- On your News Feed, find the “Groups” option on the menu on the left-hand side. Click on the group you want to leave.
- Click the “Joined” button on the right under the group’s name.
- From the drop-down menu, choose “Leave Group.”
How to Delete a Group in Facebook on an iPad
Deleting a Facebook group on an iPad requires steps that differ slightly from those used on a PC. Here are the instructions:
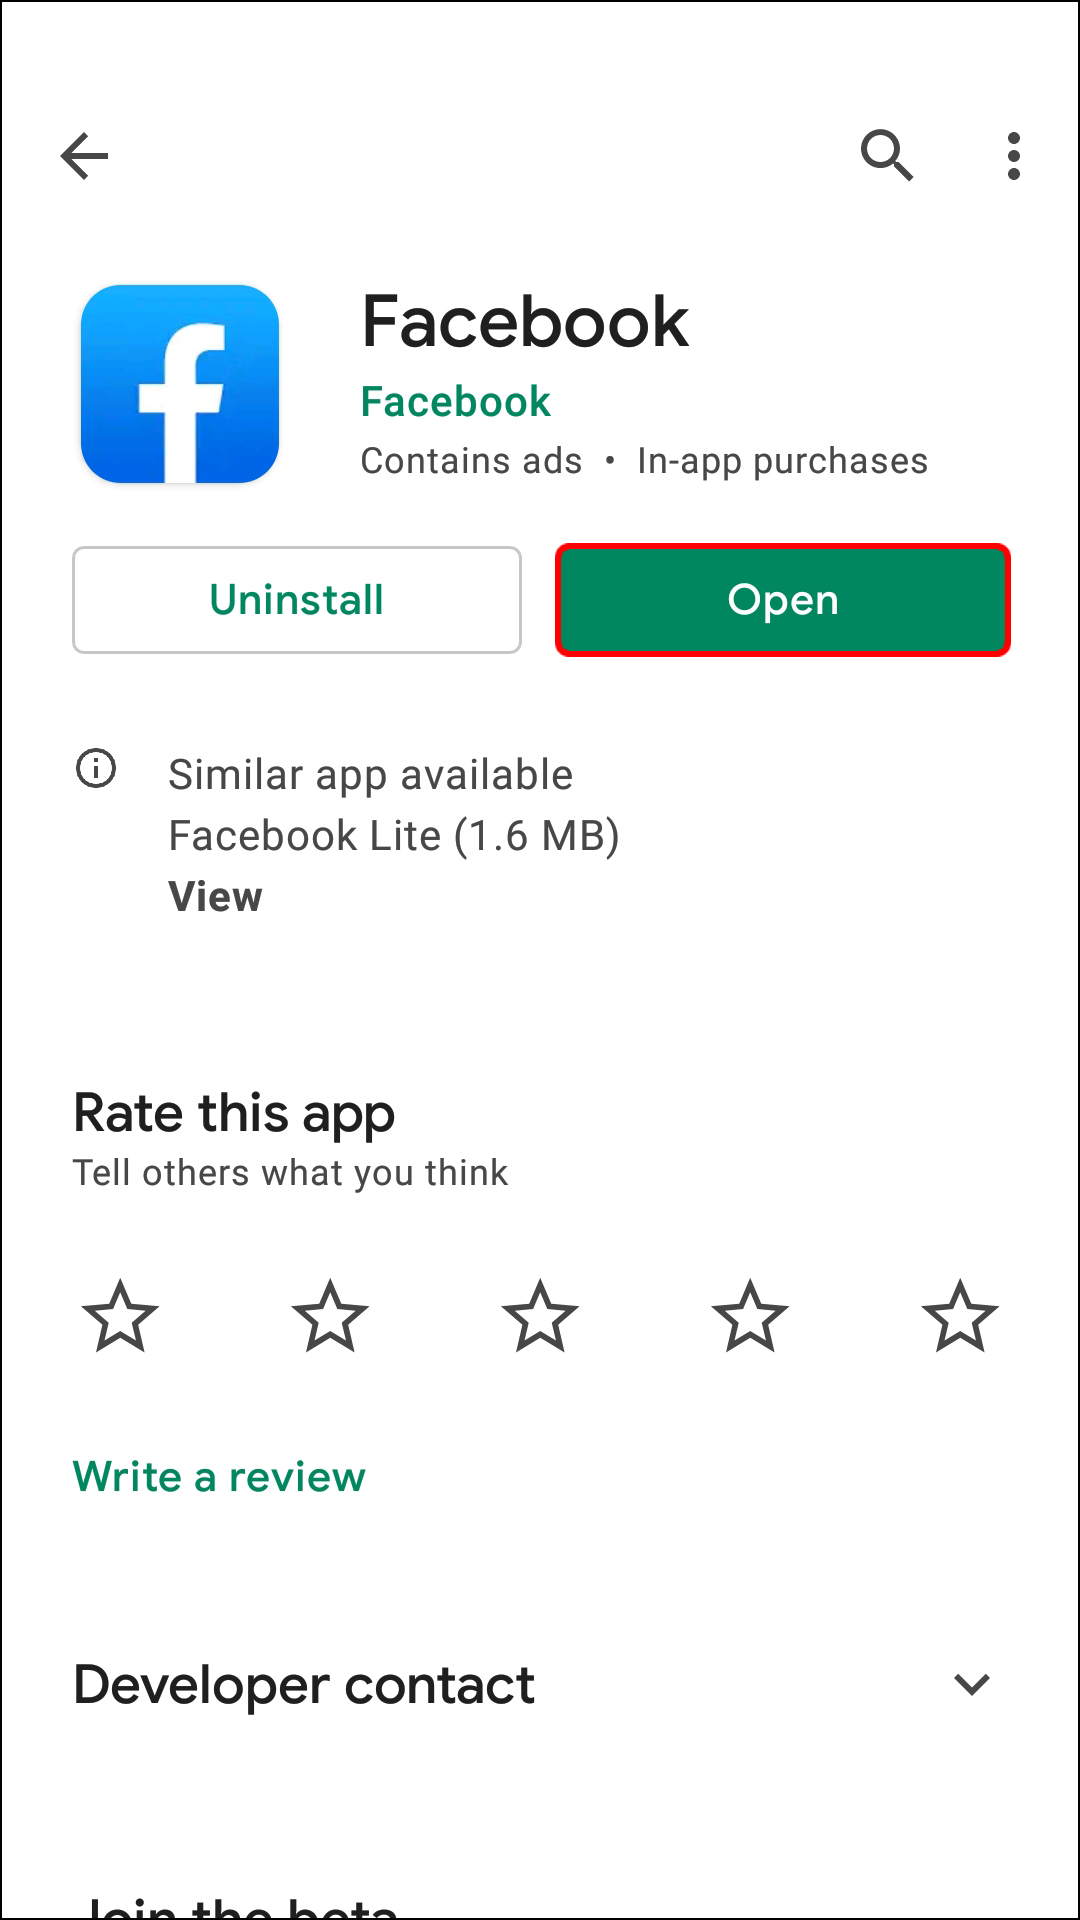
- Launch your Facebook app.
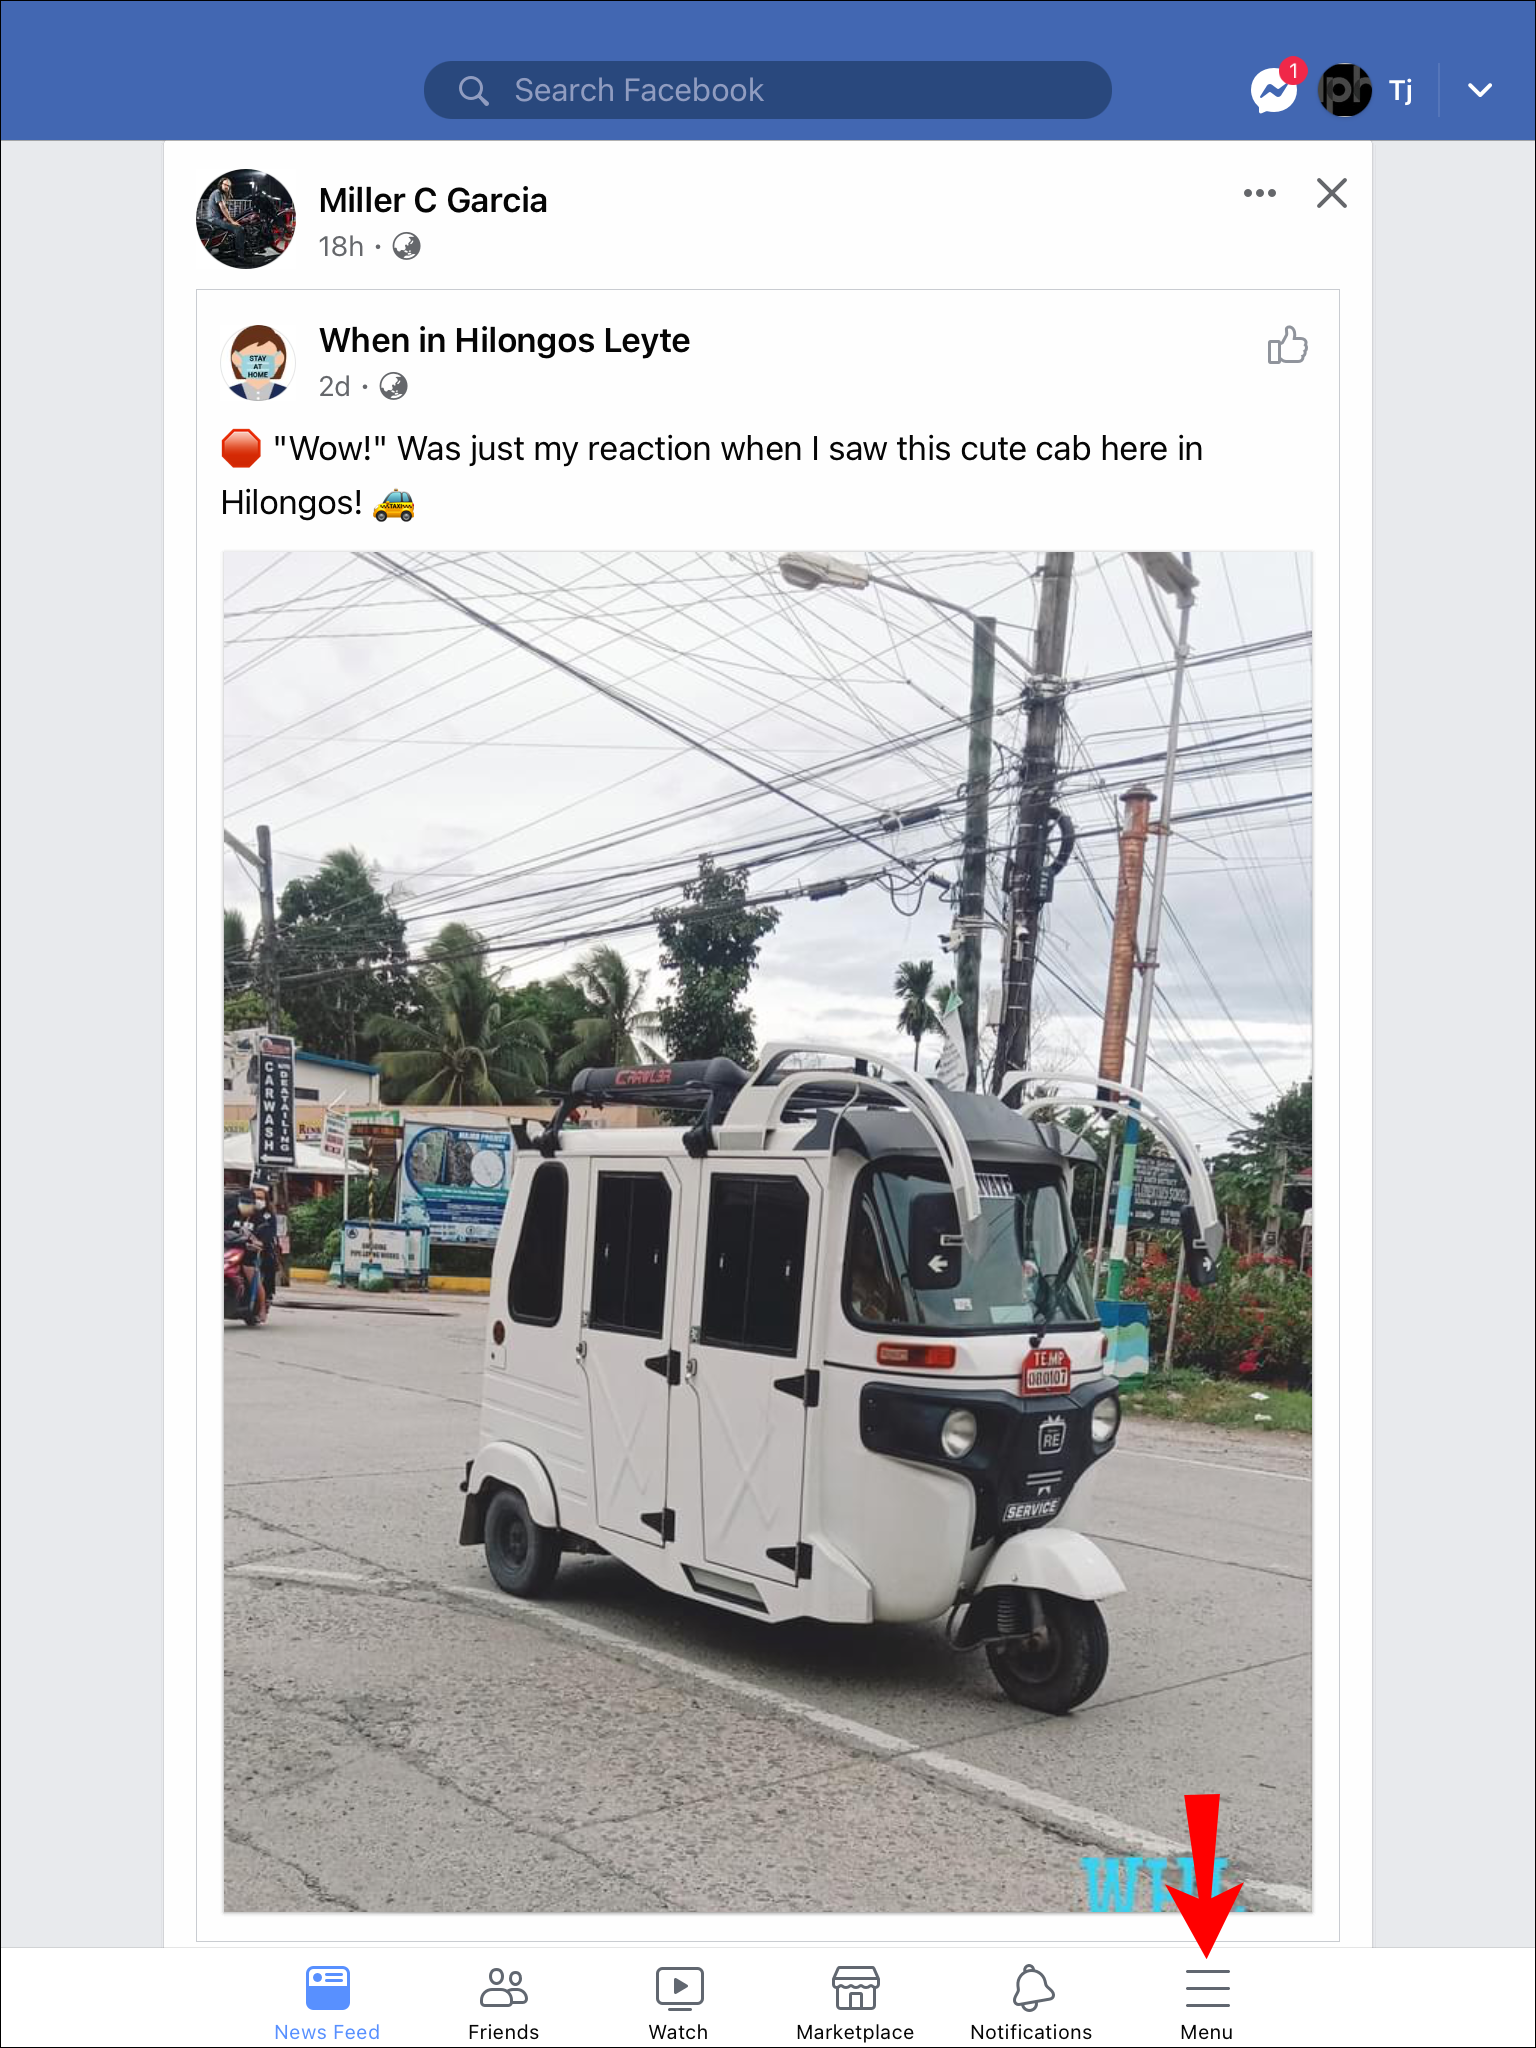
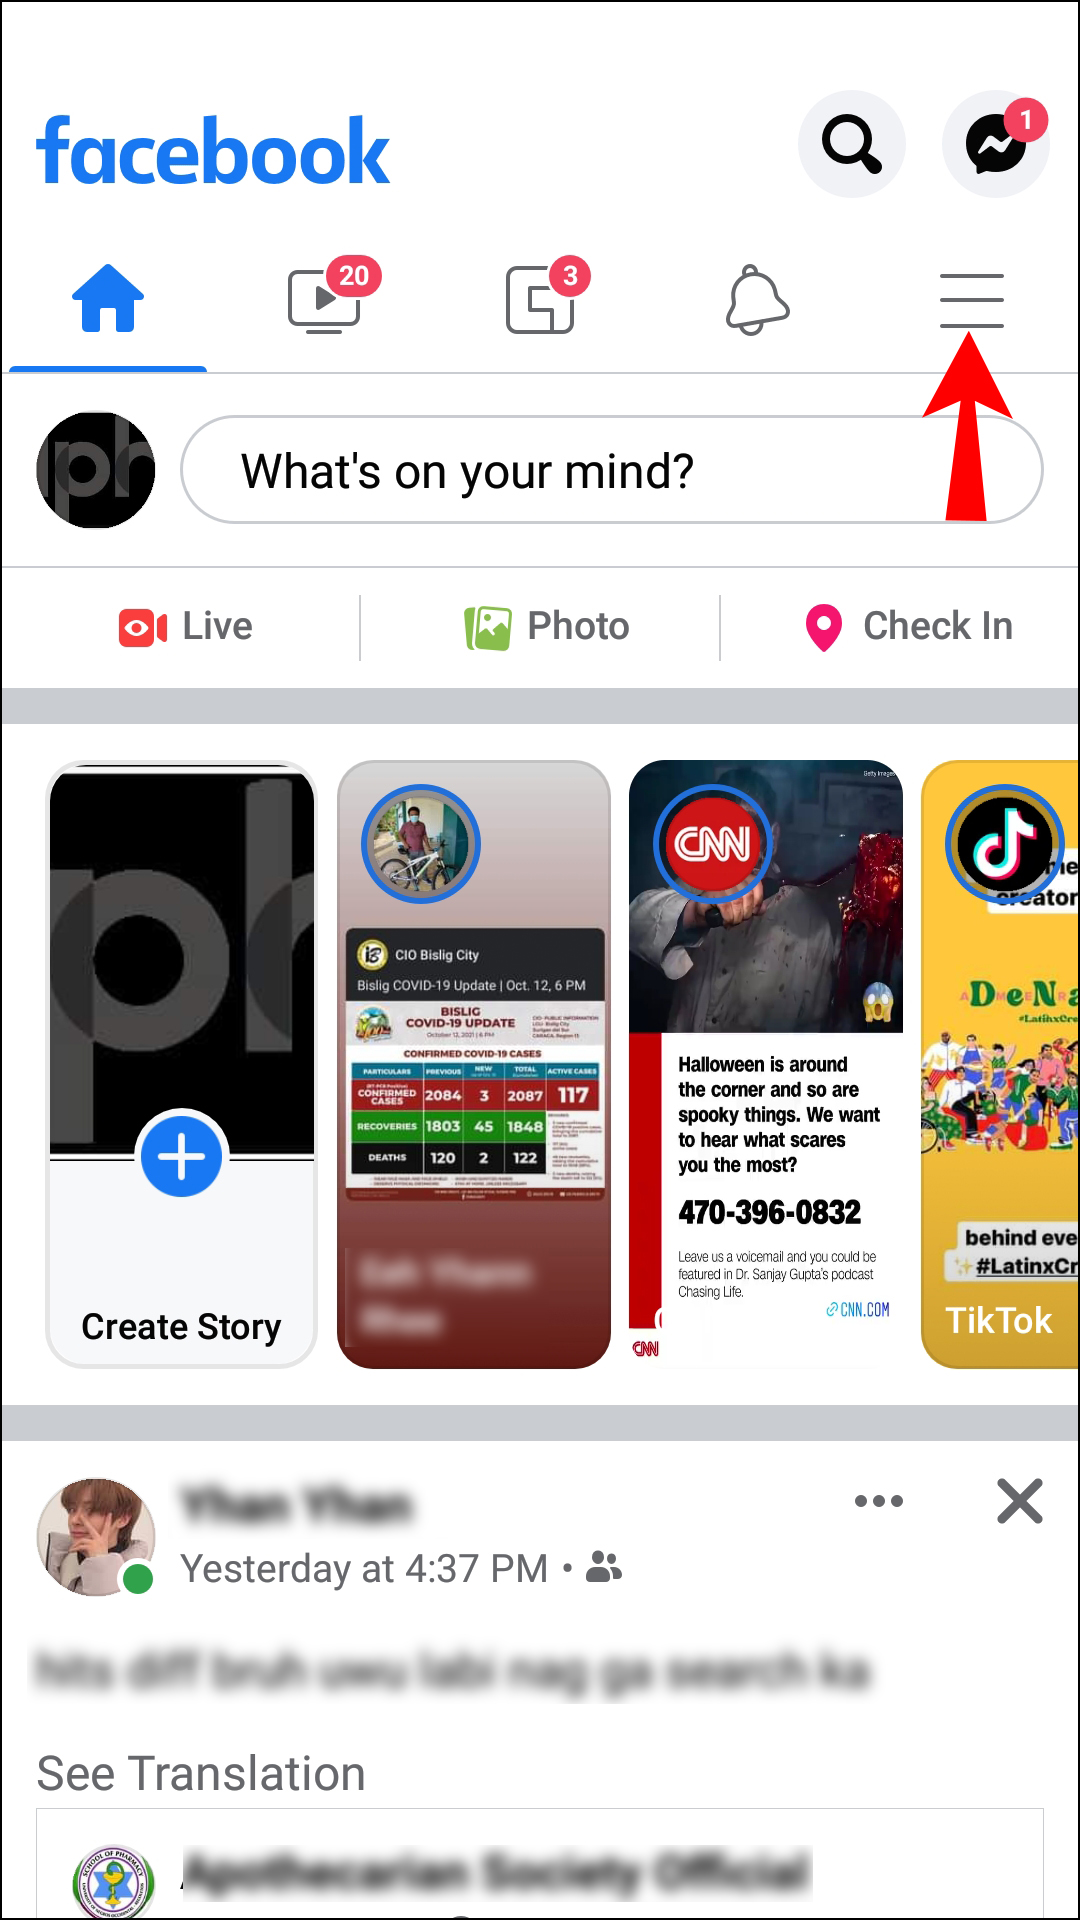
- Find the icon with three stacked lines at the bottom right of the screen and tap on it.
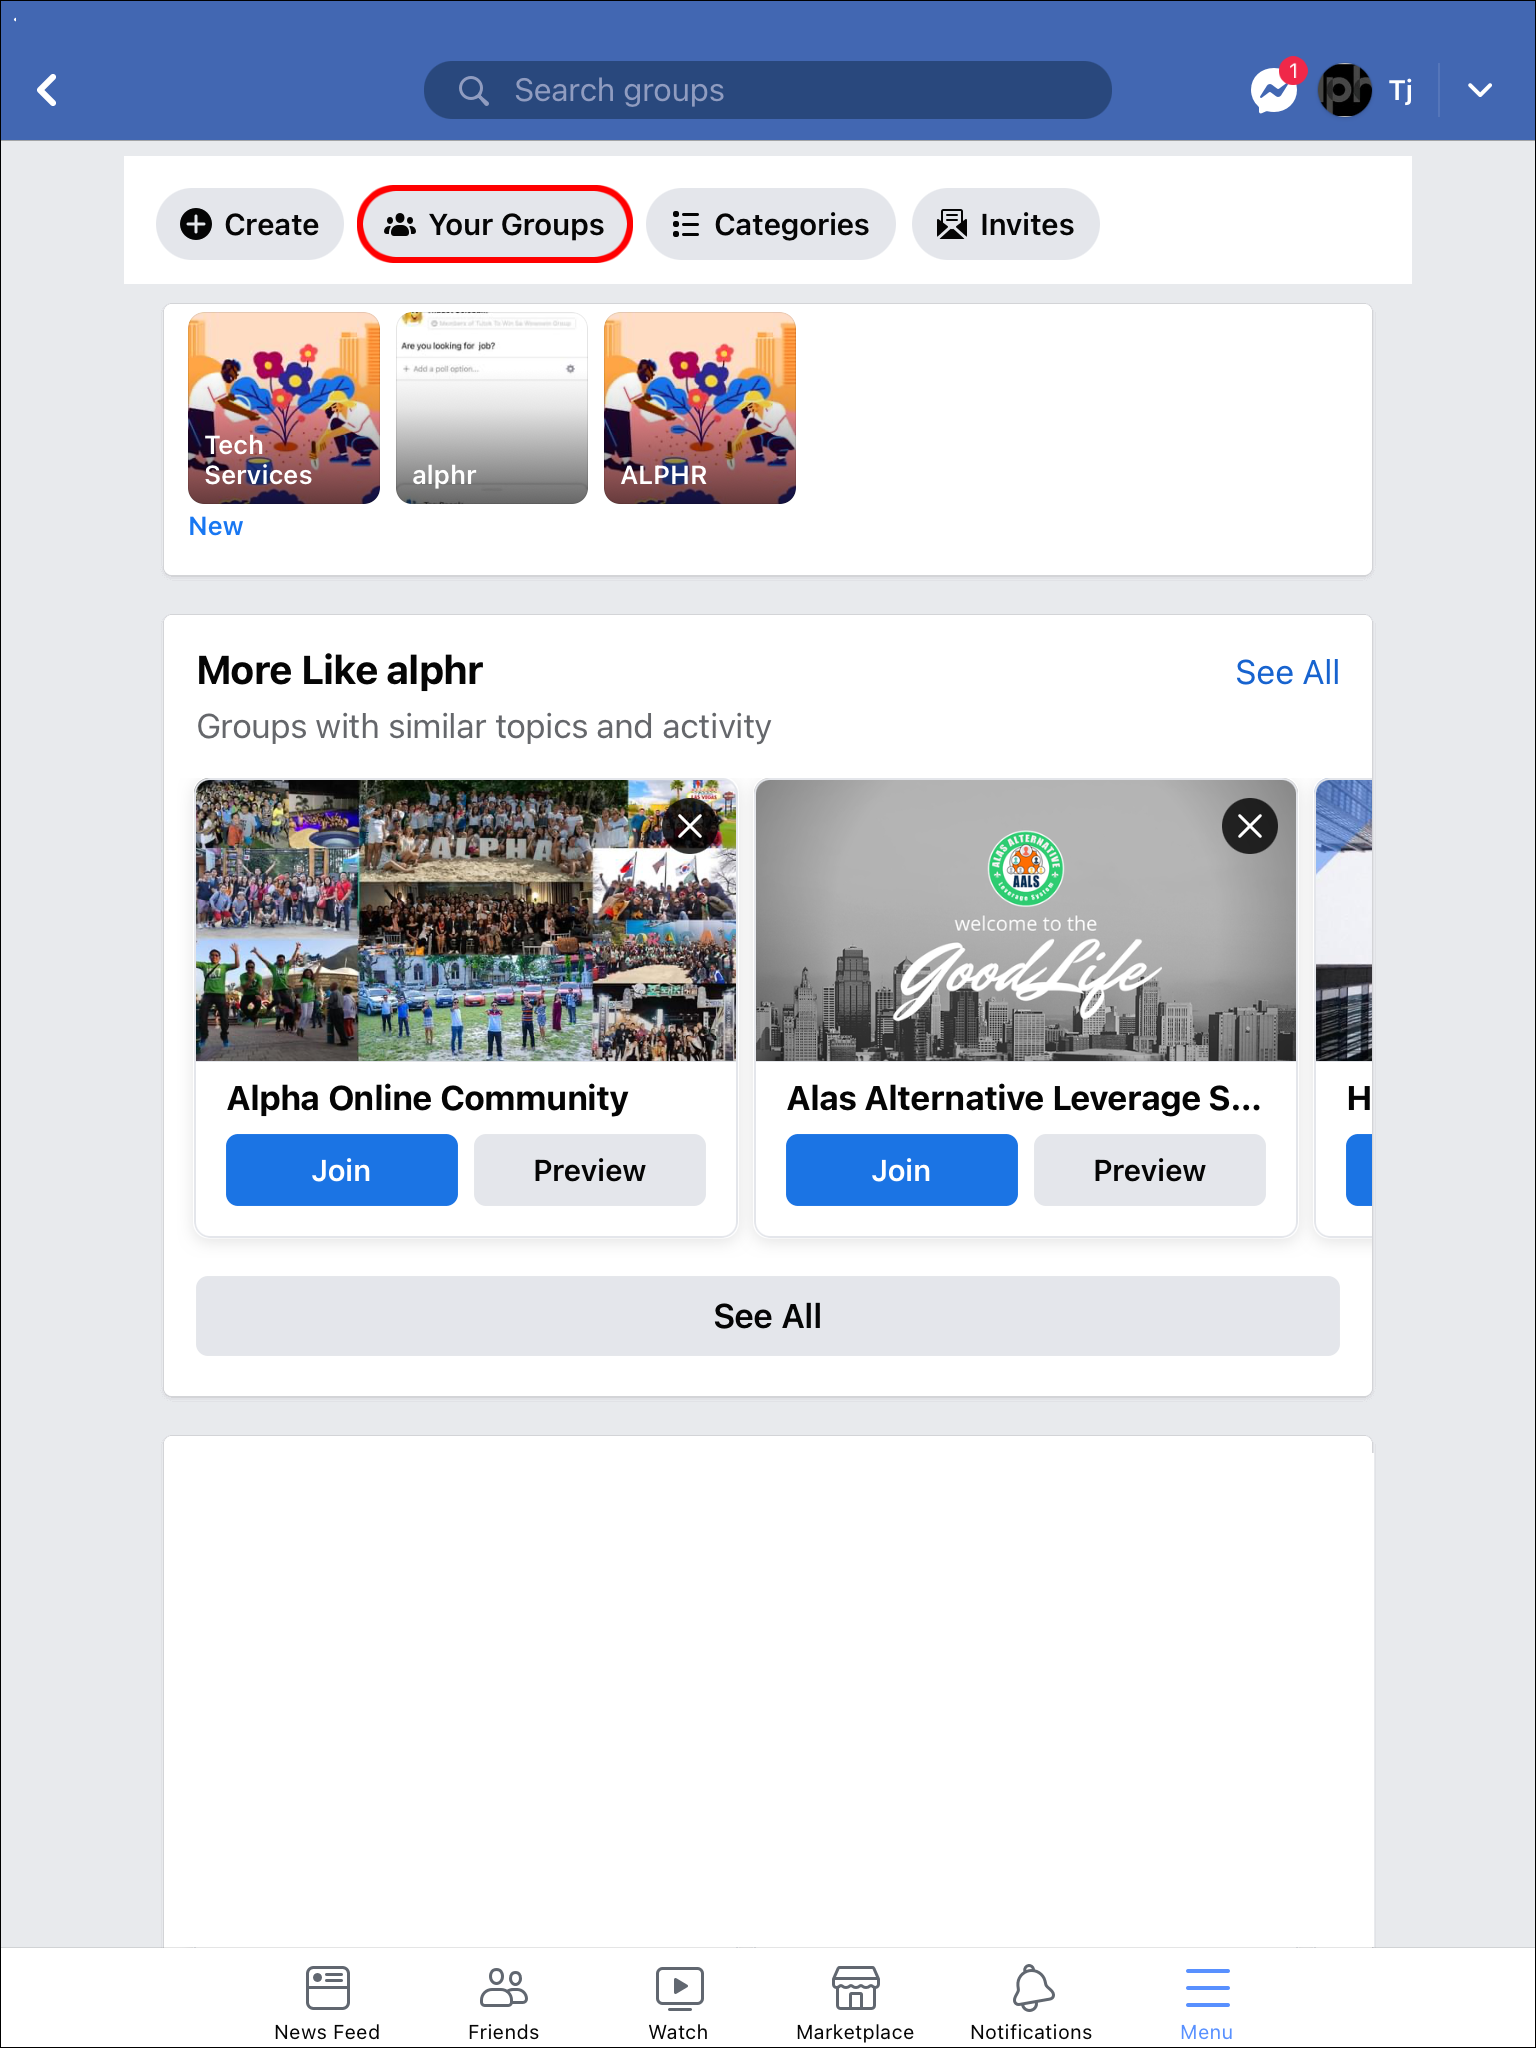
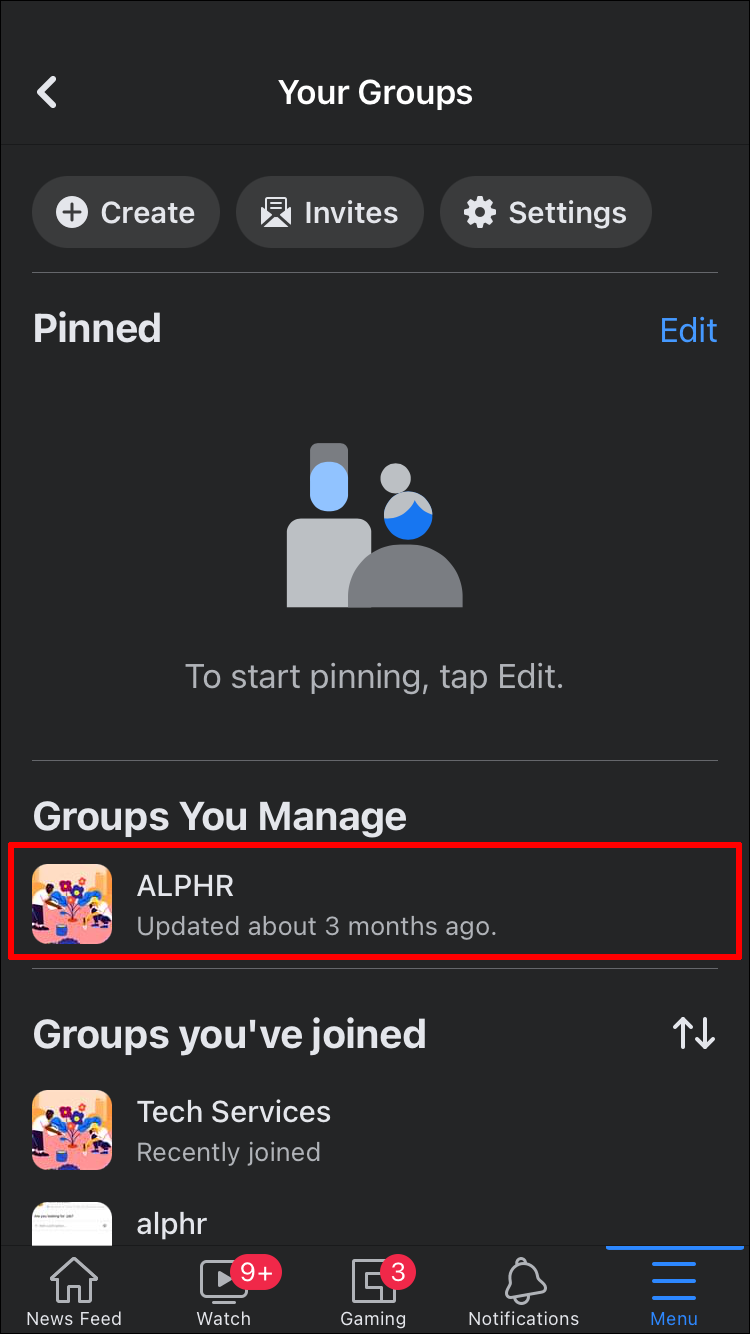
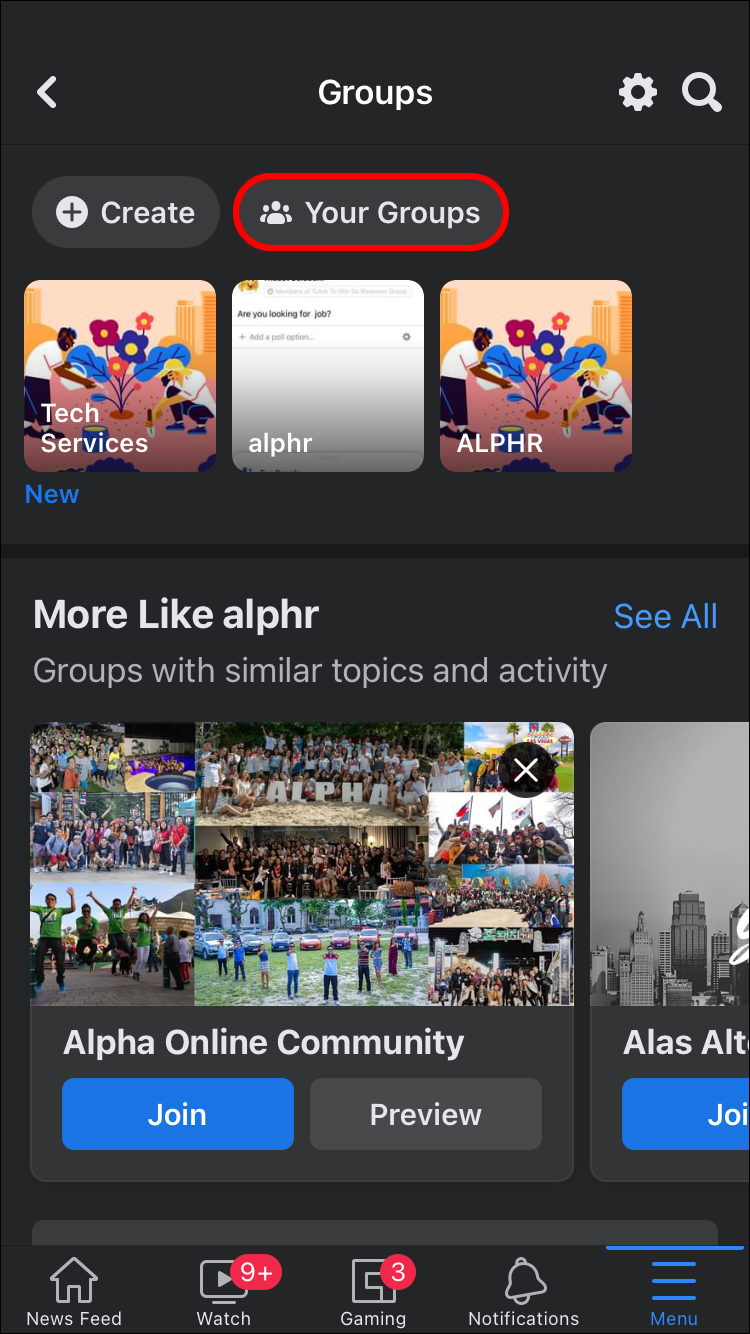
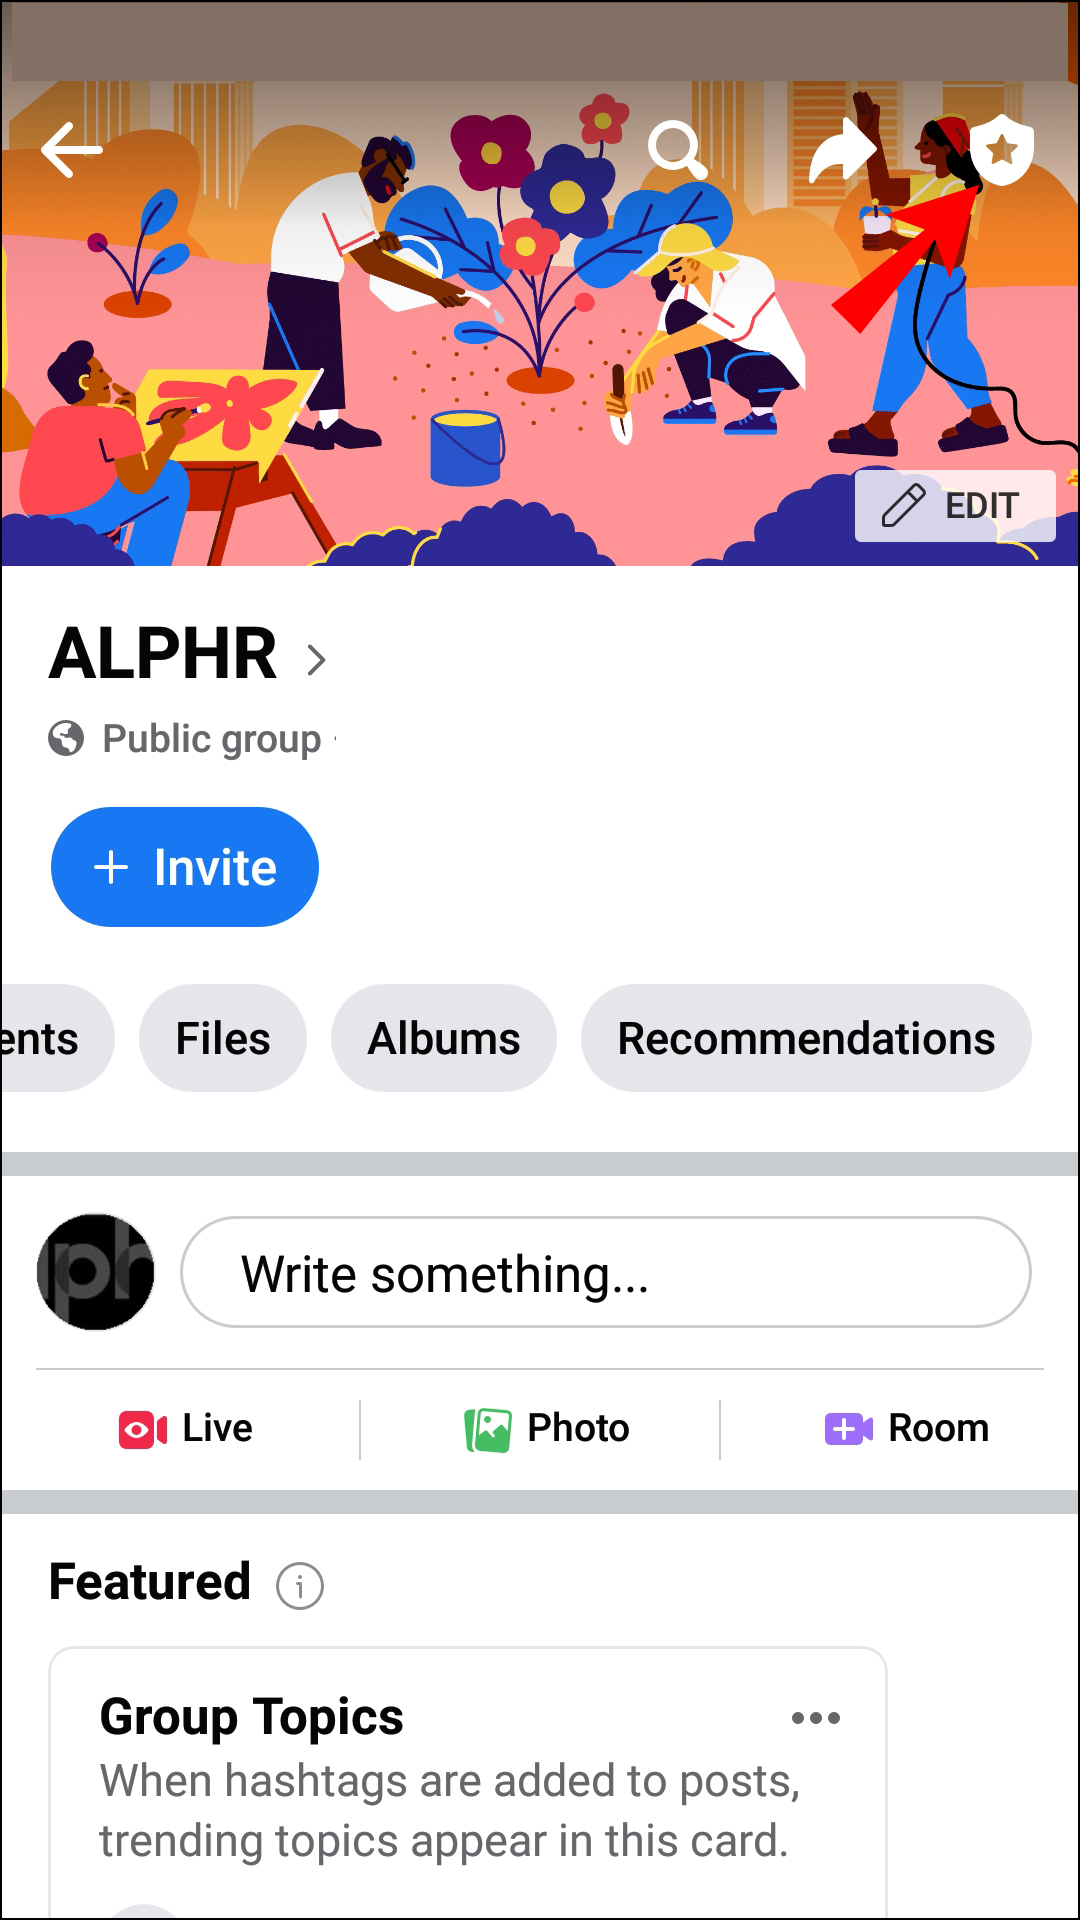
- Select “Groups” and then “Your Groups” and choose the group you wish to delete.
- Tap on the icon that looks like a shield with a star in the center, and then select “Members.”
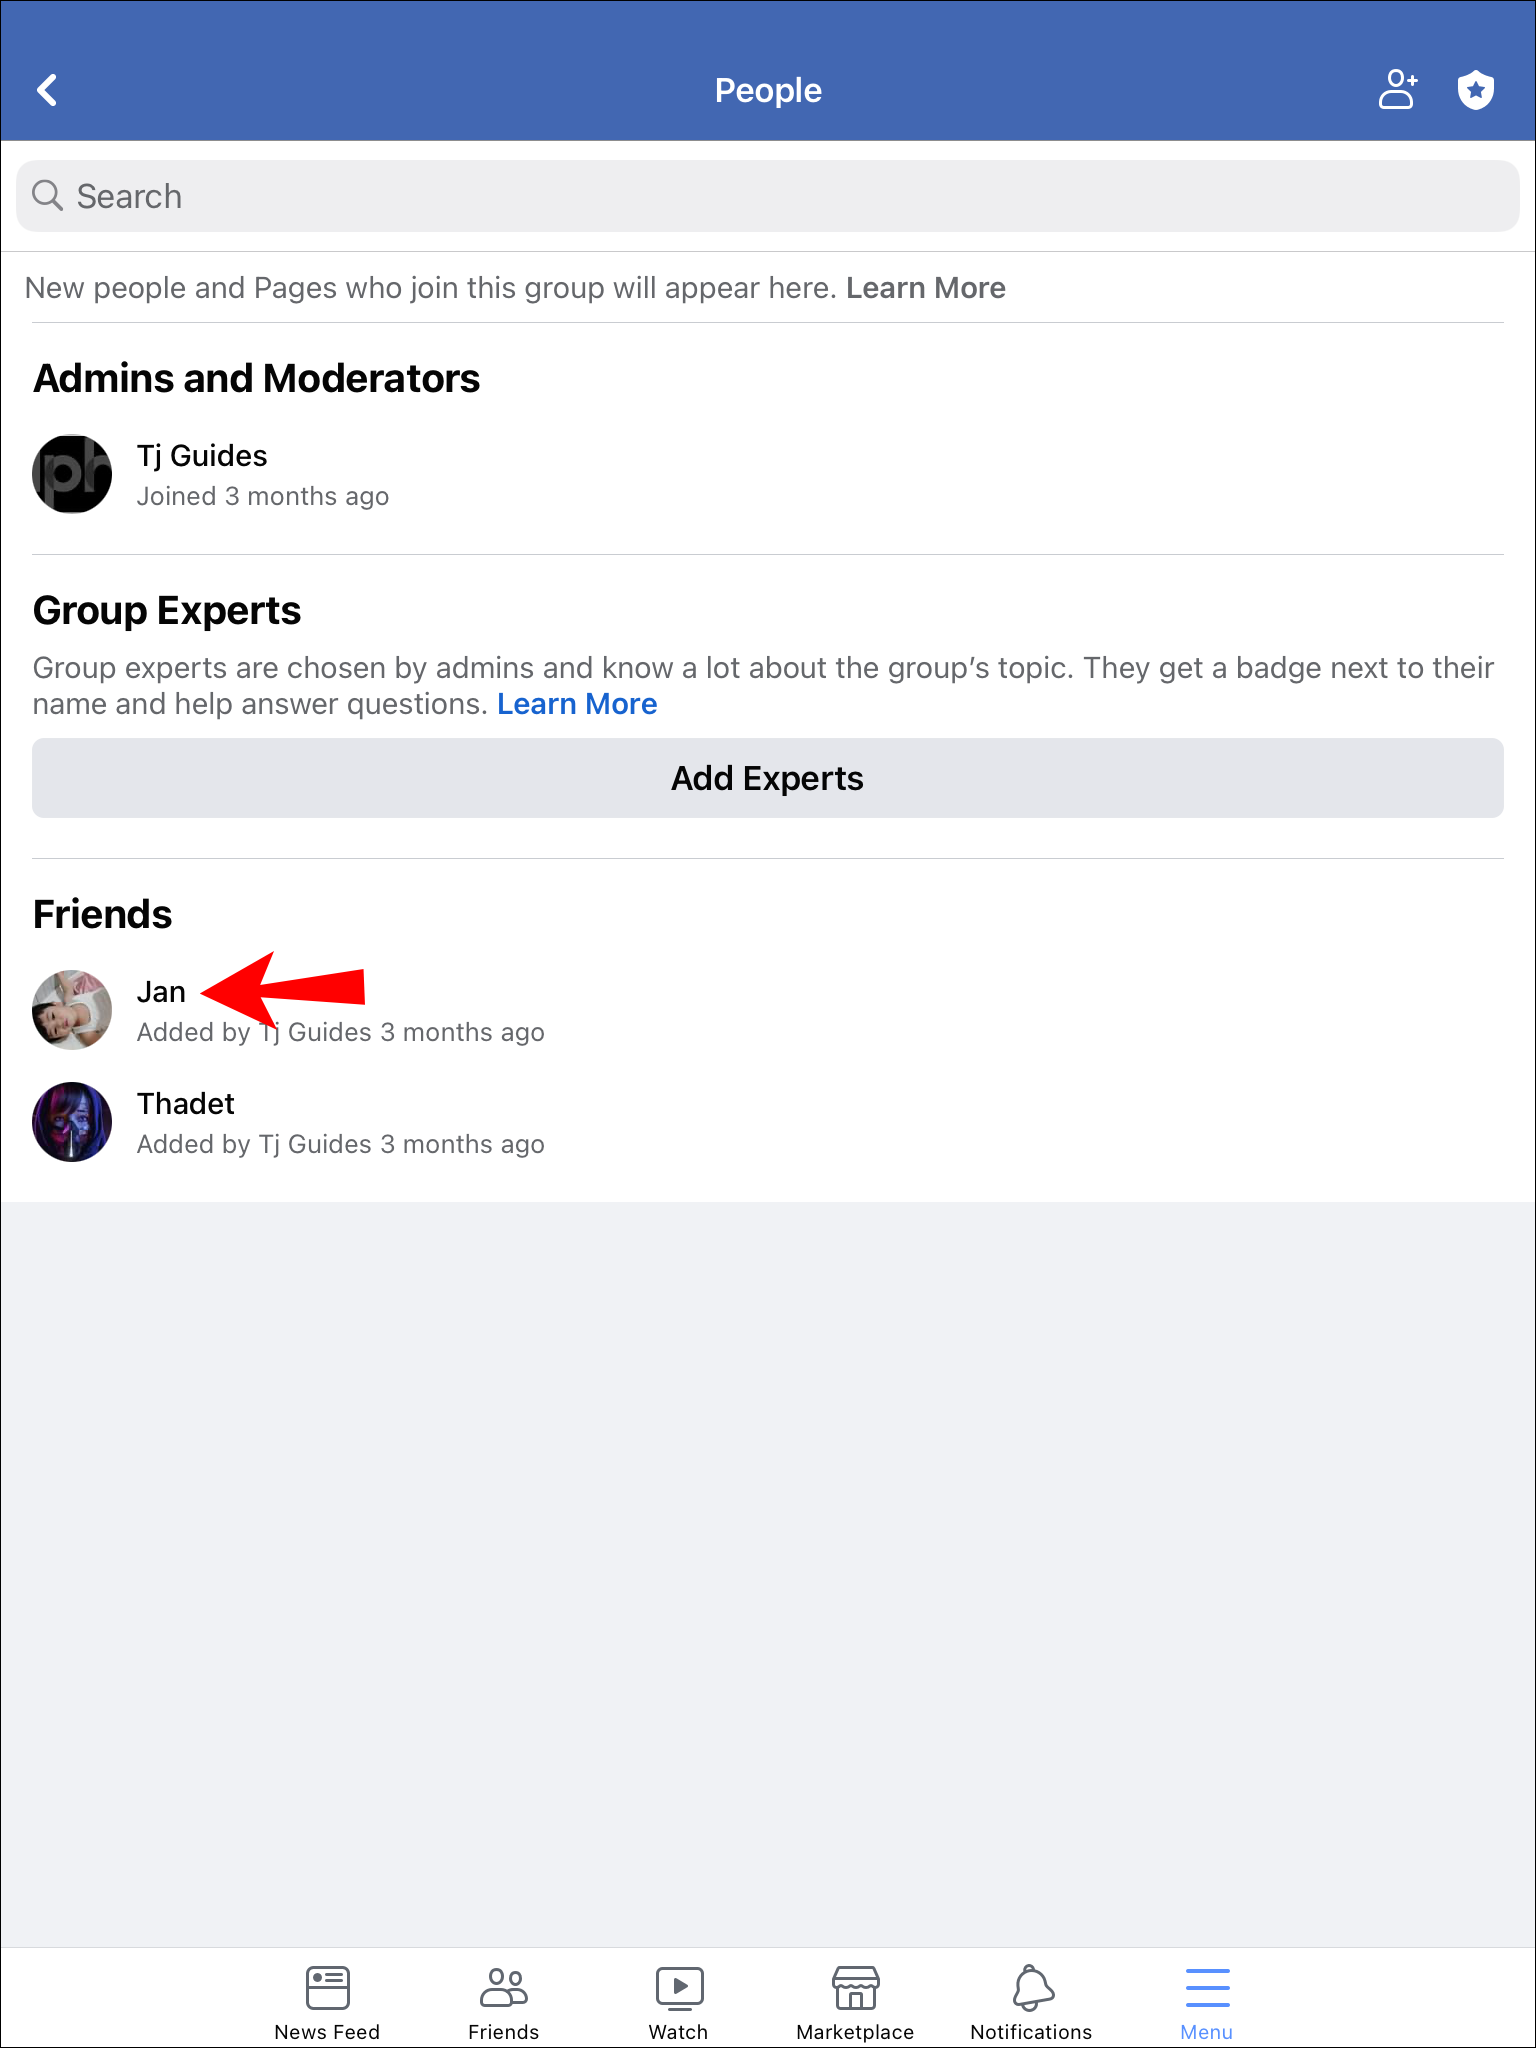
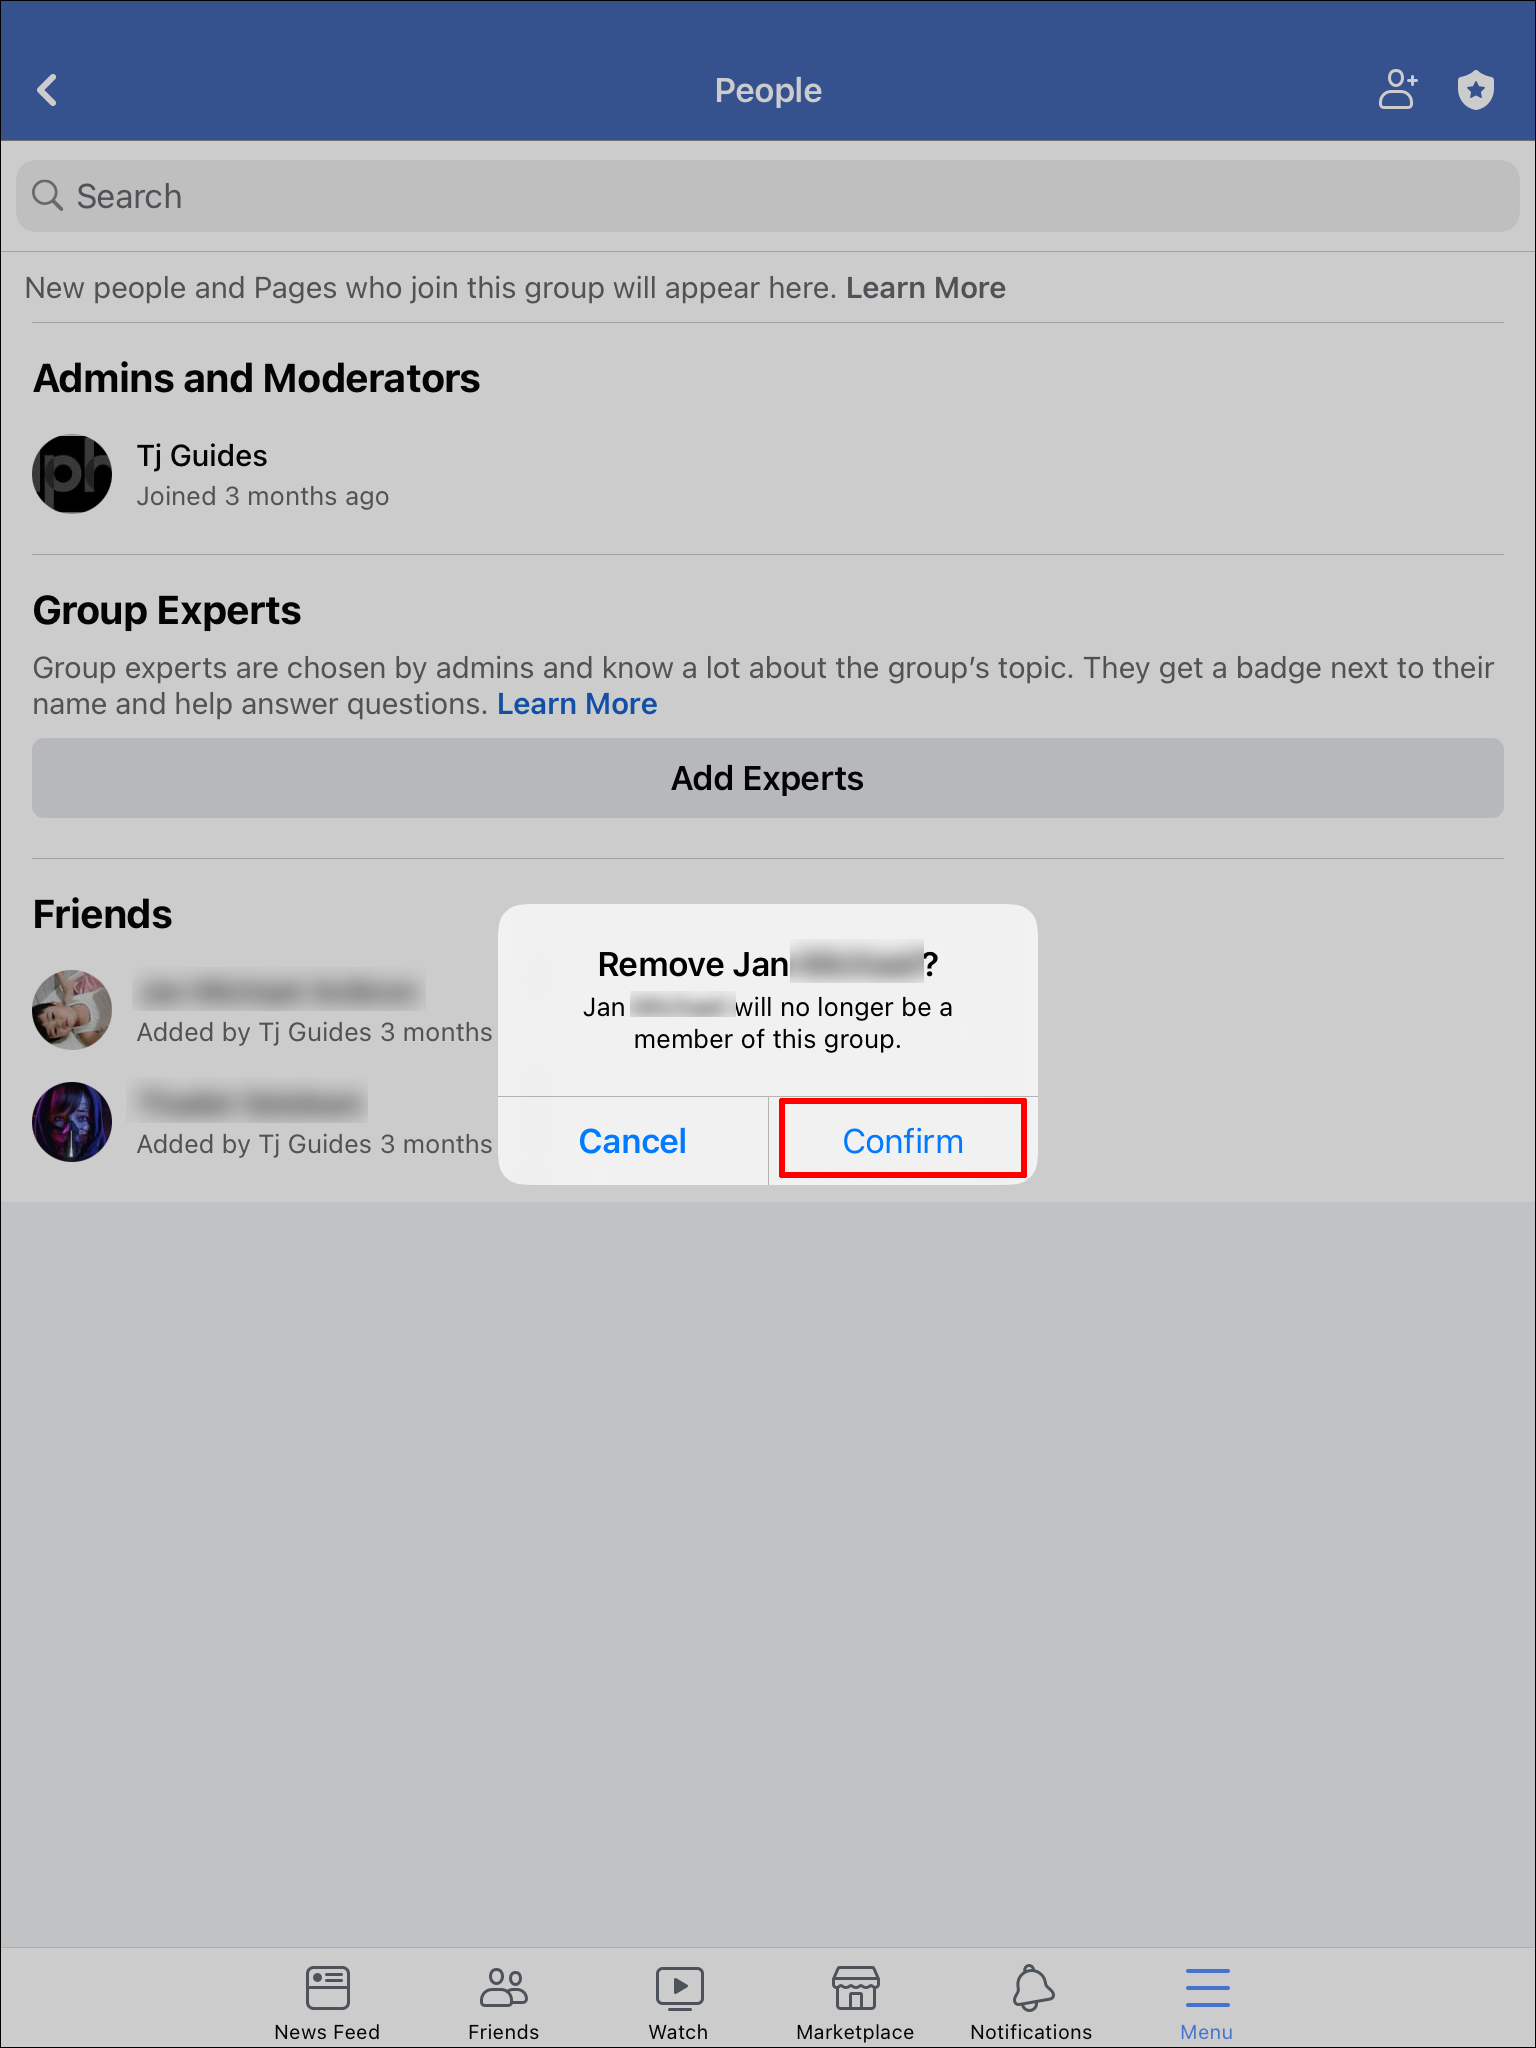
- Select each member’s name and then tap “Remove [Member’s Name] from the group.”
- Tap “Confirm.” Do this for each member.
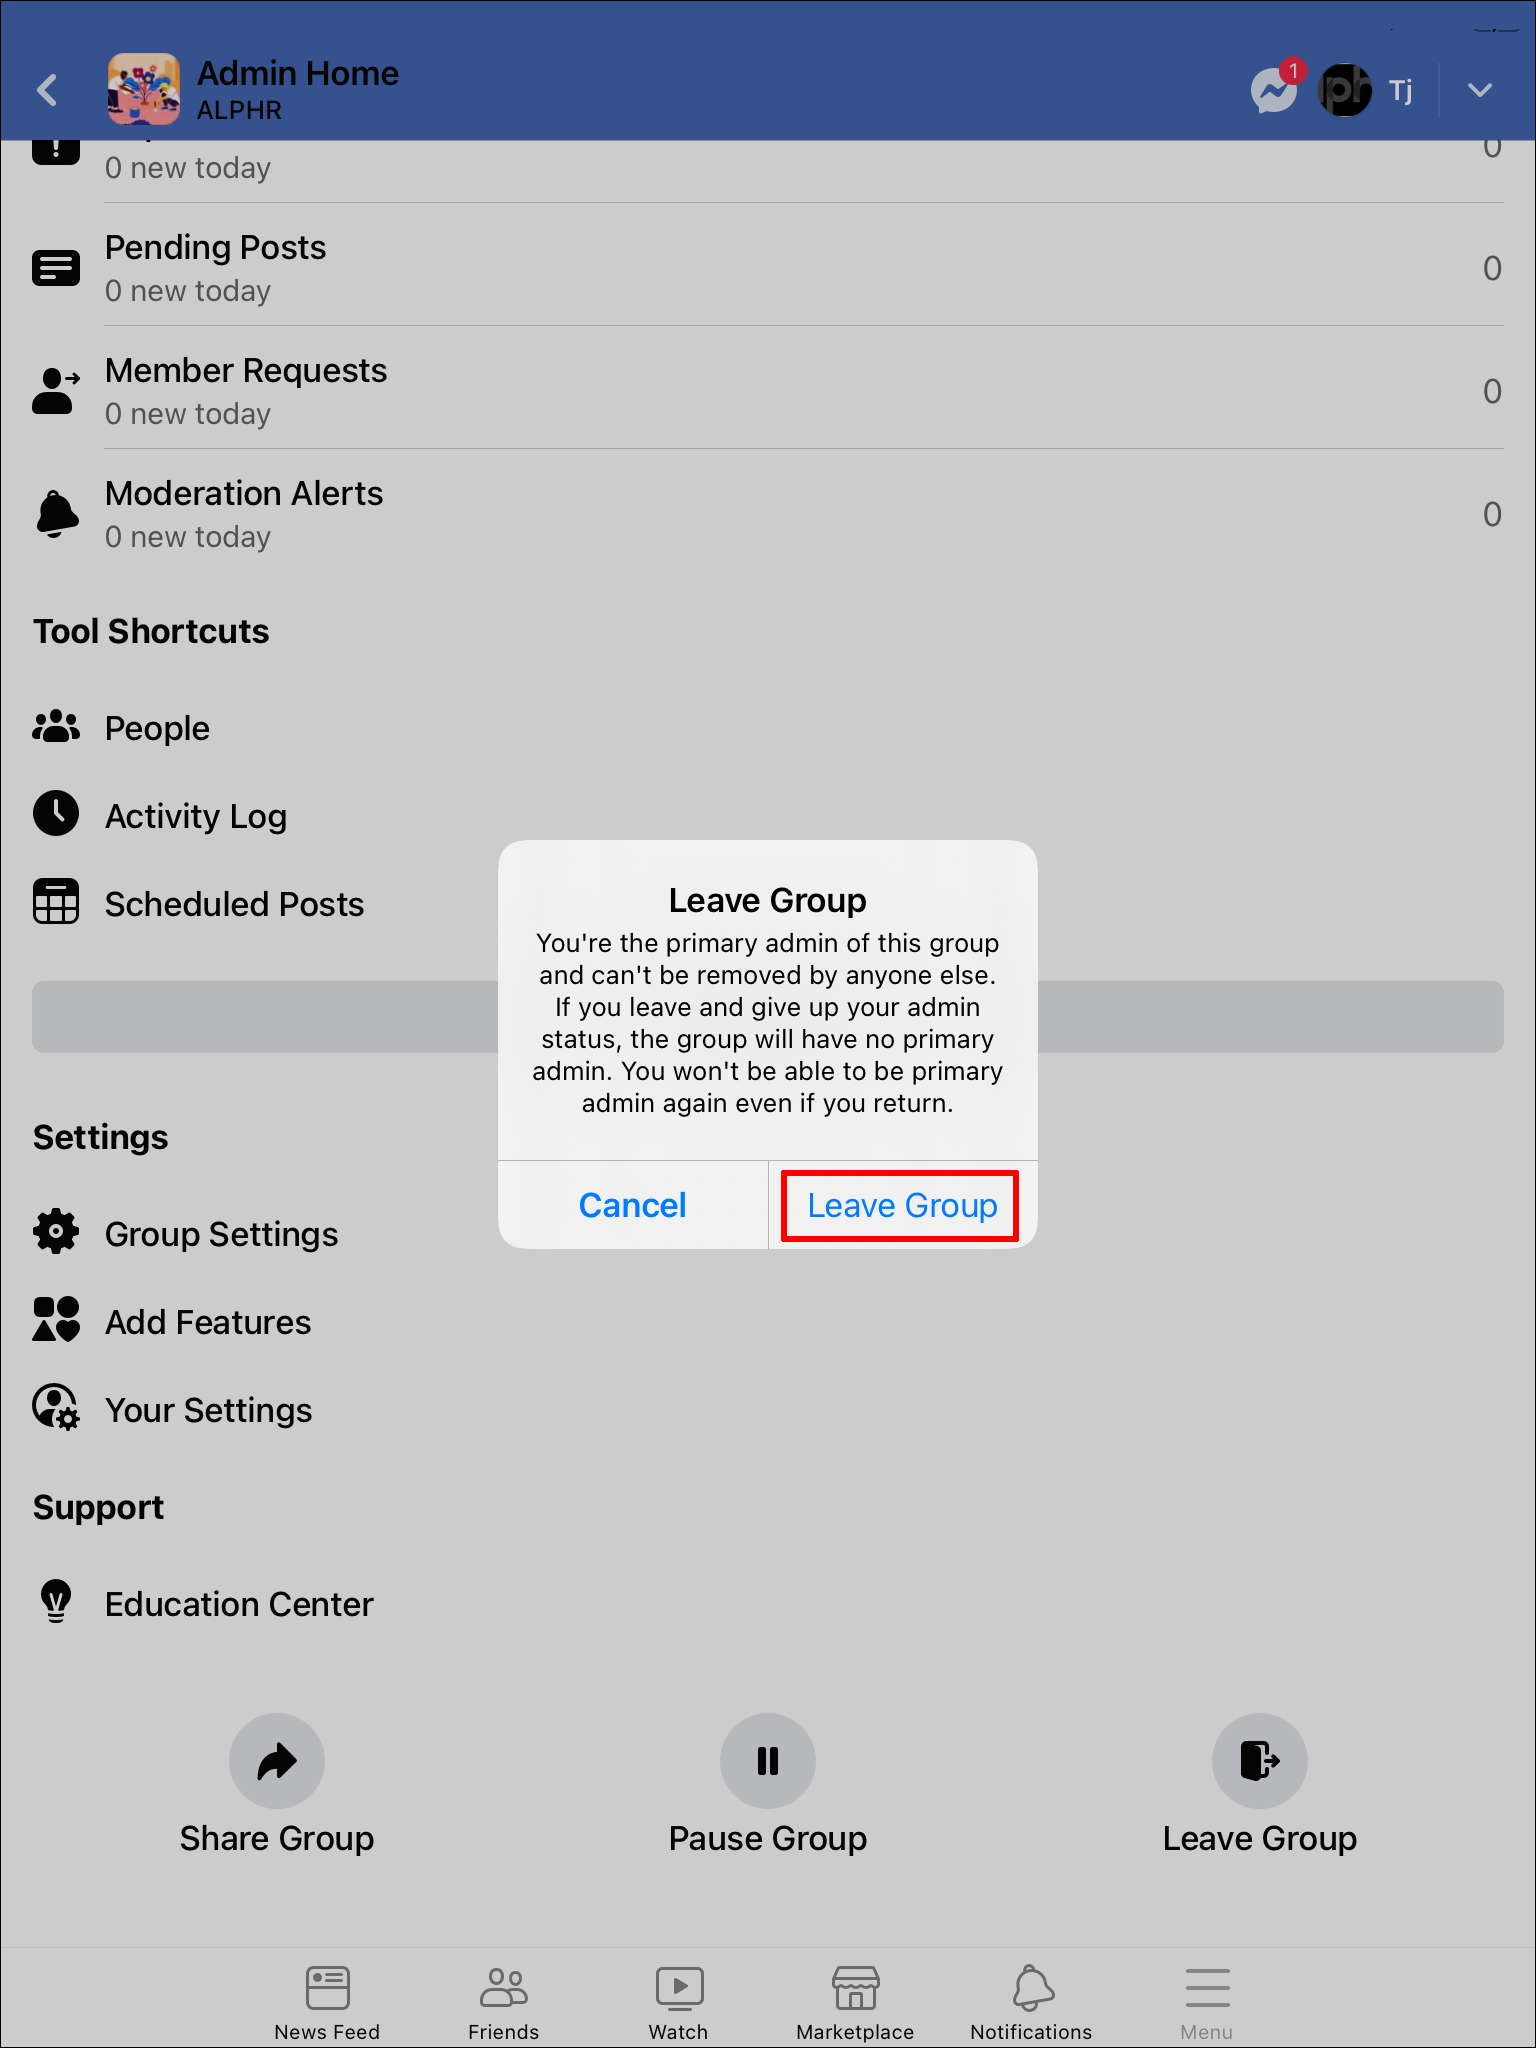
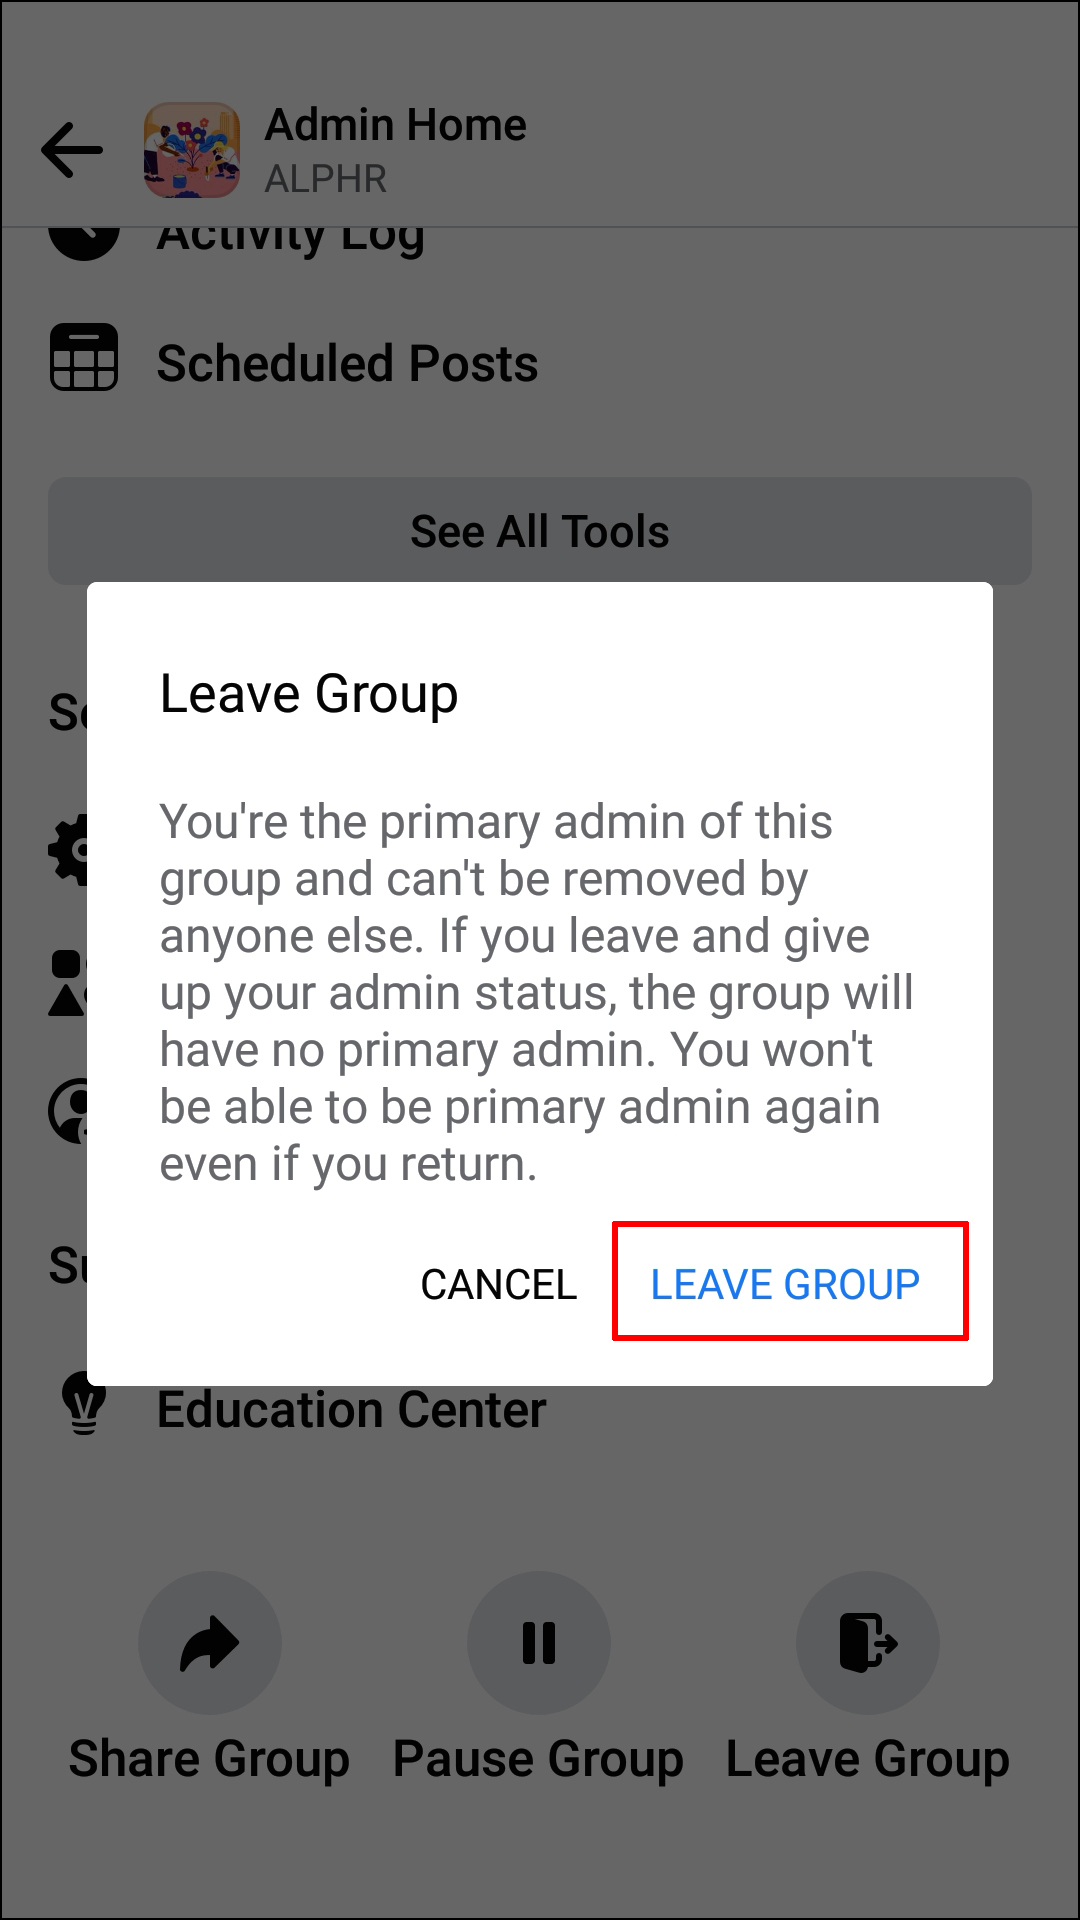
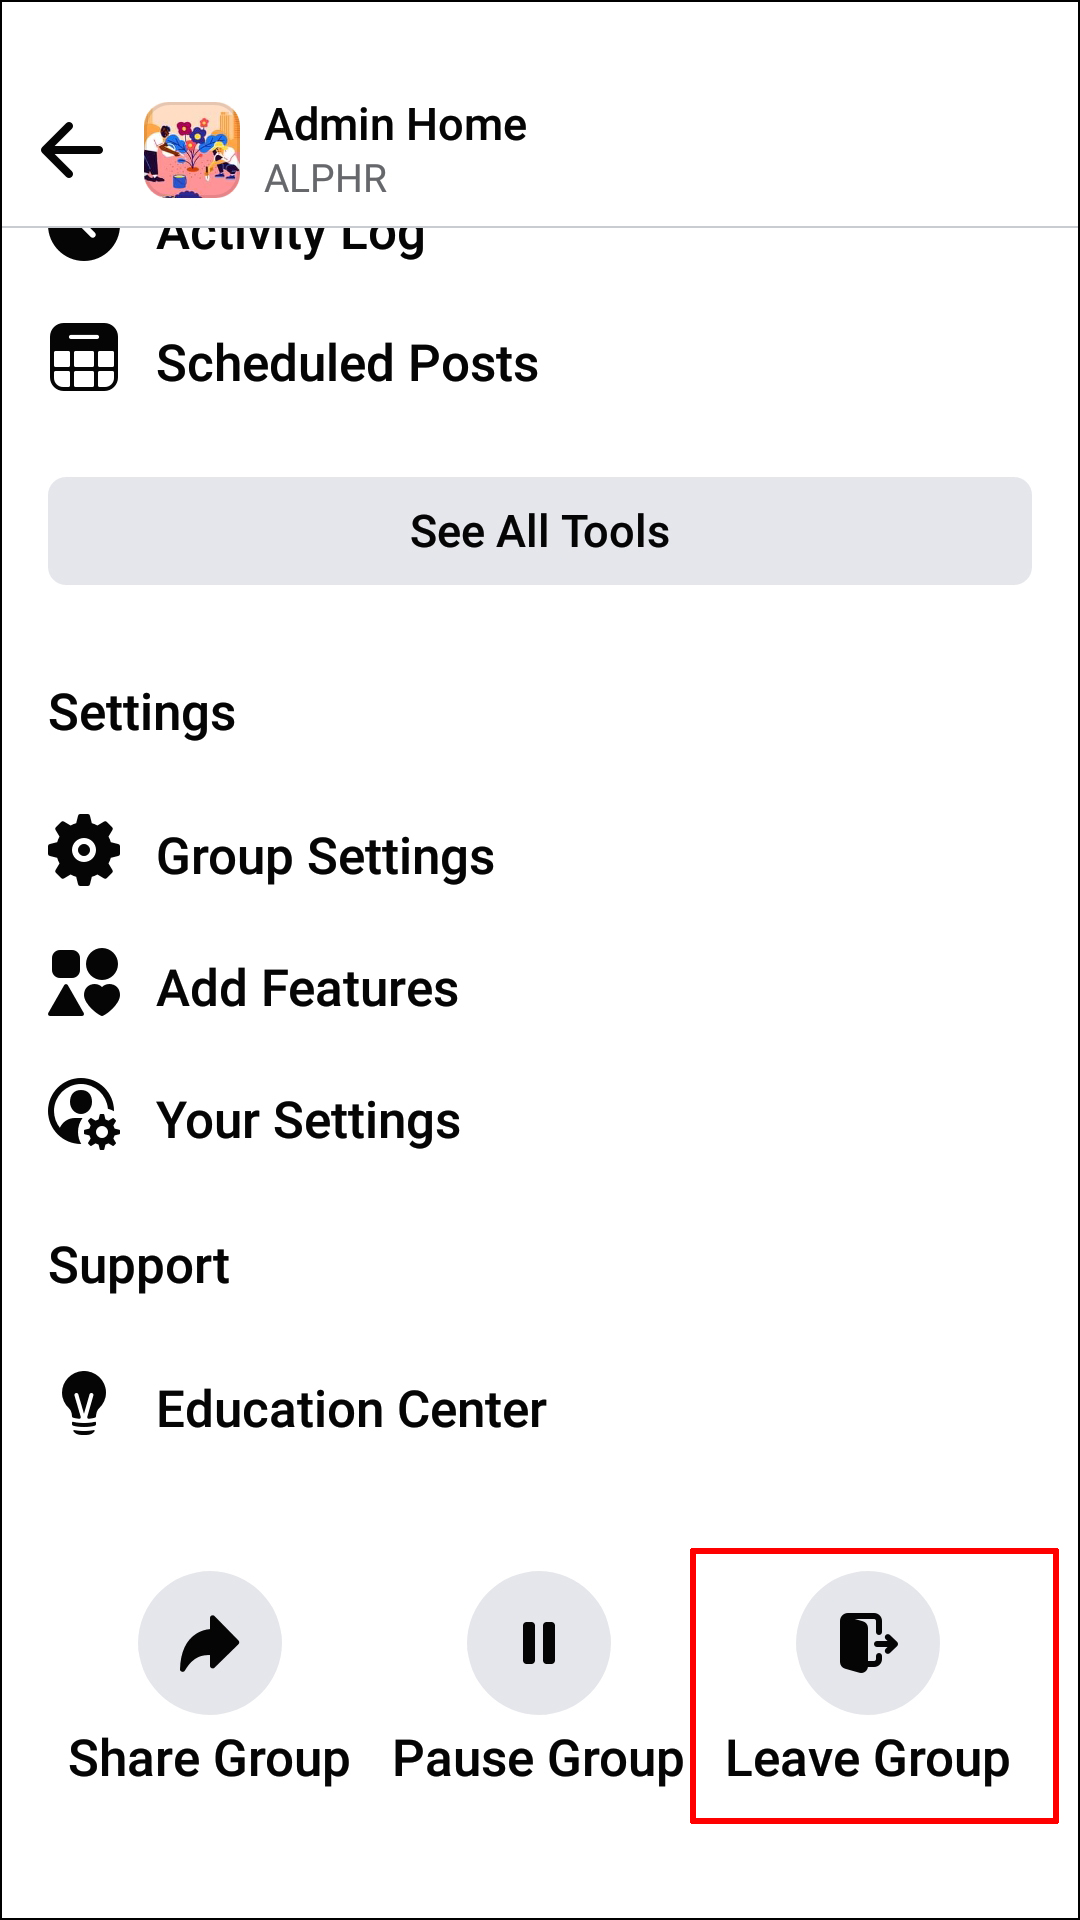
- When your name is the last one left, tap the shield icon again and choose “Leave Group.”

If you want to delete a group you are only a participant of you will need to:
- Navigate to the bottom-right of your home screen and tap the icon with the three horizontal lines.
- Choose “Groups” and then “Your Groups.” From here, select the group you want to remove.
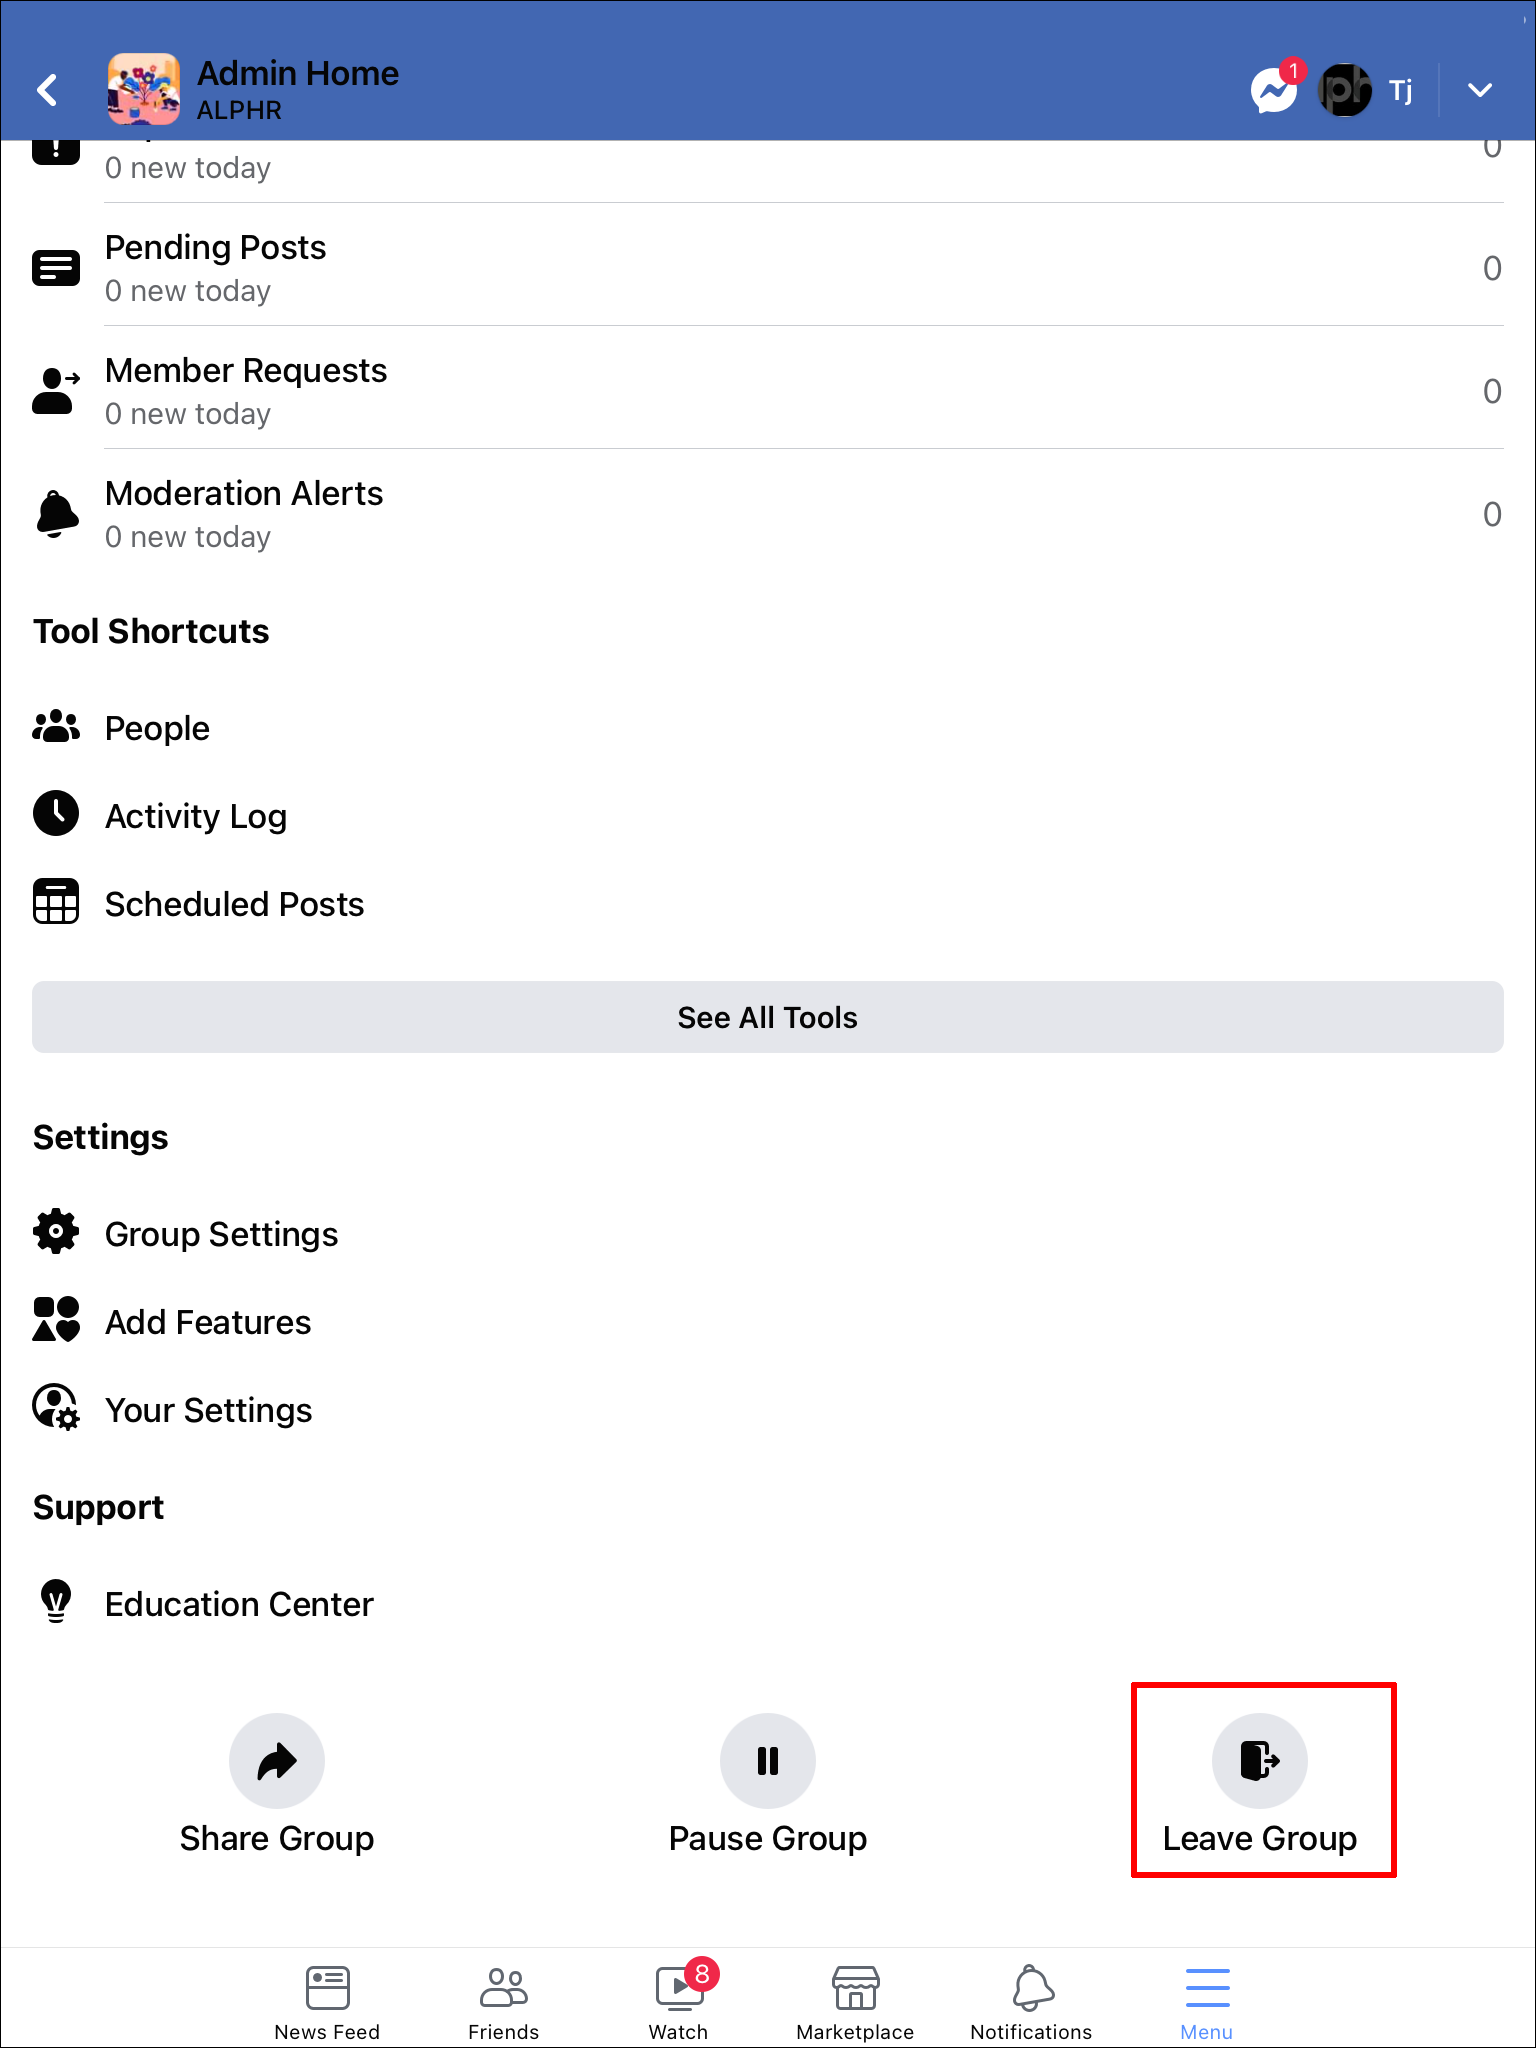
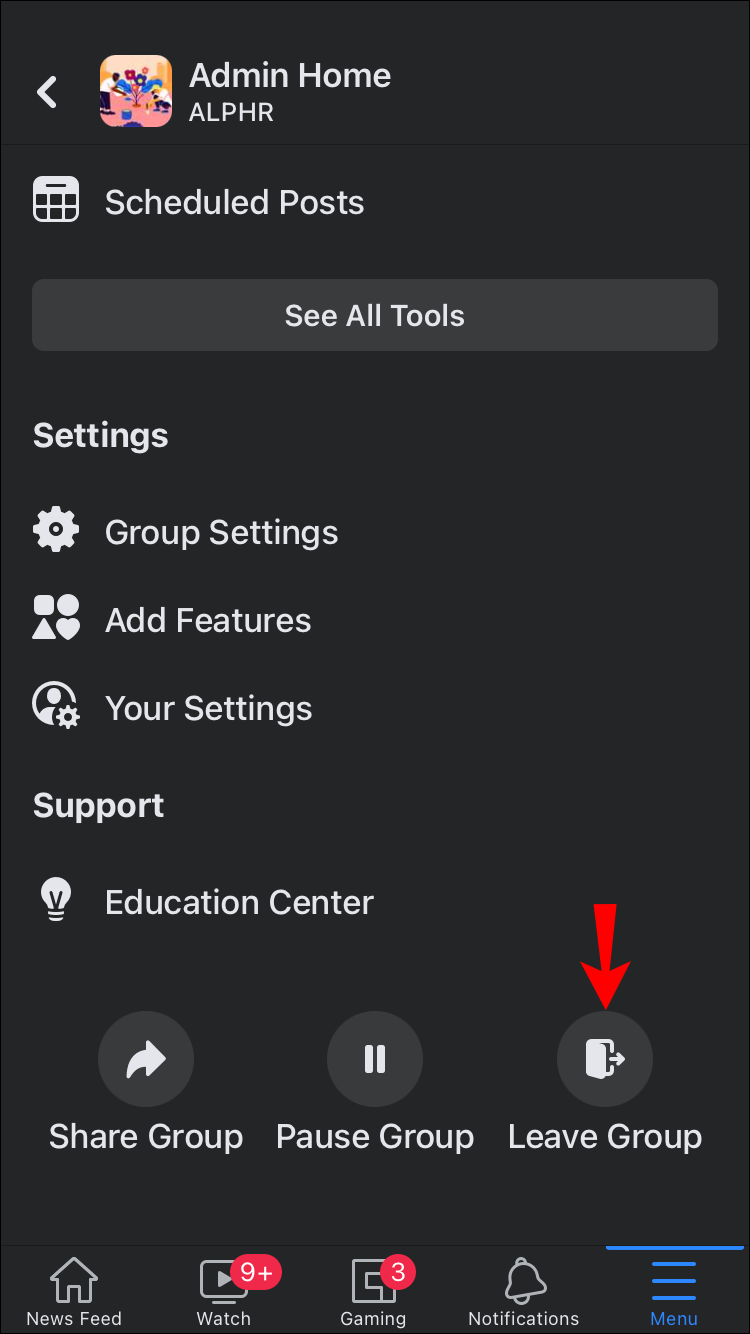
- Once the group page opens, tap the three-dot icon at the top right of the screen.
- Choose “Leave Group.”

When you leave a group, the remaining members won’t be notified. The group will remain, but you will no longer be a part of it, nor will you receive notifications from that group.
How to Delete a Group in Facebook on an iPhone
Deleting a group on Facebook on an iPhone is similar to doing it on an iPad since both use the Facebook app. Here is how to go about it:
- Open the Facebook app.
- Tap the icon with the three stacked lines found at the bottom right of the screen.
- Select “Groups” and then choose “Your Groups.” Scroll to find the group you want to delete. Tap on the group.
- On the group’s page, tap on the icon with a shield and a white star in the center. From here, choose “Members.”
- Remove each member by tapping on their name, selecting “Remove [Member’s Name] From the Group,” and then tapping on “Confirm.”
- When your name is the only one left, tap the shield icon again and choose “Leave Group.”


If you want to delete a group you haven’t created by using the Facebook app on your iPhone, then here’s what to do:
- Launch the app.
- Tap the three stacked lines at the bottom right of the screen.
- Choose “Groups” and then select “Your Groups.”
- Find the group you want to delete and tap on it.
- Tap the shield icon at the top right of the screen.
- Select “Leave Group.”

How to Delete a Group in Facebook on an Android Phone
The Facebook app interface differs slightly on an Android device, so the instructions for deleting a group on an Android phone will have unique steps. Here is how to go about deleting groups on Android:
- Launch your Facebook app.
- Tap the icon with the three horizontal lines in the top right of the screen.
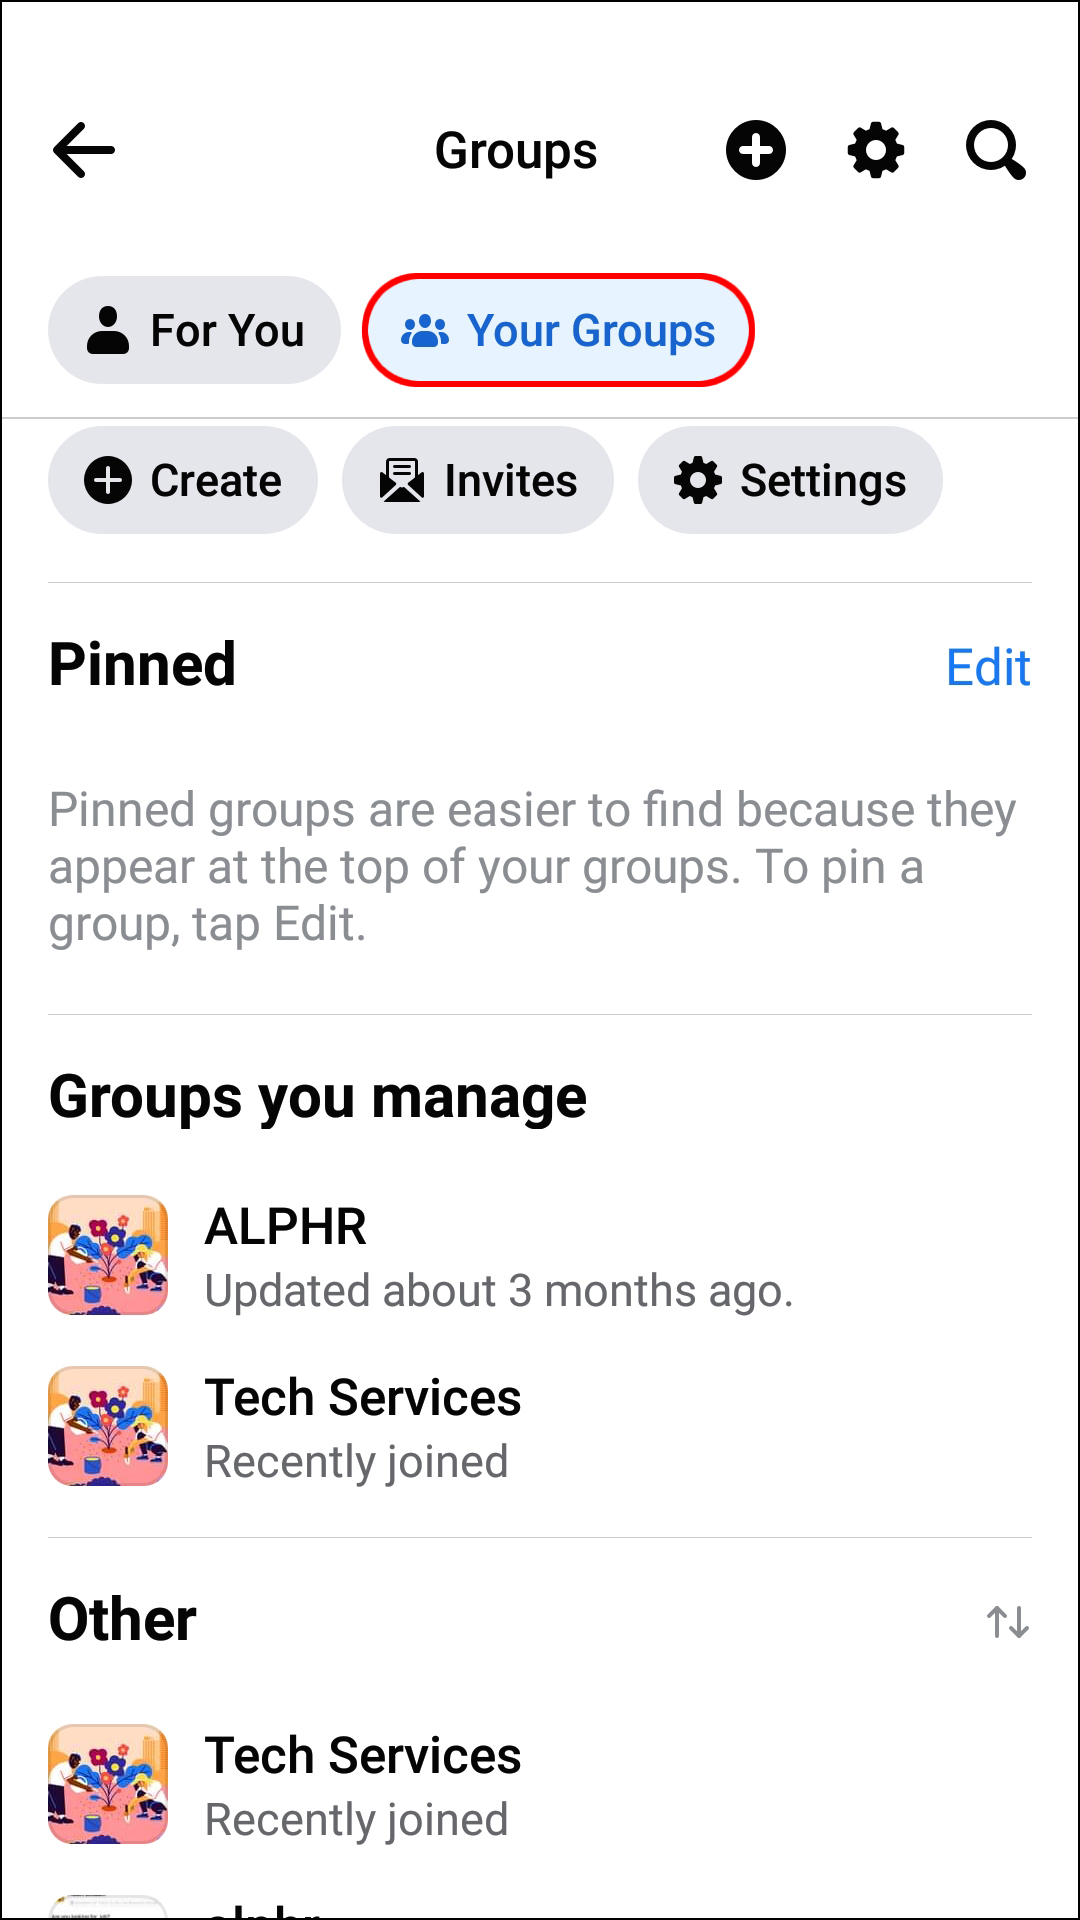
- Tap on “Groups” and then “Your Groups” to see the list of groups in which you participate.
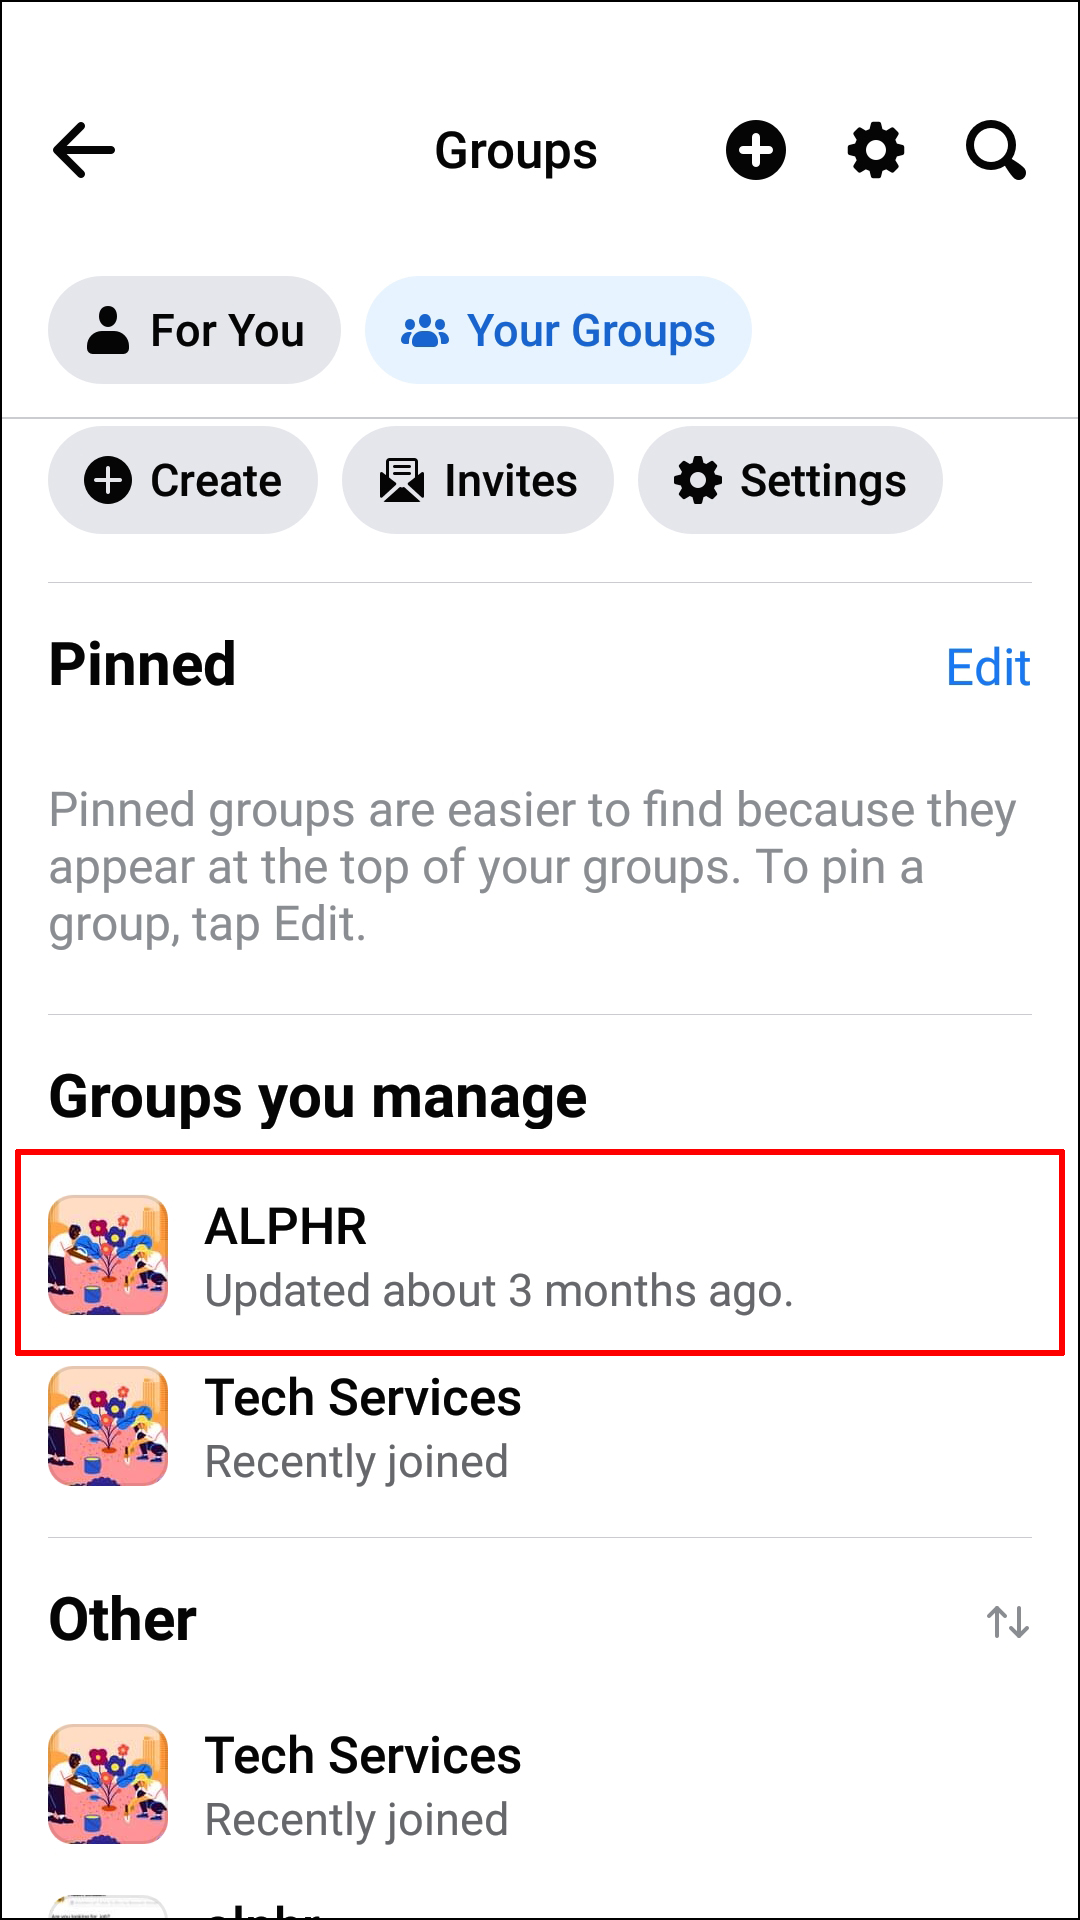
- Tap the group you are going to delete.
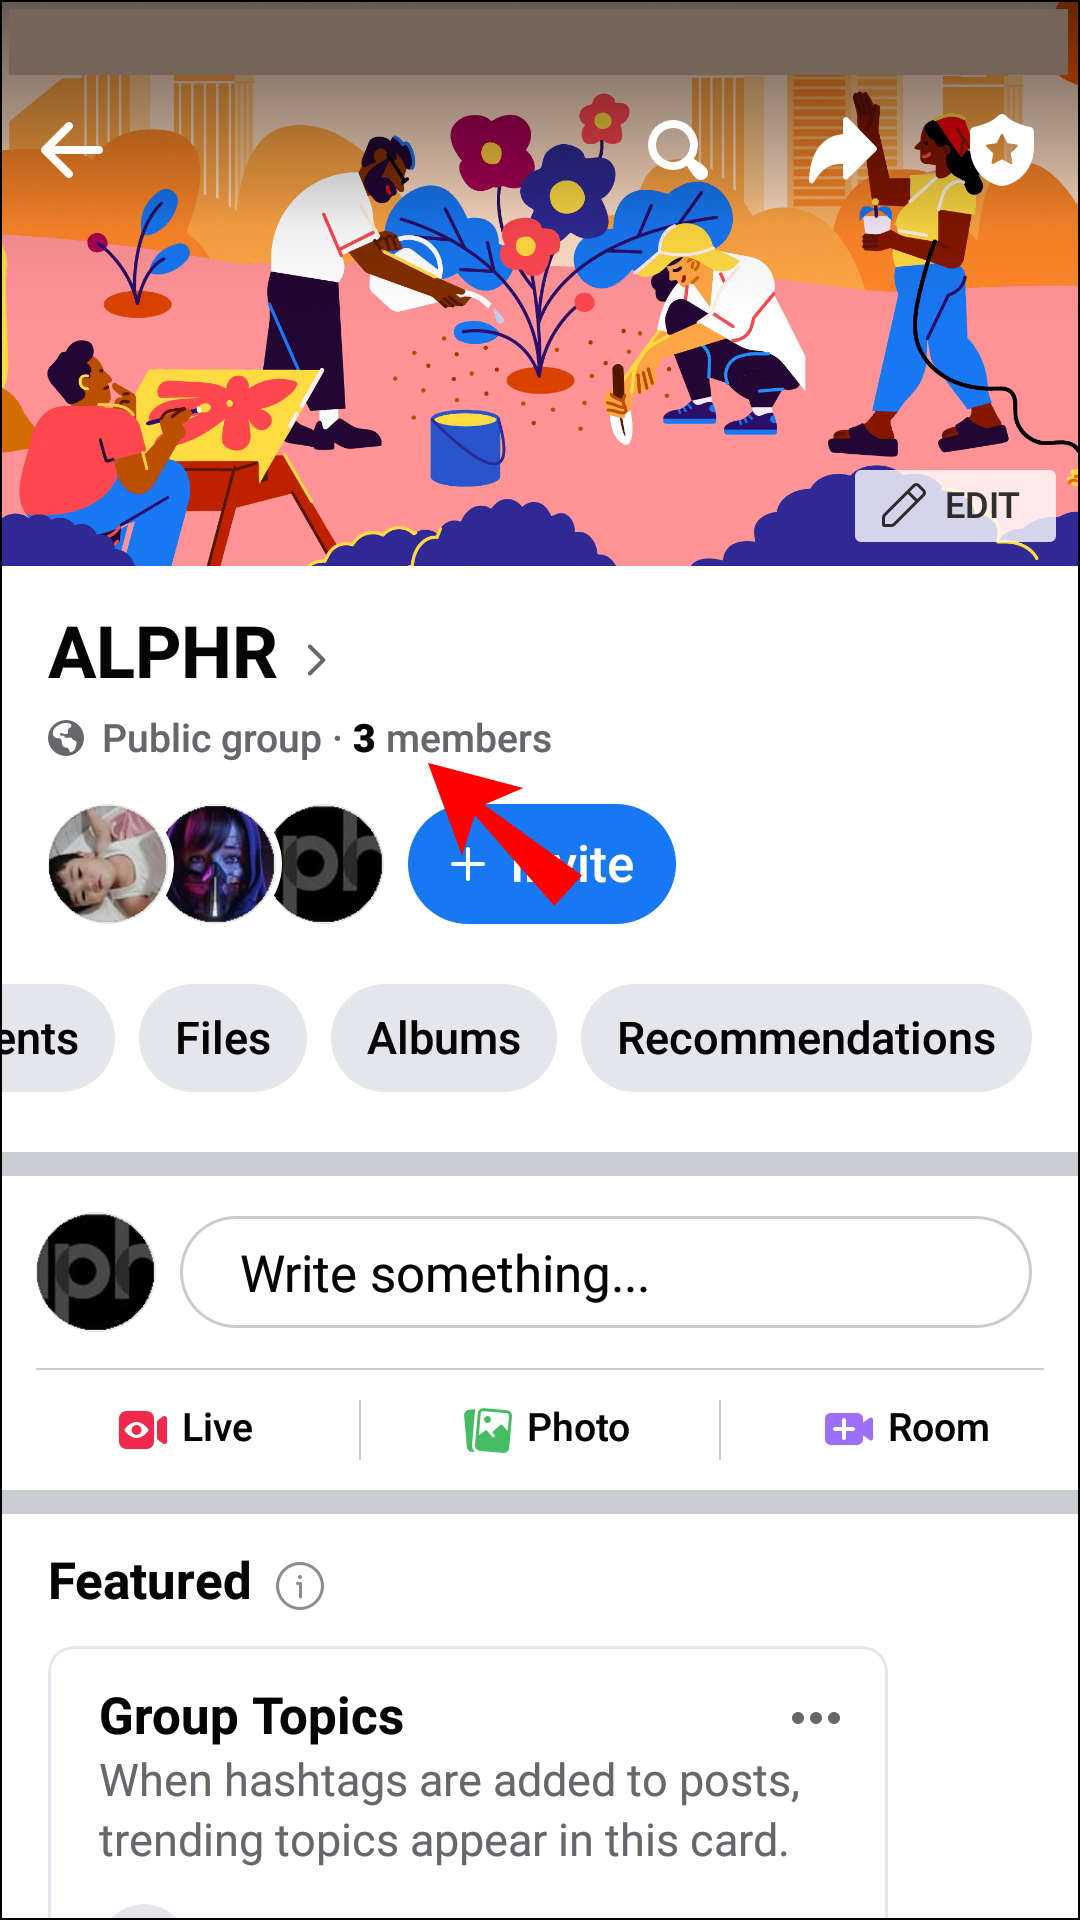
- Choose “Members” by tapping on the series of member’s profile pictures that appear beneath the group name.
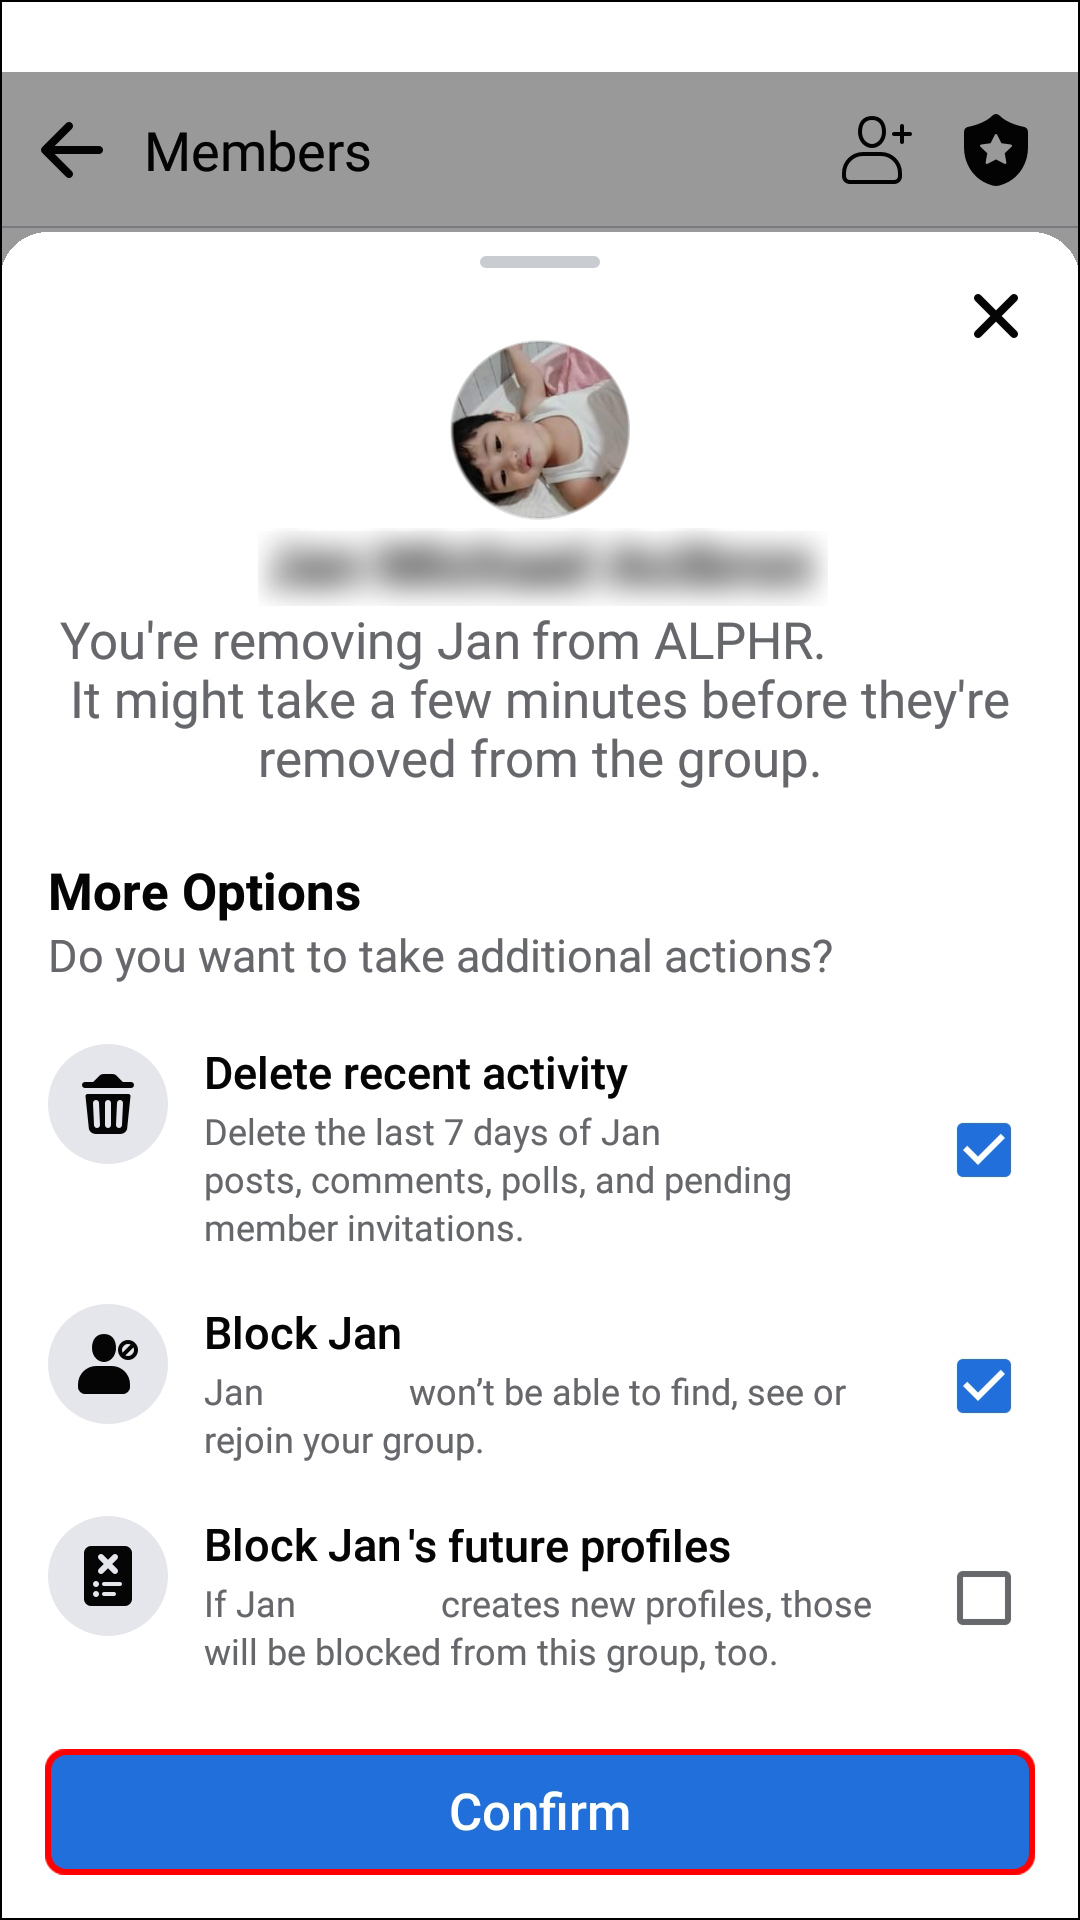
- Remove each member by pressing the three-dot icon next to each member’s name. Choose “Remove Member” followed by “Confirm.”
- Once you have done this for all members and your name is the only one left, tap the shield and white star icon.
- Select “Leave Group,” then confirm by tapping “Leave Group.”
If you want to delete a group you didn’t create, here is what you’ll need to do:
- Open Facebook.
- Tap the icon with the three lines at the top right of the screen.
- Choose “Groups” and then “Your Groups” and scroll through the options. Once you have located the group, tap on it.
- Tap the ellipses dots at the top right of the screen and choose “Leave Group.”
If you are a group admin and deleting your group is a little too drastic, you can always pause the group. This halts any activity in the group until you unpause it. This can give you the time to catch up on posts or admin for the group. A banner will be posted at the top of the group page, informing members that the group is temporarily paused. Pausing a group is simple, and you can find the steps you need to follow at Facebook’s Help Center.
Groups Deleted!
Deleting a Facebook group you have created or leaving one you participate in is relatively simple once you know which steps to follow. While removing the members of your groups can be tedious, the rest of the process is quick and easy. By following the steps outlined here, you will soon be deleting the groups that no longer serve you in a matter of minutes.
Have you removed a Facebook group on an iOS or Android device or a PC? Did you use a set of steps similar to those shown in this article? Let us know by commenting below.
Disclaimer: Some pages on this site may include an affiliate link. This does not effect our editorial in any way.