Device Links
If you are trying to build a set of data, one of the hardest parts of creating that database is collecting the information from other people. Airtable provides users with an easy way to create accessible forms that others can use to input the facts and figures necessary to build your data set.
That said, we will show you all the necessary info on how to create a form in Airtable, no matter what platform you’re using the app in.
How to Create a Form in Airtable from a Windows, Mac, or Chromebook
If you are trying to create forms on Airtable, then the desktop version is the only way to go. Both the creation and viewing of forms are not available in the native version of the Airtable app. To create a form in Airtable, follow these steps:
Creating the base table
Before you create a form, you will need a table where you will gather all the data that you collect into. The table that you use can either be imported from other spreadsheet applications like Google Sheets or Windows Excel or created directly in Airtable. To create an Airtable base:
- Open Airtable and login if you have not done so.

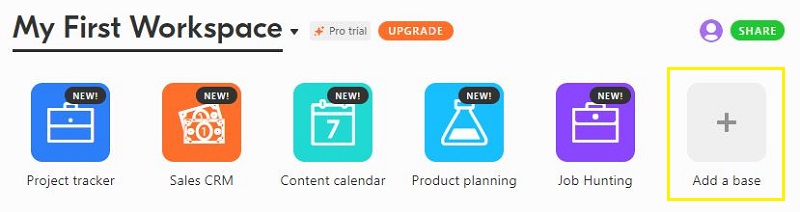
- Head to the Home menu then click on the Add a base icon. It should be the image with a big plus sign.

- You can either choose to start from a template to use the available database guides available in Airtable, import existing data from other spreadsheets or database applications, or start a table from scratch.
- If you start from scratch, you can change the Icon, Table Name, and Icon Color directly from the dropdown menu.
- Once you are done, open the table.
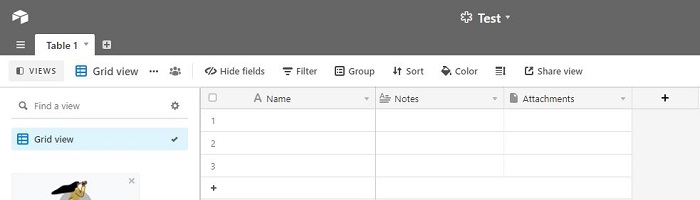
- Edit the table parameters as you see fit. Double-clicking on a column header or cell will allow you to change the contents. If you are done, proceed to the next step.


Creating the Basic Form
To create the basic form that will be the template of your project:
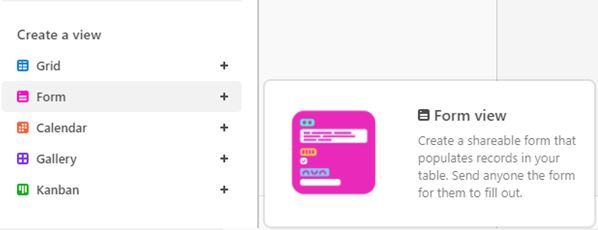
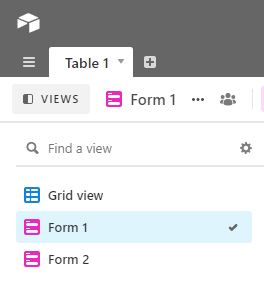
- To start building your Airtable form, proceed to the Form view while inside your Airtable base. The option to select Form View is lower left of the screen, just under the Add View tab. Click on Form.
- There should now be another icon under the Views tab. Click on Open form.
- You will notice that a new form template will be created, populated with the column headers of your Airtable base.

Editing the Form
You can edit the form by doing the following:
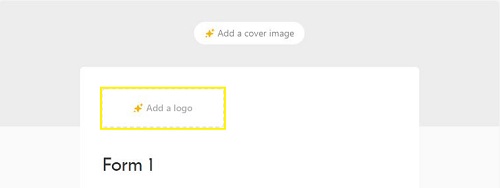
- If you wish to add a logo for your Airtable form, click on the Add a Logo icon on the top of the form. Do note though that this is a Premium Airtable option and requires a Pro Airtable account. This is not available in the Free or Pro Trial version.
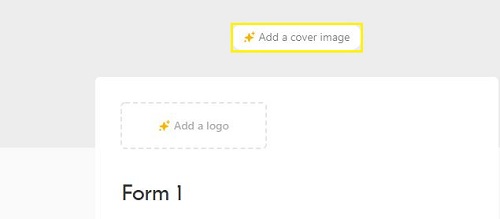
- If you wish to add a cover image, you can also double click on the Add Cover Image icon on top of the form. This is also a premium version option.
- If you want to rearrange the position of the input boxes, click and drag the boxes as you see fit.
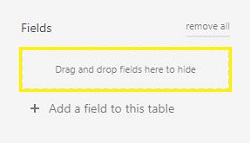
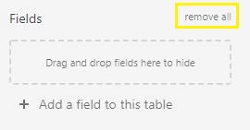
- If you wish to remove an existing field on the form, click and drag that text box to the left then drop it on the box labeled Drag and drop fields here to hide.
- If you want to delete all existing fields, click on Remove All on the Fields menu.
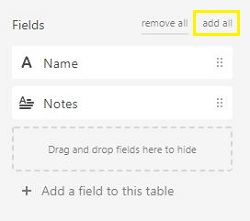
- If you deleted all the fields but want to add them all back, click on Add All.
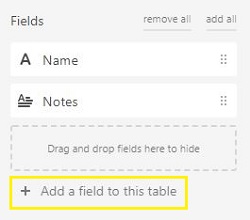
- If you want to create a new text box, click on +Add a field to this table. Do note that this will also add another column to the existing Airtable base.
Editing the Fields
Form Title Field
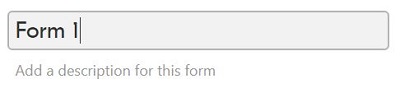
- To change the form name, click on the form title and then change the text as desired. If you wish to add further summary or explanation of the form, enter the text in the Add a description for this form box.
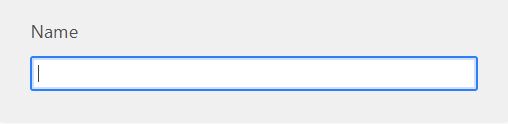
First Field
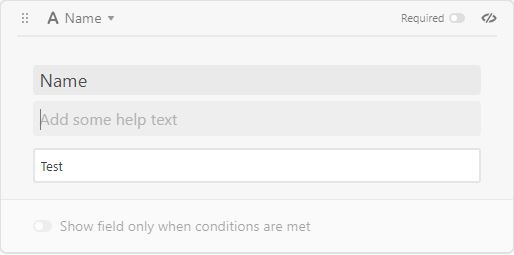
- In the first field, you can change the title by clicking the name and editing the text. This will not affect the title of the actual Airtable base.
- To add help text, click on the Add some help text box then input your message. This message will only be visible when the user hovers over that particular field.
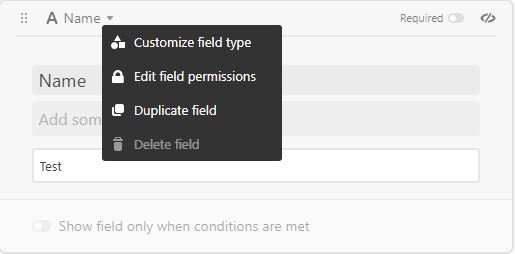
- On the upper left of the Field box, you will see the field name as related to the column header of the Airtable base. Clicking it will bring up several options, namely, Customize the field type, Edit field permissions, Duplicate field, and Delete field.
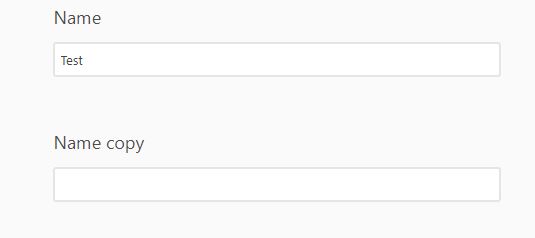
- Duplicate field creates a new field box with all the settings of the duplicated field.
- Delete field removes the field from the form.
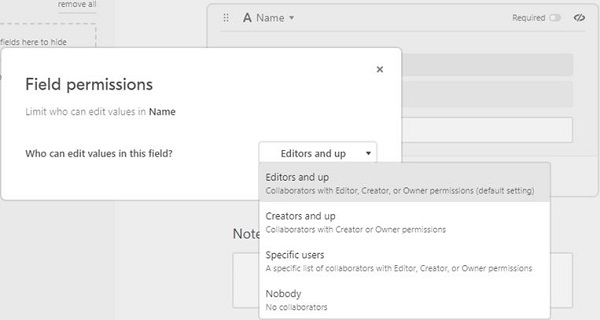
- Edit field permissions designate the people that have the ability to edit the values in this field. This can be set to either Editor and up, Creators and up, Specific users, and Nobody. Owners of the form will always have editing permission. Setting the Edit field permission to Nobody will only allow the owner to change the values in that field.
- Customize field type changes the format of the data that can be entered into the field. There are several settings, and each has their own descriptions. For example, you can set this field to accept only text or only numbers. Once set, click on Save to keep the changes.
- To the upper right of the field, box is a Required toggle button. Turning this on will mean that a user entering data can not leave this text box blank.
- On the lower portion is a Show field only when conditions are met toggle. This is disabled for the first field of the form. Only second fields onward can be programmed with conditions.


Second Field onwards
- All options other than Show field only when conditions are met are similar to the second fields onwards.
- If you toggle on Show fields only when conditions are met, you can set certain requirements before a particular field becomes visible.
- The first condition starts with When, followed by a previous field name, the filter operator, and, depending on the operator, a text box. Field operators are:


- Contains – checks if the set field name has a certain value as indicated in the text box.
- Does not contain – checks if a certain value is not in the previous set field name.
- Is – checks if the set field name is equal to a certain value in the text box.
- Is not – checks if the set field name is not equal to a certain value in the text box.
- Is empty – checks if there is no value in the set field name. Note, this can not be true if the set field name is toggled as required.
- Is not empty – checks if the set field name has a value. This will always be true if the field name has been toggled as required.
Clicking on add condition will create another condition field operator. The first word on the new condition will either be And or Or. The And condition requires all conditions to be true. The Or condition requires at least one condition to be true. Multiple conditions can be created to create linked And and Or conditions.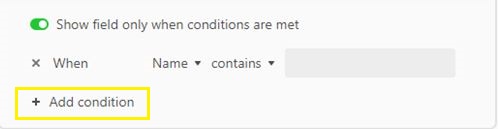
Form Completion Options
There are also several options that you can choose to toggle on and off for after your user completes the form. These options are:
How to Create a Form in Airtable from an iPhone
The Airtable mobile app doesn’t natively support the creation or viewing of forms. If you wish to access forms in the mobile version of Airtable, create a new form using the desktop version, then use a share link in order for the form to be accessible to other devices. Please refer to the desktop Airtable instructions to learn how to create an Airtable form.
How to Create a Form in AirTable from an Android Device
As mentioned in the iPhone instructions, the Airtable mobile app does not support creating or viewing forms. Create a share link to connect your desktop-created form to your mobile app. Refer to the previous instructions for the desktop version to create your form.
A Very Powerful Tool
Forms are very powerful tools when you need to collect data. The ability to create a digital form quite easily is what makes Airtable a handy application to have. The process may seem a bit complicated at first, but it gets simpler the more you use it. Knowing how to create a form in Airtable is a great advantage whether you use it in education, business, or simple data-keeping.
Have you had any experience regarding how to create a form in Airtable? Do you know of other ways to create and use Airtable forms? Share your thoughts in the comments section below.
Disclaimer: Some pages on this site may include an affiliate link. This does not effect our editorial in any way.


