Google Docs has come a long way from being a simple text processor to becoming a powerful tool that incorporates creative text features. For example, there are ways to create a curved box, and add text there, make the text vertical, and even use programs to add curved text. Whether you use Google Docs for work or fun, these are just some ways to make creative text.
If you want to learn how to curve text in Google Docs, keep reading.
How to Curve Text in Google Docs
Unlike Word, Google Docs doesn’t feature a built-in way to curve text. However, there are several ways to do it. In the main “Insert” tab, you can use some fantastic, user-friendly tools to help you create curved text and then copy it to Google Docs.
Use Troygram to Curve Text
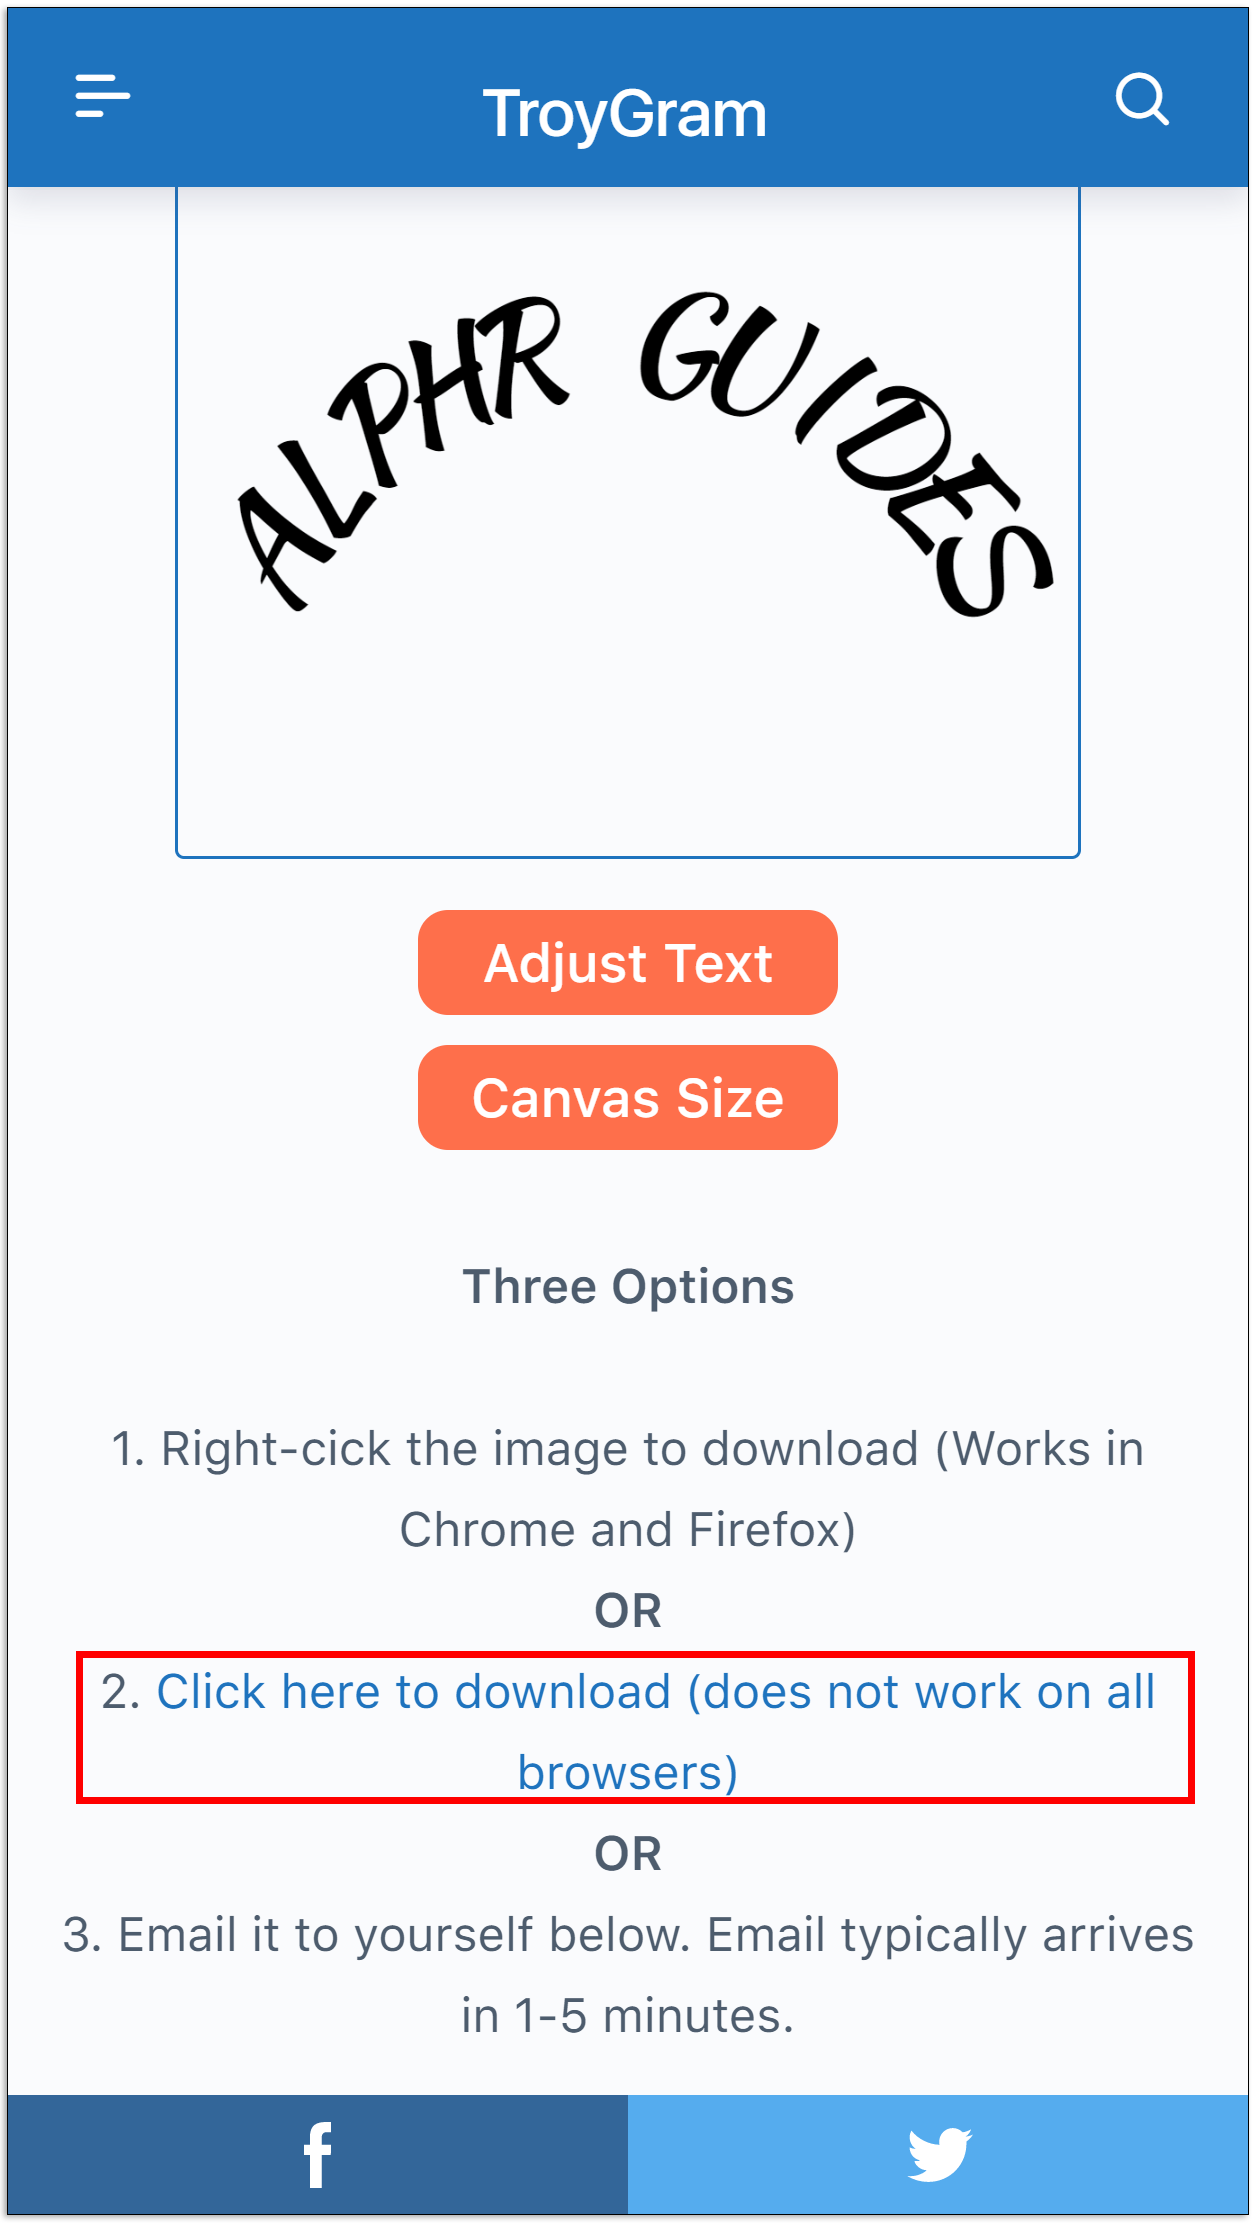
Troygram is a straightforward online program that enables its users to curve text effortlessly. All you’ve got to do is hop over to their website. Here’s how to curve text:
- Click on the “Enter text” box below “Tips.”

- Delete the existing text and start writing your own.

- Once you finish, tap on “Select Font” to adjust the font type and size.
- When you’re satisfied with the text, right-click on it and select “Save image as,” or select “Click here to download” and choose where to save it.
- Now that you’ve saved the curved text image, you can use it in Google Docs. Place your cursor where you want to insert it, then click on the “Insert” tab.
- Choose “Image.”
- Then, click on “Upload from computer.”
- Find the curved text image on your computer and upload it to Google Docs.
- Position it the way you want.
You now have curved text in your Google document.


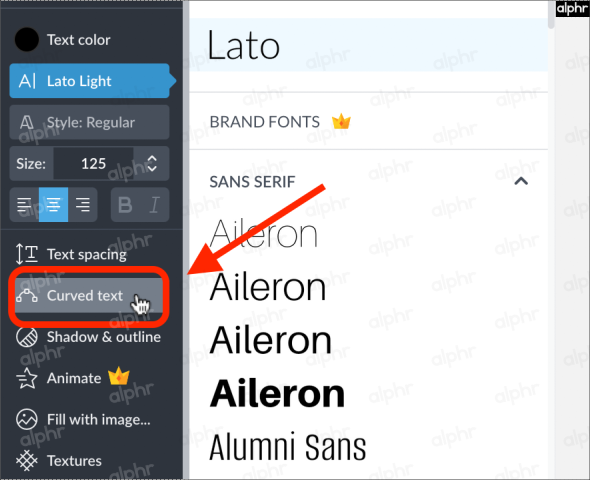
Use MockoFun to Curve Text
Like other tools on the list, MockoFun is free, but you need to register. Once you do, you’ll be able to explore the program. This is how to curve the text:
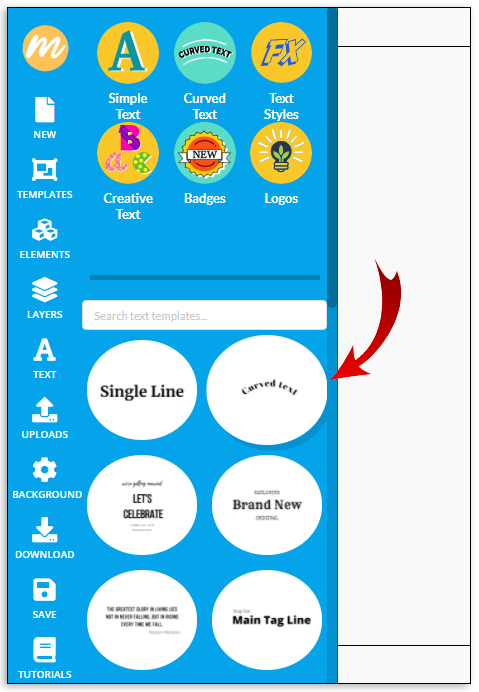
- Click on “Text” from the sidebar menu on the left.
- Choose “Curved Text.”
- Once you do, it will appear on a white background. Double-tap on it.
- Delete the words from the box below the curved text, then start typing your text.
- If that’s enough for you, all you’ve got to do is save the image and upload it to Google Docs. Tap on “Download” from the sidebar menu on the left.
- Confirm by clicking “Download” once more.
- Open “Google Docs.”
- Click on “Insert” and then “Upload from computer.”


If you want to make the curved text even more interesting, however, explore other MockoFun options. For example, the “Curving” tab lets users choose the type of curve from the drop-down menu and the size. “Spacing” enables you to adjust the spacing between letters.
Use PicMonkey to Curve Text
PicMonkey is another famous editing tool you can use to create curved text. They offer a 7-day free trial. Once you visit the website, here’s what you should do:
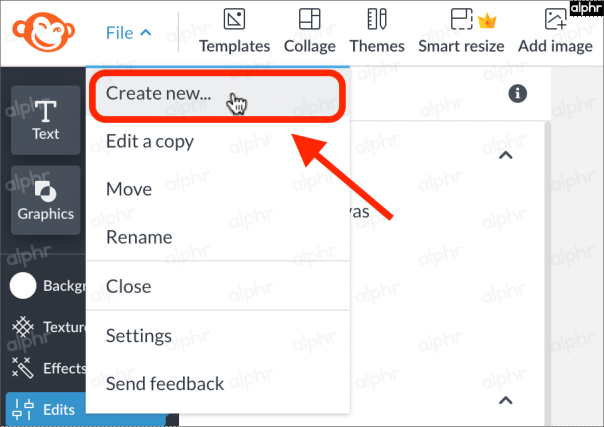
- On the PicMonkey website, click on “File” in the top-left section.
- Select “Create new…”
- Choose “Blank Canvas.”
- Click on “Make it!” in the top-right section.
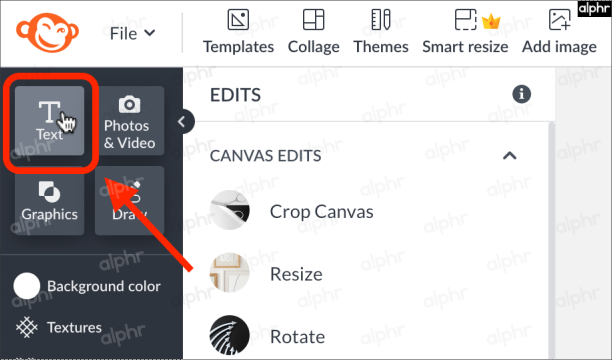
- In the image options menu on the left side, select “Text.”
- Click on “Add text” in the frame next to the image options menu.
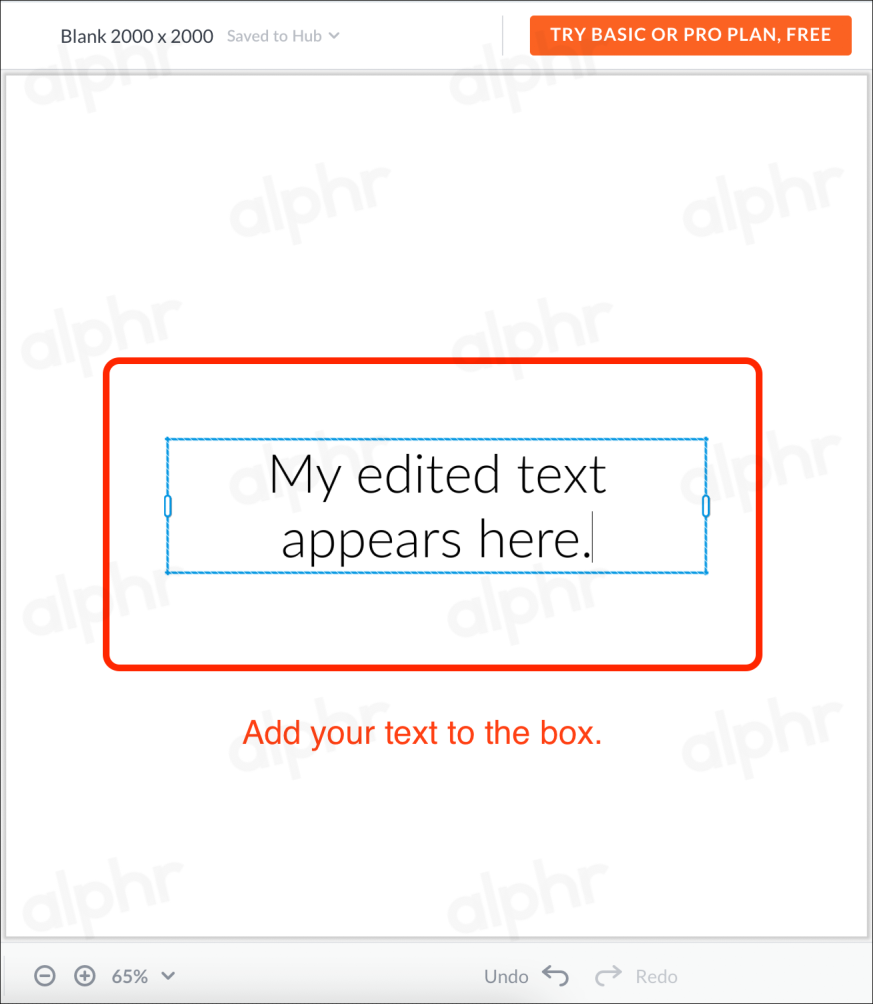
- A text box with “Type here” appears In the image editing window. Tap on the “text box” to edit it.
- Type your new text in the box provided.
- In the text menu that displays on the left side of your screen, choose “Curved text.”
- When satisfied with your curved text design, click on “Download” in the top-right section.
- If you performed a fresh install of PicMonkey, accept the popup for the free trial. A valid credit card is required, but you can cancel before the 7-day trial ends if desired.
- Continue to download the file to your PC, then upload it to Google Docs by clicking “Insert -> Image -> Upload from computer.”


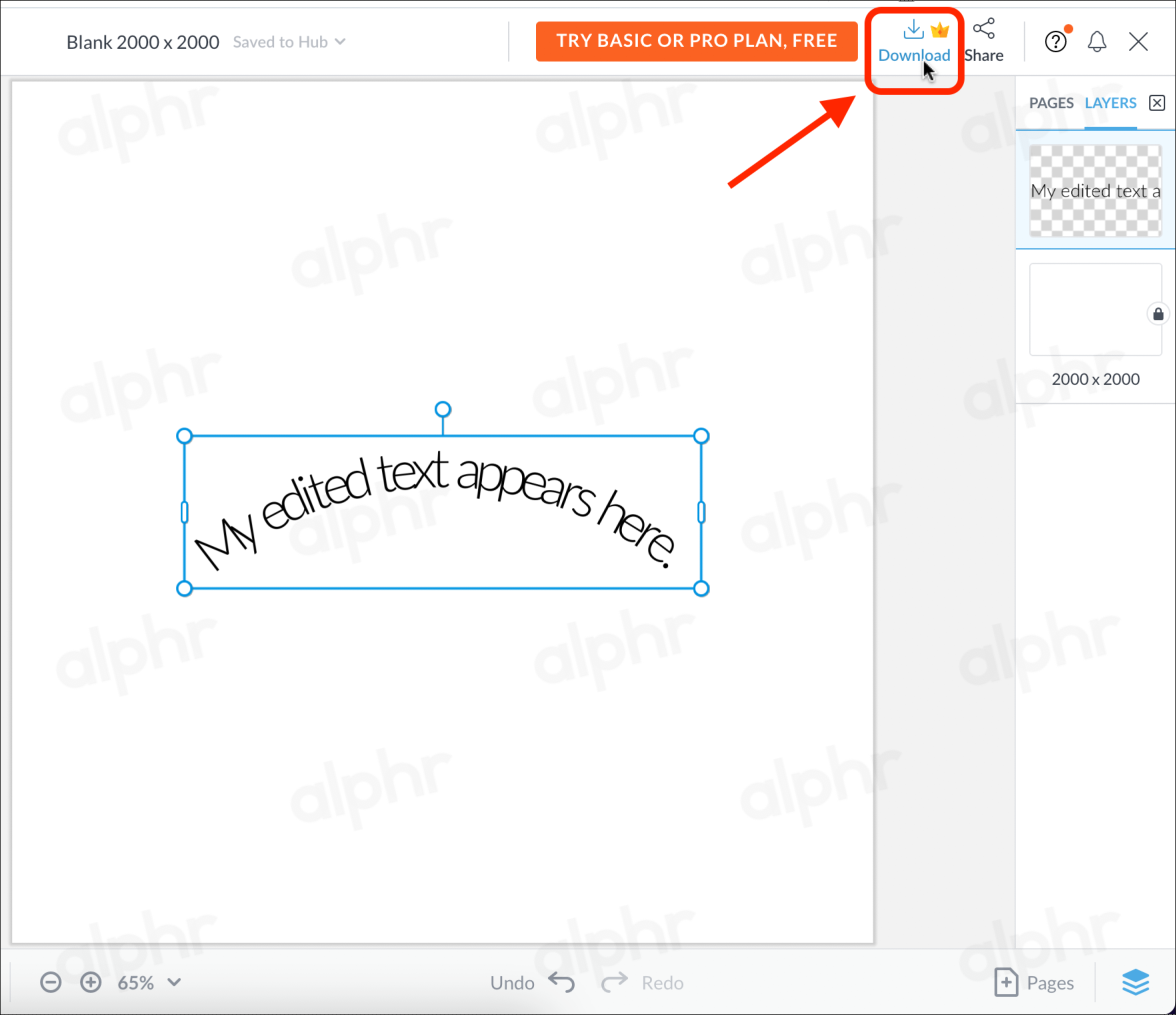


Your curved text image should now appear in your Google Doc.
Reminder: Downloading isn’t possible with PicMonkey unless you start a free trial, so keep that in mind.
How to Make Text Box in Google Docs
Google Docs allows its users to insert text boxes and shapes and create fun and unique documents. A text box can separate one part of the text from the other and draw attention to it.
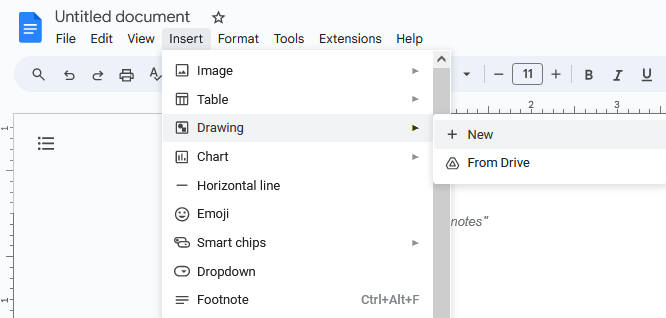
- Open Google Docs.
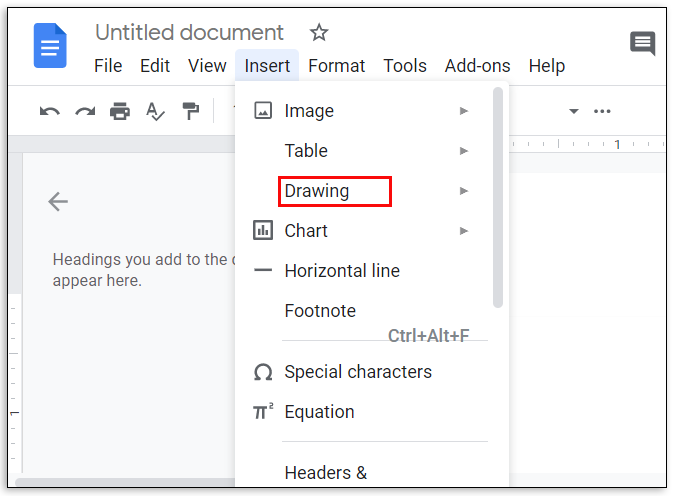
- Click on the “Insert” tab from the main menu.
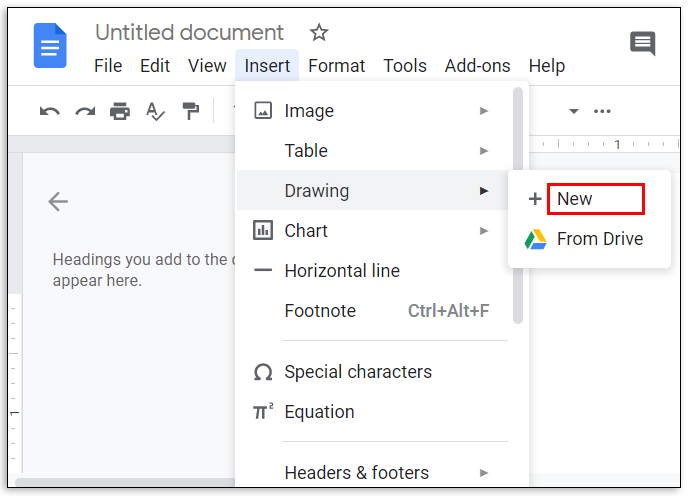
- Choose “Drawing.”
- Tap on “New.”
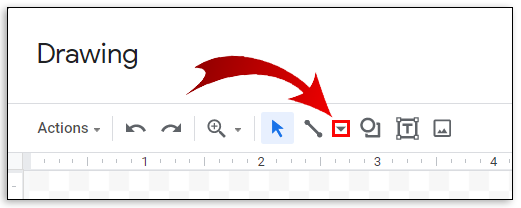
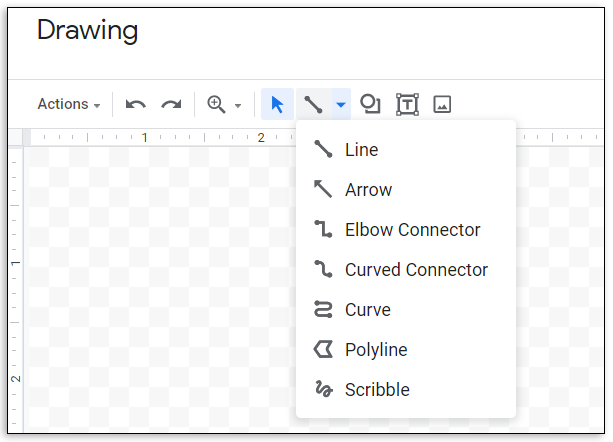
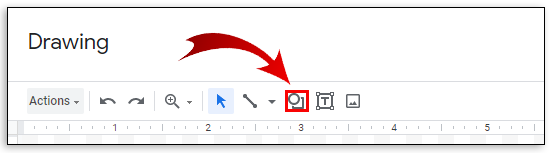
- You’ll see a new background. Click on the down-arrow next to the “Line” icon.
- Choose the type of line.
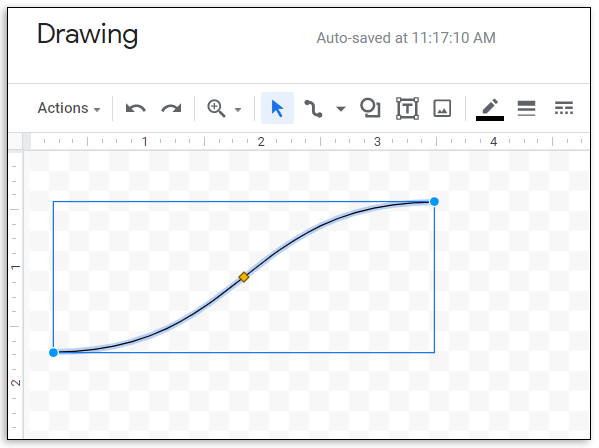
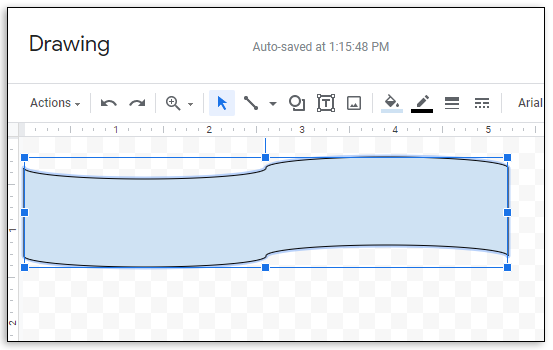
- Draw a text box by dragging the mouse and releasing it when you’re done.
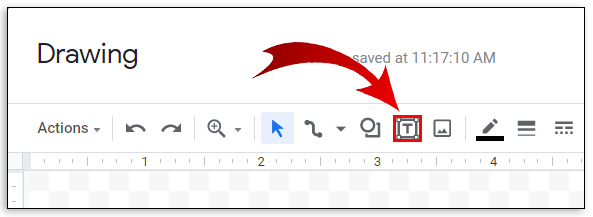
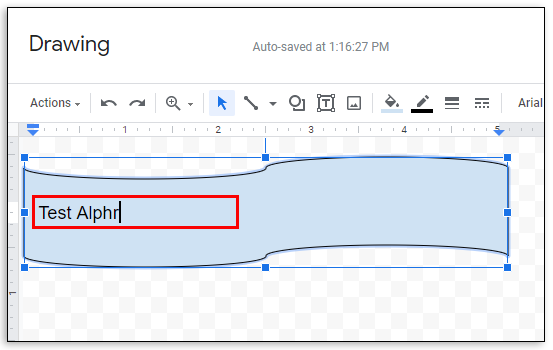
- Select “T” to type text.
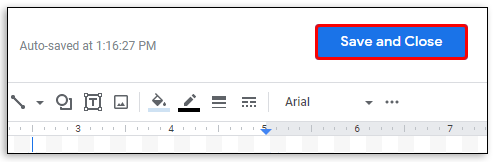
- Finish by clicking on “Save and Close.”
- The text box will now appear in your document.


But why stop there? Say you want to use a specific shape as a text box:
- Launch Google Docs.
- Tap “Insert,” and then “Drawing.”
- Choose “New.”
- Click on the “Shape” icon.
- Select the shape you like.
- Use a mouse to draw it in the background.
- Double-tap to add text.
- Click on “Save and Close” to add to Google Docs.


How to Make Text Vertical in Google Dos
Did you know it’s possible to change text orientation in Google Docs? That’s right; this is a useful option if you use Google Docs to create flyers. Follow the steps below to make text vertical:
- Open Google Docs.
- Click on “Insert,” “Drawing,” and then “New.”
- Double-click on “T.”
- Write the text.
- Tap on the dot above the text to rotate the text.
- Carefully rotate the text to make it vertical. Tap “Save and Close” to add it to Google Docs.


Additional FAQs
Do you want to find out more about cool text features in Google Docs? Check out the next section.
How Do You Make Cool Text on Google Docs?
There are various ways to make the text look cool in Google Docs.
One of the easy methods is to use Word Art:
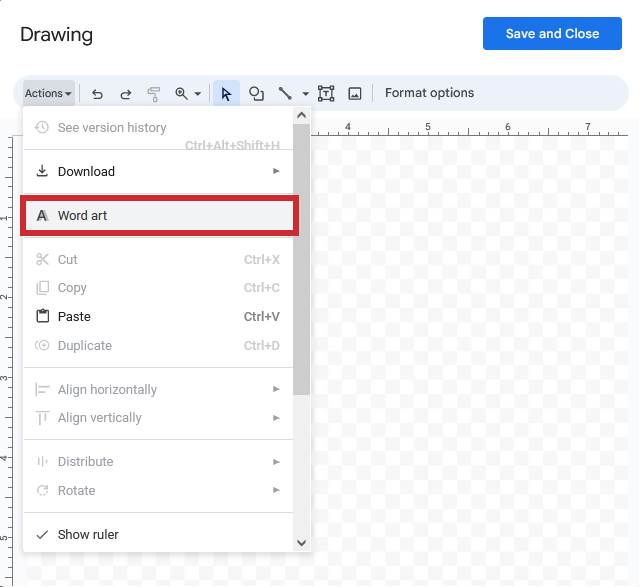
1. Open Google Docs.
2. Select “Insert,” “Drawing,” and then “New.”
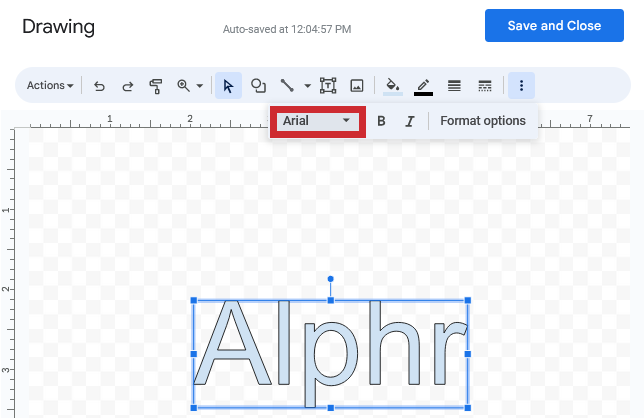
3. Click on “Actions.” Choose “Word Art.”
5. Enter the text in the text box.
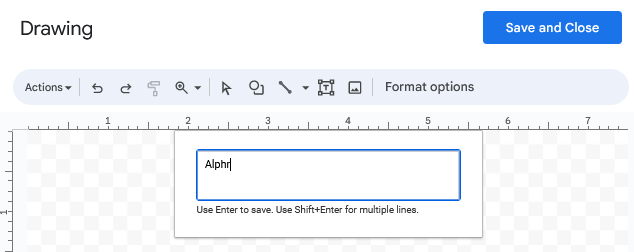
6. Change the font by clicking on the “Font” tab.
7. Choose the text color by hitting the paint bucket icon.
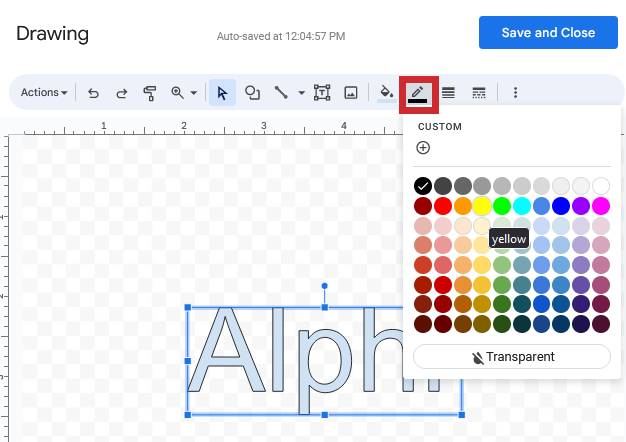
8. Click on the pen next to it to select border color.

9. Finish by clicking on “Save and Close.”

Here you’ll see different options. Words can become rainbow color instead of the standard colors. They can be upside down and even look like a medieval text if you select “Enchanted” under “Characters.” Explore all the exciting features this add-on has!
How Do I Put an Image Behind Text in Google Docs?
To place an image behind the text, follow the steps below:
1. Open Google Docs.
2. Choose “Insert” and then “Drawing.” Select “New.”
5. Open the image you want to use and drag the image and drop it in the background.
6. Create a text box by dragging the mouse over the picture.
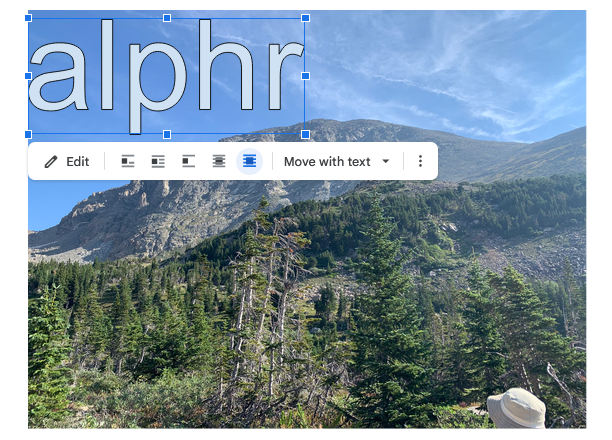
9. Tap on “Save and Close” for it to show in Google Docs.
How Can I Create Text Bubble in Google Docs?
Google Docs can also add a text bubble, which can be useful if you use this program to write a comic. Here’s how to do it:
1. Open Google Docs.
2. Click on “Insert,” “Drawing,” and then “New.”
3. Tap on the “Shape” icon and then on “Callouts.”
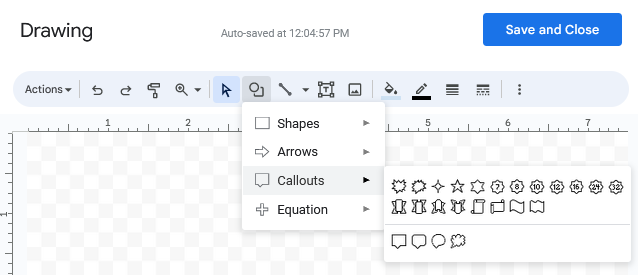
4. Find the text bubble and tap on it. Use a mouse to draw a shape.
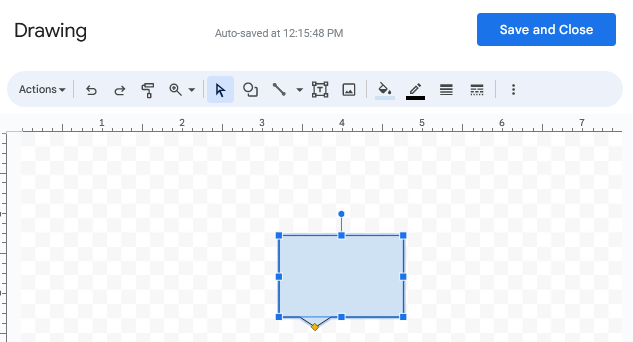
6. Double-tap to add text.
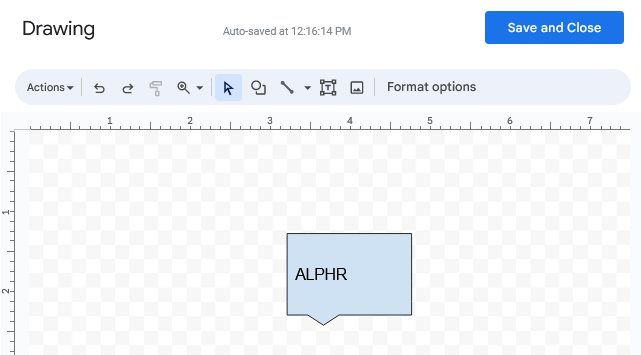
7. Click on “Save and Close” to add it to Google Docs.
Have Fun Exploring Google Docs
With so many fun options Google Docs offers for editing text, one only has to start playing with different features. You can add text bubbles if you plan on using Google Docs for writing comics or make text vertical for flyers. Although Google Docs doesn’t have an in-built option to curve the text, it’s easily done with other programs.
Have you tried any of the methods we mentioned here? Which did you like the most? Share your experience in the comments section below.
Disclaimer: Some pages on this site may include an affiliate link. This does not effect our editorial in any way.