Playing Minecraft with friends on LAN has been a great way to enjoy the game ever since its release. LAN sessions allow people to play against or with each other, depending on the game mode. However, sometimes people have noticed that LAN isn’t running smoothly.
When Minecraft LAN’s not working, you’d want to know how to troubleshoot the problem. In this article, we’ll go through some common scenarios and how to fix them. You’ll also find the answers to some frequently asked questions.
Identifying the Problem
Many different problems prevent playing Minecraft on LAN from working. Let’s take a look at some of the frequently-encountered ones.
What to Do When You Can’t See the Game on LAN
Sometimes, when you can’t see the game on LAN, is often a result of Windows Defender denying the game access to network features. If you click “Cancel” on the UAC Java permission prompt, this can happen. Don’t fret, here’s how you fix this issue:
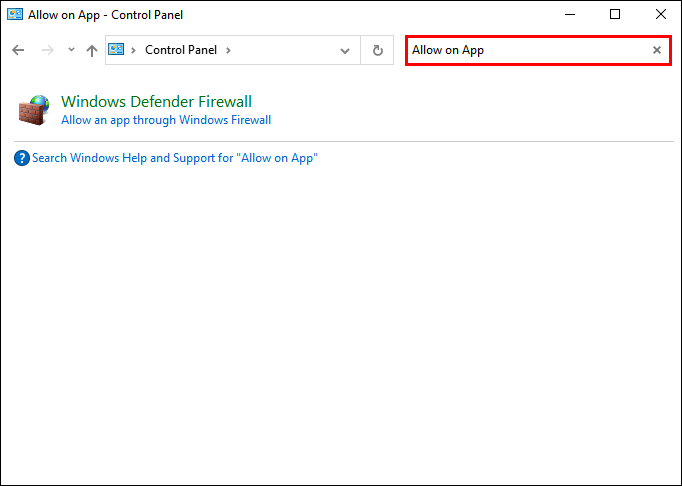
- Open the Control Panel on Windows.

- In the search bar on the top right, type “Allow an App.”

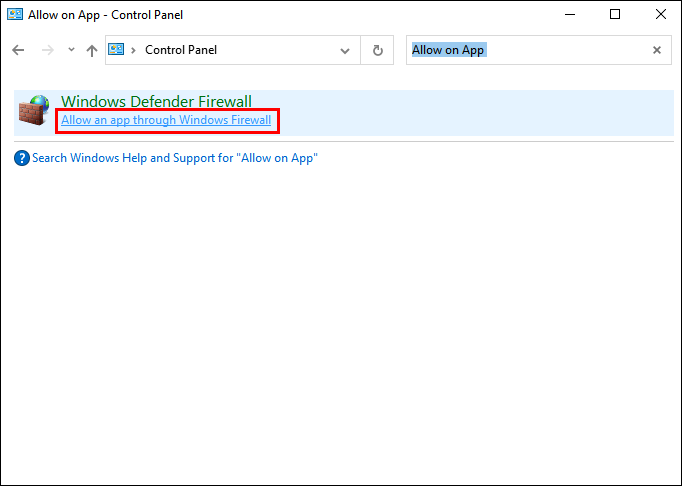
- Select “Allow an app through Windows Firewall.’
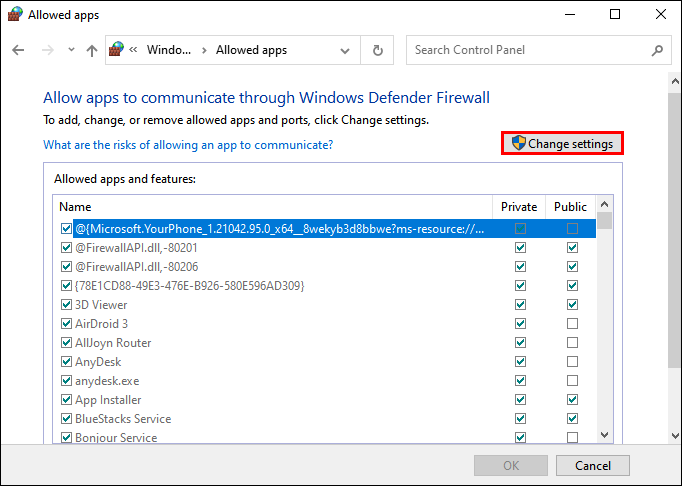
- Select “Change Settings.”
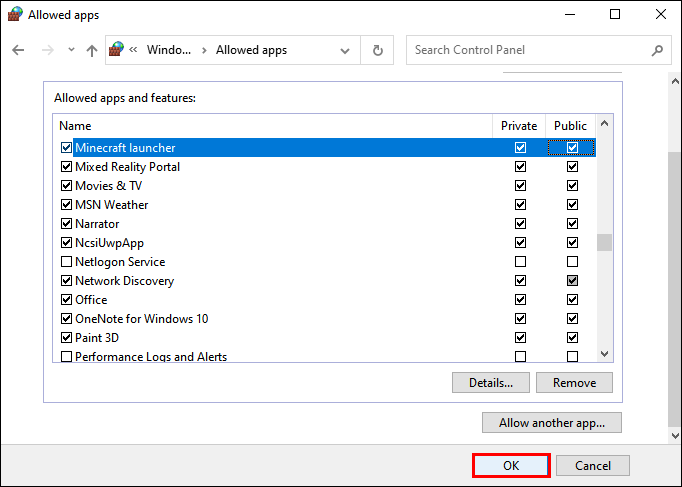
- Make sure all the Public and Private tick boxes for javaw.exe, Minecraft, and Java Platform SE binary are ticked.
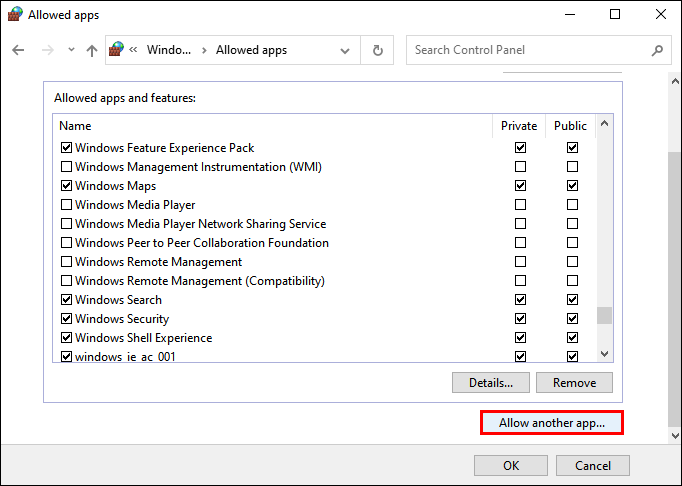
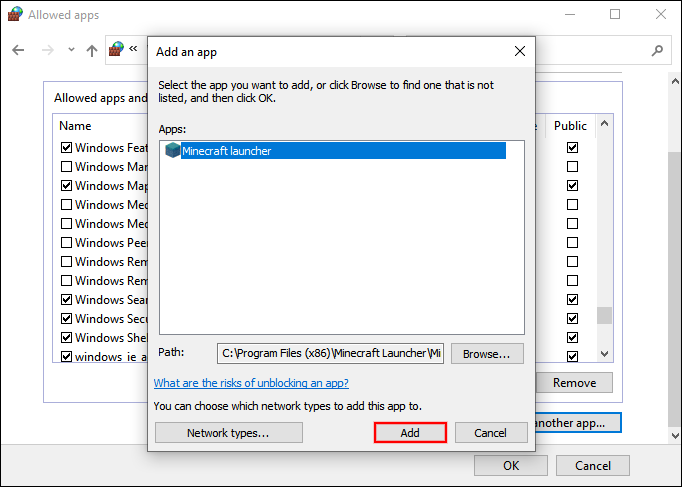
- If Minecraft isn’t there, select “Allow Another App.”
- Browse for and add Minecraft.
- Click “OK” to end the adjustments.
- You should now be able to play on LAN.

Alternatively, you can just turn Windows Defender Firewall off. Type “firewall” in the search bar and search for the “Turn Windows Defender Firewall On or Off” option. This might not be the safest option, so we recommend the former as it keeps your computer safe from threats.
Check if You’re on the Same Networks
If you can’t see the LAN session, it can be that you’re not on the same network as each other. This is easily fixed by asking everyone to connect to the same network. When done, the game should appear on Minecraft and you can all play together.
If one computer or more is connected to a router via Ethernet cable, make sure everyone is connecting to the same router. This applies to both wired and wireless users. If not, the LAN session won’t appear.
AP Isolation
Sometimes a feature called ‘’AP Isolation’’ prevents the LAN sessions from showing up. This feature is on some modems and is implemented to protect you. As much as it prevents you from playing Minecraft, it’s an effective security measure.
To discover if AP isolation is the culprit, try these steps:
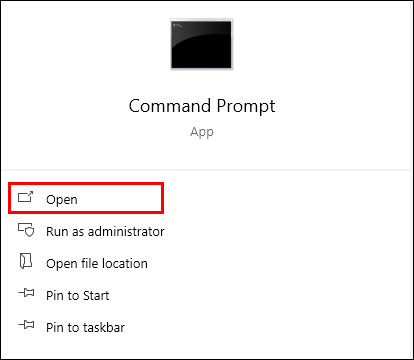
- Open the command prompt on the computers.
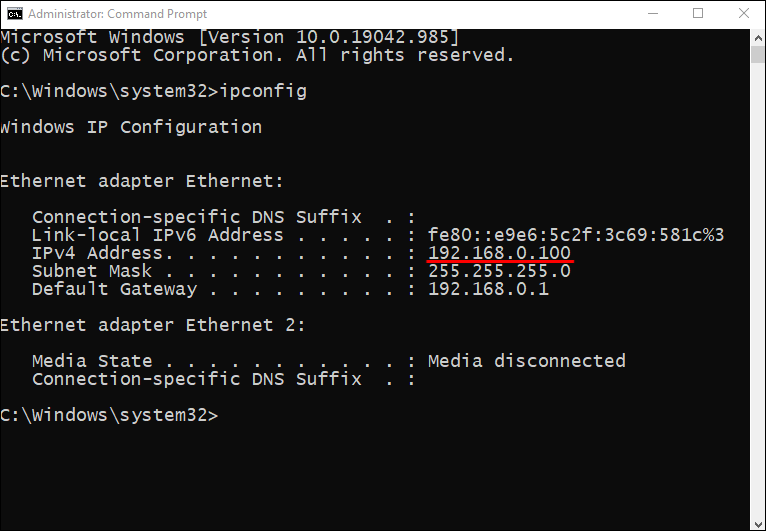
- Type “
ipconfig” without the quotation marks. - Press “Enter.”
- Check what the IPV4 address is on all computers.
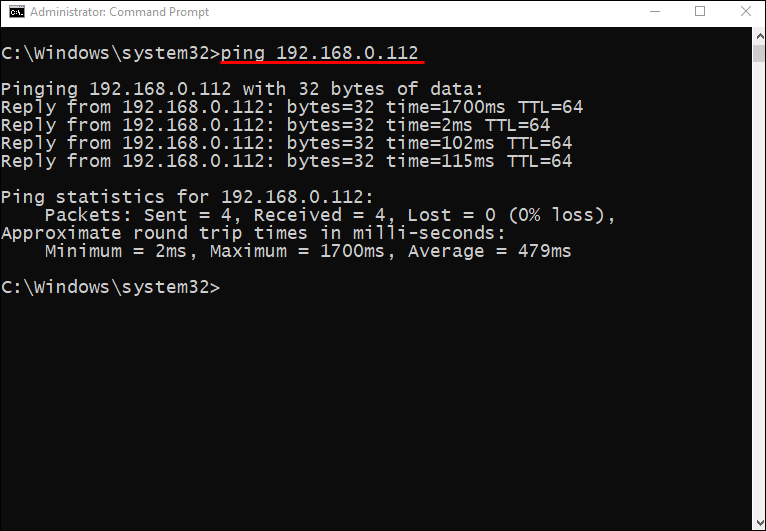
- If all computers are on the same network, try to ping another computer.
- Type “ping” and follow with the other computer’s IPV4 address.
- Do the same with the other computer.
- If both computers can’t perform a ping test successfully, it’s most likely AP isolation.
- Since all routers and modems are different, you need to check how your specific model lets you disable AP isolation.

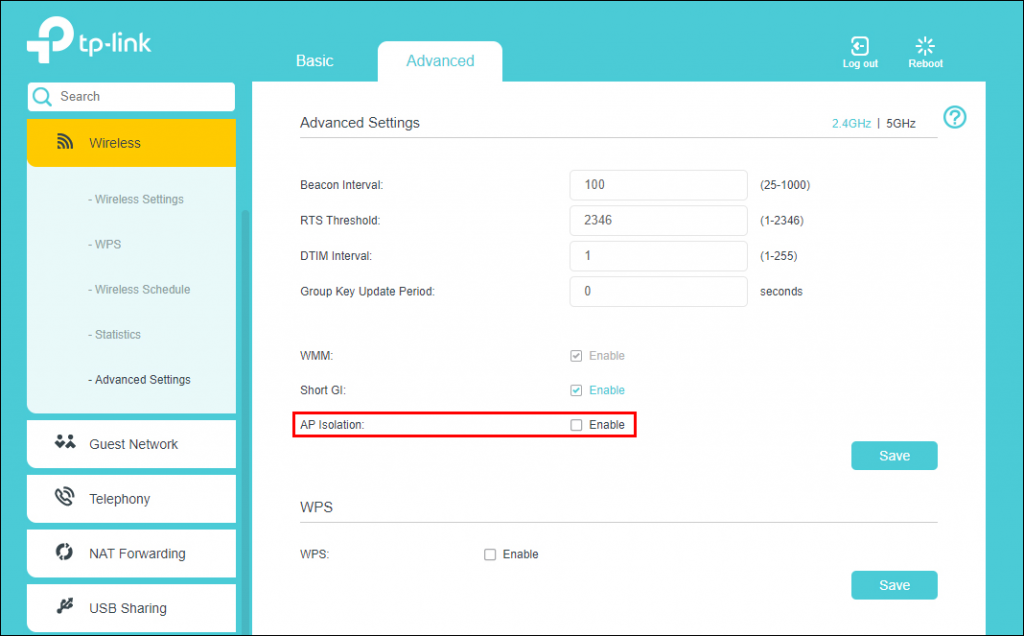
After you turn AP isolation off, you should be able to play with your friends.
Direct Connection
If something isn’t working, you can always try Direct Connection on the Multiplayer menu. This allows you to enter another computer’s IP address and the host game port to connect to their session. An example is “186.20.104.31:12345”.
A host game port is randomly assigned, so when the host starts playing, they can find it onscreen in the game’s logs. It’s usually at the left of the screen.
What to Do When You Get Kicked Out?
Don’t panic if you get kicked out. It can be due to a few different reasons.
A host may be running a different version of Minecraft than you are. You can work around it;
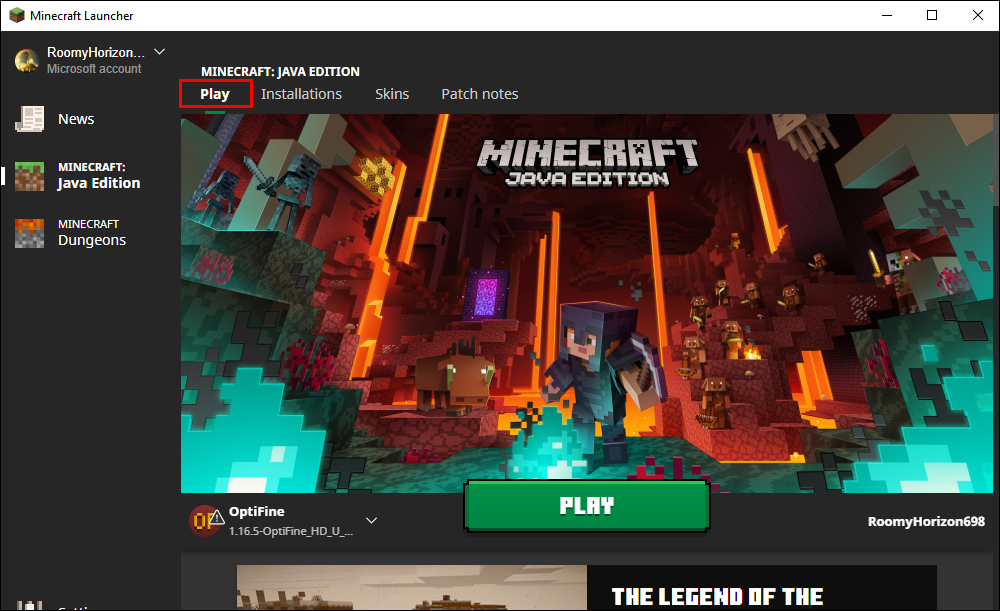
- Open the Minecraft Launcher.
- Go to the Installations tab.
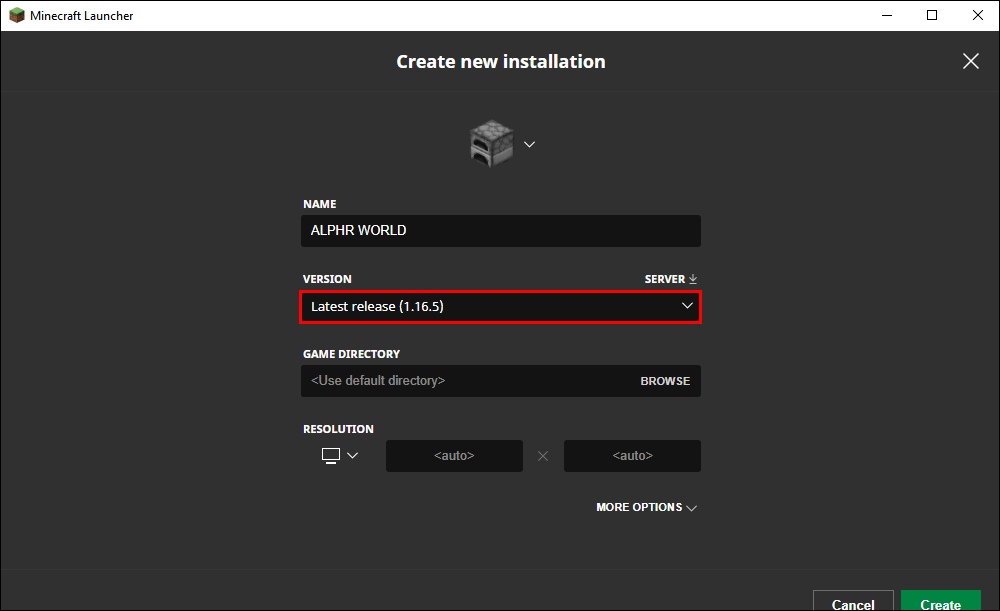
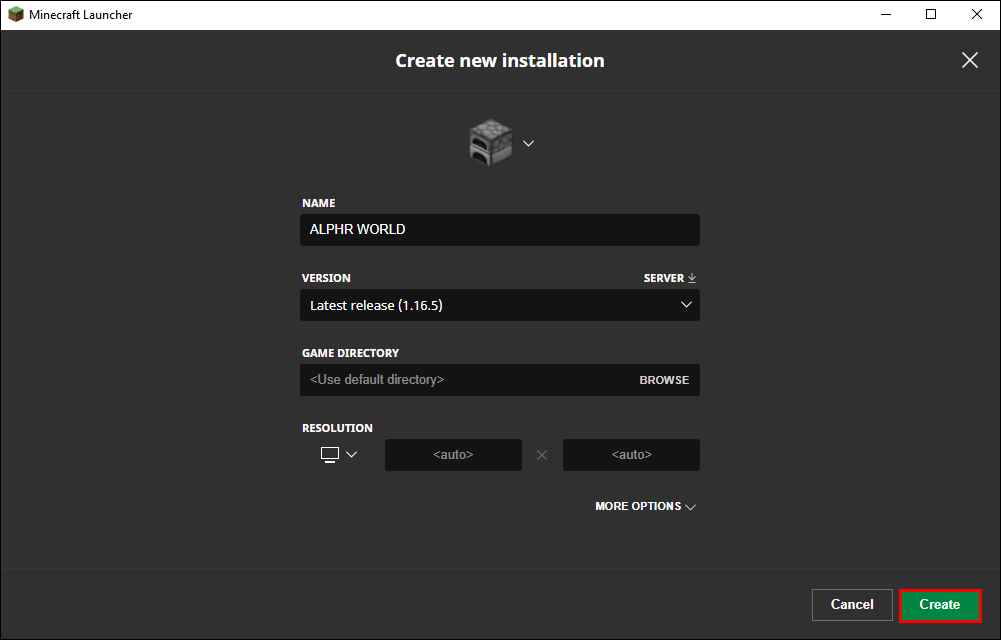
- Press “New (+).”
- Find the right version for the server you want to join.
- Select “Create.”
- Go back to the Play tab.
- Go to the bottom-left corner and select the version you just installed.
- You should now be able to join the server.


This is the best fix for outdated servers. By downgrading, you should be able to play.
Another cause for getting kicked is having only one premium license. This is the famous “this name is taken” error. You’ll have to work some magic like this:
- On the secondary computer, log in with your Premium account.
- After confirming it’s your username, go to “Edit Profile.”
- Select “Open Game Dir.”
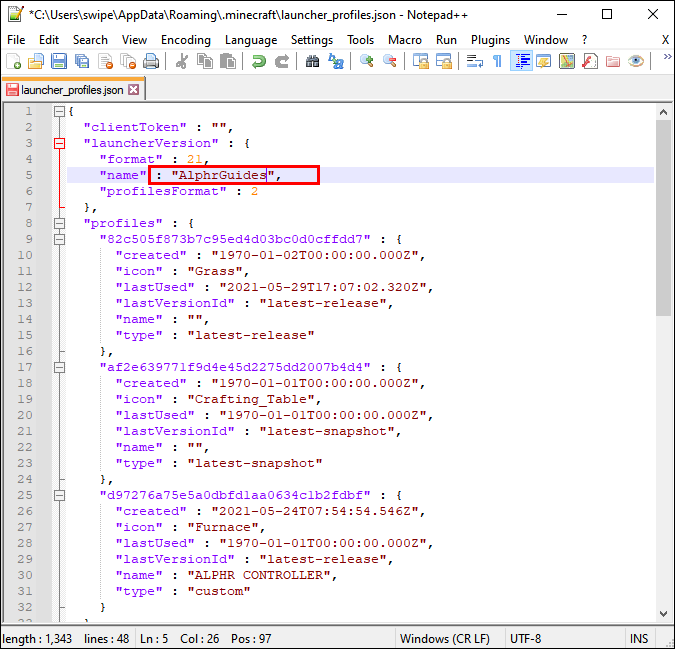
- In the game directory, open “launcher_profiles.json” with Notepad or Notepad++.
- Find this line of code on the .json file :
“{ "displayName": "John"” - Change the name to whatever you wish.
- Save the .json file, close the profile editor, and restart the Minecraft Launcher.
- If the username is changed, you’ve succeeded.
- You can test if the error persists.


This will let you play Multiplayer with a single Premium account. Since LAN doesn’t verify player names, you can make it work. Don’t expect it to work outside of LAN, however.
Mods Incompatibility
Sometimes, the host is running a modded session, and if you don’t have the same mods installed, you won’t be able to join. This will force you to download a few mods or even uninstall them if required. Thankfully, there’s a way to make this easy.
Install MultiMC, which lets you juggle multiple installations of Minecraft at once. It’ll replace your original Mojang Minecraft launcher, but with MultiMC, you can switch versions easily. Now you can play vanilla Minecraft and then switch to modded sessions afterward.

Host’s Computer Isn’t Powerful Enough
Sometimes this might be the only reason, along with a bad internet connection. In this case, let the strongest computer be the host. Minecraft is very resource-hungry, so weaker computers will struggle to host many clients.
You can also run Optifine, which is a mod that optimizes the game and boosts performance. It’s not going to change the gameplay, but it does help your game run smoother, strong computer or not.
You can even offload the work to an alternate server.
- Download the official Minecraft server JAR file on another computer.
- Move it to a better directory.
- Run the command prompt in that directory.
- Enter this: “java -Xmx1024M -Xms1024M -jar minecraft_server.1.7.10.jar nogui” without the quotation marks.
- Go back to the directory and find the EULA file.
- Open and change “eula=true” to “eula=false” to agree with Mojang’s user agreements.
- Run the Java command again.
- Join the server with another computer.
Make sure all computers are on the same network, or LAN won’t work. If you follow all these steps, you should be able to join the server and start playing.
Additional FAQs
How Do You Enable LAN on Minecraft?
LAN is enabled by default, so as long as you fulfill all the requirements, you can host or join a Minecraft LAN session. If you can’t join or host, try to find the problem as we discussed above.
How to Host LAN session on Minecraft?
Here are the simple steps of hosting a LAN session:
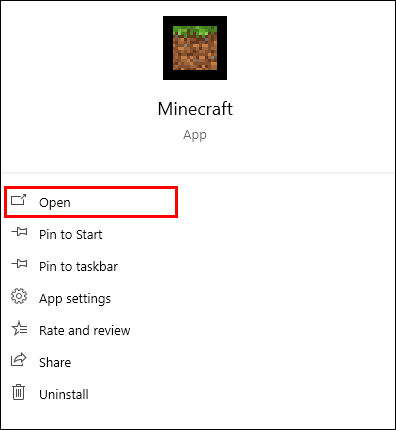
1. Launch Minecraft.
2. Select “Play.”
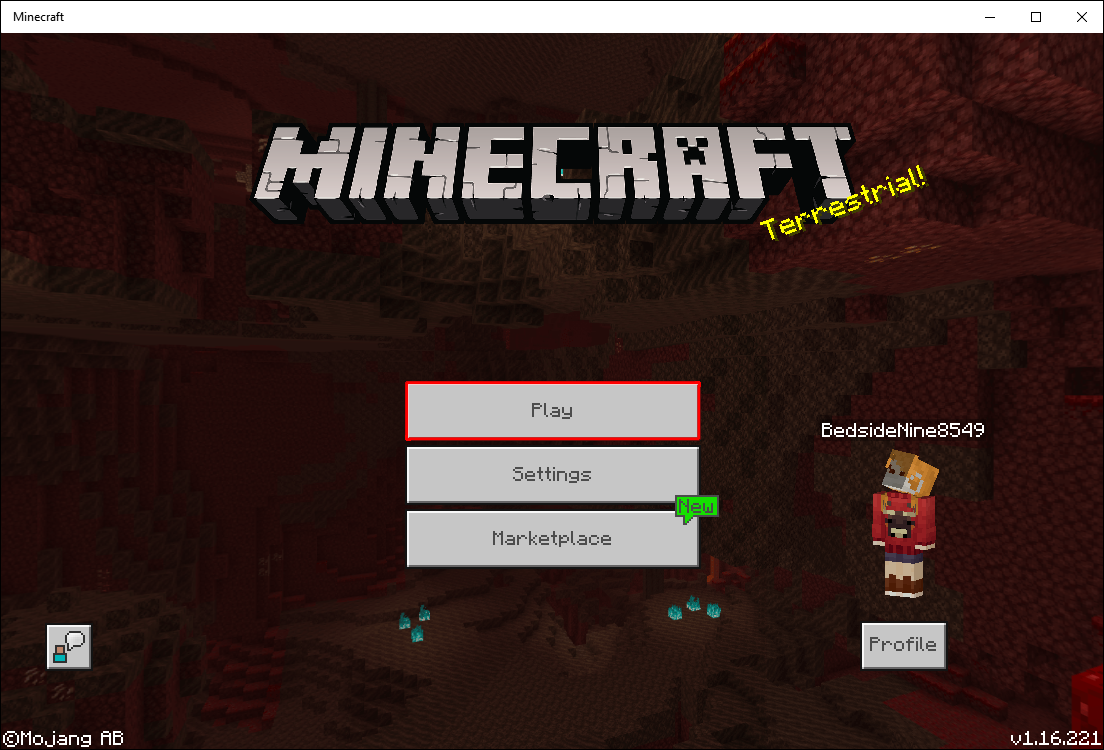
3. Create a new world or join an existing one.

4. Go to Multiplayer and enable “Visible to LAN Players” if it isn’t already.

5. Start playing by selecting “Create” or “Play.”
Who Wants to Play Minecraft?
Minecraft LAN not working? How to troubleshoot for specific errors can all be found here. We hope this article was informative and that you managed to solve the issue. There are plenty of documented fixes to LAN problems.
Do you like hosting your own LAN servers? What kind of mods do you have? You can let us know in the comments section.
Disclaimer: Some pages on this site may include an affiliate link. This does not effect our editorial in any way.