Webex is one of the most popular productivity-boosting apps for teams. It allows for faster decision-making, improves team collaboration, and makes managing projects of all sizes easy. You may have researched this option for a while until finally deciding to give it a try.
But how do you schedule your first meeting in Webex? This article explains just that. We provide step-by-step instructions on scheduling Webex meetings on a PC, desktop app, mobile app, and more.
How to Schedule a Meeting in Webex on a PC
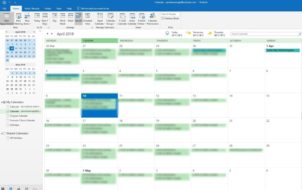
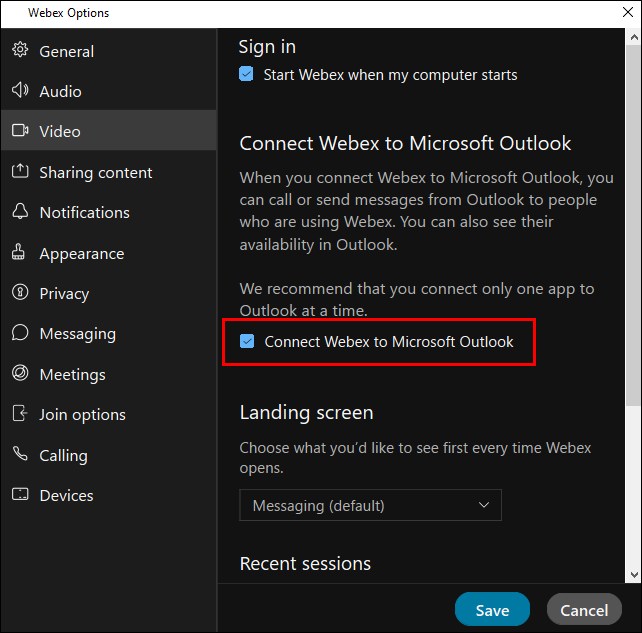
With the Webex desktop app, you can schedule meetings with everyone in your space. But first, you have to choose the scheduler. This is an app you use to let Webex know where you’d like to schedule meetings. Most commonly used schedulers include Microsoft Outlook, Webex App Scheduler, and Google Calendar.
To schedule a meeting with Google Calendar, follow the steps below:
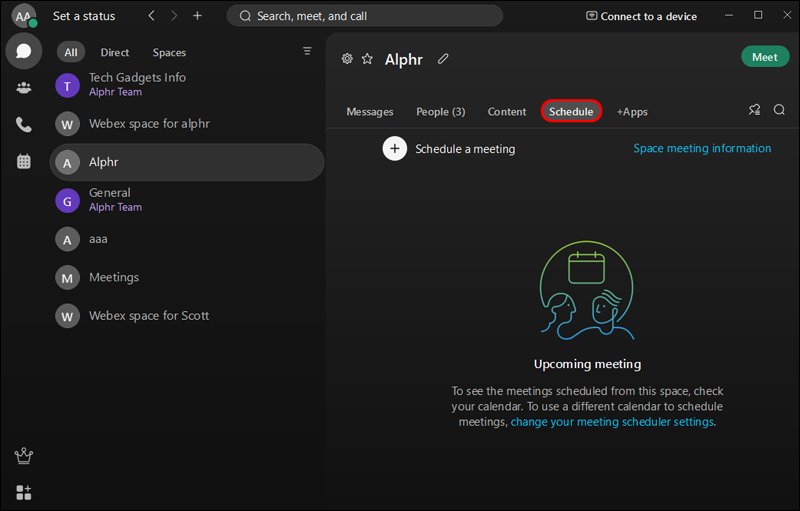
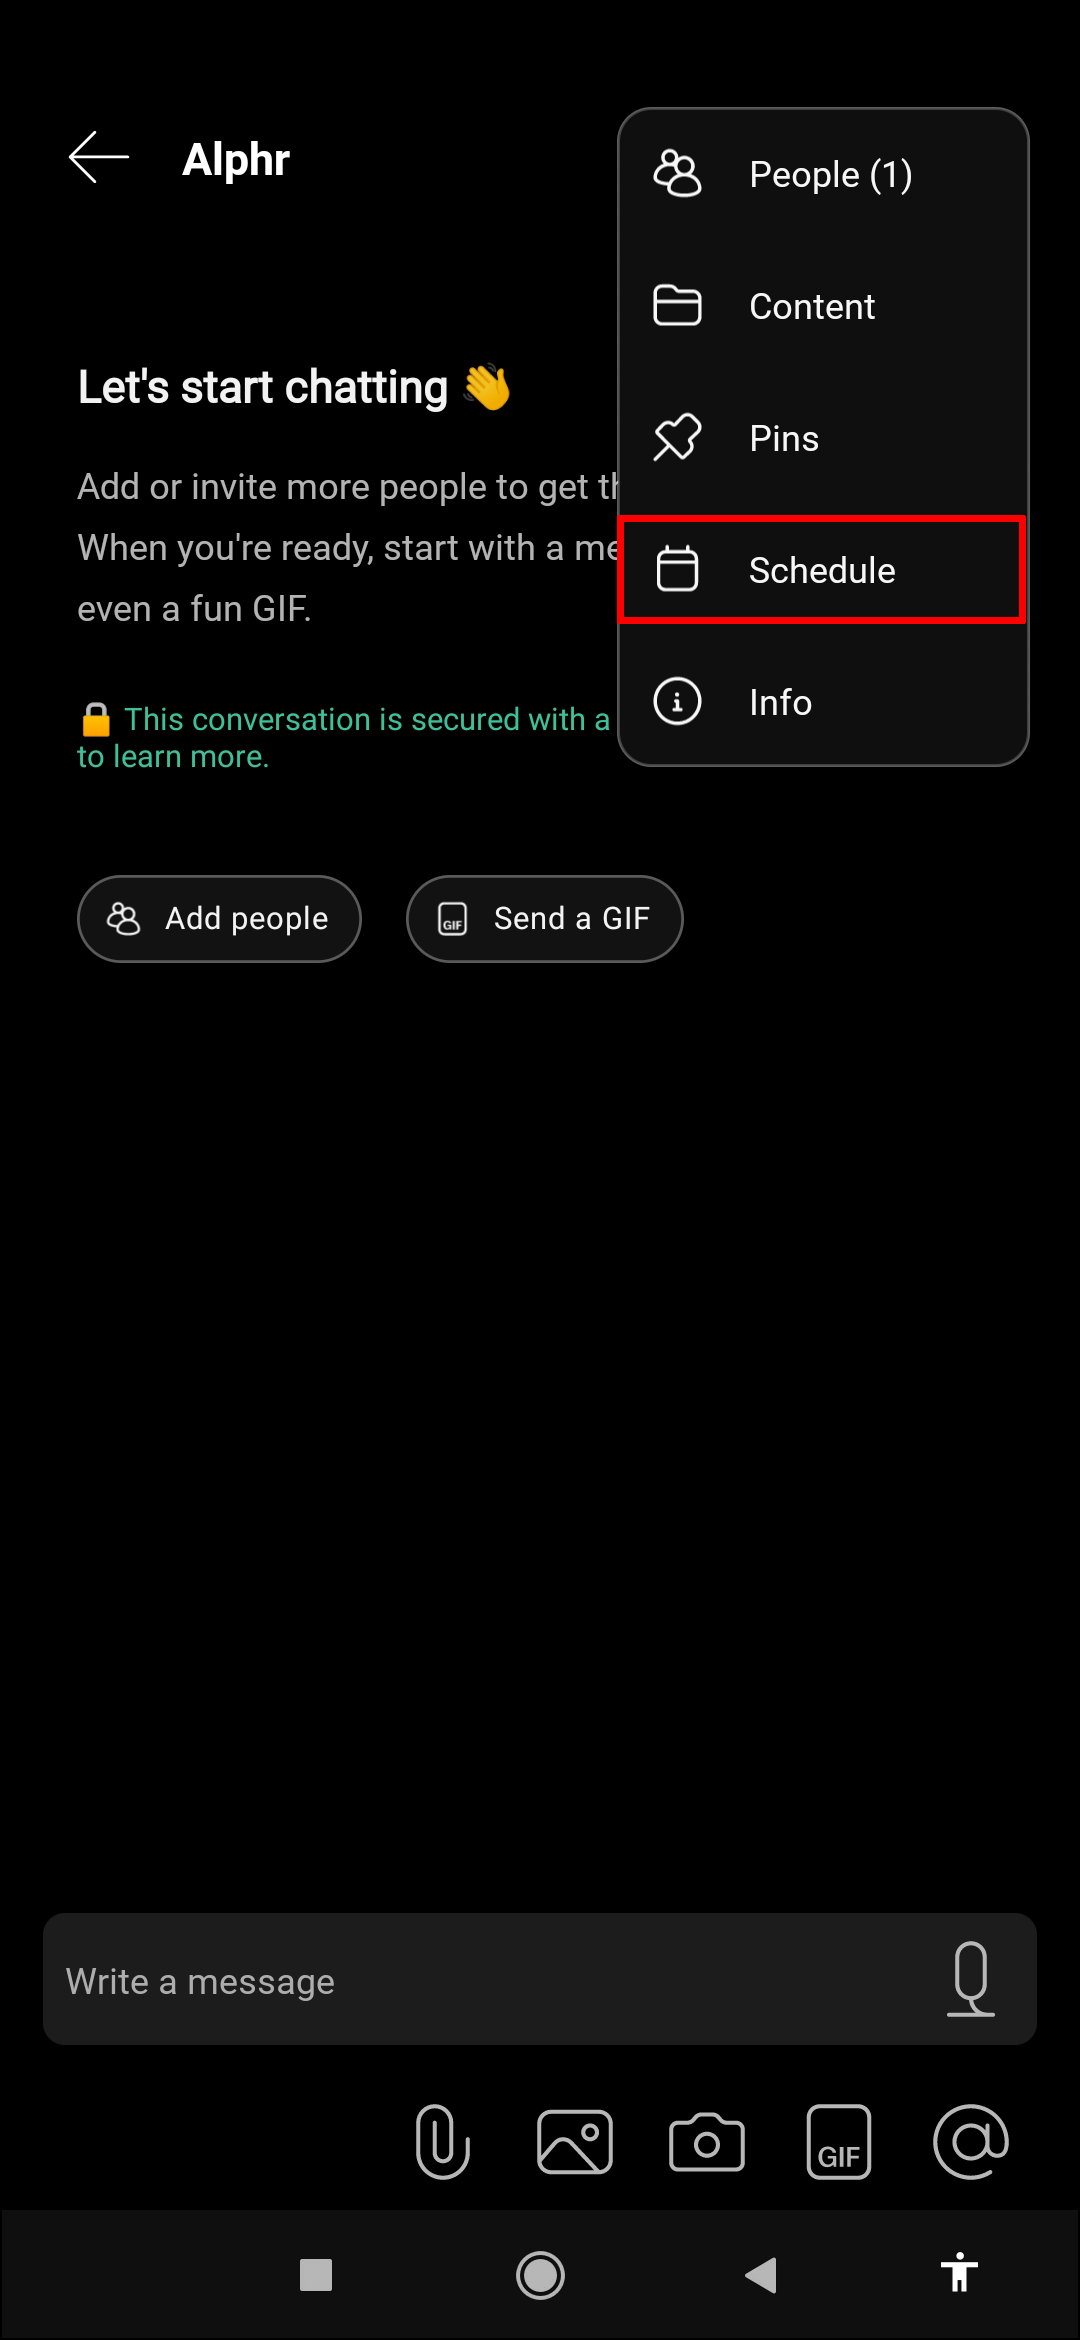
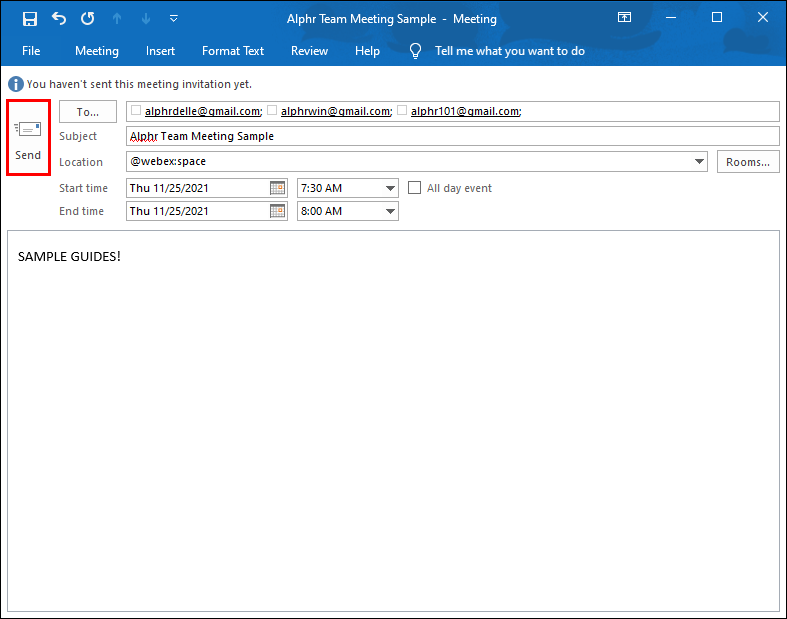
- Open a space on your Webex app and hit “Schedule.”
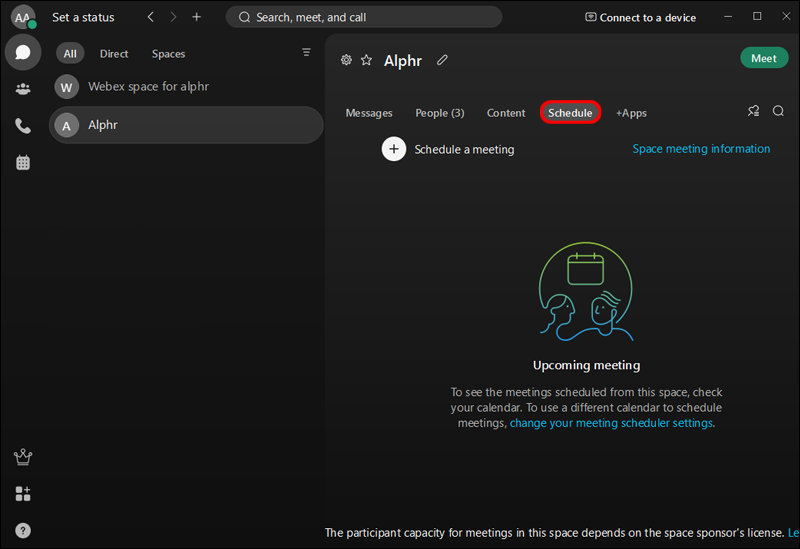
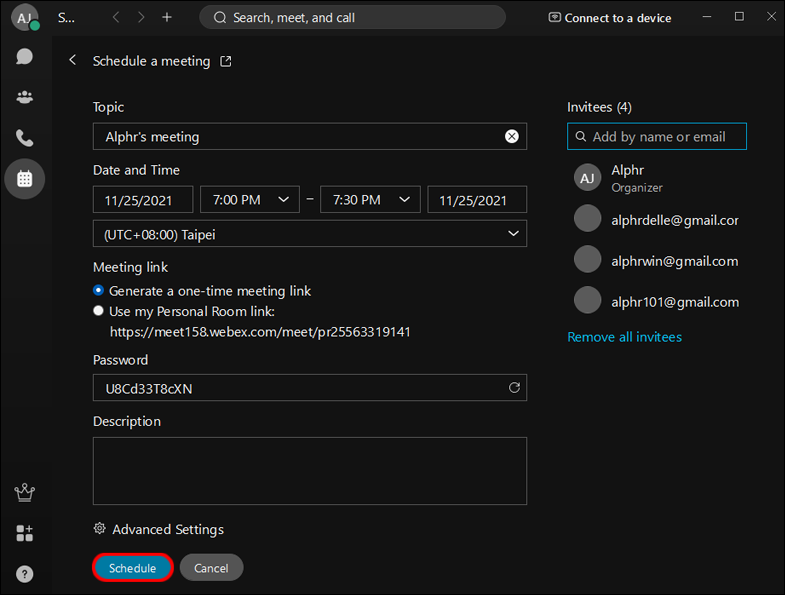
- Click on “Schedule a Meeting.” You’ll see the invite with the space name acting as a meeting subject under the “Location” field.

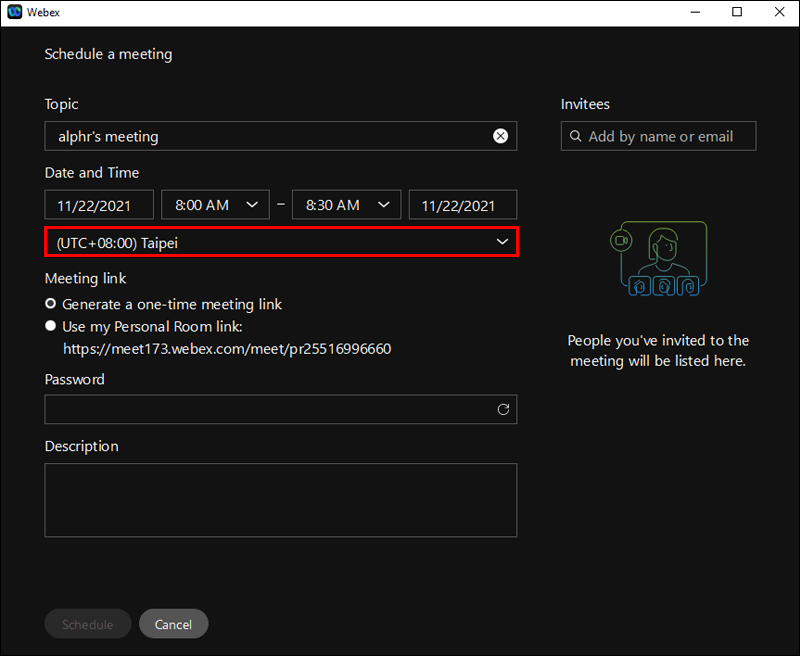
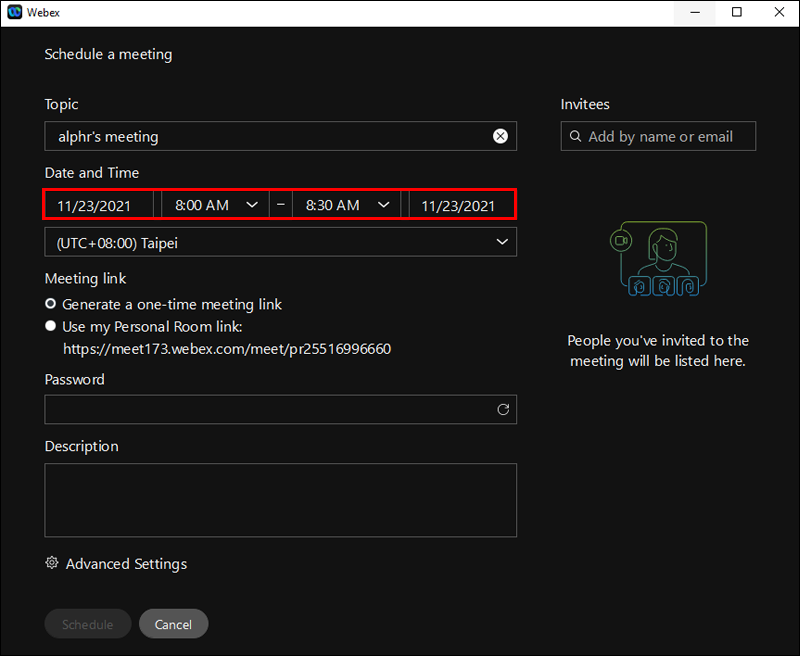
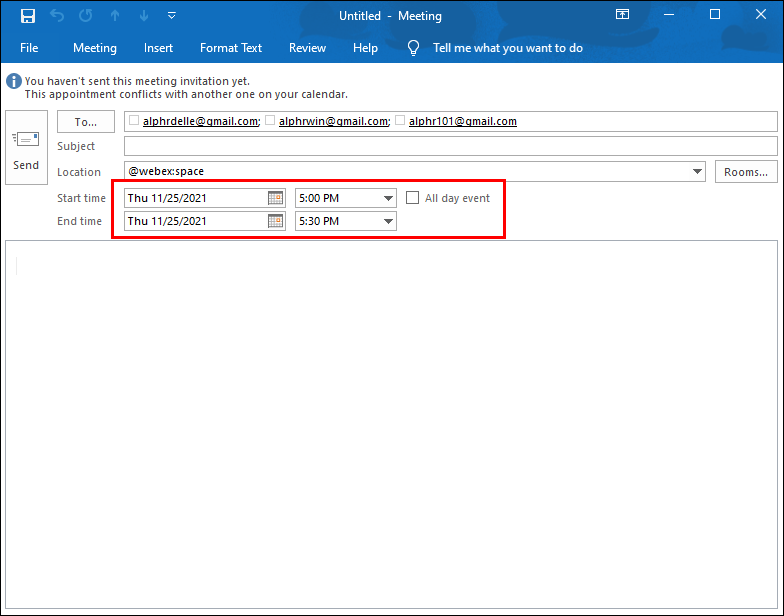
- Add the date, time, and other meeting details.
- Hit “Scheduling Assistant,” then “Add Rooms” for Windows or “Room Finder,” then “Add Room” on Mac.
- Add the room you want to include.
- Send the invite.
To schedule a meeting with Outlook, follow these steps:
- Click “Schedule” in the space.
- Hit “Schedule a meeting.”
- Adjust the time and date of the meeting.
- Select “Scheduling Assistant,” then go to “Add Rooms” for Windows. For Mac, select “Room Finder,” then “Add Room.”
- Add the room you need.
- Send the invite.
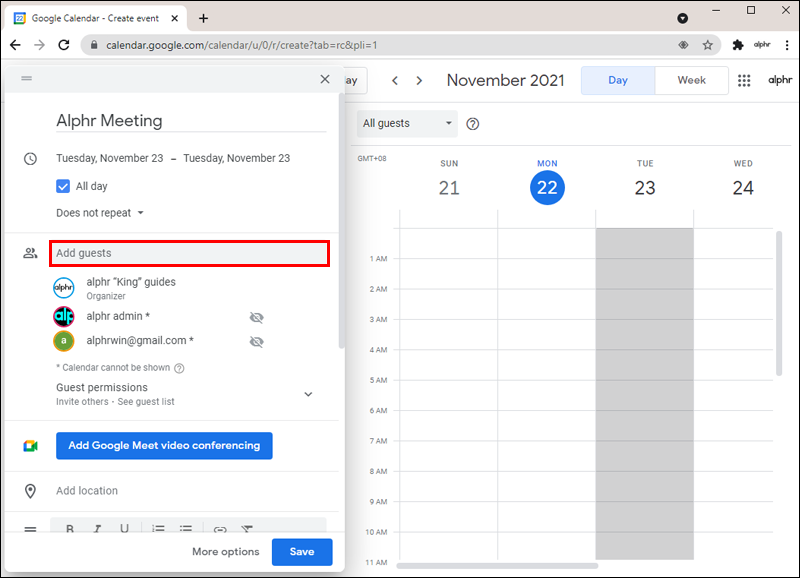
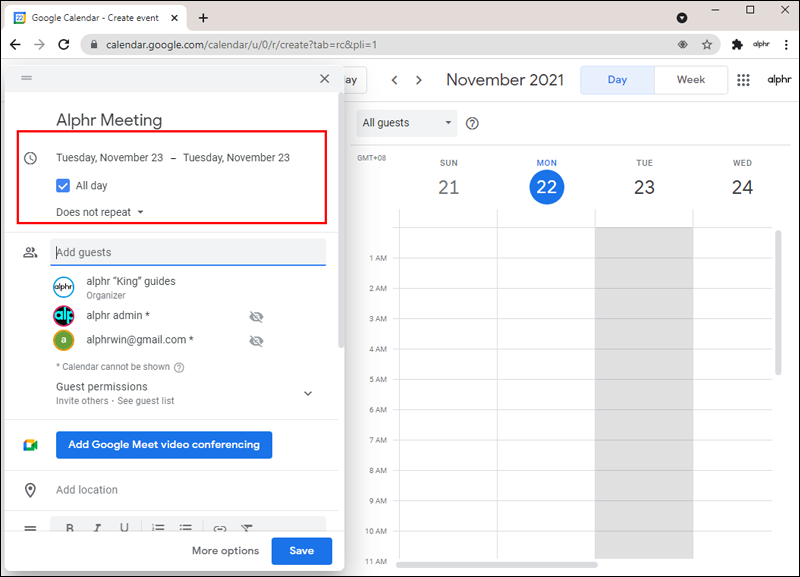
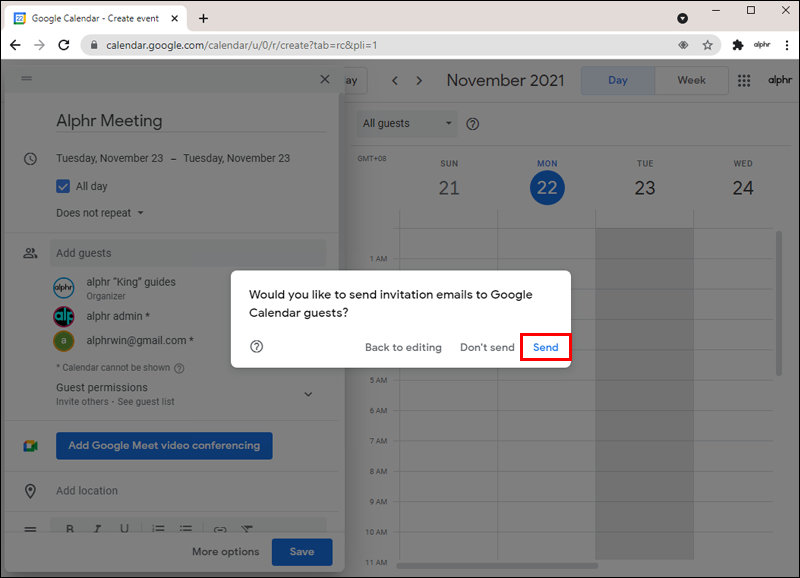
If you use other calendars, follow the steps below:
- Click on “Schedule” in the space.
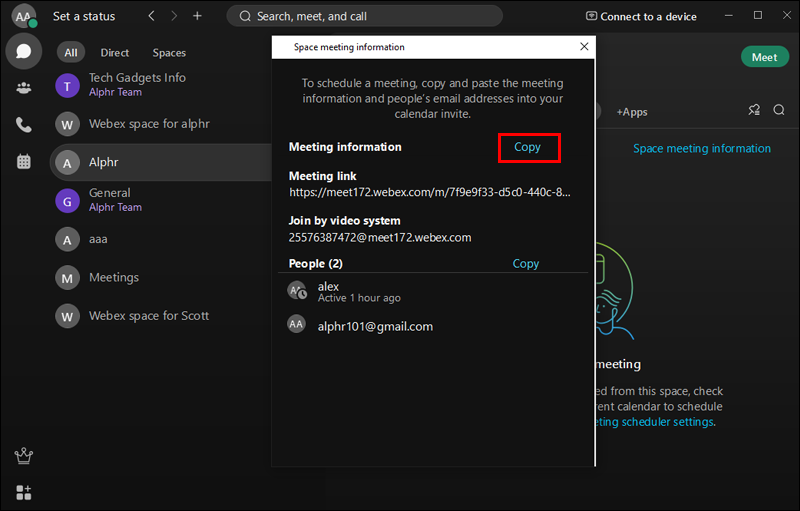
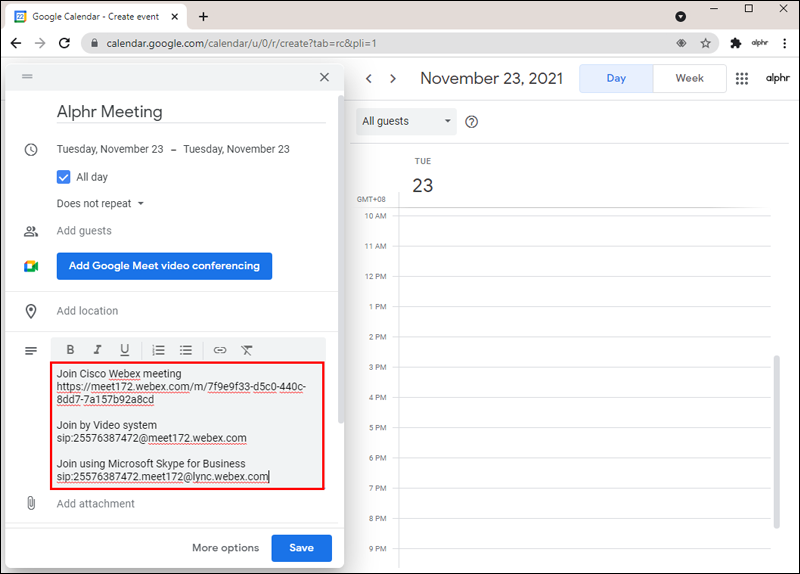
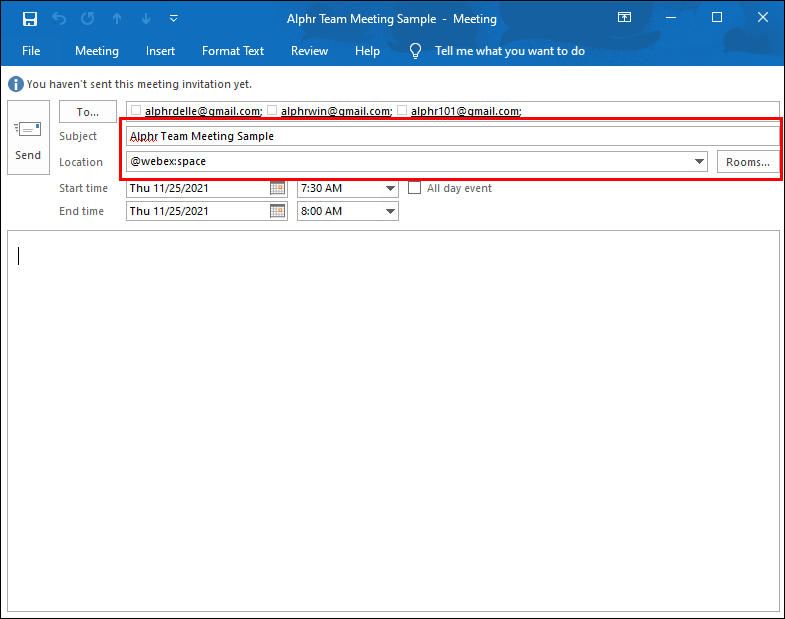
- Select “Space meeting information,” then hit “Copy.”
- Navigate to your calendar and paste the information into a meeting.
- Return to the Webex App and open the “Space meeting information.”
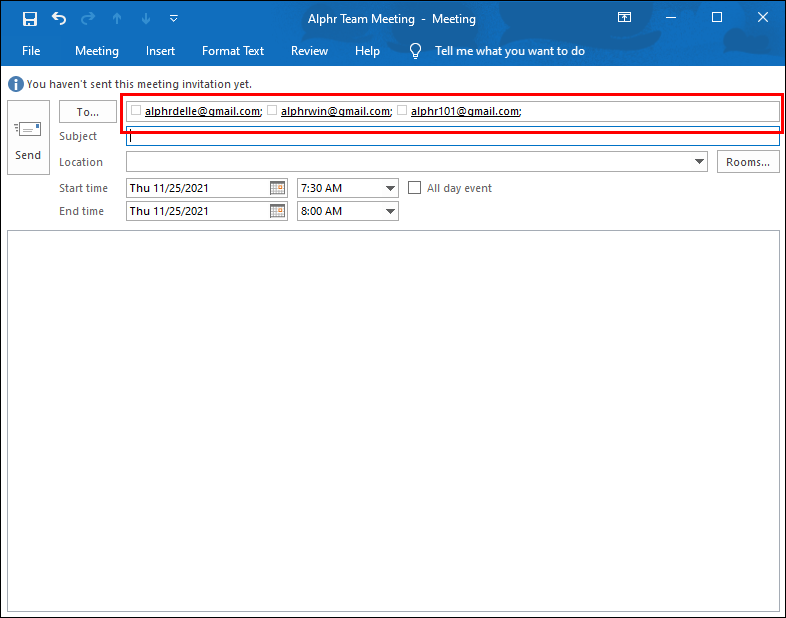
- Copy the email addresses next to “People.” Paste them into the “To” section of the meeting on your calendar.
- Tweak the time, date, and other meeting details you need.
- Send the invite.
How to Schedule a Meeting in Webex With Outlook
Microsoft Outlook makes it straightforward to schedule or cancel meetings. But before doing so, you should install the Cisco Webex Productivity Tools.
Once you set up the integration, you can schedule your first meeting with Outlook. Here’s how:
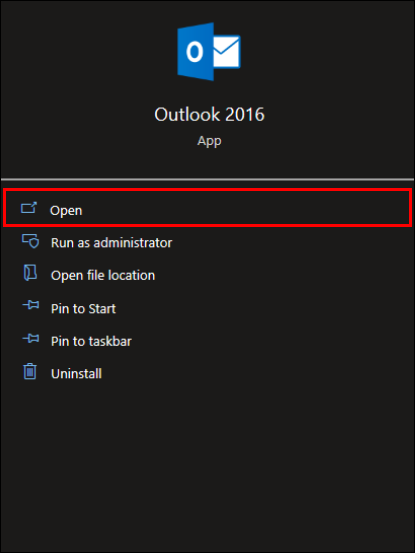
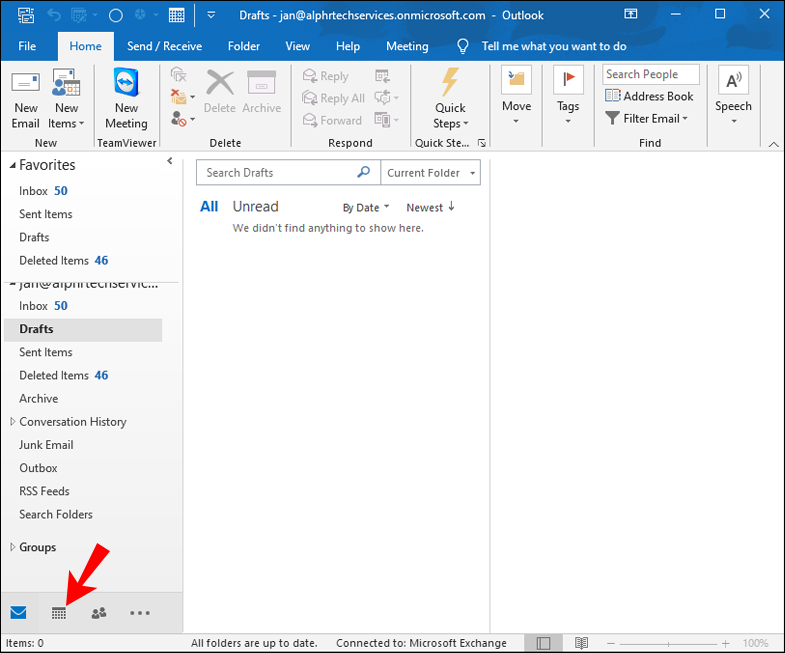
- Open Microsoft Outlook on your desktop.
- From the “Home” ribbon, select “Schedule Meeting,” then “Schedule Webex Meeting.”
- Check whether the Webex Settings are correct.
- Click “SAVE.”
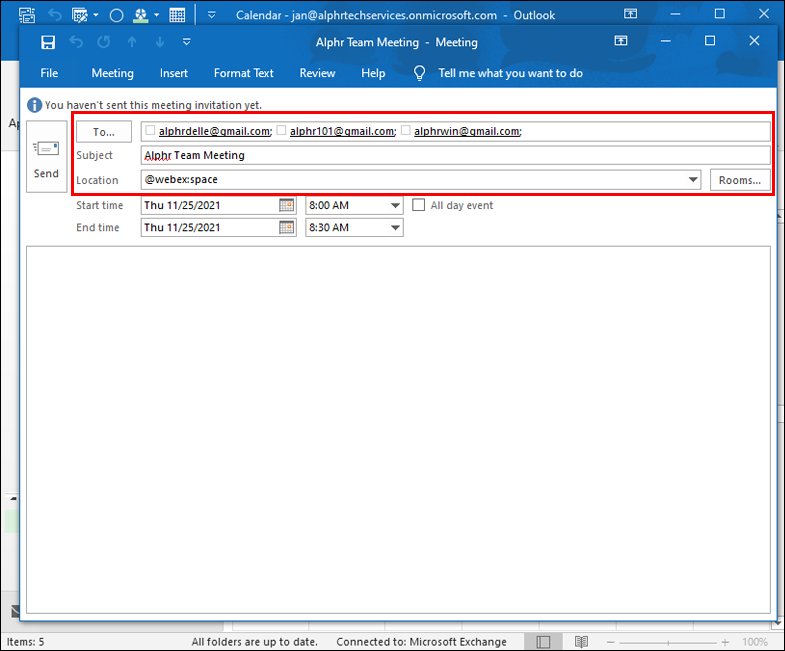
- Press “To” and select the meeting attendees.
- Enter the subject and location of the meeting.
- (Optional) Tweak advanced meeting features by clicking on “Change Settings.”
- Hit “Send.”


How to Schedule a Meeting in Webex on the Mobile App
The Webex mobile app makes it easy to schedule meetings with everyone from your space anytime, regardless of the type of space. All attendees will receive calendar invites to let them know about the meeting and how they can join.
Here’s how to schedule a meeting on a mobile app:
- Open the Webex app on your mobile device (Android or iOS).
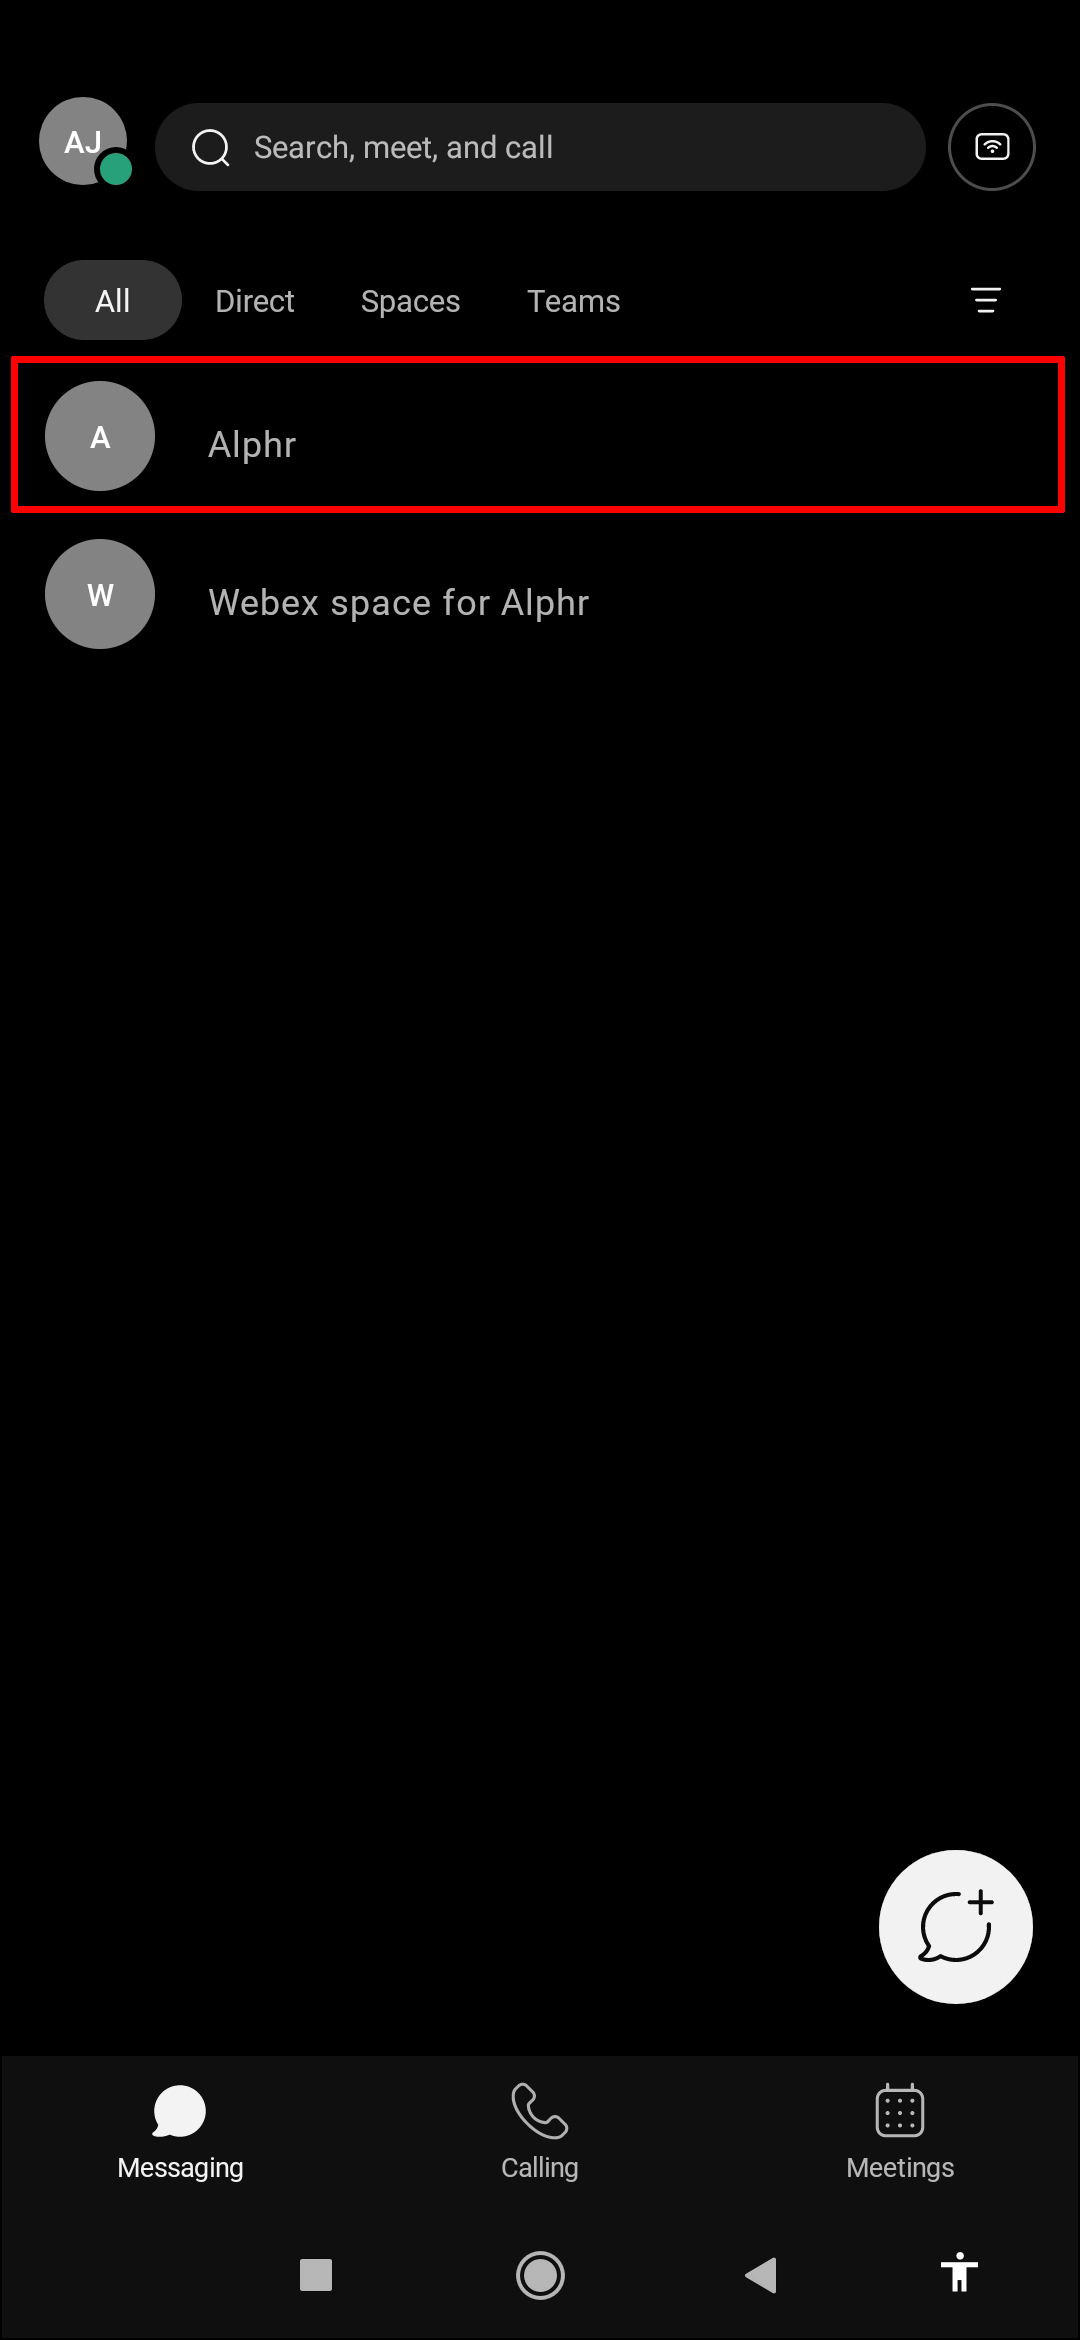
- Navigate to the space for which you want to start a meeting.
- Press the menu button (three vertical dots) and hit “Schedule.”
- Tap the “Copy Email Addresses” option.
- Navigate to your calendar and paste the addresses into the “To” section of the meeting.
- Return to the Webex app.
- Tap on “Copy Meeting Information” and paste it into the meeting on the calendar. This information may contain a link to join, the “Join by phone” option, and more.
- Adjust the time, date, and other meeting information.
- Send the invite.

You have now scheduled a meeting on your Webex mobile app. All invites will get a notification in their calendars.
How to Schedule a Meeting in Webex Teams
Cisco Webex Teams is the ultimate collaboration app to help teams stay organized. If you’re using this app, scheduling meetings is a breeze. There are different ways to schedule meetings on Webex Teams.
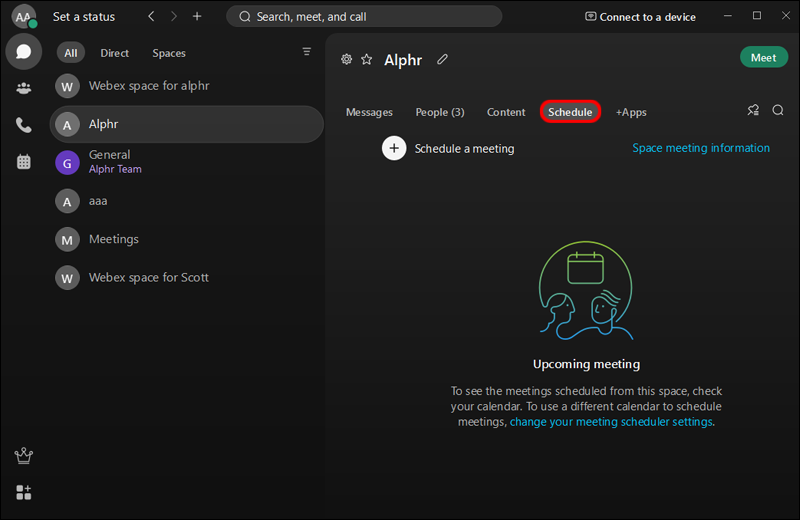
Recurring meetings are often held in a virtual space. This is where all your shared documents are stored and where you can have a quick discussion with your team. To schedule a meeting in a space, follow the steps below:
- Navigate to the space and select the “Activity Menu,” or the three horizontal dots.
- Press “Schedule.”
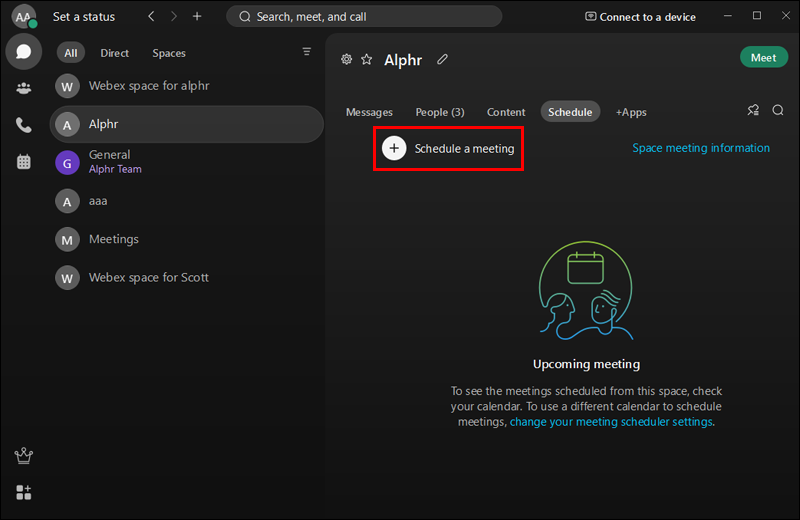
- Select “Schedule a Meeting.”
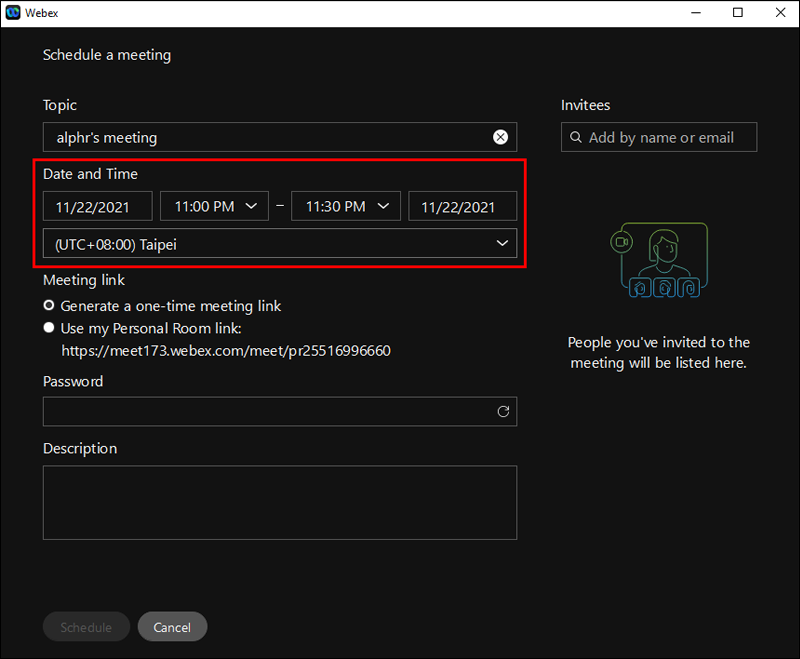
- You’ll see the calendar app and meeting details. Type in the title, time, and date, and hit “Send.”


The attendees can join the video via Webex Teams App or the pop-up reminder.
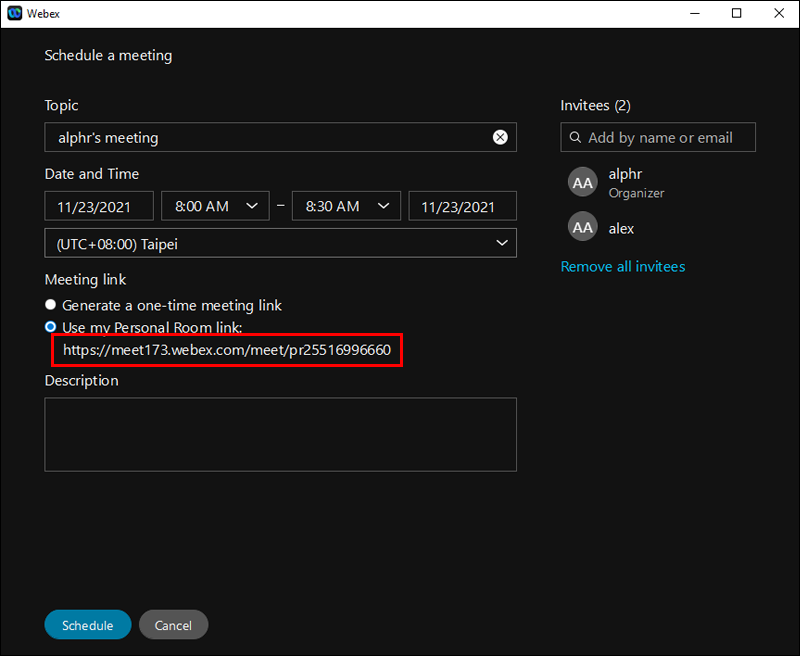
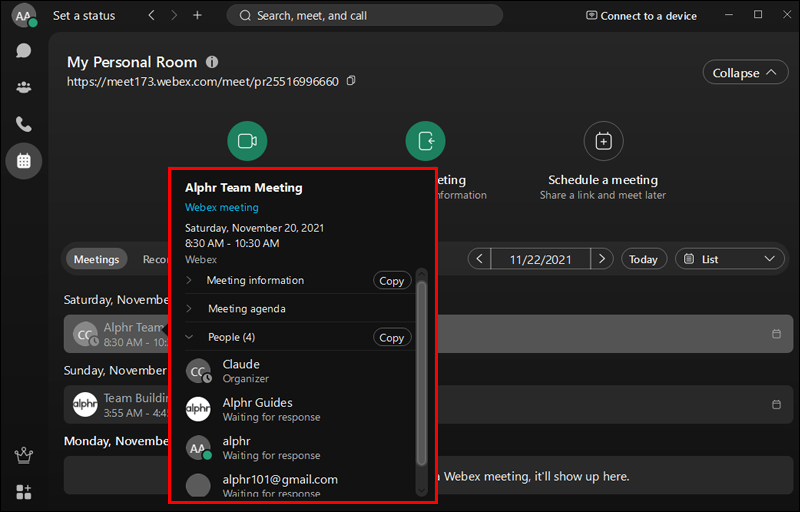
If you want to schedule meetings that don’t need a space, like client and customer meetings, you can use your Personal Room.
How to Schedule a Meeting in a Webex Personal Room
Webex Personal Rooms serve as your personal virtual conference space you can use anytime. There’s no need to book these rooms, as they’re always available. Meeting attendees can easily join the Personal Room through its link, email, or phone number.
Most of the time, Personal Rooms are used for impromptu meetings. However, you can also schedule a meetup in advance. To do so, you have to pre-install the WebEx Productivity Tools on your computer first.
Then, you can schedule Personal Room meetings via your Outlook Desktop App or the WebEx Portal.
Schedule a Personal Room Meeting via Outlook Desktop App
- Open Microsoft Outlook on your computer.
- Navigate to the calendar to create a new meeting.
- Enter the subject date, location, and time, and invite the attendees.
- Press the scheduling button to confirm the rooms and attendees are available.
- Select the “Add WebEx” drop-down and pick “Add Personal Room.” After doing so, your calendar meeting will update with the Personal Room meeting details.
- Send the invite.

Your Outlook calendar will synchronize with your WebEx account in the cloud to retrieve the meeting details and add them to the invite.
Schedule a Personal Room Meeting via Microsoft Outlook Computer App
- Open Microsoft Outlook on your computer.
- From the “Home” ribbon, navigate to “Schedule Meeting,” then “Schedule Personal Room Meeting.”
- Hit “To” and select the meeting attendees.
- Enter the subject date, location, and time.
- Select “Send.”

Schedule a Personal Room Meeting via the WebEx Portal
- Sign in to the WebEx Portal.
- Press the “Schedule” button.
- Enter the meeting topic title, date, time, and the attendee’s email addresses.
- Click “Schedule.”
You have now scheduled a Private Room meeting using the WebEx portal.
Ready for Your First Webex Meeting?
Webex is an excellent place for scheduling online meetings. Its intuitive interface makes it easy to participate and share ideas with your team. The integration with Outlook, Google Calendar, and other calendar apps make sure attendees always stay on track with the new meeting updates.
Which device do you find most convenient to schedule meetings? Do you prefer Outlook or Google Calendar? Share your thoughts in the comments below.
Disclaimer: Some pages on this site may include an affiliate link. This does not effect our editorial in any way.