A USB port that’s not working can cause various issues because many PC gadgets must be connected in this way. Your mouse, keyboard, and many other devices that might be essential for you can stop working due to a faulty USB port. However, there are ways to fix the issue. Keep reading to find out how to fix a USB port on different devices.
USB Port Not Working in Windows 10
The USB port on a Windows 10 PC can stop working for various reasons. However, there are four different approaches to fix this issue.
Check the USB
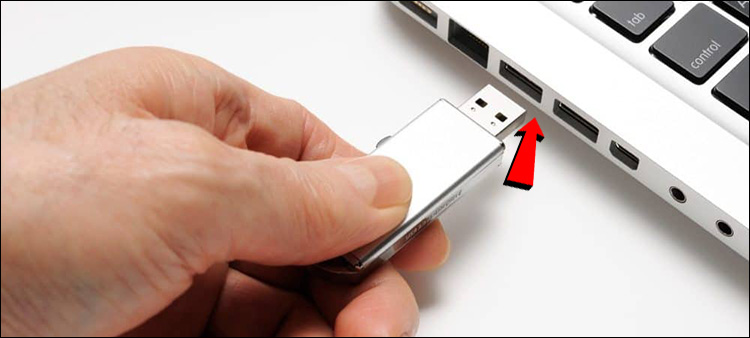
It’s doubtful that the USB is defective if it worked properly before switching to Windows 10. However, idiosyncrasies can occur. To avoid wasting time on more complicated troubleshooting, it is essential to rule out this possibility first. USB devices may be tested by simply unplugging them and plugging them into another computer.
Check the Power Supply
This method is for laptops only. USB ports on your laptop receive electricity from the laptop’s power source. The USB plugged into those ports may not work if this isn’t done correctly. In some instances, a simple repair is all that’s required:
- Remove the laptop’s power cord and charger connector.

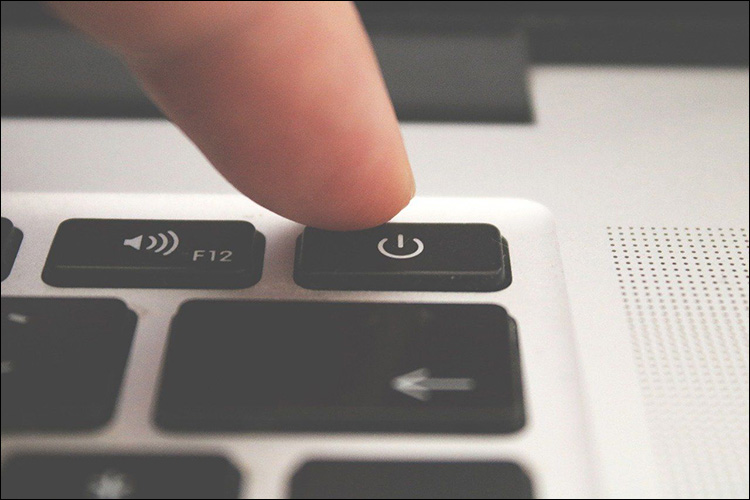
- Shut off your computer.

- Once again, plug your USB device into your laptop.
- Reconnect the power source.
Check the Power Management Settings
By default, your Windows PC turns off your USB ports when they aren’t used and turns them back on when they are. Unfortunately, Windows can sometimes fail to turn the port back on. To prevent Windows from managing the power to the USB ports and devices, follow these steps:
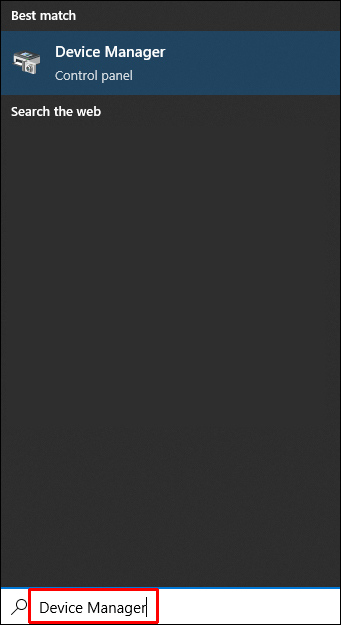
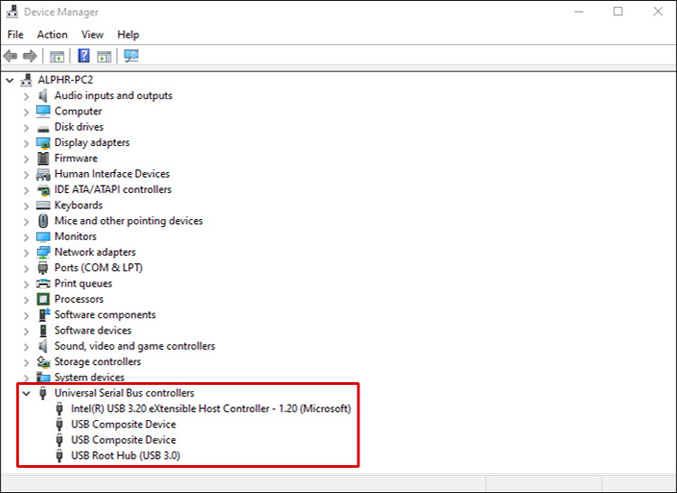
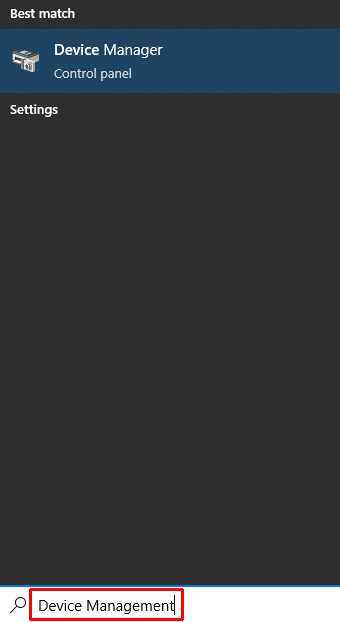
- Type “Device Manager” in the Windows search window to open the Device Manager app.
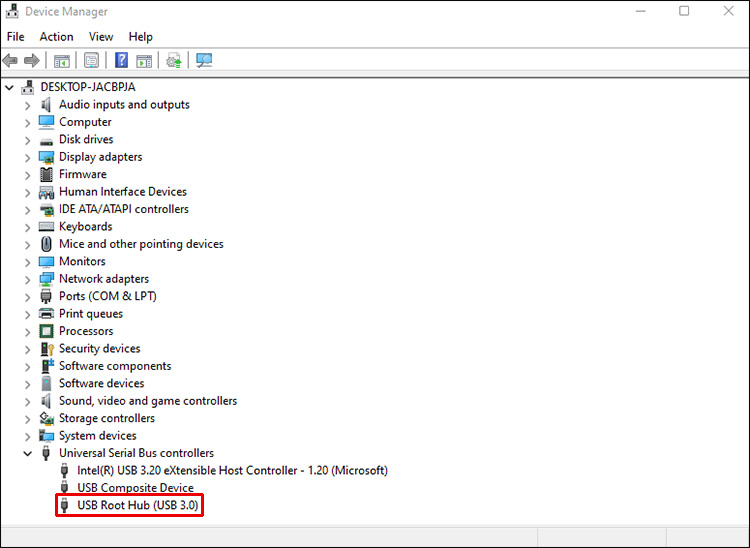
- Double click the “USB Root Hub” device you find in the device list.
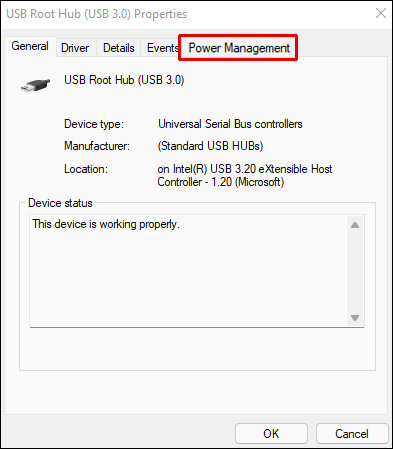
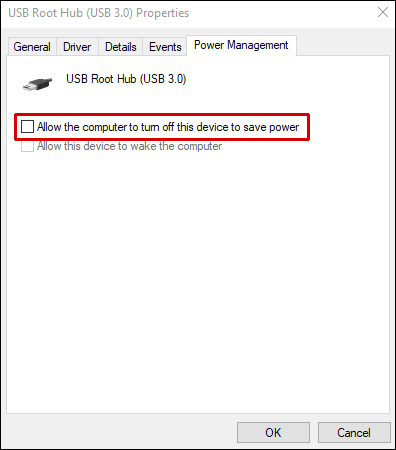
- Go to the “Power Management” section by clicking on it.
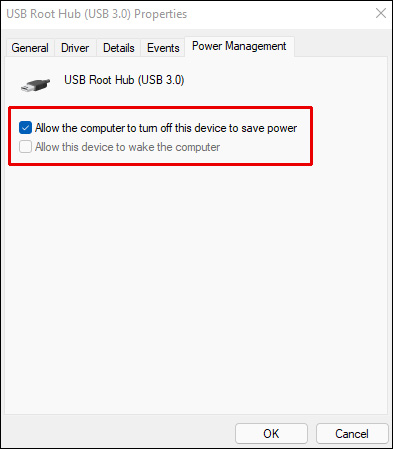
- Uncheck the option.
- Repeat for every USB port.
Check USB Drivers
Your USB ports may not be working because of a driver problem. If none of the above work, or if you’re not comfortable fiddling with drivers, you may use Driver Easy.
To find suitable drivers for your system, Driver Easy can instantly detect them. Installing the wrong driver or making a mistake isn’t an issue because you don’t need to possess any knowledge about your OS.
Driver Easy can automatically update the drivers regardless of whether you choose the paid or free version. Updating is easy and requires only two clicks:
- Launch the Driver Easy installation program.
- Click the “Scan Now” option in Driver Easy to begin the scan.


A USB driver that has been identified for updating will be updated immediately when you click the Update button next to it. Alternatively, you may select “Update All” to download and install a new version of all the missing or out-of-date drivers on your system (you’ll be requested to upgrade when you select this option).
USB Port Not Working in Windows 11
A USB port can stop working on a Windows 11 PC for the same reasons as a Windows 10 PC. Hence, the steps you can take are similar. The following methods are the most effective.
Update Drivers
You can download updates manually if you don’t have an OEM utility installed. You should be able to obtain drivers and software updates for your device by searching for its model number. Here’s how:
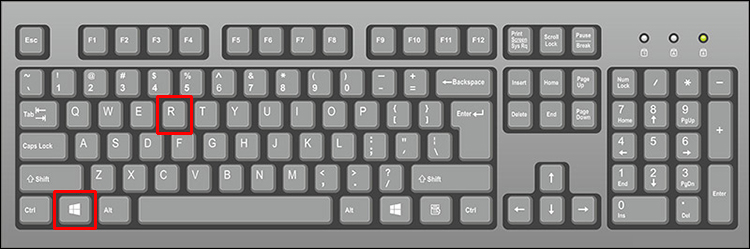
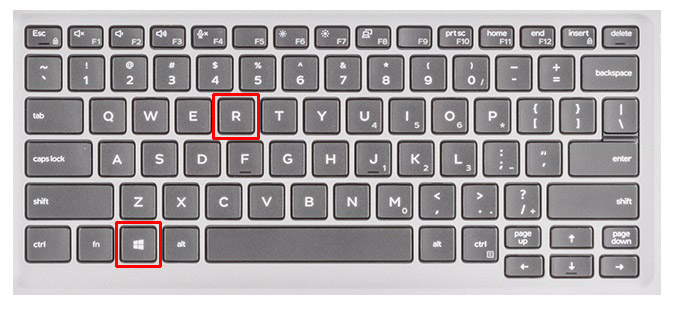
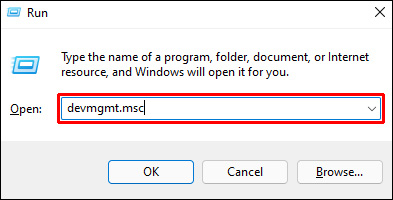
- Use your keyboard shortcuts “Windows key + R” to bring up the Run window.
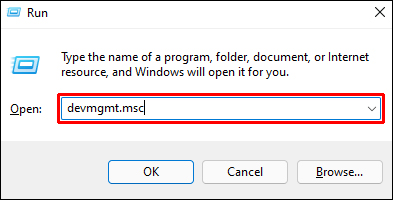
- Then click “OK” to open “Run” and type in “devmgmt.msc.”
- To update the driver for your USB device, right-click on it in Device Manager and select “Update Driver.”
- Please follow any on-screen instructions to finish the upgrade if you have downloaded a software update.
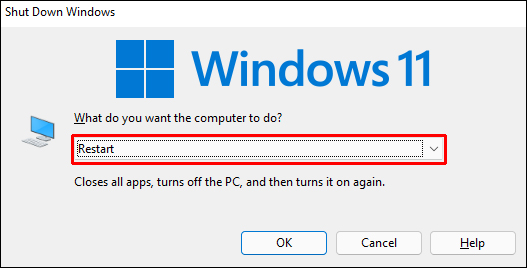
- Restarting your computer might be necessary for you to finalize any changes you make.


Modify the Power Management Configuration
USB devices can require a lot of power. However, this power is not always accessible while running on a battery. When a battery powers your laptop, a USB driver may not receive enough power due to the power management settings. Changes to your power management settings should take care of the problem. You may achieve this by following these instructions:
- Start by typing “run” into the Run dialog box using the “Windows key + R” keyboard shortcut.
- Then type “
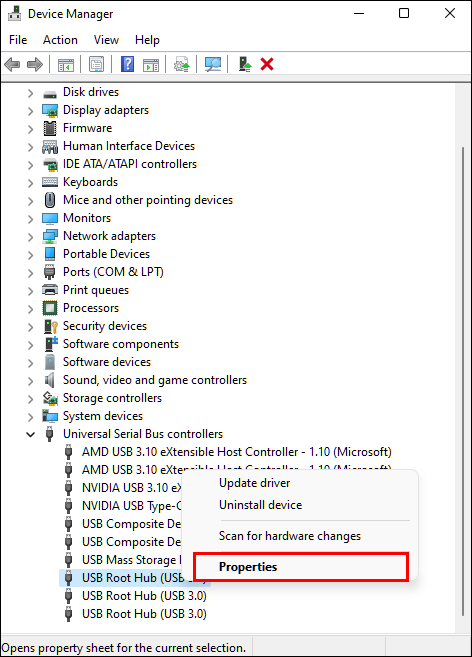
devmgmt.msc.” - Expand the USB port area in Device Manager by scrolling down.
- Go to “USB Root Hub’s” properties by right-clicking it.
- Select the “Power Management” tab in the USB Root Hub Properties window.
- Uncheck “Allow the computer to turn off this device to conserve power.”

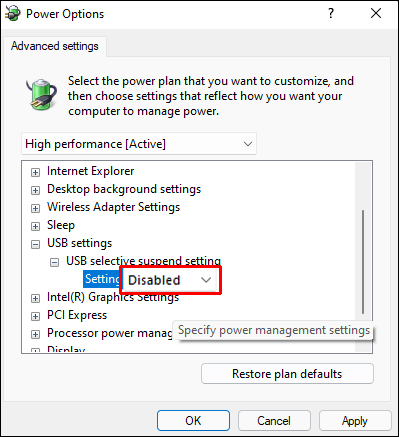
USB Selective Suspend Power Option
To turn off USB selective suspend in Windows 11, follow these steps:
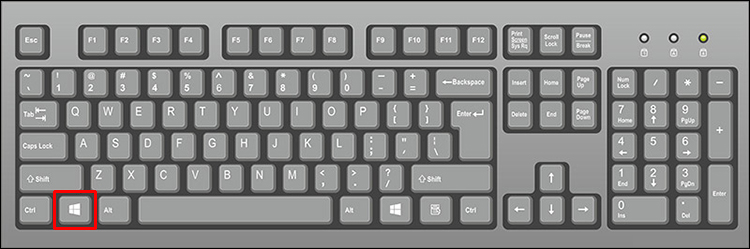
- Press “Start” or the “Windows” key to bring up the Start menu on your computer.
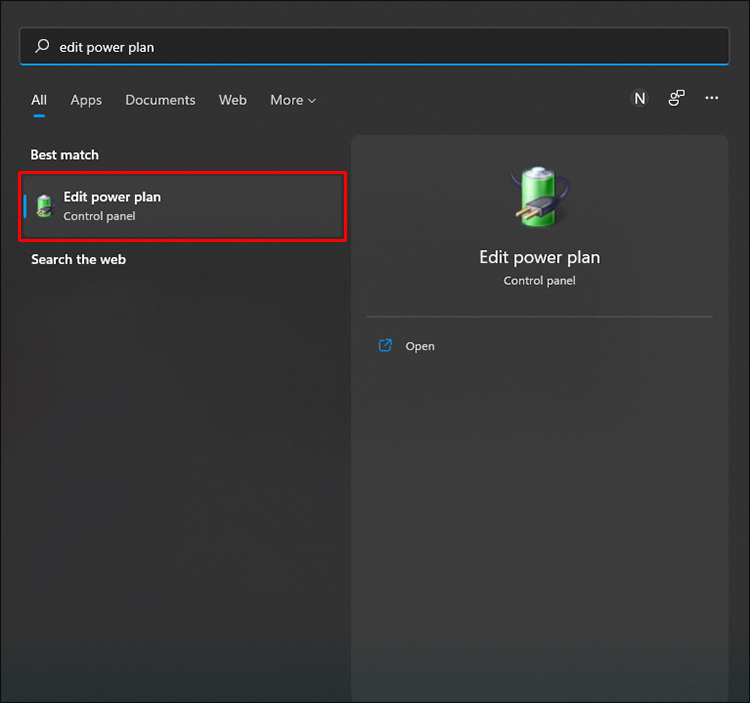
- Choose the top result for the search term “Edit power plan” to get started.
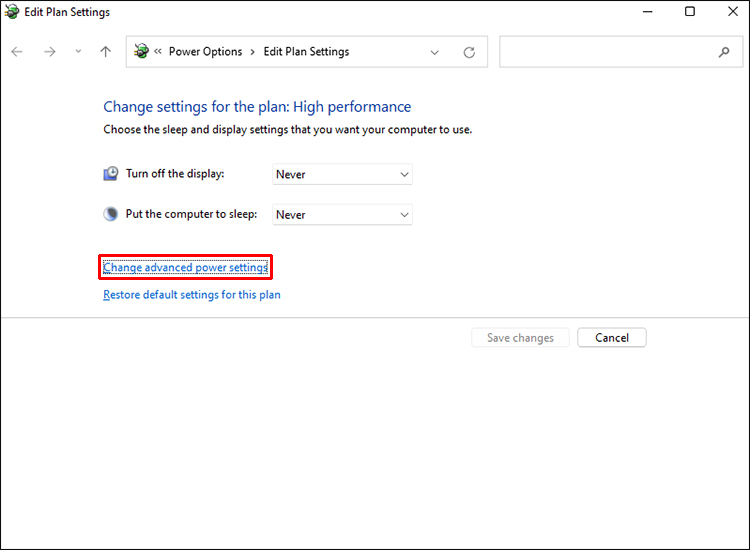
- Afterward, choose the option to “Change advanced power settings.”
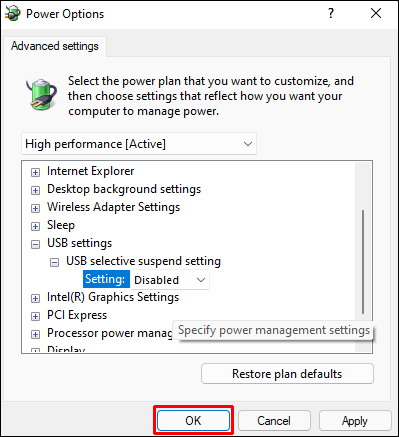
- Expand USB options and “Disabled” the “USB selective suspend setting.”
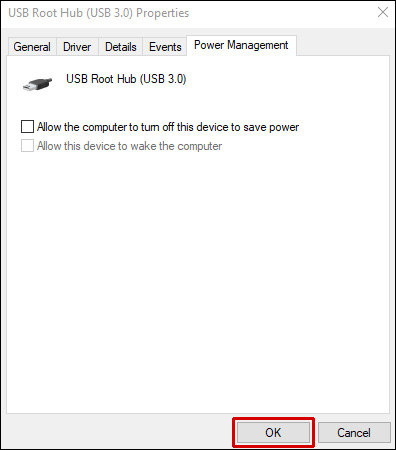
- To save, click “OK.”
USB Port Not Working on a Mac
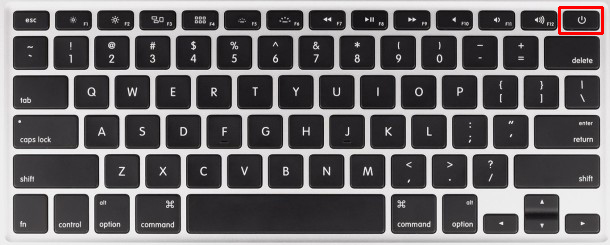
As a first step, you need to reset the Mac SMC, which is a straightforward procedure. Here’s how:
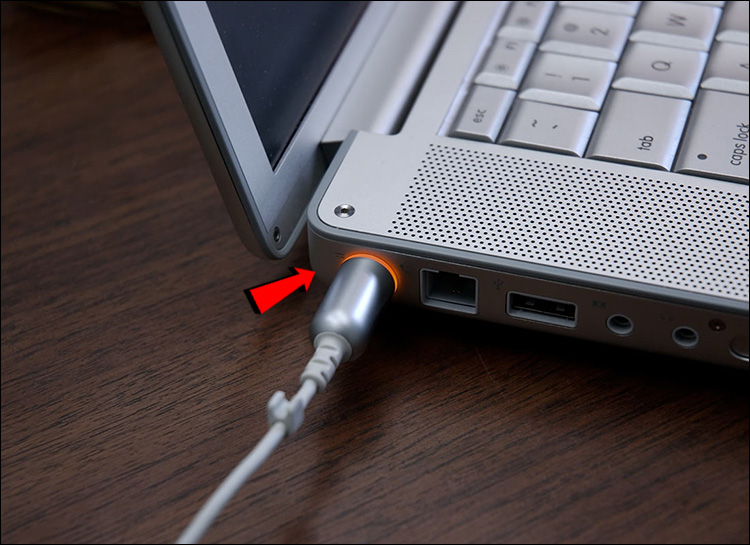
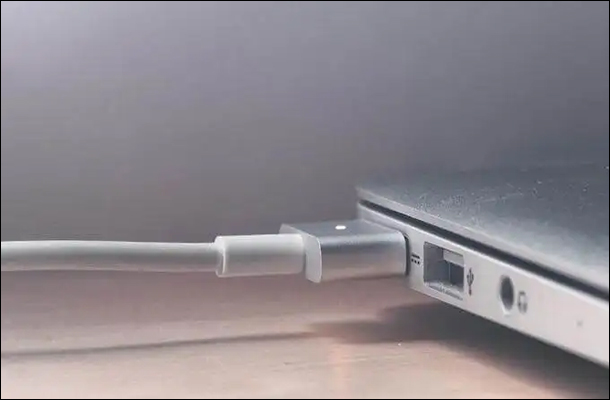
- Turn off the Mac and make sure that it’s connected to the power cable if you have a laptop.
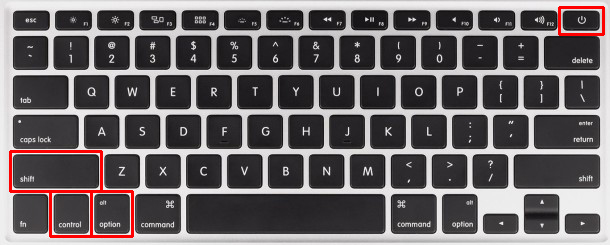
- Hold down “Shift + Control + Option + Power” simultaneously for a few seconds. The light on the power adapter will flicker or change color to indicate that the SMC reset has been completed.
- Release all of your keys at once.
- By pressing the power button, you may start up your MacBook Pro or Air.
It’s now possible to test the MacBook’s USB ports by plugging in a USB device and checking whether it works.
USB Port Not Working on a Chromebook
Check for Updates
On your laptop, make sure you’re using the most recent version of ChromeOS. Consider the possibility that unusual problems in the OS prevent the USB from working correctly. If this is the case, Google may have already implemented a hotfix.
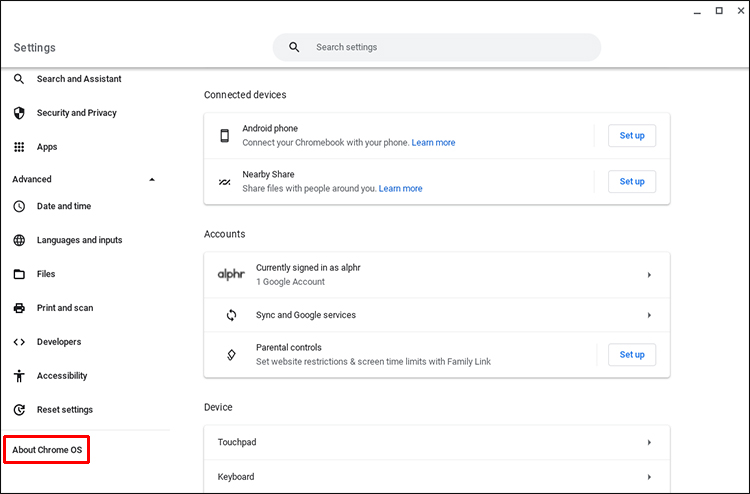
- Go to the “Settings” menu on your Chromebook and find “About Chrome.”
- Click the “About Chrome” OS page and click the “Check for updates” link.
- Restarting your laptop after installing the newest version of ChromeOS is required.

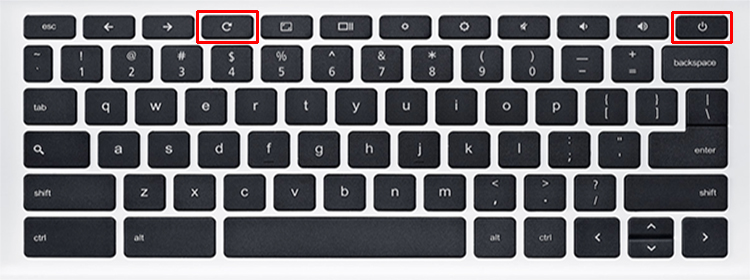
Reset Chromebook Hardware
- Shut down your Chromebook.
- Wait 30 seconds before reactivating your device.
- Hit the “Refresh” and “Power” buttons at the same time.
- When your laptop wakes up, release the Refresh key.
- Start your computer and see if your USB device is recognized.

USB Port Not Working Dell Laptop
Checking your Power Management Settings
- Press “Windows key + R” on your keyboard to open the “Run” dialog box.
- Type “Device Management” (without the quotations) into the Run dialog box and then click “OK.”
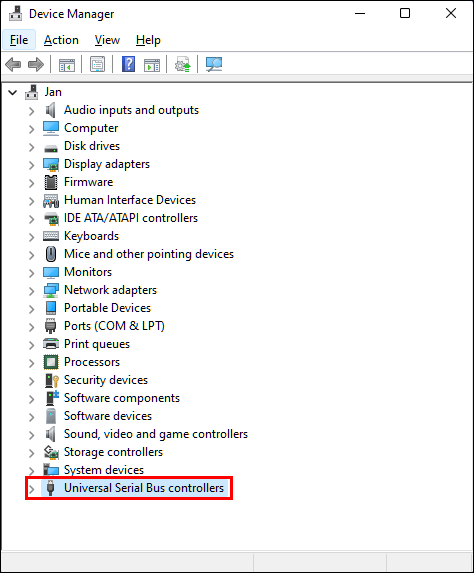
- Expand the “Universal Serial Bus Controllers” section.
- The first “USB Root Hub” entry is one USB port. Click it twice.
- Uncheck “Allow the computer to turn off this device to save power.”
- To keep your changes, click “OK.”

Repeat the process for every USB port.
Update USB Drivers
Your USB driver may be causing the problem if you’ve tried the previous three methods without success. In this case, upgrading it is the simplest solution.
- Open the “Run” window by pressing the “Windows key + R” on your keyboard.
- Then, click OK to start the Run dialog box and type “devmgmt.msc.”
- In “Device Manager,” right-click on your USB device and select “Update Driver.”
- If you downloaded a software update, please follow any on-screen instructions to complete the upgrade.
- You may need to restart your computer to apply any changes you make.


USB Port Not Working on an HP Laptop
Change Power Management Settings
- Press “Windows key + R” to bring up the “Run” dialog box on your keyboard.
- In the Run dialog box, type “Device Management” (without the quotation marks) and then click “OK.”
- Expand the section under “Universal Serial Bus Controllers.”
- The first “USB Root Hub” entry contains a single USB port. Double-click it.
- Clear the check box next to “Allow the computer to switch off this device to conserve energy.”
- Click “OK” to save your changes.
Redo the process for each USB.
USB Drivers Update
- Click the “Windows key + R” on your keyboard to bring up the Run window.
- Then, click “OK” to open the “Run” dialog box and type “devmgmt.msc” in the text field.
- Right-click on your USB device in “Device Manager” and select “Update Driver.”
- If you downloaded a software update, finish the upgrade by following any on-screen prompts.
- You may need to restart your computer for your updates to take effect.

Have Working USB Port in No Time
If none of the suggestions above help, it’s possible that the USB ports on your computer have been damaged. You can ask a repair shop to look into it if you bring your PC in. Having broken USB ports replaced should be a simple and affordable process.
Have you ever had a USB port issue? How did you fix it? Let us know in the comment section below!
Disclaimer: Some pages on this site may include an affiliate link. This does not effect our editorial in any way.