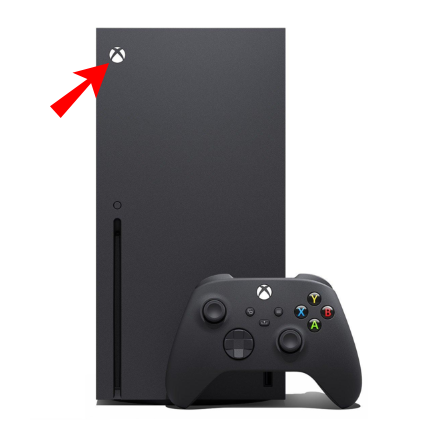
High dynamic range (HDR) videos have changed the world of TV shows and movies. The feature is also supported by Microsoft’s Xbox Series X, where it’s activated by default to enhance your gaming experience. It provides more brightness, vibrant colors, and emphasizes various elements on your screen.
However, auto HDR doesn’t work for every video game. You may want to preserve the classic look of your favorite entries, so you’ll need to find a way to disable it. So, how do you do it?
How Auto HDR Works on an Xbox Series X
HDR video is an advanced display technology that uses bright highlights and a wide array of colors to create realistic images. There are numerous HDR formats, but both the Xbox Series S and X run on HDR10. Dolby Vision support is expected to arrive in the future.
Launched by Microsoft for the Xbox family, auto HDR features artificial intelligence to produce HDR images from the standard dynamic range (SDR). Microsoft’s machine learning is the main technology that made HDR possible, training the auto HDR algorithm to offer natural-looking imagery.
In other words, this feature primarily augments SDR images with HDR highlights. For instance, it makes a direct light source (e.g., the sun) brighter than the rest of the picture, just as it’s is in real life. The technology also emphasizes certain images to produce more vibrant images.
The feature can be used for numerous titles, such as Xbox One video games displayed in SDR and original Xbox 360 games. Auto HDR doesn’t affect entries that have already applied HDR since they use their own variant of true HDR.
To help ensure the proper quality of your HDR presentation, you first need to accurately calibrate your display. This customization tells your console what the TV can handle regarding black levels and highlights:
- Turn on your Xbox Series X.
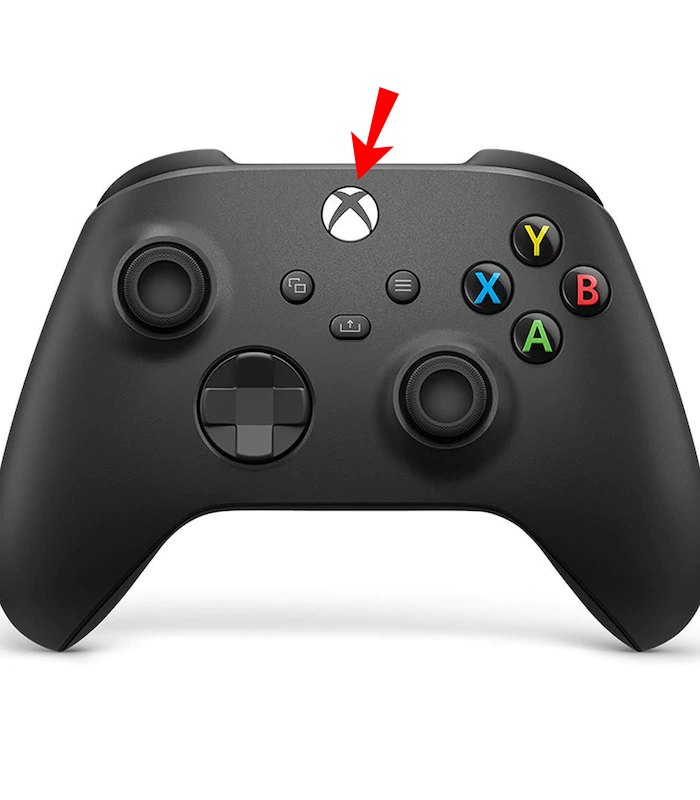
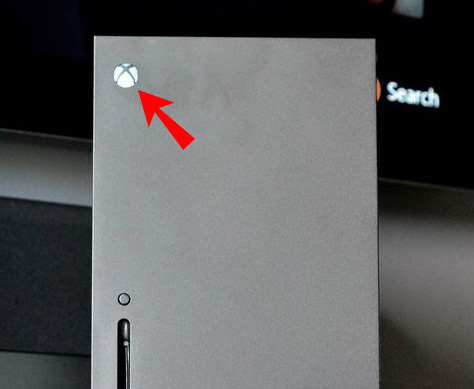
- Press the Xbox key on your controller.

- Select the “Power and System” option using your bumper buttons.
- Navigate to “Settings,” followed by “General,” and “TV and Display Settings.”
- Choose the “Calibrate HDR for Games” option to initiate the process.
- Follow the directions to modify your dials until the calibration is complete.
If you switch to a new monitor or TV, carry out the calibration again. You should also redo the action if you tweak any settings on the TV, including picture mode or brightness.
How to Enable & Disable Auto HDR on an Xbox Series X
If you’re not happy with the auto HDR effect or you’re having issues running the feature in certain games, you can always turn it off. The function can be also reactivated for other video games. Here’s how to enable and disable it:
- Power up your console.
- Hit the Xbox button on the controller.
- Choose “Power and System.”
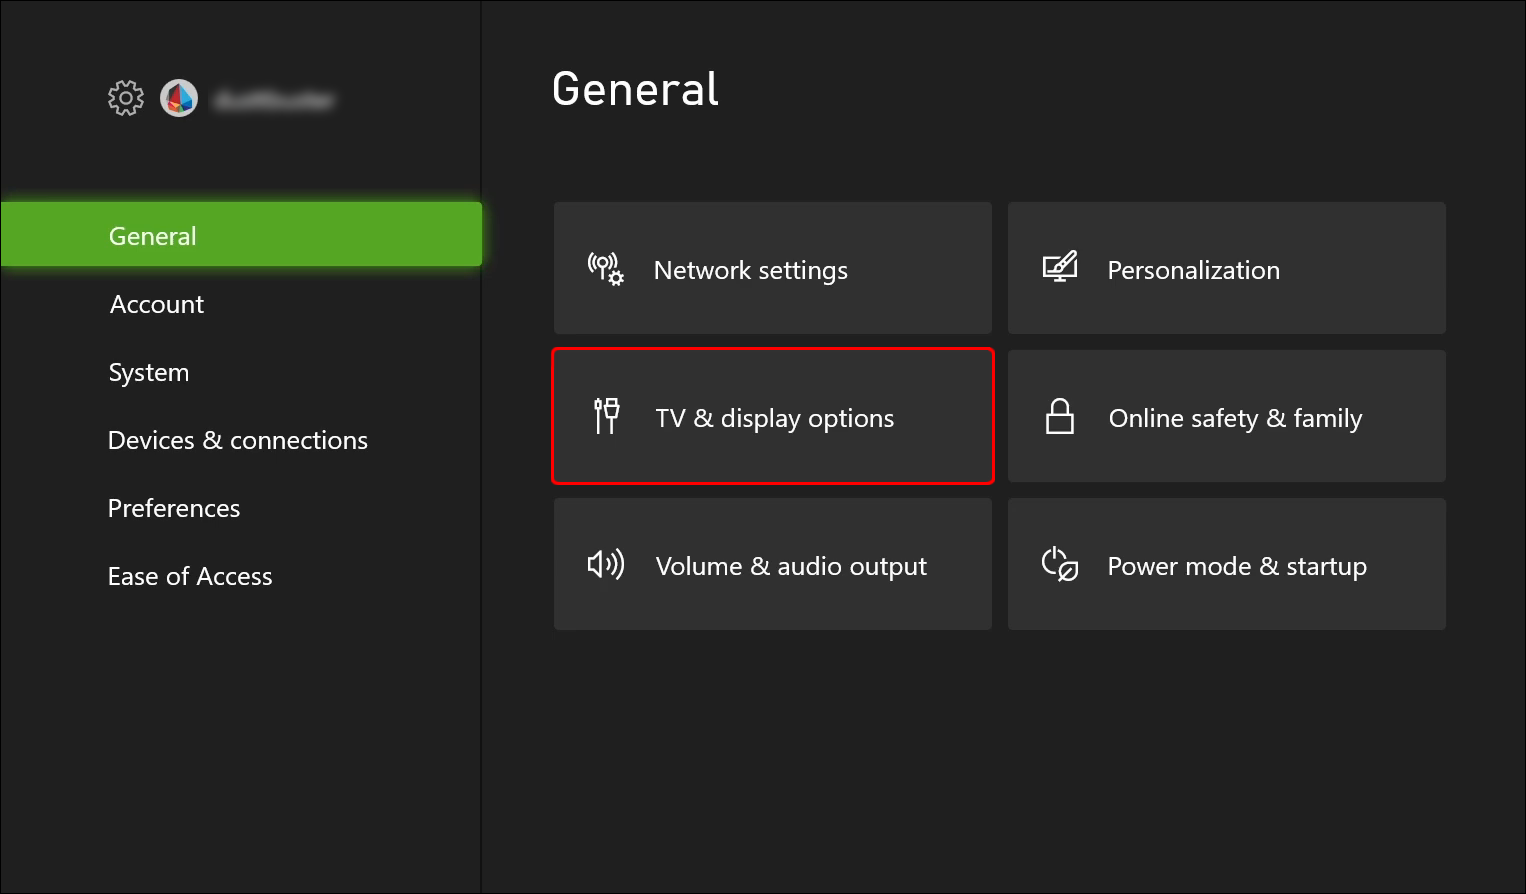
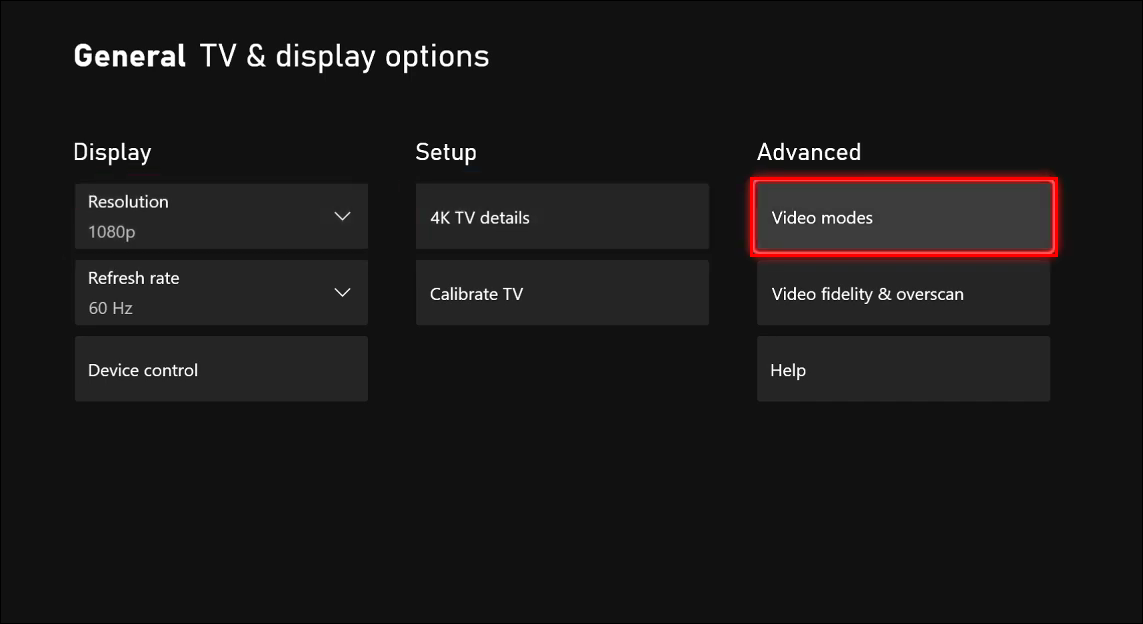
- Navigate to “Settings” and choose “General.”
- Select “TV and Display Options,” and head to “Video Modes.”
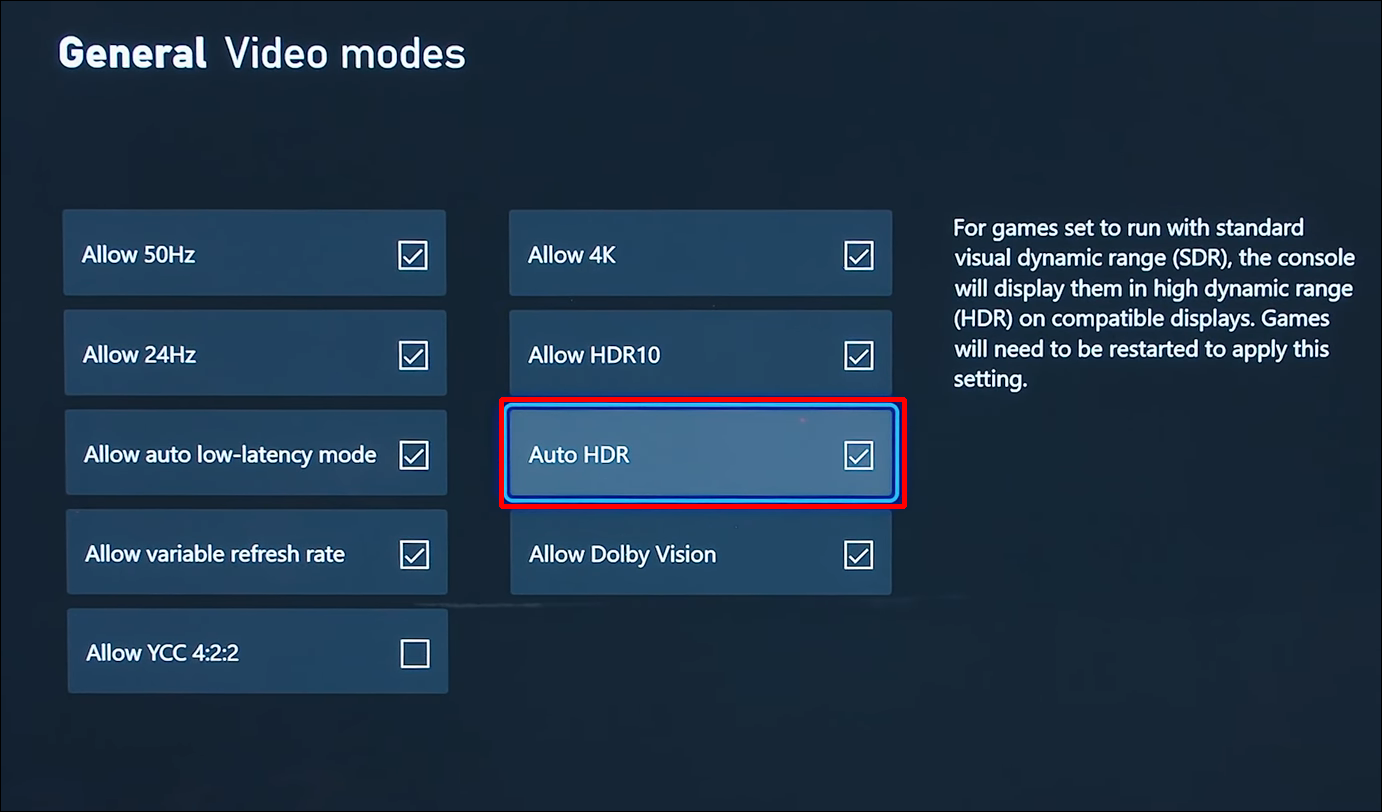
- Check or uncheck the “Auto HDR” option to turn it on or off.
- Restart any video games currently running to apply the changes.

How Does Auto HDR Perform?
Enable or Disable – the Choice Is Yours
Auto HDR can breathe new life into your video games. With greater brightness, many objects and characters can look better than ever, leading to a more enjoyable experience.
That said, auto HDR isn’t always necessary. It can result in odd-looking faces and objects in your Xbox Series X games, especially if they’re older. Luckily, you can always disable the function, and now you know how to do it.
How do you feel about auto HDR on Xbox Series X? Does it make your games look better or worse? Tell us in the comments section below.
Disclaimer: Some pages on this site may include an affiliate link. This does not effect our editorial in any way.