Streamers receive notifications when avid Twitch or YouTube users subscribe or follow them. These are stream alerts and are equivalent to the notifications you get on your smartphone. If you’re new to streaming and want to learn how to add them, you’ve come to the right place.
You can add alerts in OBS in several ways, as the streaming industry is full of excellent programs and plugins. We’ll select some common ones and show you how to use them. Read on for all the details.
How to Add Alerts in OBS
Streamlabs OBS (SLOBS) is one of the most popular streaming programs, and it has a built-in system for alerts. With the Streamlabs Alertbox, you can keep up with the latest events on your stream. These include new followers, subscribers, tippers, and more.
Here are the steps for adding alerts in SLOBS.
- Launch Streamlabs OBS on your PC.

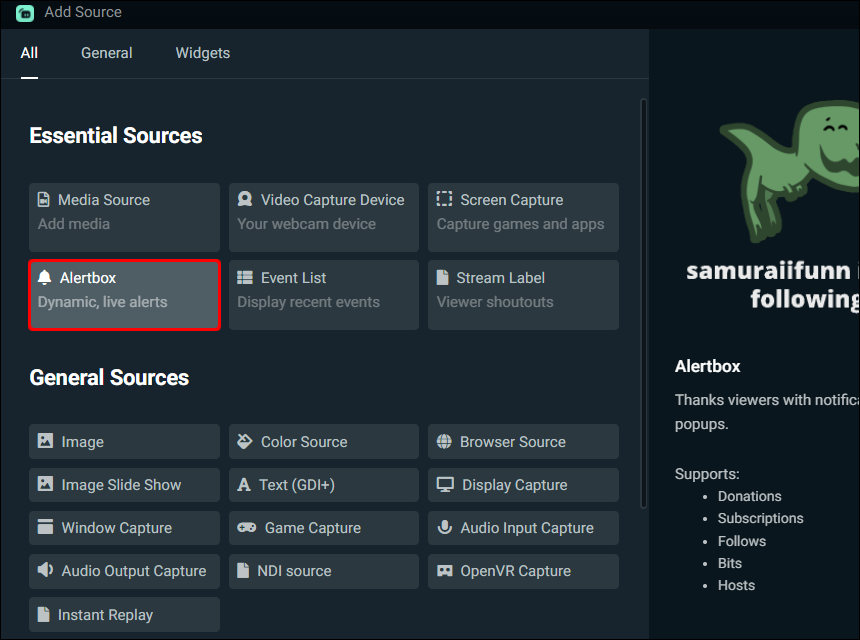
- In the Sources section, click on the plus sign.

- Under “Essentials Sources,” select “Alertbox.”
- From then on, Streamlabs OBS will inform you of new followers and more.


By default, SLOBS will use a standard alert, but you can also replace them with community-created pre-made alerts. They can cost money, however.
Alternatively, you can create your own custom alerts.
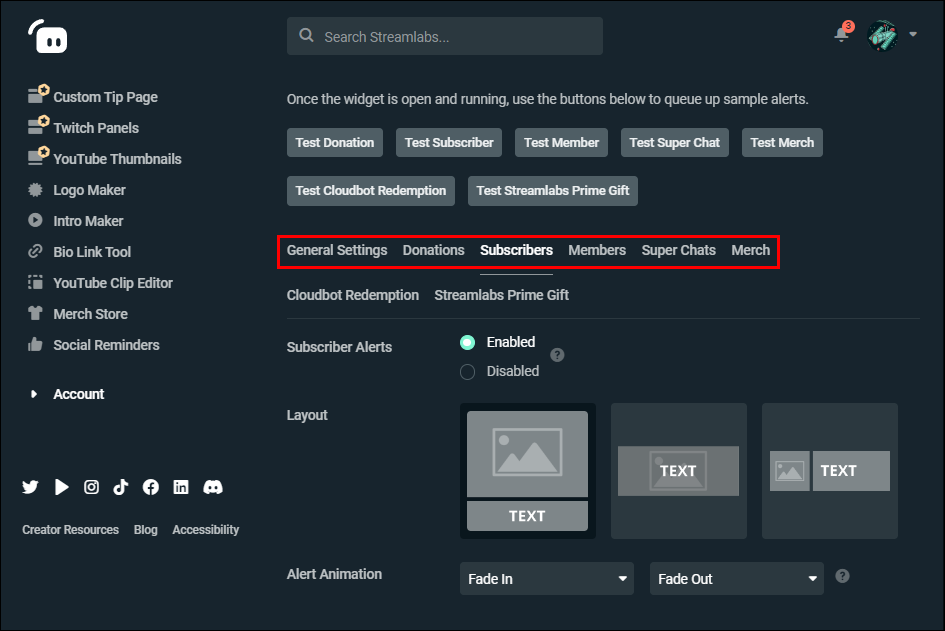
- On Streamlabs OBS, go to the dashboard and click “Alert Box.”
- Head to “General Settings” for more simple adjustments.
- For in-depth customization, click on “Donations,” “Subscribers,” and other categories.
- Change the layout, animation, image, etc.
- Repeat as required.


How to Add Alerts in OBS Studio
Unlike SLOBS, OBS Studio doesn’t have a built-in alert system. You can add a third-party system regardless, such as one from StreamElements or Streamlabs. We have guides for both.
The first set of instructions is for StreamElements.
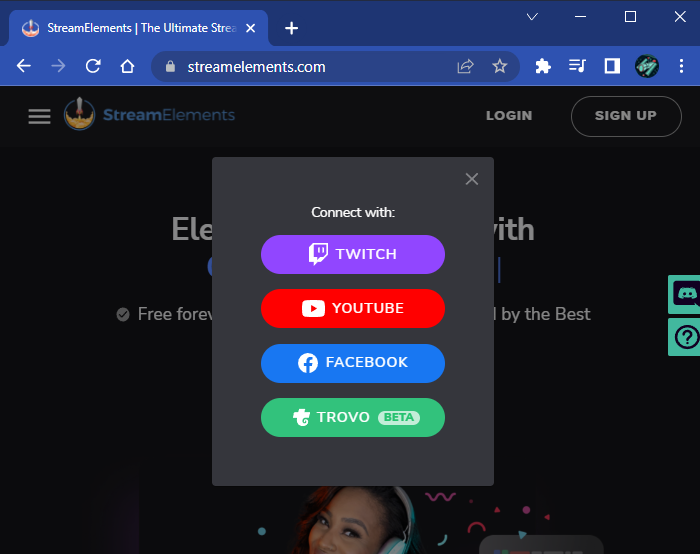
- Make a StreamElements account if you haven’t already.
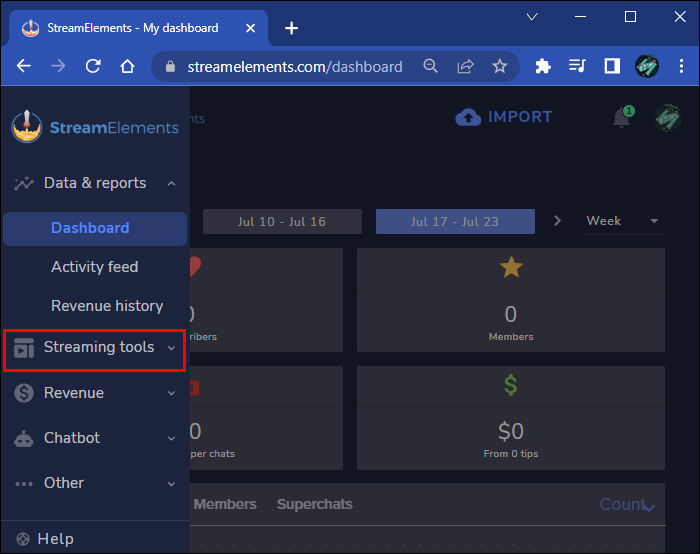
- Go to the StreamElements dashboard and select “Streaming Tools.”
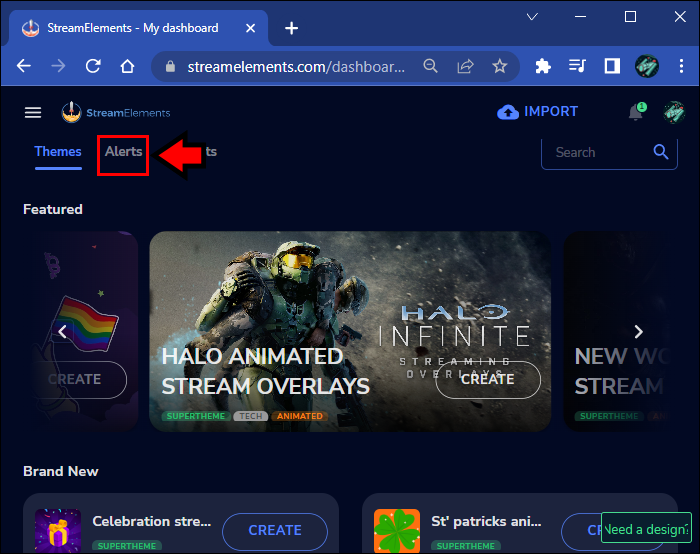
- Head to “Overlays Gallery” and pick “Alerts.”
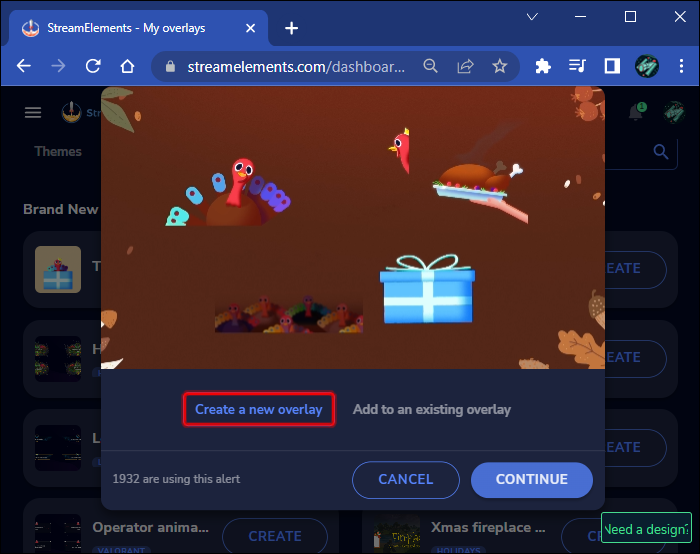
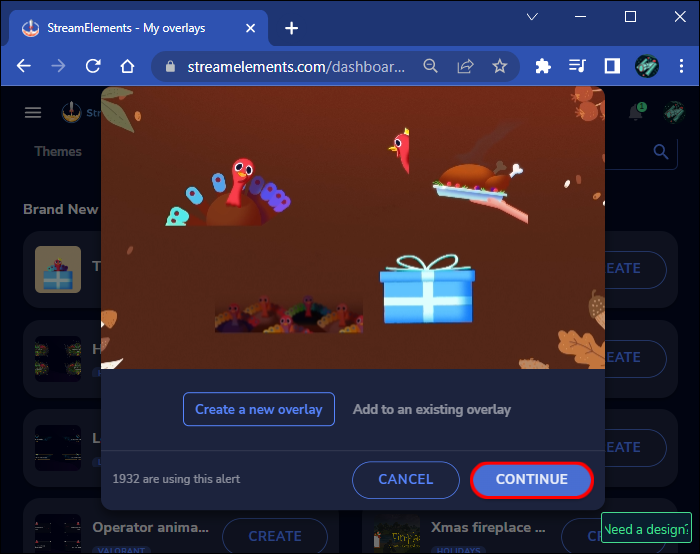
- Choose a pack and click on “Create.”
- Select “Continue.”
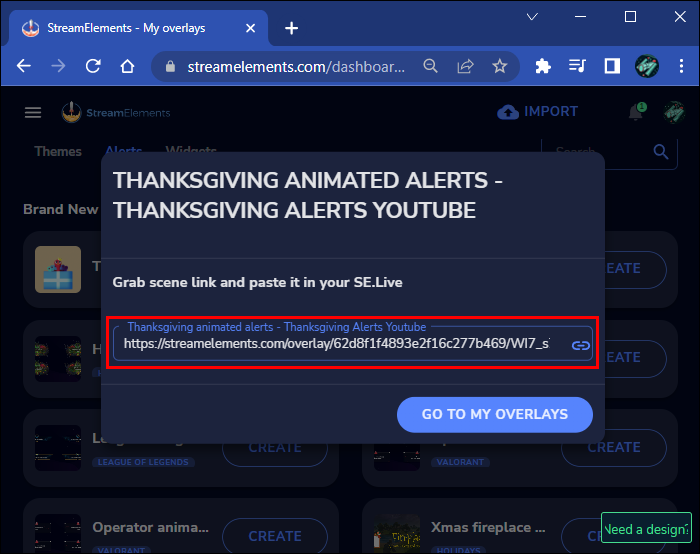
- Copy the URL.
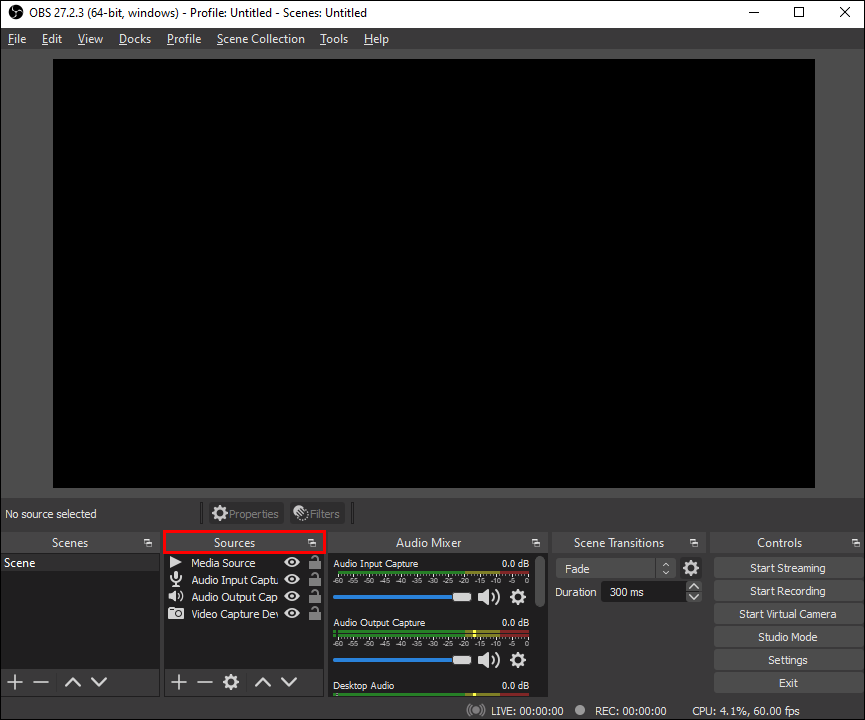
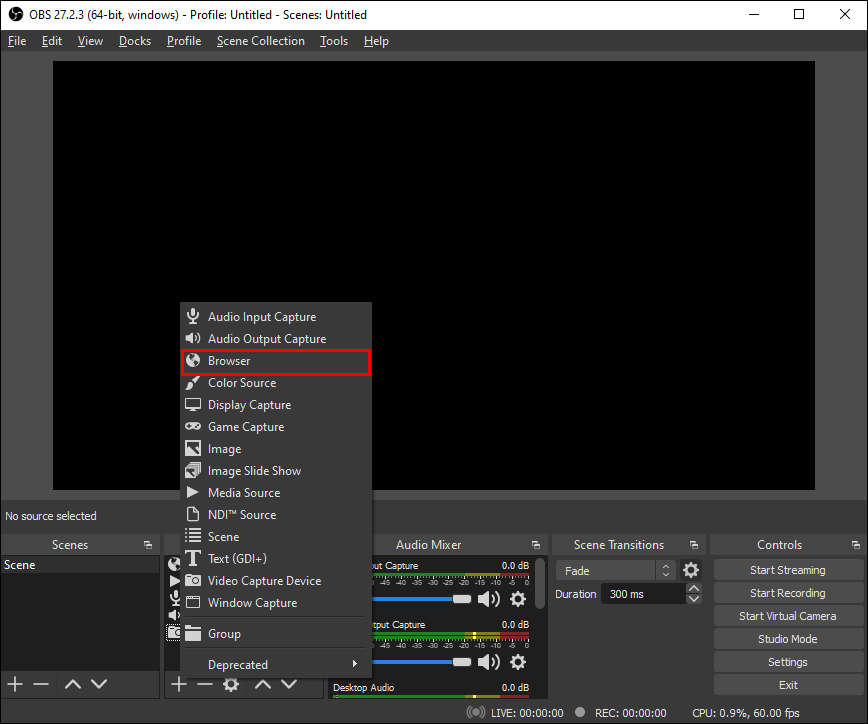
- Open OBS Studio and go to “Sources.”
- Click on “Add New,” “Browser.”
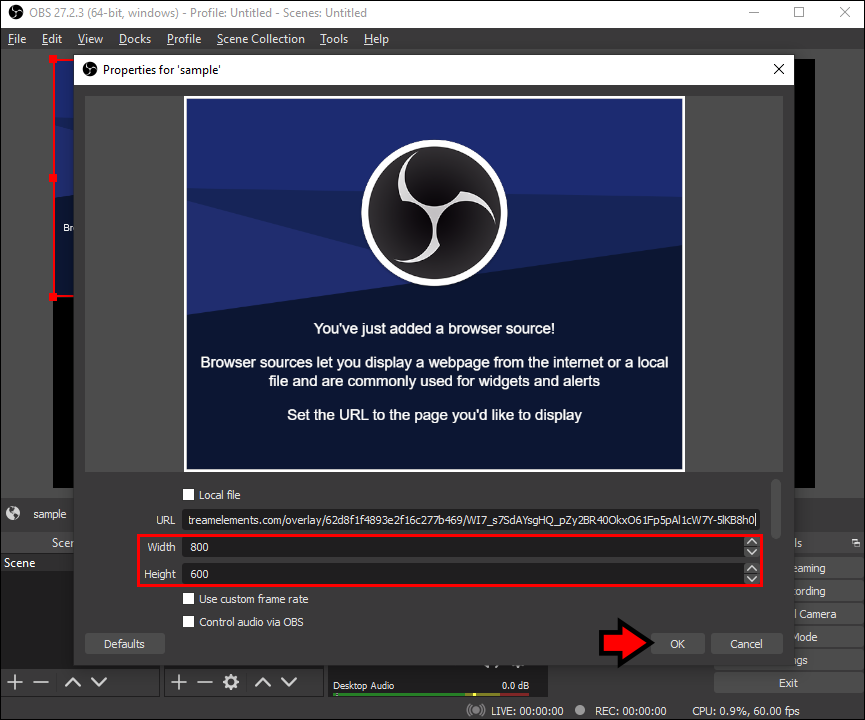
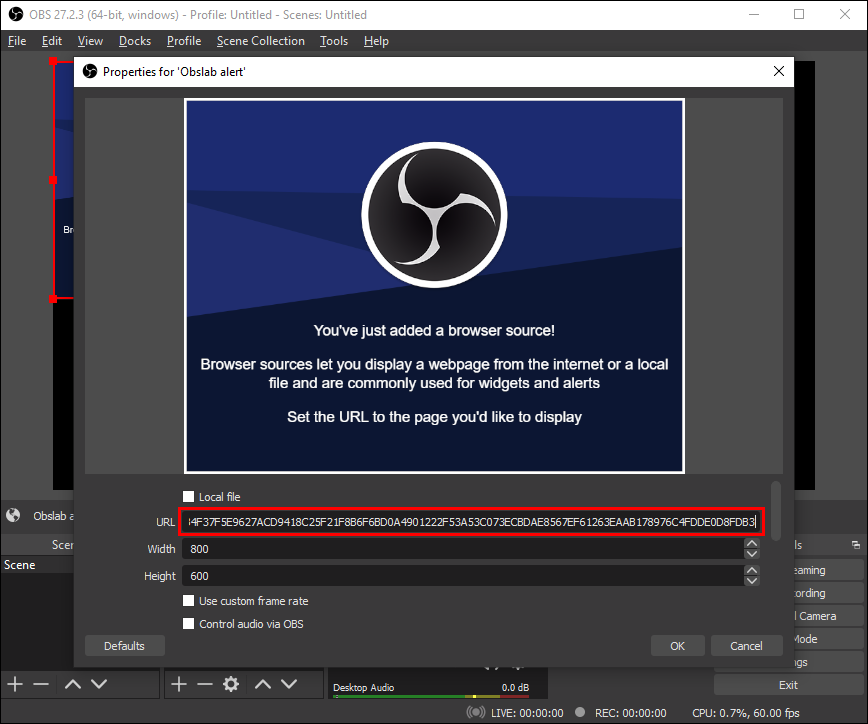
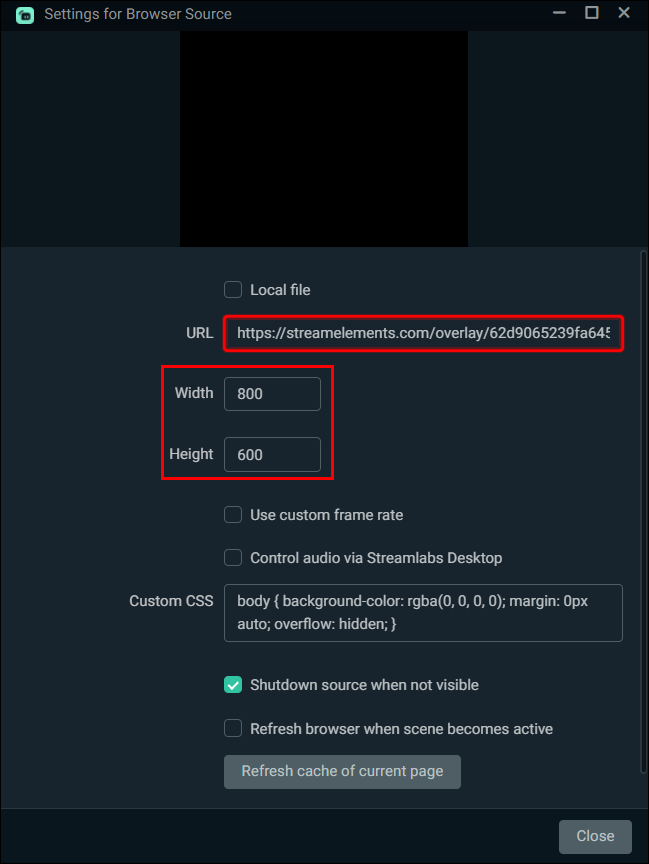
- Name the new source and paste the URL.
- Adjust the size and select “OK.”


You can then test them before streaming. Testing is optional but recommended.
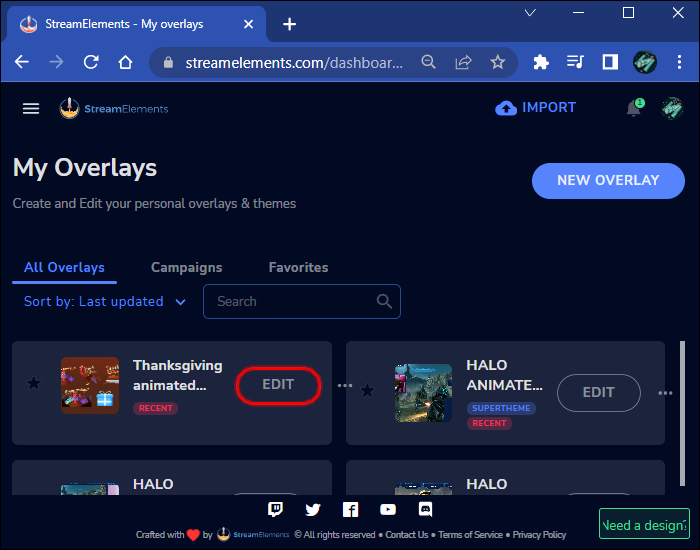
- Repeat Step 2 but go to “My Overlays” and click on the new overlay to test.
- Click on it, and you’ll open the StreamElements editor.
- Select the “Emulate” button and test your alerts.
- You’ve done everything correctly if they appear on StreamElements and OBS Studio.


If you prefer using Streamlabs, follow these steps.
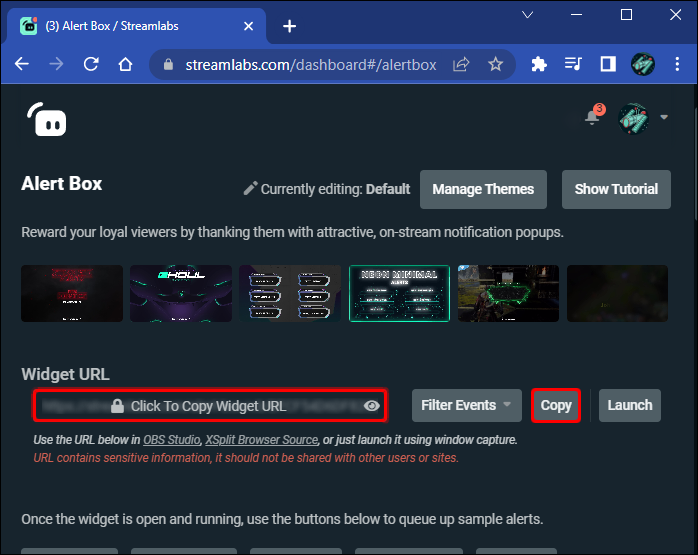
- Open Streamlabs and click on “Alert Box” from the dashboard.
- Edit your Alert Box settings if needed.
- Copy the Alert Box URL and open OBS Studio.
- Go to “Sources” and click on “Add New.”
- Select “Browser.”
- Give the new source a name and paste the Alert Box URL into the appropriate textbox.
- Adjust the width and height and click “OK.”
- Go back to Streamlabs and the Alert Box settings.
- Test your alerts.


Both StreamElements and Streamlabs allow users to upload custom alerts, so you can design everything the way you like.
How to Add Alerts to OBS StreamElements
While SLOBS has its own alerts, it’s possible to use StreamElements to replace them instead. It’s up to personal preference, but SLOBS perfectly supports this function.
- Open StreamElements first.
- From the dashboard, select “Streaming Tools.”
- Go to “Overlays Gallery” and “Alerts.”
- Create a new overlay and continue.
- Find the URL and copy it.
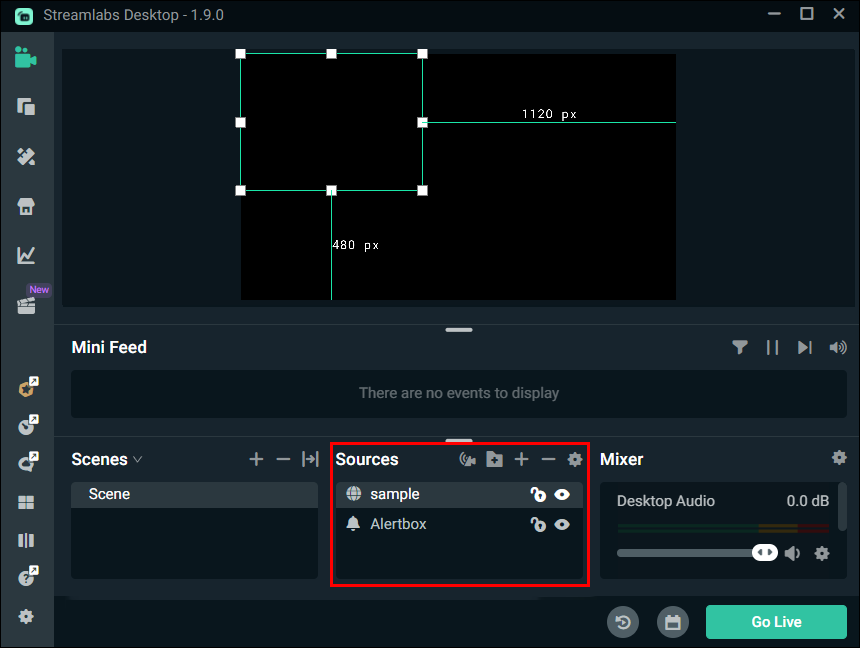
- Open SLOBS and find the “Sources” box.
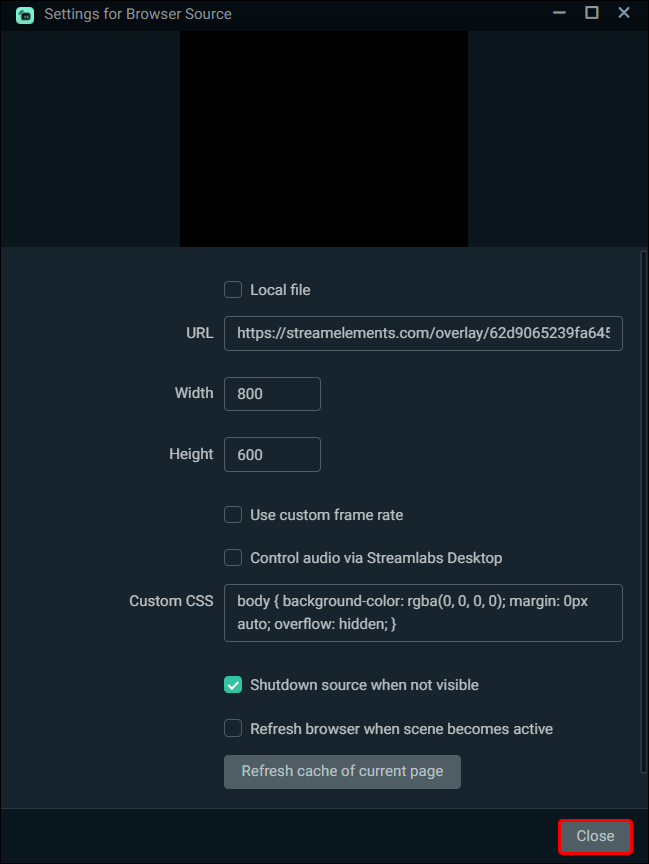
- Select “Plus sign” and double click “Browser source.”
- Paste the URL and configure the overlay size.
- Click “Close” to end.

Fortunately, many programs like SLOBS and OBS Studio share similar controls and menus, making switching from one to another less daunting.
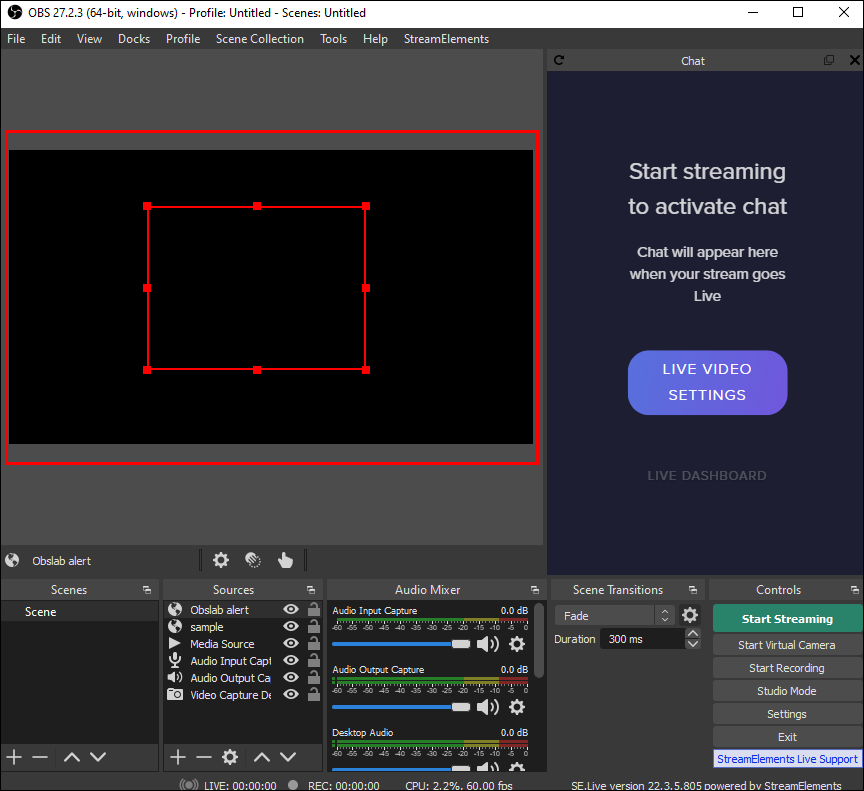
How to Add Alerts to OBS Live
SE.live is a StreamElements plugin that helps condense everything into one window as you stream with OBS Studio. Once you install it, you can set up alerts that display in a convenient section.
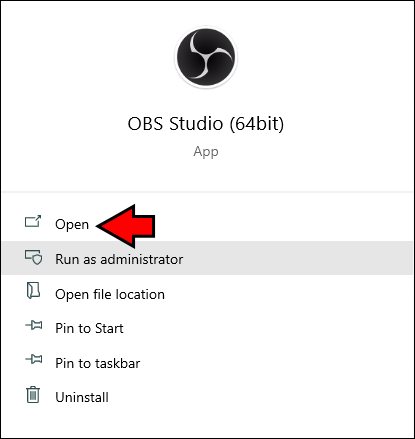
- Launch OBS Studio.
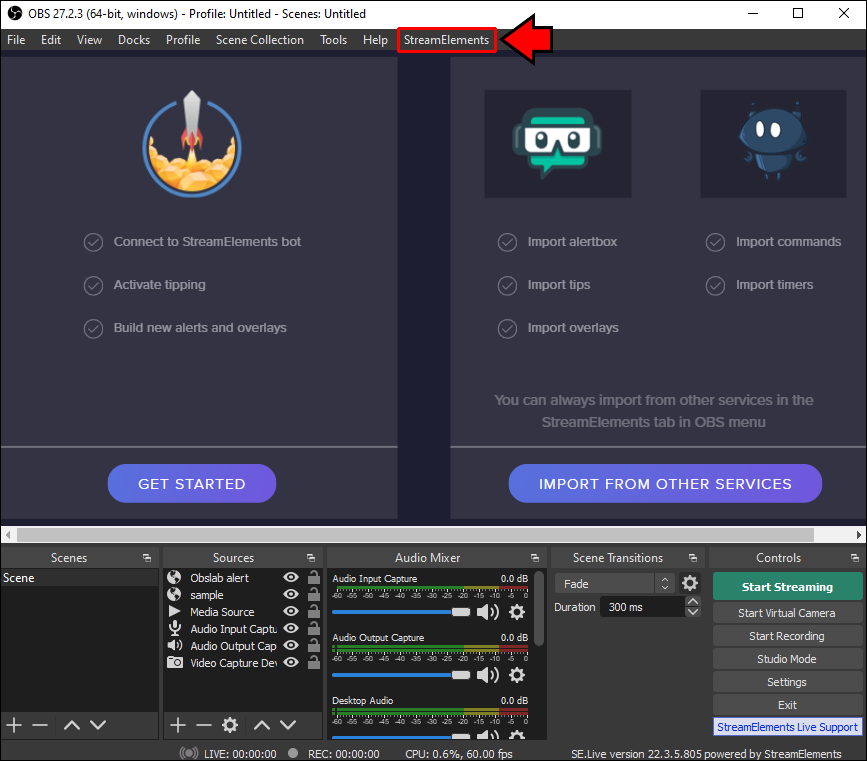
- If there’s a new “StreamElements” tab, you’ve installed it successfully.
- If not, relaunch OBS Studio
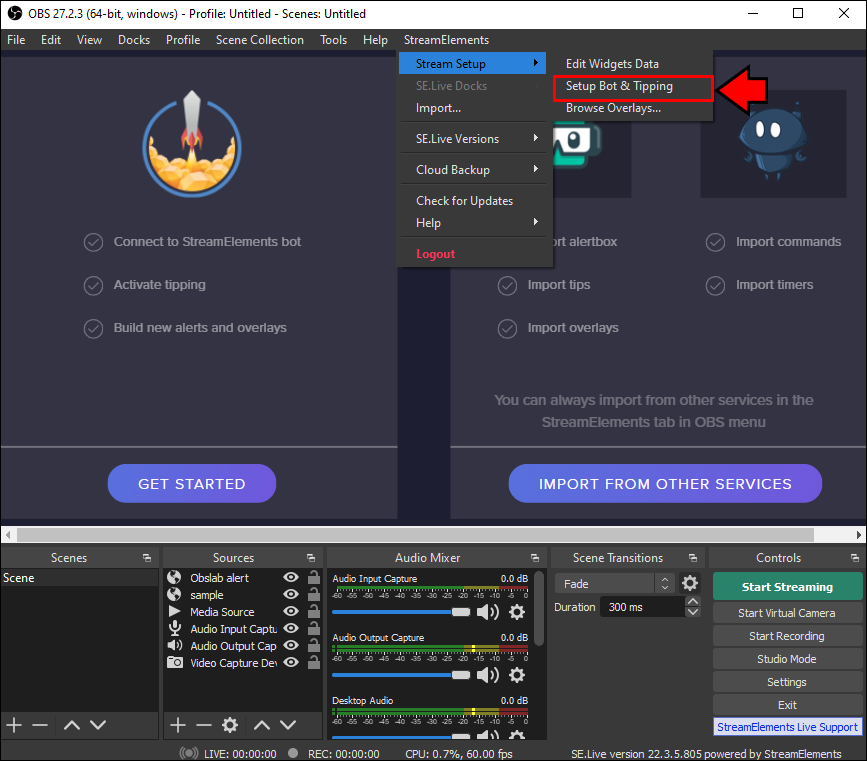
- Click on the tab and select “Bot And Tipping Setup.”
- Follow the instructions.
- Click on “Activate Overlays.”
- Go to “Activity Feed” in the “StreamElements” tab.
- The activity feed will be right there for you to peruse.


The great thing about this plugin is there’s not much to do, and customization is very straightforward. The alerts are in the form of entries, which some people prefer.
What’s New?
After receiving alerts, streamers will often spend a few seconds thanking the person who triggered it. It signifies a friendly streamer who wants to interact with their community and make friends. Fortunately, these alerts are easy to set up.
Which OBS software do you prefer? Can you describe your custom overlay? Let us know in the comments section below.
Disclaimer: Some pages on this site may include an affiliate link. This does not effect our editorial in any way.