Device Links
To make Reels on Instagram, users typically upload videos or record new ones directly within the app. However, many Instagram users don’t know that you can add one or more photos to your Reels and make a slideshow. Moreover, you can even combine videos with pictures in your Instagram Reels and create spectacular projects.
In this article, you’ll see how to add photos to Instagram Reels across various devices.
How to Add Photos to Instagram Reels on an iPhone
Before making the Reels on Instagram, ensure all the photos you want to add are already in your Gallery. If you want to use old photos you’ve taken months or years ago, Instagram may have issues loading those photos, and the app might crash. To prevent this from happening and save time, locate those photos and add them to your Favorites, or take screenshots of them. That way, when you open your Gallery from the app, the images will be previewed at the top of the “Recent” folder.
Another thing to check is whether you have the newest app version or might be unable to do this. To add photos to Instagram Reels on your iPhone, this is what you need to do.
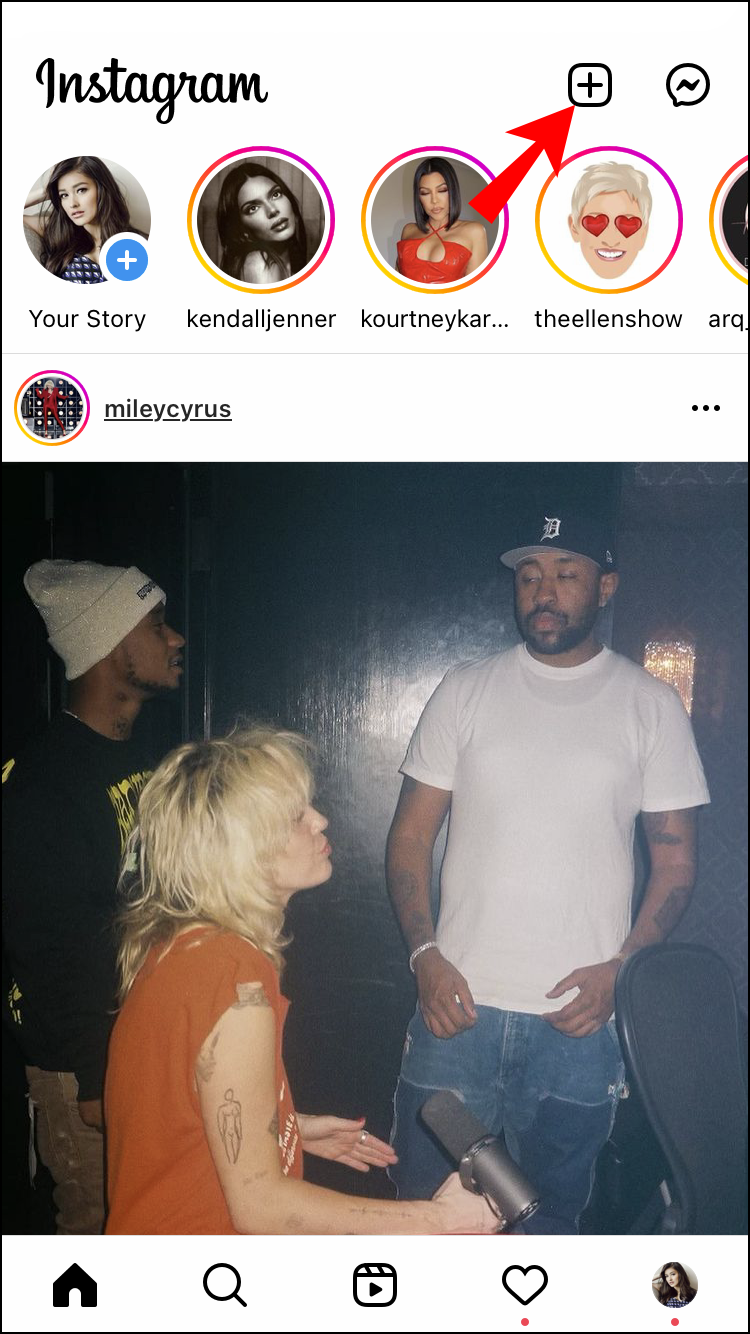
- Open the “iPhone Instagram app.”

- Tap on the “+” icon at the top of your screen.

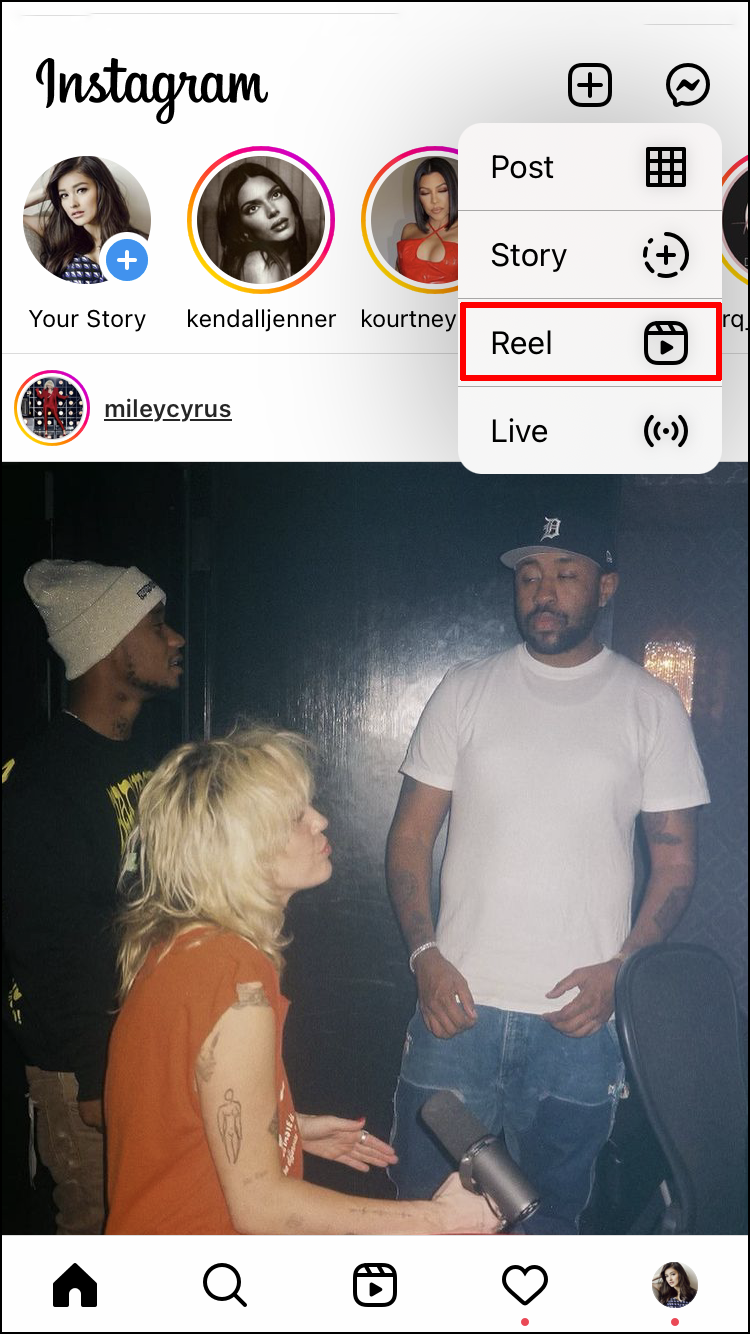
- Select “Reel” from the drop-down menu.
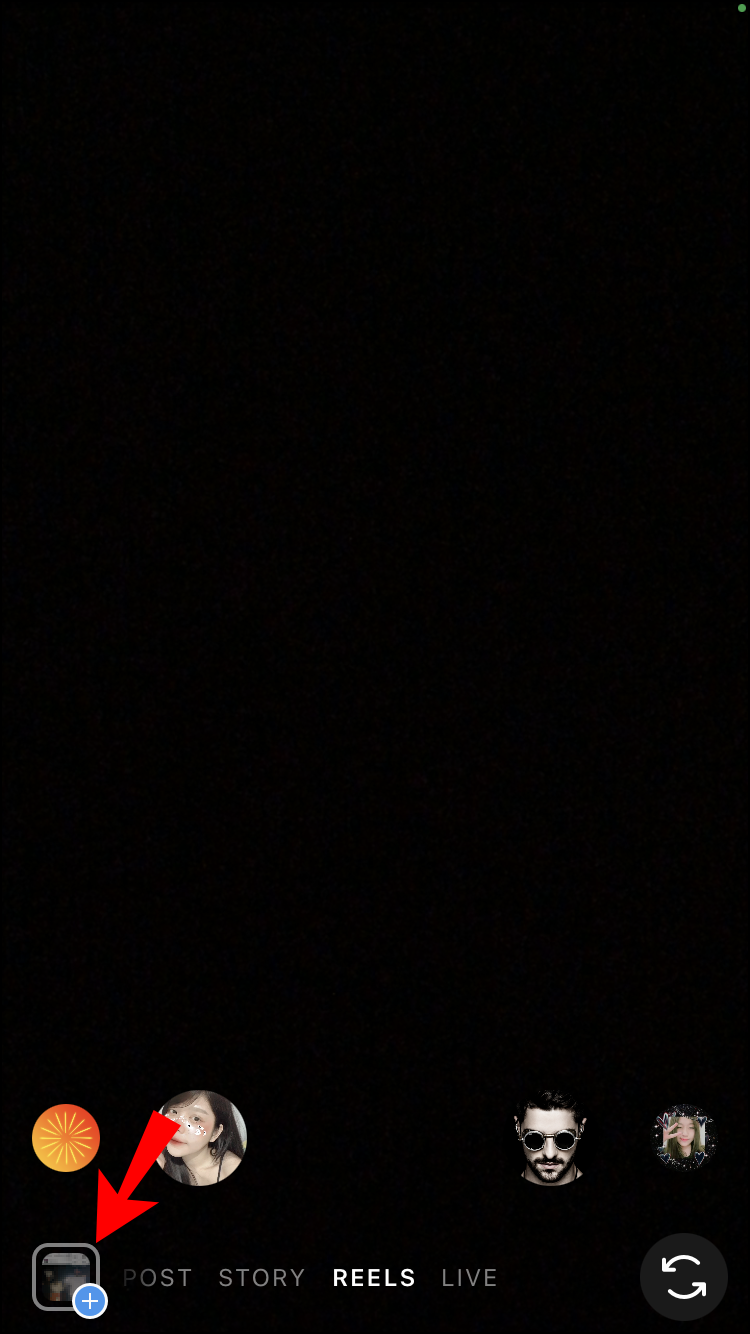
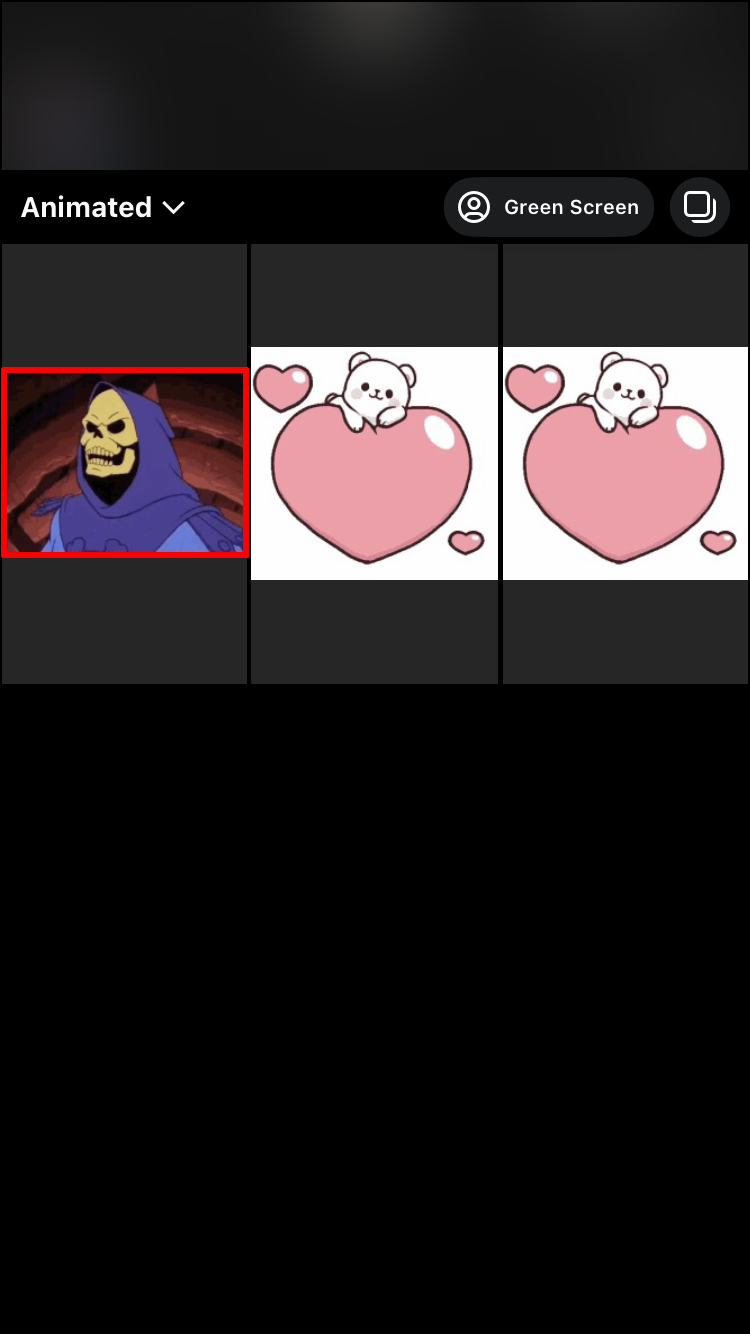
- Go to the “Gallery” thumbnail in the bottom-left corner.
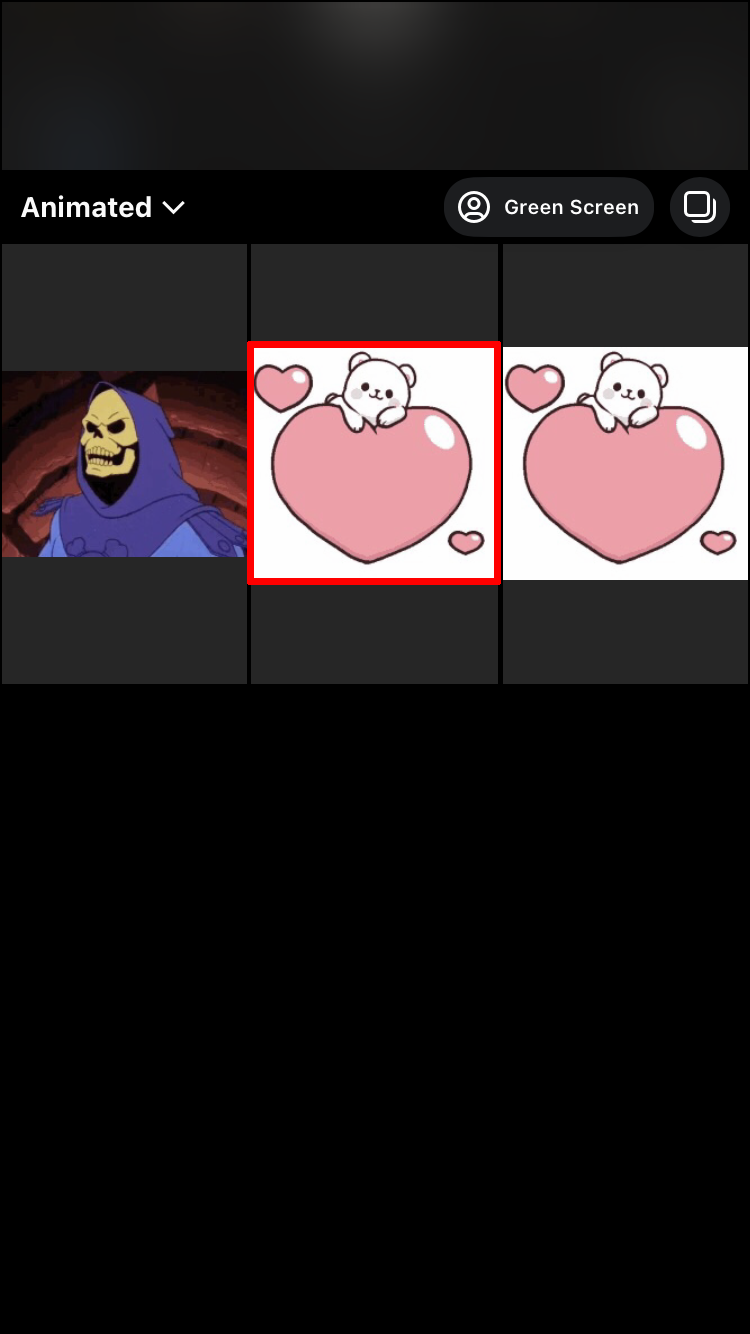
- Choose one photo.
- Move the slider to set how long it will last in the Reels. It can last from one to five seconds.
- Tap on the “Add” option in the upper-right corner.
- Return to your Gallery and choose another photo.
- Repeat the same steps for all the photos you want to add to your Reels.
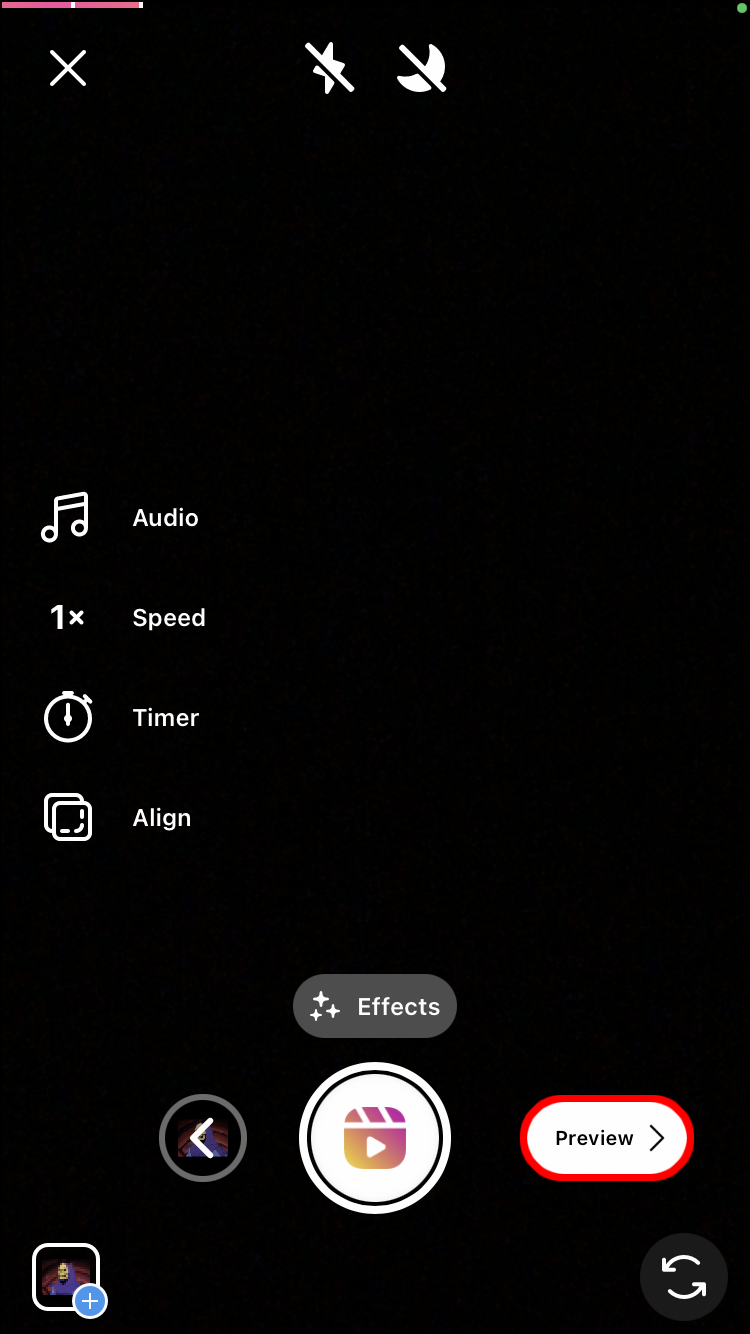
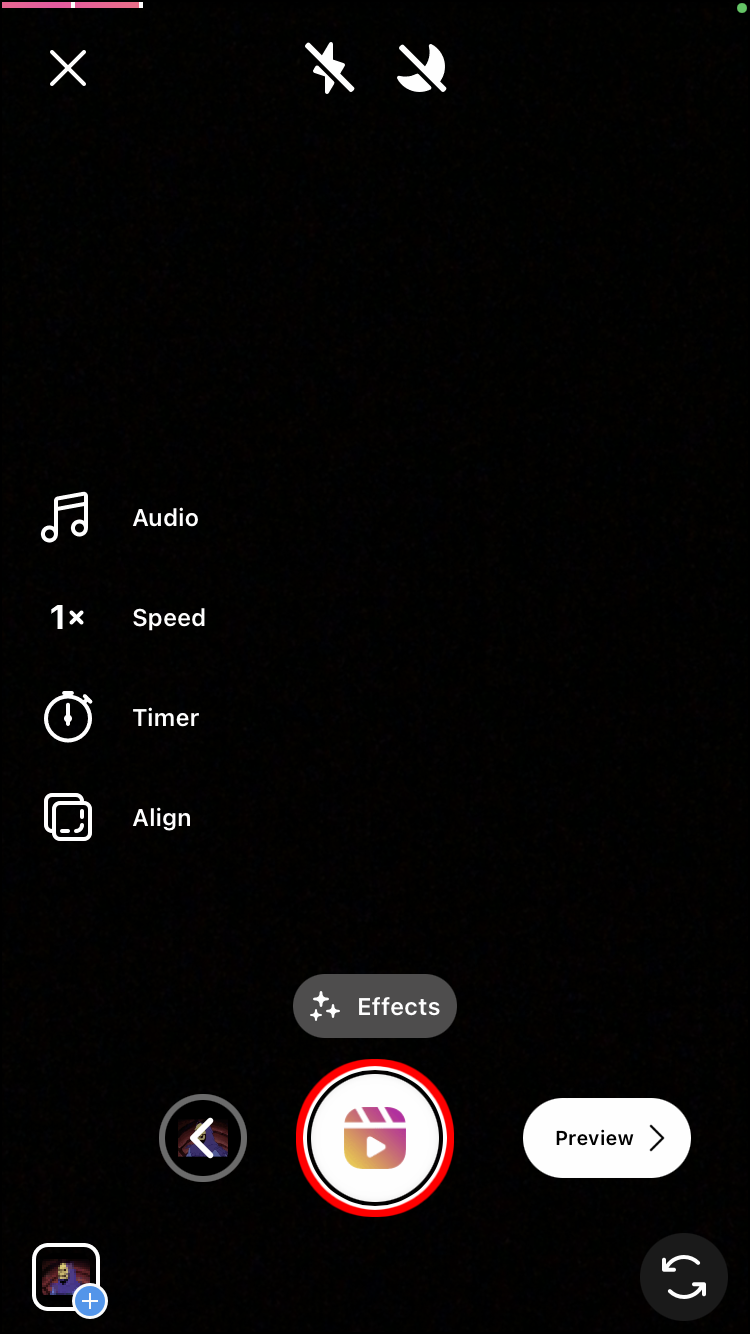
- Select the “Next” button to see a preview and make sure everything is in place.
- When you’re done, tap on the “Next” button at the bottom of the screen.
- Add a caption if desired, then choose “Save draft” or “Share” at the bottom of the screen.


If you want to add multiple photos, you must do it one at a time. There isn’t an option to add all of them at once.
The number of photos you want to add to your Reels depends on their duration. Instagram Reels can last 15, 30, and 60 seconds. So, for example, if you want your Reels to last 30 seconds and each photo three seconds, you can add ten photos.
You also have the option to trim each photo after you add it to your Reels. If you want them to be in the video for a shorter time or make room for more photos, you can make the changes afterward.
How to Add Photos to Instagram Reels on an Android Device
To add photos to your Instagram Reels on your Android device, follow the steps below:
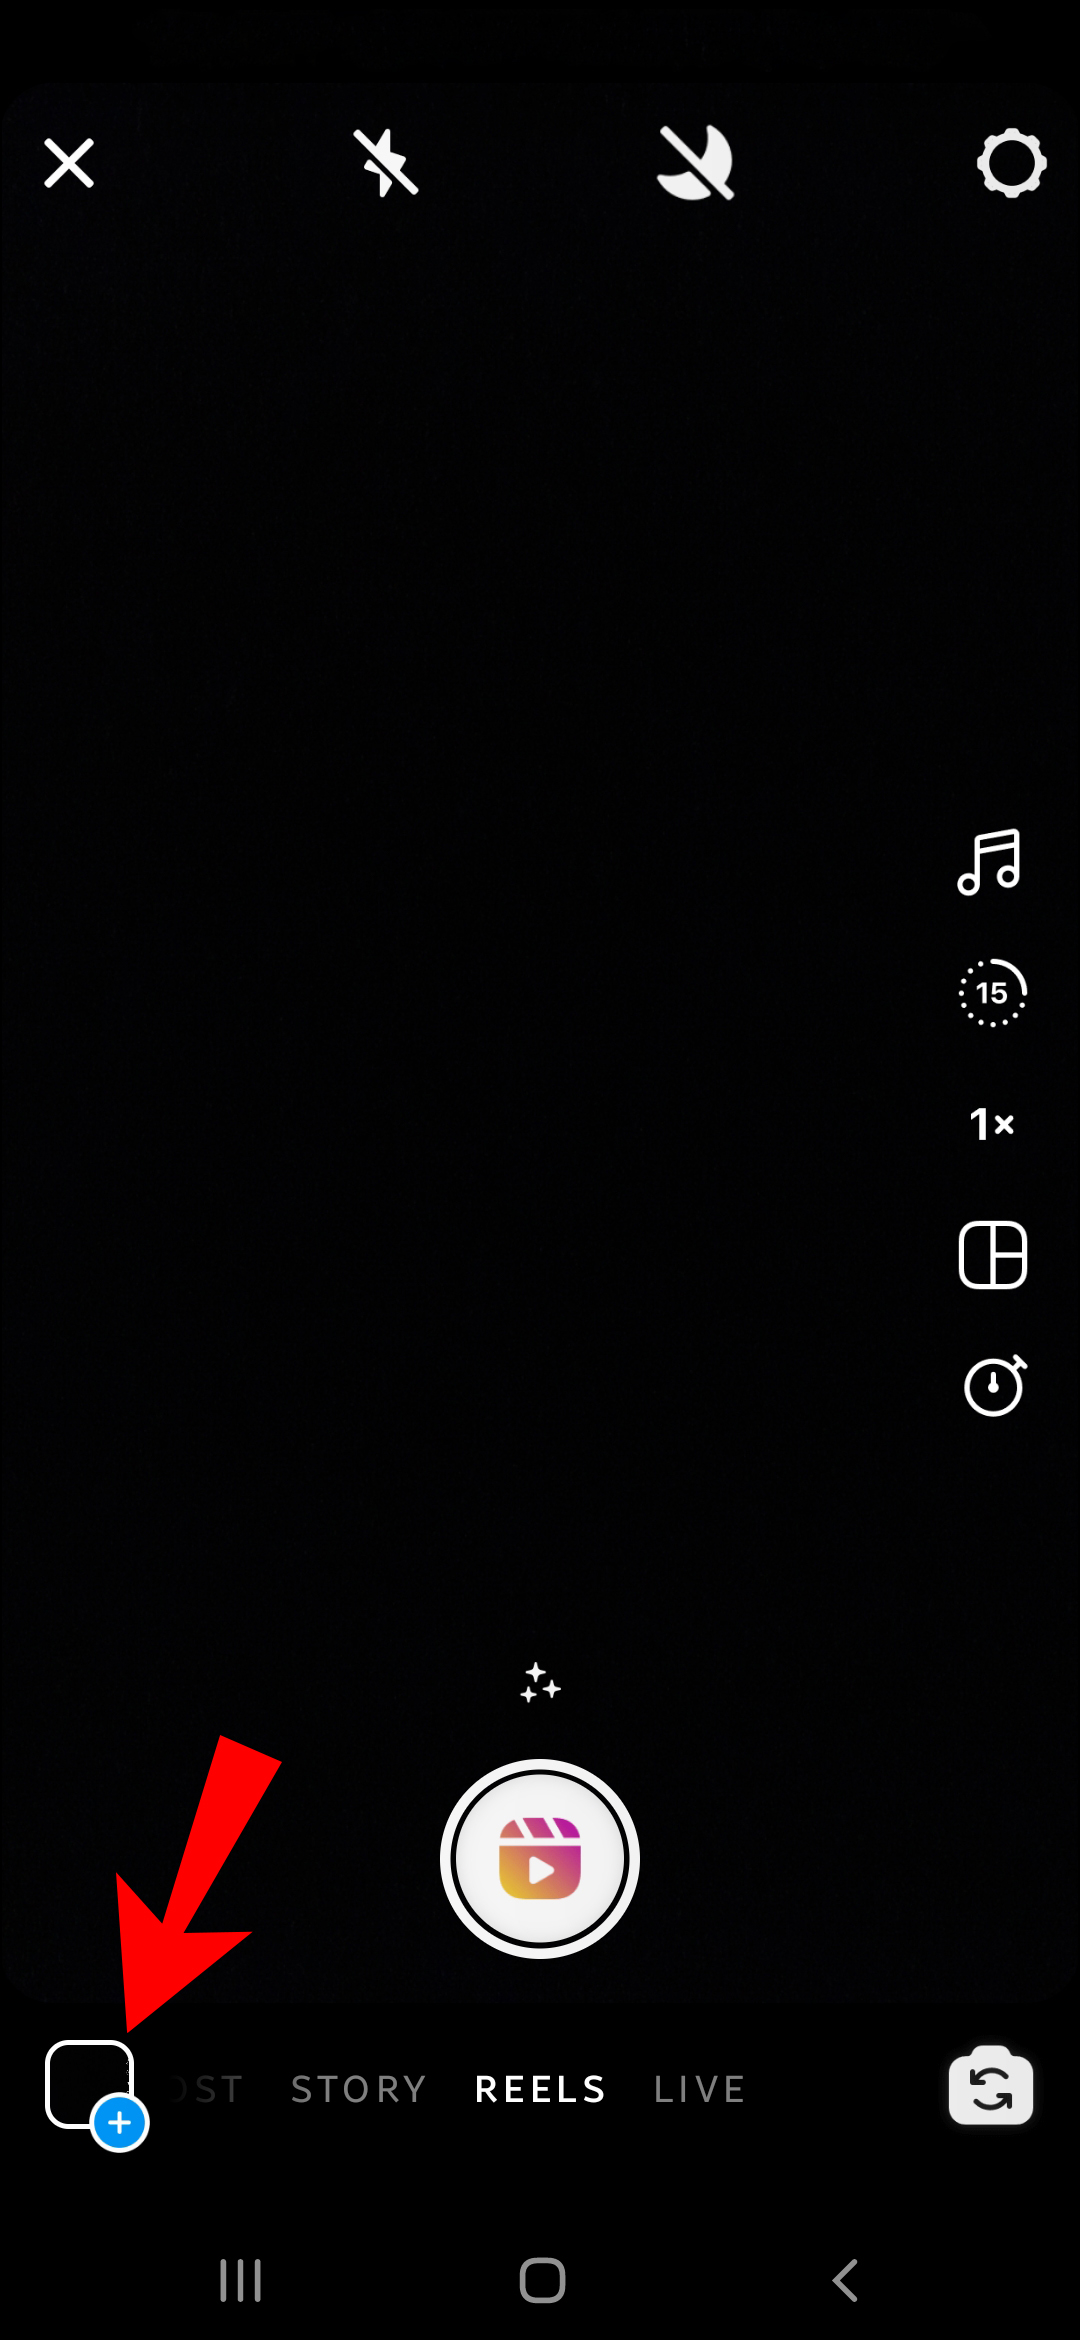
- Launch the app on your Android device.
- Tap the “+” icon at the bottom.
- Select “Reel” from the options that appear at the bottom.
- Navigate to the “photo” icon in the bottom-left corner.
- Locate the photo you want to add to your Reels.
- Move the sliders at the bottom to the length and position you want.
- Tap “Add” in the upper-right corner to save it to the Reel.
- Repeat the same steps for all the photos you want to add.
- Tap “Next” to preview the results and ensure they are organized correctly.
- Edit the images any way you want.
- Tap on the “Next” button in the bottom right section.
- Add a caption if desired, then share it to Reels by tapping “Share” or select “Save draft” and publish it later.


When you go to the “Preview” tab, you can edit each photo like any Instagram Story. For example, you can add a voiceover, a song, effects, stickers, text, and many more creative features.
How to Add Photos to Instagram Reels on Windows
While Instagram lets you post photos and Stories on your PC, adding Reels from anything other than the mobile app is almost impossible. Moreover, you won’t be able to use the Instagram website to add photos to your Reels.
If you can’t access your mobile device now or don’t have one at the moment, a third-party app is the only way to make Instagram Reels with photos on your PC. It can be any video editing app since you’ll make a slideshow.
One app you can use to make a slideshow on Windows is MiniTool Movie Maker. The app is free, and it’s easy to use. All you need to do is import all the photos from your computer. Once you make the slideshow, export it in a video format. Make sure you’re using the correct dimensions and a vertical view. Now it’s time to post it on Instagram as Reels.
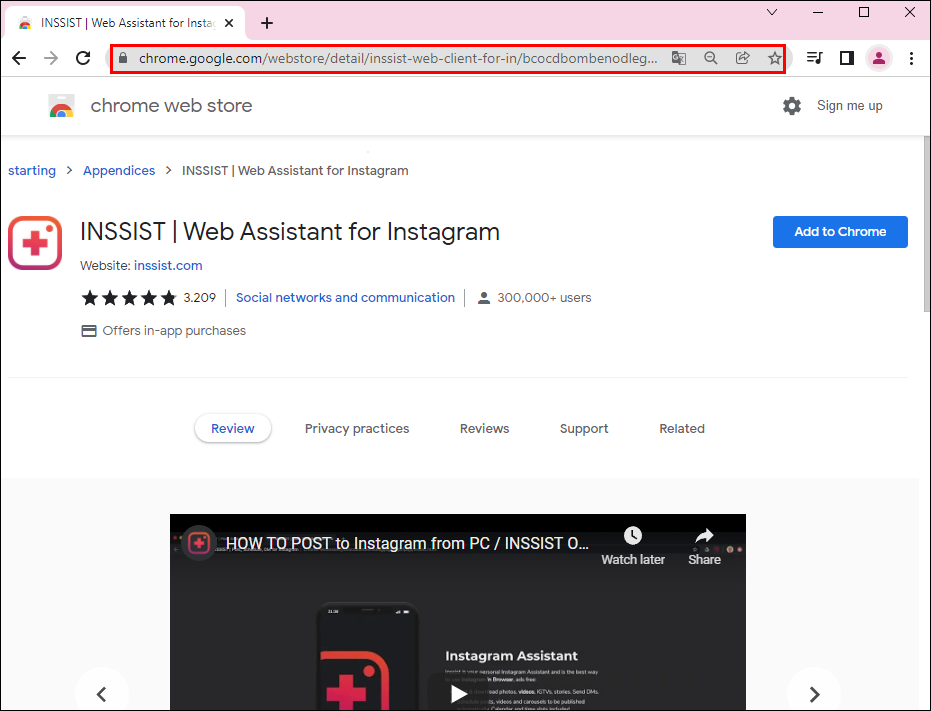
Even though you can’t post Reels directly on the Instagram website, a Chrome extension will allow you to do it. It’s called Inssist Web Assistant for Instagram, and it lets you access your Instagram on your computer from a mobile view.
To post Reels to your Instagram on your PC with the Chrome extension, follow the steps below:
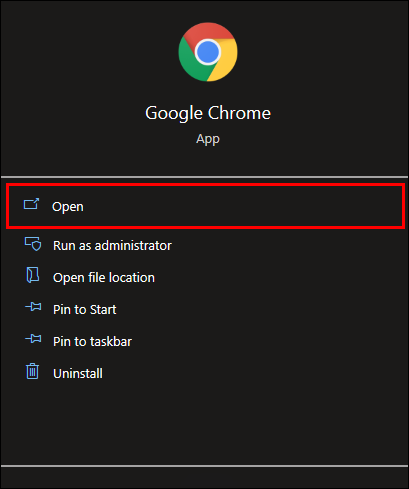
- Open “Google Chrome.”
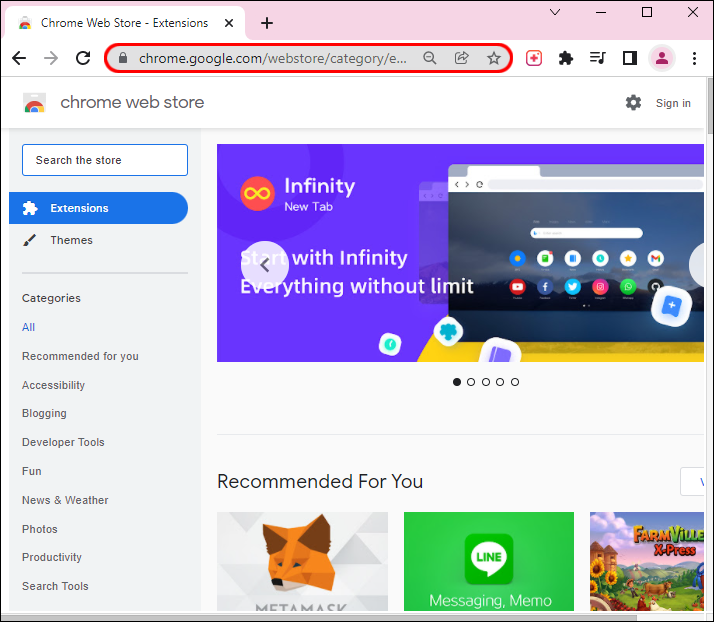
- Visit the Chrome Web Store.
- Search for “Inssist Web Assistant for Instagram.”
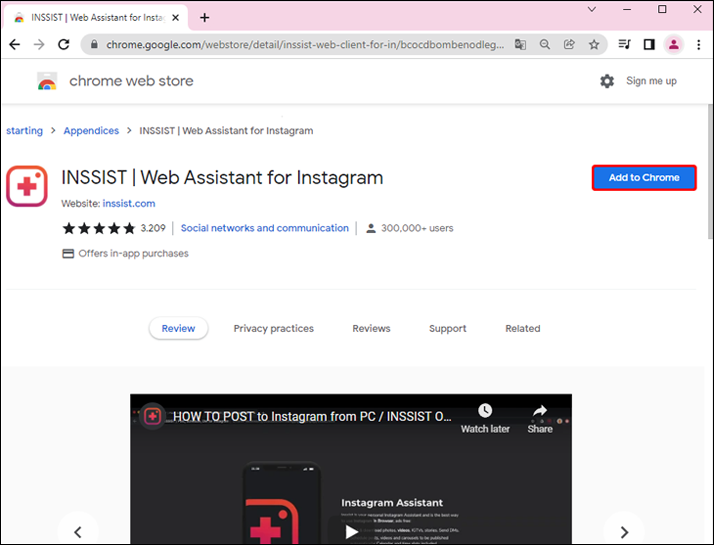
- Click on the “Add to Chrome” button.
- Choose “Add extension” on the pop-up window.
- Go to Instagram. It most likely WON’T load correctly, but that is fine.
- Click on the “Inssist” icon in the screen’s lower-right corner.
- Select the “Ok, Let’s Go” button. Your mobile-view Instagram will open in another window.
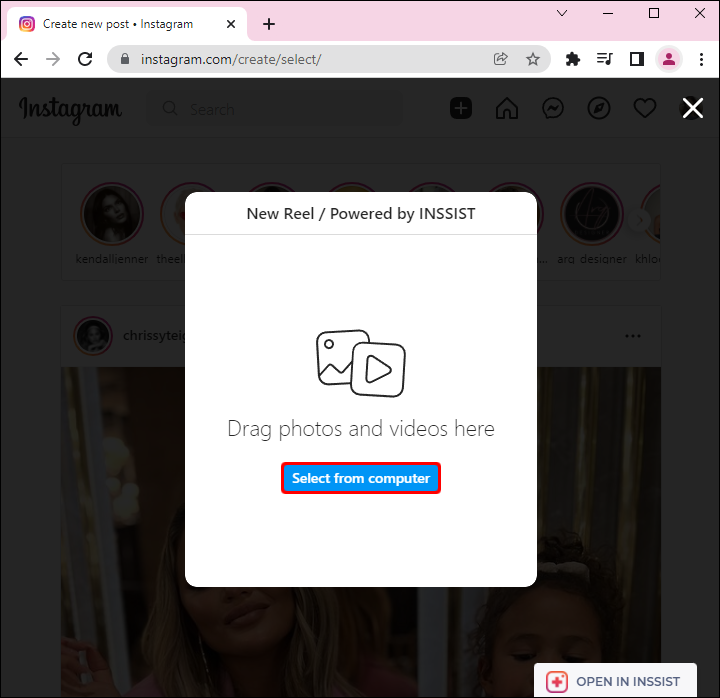
- Proceed to the “+” icon at the bottom of the Instagram screen.
- Choose “Reels” from the pop-up menu.
- Upload the video from your computer. Your file browser should open.
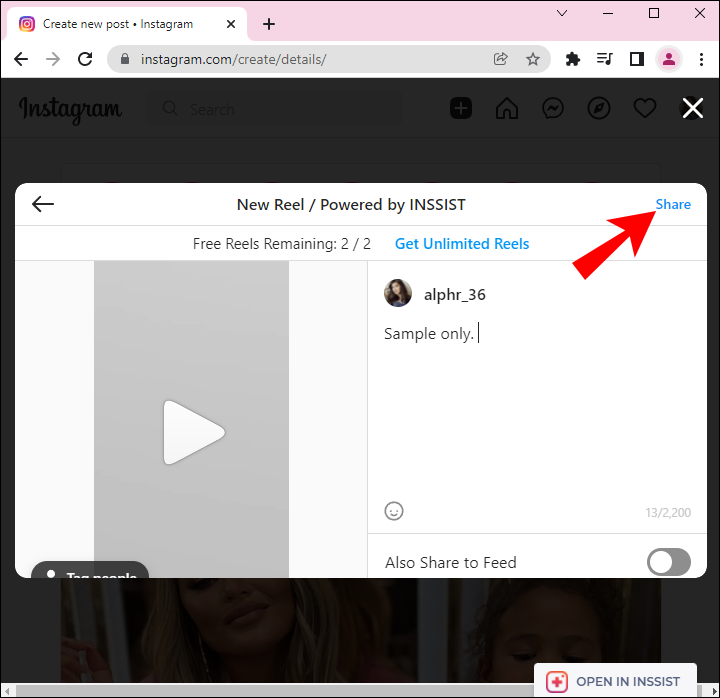
- Once the video loads, click “Next” in the top-right corner of the Instagram screen.
- Click on “Share” on the next screen to post it to Instagram.


Unfortunately, this is currently the only way to post Instagram Reels from your PC.
Overall, you can be amazingly creative with your Instagram Reels. Not only can you add photos, but you can also edit them and make a fantastic slideshow. However, doing this on your mobile device or iPad is better since it saves you a lot of time and effort.
Disclaimer: Some pages on this site may include an affiliate link. This does not effect our editorial in any way.