When you initially configure your NETGEAR router, it will be assigned factory default settings and login credentials. If you need access to your router’s web interface and can’t remember the sign-in details, you’re on the right page to find out what they are. Read on to learn the username and password for various NETGEAR routers, how to change the credentials, and some other valuable tips.
What Is the NETGEAR Default Password
When you need to access the router’s settings via www.routerlogin.net, the sign-in credentials for most NETGEAR products are as follows.
Username
The username for all NETGEAR models is: “admin.”
Password
The password for newer models is: “password.”
The password for older models is: “1234.”
NETGEAR ReadyNAS and ReadyDATA Models
Whenever you need to sign in to your “ReadyNAS” or “ReadyDATA” NETGEAR router, the default credentials are as follows:
Username
The username for these NETGEAR models is also “admin.”
Password
The password for “ReadyNAS OS” and “ReadyDATA OS” is “password.”
The password for the “RAIDiator” firmware is “netgear1.”
The password for “Infrant” firmware is “infrant1.”
How to Change the Admin Password on Your NETGEAR Router
Changing the admin password on your NETGEAR router to something unique will strengthen your network’s security. Here are the steps to do this:
- Open a new browser connected to your NETGEAR router’s network.
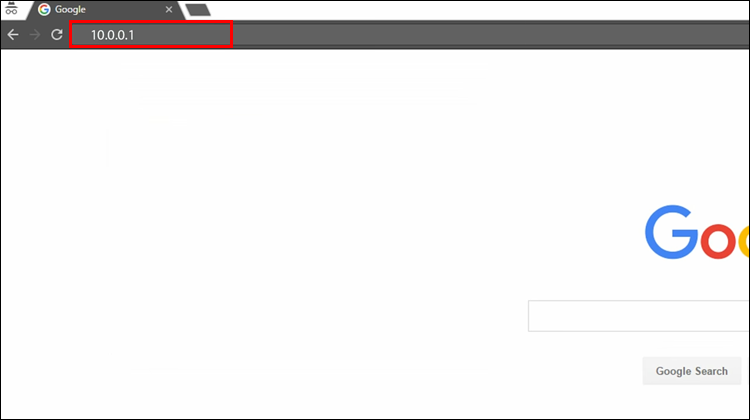
- Navigate to www.routerlogin.net. The login window should display.
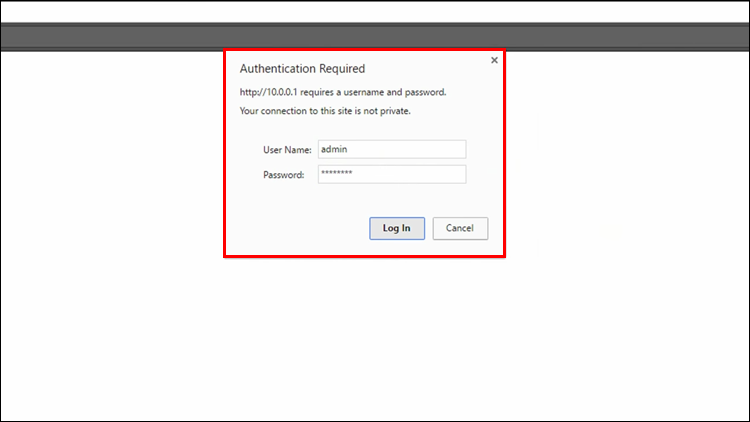
- Enter the default username and password. See default credentials in the section above.

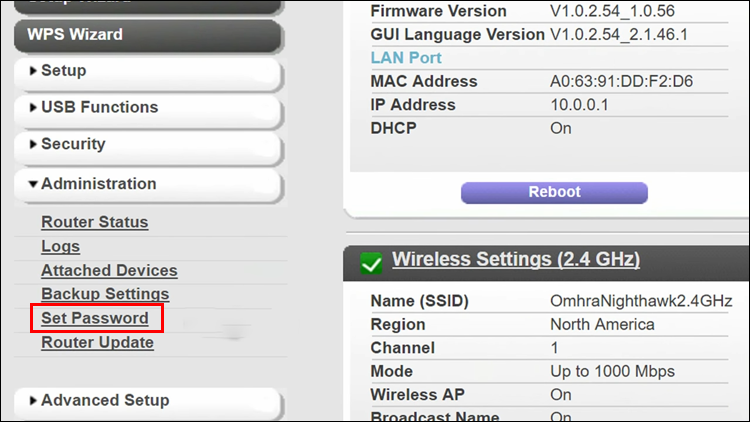
- From the home page or dashboard, choose “Advanced,” “Administration,” then “Set Password.”
- If you’re using a “Nighthawk Pro Gaming” router, click on “Settings,” “Administration,” then “Set Password.”
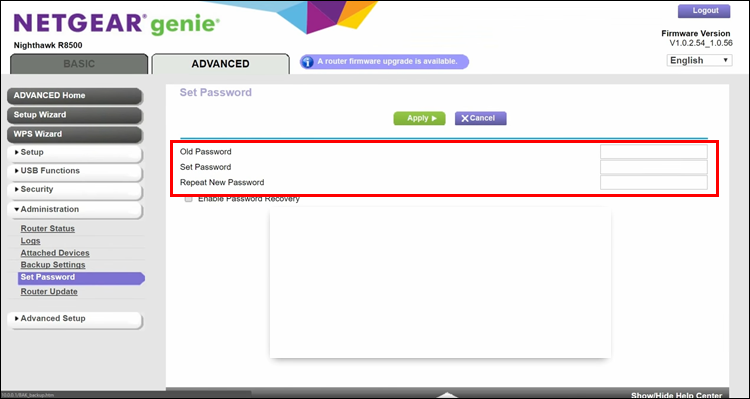
- Type in your current password and then the new password twice.
- To be able to retrieve your password in the future, press “Enable Password Recovery,” then click “Apply” to save the changes.

If you forget your password without enabling password recovery, you’ll need to set the router up again using a factory reset.
How to Change Your Wi-Fi Router Password
Your admin password is not the same password used to access your Wi-Fi. The Wi-Fi network name (SSID) and password will use the factory default settings when you first configure your NETGEAR router. These details can be found on the router.
You’ll have the option to replace the default credential details during the first setup. If you kept them as default and want to change them, you can use the router’s web interface. Follow these steps to change your NETGEAR router’s Wi-Fi password or network name:
- Launch a new browser via a device connected to your router’s network.
- Navigate to www.routerlogin.net.
- Enter your username and password via the login window.
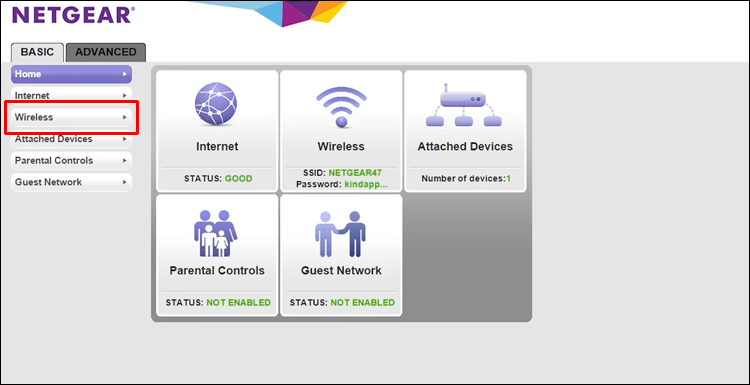
- From the Dashboard, select “Wireless.”
- If you’re using the “Nighthawk Pro Gaming” router, choose “Settings” then “Wireless Setup.”
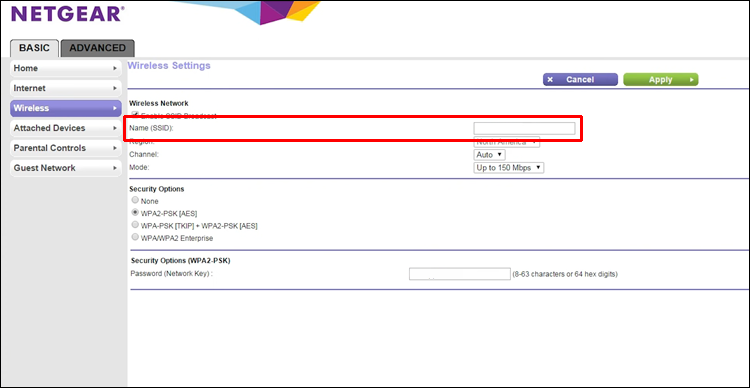
- Type your new network name in the “Name” (SSID) text field.
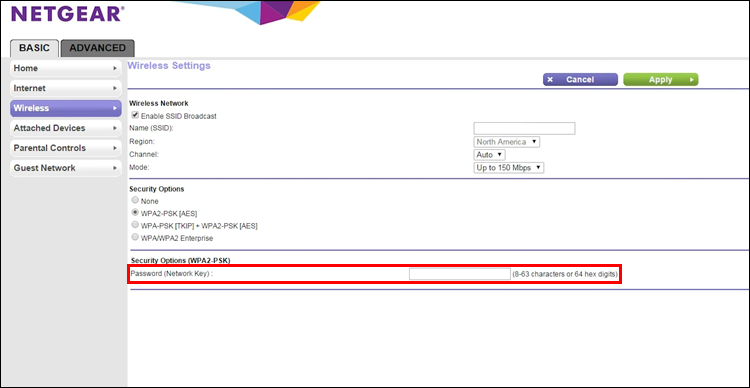
- Type your new password in the “Password” (Network Key) text fields.
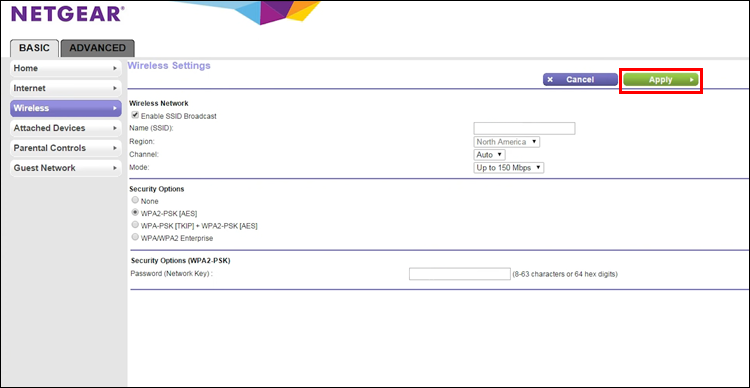
- Select “Apply” to save the changes.
At this point, your device may disconnect from your Wi-Fi network. If so, go to the available wireless networks and reconnect using the new Wi-Fi network key or password.
How to Change Your Wi-Fi Password on an Older NETGEAR Router
Follow these steps to change the password or network name on a NETGEAR Smart Wizard router:
- Open a new web browser from a device connected to your NETGEAR router’s network.
- In the address bar, enter “www.routerlogin.net” or “http://192.168.1.1“.
- On the login screen, enter the admin username and password. The “Smart Wizard” will open.
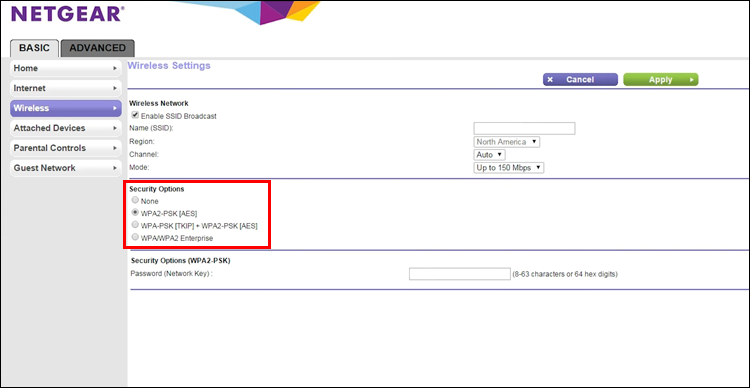
- Go to the “Setup” section via the left navigation pane, and choose “Wireless Settings.”
- From “Wireless Settings,” enter a unique “Name” (SSID) for your router’s available bands.
- Via the “Security Options” section, choose the type of security you want to use. “WPA2” is the best if your router supports it or “WPA.” “WEP” should only be used when no other option is available as it is easily decoded.
- Type a new password in the “Passphrase” text field. You can use any text string from 8 to 63 characters as a password.
- Press “Apply” to save the changes.
How to Set Up a NETGEAR Wi-Fi Range Extender
If you have a NETGEAR range extender to expand the Wi-Fi coverage in your home and need to set it up again or for the first time, here are the steps:
- Switch on your extender.
- Connect your device to the extender’s Wi-Fi network. The default Wi-Fi network name is “NETGEAR_EXT,” and the network either won’t have a password or will be “password.”
If you receive a warning suggesting that the internet is unavailable, you can ignore it. - Open a browser and navigate to “mywifiext.net” or “192.168.1.250.” The “New Extender Setup” page will display.
- Select “NEW EXTENDER SETUP,” then if prompted and if you agree to the terms and conditions, click “YES” or “I AGREE.”
- Now choose the extender’s admin credentials. These are the details used to access the settings.
NETGEAR recommends leaving the username as “admin” and choosing a unique password. - Use the pull-down menus to choose and answer two security questions. These questions will be used to retrieve your admin sign-in details should you forget them.
- Hit “NEXT.” Select “YES” or “CONTINUE” if you’re asked whether you want to use the NETGEAR Genie. It will now search for local Wi-Fi networks.
- Check the radio buttons for your network’s 2.4GHz and 5GHz Wi-Fi Network Names. If your networks are not displayed, click on “See More.”
- Click “NEXT.” Type your network’s password, then click “NEXT” again.
- Choose the credentials for your extender.
By default, your extender will use the name of your existing network with “_2GEXT” and “_5GEXT” added to the end of the 2.4GHZ and 5GHZ bands, respectively. The passwords for each band will be the same as your existing network. - Select “NEXT.” Now, wait a few minutes while your setting is applied. Each band’s Wi-Fi network name and password will display, so make a note.
- Using a device you’ll be connecting to your extender network from, navigate to the Wi-Fi settings, then connect to the new network.
- In your web browser, check the checkbox at the bottom of the page, then choose “CONTINUE.”
And that’s it. Your extender will now extend your home’s network range.
Access Your NETGEAR Router’s Interface
Many of us will not need to access the router’s dashboard past the initial setup so that the sign-in details can be easily forgotten. To try and overcome this, NETGEAR and many other routers will set the default login credentials to something simple like “admin” and “password.” Once you gain access, you’ll have the option to change the credentials to something unique for tighter security. And if you forget again in the future, you can retrieve it by enabling the “Enable Password Recovery” feature.
Were you able to sign in to your NETGEAR router successfully? Tell us about it in the comments section below.
Disclaimer: Some pages on this site may include an affiliate link. This does not effect our editorial in any way.


