Time Machine is there to bail you out if the disaster strikes. Let’s say you need to delete the boot drive and reinstall macOS from scratch. In that case, the Time Machine backups allow you to preserve all your data and files as if nothing happened.
If you are diligent with backups, the old backup files can quickly pile up on your external or network drive. There are a couple of methods to remove old backup files and get some extra space. If you’re struggling to delete the Time Machine backups from Trash, a simple Terminal command does the trick!
The following sections deliver a quick guide on how to utilize all Time Machine removal methods.
Deleting Time Machine Backups
You can delete old backups via Time Machine or Finder. Of course, both methods require you to connect to the external/network drive, and the following explanations assume you are connected.
Delete Old Time Machine Backups using Finder
- Launch “Finder” and choose the location that includes your Time Machine backups.

- Navigate to the “Backups.backupdb” folder to locate the old files. By default, they are sorted from the oldest to the newest.

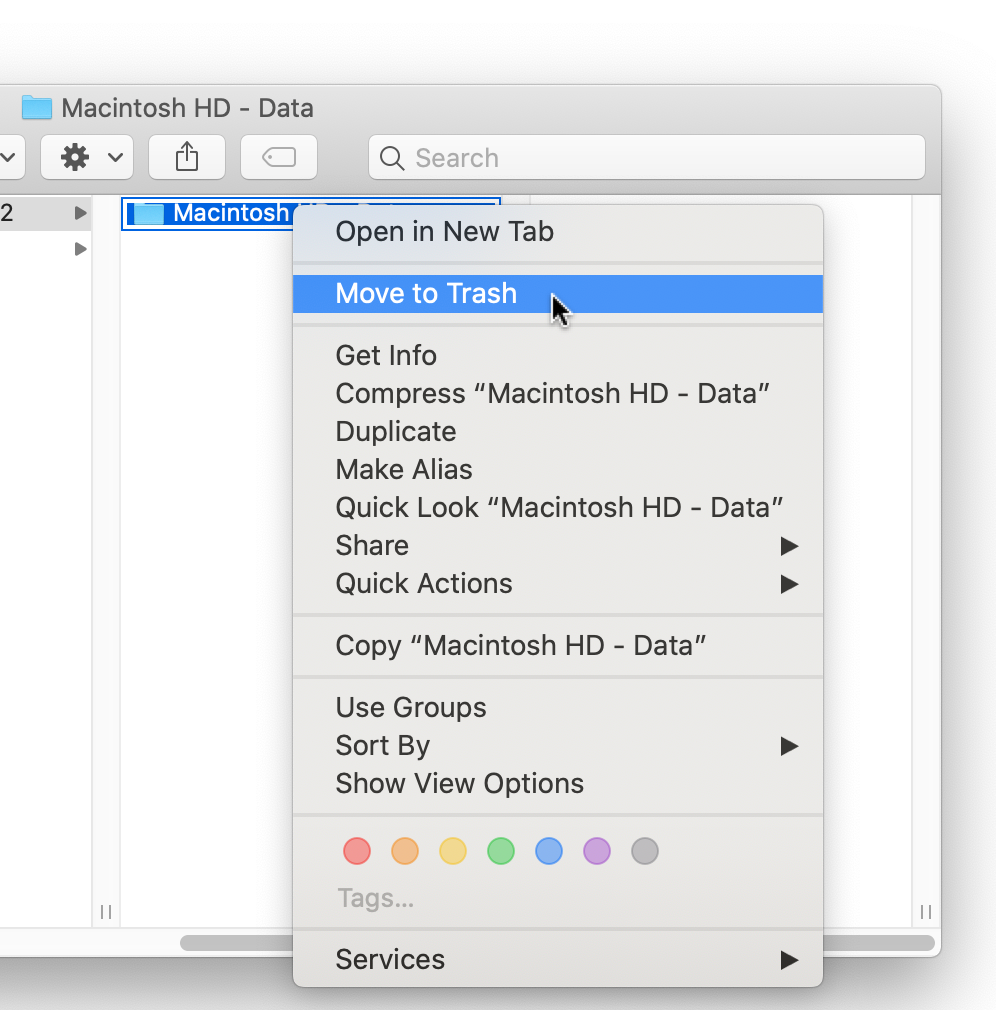
- Select the one you want to delete and press “command + trackpad-click“ or use the two-finger tap to access the pop-up window with more actions.
- Now, click “Move to Trash” to delete the files.
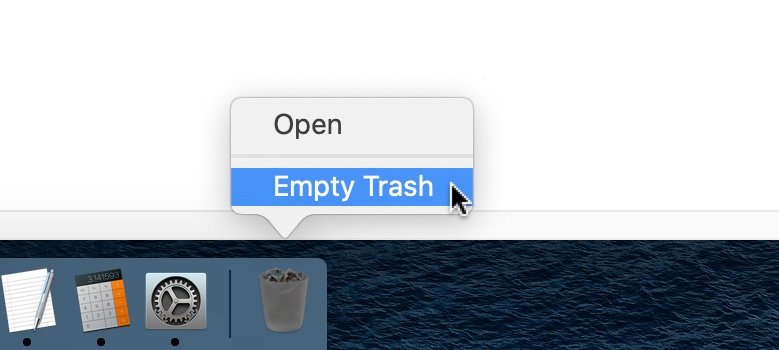
- Hover over the Trash Can icon in your Dock, and then perform a two-finger tap or use “control + trackpad-click“ to bring up the options. Select “Empty Trash” to permanently delete the old backups so they are gone for good. You can also select “Open“ to delete individual files if you want to keep other trashed items.


Deleting Time Machine Backups within the App
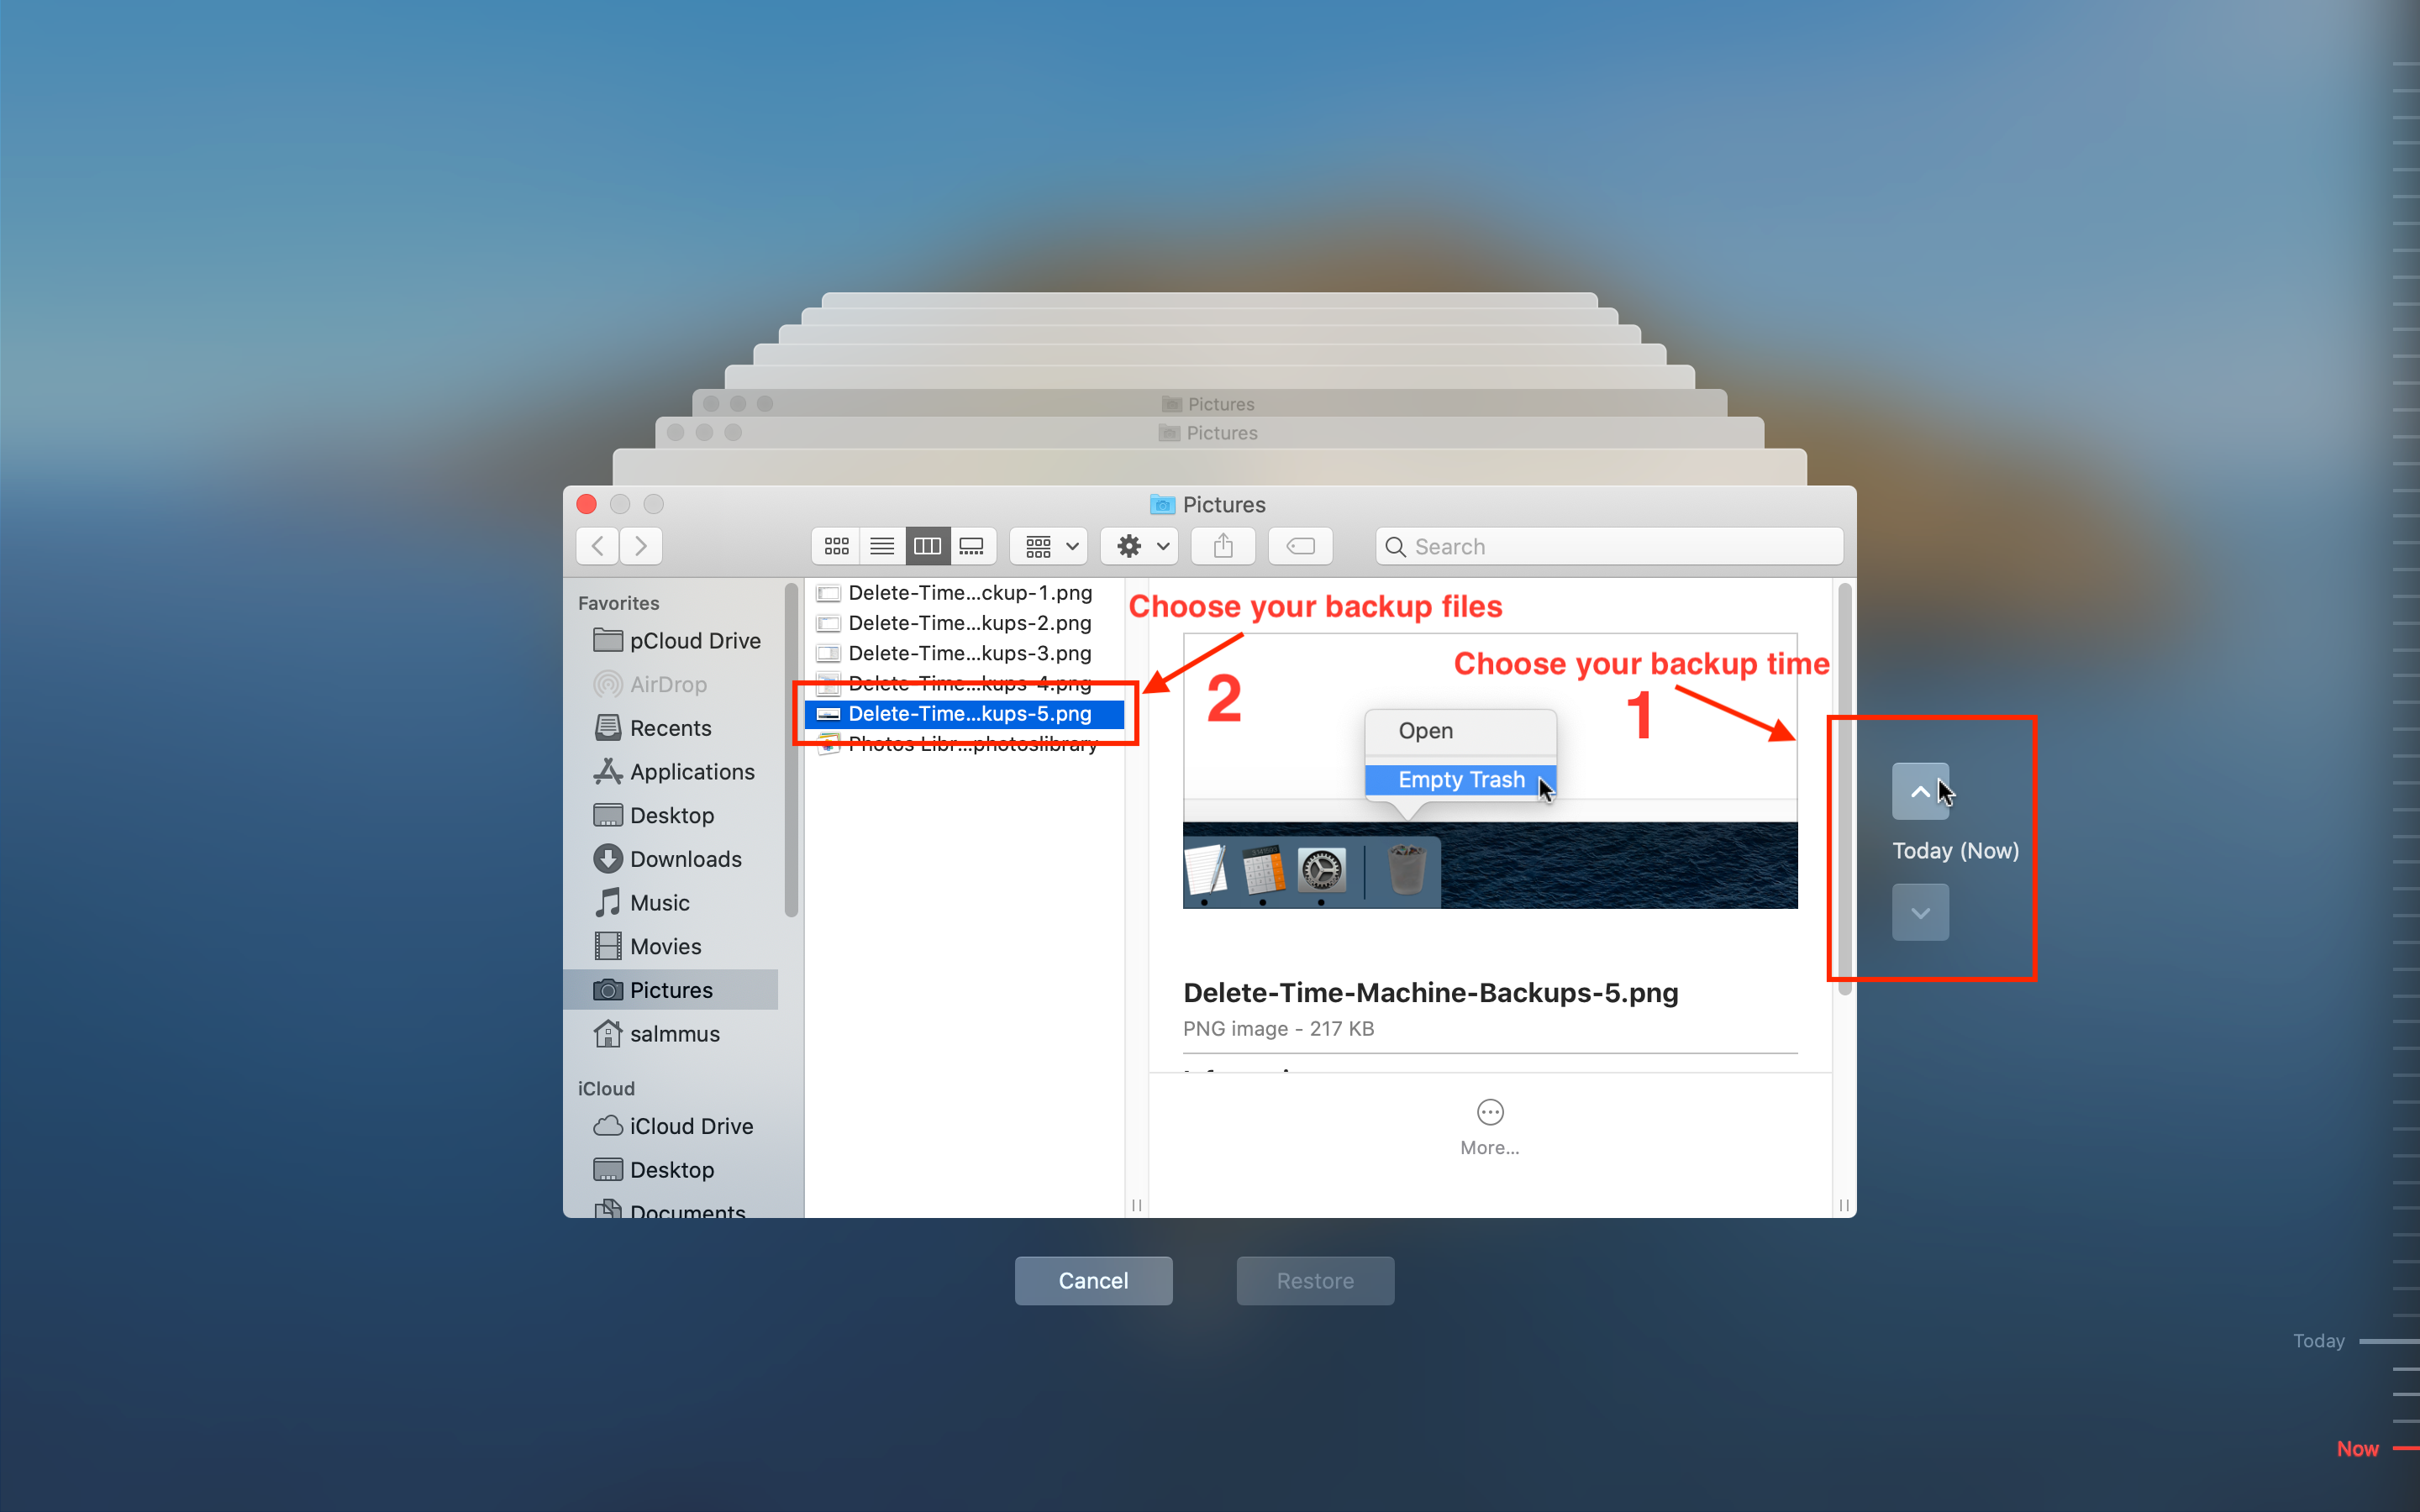
- Click or tap the Time Machine icon in the Menu bar and browse the backup files to find the one you want to delete.
- Select one or all of the old files in that backup and click the gear icon in the Menu bar to reveal the drop-down window. Select “Delete Backup of…” and you’re all done.

Using Terminal to Delete Time Machine Backups
Some users might experience problems when deleting the backups from Trash. To work around this issue, you can use a simple Terminal command.
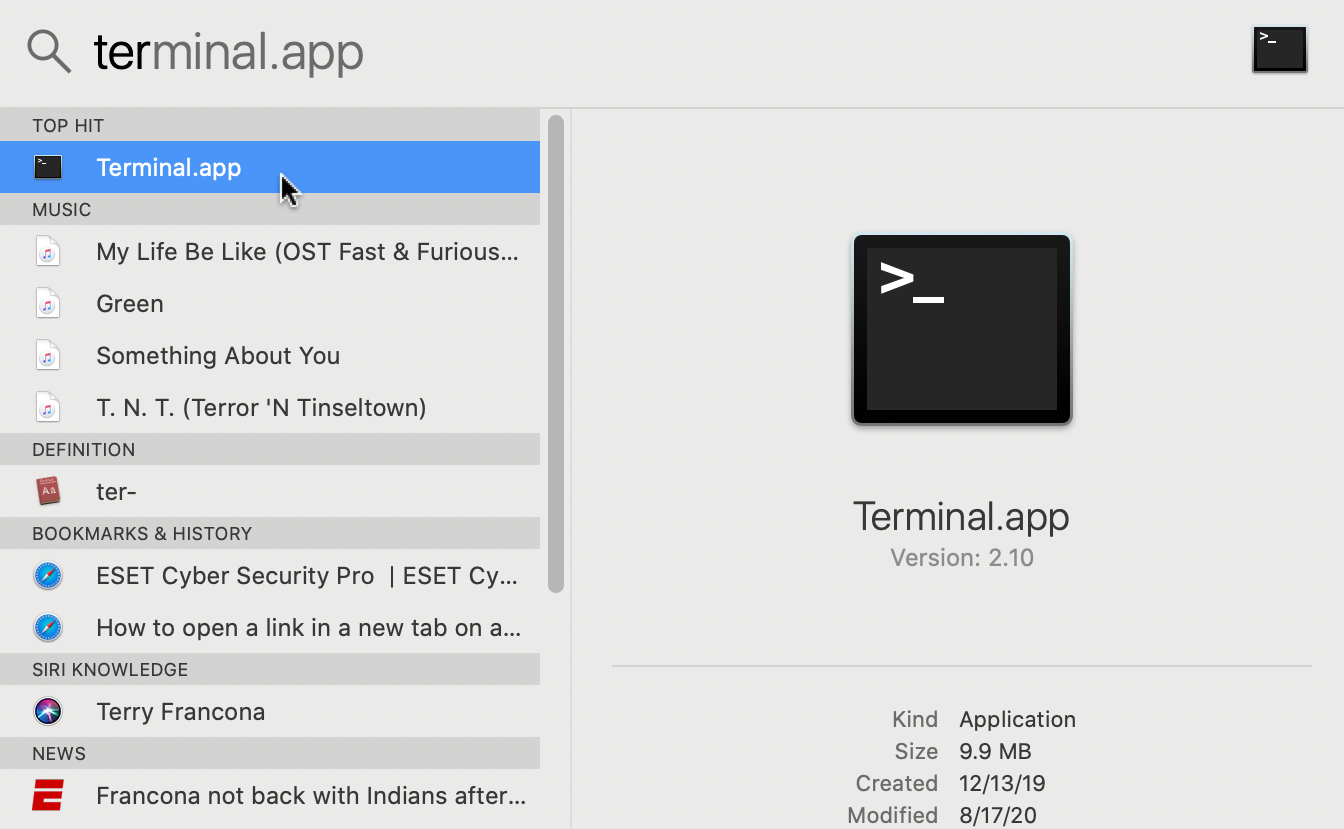
- Hit “command + space“ on your keyboard, and then type “ter” without quotes. Press “Enter“ or Select “Terminal.app” from the search results to launch the “Terminal.”
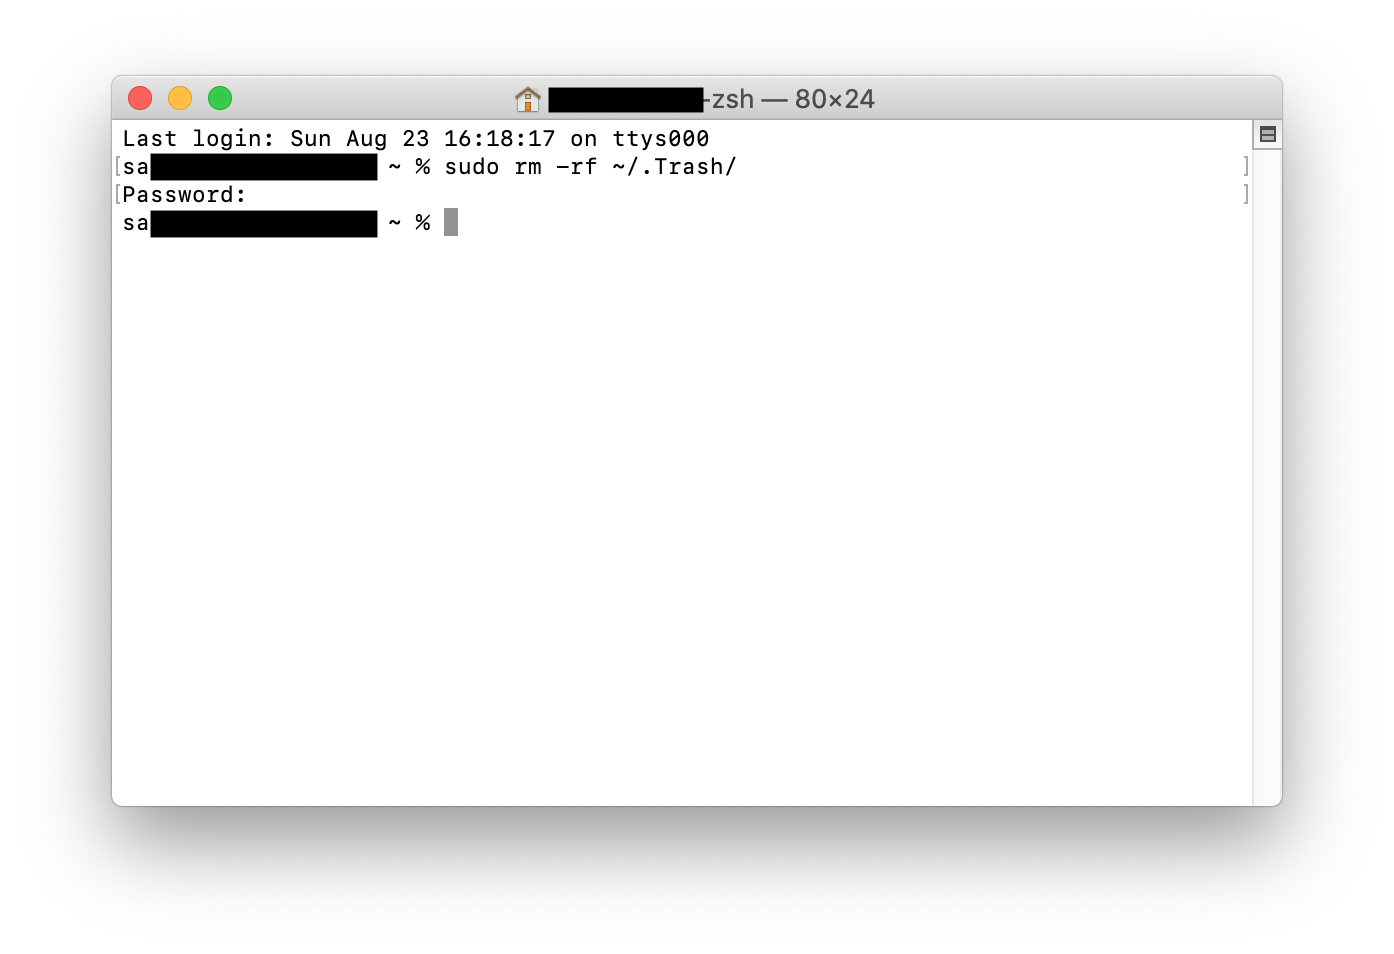
- Type “sudo rm -rf ~/.Trash/” without quotes in the command line and press “Enter“ to execute it.
- The window will prompt you to put in the administrator password. Type it in and press “Enter” to confirm. If it works, you’ll see a new line for entering commands.

NOTE: If the command line option above fails with “Operation not permitted,” you have to give the terminal “Full Disk Access.”
This command is designed to empty the trash can entirely through the Root user; this is why it requires administrative privileges.

Don’t forget to reset the “Full Disk Access” option back to “Off” for the Terminal, assuming you want to maintain the original protection settings. Go to “Security & Privacy” to change it, as shown in the image before.
Quick Trash Fixes for Deleting Time Machine Backups
- A reboot or restart is usually enough to regain control over Trash, which is where your “deletable” backups reside that you placed there.
- However, if this step fails, there is also an option to force delete the files. Open “Trash” and select “Secure Empty Trash,” and you can also do it from Finder. Some users might get the “The operation could not be completed because the item is locked.” error. In this case, it’s best to rename the files/folders with strange names, i.e., those with special symbols or characters. You can also check the files via the “Get Info” option to see if any are locked.
Time Machine Snapshots
Snapshots are different than Backups. When Time Machine wants to make a backup but cannot connect to the designated external drive, it creates snapshots. These are backups that save to the hard drive on your Mac until you reattach the external/network drive.
For the most part, these backups are temporary, and they automatically delete when connected to the backup drive or after the allocated time has passed. You should also know that Time Machine won’t create a snapshot if it reduces the hard drive capacity below 20%.
Deleting Time Machine Snapshots
Be it as it may, some users still report that Time Machine snapshots take up tons of gigabytes, which is why you may need to get rid of them manually. You can delete snapshots via Terminal commands. Here are the steps.
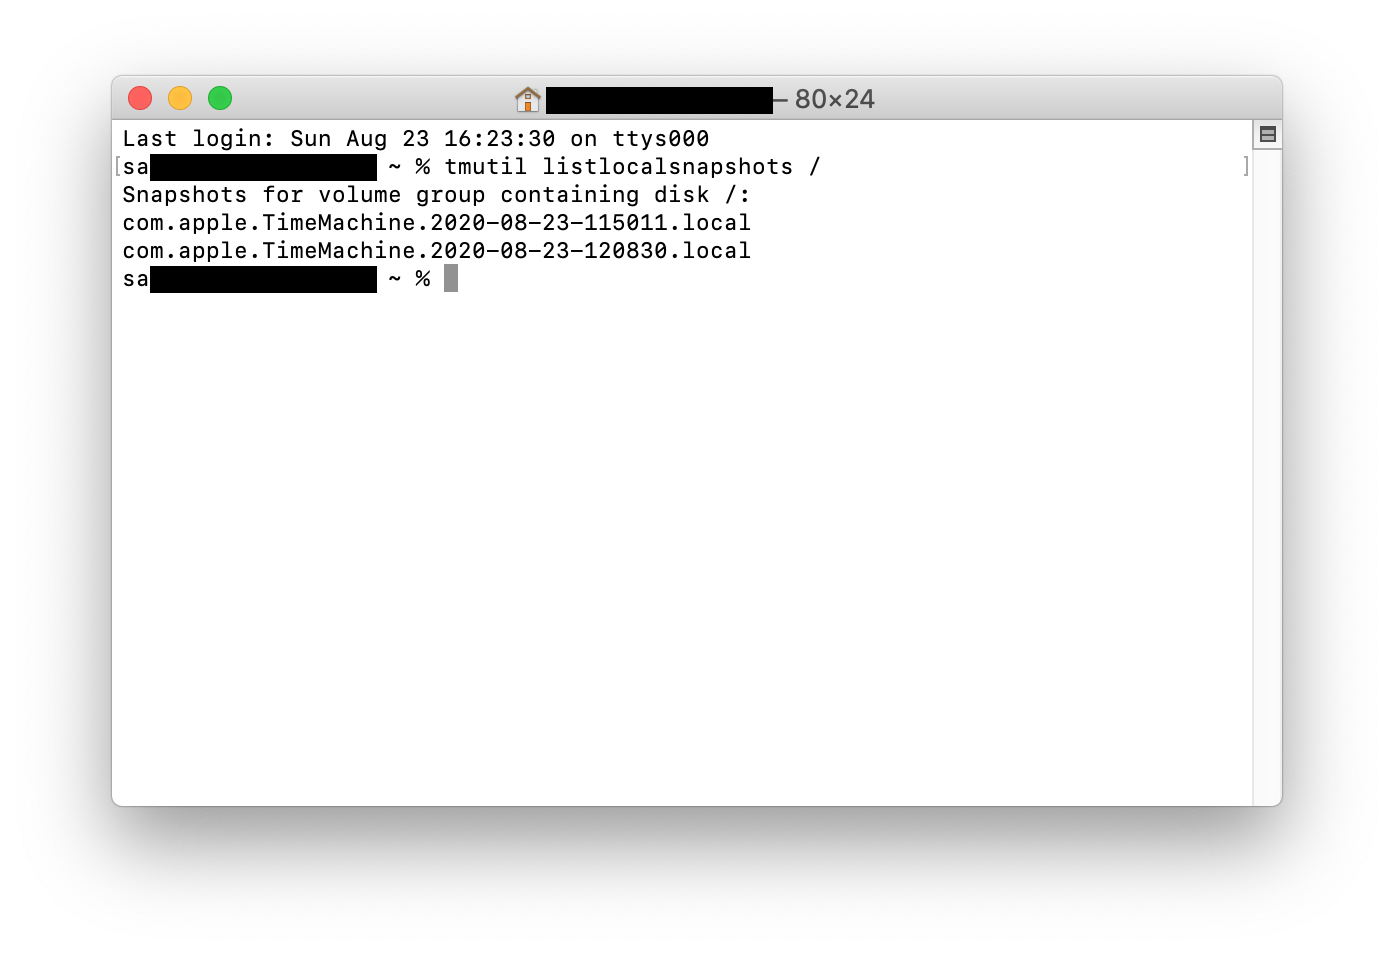
- Access “Terminal” and execute the tmutil listlocalsnapshots / command. Notice the space before the forward slash. This command provides you with a list of the snapshots which are named something like this: com.apple.TimeMachine.2018-12-15-002010.local
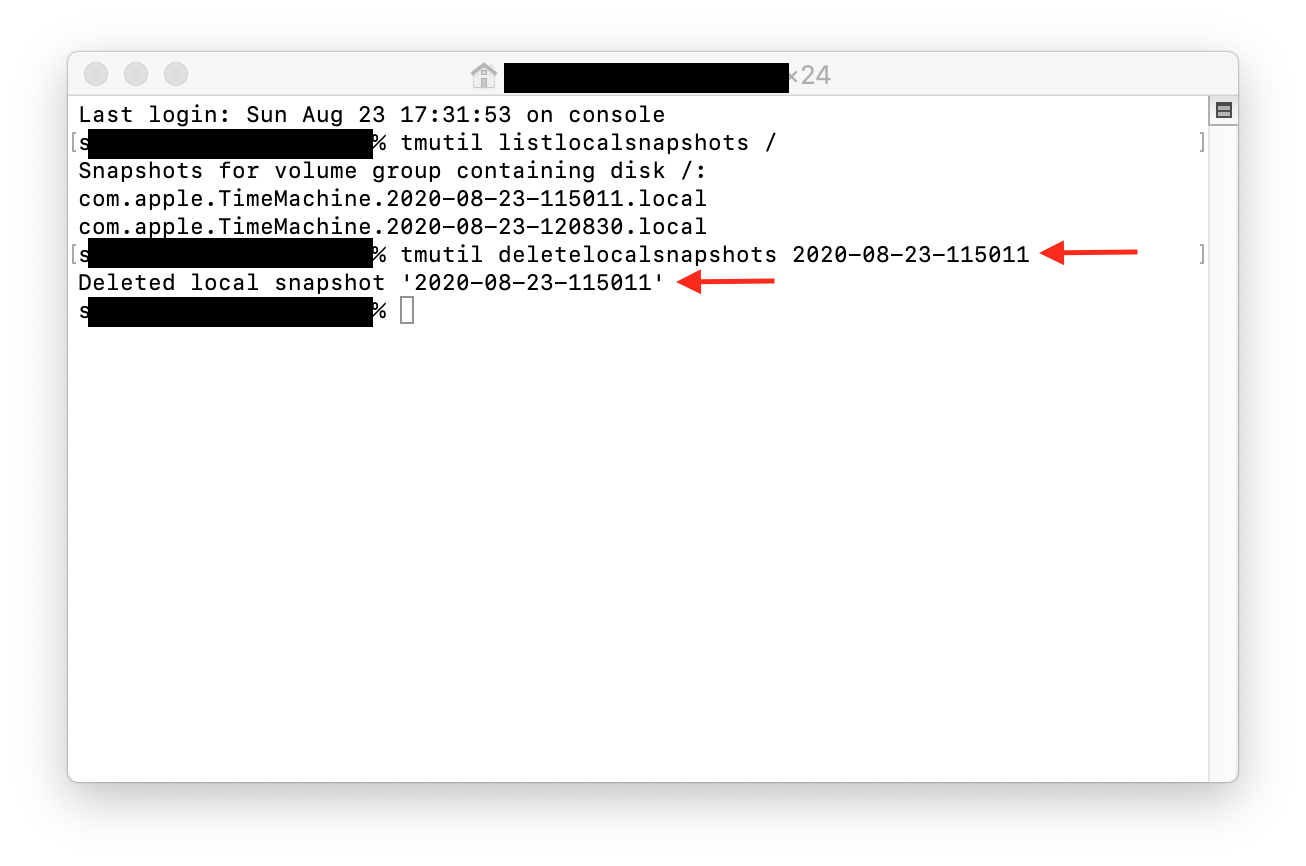
- To get rid of a particular snapshot, you need to use the sudo tmutil deletelocalsnapshots command and add the specific date. The typed result should look something like this: tmutil deletelocalsnapshots 2018-12-15-002010.
- A “Delete local snapshot + (date)” message appears in the window to confirm the successful deletion. It’s worth mentioning that you need to repeat the steps for every snapshot you wish to delete.

Expert Tip: To prevent local snapshots from occurring, execute sudo tmutil disablelocal command in Terminal.
Overall, deleting Time Machine backups is pretty straightforward, and you shouldn’t hesitate to use Terminal commands. However, the safest method to remove Time Machine Backups is to use the actual app. If for some reason, you find the ways to delete Time Machine backups difficult, there are third-party apps that streamline the entire process.
Frequently Asked Questions
We’ve included more answers to your questions about Time Machine in this section.
How do I turn off automatic backups?
If you’re tired of having to clean up your storage and get rid of old, useless, data, you can turn off the automatic backups. We have a full tutorial on the subject here, but it’s really easy.
1. All you need to do is click on the Apple icon and click “System Preferences.”
2. Locate “Time Machine” and double-click to open it.
3. Then, you can uncheck the option for “Automatic Backup” on the left side.
Disclaimer: Some pages on this site may include an affiliate link. This does not effect our editorial in any way.


