Garry’s Mod, or GMod, allows players to do almost anything. You can import custom models to use as enemies, NPCs, or allies. As long as it’s in the right format, you can use it.
Many GMod players like making their special personal Playermodels. However, they take some specific knowledge to create. Read on to find our steps simplified steps for creating Playermodels.
How to Make a Custom GMod Playermodel
If you’re already fluent in making 3D models with the appropriate software, you can create different characters for most games, including Garry’s Mod. However, not everyone knows how to make models. Thankfully, creators often share free models with the gaming community, which you can use as a base for your own.
You can download any model you like, but rigging it is also vital. Rigging a model involves combining the appearance of the character with parts that do the actual moving. After rigging, you can move with your Playermodel.
Without rigging, GMod won’t be able to move your model.
Before we get into Playermodel creation, let’s look at the necessary software and tools you need.
- Garry’s Mod
Of course, you’ll need the game if you want to use the playermodel. Without it, you’ll be making a model in vain.
- Blender


You’ll need Blender to rig your model and editing textures. Of all the programs, you’ll be spending the most time with this one. We highly recommend learning some basics before undertaking this process.
- Crowbar
Crowbar is a .mdl file decompiler and compiler. You’ll use it for compiling the models after the rigging steps.
Anyone can download the Source Tool for free. It will allow your copy of Blender to support the Source engine. It’ll handle all your SMD and DMX files.
After downloading Paint.NET, the VTF plugin comes next. Your VTF files will be created with this program.
- VTF Edit
You’ll need VTF Edit for making VMT files. It can also open your VTF files.
- Source SDK
Source SDK is the program formerly used by Valve to create their games, and you need it to run GMod. Any Steam user can download it.
There are a few other tools that you might want to download. They include:
- Notepad++
- GFCScape
- GMod Publishing Tool (if you want to share it with the world in the Steam Workshop)
After downloading the software, you should get the character model, a skeleton, and a different model’s QC file. These are available for download in the Steam Workshop and Garry’s Mods, among other websites.
Stage One – Opening the Playermodel in Blender
After getting everything on your computer, the first course of action is to combine the reference model’s skeleton and your character’s model. You should also install the Source Tool in Blender to export in the proper format.
Let’s take a look at the process.
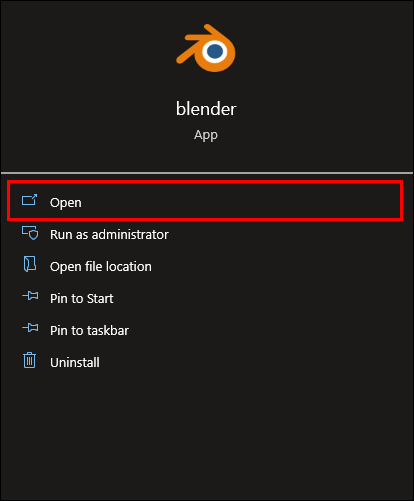
- Launch Blender on your PC.
- Remove everything in the scene.
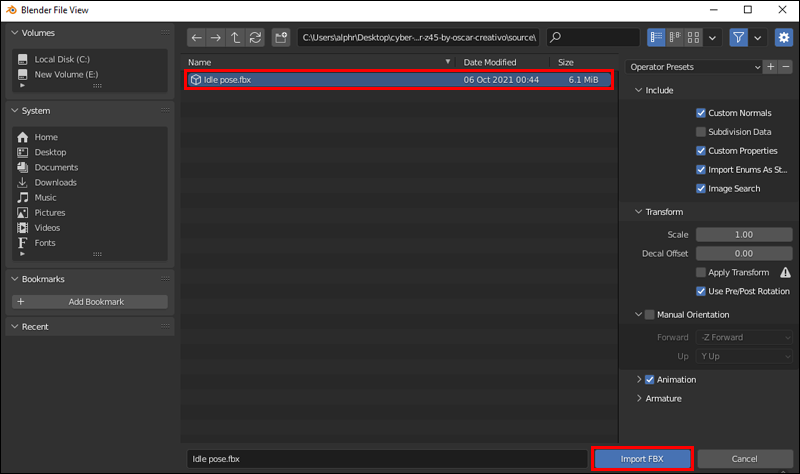
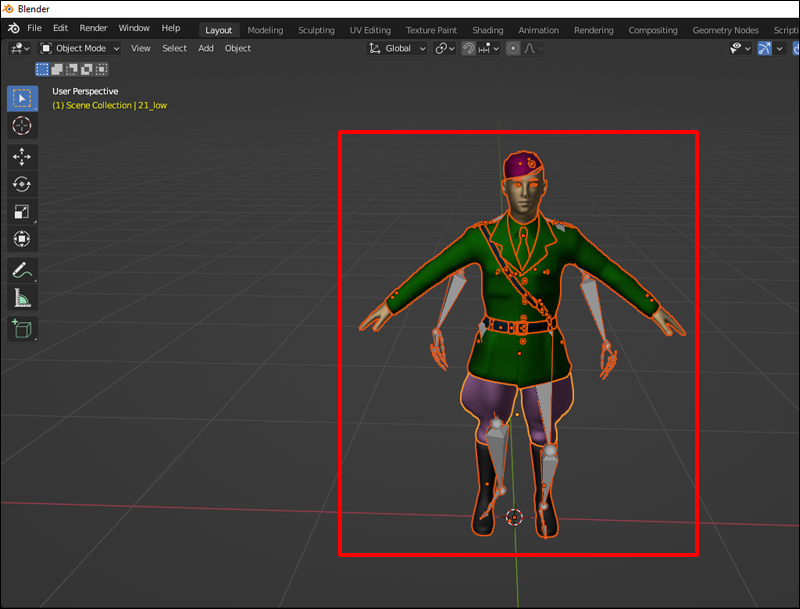
- Import the reference model into Blender.
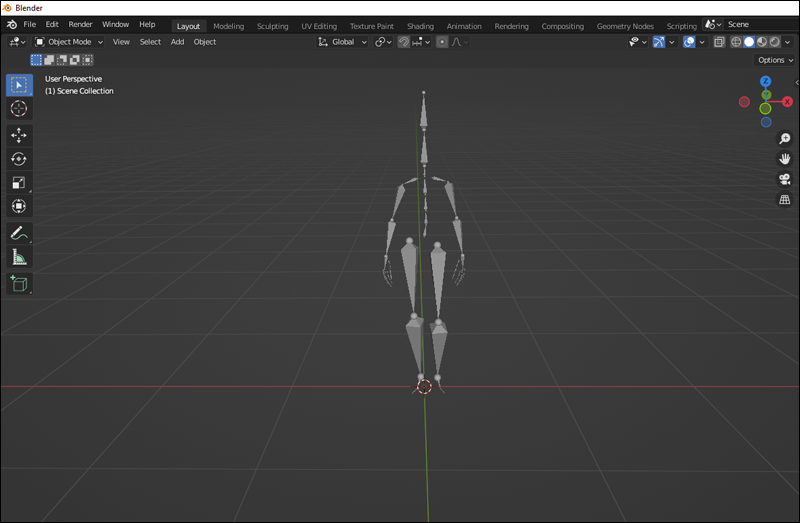
- Delete the reference model’s mesh until only the bones are left.
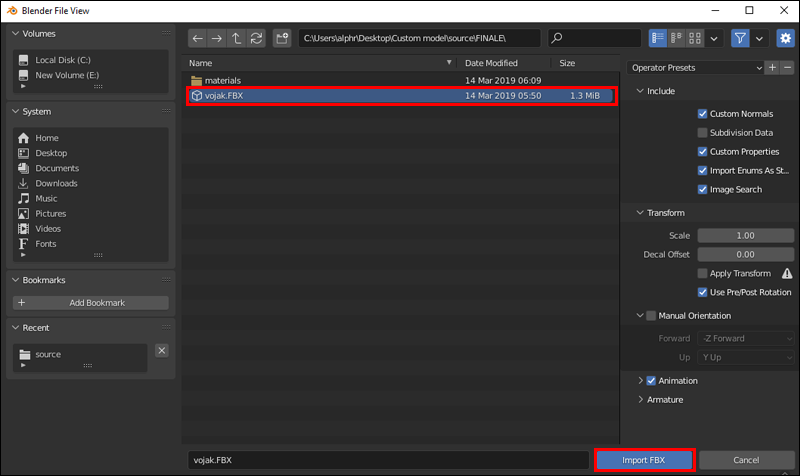
- Import the custom model.
- Adjust your model and skeleton until both fit together.


Stage Two – Exporting the Playermodel With Blender
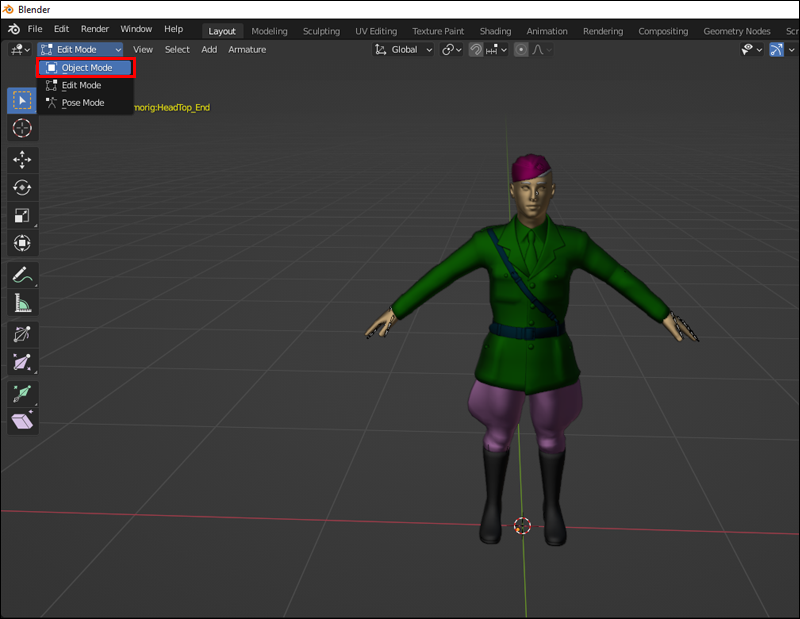
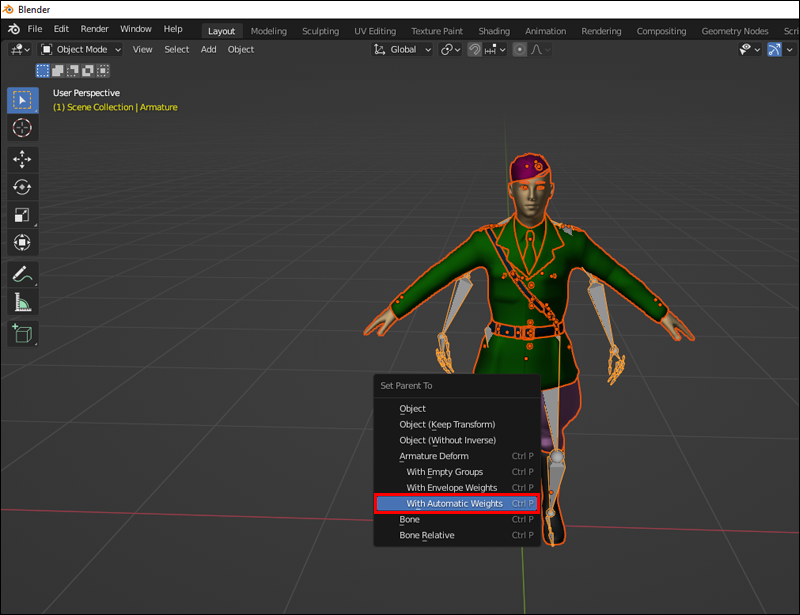
- Get into “Objectmode” and hold down the Shift key.
- Left-click your model and then the skeleton.
- Hold down Ctrl + P and then select “With Automatic Weights.”
- Use “Weight Painting” to make more adjustments.
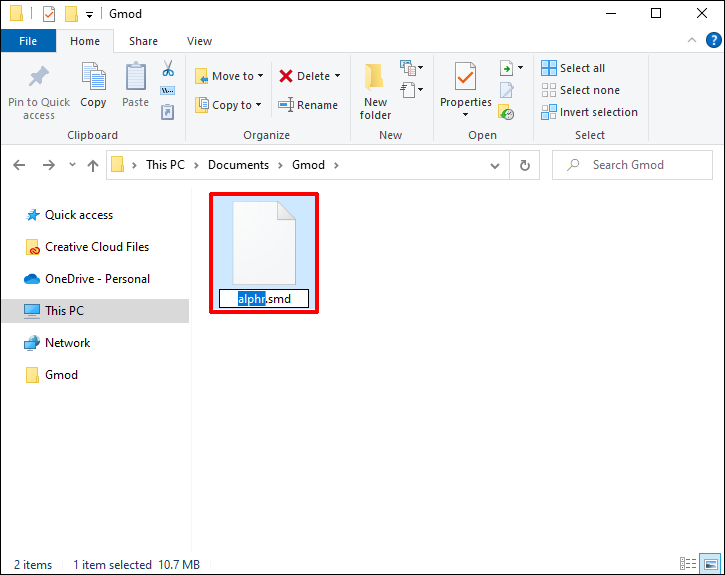
- When done, go to the scene and find the option to export in SMD.
- Name your custom model as you wish.
- Export the new model to the model folder within your mods folder.


Keep the original model around in case you make a mistake or want to start over. You might have to do this if you’re still learning.
Stage Three – Editing the Playermodel’s Textures
While this step isn’t strictly necessary, editing textures can help improve your model’s appearance. If you think some parts would look better with editing, go for it. This step requires Paint.NET with the VTF plugin.
Keep Blender open, or if you closed it, relaunch it. You’ll need Blender throughout the entire process.
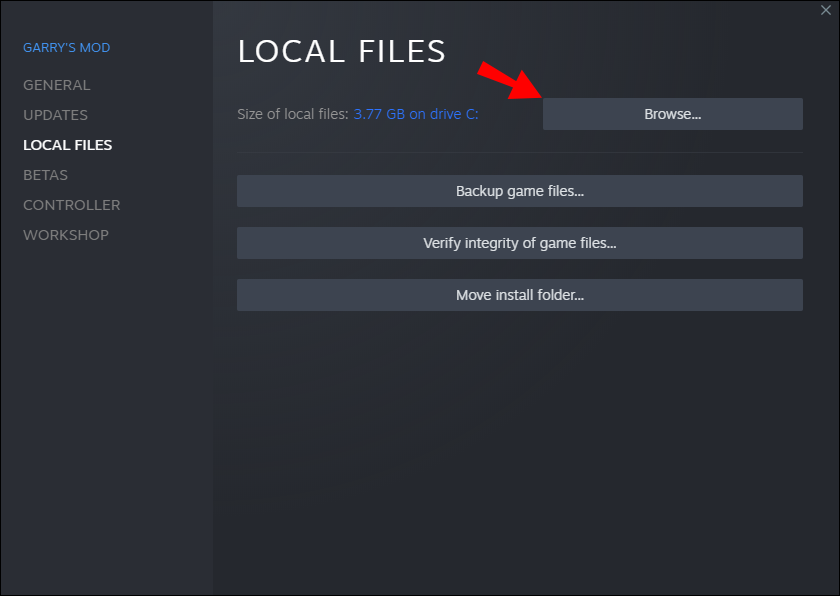
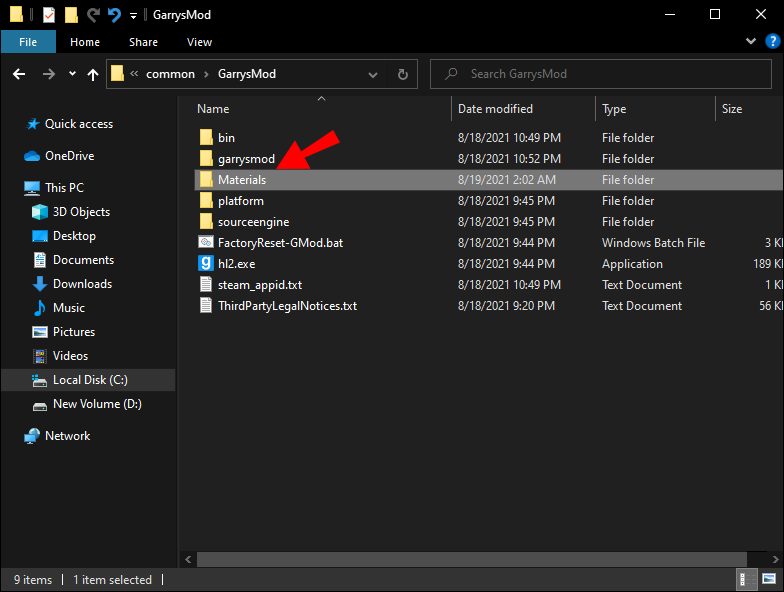
- Go to your GMod mode folder.
- Head to “materials.”
- Create a folder within it called “models.”
- You should have a chain that resembles “
modefolder>/materials/models/(insert model name here).” - If your model comes with textures, you can find them in the compressed file.
- Open them in Paint.NET.
- Save all of them in the model folder as .vtf files.


VMTs and Textures
- Next, open the textures in VTF Edit with another Blender window and place all of them in one .vmt file.
- Open your original model file.
- Head to the Material Panel.
- Select a material and click the “Texture” icon next to each.
- Open the material’s textures in VTF Edit.
- In VTF Edit, go to “Tools” and select the option to create a .vmt file.
- Keep all options as they are except for changing “LightmappedGeneric” to “VertexlitGeneric.”
- Save all .vmt files in the same folder as the corresponding .vtf files, with hair going to a vmt file named “hair,” for example.
- Ensure the .vmt files have the correct file path to your .vtf file.
- Repeat for all material files.
In this stage, it’s common to misspell the words. It would be best if you double- and triple-checked your file names before moving on. Misspelled files can become problematic and set you back.
Stage Four – Set Up Your QC File
- Download your reference model QC file if you haven’t done so.
- Copy everything except “(insert model name here).smd.”
- Place the files within a new folder in your modified SMD model’s folder.
- Open the QC file with Notepad or Notepad++.
At this stage, you only have to modify some code. Here’s an example of the section you need to modify (as created by Crowbar 0.19.0.0):$modelname "player/(name)/RealModel/(insert name here).mdl"$model "(name)" "(name).smd"$cdmaterials "models\Player\(name)\"
It may have slightly different words, but this is the only section you need to edit. - Change the “
$modelname” to any name as long as it ends with .mdl. - Change “
$model” to your custom model’s name, and take care to include .smd. - Ensure the “
$cdmaterials” is your actual material path, and you may have to add a “\” at the end of the path to make sure Crowbar targets the correct folder.
The path may look like something like this:
(models\Player\(insert model name here)\
Stage Five – Compile the Playermodel in Crowbar
Now, the QC files are finally ready to be compiled. You’ll need Crowbar for this next step, so make sure it’s properly installed first.
- Launch Crowbar and open your QC files.
- Create a subfolder using Crowbar and name it the same as your Playermodel.
- Select GMod as the target game.
- Compile the Playermodel.
You’ll have .mdl files on your hands now. The next step is to convert them into .gma files.
Stage Six – Using Lua
You need Lua to help GMod load your Playermodel files and their textures. You’ll end up with a .lua file, and you won’t need it beyond creating this file.
- Go to the addons folder in GMod.
- Place your model folder there.
- Open your mod folder, open the folder named “lua” and then the “autorun” folder inside.
- Use Notepad or Notepad++ to create a .lua file.
- Write the following code in the file:
player_manager.AddValidModel( "SonicMiku", "models/Player/(name)/(name)/(insert name here).mdl" )The path will have your original model’s name. As such, it may look different. - Change the path to the .mdl file you obtained after compiling.
Stage Seven – Import to GMod
- Launch GMod.
- Select your Playermodel.
- Import it into the game.
- If it’s successful, you can use your Playermodel now.
The process is rather intricate, but it just takes practice to create and import your Playermodels.
How to Make a Ragdoll a Playermodel in GMod
To make any ragdoll your Playermodel, you first have to install an addon named PAC3. Secondly, you should have a ragdoll imported into the game.
With these prerequisites handled, let’s get into the process.
- Open GMod.
- Make sure your game is in Advanced Mode.
- Open the PAC Playermodel Editor.
- Right-click your current skin.
- Add an “Entity.”
- Right-click your skin again, but select “Model” this time.
- Open the properties and find your model.
- Click it to select it.
- The ragdoll is now your Playermodel.
Compared to creating and importing a Playermodel, this process is relatively straightforward.
How to Make Your Playermodel Invisible in GMod
This trick can let you become completely invisible in GMod. What you need is the AlyxFakeFacotry NPC model and any model-manipulating software such as PAC3.
Here’s a basic guide to turning invisible:
- Download, unzip and paste the AlyxFakeFacotry files into your GMod “addons” folder.
- Launch GMod.
- Spawn the FakeAlyx model in Gmod. You can’t see the actual model because it’s invisible.
- Use your tool to right-click on the FakeAlyx model.
- After reloading your model, you’ll turn invisible.
No one can see you in this form due to the nature of the NPC model. If you have another invisible model, it will also be an acceptable substitute.
Look at My Cool Model
If you’re tired of default Playermodels, then rigging and compiling your own could freshen GMod up for you. A new look helps make the game mode exciting, especially if you’re playing with others. As long as you can create the model, you can use it within the game.
What model do you use when you play GMod? Have you tried creating a Playermodel from scratch? Let us know in the comments section below.
Disclaimer: Some pages on this site may include an affiliate link. This does not effect our editorial in any way.