Organizing text in a text box is a simple but powerful way to highlight your content. This feature makes special text visually distinct and gives the document a lean, professional look. Google Docs has many helpful formatting options, including the ability to create text boxes. These features are handy when making better, more organized documents that are easy to share.
Here are a few quick methods to add a text box to your Google Docs document.
Add a Text Box Using the Drawing Tool
The drawing tool is the first and, usually, the most common way to create a text box. The drawing tool is a built-in feature of Google Docs, allowing you to design and arrange lines, shapes, and colors. You can also add custom drawings to your documents and make them more visually appealing.
Inserting a text box into a document using this tool is relatively simple. Here’s how to start the Drawing tool sketchbook.
- Open your document.
- In the top menu, click “Insert”.

- then go to the sub-menu “Drawing.”

- Click “New” to start creating a text box.
- A checkered window will open. This is your working space for creating shapes.


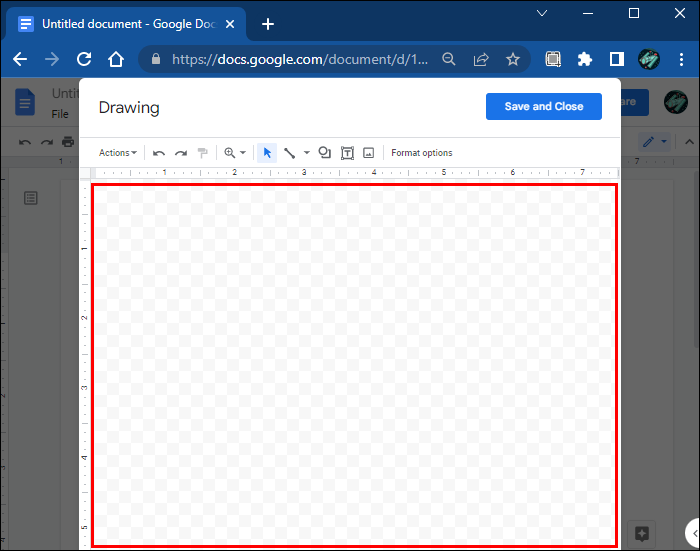
This window includes a toolbar that offers various commands for creating, editing, and formatting shapes you’ll use for text. In the following section, we’ll cover a few ways you can insert text using these functions.
Basic Text Box
If you only need a plain text box for inserting your text, use the basic text box. Follow these steps to create a simple box using the drawing tool.
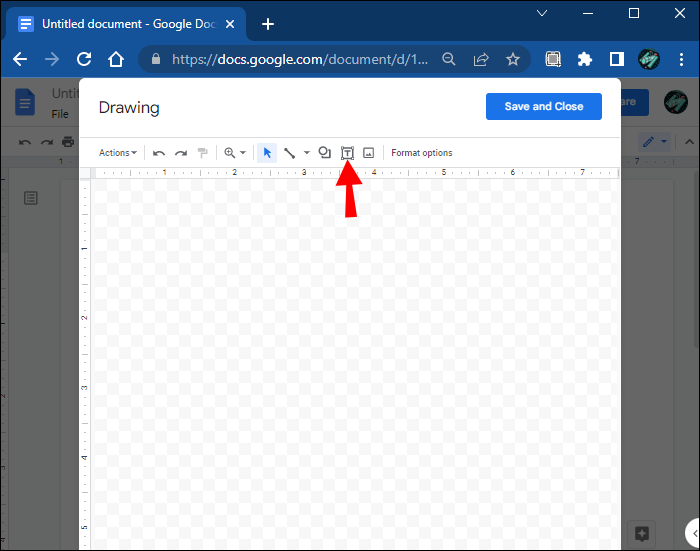
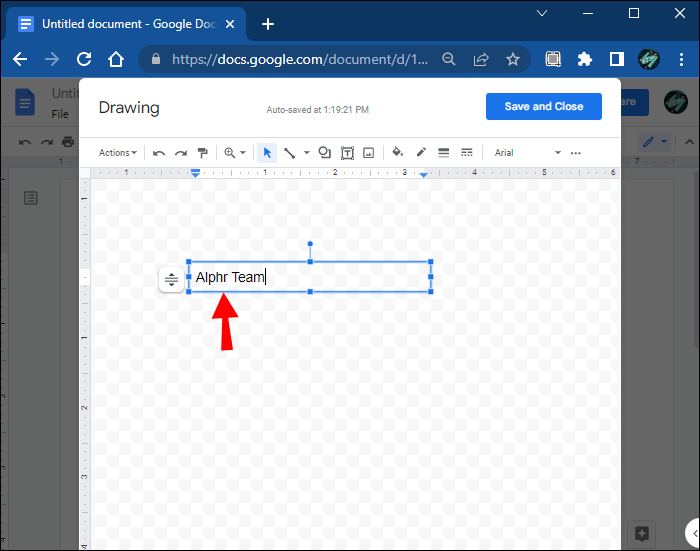
- Select the “Text box” icon from the toolbar.
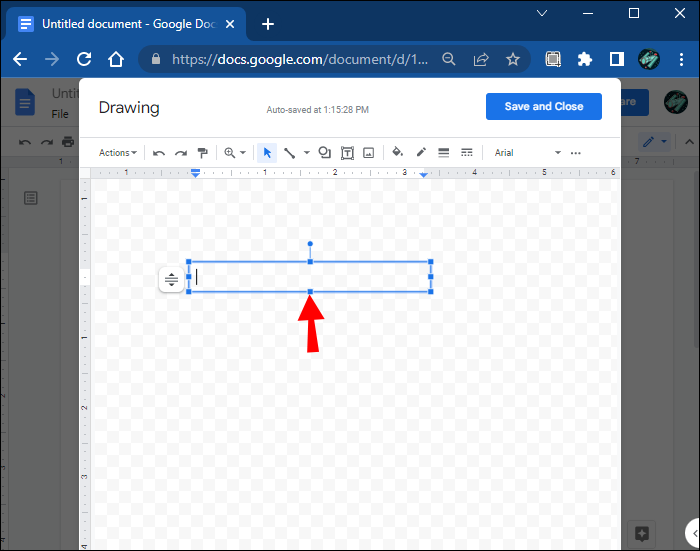
- Click and drag the tool across the checkered space to draw a box.
- Add text into a box.
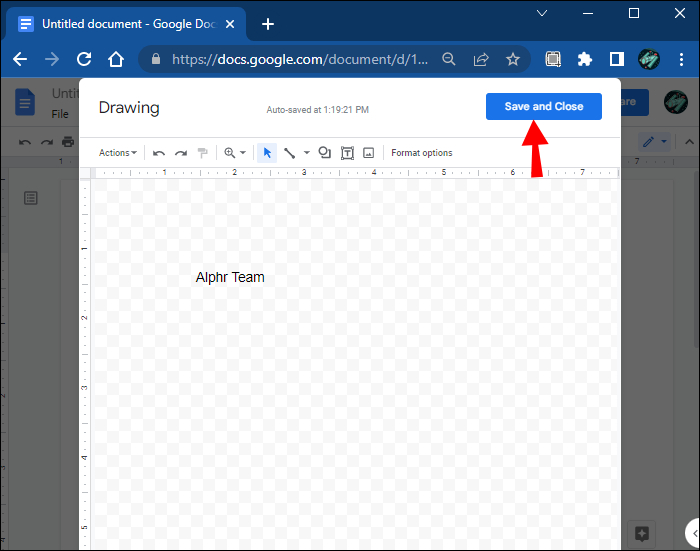
- Once you’re done, click the “Save and close” button in the top right of the window.
Using Shapes to Create a Text Box
This feature allows you to play with various shapes like squares, rectangles, callouts, and more. You can customize the text boxes by adding backgrounds and colors or changing border lines.
Here are the steps to creating a text box using the shapes.
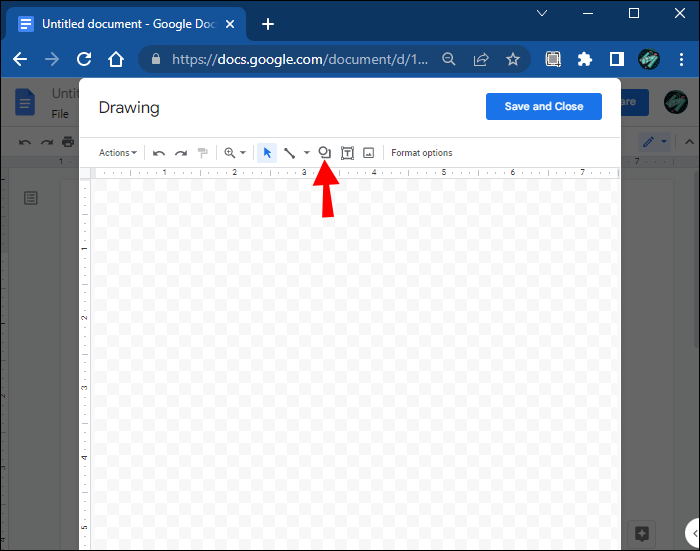
- Open the “Drawing” window.
- Select the “Shapes” command.
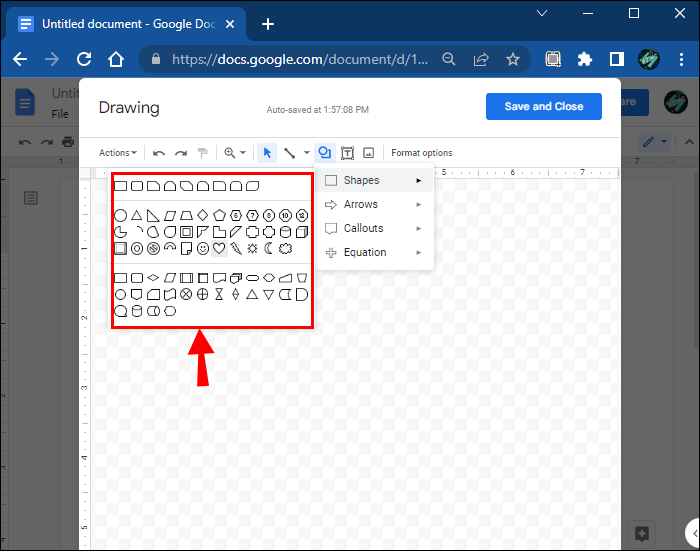
- A drop-down menu will open. Select “Shapes” to start the tool.
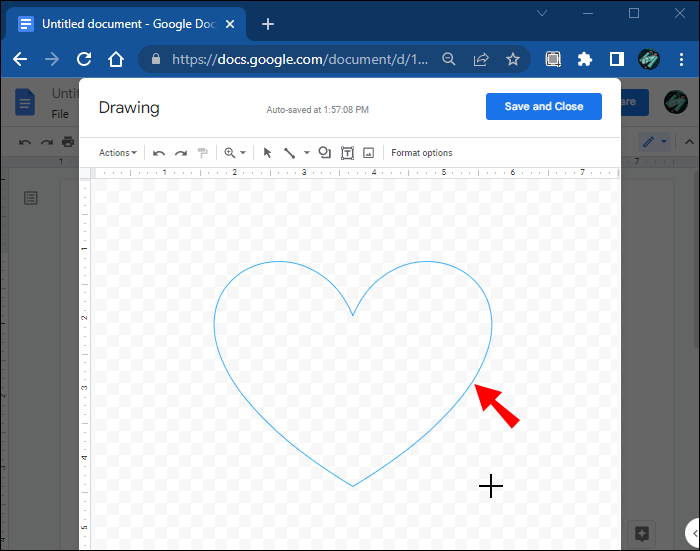
- Choose the shape you want to add.
- Drag your mouse over the drawing area to create the shape and release the mouse once you’re satisfied.
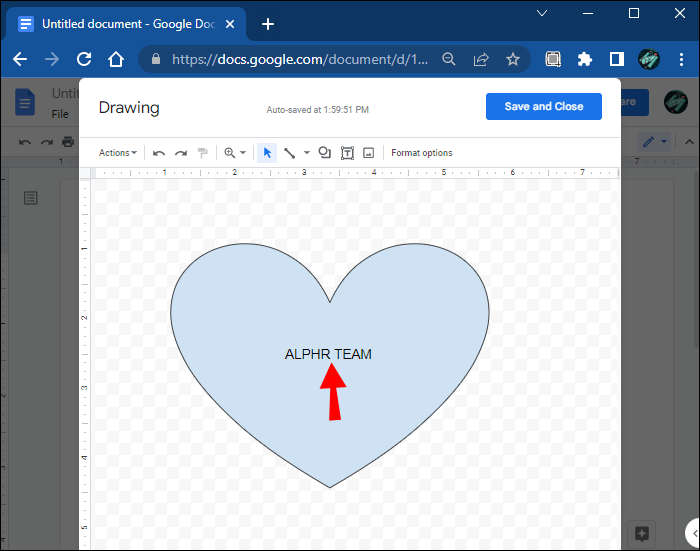
- Add text to the shape by double-clicking anywhere within the shape.
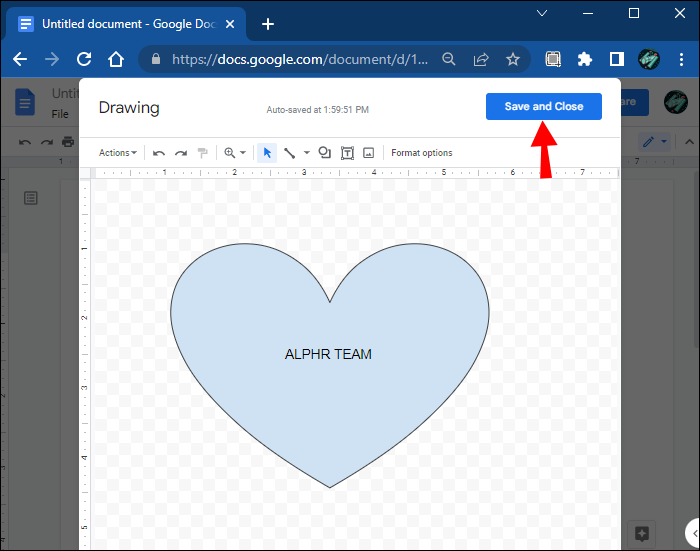
- Once done, click “Save & Close” to insert the shapes into the document.


The drawing tool allows you to add as many shapes as you want to the drawing area. It also offers many other shapes, including lines, arrows, and even equation symbols.
Google Docs also lets you resize the shapes you create anytime to fit them into the document or edit them accordingly. Use the blue anchor points to resize and shape your newly created shapes. On the other hand, the orange ones let you customize the shapes in more detail. Or use the circular blue pins above the shape to rotate your text box.
Customizing a Text Box
Customizing a text box created by using the drawing tool is a great way to give it visual appeal. You only need to select the shape and click “Edit” from the following options. You can choose various formatting commands to enhance your text box by coloring it, adding lines, inserting an image, and more.
Create a Text Box Using a Single Cell Table
The Table tool is another quick way to add a text box to your Google Docs file. With it, you can create a single-cell table with one column and row to form a plain text box to which you can add text.
Here is how to do this.
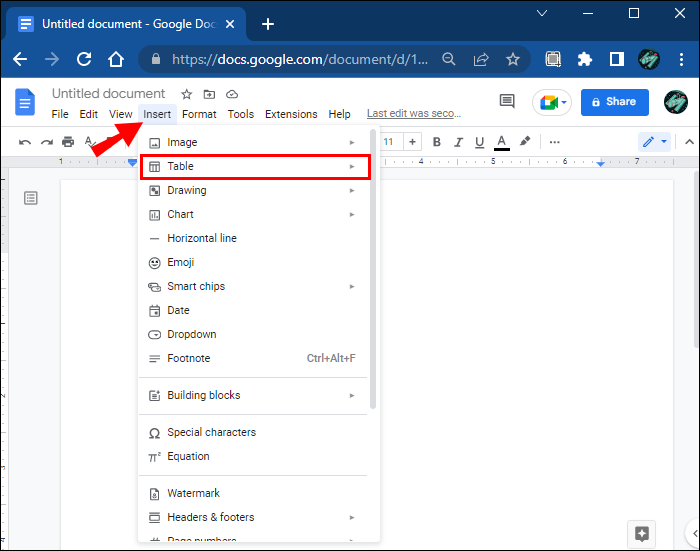
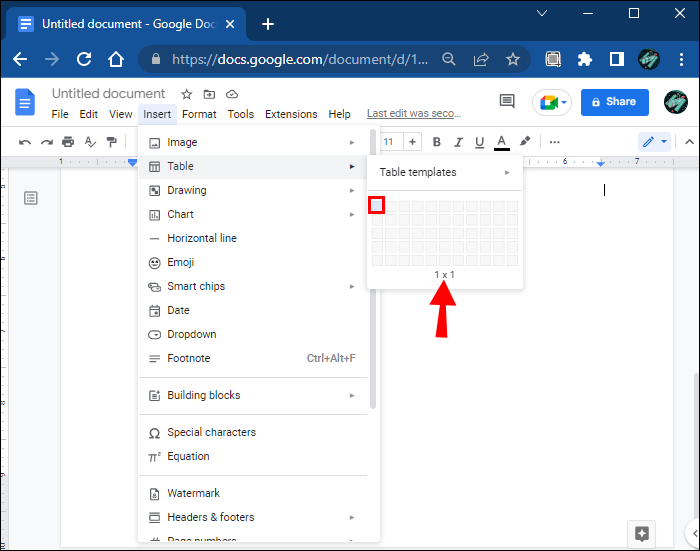
- In the top menu, click “Insert” and then “Table.”
- Create a single cell by clicking on a 1×1 square.
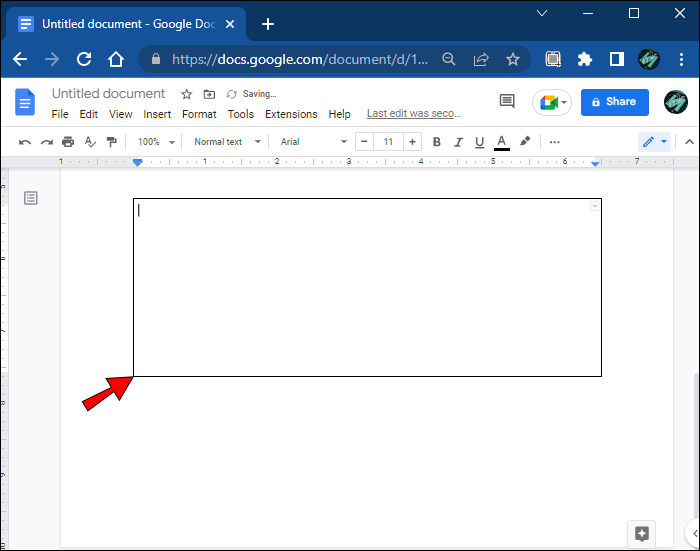
- Adjust the width and length of the cell in the document to the desired size.
- Insert your text in the cell.
- Customize the cell by adjusting the font color, size, and style to highlight the text.


Make Your Text Stand Out
Adding a text box to any document has many benefits. Text boxes are an essential formatting tool and allow you to insert and customize your content. Using this feature makes any textual content in the document appear more distinct, more important, and user-friendly.
Google Docs offers excellent features for creating text boxes. It allows you to get creative and use various inputs to add a unique appeal to the text. Moreover, it draws attention to important information on the page and lets you organize your content more effectively.
Which of these ways did you use to create a text box? Leave a comment below.
Disclaimer: Some pages on this site may include an affiliate link. This does not effect our editorial in any way.