Device Links
Your Hisense TV is a versatile device that can accommodate several inputs. You could plug in a game console, a DVD player, and an external hard drive while still making space for that Blu-ray player you like so much. You could even use your TV as your desktop monitor.
But with so many devices available for connection, you need to master how to switch between them, how to move from input A to input B quickly and efficiently.
In this article, we show you how to go about it.
How to Change the Input with a Remote
Let’s now see how you can change your TV’s input and enjoy your favorite content.
Method 1: Use the Input Button on Your Remote
Most Hisense TV model remotes come with a dedicated button for switching between inputs. This button is commonly labeled “Input,” “Source,” or something similar. Here’s how to change input using the input button:
- Press the “Source” button.
- When the list of the available inputs appears, use the up and down arrows to scroll through the list.
- Select the desired source and then press OK to connect.
And that’s it! With these steps, you can lock in any source and enjoy content on your Hisense TV however you like.
Method 2: Use the Menu Button on Your Remote
In some Hisense TV models, the remote doesn’t come with an input button. You need to open the system menu to access it. Here’s how:
- Press the Menu button on your remote. This should launch the settings section of your TV.

- Scroll through the options and select “Input.”
- Move up and down the input menu to select the desired option.
- Press OK to activate.
How to Change Input Without the Remote
As we’ve seen, changing the input on your Hisense TV using a remote is quite convenient. But what happens if your remote is broken or misplaced? What do you do if the batteries have run out of power? Don’t fret. You can still change the input manually using the buttons on your TV. Here’s how:
- Power on your TV.

- Click on the Menu button. This should launch the OSD screen.
- Click on “Input.”
- Use the channel buttons to skip to the desired input. In most models, this should automatically switch the input to the selected setting. If that doesn’t activate the required input, press and hold the Menu button and simultaneously press both volume buttons.
If you don’t have the remote and don’t want to go through the hassle of switching the input manually, you can trick your TV into displaying the input menu. You do this by plugging something into the TV while it’s turned on. For example, if your games console is on and you hook it up to your TV, the console’s feed will automatically appear on the screen.
How to Change the Input on a Hisense Smart TV
If you own a Hisense smart TV, changing the input couldn’t be easier. Hisense smart TVs use Android for the core system, guaranteeing perfect compatibility with all Google services and applications. This opens a gateway for new methods to change the input that would otherwise not be available in the traditional analog/digital models.
Let’s see the specific ways to change the input on your Hisense smart TV:
Method 1: Use the Android Remote App for Hisense TVs
The Android Remote App for Hisense TVs turns your phone into the ultimate remote control. It helps you to do everything you’d do using the traditional remote: changing inputs, channels, adjusting the volume, and much more.
You can tell your TV what to do using your voice. And a touchpad makes navigation through the menus much more intuitive and responsive compared to pressing buttons. With just a swipe, you’re able to scroll through the menus without being limited by directional arrows.
Here’s how to change the input on your Hisense TV using the Android Remote App for Hisense TVs:
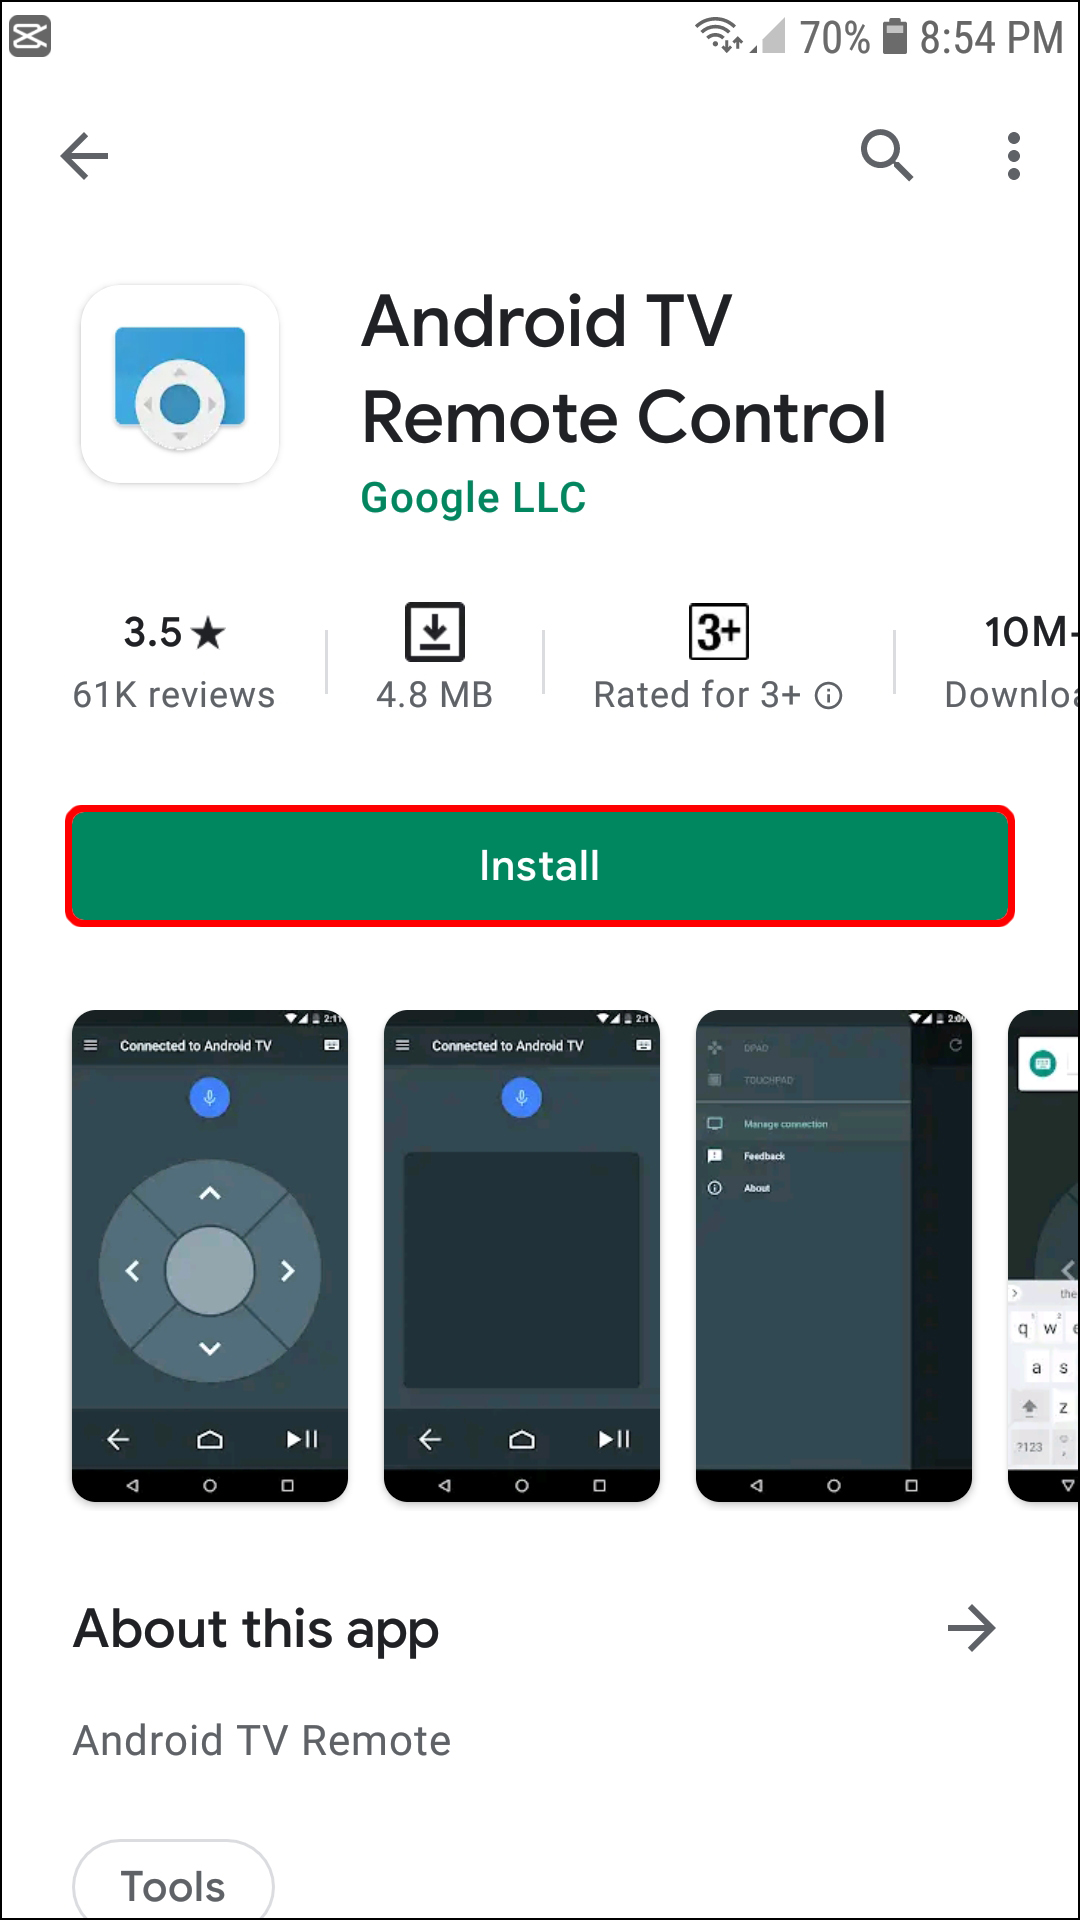
Part 1: Download and Install the App on Your Phone
First, the app needs to be installed on your smartphone and then connected to your Hisense TV. Here are the steps:
- Visit Google Play Store or the App Store to download and install the app.
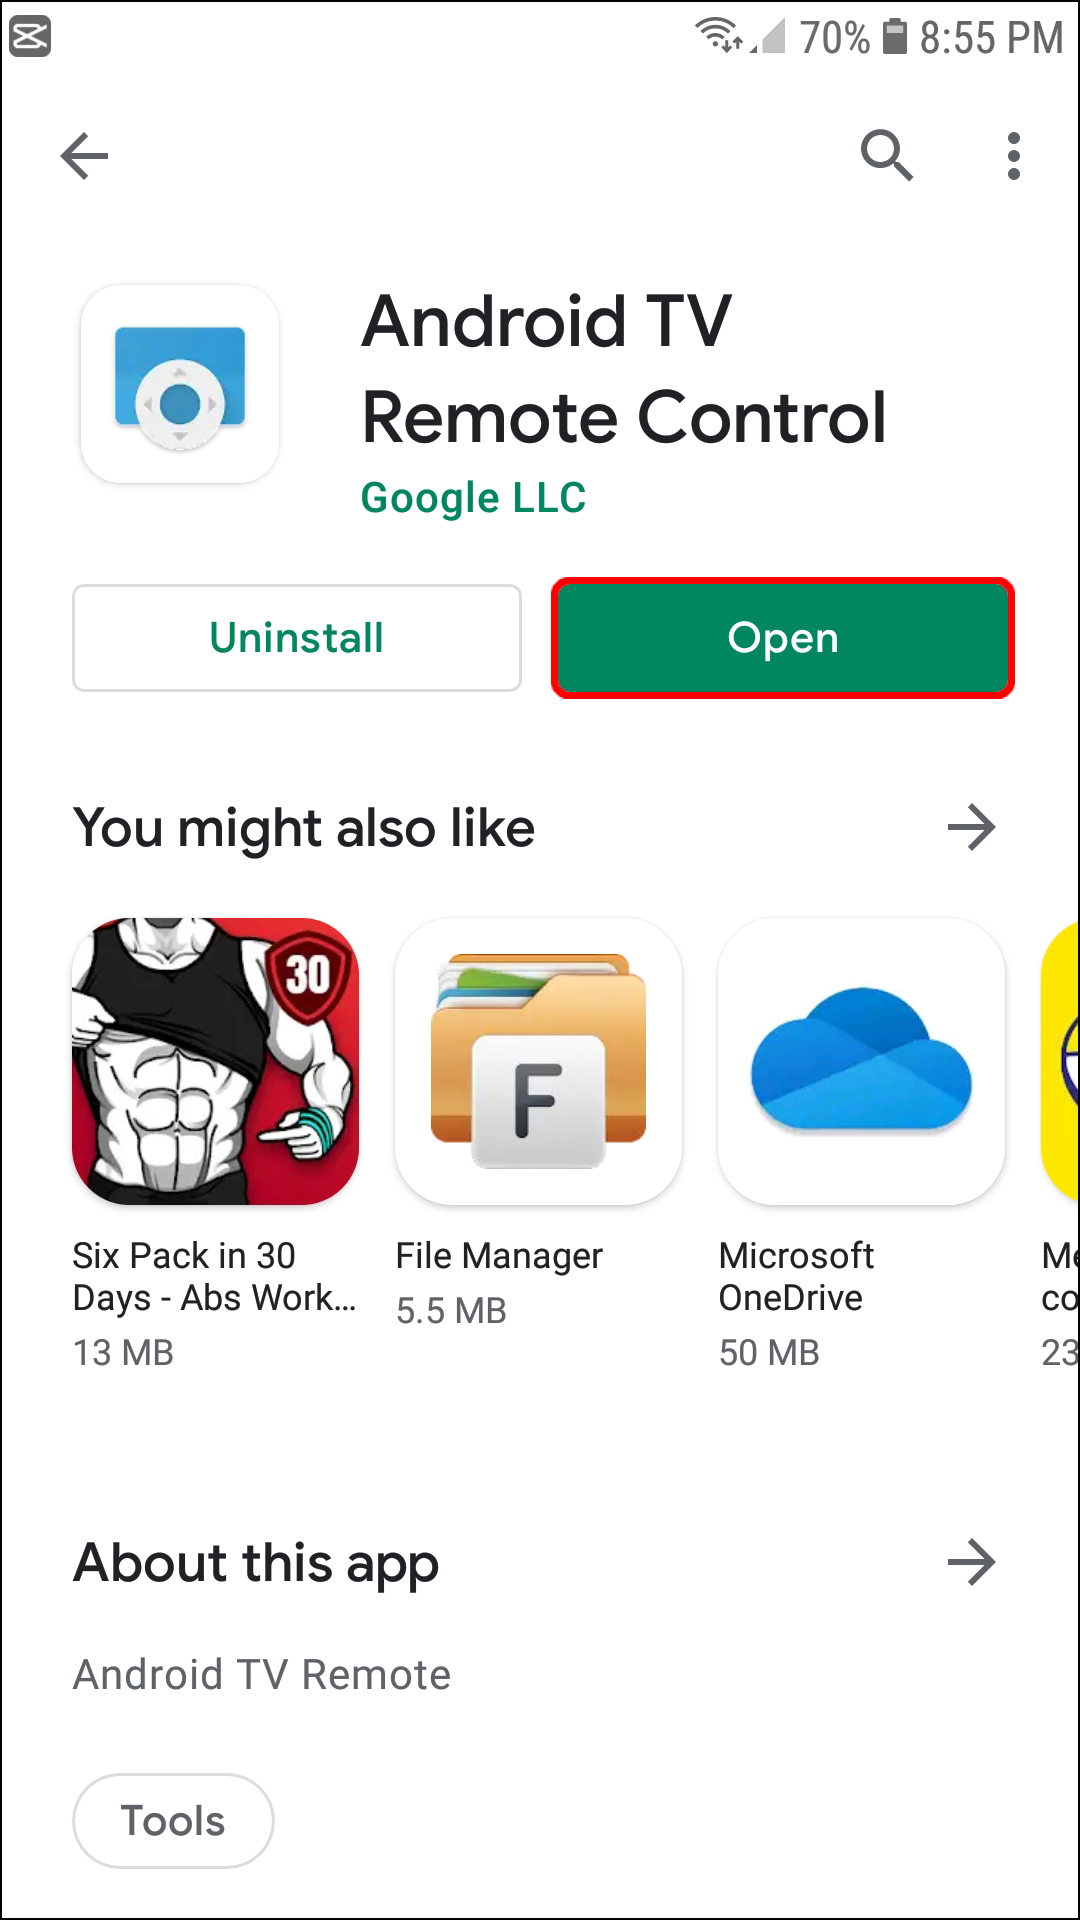
- Open the app.
- Tap on “Accept & continue” to agree to the app’s terms of service.
- Select “Hisense Smart TV” from the list of the available devices.
- Enter the app-generated PIN code to pair the app with your Hisense TV.

Part 2: Use the App to Change the Input on Your TV
After connecting the app to your TV, you can now use the app to do just about anything on your TV. Here are the ways you can change your TV’s input:
a) The Easy Text Input Method
To change the input using this approach:
- Tap on the text input box and type “Input” on the virtual keyboard that appears.
- Tap on “Go.”
This should open the input options available on your TV where you can select the desired input.
b) Using Voice Search
Voice search on the Android Remote App for Hisense TVs is a great way to expedite searches and pull up your TV’s menus quickly. Just tap the microphone icon in the top-right corner of the app and say a word or phrase related to the thing you’re looking for. Your search will automatically be filtered based on the context of what was said. You can then choose from a list of results that meet your needs.
In this case, a simple “Input” voice command should draw all the available input options and allow you to select the one you want.
Method 2: Use Google Assistant
Google Assistant is Google’s voice-activated system that uses Artificial Intelligence to execute commands, answer questions, or conduct search queries. It’s one of the features that come with the Google Home app. There are multiple ways of activating the service. You can either say “OK Google” followed by your command or give it a tap from the home screen.
Here’s how to use Google Assistant to change the input on your Hisense TV:
- Download and install the Google Home app from Google Play or App Store.
- Connect your phone and Hisense TV to the same Wi-Fi network. Once connected successfully, you should be able to see your TV in the app.
- Tap on the TV to pair it up with the app. You should now be able to control your TV from the app.
To illustrate, let’s say you want to change the input from AV to HDMI. You need to execute the following voice command: “OK Google, change the input to HDMI.”
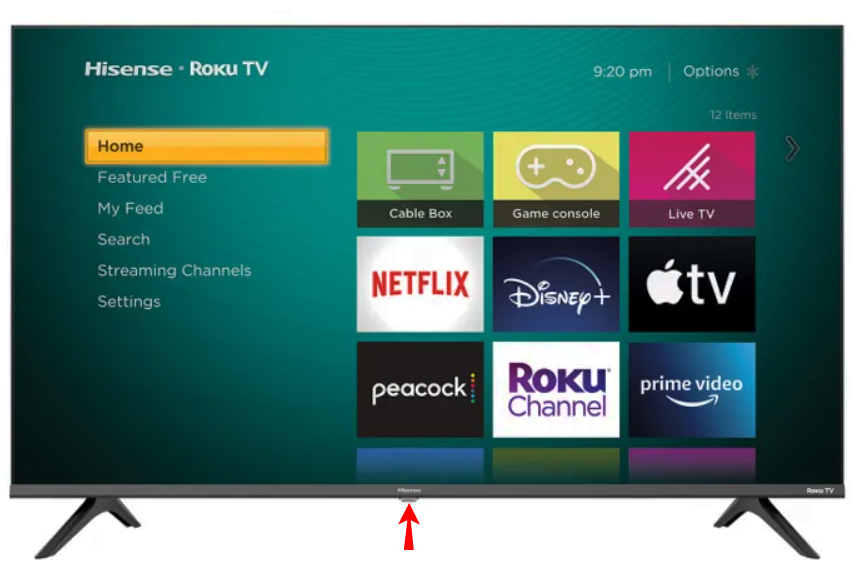
How to Change the Input on a Hisense Roku TV
If your Hisense smart TV has the RokuOS, you can easily change the input even if you don’t have the TV’s original remote. Here’s how:
- Download and install the Roku app on your Hisense TV. The app is free on both Google Play and App Store.
- Once the app has been installed successfully, launch it and connect it to the same Wi-Fi network as your Hisense TV.
- Tap on the TV to pair it up with the app. This will allow you to control your TV from the app.
- Tap the “Remote” tab at the bottom of the app home screen.
- At this point, you should be able to see the virtual “Input” or “Source” button. Tap on it to change the input to the desired category.
You Don’t Need Your Remote
Changing the input on your Hisense TV is straightforward when you have the remote. But even if you don’t, Hisense has ensured that there are plenty of other convenient ways to do it. If you own a digital TV, you can either change the input manually or open the input submenu by plugging in a compatible external device while the TV is on. These methods should work if you own a smart Hisense TV, but the Android Remote App for Hisense TVs or Google Assistant can also do the job.
Have you tried to change the input on your Hisense TV through any of the methods discussed in this article? Let us know in the comments section below.
Disclaimer: Some pages on this site may include an affiliate link. This does not effect our editorial in any way.