Device Links
When people talk about vectorizing an image, it means converting a digital image from pixels into vectors. The difference between the two is that vector images don’t suffer image degradation whenever you resize them, allowing for better customization. This is great for those that use pictures for webpages or blogs, as reducing image sizes makes pages load quicker and takes up less server space.
If you want to know how to convert an image to vector for the different imaging platforms, read on.
How to Convert Image to Vector in Illustrator
If you’re using Adobe Illustrator as your image editing software of choice, converting the image to vector can be done by doing the following:
- Open the image that you want to vectorize.
- Click on your selection icon on the left menu, and select the entire image.
- On the top menu, click the dropdown arrow to the right of the Image Trace button to bring up the menu.
- Choose an option from the selection given to vectorize the image. The higher the number of the color options you use, the more vector colors will be utilized. 16 colors, for example, will vectorize an image into 16 separate colors.
- You can undo your selection by using the shortcut Ctrl + z. Scroll through the options until you find one that retains the image quality you want.
- Select the image again, then click on Expand on the top menu.
- Right-click on a portion of the image, then choose Ungroup.
- Select the background of your image then press backspace, or right-click and delete. Repeat the process until the entire background is deleted.
- Select the entire image again then click on Group.
- Your image should now be vectorized and can be resized without loss of quality. Save the image.
How to Convert Image to Vector in Photoshop
Images can also be turned into vectors when using Adobe Photoshop, but the amount of colors that can be used is limited. If your image uses a lot of colors, then it’s much better to use Adobe Illustrator. If you still wish to use Photoshop, follow these steps:
- Open your chosen image in Photoshop.

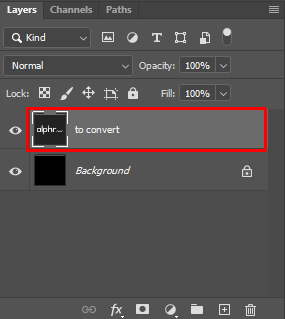
- Make sure that the layer of the image you want to convert has been selected.

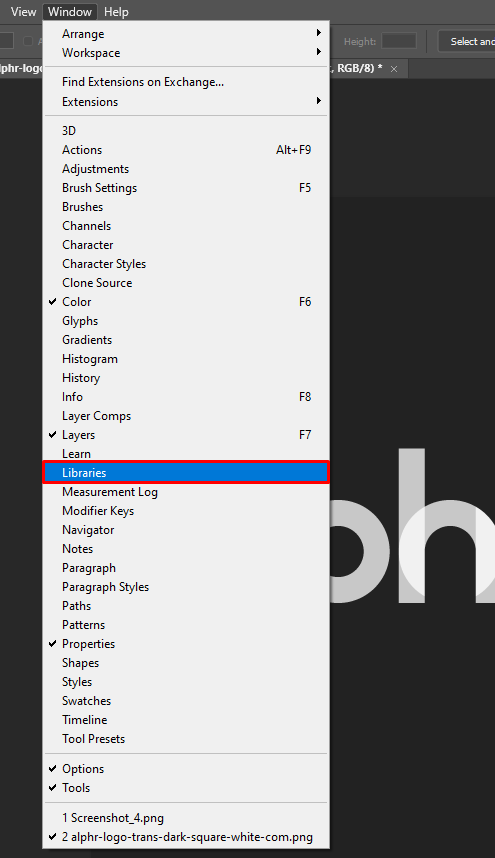
- On the top menu, click on Window, then make sure that Libraries have is checked. If not, click it to toggle it on.
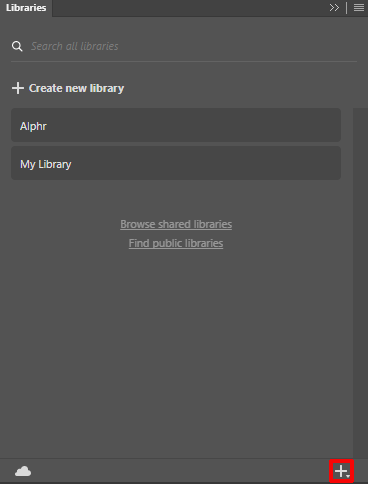
- On the Libraries tab, click on the small + icon in the lower left corner.
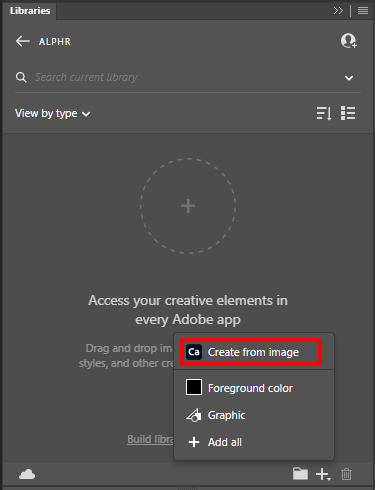
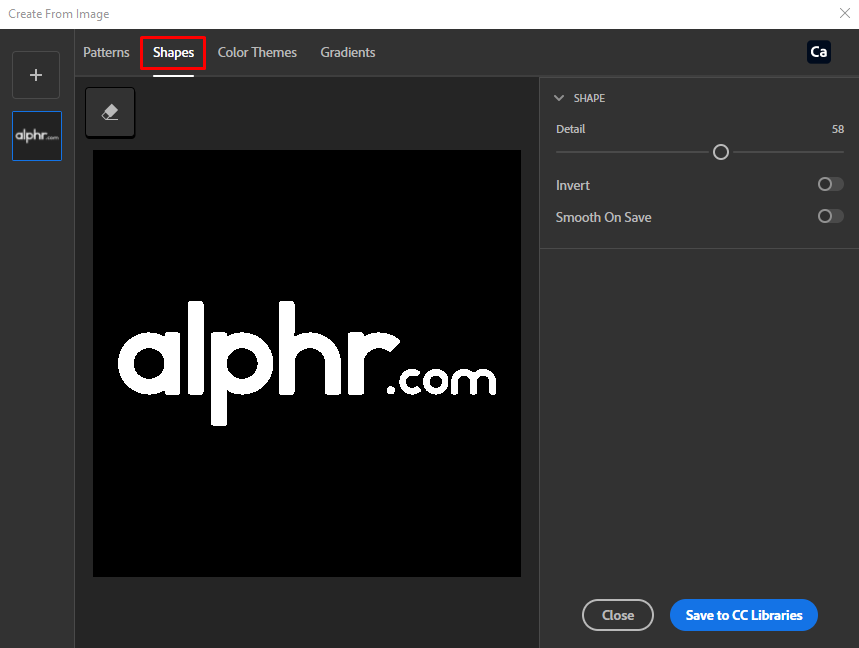
- On the popup menu, click on Create from Image.
- On the tabs to the upper right, click on Shapes.
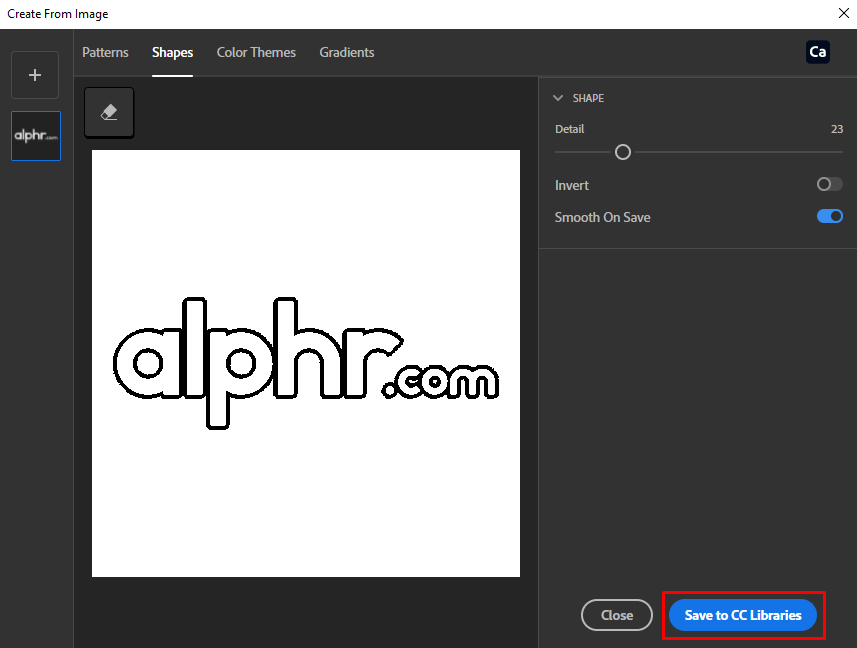
- Adjust the Detail slider until you’re satisfied with the selection.
- Click on Save to CC Libraries in the lower right corner of the window.
- Once it has been saved, you can close the window. If you look at the Libraries tab, you will see that a vector copy of your image has been saved there.


How to Convert Image to Vector in InDesign
Unlike Adobe Illustrator and Photoshop, converting images to Vectors isn’t possible in InDesign. You can use the built-in drawing tools to create a vector image, but conversion itself isn’t supported. You can import already vectorized images in your library by clicking on the CC libraries tab to the right of the screen.
How to Convert Image to Vector in CorelDraw
If you’re using CorelDraw, you can vectorize an image by doing the following:
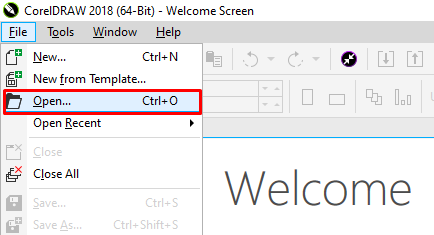
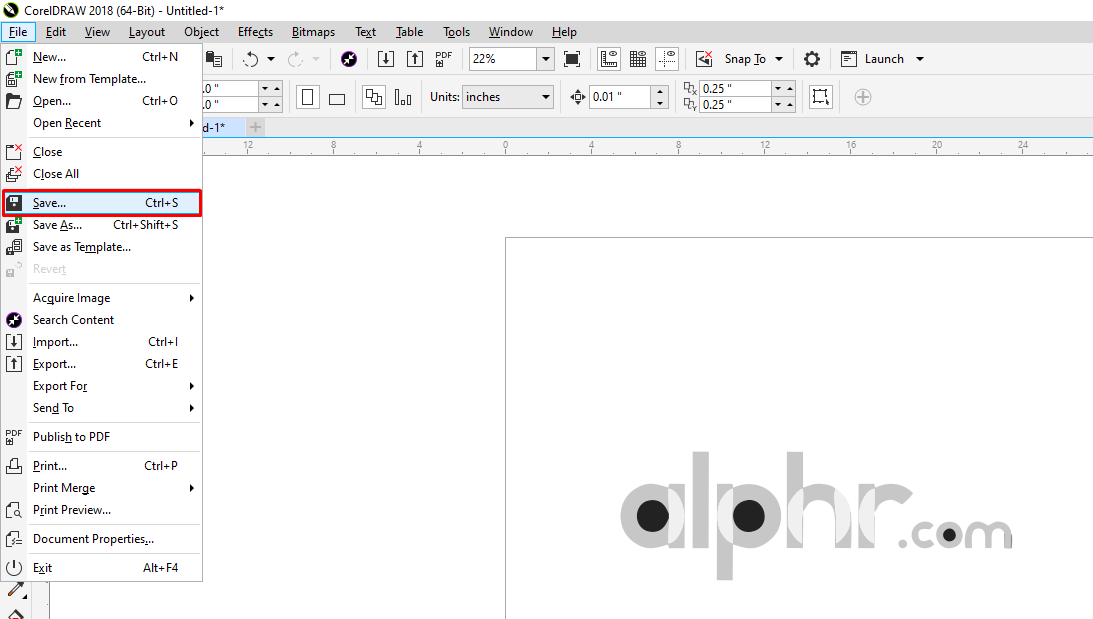
- Open the Image in CorelDraw.
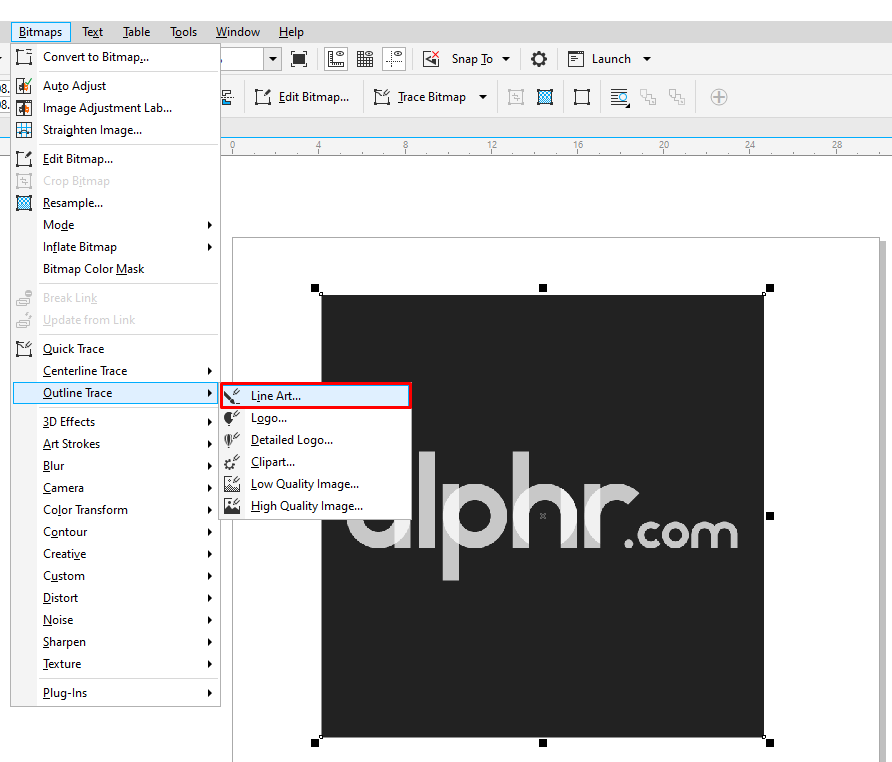
- On the top menu, click on Bitmaps, then hover over Outline Trace.
- Choose a setting depending on the trace sensitivity that you wish to use.
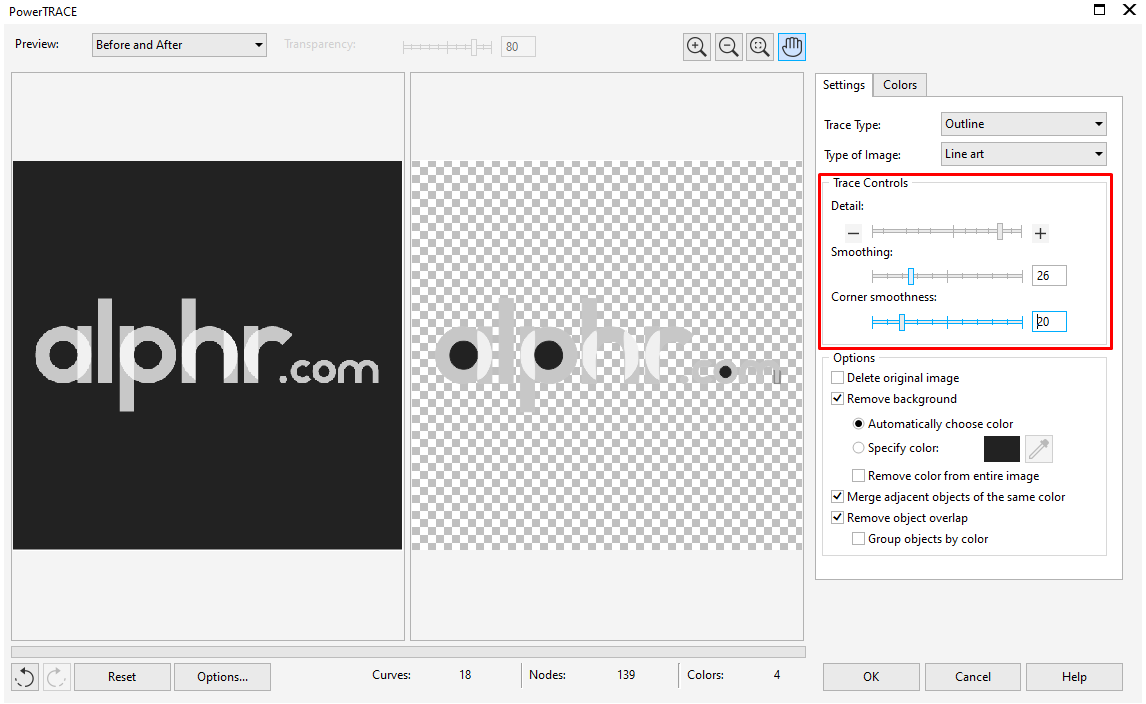
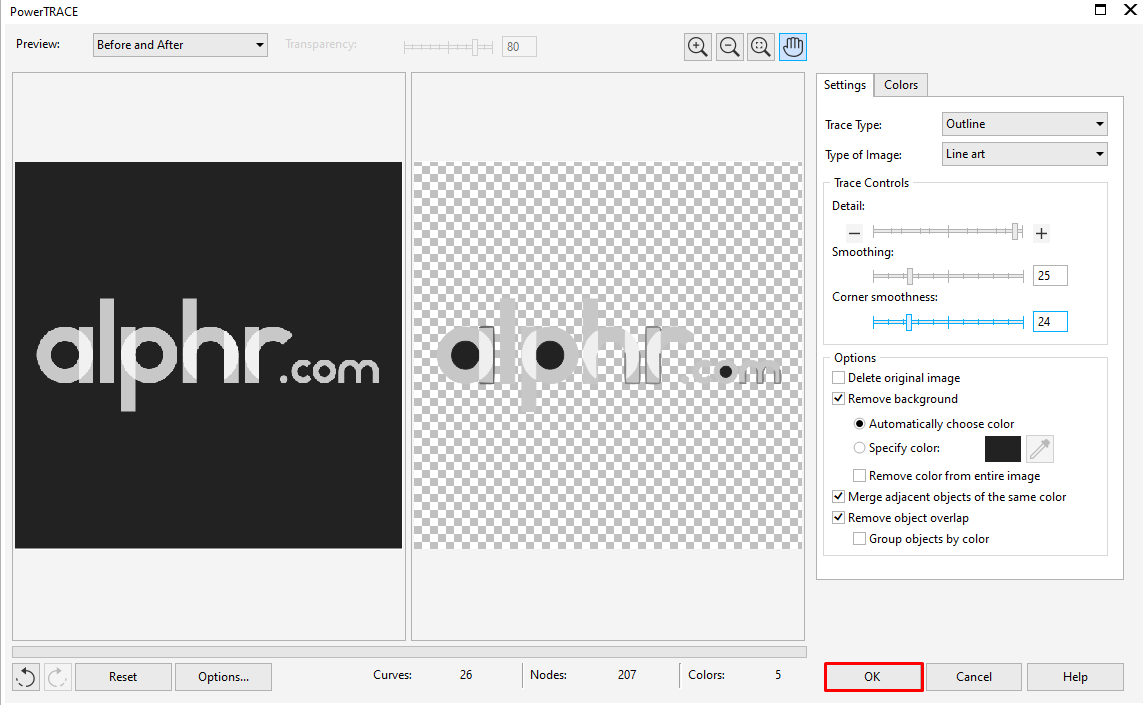
- On the popup window, adjust the settings on the right menu until you find the best settings to suit your needs.
- You can choose to delete the original image by selecting the appropriate toggle option. Once you’re done editing, click on OK.
- Save the vectorized image.

How to Convert Image to Vector on Gimp
Gimp is open source image editing software that’s quite popular with graphic artists because of its wide range of features. If you’re using Gimp though, you’ll need to use Inkscape as well if you wish to vectorize an image. Gimp can be used to remove any backgrounds on your image easily, and then Inkscape can handle the vectoring.
How to Convert Image to Vector in Inkscape
If you’re using Inkscape as your image editor, then converting images to a vector can be done by following the steps below:
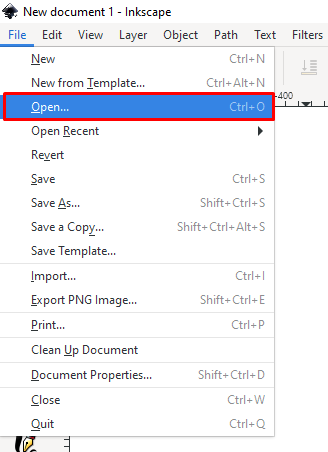
- 500Open your image in Inkscape, then select the entire image.
- If you don’t have a transparent background, remove the background by using the pen tool to select the background details, then pressing backspace. Alternatively, you can use other image editing software to remove the backgrounds easily, then open them in Inkscape afterward.
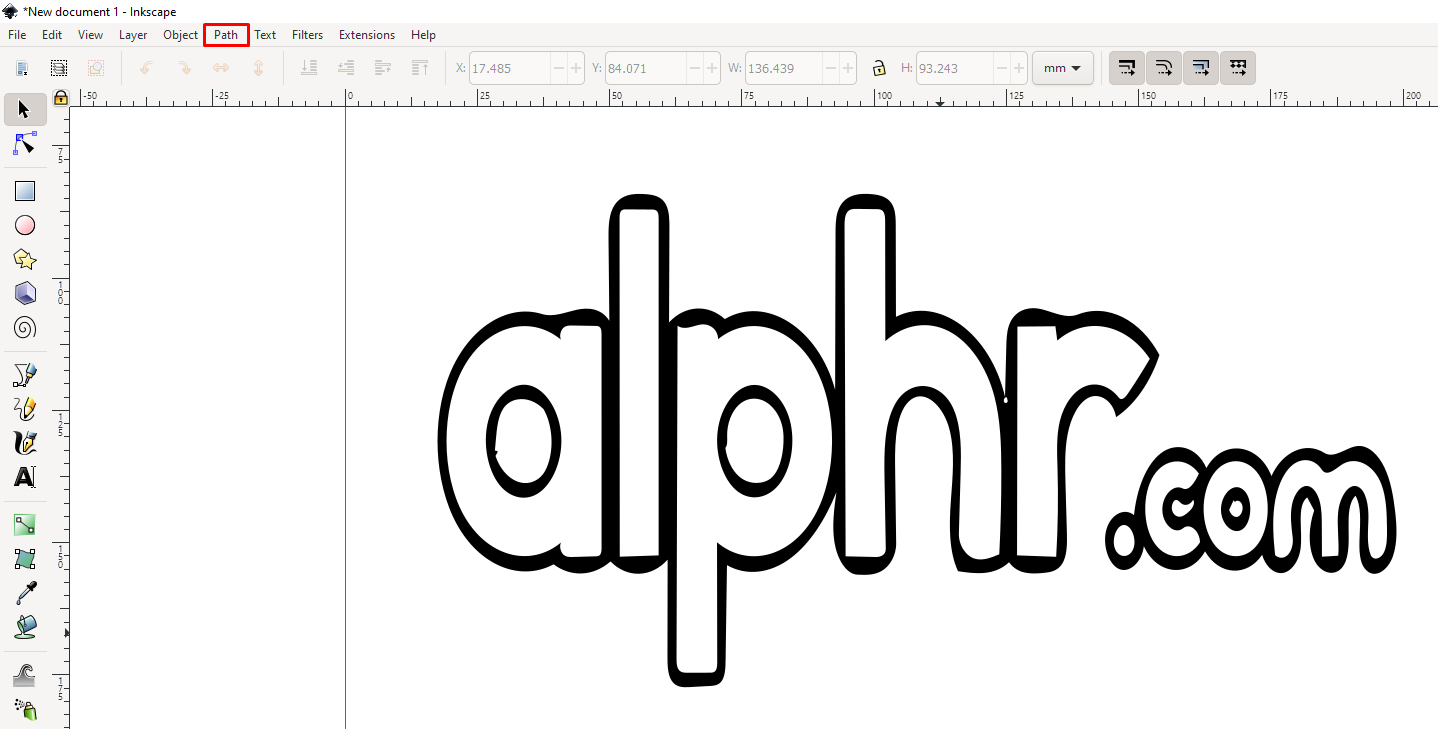
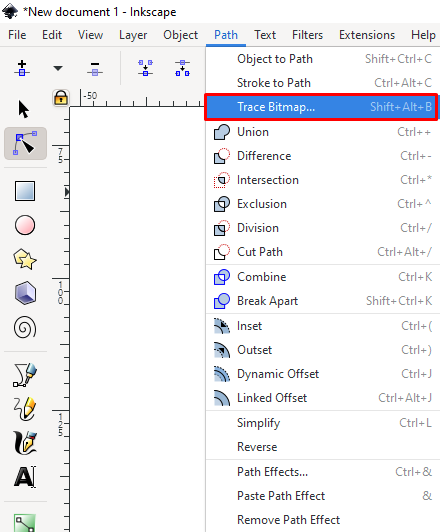
- With the image selected, click on Path on the top menu.
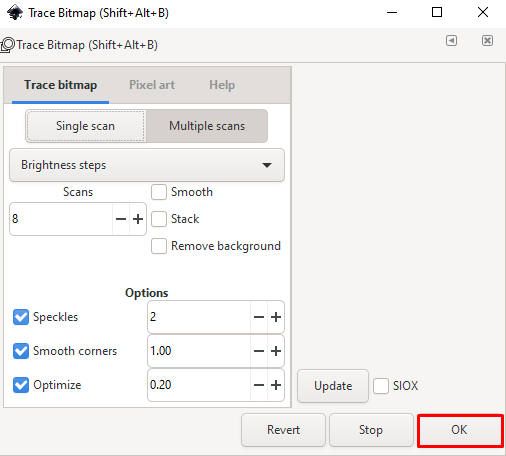
- Click on Trace Bitmap.
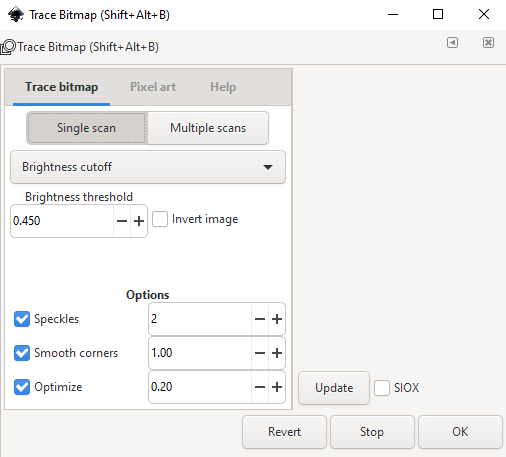
- Adjust the contrasts by editing the options on the left menu. This is pretty much dependent on how you want the image to look like. If you edit an option, click on the Update button on the lower left side of the image to see how it would look.
- You can click on Revert on the lower right to undo your changes. Do note that choosing Auto Trace on either Single Scan or Multiple Scan options will slow down your computer significantly.
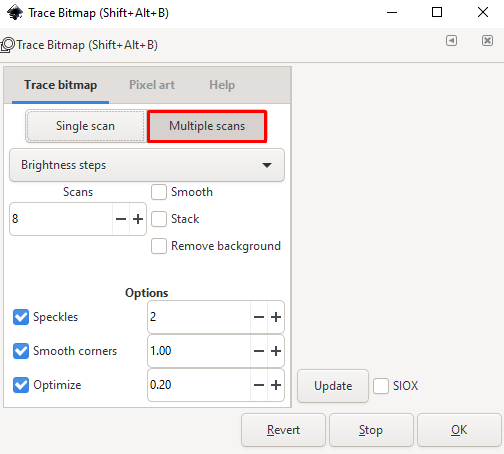
- If you want a colored vector image, choose the Multiple Scans tab, and choose Colors on the dropdown menu. Editing the number of colors used will increase the detail of your image.
- You can click on Revert on the lower right to undo your changes. Do note that choosing Auto Trace on either Single Scan or Multiple Scan options will slow down your computer significantly.
- Once you’re done, click on OK.
- Your image has now been converted. Save the image.


How to Convert Image to Vector on a Mac
If you’re using a Mac to edit images, then converting an image to vector means using image editing software for the job. Adobe Illustrator is a great tool for all-round image editing and vector conversion. Gimp and Inkscape are also available for Mac, and can be used as a free alternative if you don’t want to purchase Illustrator, or have exhausted the free trial period.
How to Convert Image to Vector on a PC
All of the applications given above are available for the PC. Like the Mac, converting an image to vectors on a PC is a matter of opening the image on the appropriate image editing software. Choose one of the applications, and follow the steps above.
How to Convert Image to Vector on an iPhone
Unlike a desktop computer, mobile phones have limited choices in regards to image editing, as they aren’t usually as versatile and powerful. If you wish to use an iPhone to convert your images though, you can download apps to do the job for you. Some of the more popular ones are:
Adobe Illustrator Draw
Pretty much the first choice when it comes to image editing, even on a mobile, Adobe Illustrator should get the job done easily. It’s listed as free with in-app purchases on the Apple App Store.
Imaengine Vector
A rather popular app with good reviews. One of the biggest critisisms is that some newer iOS devices tend to bug out, but otherwise, it does work as advertised. It’s listed as free so there’s no harm in testing it out.
Vector Illustration Draw Pro
A very highly rated vector imaging program. It’s listed as free, but its premium features will cost you. Many users say that it’s practically Adobe Illustrator on iPhone, so it seems like a good choice. Its basic functions are free so trying it out is fine.
The Vector Converter
This app claims that it converts a lot of the major graphics file types into vector images, but it does have mixed reviews. Some say it works, as advertised, some claim that a few files they tried to convert didn’t convert properly. Also, it’s listed as free, but expect to pay for use after the trial period. It’s included in this list as it does have a high rating, but you best stick to the choices above.
How to Convert Image to Vector on an Android Device
Similar to the iPhone, an Android device needs apps to vectorize images. It also isn’t as powerful and as versatile as desktop computers, so expect limited editing capabilities. Some of the apps that you can use to vectorize images on an Android are:
Adobe Illustrator Draw
Like its iOS version, Adobe Illustrator for Android should be the first pick when choosing an image editing software for mobile. It’s free to install but does offer in-app purchases like its iOS counterpart.
Omberlite
A vector design app that is primarily designed to work with vector graphics, it has good reviews on the Google Play store and is also free. Expect in-app purchases or ads though, but if you can handle that, this is quite a versatile tool.
Skedio
Another vector-centric application, Skedio claims that it’s a vector drawing tool with the ability to both import and export vector files. It has mixed reviews, however. But it’s free, so there’s really no harm in trying it out.
How to Convert Image to Vector on a Chromebook
Unlike other computers, Chromebooks can’t install third-party apps unless the apps themselves are released by Google. This limitation makes it rather hard for a Chromebook user to find applicable image editing software. Fortunately, there are workarounds to this, namely Google Play Store Apps and Online Vectoring sites.
Google Play Store
If you have the Google Play Store enabled on your Chromebook then you can install any of the apps given on the Android section above and use them to convert your images. To enable Google Play Store:
- Open Quick Settings menu by clicking the Quick Settings icon in the lower right corner of the screen.
- Click on the gear icon on the upper right of the menu.
- Scroll down until you find the Google Play Store tab.
- Click on Turn On.
- Accept the terms of service.
Online Image Converters
Alternatively, you can avoid using apps by just using online image converters to turn pixel images into vectors. The downside of this is that you really can’t edit the image itself, as it only converts them into vector files. If you wish to try them, some sites are given below:
Better Image Dimension Control
Vectorizing an image is a great way of making it easier to resize without loss of detail. It’s rather handy for those that want better control at the dimensions of the images that they use. Do you know of other ways to convert an image to vector for image editing tools not mentioned here? Share your thoughts in the comments section below.
Disclaimer: Some pages on this site may include an affiliate link. This does not effect our editorial in any way.


