Ensuring that you get the most out of your Zoom recording may sometimes require you to do some video editing. Luckily, you can easily trim your recordings and make many more changes using a variety of digital video editing platforms.
In this article, we’ll give you step by step instructions on how to edit your Zoom recordings using several different programs.
How to Edit a Zoom Recording on iMovie
Follow these steps to edit your Zoom recording using iMovie:
- Open iMovie and press the button with the “+” symbol. Choose the “Movie” option.

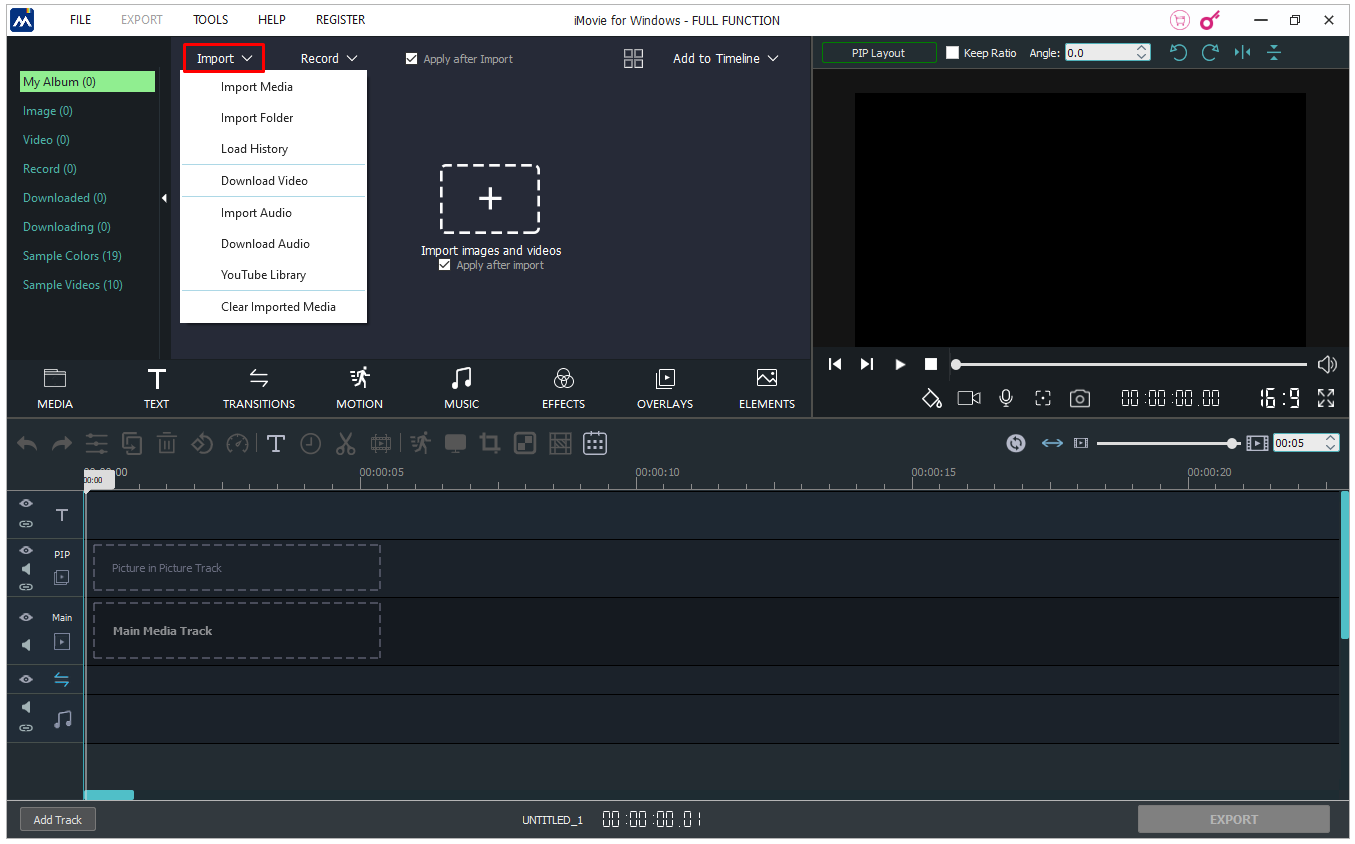
- Press “Import” at the top of your screen. Navigate to the Zoom recording you want to edit.

- Select the recording and press “Import Selected.”
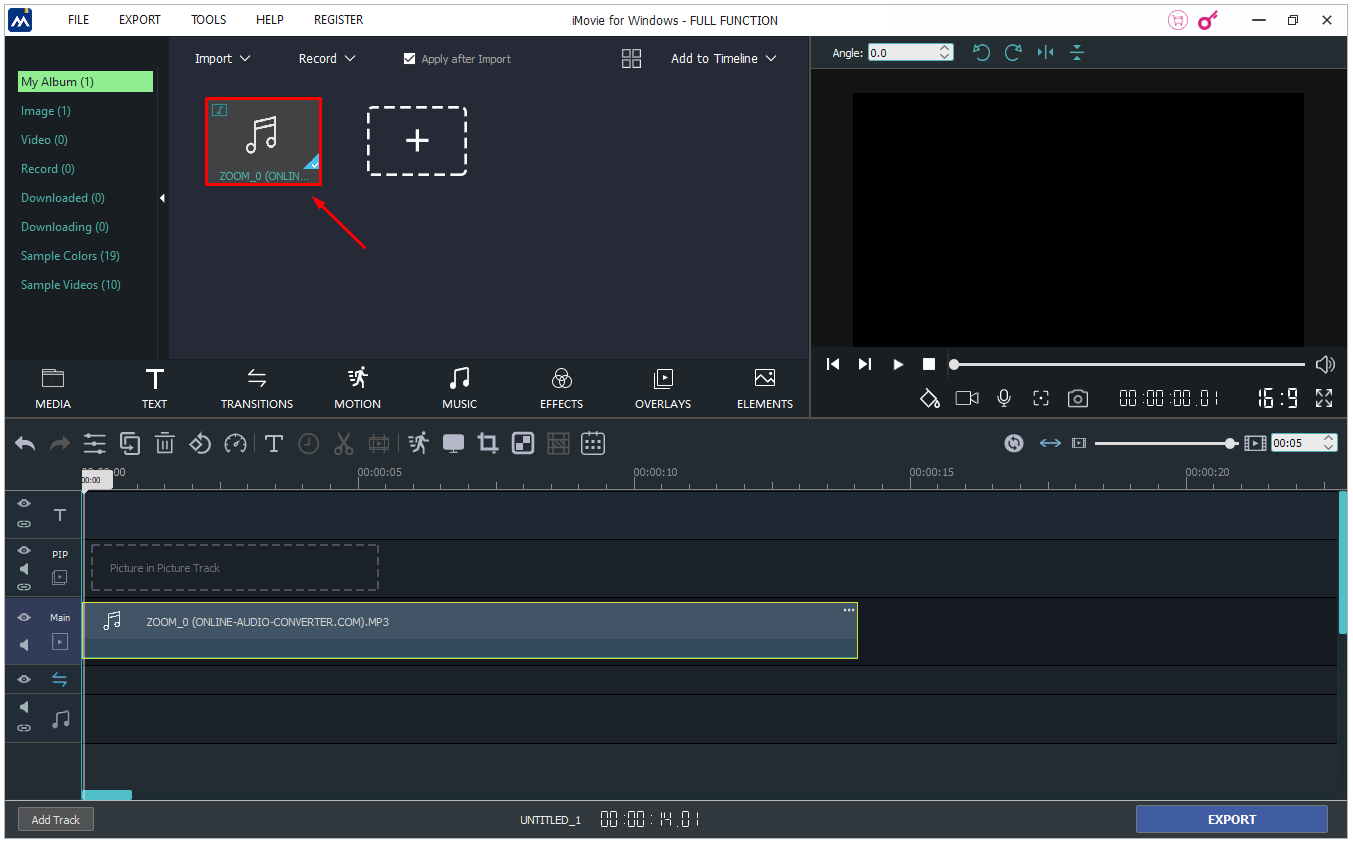
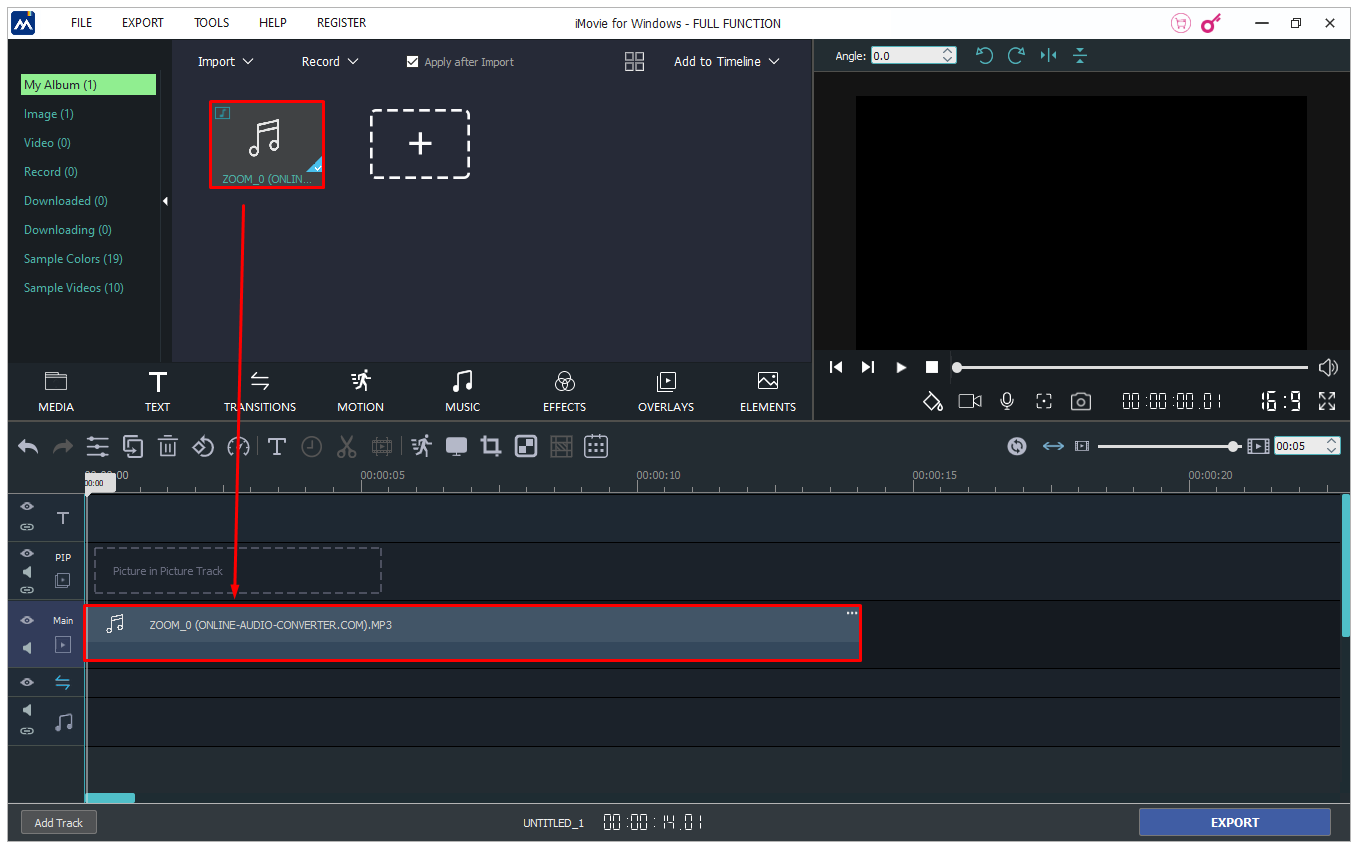
- Drag the recording to the project timeline section to access editing functions.
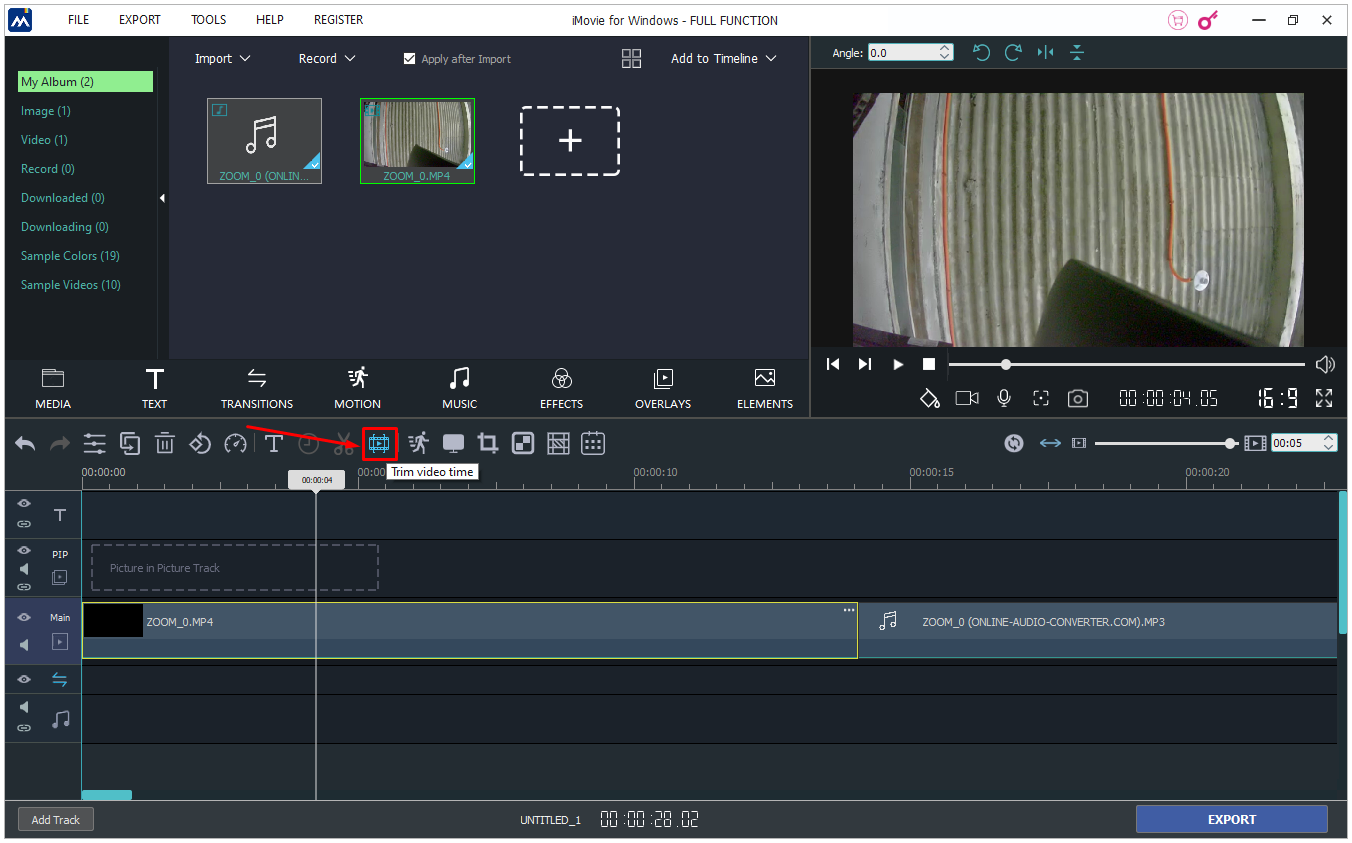
- If you want to trim your recording, you can do it by dragging the start and endpoints to the preferred beginning/ending location.
- You can also insert themes to the recording by including titles and transitions. Press “Settings” in the top-right section of your project timeline and select “Theme.” Choose your theme and click “Change.”
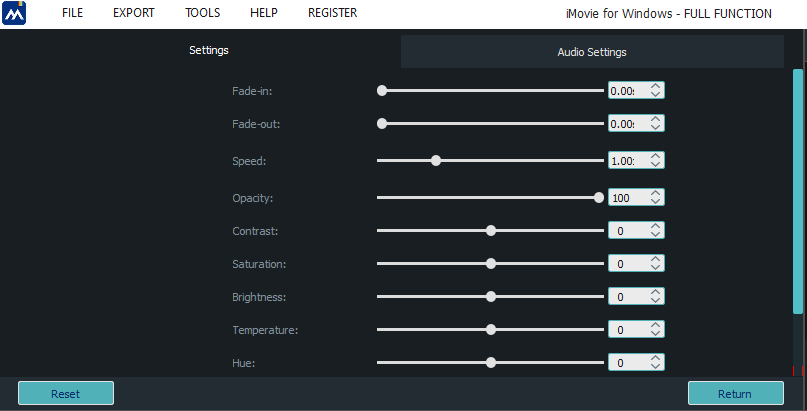
- To add filters to the recording, go to “Settings,” choose “Filter,” and select your preferred filter.
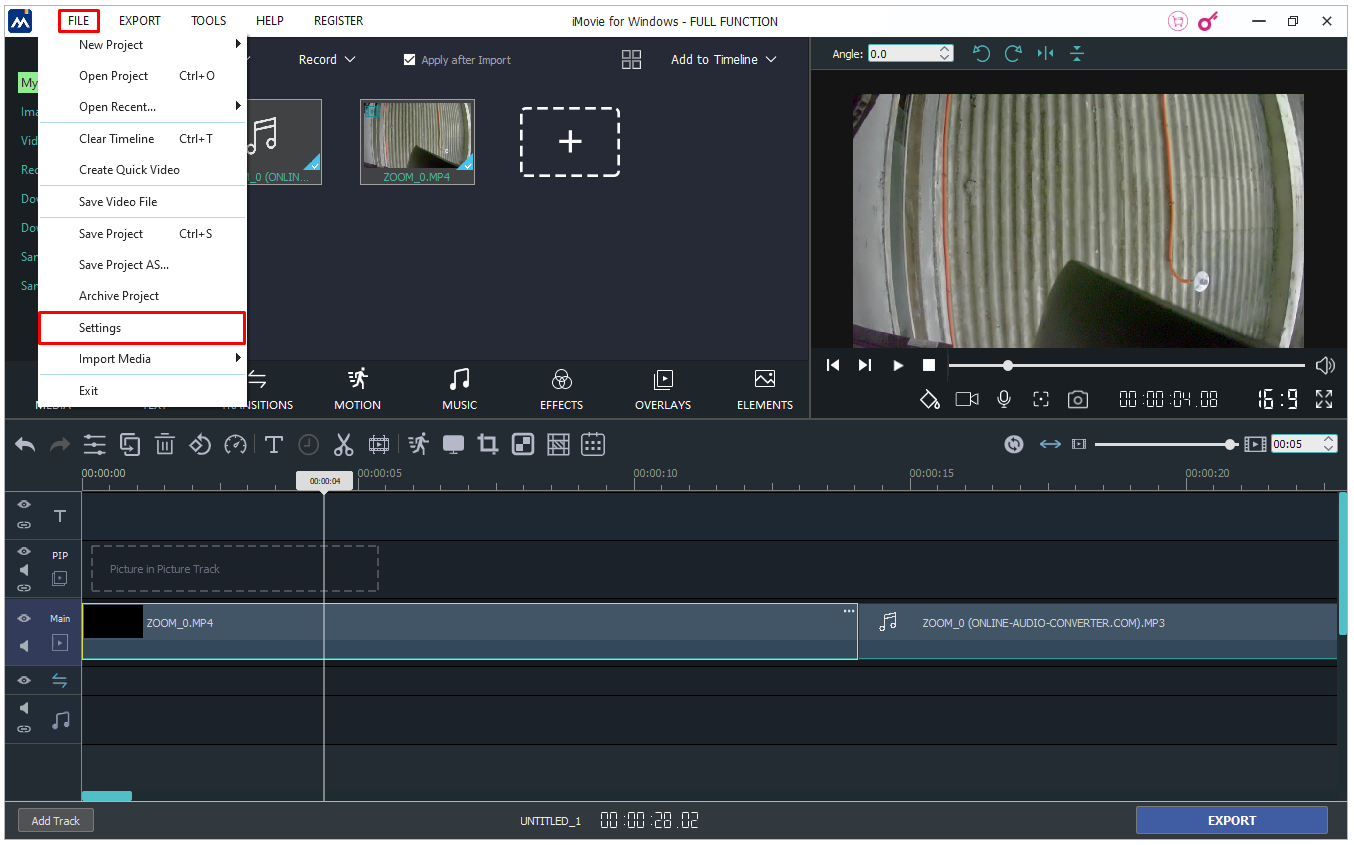
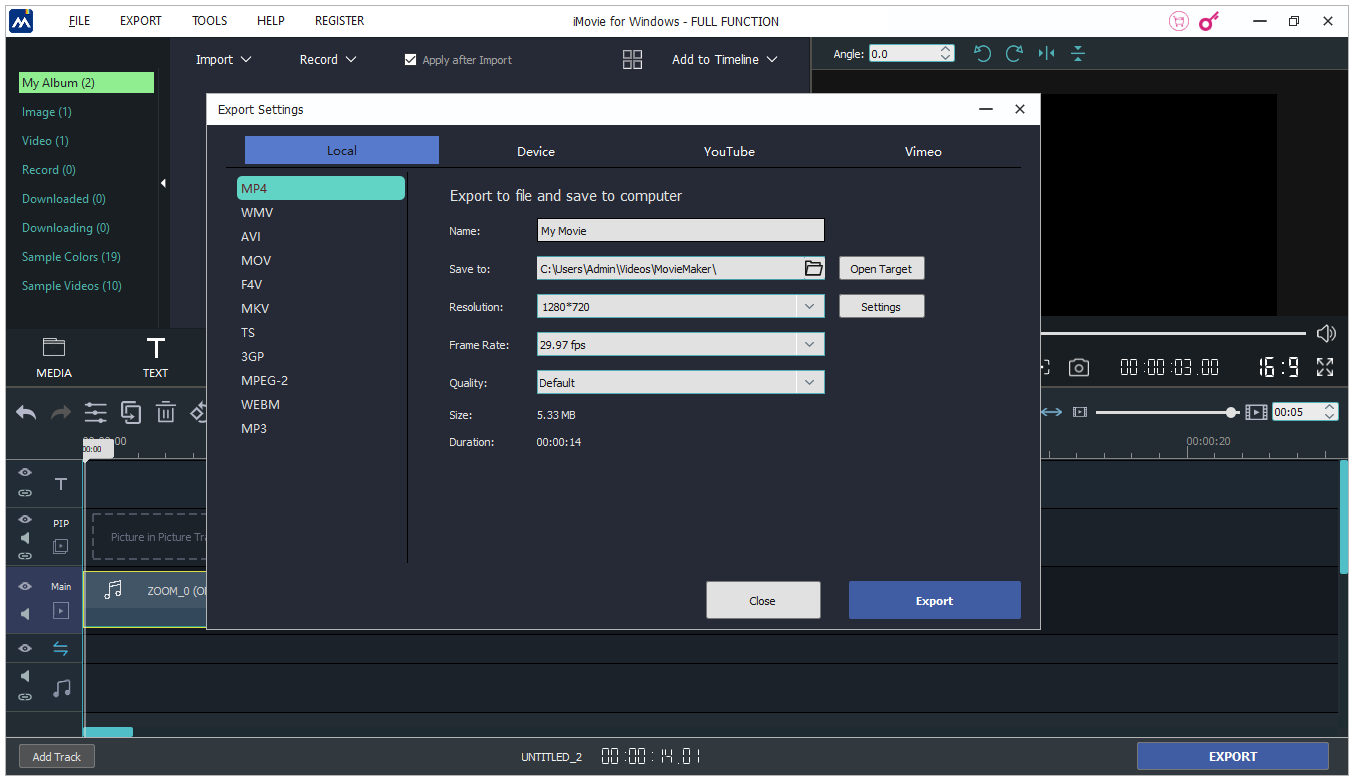
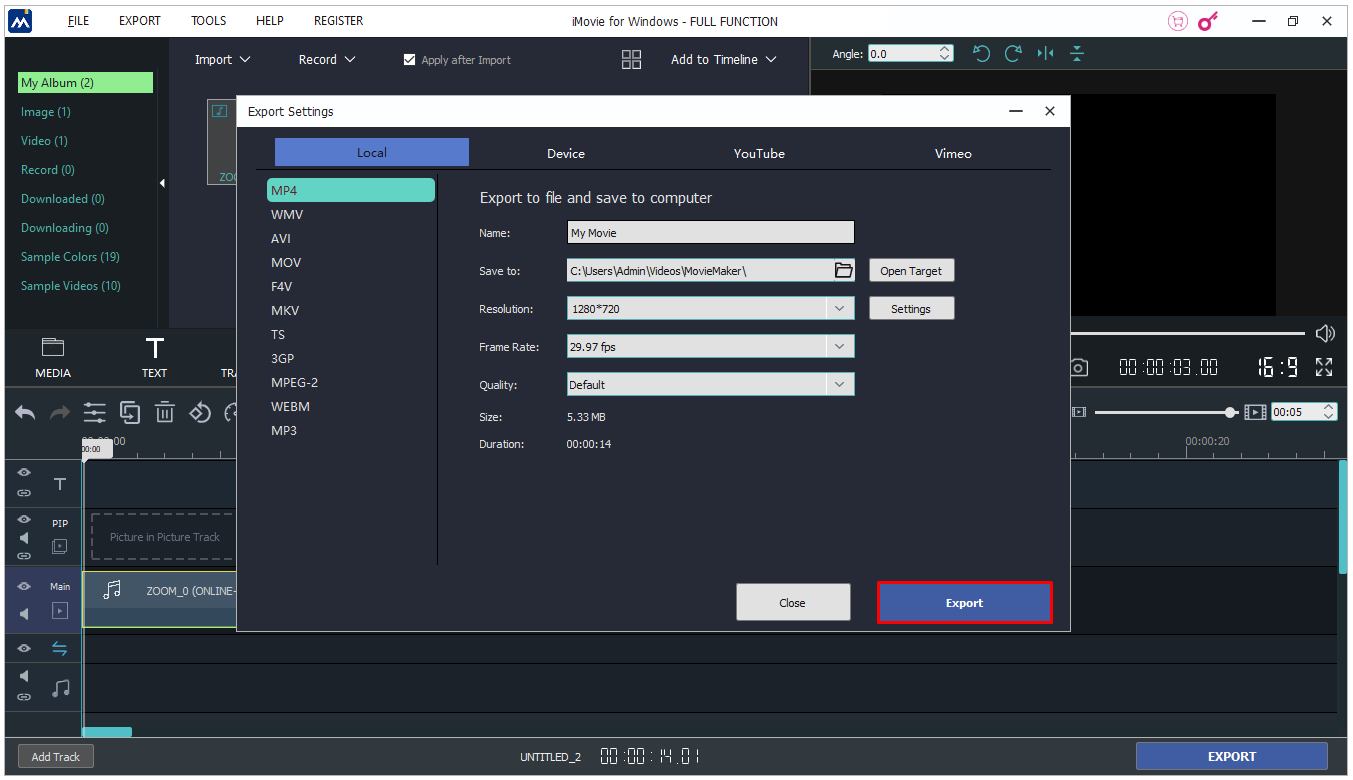
- Once you complete your editing, press the “Share” option and choose “File.”
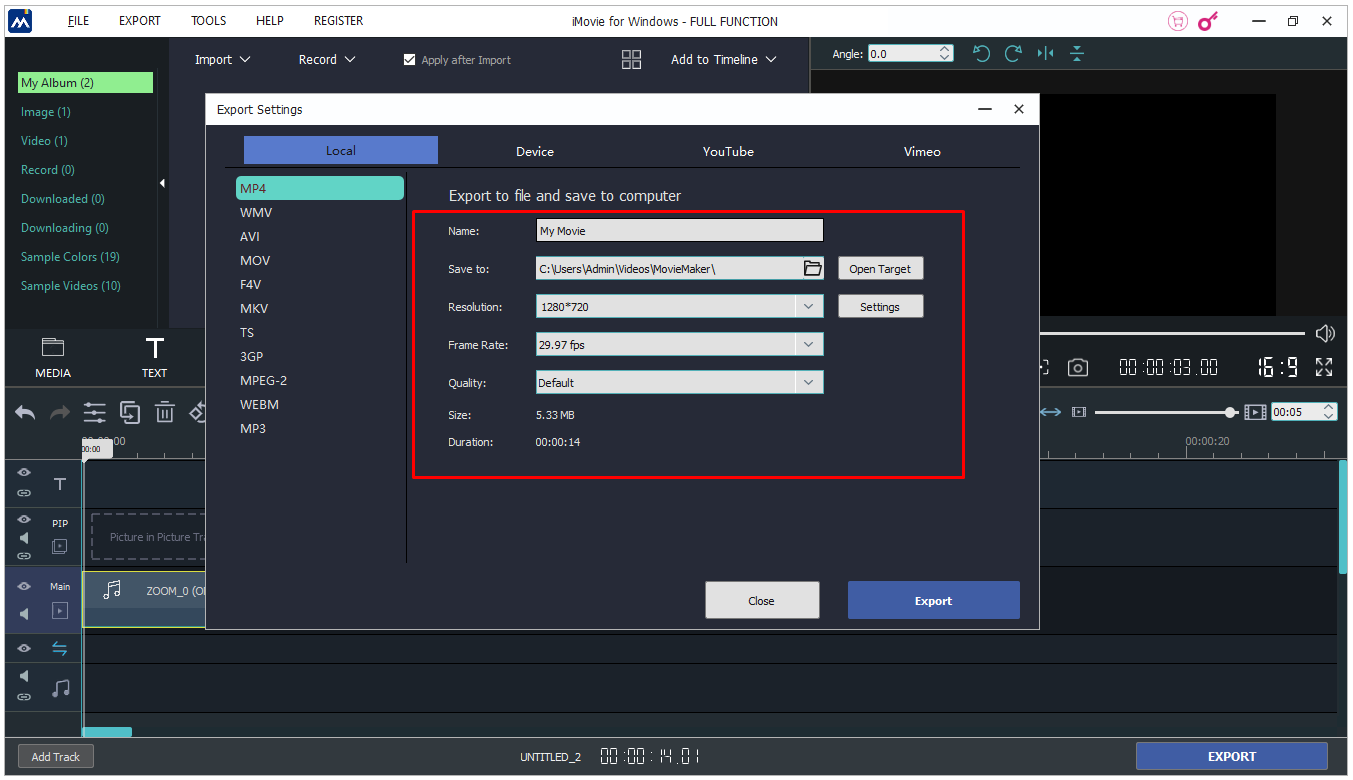
- Select the properties you wish to save, such as compression type, quality, resolution, format, and title.
- Finally, press “Next,” select the location where you wish to save the recording, and press “Save.”
You can now find the recording in the selected location.
How to Edit a Zoom Recording in the Cloud
This is what you need to do to access and edit recordings from the cloud:
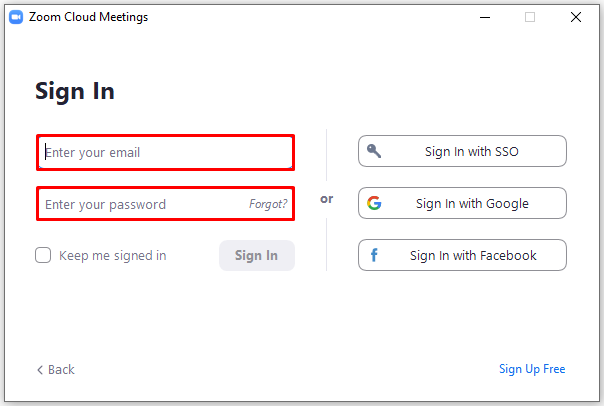
- Log into your Zoom account.
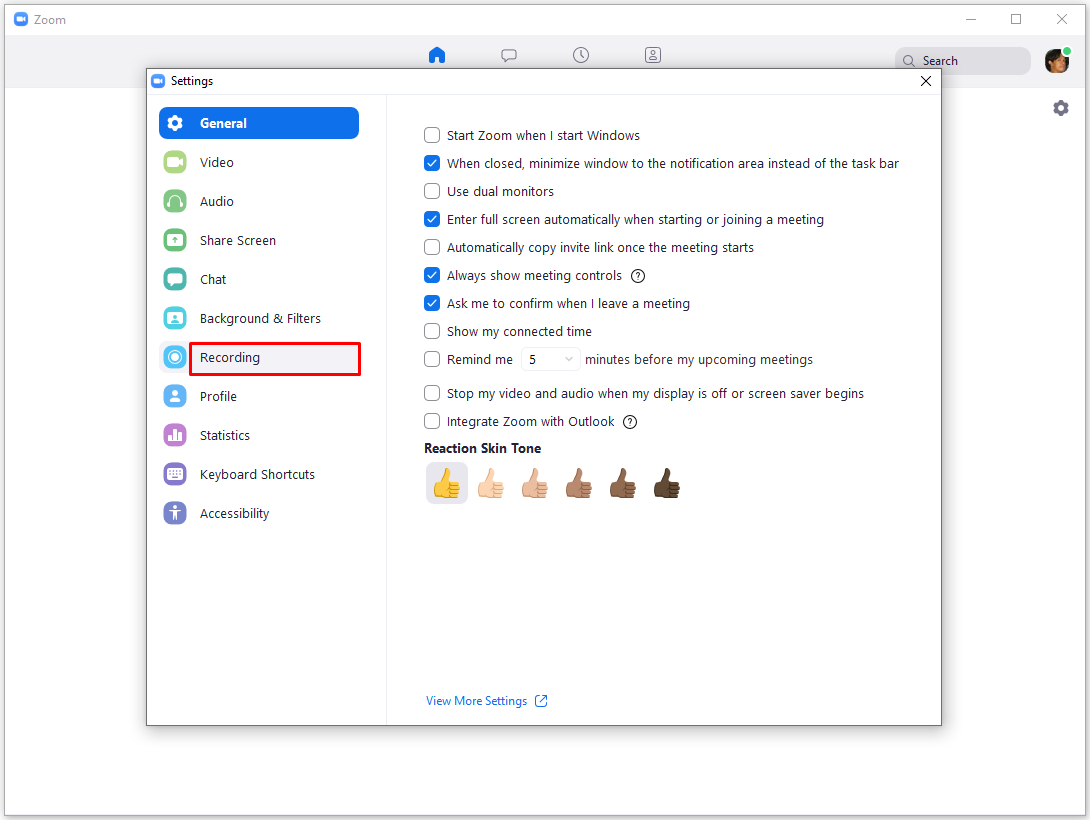
- Press the “Settings” option.
- Choose “Recordings” located to the left.
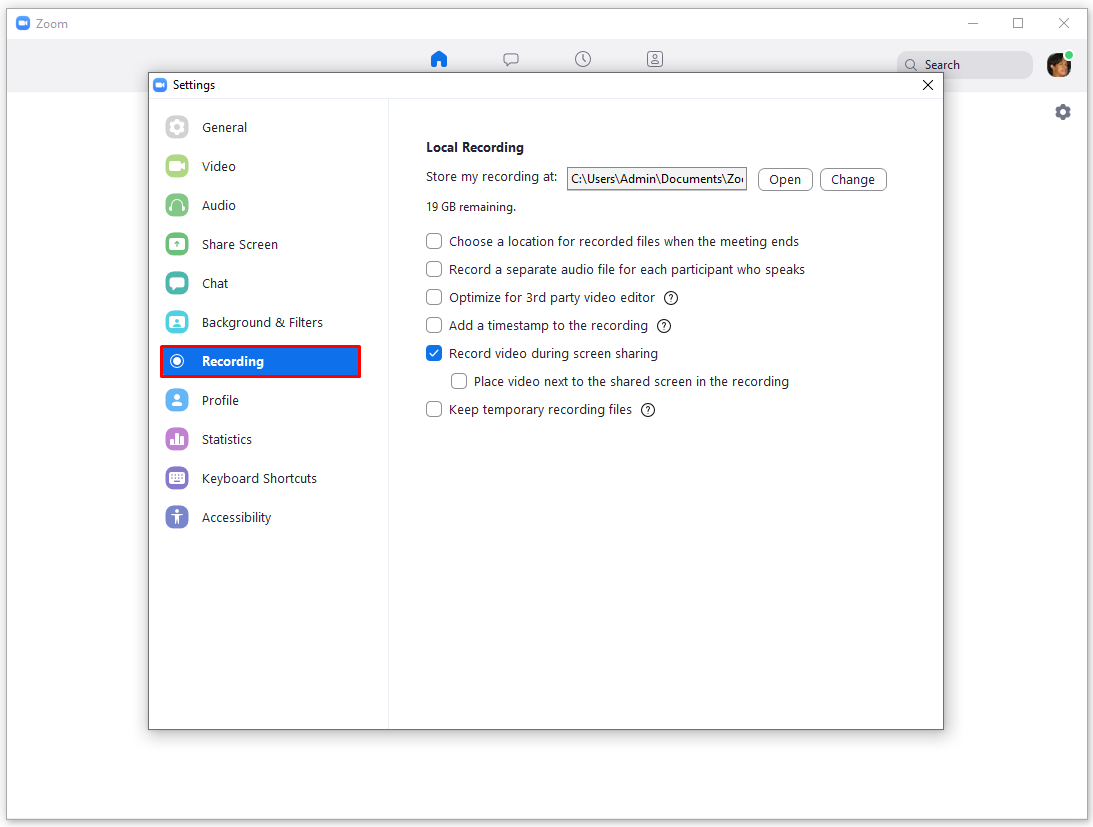
- Press “Cloud Recordings.”
- Select the recording you need to edit and start adjusting the slider to remove the parts of the recording you no longer need.
- The recording will now be saved to your Zoom Cloud where you can view it, share, and download.


How to Edit a Zoom Recording in Windows
You can use the Photos program to edit your Zoom recordings. Here’s how:
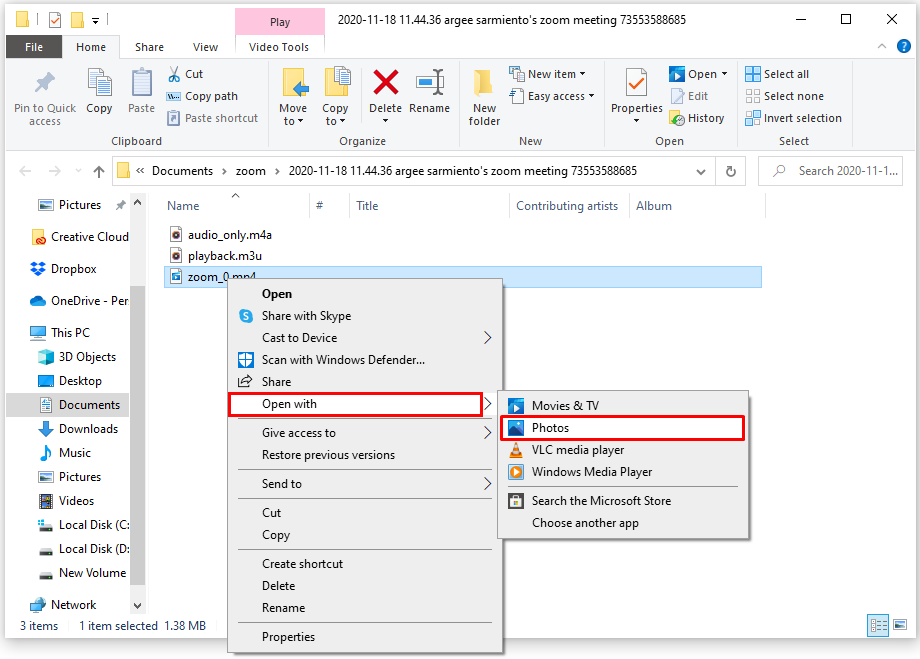
- Right-click on the recording, choose “Open with,” and press “Photos.”
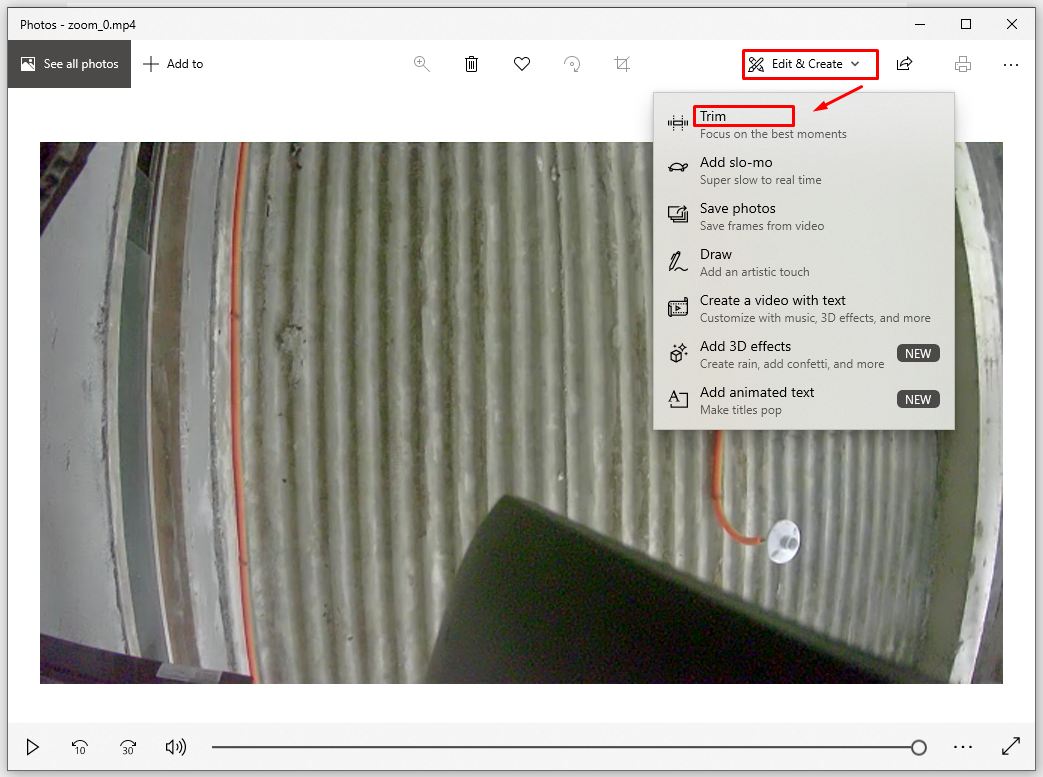
- In the app, select the “Edit and Create” option in the upper-right corner. Choose “Trim.”
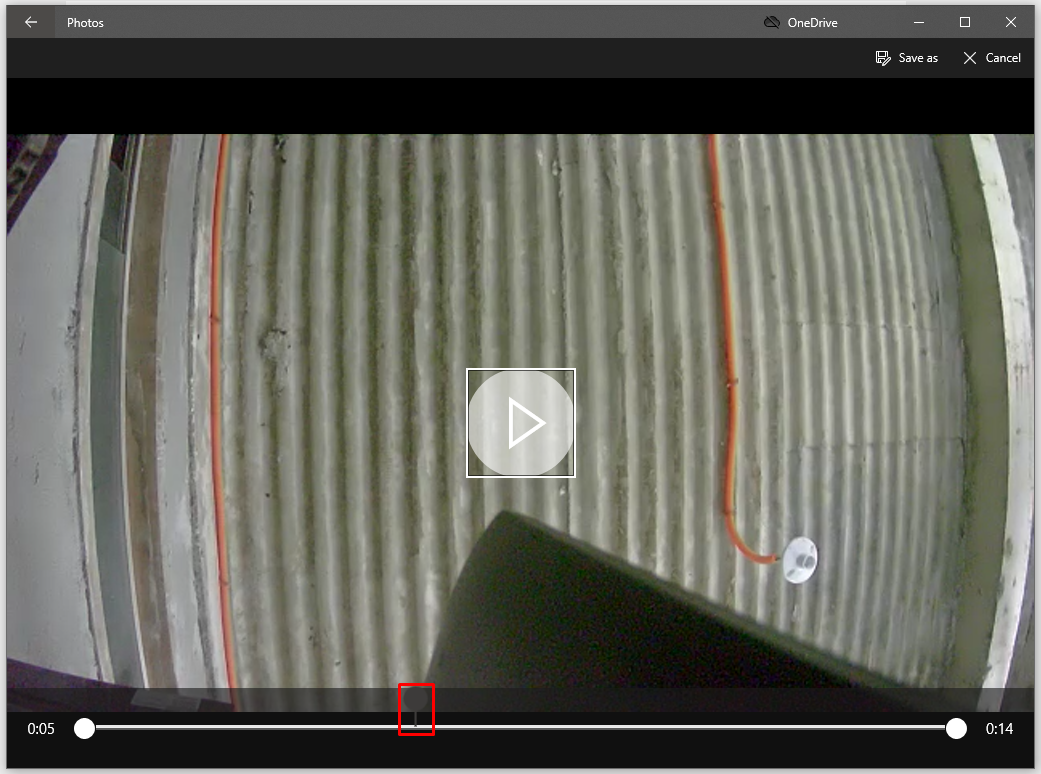
- Start trimming your recording by employing the blue marker to determine the starting point and the white marker to establish the endpoint. To make sure that the positions are correct, listen to your recording after finishing the editing.
- If all is good to go, hover over the upper-right corner of the screen and choose the “Save as” option.
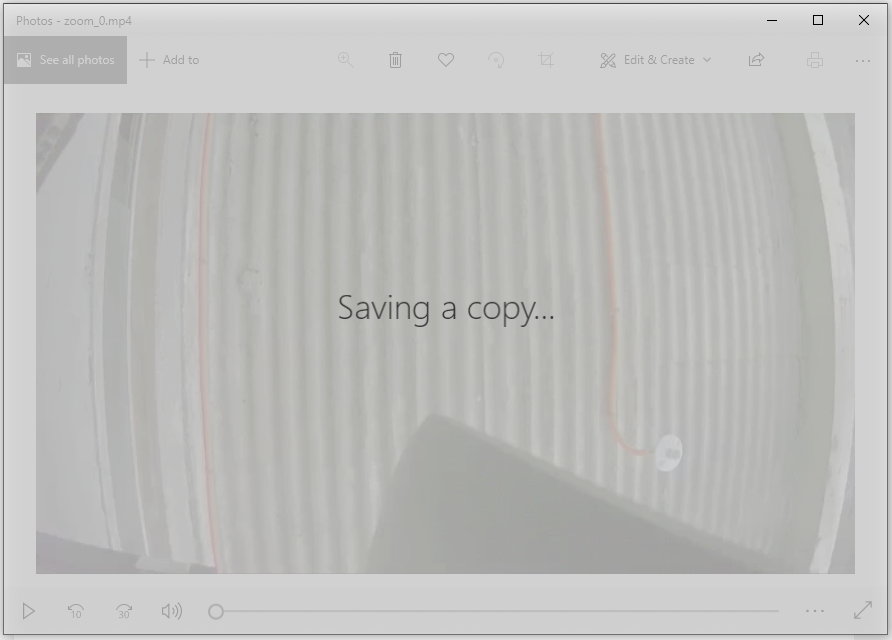
- Choose a location for your recording and press “Save.”
- Wait for the program to save the recording to the specified location. The time it takes for the program to complete the process depends on your computer’s speed and the size of the recording file. In particular, the procedure may last anywhere from 10 and 60 minutes. You can keep track of the process by checking the progress bar.


How to Edit a Zoom Recording in Camtasia
First, you’ll need to import your Zoom recording to Camtasia. But don’t worry, the process only takes a few clicks:
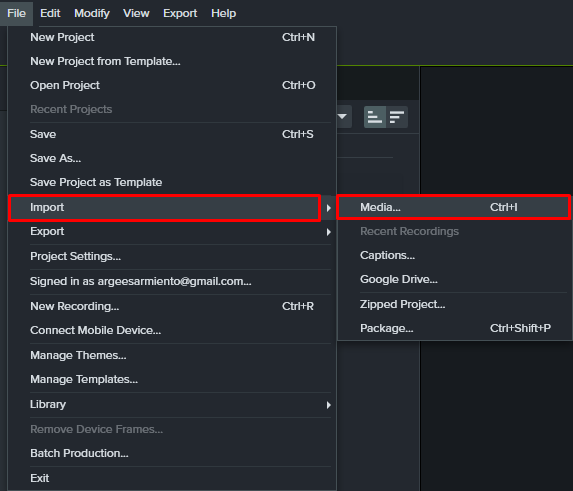
- Go to the “Clip Bin” tab.
- Click the “Import Media” option located in the upper-left part of the screen.
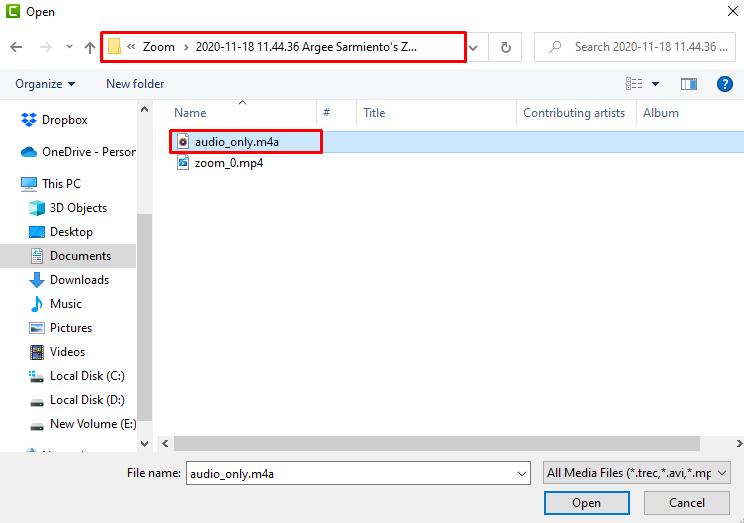
- This will open a file explorer where you’ll locate your Zoom recording.
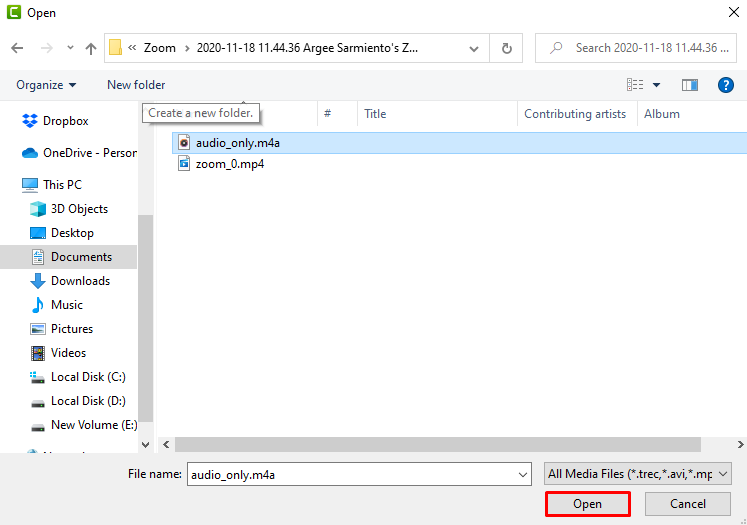
- Click the recording and press “Open.”
- This will bring the recording to the “Clip Bin” section, where you can now edit it.
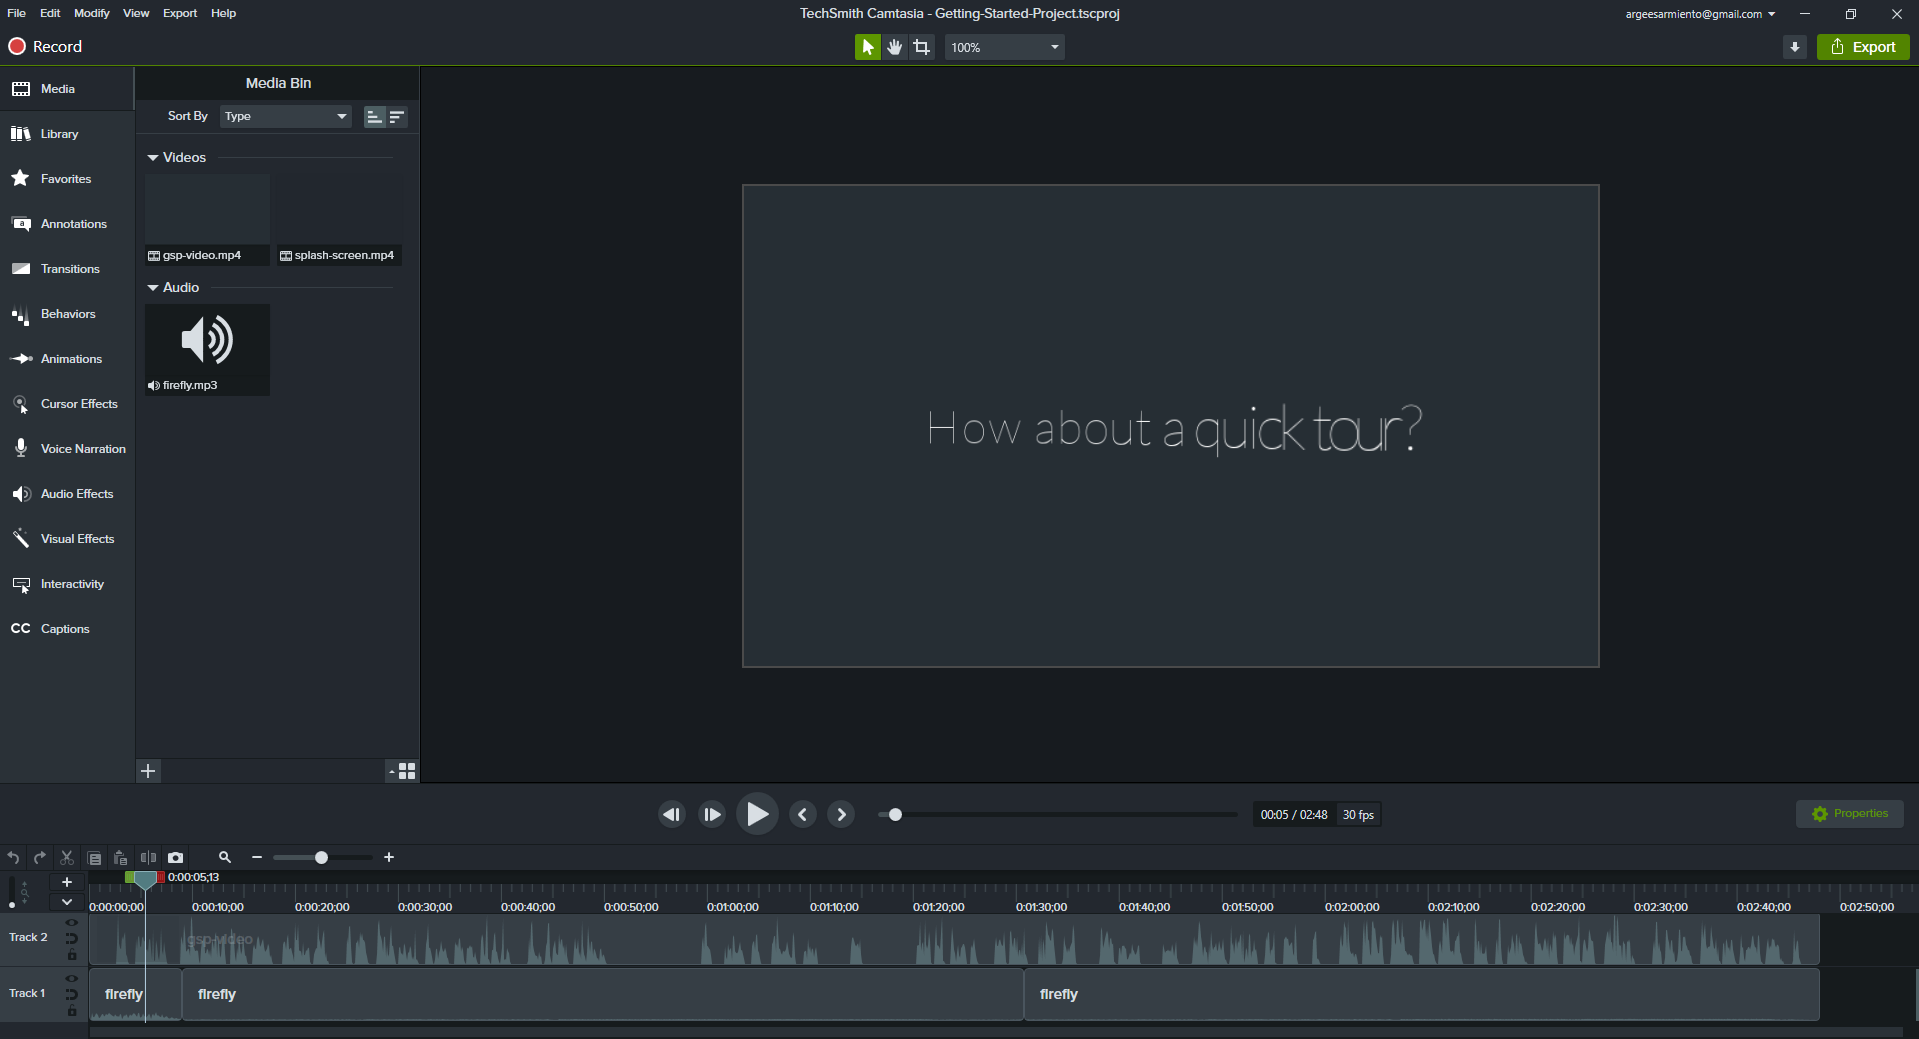
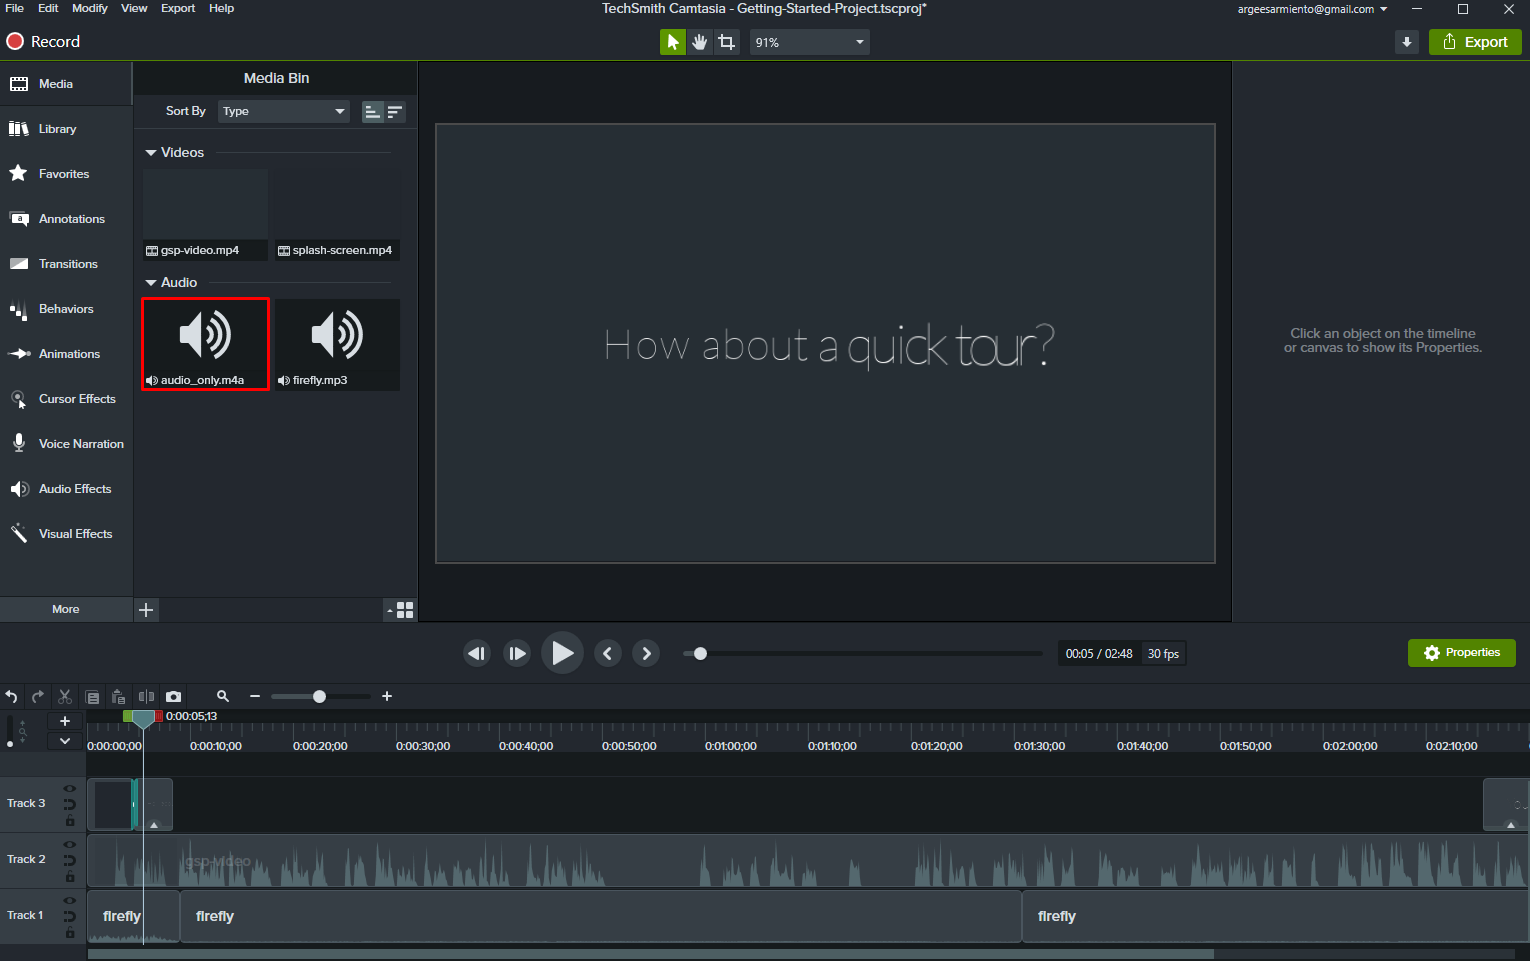
To edit your Zoom recording, here’s how you need to use Camtasia’s tools:
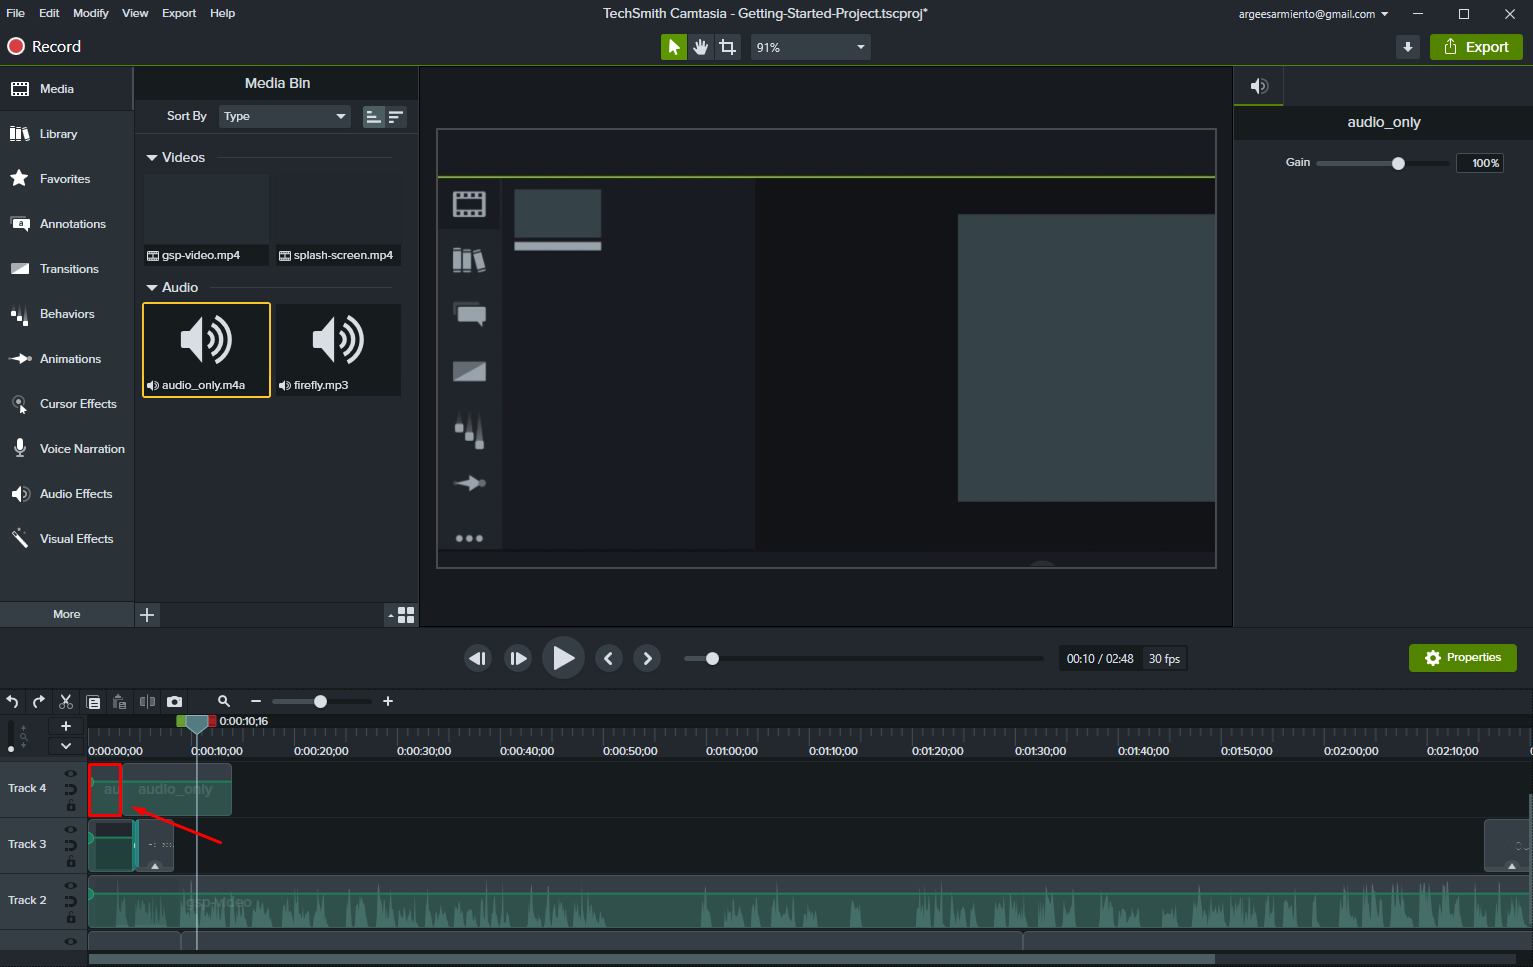
- Drag the recording from the “Clip Bin” area to the timeline located below.
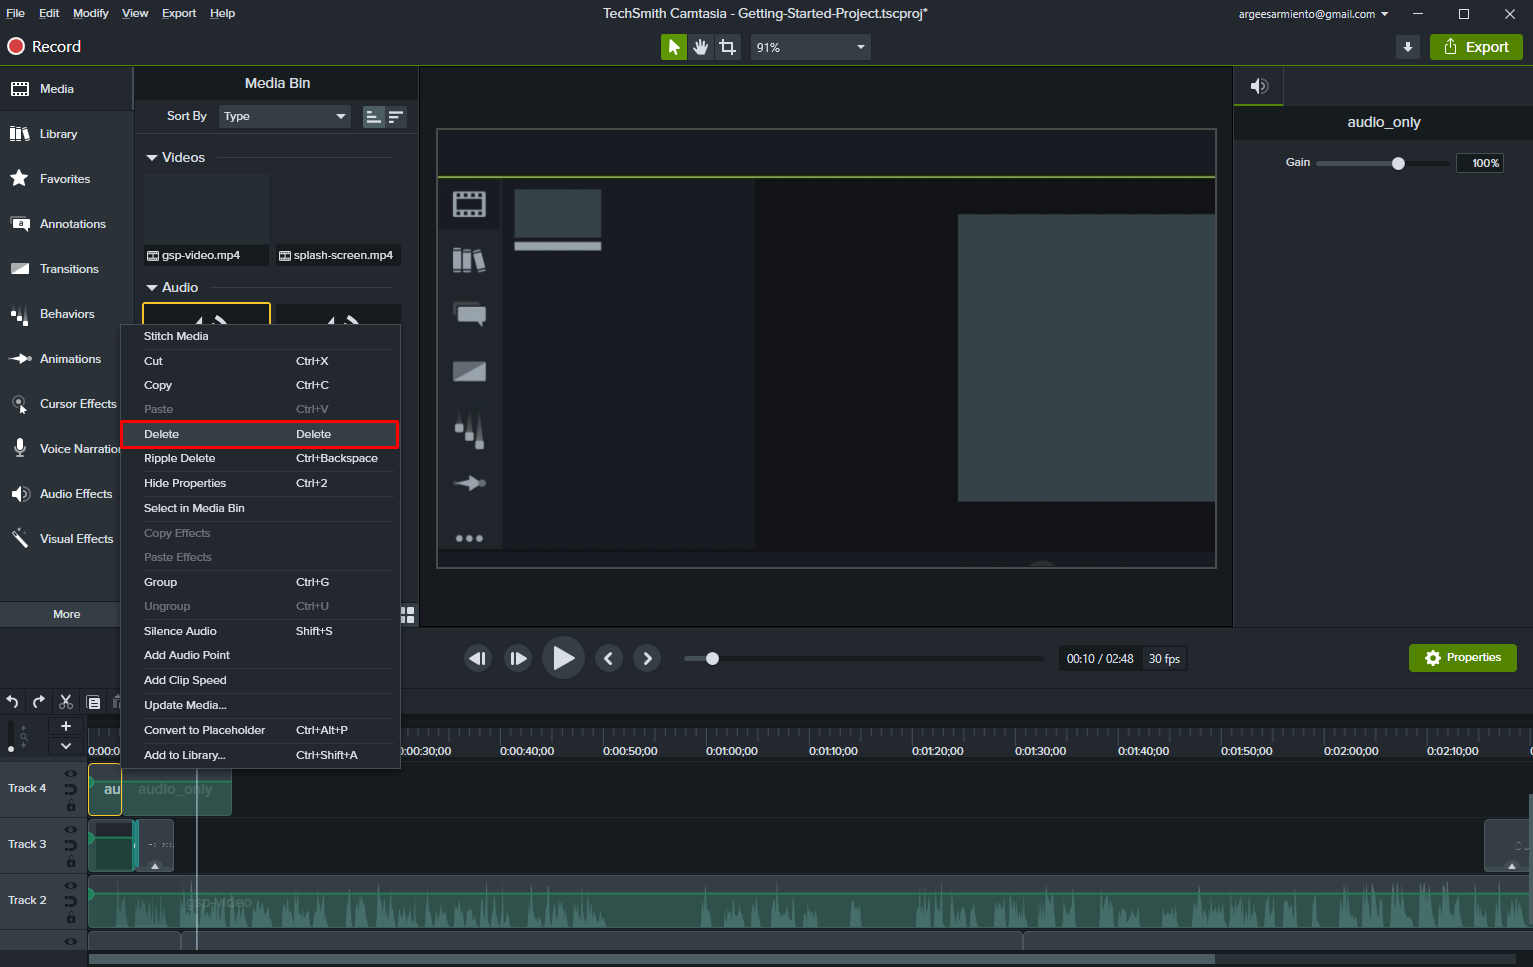
- If you want to delete certain parts of the recording, select the recording, and specify the start and endpoints of the part of the recording you want to remove by dragging the line indicator.
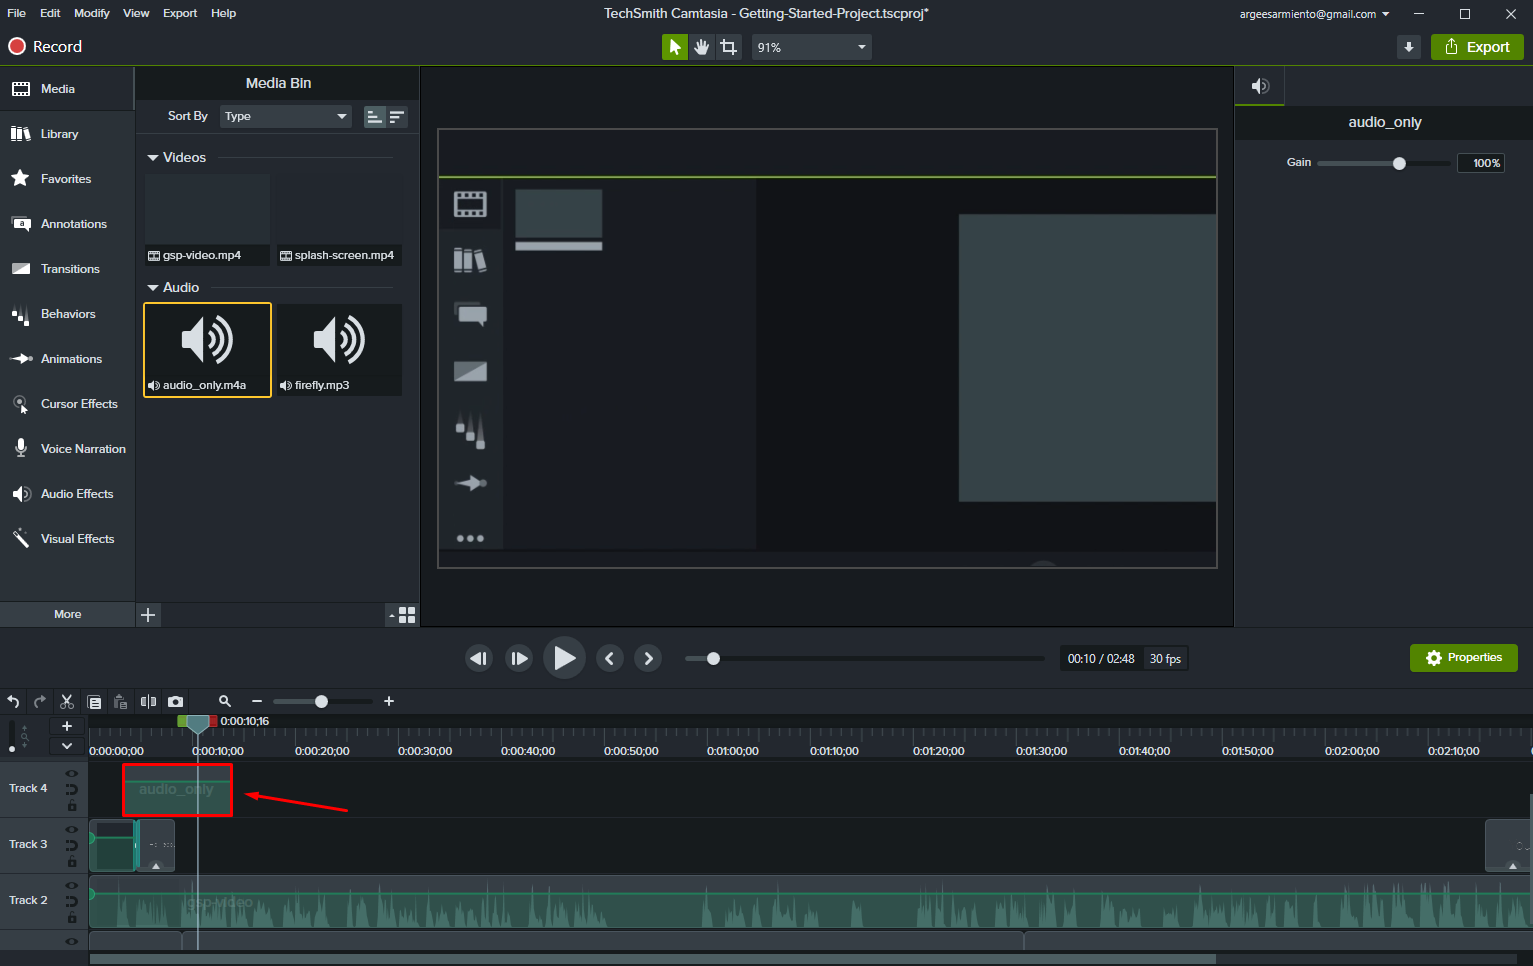
- Click the fragment you selected, and delete them by pressing the “Delete” button on your keyboard.
- Play the recording to make sure that you’ve omitted the correct part of the recording. If you’ve made a mistake, press the undo button located just above the line indicator.


If you need to speed up or slow down certain sections of the recording, this is how to do it:
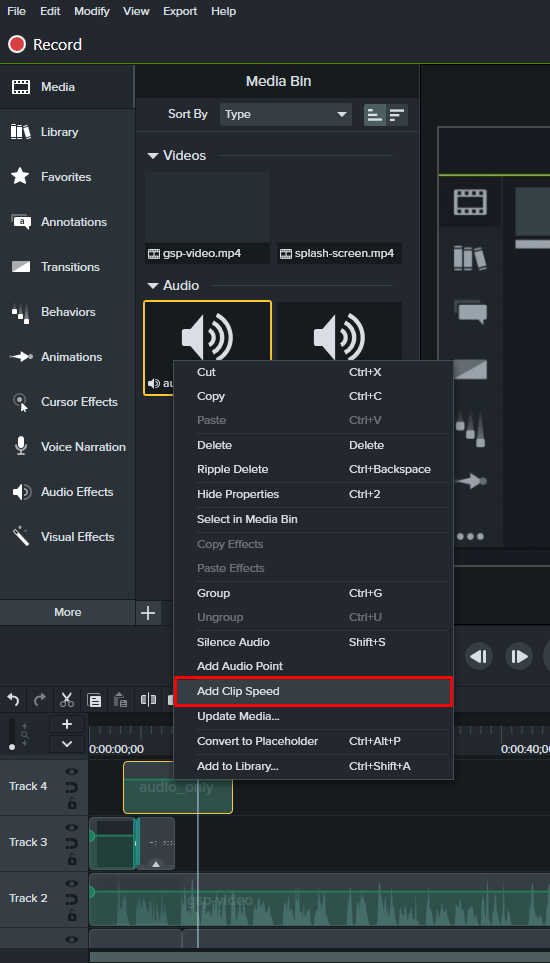
- Select the sections you want to speed up or slow down by applying the same method you used to edit.
- Right-click on the sections of the recording and select the “Clip Speed” option. This will open a dialog box, where you’ll be able to adjust the speed of the sections.
- Set the desired speed of your selected sections.
- Listen to the recording to make sure that the speed is appropriate.


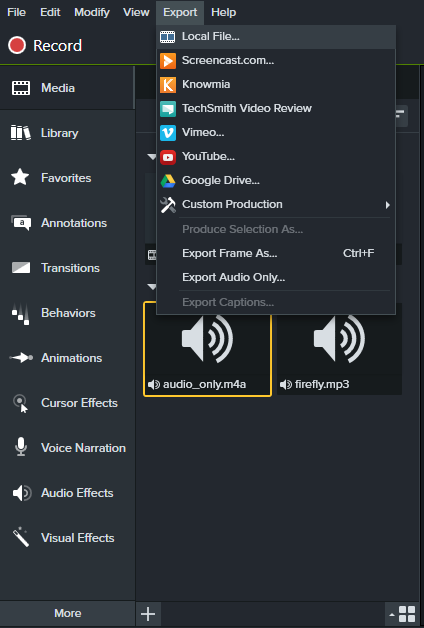
You can now export the recording to another program. Here’s how to access this function:
- Go to the “Produce and Share” tab.
- Choose “Produce and Share” once again from the list.
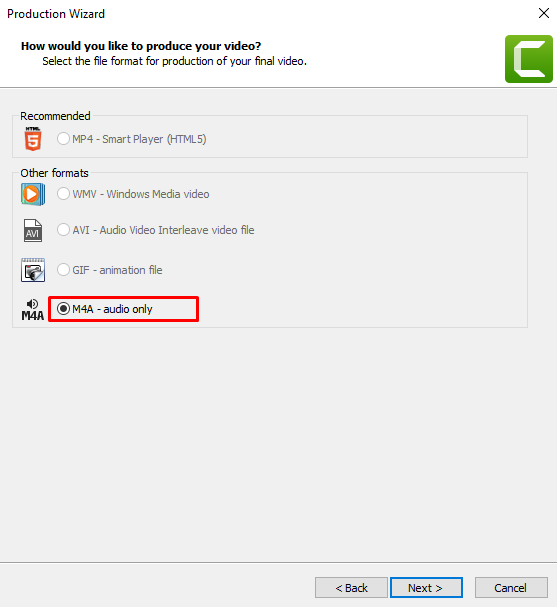
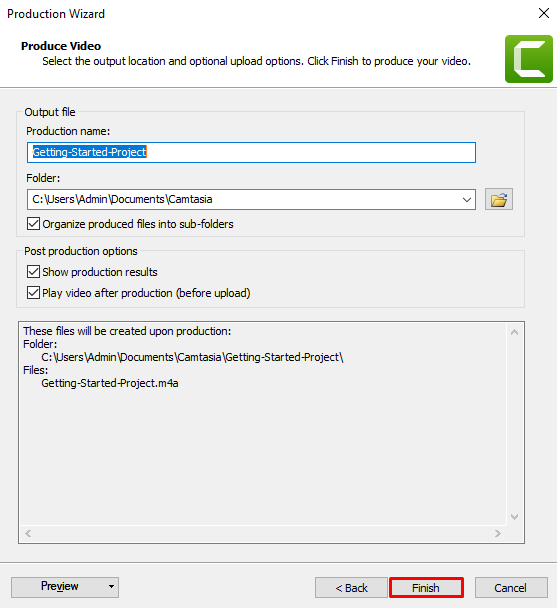
- In the following window, choose the format of your recording.
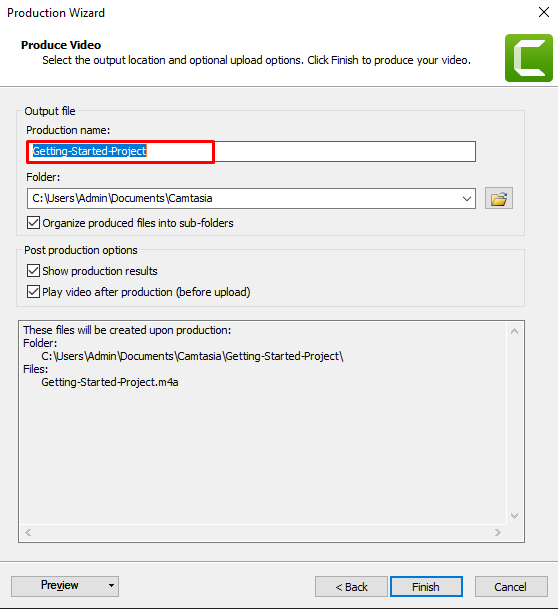
- State the name of your recording and where you want to export it.
- Press “Finish” to start the exporting process.

How to Edit a Zoom Recording in YouTube
Here’s how editing your Zoom recordings in YouTube works:
- Save the recording you want to edit and log into YouTube.
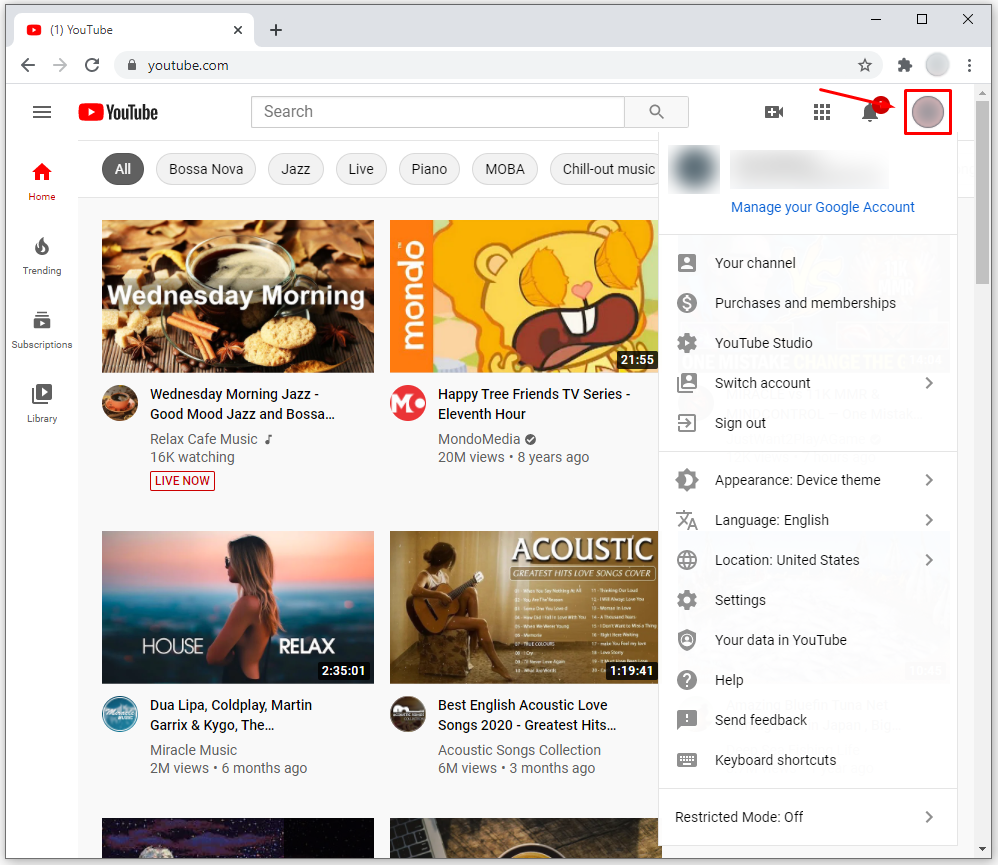
- Click your profile image in the top-right part of the display to access the menu.
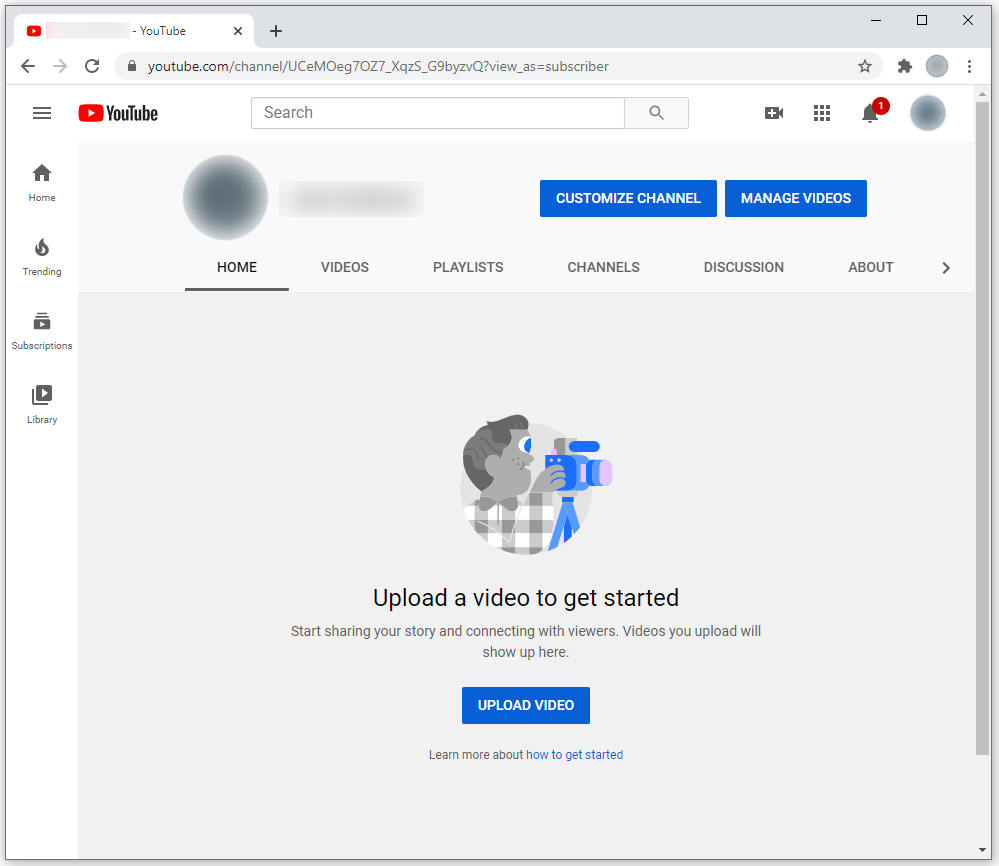
- Go to the “Your Channel” section.
- Press “Upload Video.”
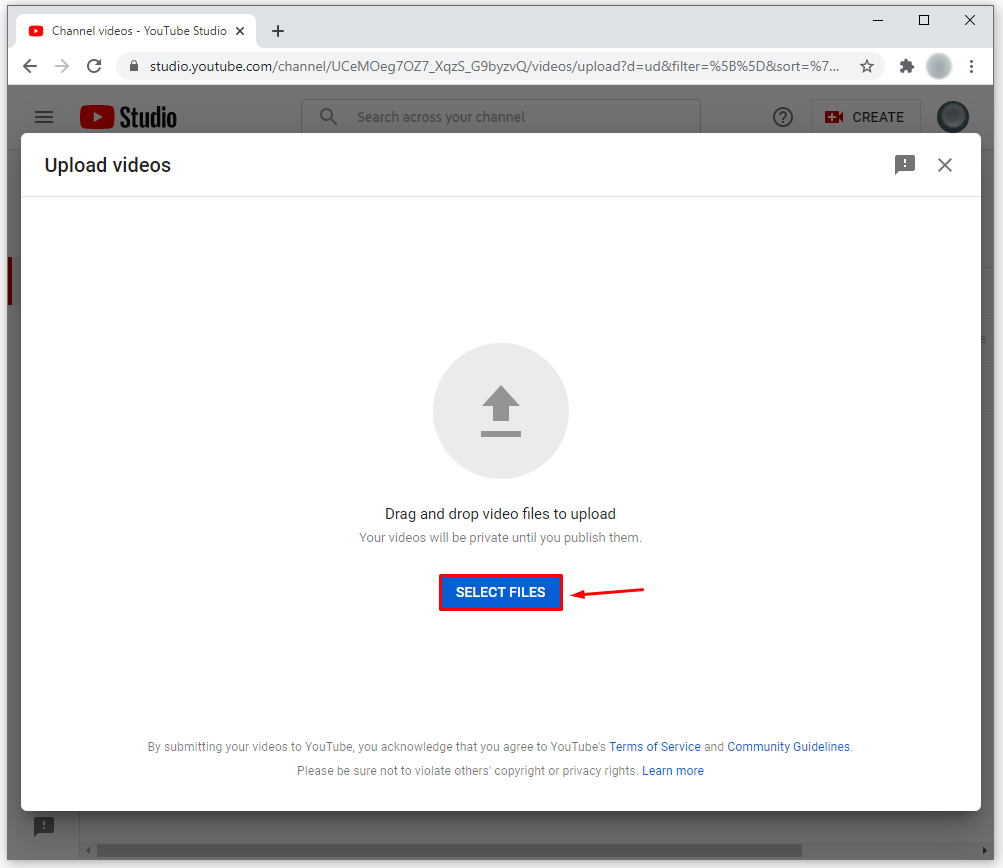
- Press the “Select File” option.
- Find the Zoom video you want to edit and press “Open.”
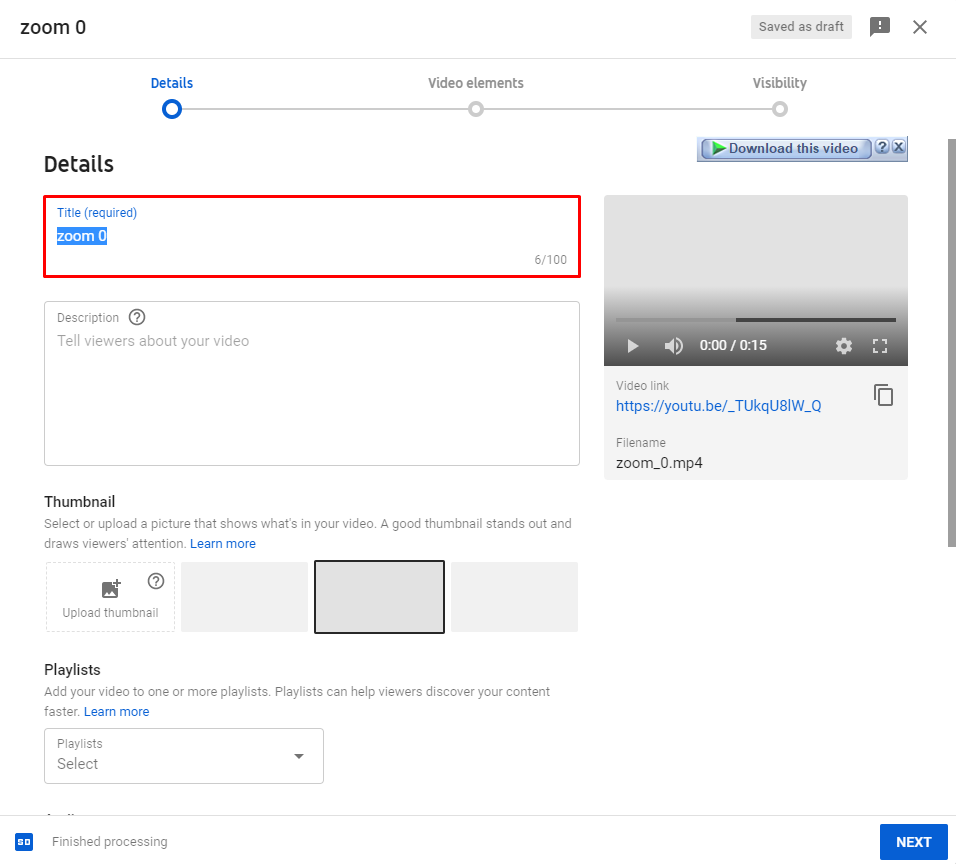
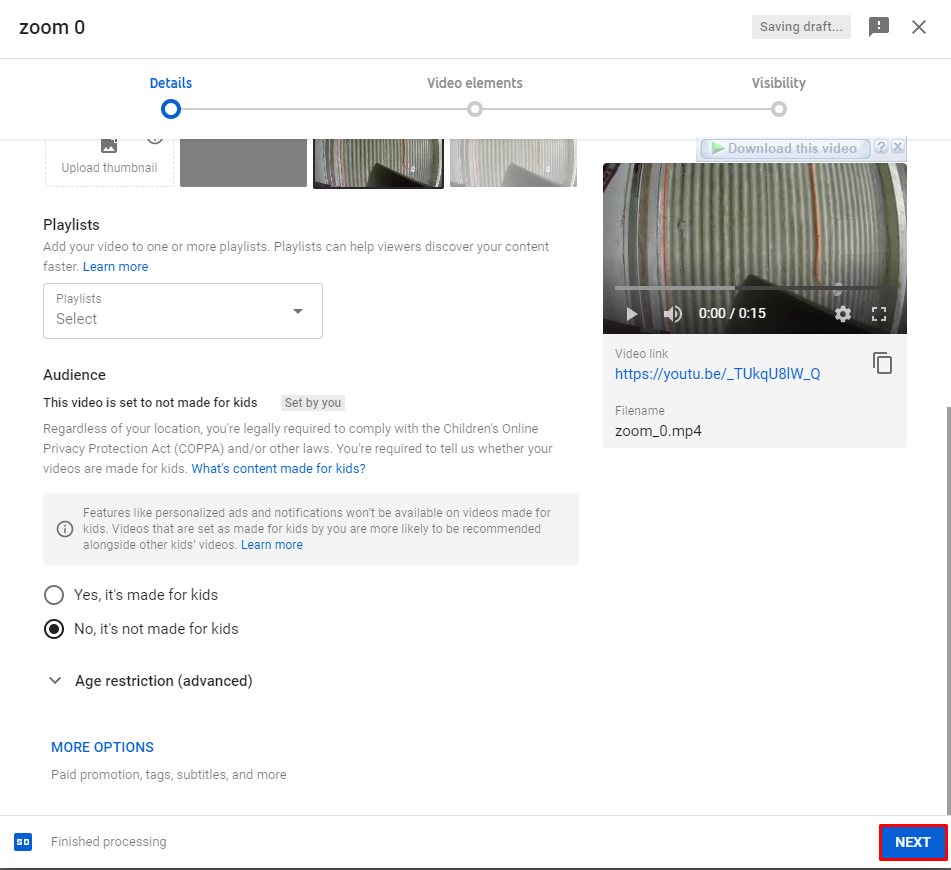
- Enter the title for the recording and choose the audience preference (e.g., if you want to make the video available to children). You can also insert a description for your video.
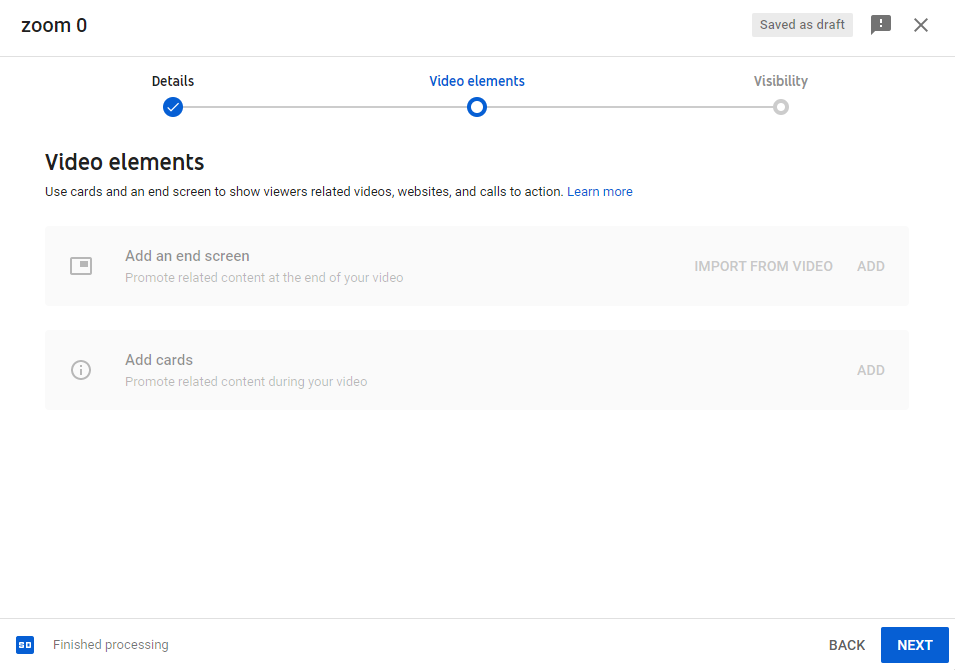
- Press “Next.” At this point, you can choose whether you want to insert end cards or screens for the video. Press “Next” when you’re done.
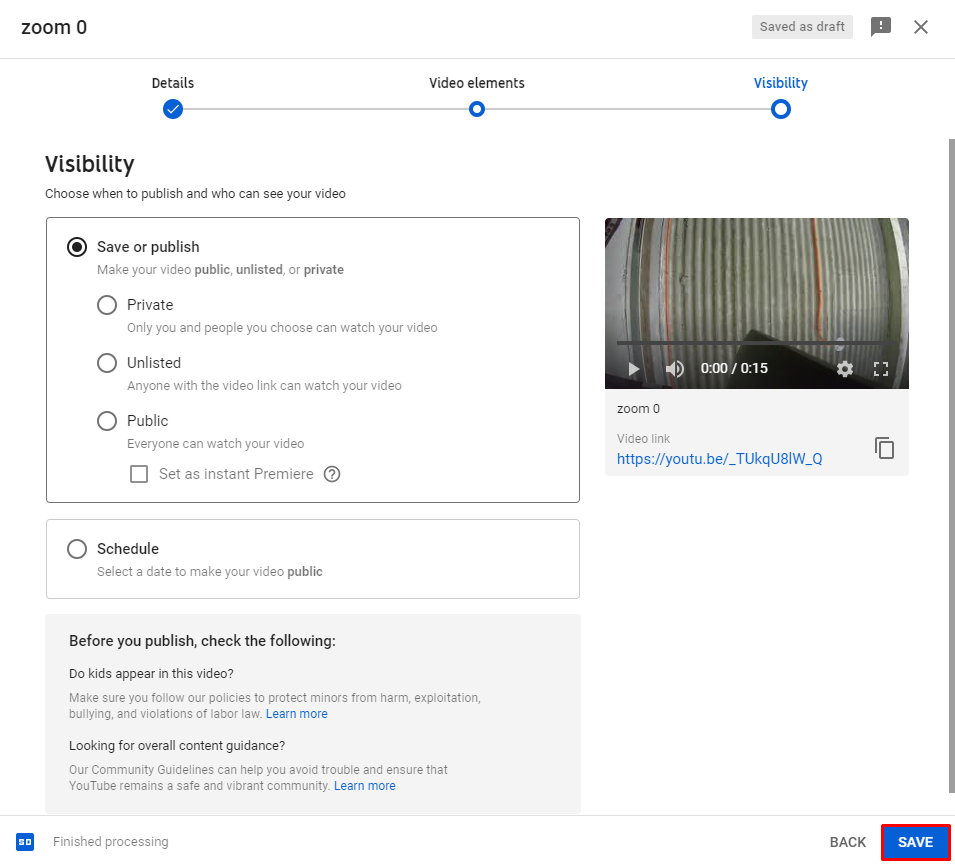
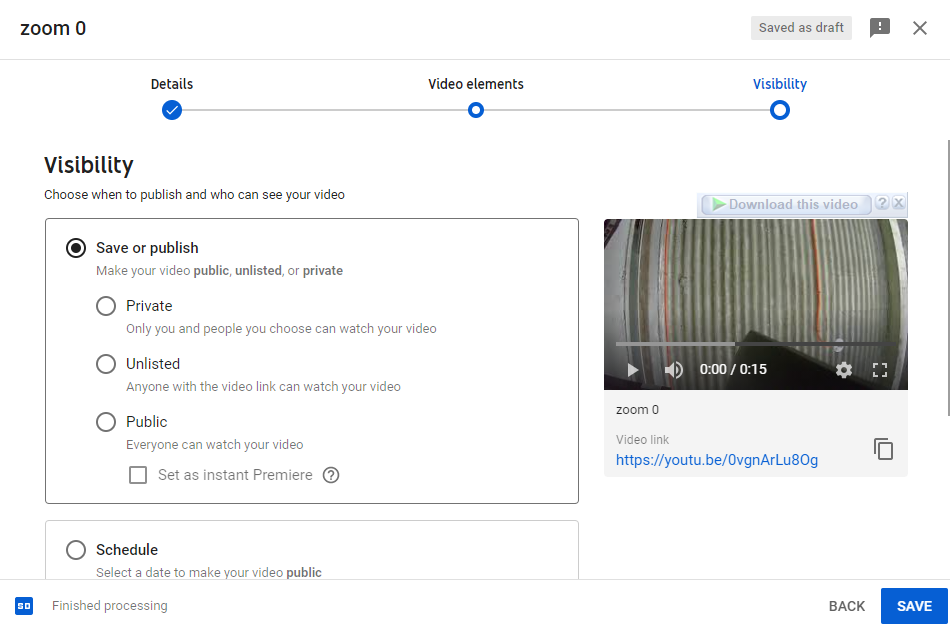
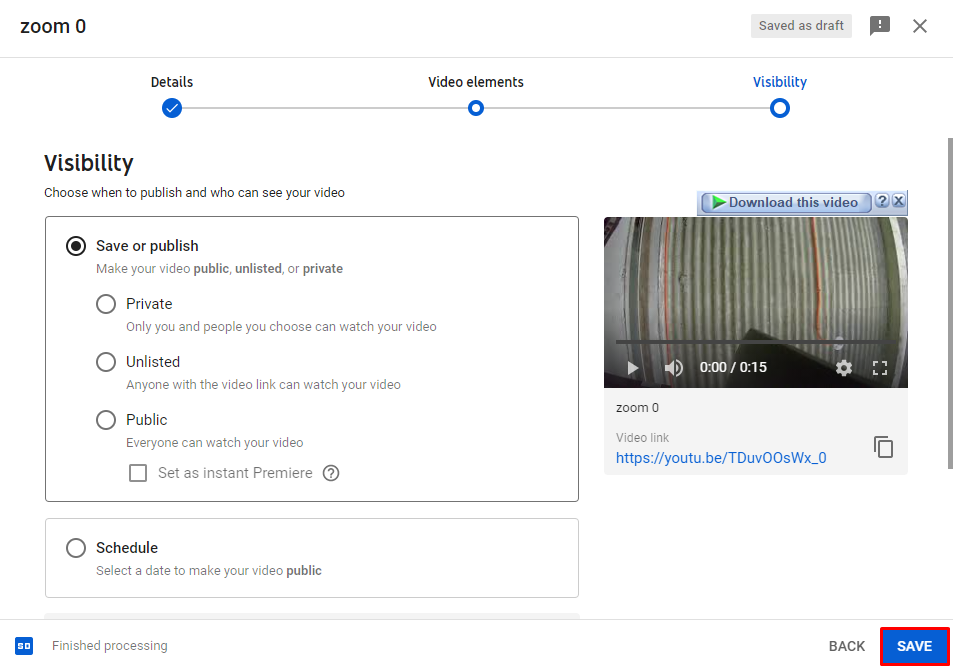
- Choose the visibility preferences for the video and press the “Save” button when you’re done.
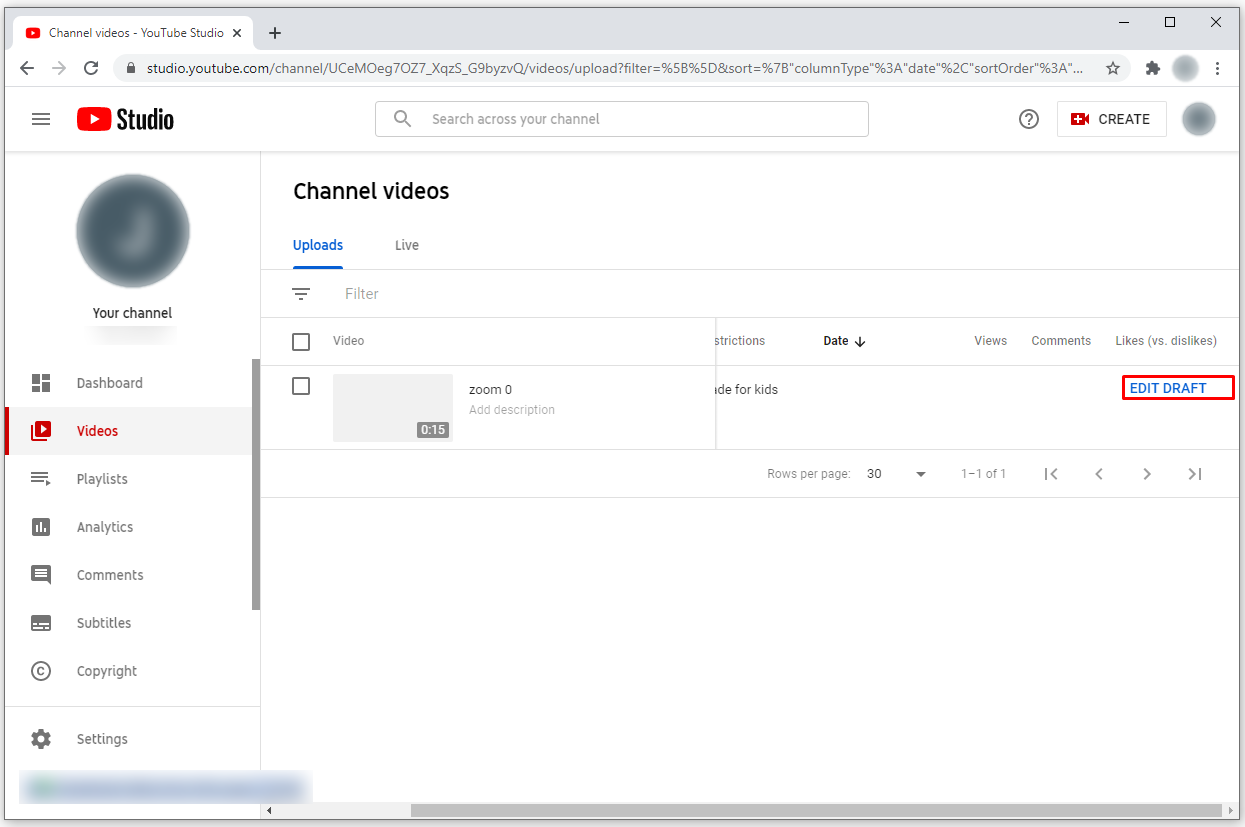
- On the next page, you’ll be able to see your video, as well as previously uploaded videos. Press the pencil symbol.
- While you’re in the “Video Details” section, press the “Editor” button.
- Use the available tools to reach the desired effect for your video.
- Once you’re done, press the “Save” option.
- Press “Save” in the following pop-up box to apply the changes.


You can now download the edited video in the form of a file or share it online.
How to Edit a Zoom Recording in Audacity
To use Audacity to edit your Zoom recordings, you’ll first need to import the recording to the program:
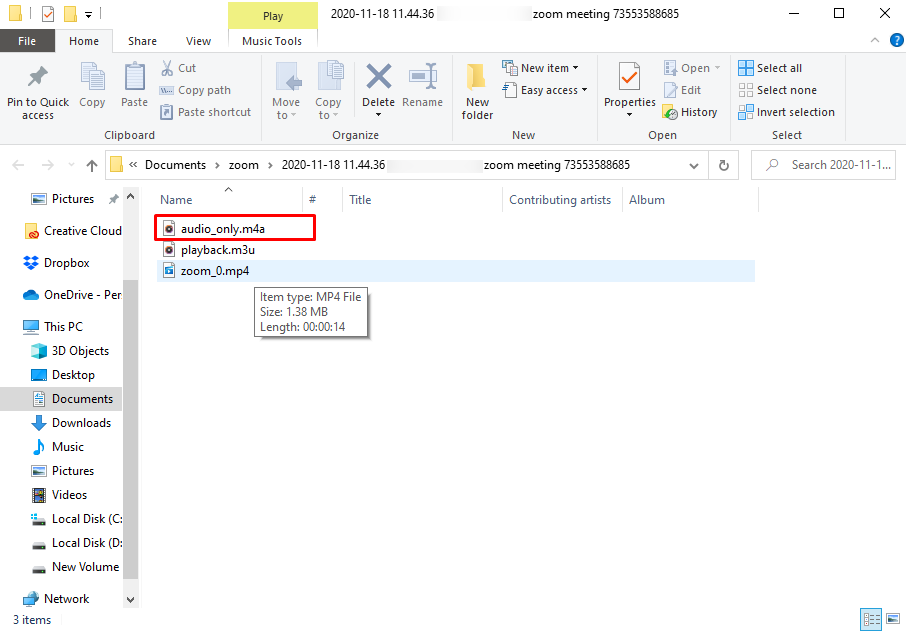
- Choose the recording you want to edit.
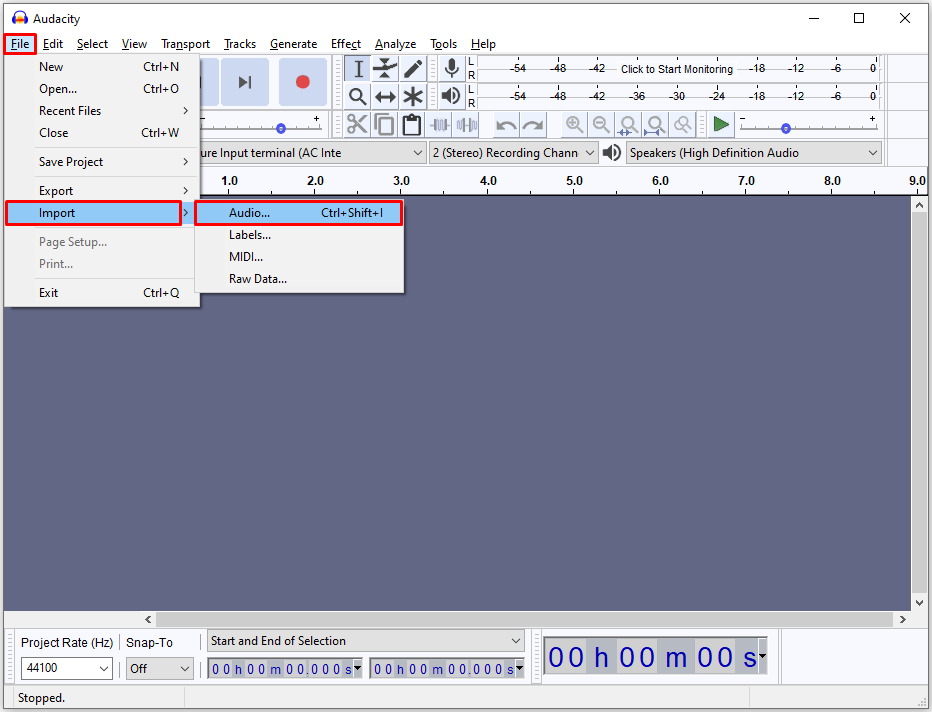
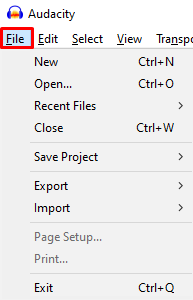
- Import the recording by going to “File,” followed by “Import,” and “Audio.”
You can now start editing your recording. Here’s how to use the trimming function:
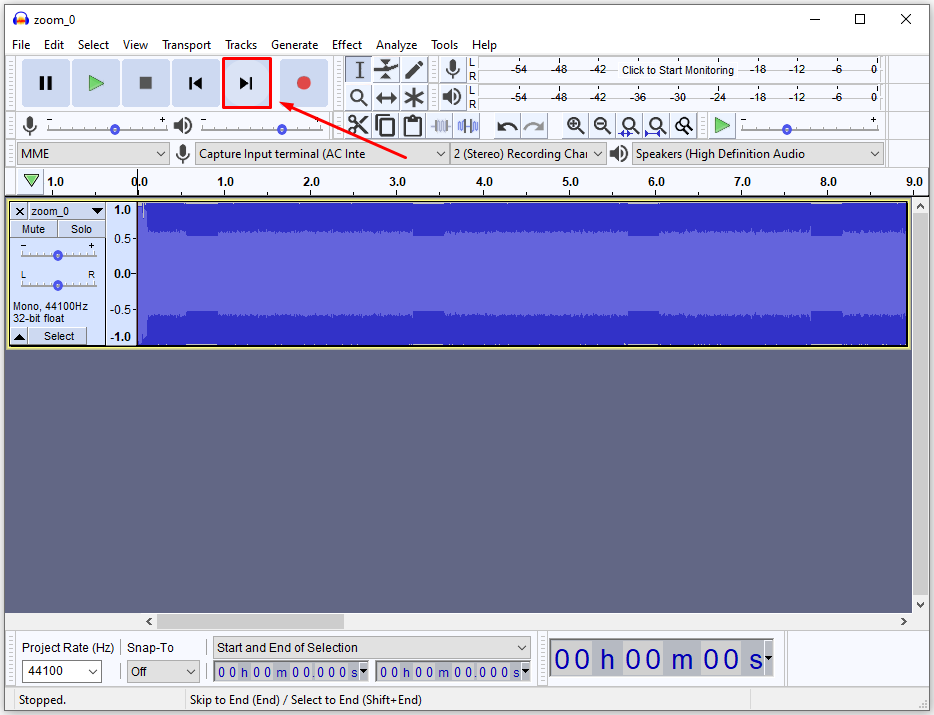
- In the “Transport Toolbar” section, press “Skip to Start.”
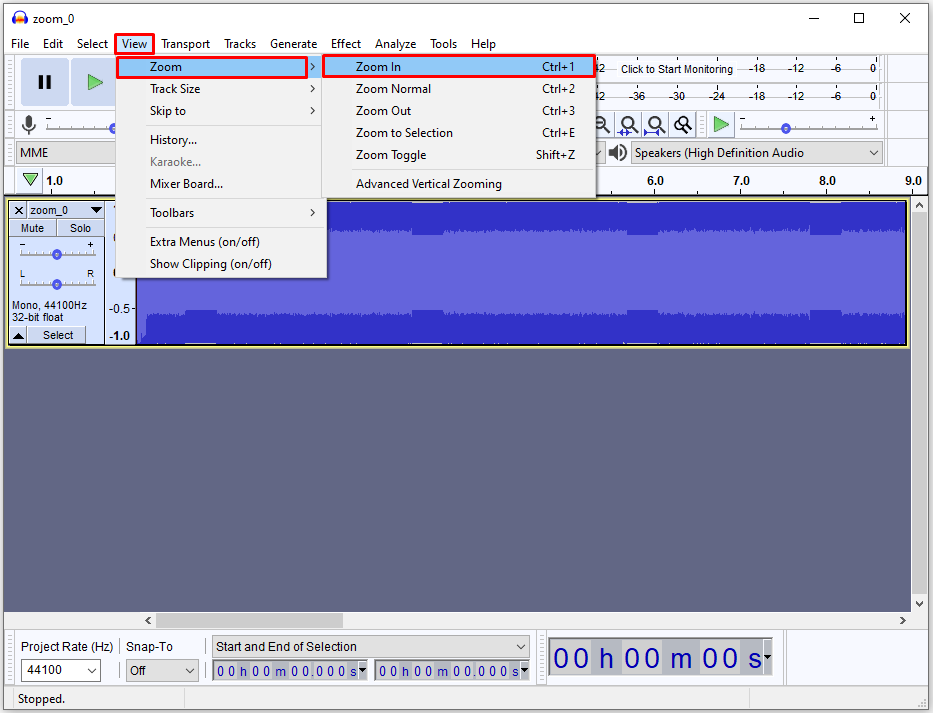
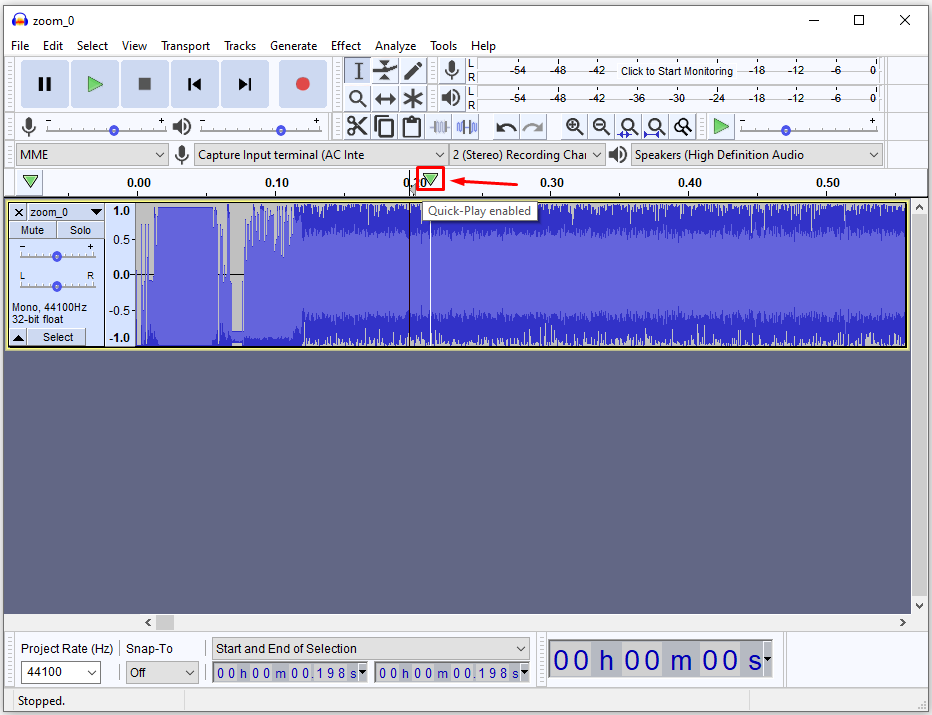
- Keep pressing the “Zoom in Button” image to make the displayed waveform expand. This will allow you to see where the audio (where the actual talking) begins.
- Use the “SelectionPointer.png” tool to select the exact location where you began to talk.
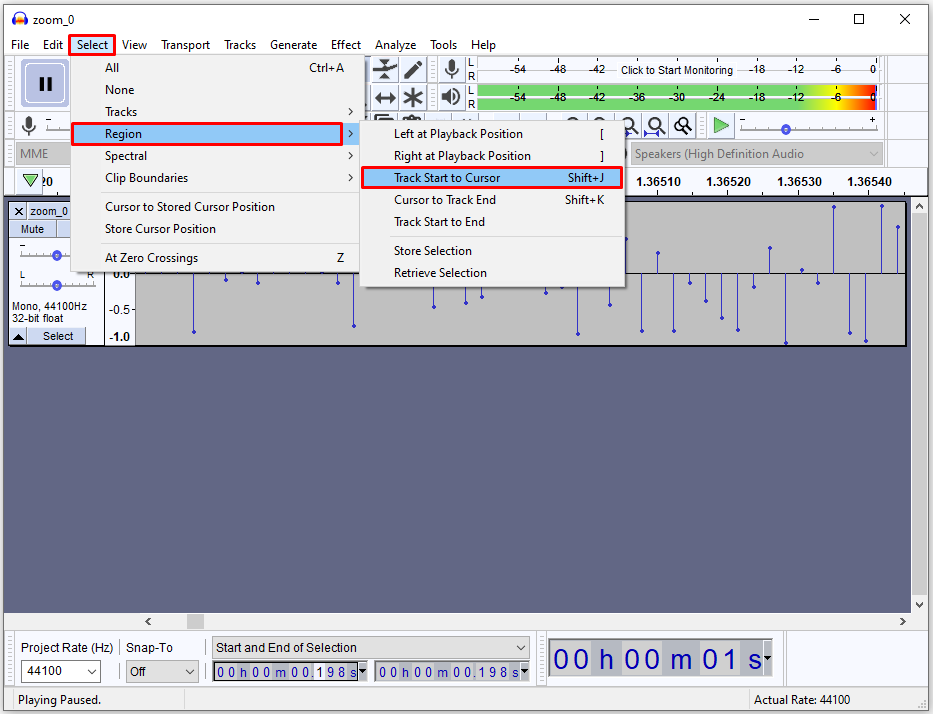
- Go to “Select,” followed by “Region,” and “Track Start to Cursor.” This will select the portion of the video before you started talking.
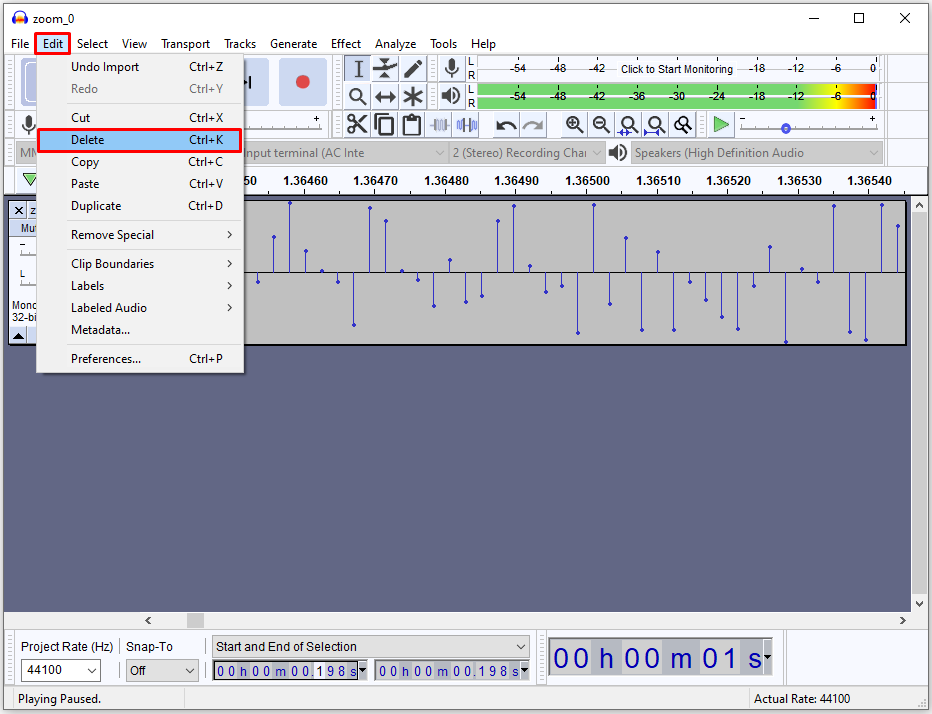
- Select “Edit” and choose the “Delete” option. This will delete the selected audio, and the remaining parts will move left. You can take a similar approach to delete the part of your recording that follows the end of your performance, as well as to eliminate any sections of the recording that contains mistakes or other inadequacies.
In case your recording isn’t as loud as you need it to be, you can use Audacity to adjust its amplitude. Here’s what you need to do:
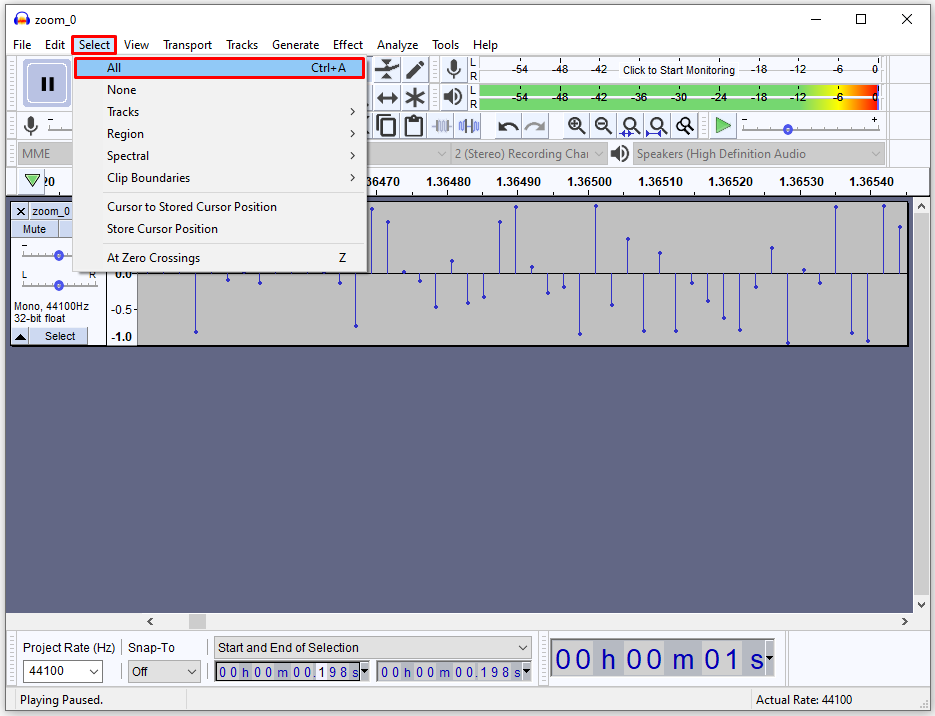
- Go to “Select,” followed by “All” to select the entire recording. You can also use the shortcut for this function by pressing Ctrl + A.
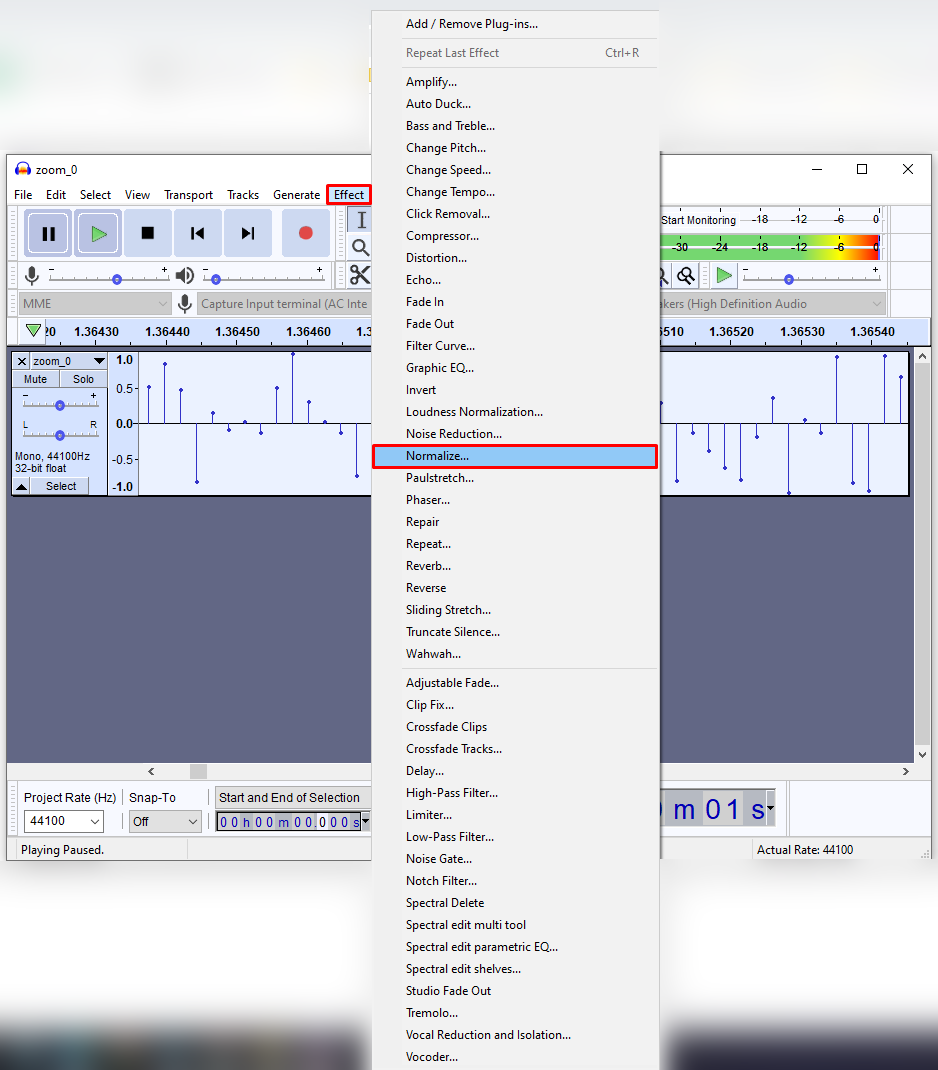
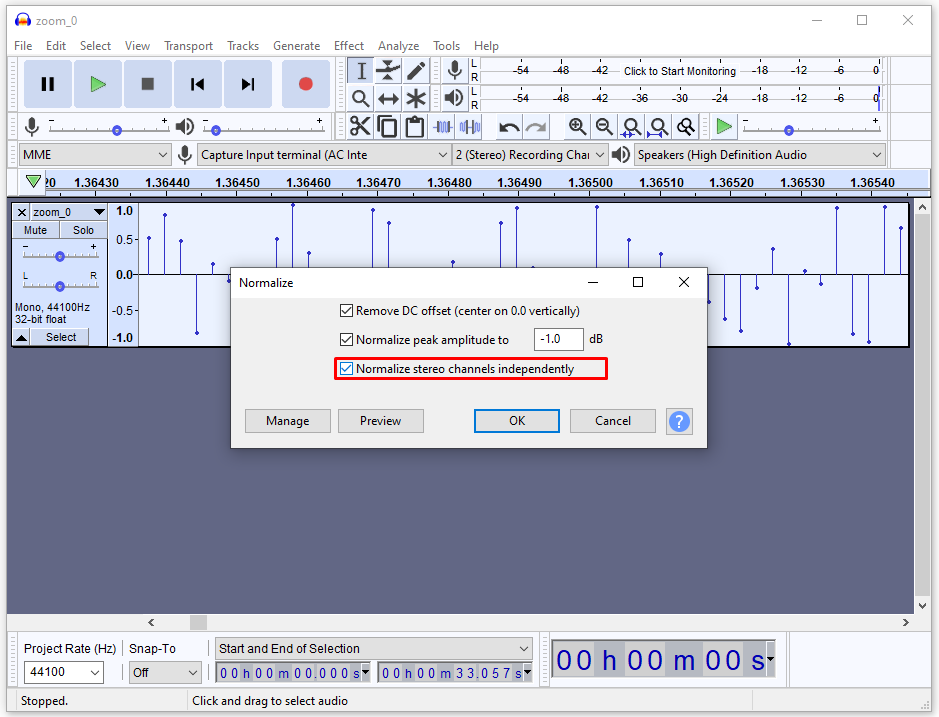
- Select the “Effect” option and choose “Normalize.” This will normalize the volume to -1 dB.
- If there are unwanted volume discrepancies between the right and left channels, check the box that says “Normalize Stereo Channels Independently.”
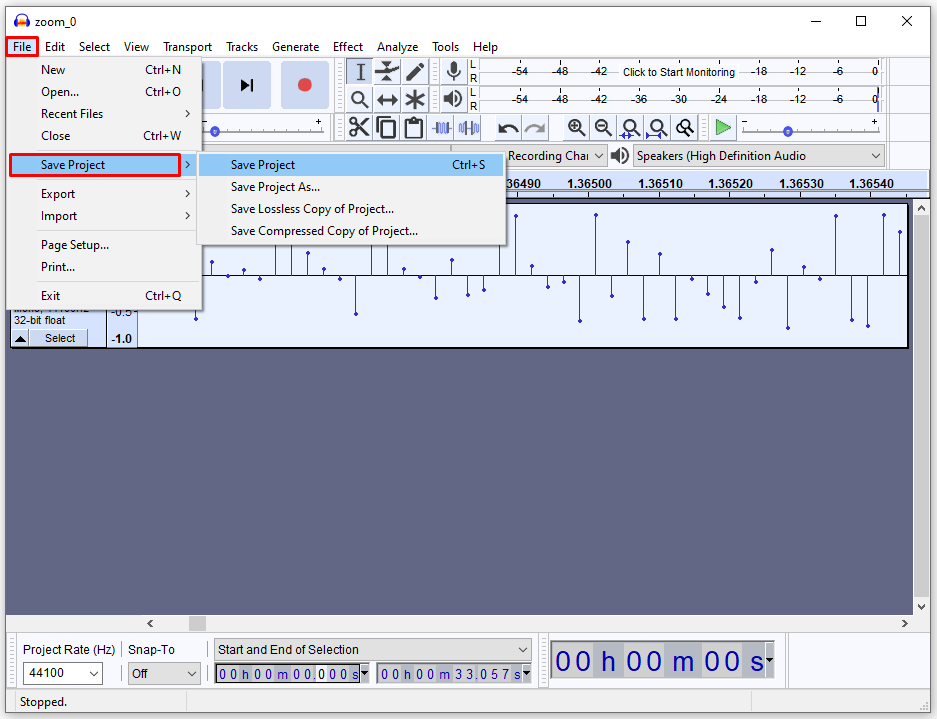
- Save the edited recording by going to the “File” section, followed by “Save Project.” Name your project and select the location where you want to save the recording.
The recording will now be saved to your disk, but you’ll only be able to open it using Audacity if you want to make any other edits later. However, you can listen to the recording in other programs or burn it to a CD. This is how to do it:
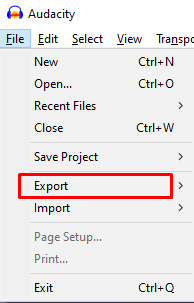
- Select the “File” section.
- Choose the “Export” option.
- Select “Export Audio.”

How to Edit a Zoom Recording in Panopto
Panopto also lets you edit your Zoom recordings. Here’s how to import the recording to the program and edit it:
- Go to the “Panopto Recordings” section located on the left.
- Select the “Create” function.
- Choose the “Upload Media” option.
- Import your Zoom recording by clicking and dragging the recording to the area in the middle section of your page. You can also select the box in the middle portion of your page, and select your recording in your files.
- This will trigger a progress bar that tracks the upload process. Once the process is complete, you can exit the window.
- After you’ve uploaded the recording, Panopto servers will need some time to make the recording viewable. The time it takes for the servers to process the file depends on the amount of traffic on their servers and the size of the file. In general, this process may last anywhere between a couple of minutes for smaller files to as much as 24 hours for large recordings.
- When the process is complete, the title of the recording will turn blue. This means that your recording is ready for editing.
- Go to “Edit” to access the editing options.
- Click on the red line and start dragging it to select the recording sections you want to omit. The sections will then turn grey.
- Once you’re done selecting the portions of the recording you wish to edit out, choose the “Apply” option.
- Press “OK” to leave the editor, and wait for the changes to take effect.
Use Your Zoom to the Fullest
Whether you regularly have business meetings or hold classes and lectures, having Zoom at your disposal during the current pandemic is indispensable. However, you shouldn’t let Zoom do all the work during your projects. Instead, editing your recordings will lead to clearer messages, which may result in an overall increase in productivity. Now that you know how to modify your Zoom recordings, there’s no reason to miss out on all the editing possibilities available.
Have you tried editing your Zoom recordings? What program did you use? Was the process simple, or did you have a hard time managing the tools of your program? Let us know in the comments section below.
Disclaimer: Some pages on this site may include an affiliate link. This does not effect our editorial in any way.