Apple’s location services provide a handy way to review where you’ve been lately. This can be useful for tracking your frequently visited spots or recalling a place that’s slipped your mind. Apple uses it to provide you with traffic information and location-based recommendations. This information can also be deleted, accidentally or otherwise.
Unfortunately, Apple offers no quick way to recover this information. That doesn’t mean you can’t, though. If you need that data back, then this article will show you several ways to do so.
No Quick Recovery
Right up front, there is no way on your iOS to recover deleted location history. If your locations have been removed, then you can’t get them back. Your options lie in restoring backups, using another location app, using third-party restoration software, or seeking specialist help.
Speed is also key when noticing location history discrepancies. The longer your phone runs, the more data is added, and the harder it’ll be for some of these restoration options to succeed.
Restore a Previous Backup
When it comes to iPhone backup storage, there are two main options open to you: iCloud and iTunes. It’s always a good idea to regularly backup your iPhone in case of loss or malfunction. If you have enough space on iCloud, your phone’s applications and data should automatically be added to it. iTunes will require you to make a whole or partial backup manually.
For both backup options, you’ll lose all data and settings made after your chosen restoration point, so make a point of externally backing up anything you’re going to miss.
iCloud
Before going through a backup, make sure that you have a viable backup file in your iCloud. You can do that by accessing your iCloud folder on a PC or on the website and checking to see if you have backup files (usually in the “General” tab).
To restore a backup from iCloud, you’re going to have to reset your phone first. Here’s how:
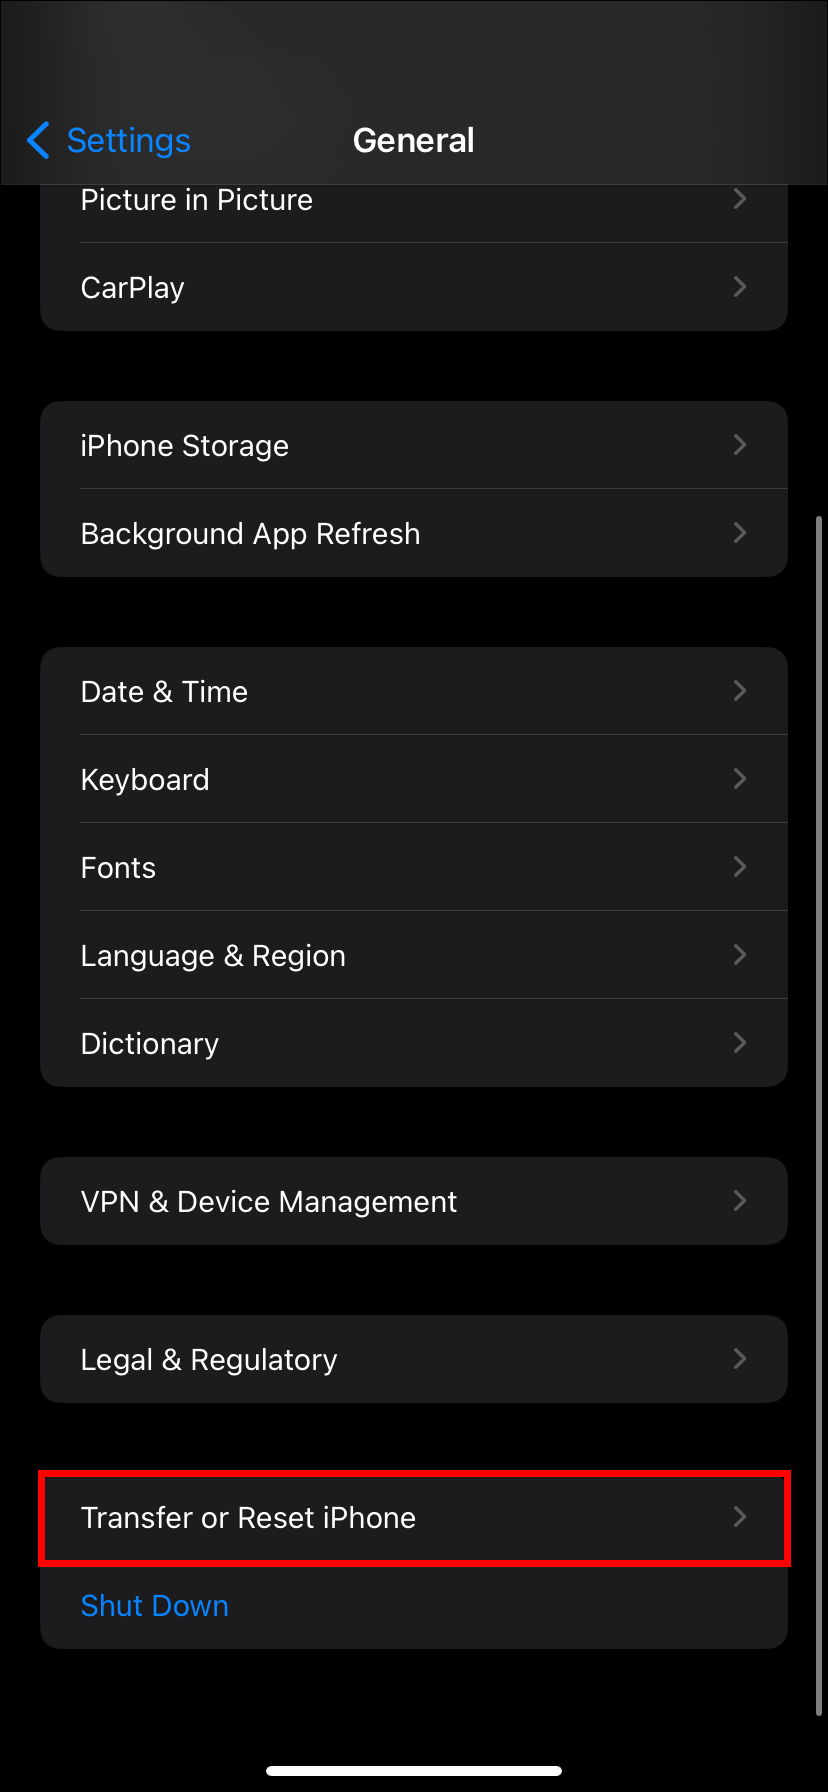
- Open Settings, then tap General.

- Navigate down to Transfer or Reset iPhone.
- Tap Get Started after you’re sure you’ve backed up all files.
- You may be asked to enter either your Apple ID or phone password.
- Confirm the reset by pressing the Continue button.
- Your iPhone’s data will then be erased. This may take several minutes to complete.


With your iPhone erased, you can then restore it from your chosen backup. Before you start, it’s a good idea to have your phone connected to a stable Wi-Fi network for a seamless restoration. Here’s how to restore a backup on your phone:
- Boot up your reset iPhone and follow the prompts at startup.
- When you reach the Transfer Your Apps & Data Page, select From iCloud Backup.
- Choose the most recent backup before your locations were deleted.
- You may be asked to install new system software and enter your Apple ID to restore any apps contained in the backup.
- Your phone will then begin restoring your backup. This is a long process and can take up to a few hours to complete, depending on the size of the files and your network speed.
- Once the backup has been restored, access Location Services, and see if your data has been restored.
iTunes
If you’ve stored recent backups on your computer (Mac or PC), then you’ll need iTunes to complete the restoration process. Mac can also complete this task in Finder, but the steps are the same. Here’s what to do:
- Connect your iPhone to your computer via cable.
- Open iTunes and your device should be recognized. You may be asked to enter your passcode or receive a message asking if you trust the PC.
- Click on your iPhone’s icon in the sidebar.
- Under the General tab, you’ll see the last available backup of your device.
- Select Restore Backup.
- Choose which backup to restore from and then click on Restore to begin.
- This process may take a few hours, depending on the size of the backup. You’ll receive a notification when it’s complete.
- Disconnect your device and confirm that your location history has been restored.


Using Google Maps
Just because you can’t recover your location history from iOS, that doesn’t mean that other apps aren’t keeping a record. Google Maps can also track your location regularly, and you can use this information to fill in the gaps left by your iPhone’s deleted locations. If the app has Location History enabled, then you can easily access a detailed record of your whereabouts over a long period of time. Here’s how to check:
- Open Google Maps and tap your avatar in the top-right corner.
- Choose Your Timeline.
- You’ll be shown a detailed record of your whereabouts over the day. To access other days, select Show calendar and choose a different day to view.


If you don’t have Location History turned on, then you can still check your search history in Google Maps. It’s not perfect, but it’s something. Here’s what to do:
- Tap your avatar in Google Maps, then Settings.
- Navigate to the Account Settings heading and tap Maps history.
- You’ll see all searches and uses of Google Maps logged under your Google profile.
- You can tap the Calendar icon, next to the search bar, to view a specific day or month.


Seeking Help
If you really need your location history back, then you can also consider going to a data recovery specialist. It may be very expensive, but the process is thorough.
You can also seek out the help of your local authorized Apple reseller or trusted repair store. Be sure to give an approximate timeframe of when your location data was deleted, as well as the steps you’ve taken to try and recover it. They may not always be able to help, but they can provide alternative solutions.
Don’t Lose Your Way
It’s always good to remember where you’ve been. Having important location data deleted can be a big disruption to recalling a good shortcut or wonderful restaurant. While restoring a lost location history might be a difficult and frustrating process, it can be done. The key is to act quickly. It can be restored by backup and recovery, or remembered by using other location apps. Hopefully, you don’t have to take any drastic steps to get your whereabouts known once again.
Disclaimer: Some pages on this site may include an affiliate link. This does not effect our editorial in any way.