Sequences should be your go-to feature to automate your sales process in HubSpot. They speed up your email campaigns and create reminders to help ensure timely follow-ups on your messages.
But how exactly do you use HubSpot sequences? This article will explain everything you need to know.
How to Use HubSpot Sequences for Email Automation
Chances are, you’ll mostly need HubSpot sequences to automate your emails. Adding a sequence to an email lets you create different email templates and modify when the message will be sent, among other things.
- Go to HubSpot and sign to your account.
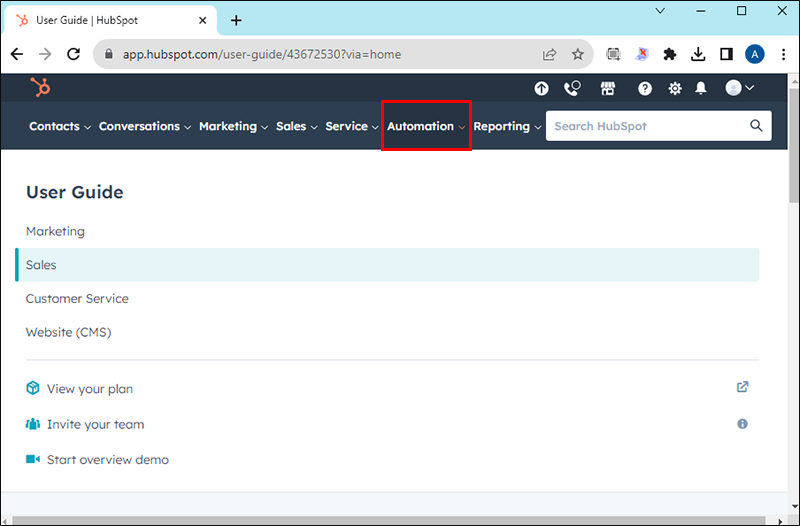
- Navigate to Automation.
- Choose Sequences and press Create Sequence.

- Head to the left part of the screen and tap Create from scratch or pick a ready-made template.
- Hit the Create Sequence button in the upper-right corner.
- Navigate to your sequence editor
- Click the New Sequence button, and name your sequence.
- Choose Automated email.


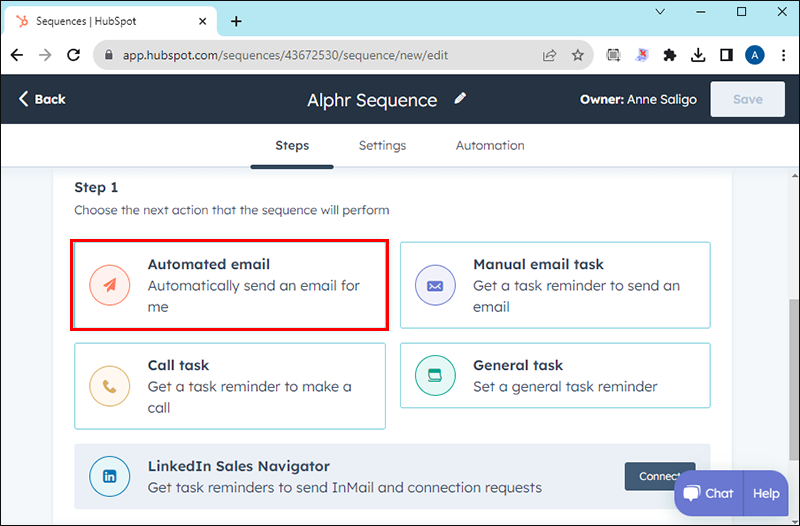
This will take you to HubSpot’s main menu for automated email campaigns. From there, you can customize different parts of your emails with various features:
- Email type – Lets you start new email sequences and reply to messages.
- Create template – This allows you to create new email templates in HubSpot from scratch.
- Existing email templates – Lists the available templates for your email campaign (comes with a search box that speeds up the search for the suitable template).
- Delay – Delays the sending of the email to a certain number of business days.
Once you create an email sequence, you’ve essentially completed the first step in setting up an email task. You now want to add a reminder to your task to improve management and ensure timely completion.
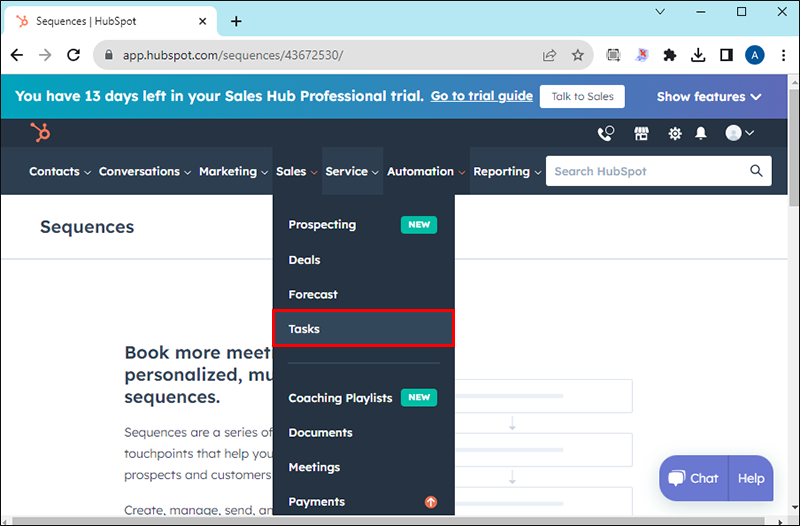
- Log into your HubSpot account and press Sales, followed by Tasks.
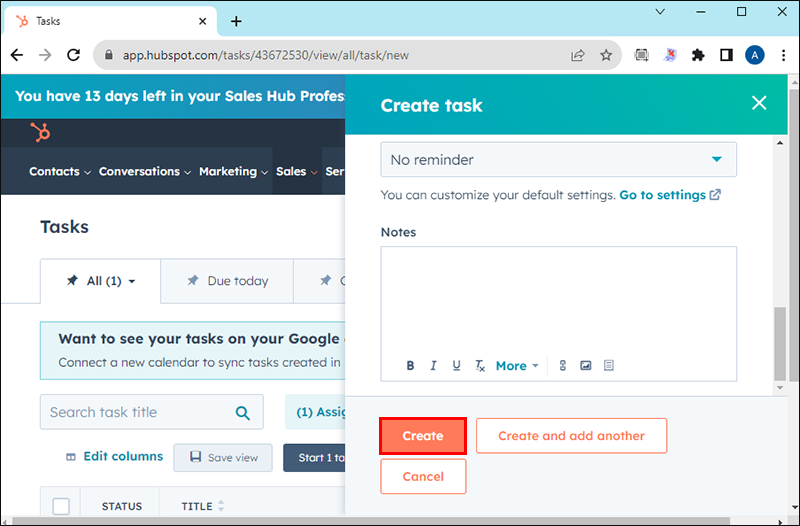
- Tap Create task in the upper-right part of the display and select Email task. The wording may vary, depending on your version (web, Android, iOS).
- Type in the title of your task. Use the same name as the one in your email sequence.
- Click Priority to highlight your task as urgent. If it’s not a high-priority project, choose Queue and add the assignment to your queue.
- Type in the details of your email task using the Notes option and format your text with the toolbar in the lower section of the screen.
- Hit the Create button and, if necessary, delay the task for a few days. Alternatively, immediately tap the prompt to create another task, and you’re good to go.


How to Edit HubSpot Sequences
If the timeline or client needs to change after creating a sequence, your sequences should reflect the amendments. You can achieve this by editing your sequences.
- Visit Automation and press the Sequences button.
- Find the name of the sequence you wish to edit and choose Edit.
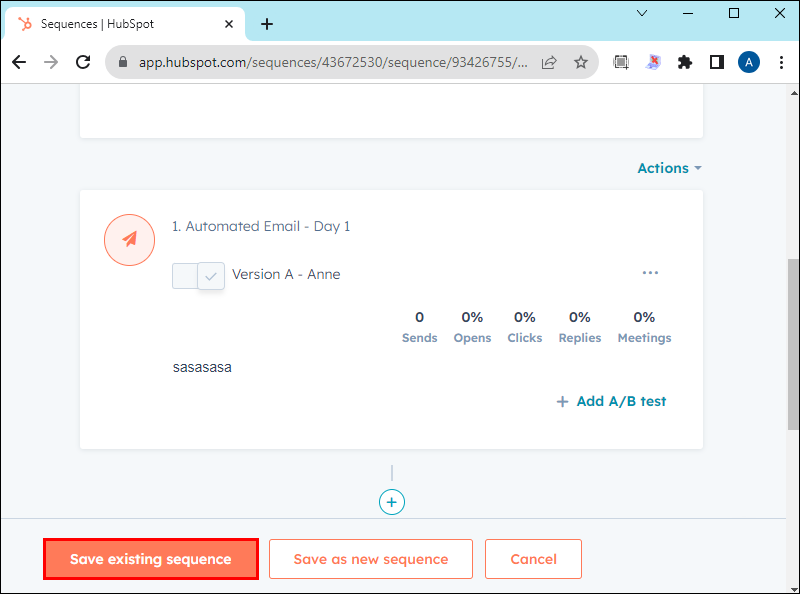
- Navigate to the Actions menu in the upper right of your email task and tap Move Down or Move Up to reorder your steps.
- Strike the Edit threading button to change the text of the task and other aspects. You can also find this menu in the Actions field.
- If necessary, eliminate a step by pressing Actions and clicking Delete next to the corresponding item.
- Tap the Save existing sequence option once you’re happy with the changes to apply the edits. HubSpot also enables you to create new sequences that include your edits. To do so, press Make Copy, type in the name of the new sequence, and choose Save.


Reordering your tasks, removing steps, and editing the text of your tasks aren’t the only edits available for HubSpot sequences. To access a longer list of amendments, press “Settings” in your sequence editor.
Here are some of the changes you can make from there:
- Sending emails on weekends – If you wish to stop sending emails on business days, you can do that by toggling the “Create tasks and send emails on business days” off. Again, the wording may vary, depending on your device.
- Combining emails of a single sequence in a thread – If you wish to string together all the emails of a sequence in a single thread, use the toggle next to the “Thread follow-up emails as replies” toggle.
- Sending follow-up messages at a specific time – If you wish to send your emails at a particular time, specify your time range in the “Send automated emails between” field.
- Receiving reminders whenever a new sequence task is active – If you wish to receive alerts when HubSpot creates sequence tasks automatically, use the “Get email reminders for each sequence task” prompt. You can also utilize a “time picker” to change the time when HubSpot sends the reminders.
- Removing contacts from sequence email lists – If you wish to remove a contact from your email list after they respond to your message, you can do so with the “Unenroll contacts from the same company” field.
How to Add Contacts to Sequences in HubSpot
The previous section discussed unenrolling contacts from your sequences, but you can also import contacts. Here’s how to do so directly from HubSpot’s sequence tool:
- Head to Automation.
- Press the Sequences button.
- Navigate to the upper-left part of the display and choose Manage.
- Click the name of the sequence you want to expand.
- Head to the upper-right part of the display and choose Enroll contacts.
- Go to the right menu and check the box next to the contact you wish to enroll.
- Tap Next in the lower part of the screen.


Say Goodbye to Time-Consuming Sales Campaigns
Sequences can make a world of difference for your business. Eliminating the manual work associated with email campaigns and other tasks will streamline the sales process and increase your lead conversion. They also free up your schedule to focus on other strategic duties and elevate your enterprise.
Next, you might want to learn how to use lead status in HubSpot.
FAQs
Why can’t I use email sequences in HubSpot?
There could be several reasons why you can’t use HubSpot email sequences. For instance, your account might not have an assigned Enterprise, Service Hub Professional, or Sales Hub Professional seat. Likewise, you may not have connected a personal email address to your account. Finally, your account might not have sequence permissions.
How many sequences can I use in my HubSpot account?
Regardless of your account, you can use up to 1,000 sequences in HubSpot. But if you also need many available emails per user per day, the Enterprise version is the better choice. It lets you send twice as many emails per user daily (1,000 to 500).
Are sequences the same as workflows?
No. HubSpot sequences aren’t the same as workflows. On the one hand, you typically use sequences to close deals on a few qualified leads. On the other hand, you generally use workflows to generate many leads, making them more appropriate early in your customer journey.
Disclaimer: Some pages on this site may include an affiliate link. This does not effect our editorial in any way.