Small businesses and even larger ones love using HubSpot to improve their efficiency, particularly regarding repetitive tasks. HubSpot has plenty of functions to make entrepreneurs’ lives easier, including grouping contacts into lists. However, beginners may not have mastered this yet.
You can find out all you need to know about adding contacts to HubSpot lists below. We’ll cover several list types as the app offers several options.
Creating a Contact List
HubSpot users can group their leads into lists, and there are two types to choose from. Active lists automatically update the contacts based on specific criteria, allowing entrepreneurs or their staff to handle other matters. If a person doesn’t fit the list, they will leave it automatically.
In simpler words, if a person no longer lives in one city that a list cites as criteria, they will no longer be found there. However, it’s possible to rejoin the list by fulfilling all conditions again.
On the other hand, static lists will only include contacts that meet the conditions when the list is created. They don’t change without user input, so new contacts aren’t added in unless someone does so manually.
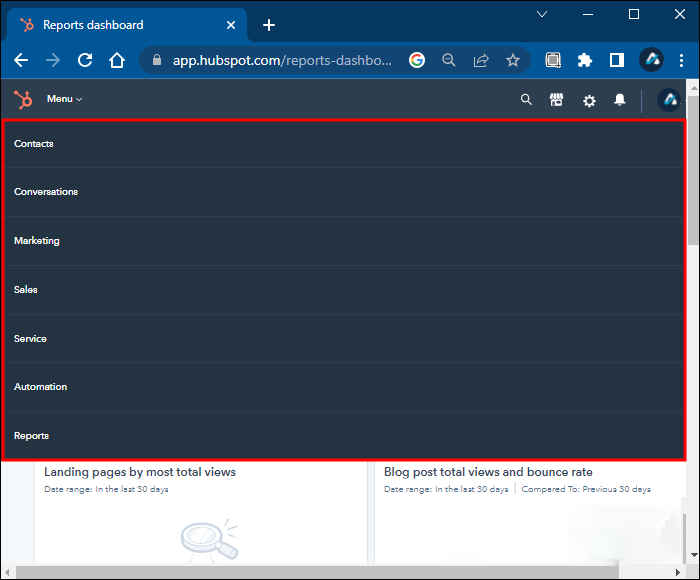
Businesses can use lists for recording how many people filled an information form, who interacted with a marketing email, and even unique page views. The possibilities are limitless, having a list makes reports stronger. You can categorize information precisely so team leaders don’t have to do much sifting.
Those who use the Enterprise and Professional HubSpot plans have even more list functions.
Both types have their uses, and users will likely have at least one of each created. For example, active lists are great for general newsletters and sending automated emails. Static lists are best reserved for contacts that don’t share many criteria. You can also use static lists to segment contacts for later deletion.
To create a HubSpot list, you can follow these steps:
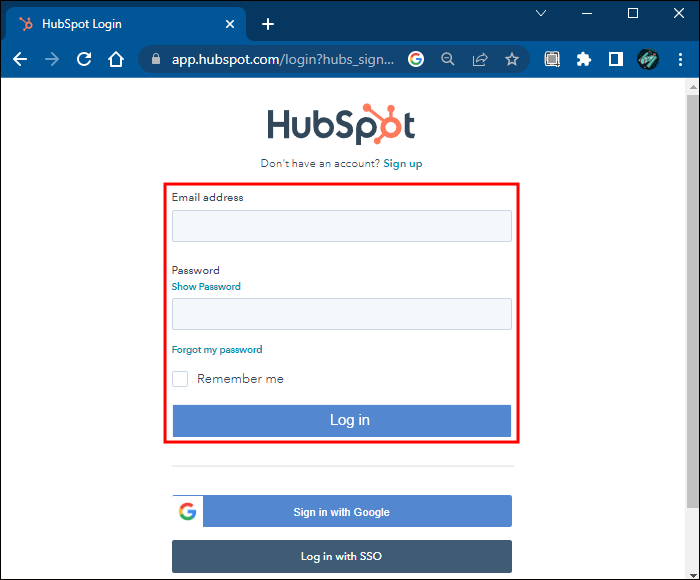
- Log in to your HubSpot account.
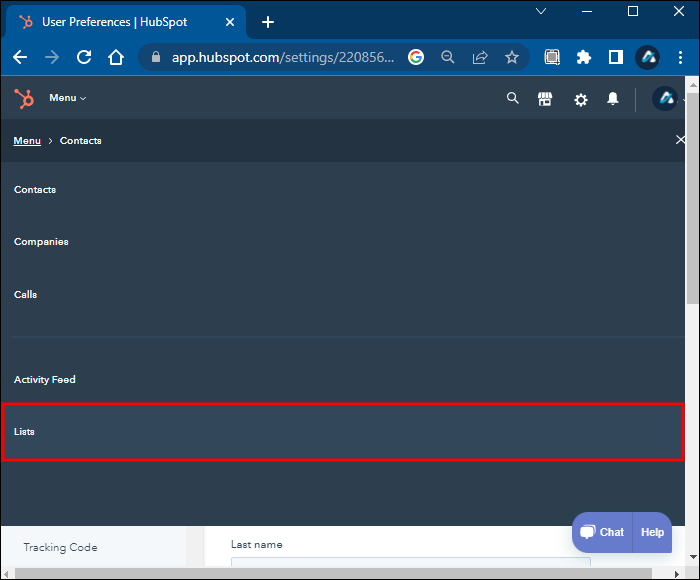
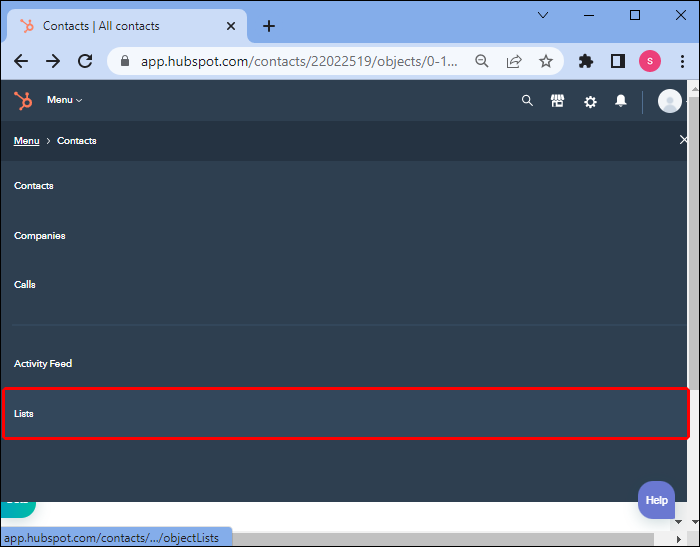
- Go to “Contacts” and click on “Lists.”

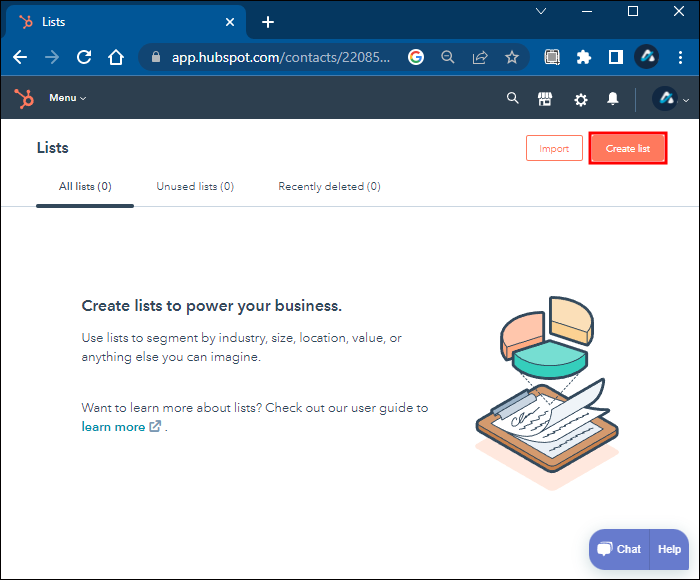
- Click on “Create List.”
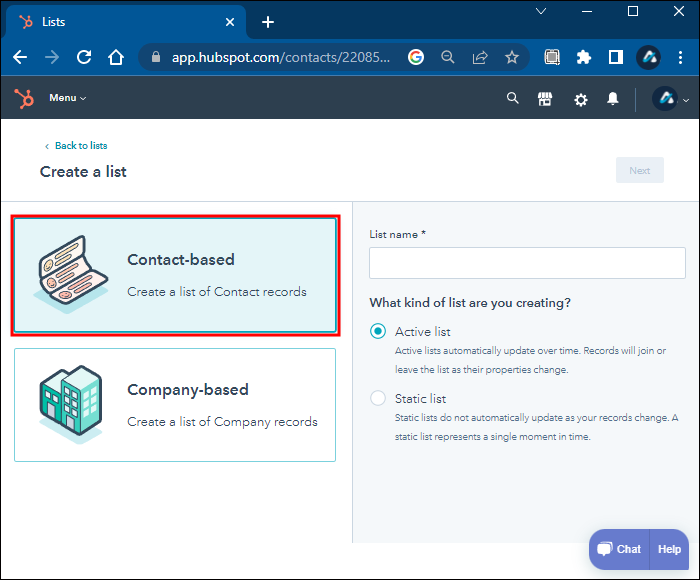
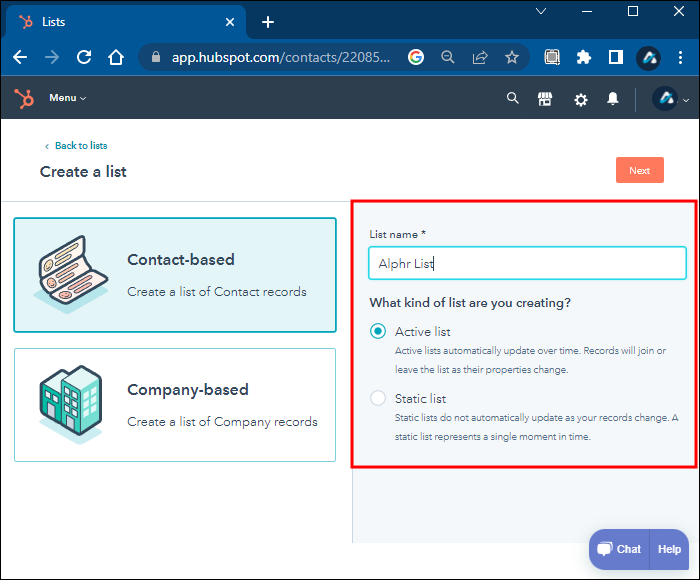
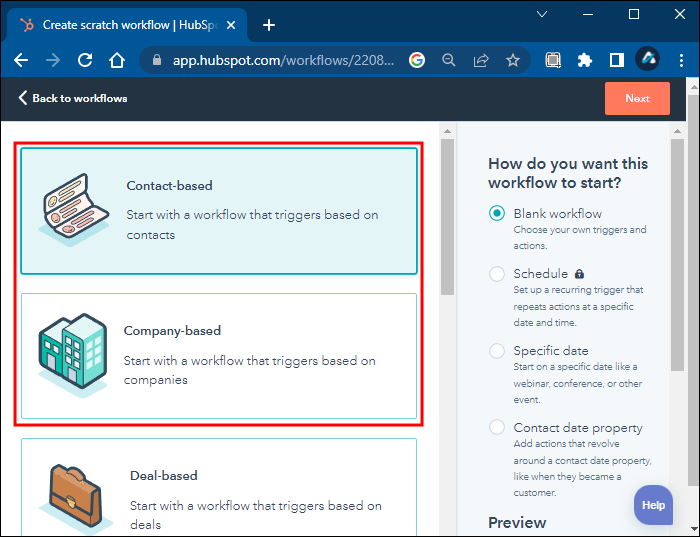
- Select “Contact-Based” to make a list of contacts.
- Name the list and choose whether you want an active or static list.
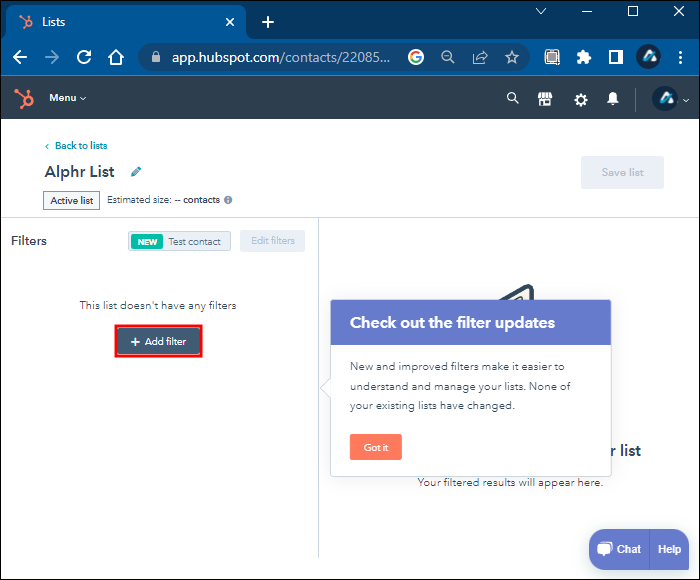
- Pick “Next” and select “Add Filter.”
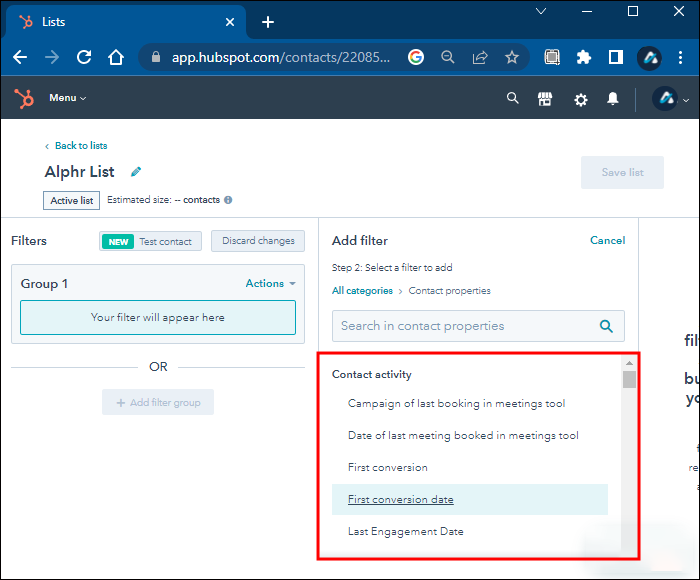
- Choose a filter category and repeat until satisfied.
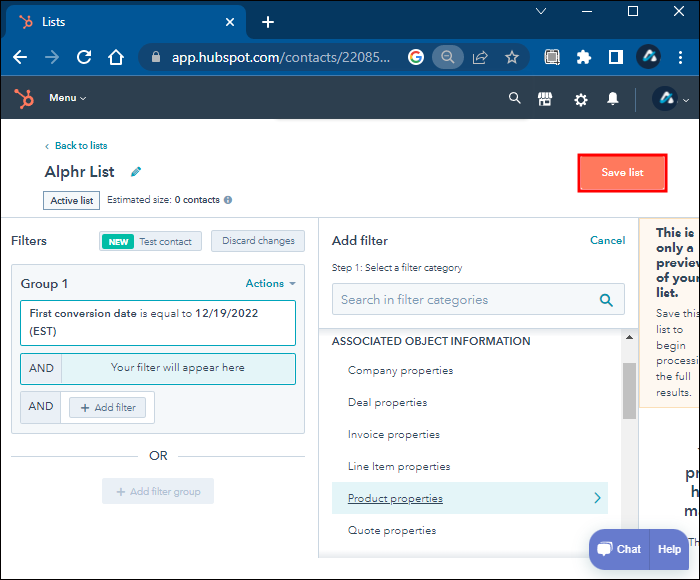
- Save the list when you’re done adding filters.
After creating a list, you can return to add, modify, or delete filters. Each list can support up to 250 filters, though you’re not expected to use that many.
In addition, only users with Write permissions can create a contact list. Those with View permissions can only access them but not modify any of the contents. You’ll want to get the proper clearance first from an administrator if you don’t have it.
Below are the steps for editing a list:
- Go to “Contacts” and “Lists.”
- Find the list you want to modify and select it.
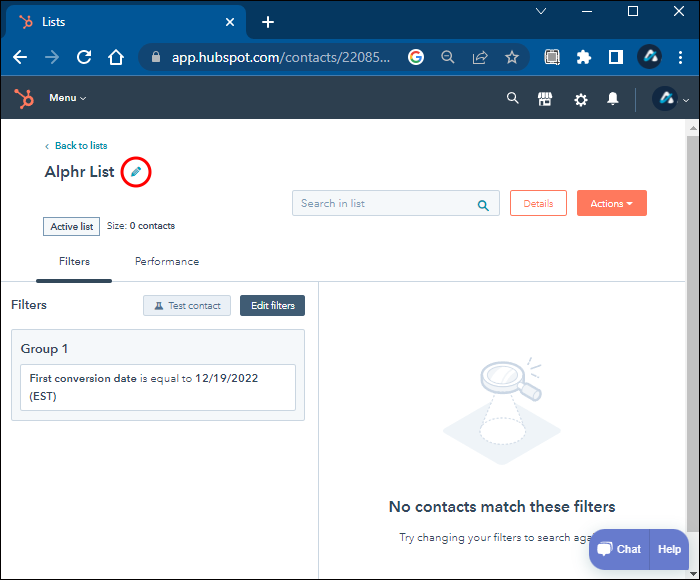
- Click on the pencil icon close to the list’s name to rename it, if necessary.
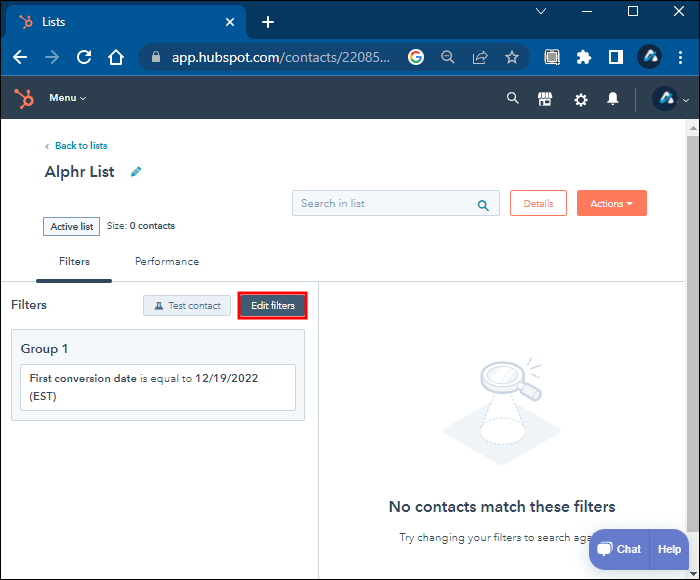
- Select “Edit Filters” to change the criteria.
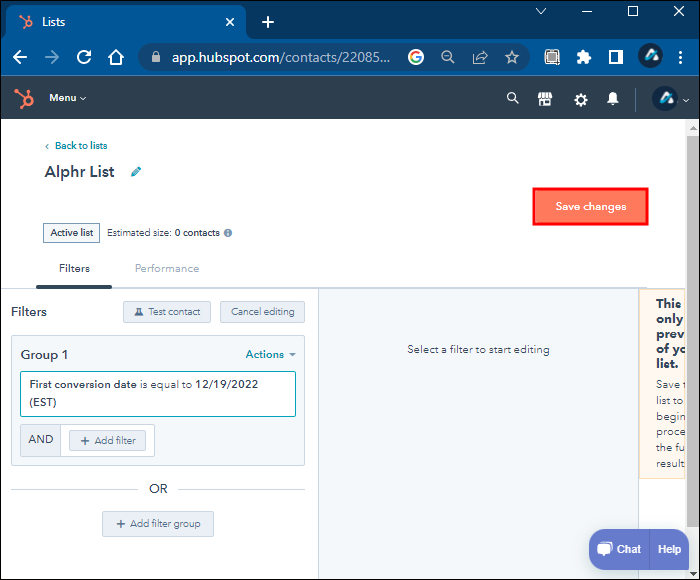
- Save the changes and leave when your job is done.

Now that you know how creating and editing a list works, you can start adding contacts to static lists.
Adding Contacts to a List
Assuming you’re using a static list, you must manually add a contact or company to the group. There are many ways to do so, and we’ll start with the standard procedure:
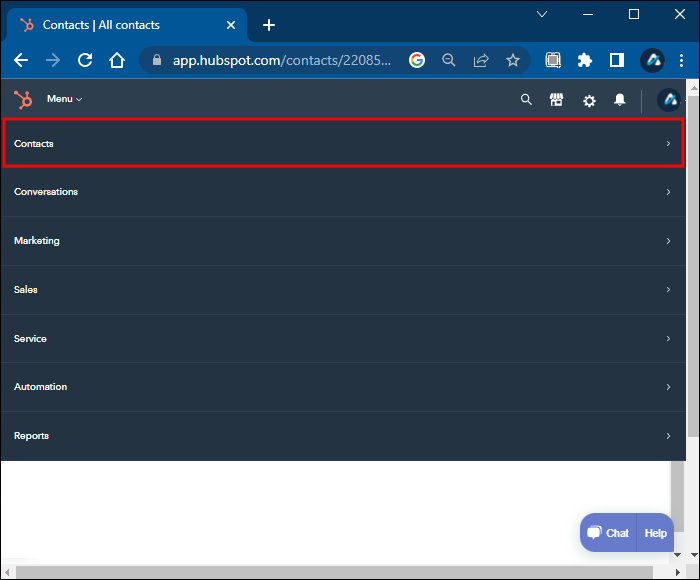
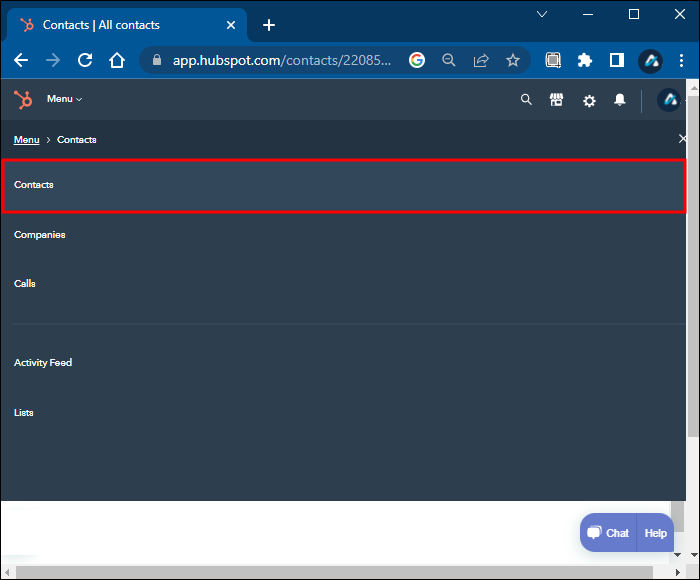
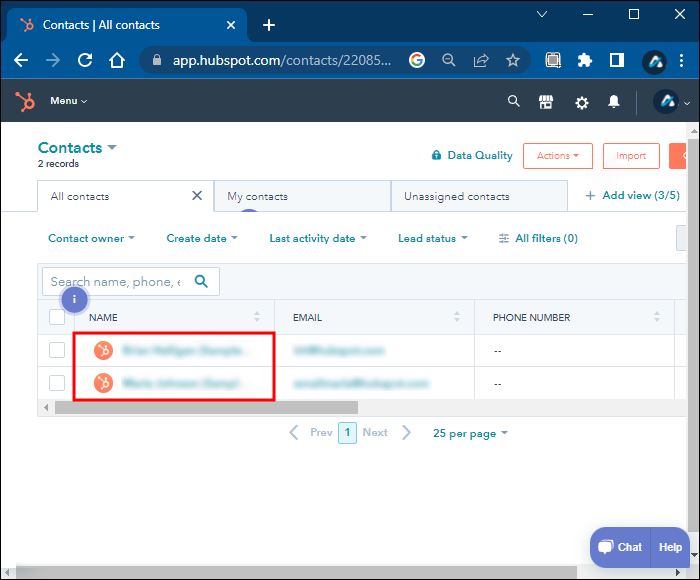
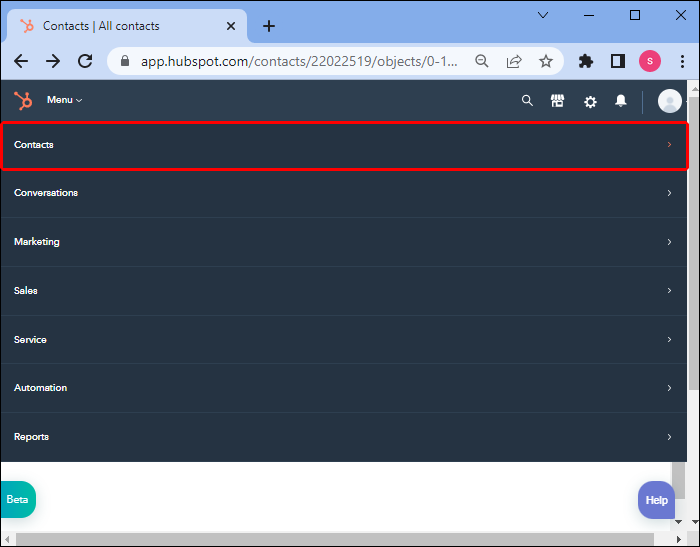
- Go to the “Contacts” section.
- Pick “Contacts.”
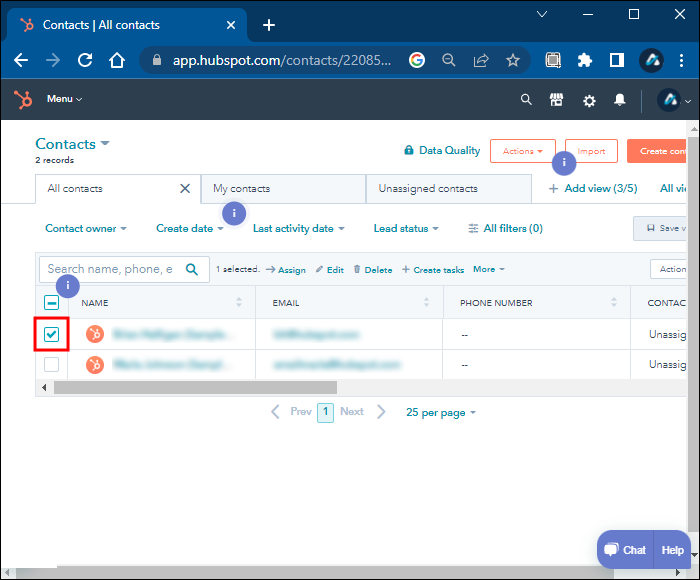
- Check the boxes beside the names you want to add.
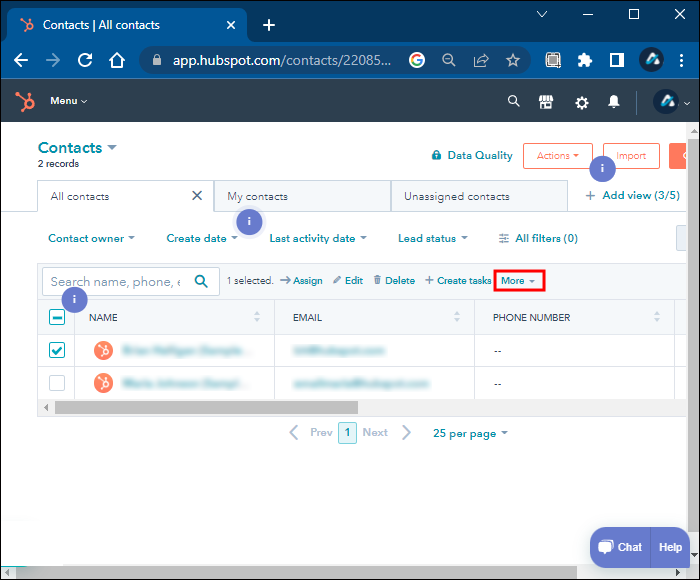
- Click on the “More” dropdown menu.
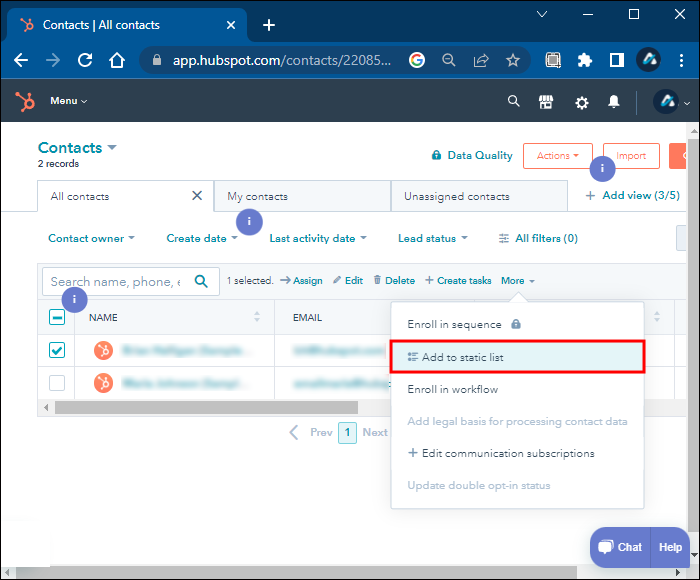
- Select “Add To Static List.”
For companies, the steps are similar:
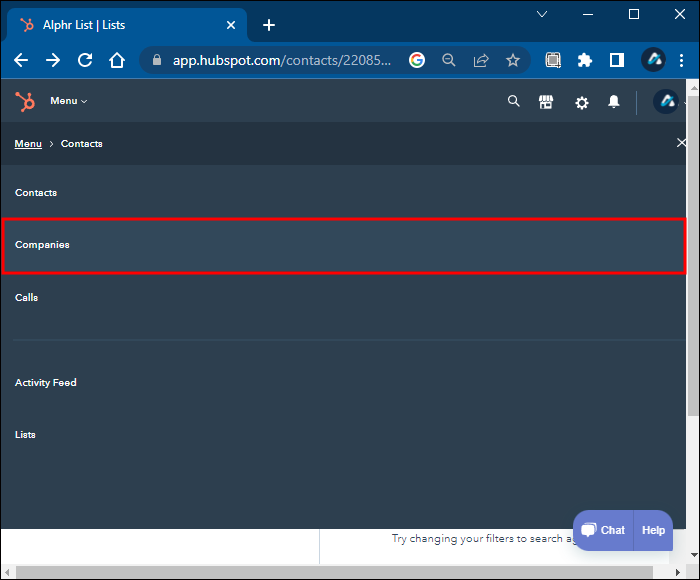
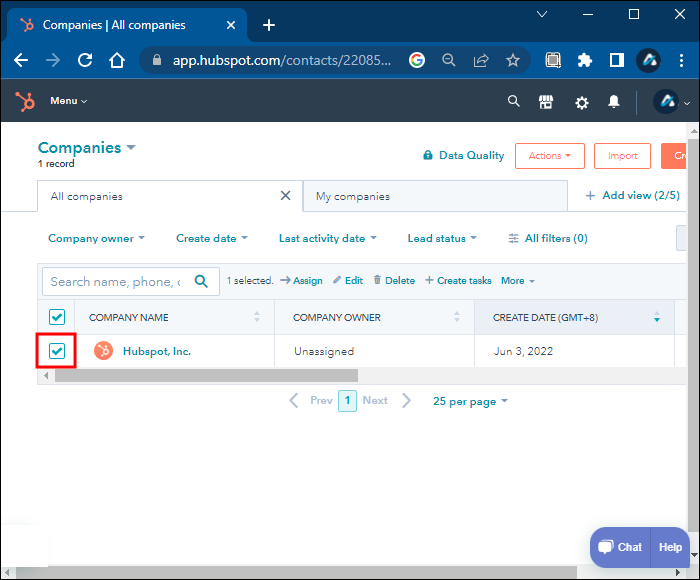
- Go to “Contacts.”
- Select “Companies.”
- Check the desired boxes.
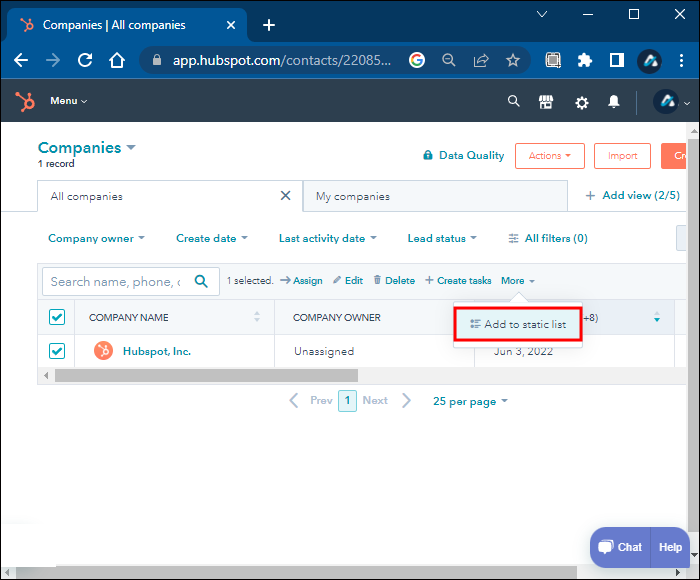
- Head to the top of the table and click on “Add To Static List.”
If you want to add a single contact to an existing static list, try these steps:
- Log in your HubSpot account.
- Go to “Contacts.”
- Head to the “Contacts” subsection.
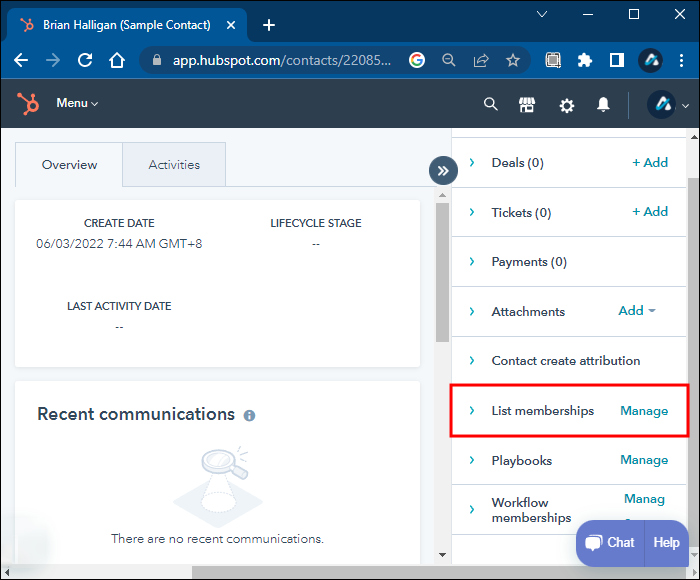
- Click on the name you want to add to a list.
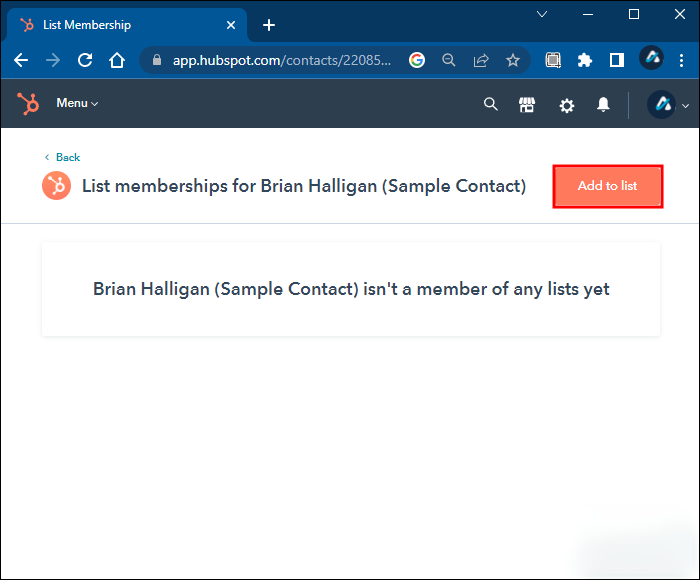
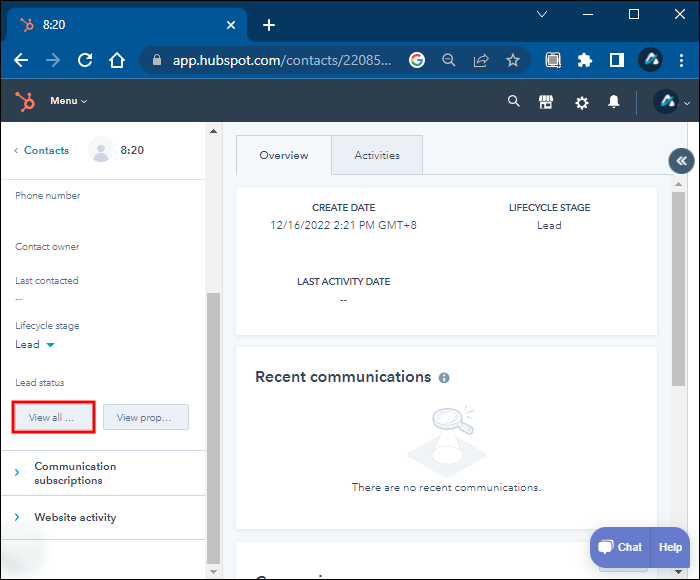
- Select “List Memberships” from the right panel.
- Click on “Manage List Memberships” and “Add To List.”
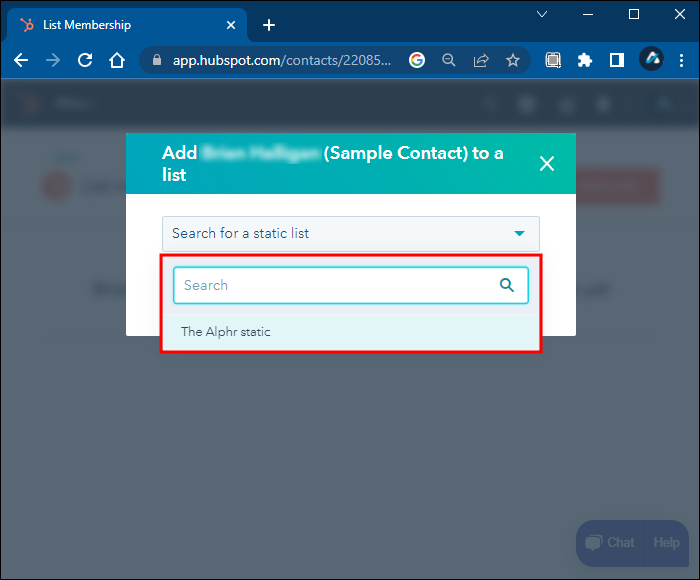
- Look for the list.
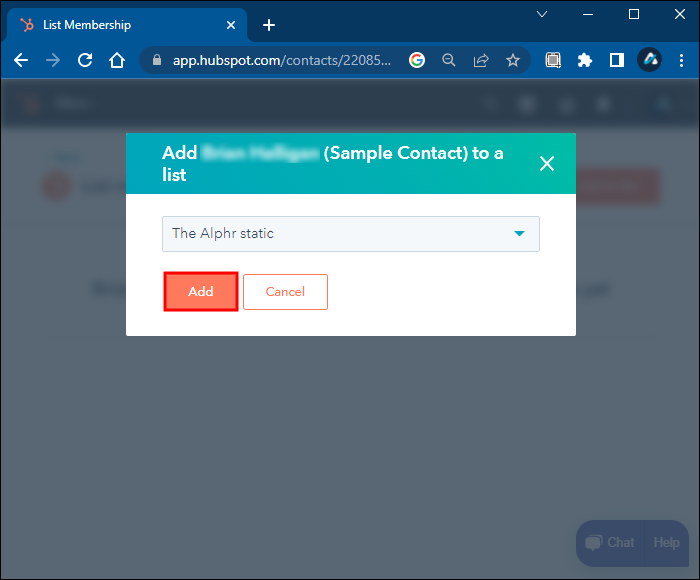
- Choose “Add” to expand the list with this new contact.

Naturally, besides adding contacts to a list, users with the proper authority can also delete them.
This following method lets you transfer imported contacts to one static list:
- Go to “Contacts” and select the identically-named subsection.
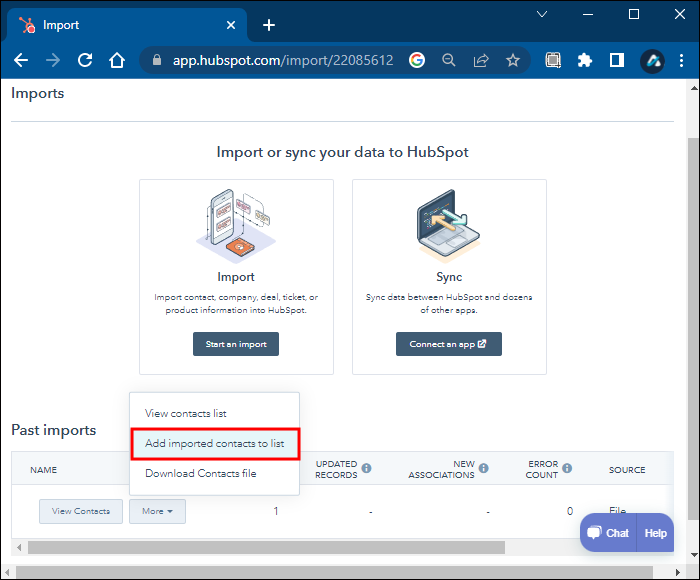
- Pick “Import” in the top-right corner.
- Open the “More” menu and choose “Add Imported Contacts To List.”
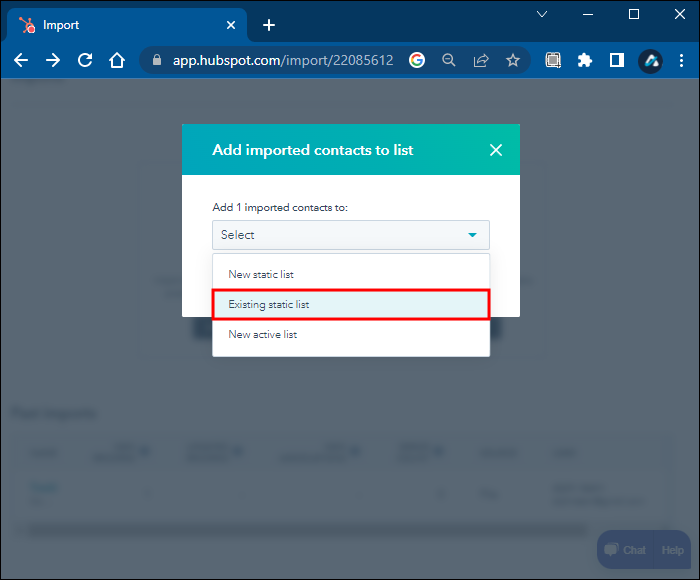
- Choose “Existing Static List” from the dialog box that appears.
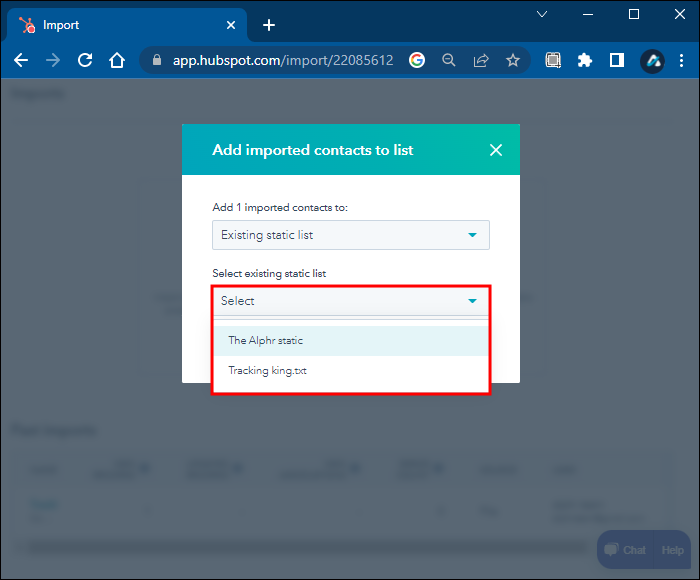
- Select the list to import to.
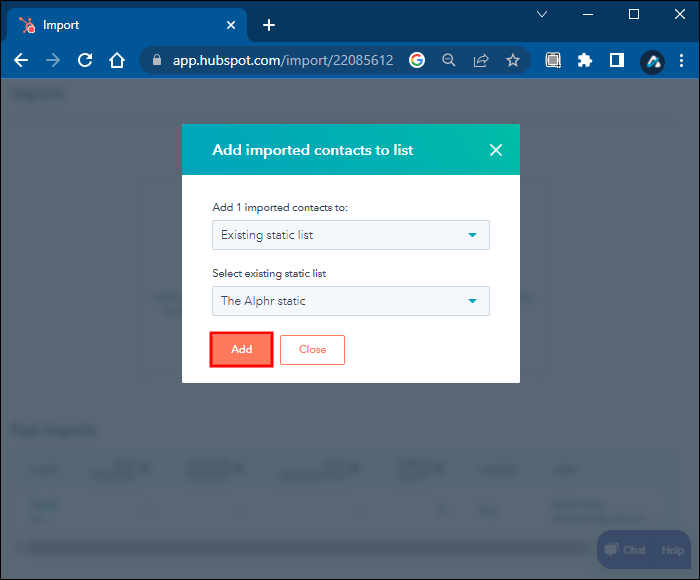
- Pick “Add.”
- The list will now contain the imported contacts.
Add Contacts to an Active List
Those who wish to add contacts to an active list can try the following steps:
- Go to “Contacts,” and then the subsection also named “Contacts.”
- Click on one of the contacts’ properties.
- Edit that property to match the filter for the list which you want to populate.
- Do the same for other criteria if you wish.
- When done correctly, the contact will now appear in the active list.
Alternatively, you can also modify the active lists’ criteria. Once you do so, any contacts corresponding to the new settings will automatically appear in the active list.
Removing Contacts From a List
You’re sometimes asked to remove contacts from a static list. While you can do it without Professional and Enterprise plans, these upgraded accounts have a unique process you can use.
First, we’ll start with the standard method HubSpot users can try:
- Log in to your HubSpot account and head to the dashboard.
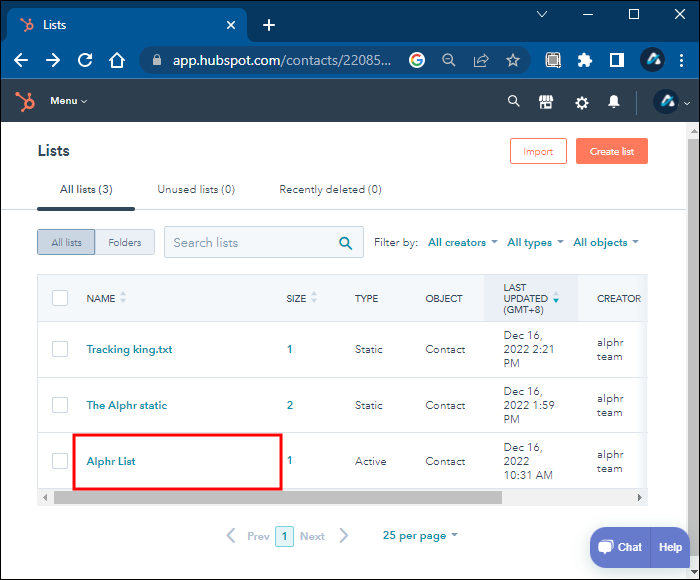
- Go to “Contacts” and then “Lists.”
- Click on the list’s name.
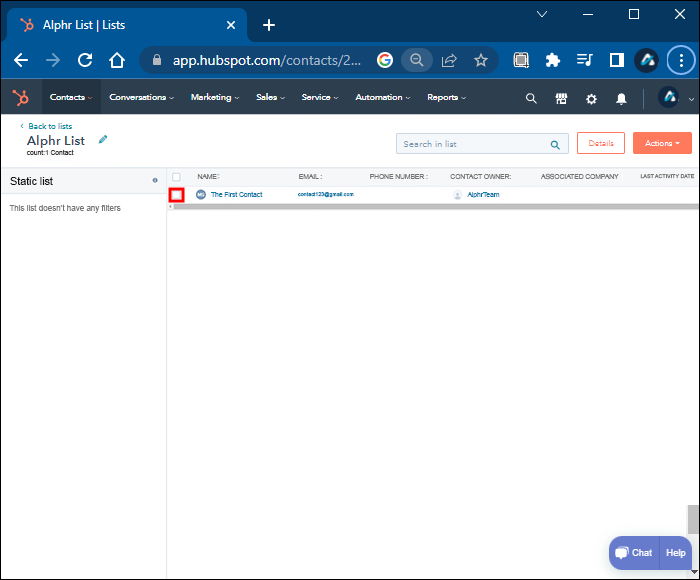
- When you open the list, check the boxes beside the names you want to remove.
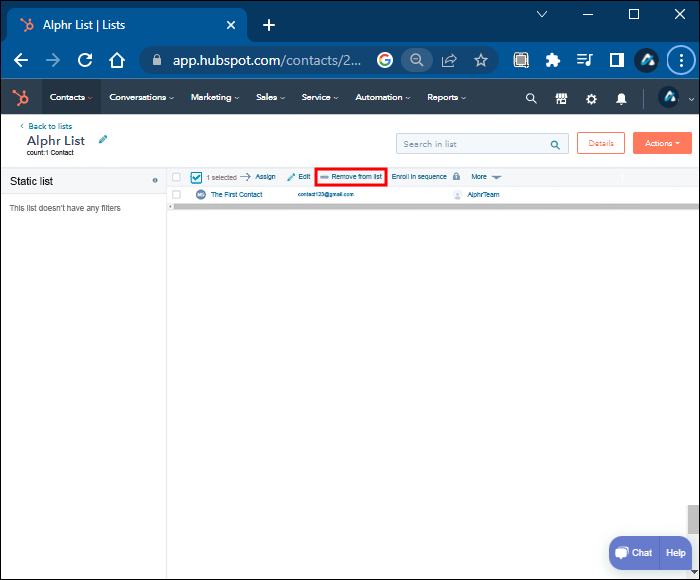
- Navigate to the top and click on “Remove From List.”
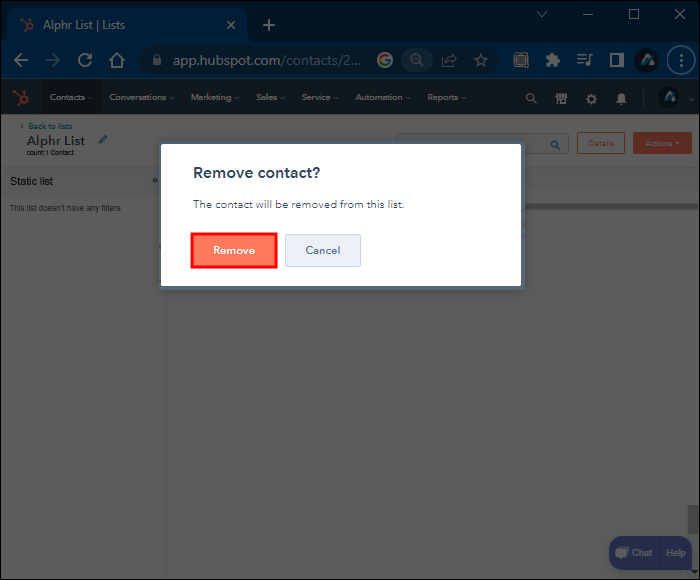
- Confirm your decision.
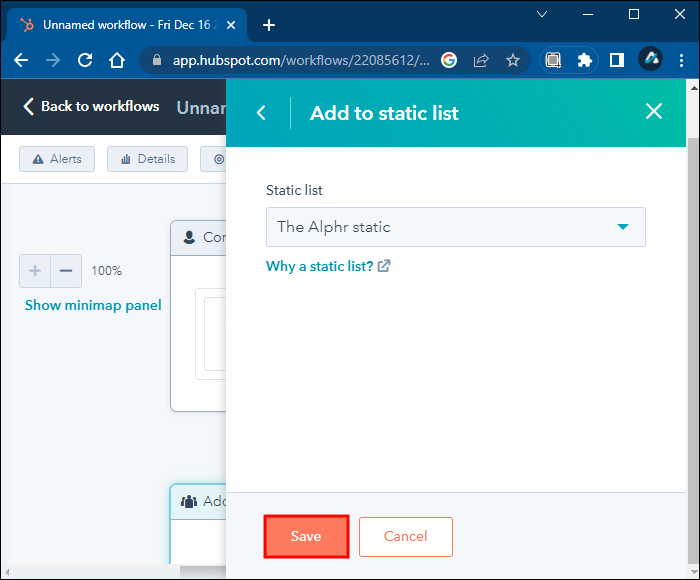
This next trick lets Professional and Enterprise accounts add or delete records using a workflow:
- Start by creating a workflow, whether contact- or company-based.
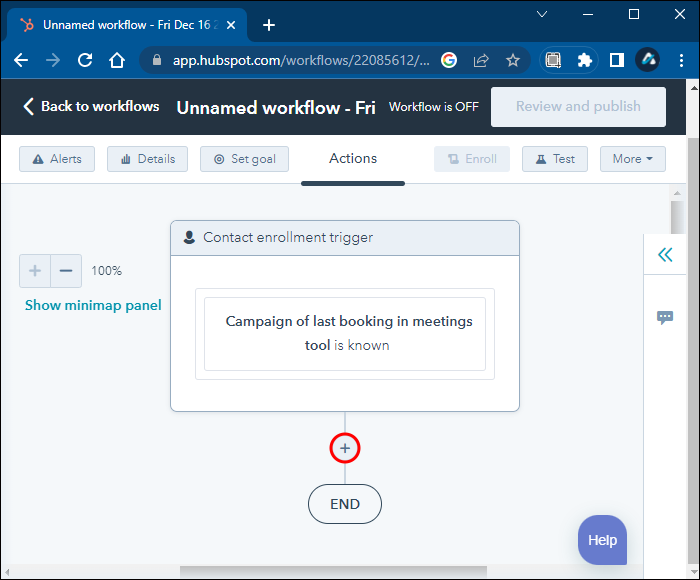
- Set up enrollment triggers for adding or removing contacts from a list.
- Click on the plus sign.
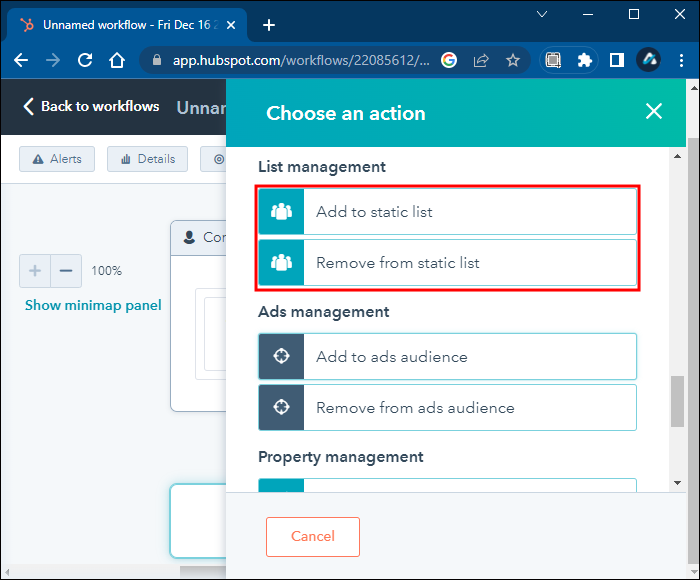
- Select the option to add or remove records from the static list.
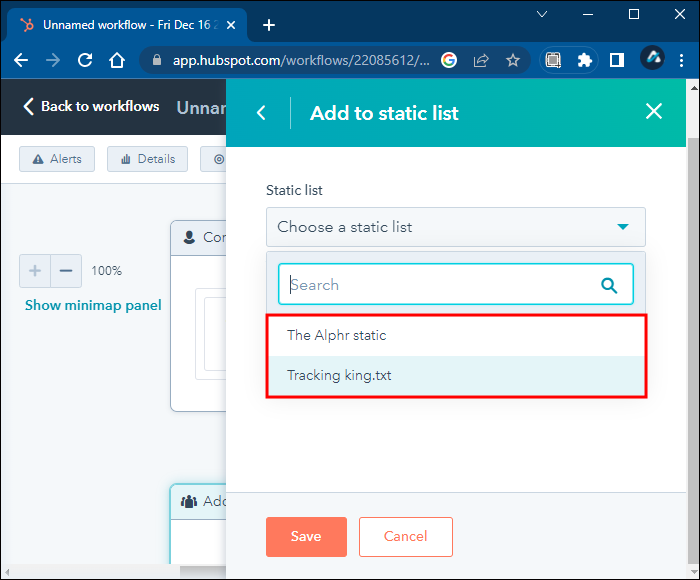
- Open the static list dropdown menu and pick the correct list.
- Save your settings.
- Now, the workflow will help you handle additions and deletions automatically.

Even with the workflow active, users can still manually get rid of contacts from a list.
Create Folders for Lists
To help with organization, all HubSpot users can make folders for their lists. While not necessary, it will help others find specific lists quickly. Here’s how to create list folders:
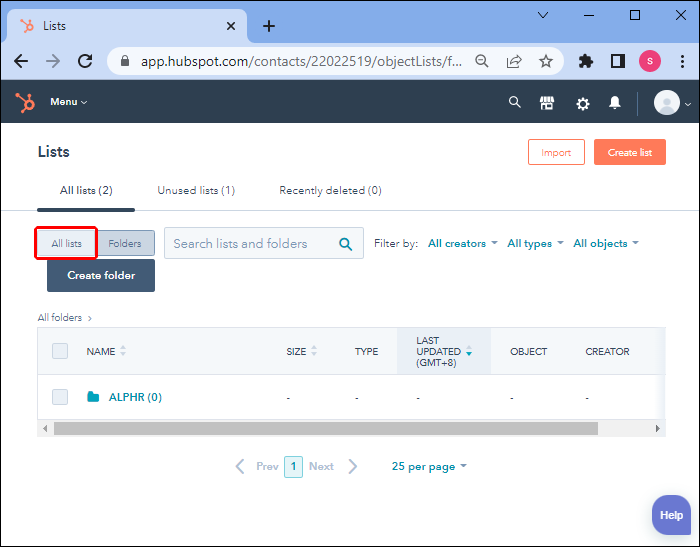
- Go to the dashboard and select “Contacts.”
- Head to the “Lists” section.
- Click on “Folders” in the top-left corner.
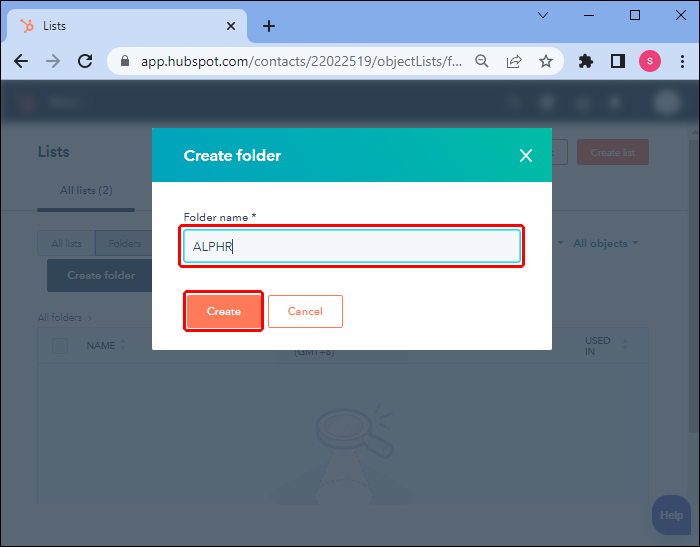
- Select “Create Folder.”
- Name the new folder and click on “Create.”
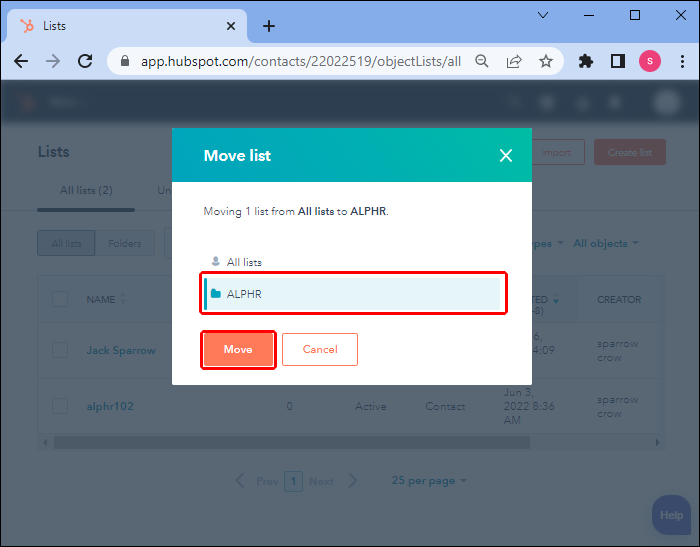
- Go back to the “Lists” menu.
- Open the dropdown menu and select “Move To Folder.”
- Move the list to the folder you want.


You can make many folders for specific lists as per the team’s needs. There are no limits on how many you can make.
List Criteria
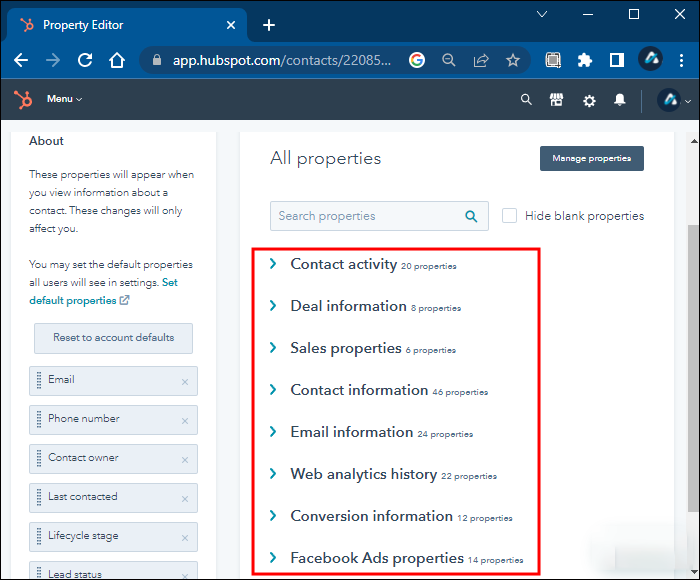
While every HubSpot subscription allows access to different numbers of criteria, you can choose from these default options. These will help you group contacts efficiently.
Contact-Based Lists
- Activity
- Line item
- List membership
- Form submissions
- Media interactions
- Ads interactions
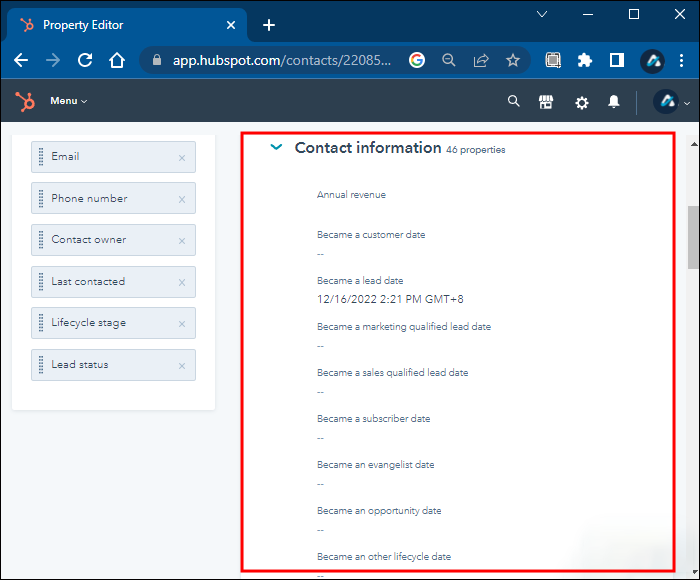
- Contact properties
Company-Based Lists
- Contact properties
- Quote
- Activity
- List memberships
- Imported memberships
The number of available criteria will increase by paying for upgraded plans, though only for contact-based lists. The company-based lists only have five criteria at most, and upgrading won’t introduce any new ones.
FAQs
How do I label a contact in HubSpot?
To label a contact, you must create and customize an association label. After doing so, you can navigate to the record and add any existing association labels to it.
Can you categorize contacts in HubSpot?
Yes, you can categorize contacts by granting them properties through making personas. With a persona, you can update existing contacts manually or in bulk.
What is a smart list in HubSpot?
Smart lists are simply another name for active lists, groups that update themselves after new contacts fitting pre-determined criteria are introduced. Users with permission can manually update them, but the system already handles most of the work for them.
Precise List Control
HubSpot allows entrepreneurs and customer service experts to handle grouping contacts or companies efficiently. Whether they use an active or static list, it’s not challenging to group individuals according to specific requirements. It takes little time to add contacts to static lists too.
What do you think about the HubSpot lists? Do you have any feature suggestions to improve them? Let us know what you think in the comments section below.
Disclaimer: Some pages on this site may include an affiliate link. This does not effect our editorial in any way.