If you’re familiar with the Preview app in macOS, you probably already know that one of its features is the ability to crop an image. For example, in the screenshot below, I took the image of a parked trailer and cropped it to display just the worn text on the side:

But what if you need to edit the image in the opposite way? That is, crop out a specific portion of the image while leaving the rest of it intact?

Yeah, this looks awesome. I’m leaving this picture this way.
That’s where the Invert Selection function comes in. Those familiar with Photoshop and other image editing applications should already know about this feature, but it’s super simple to use for novices, too!
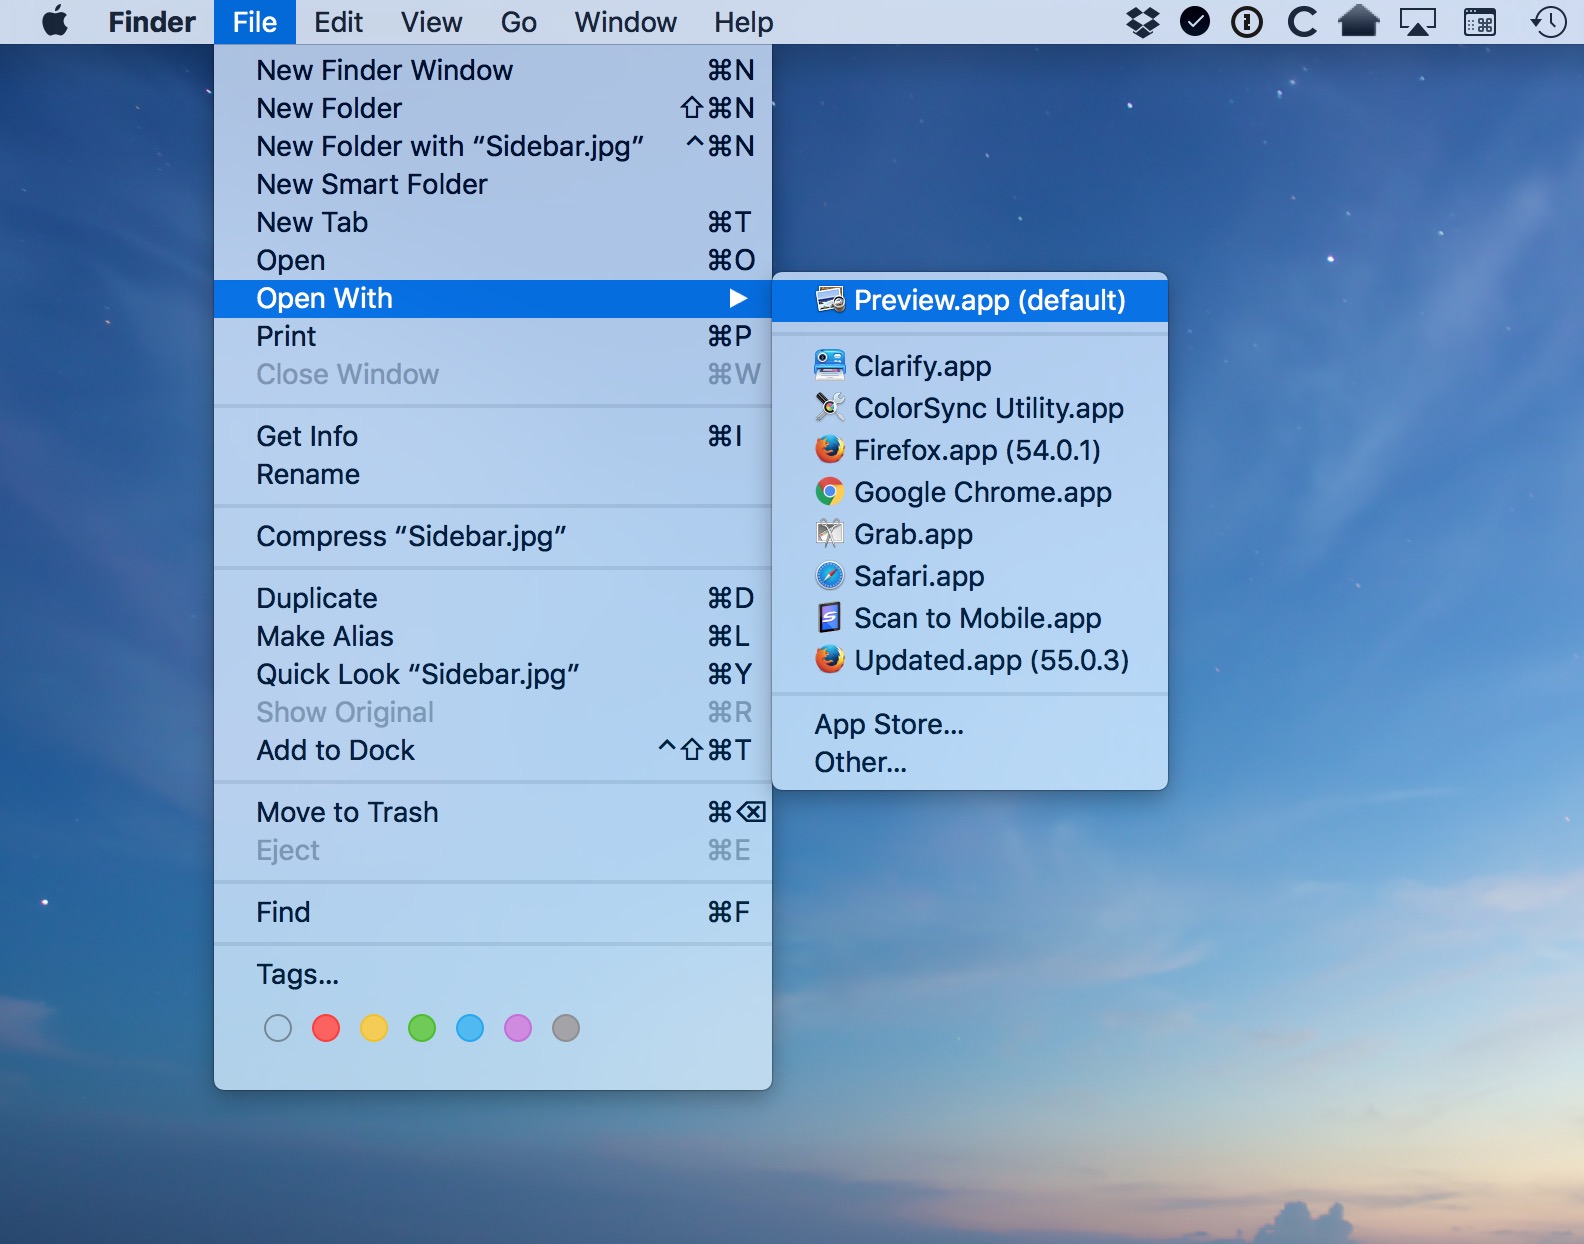
To get started, first open your image in the Preview app. In a default macOS installation, Preview should automatically launch whenever you double-click on a common image format, such as JPG or PNG. If it doesn’t, you can manually force Preview to open the image by selecting the file in Finder and choosing File > Open With > Preview from the menu bar at the top of the screen (you can also access the Open With menu by right-clicking on the image file in Finder).
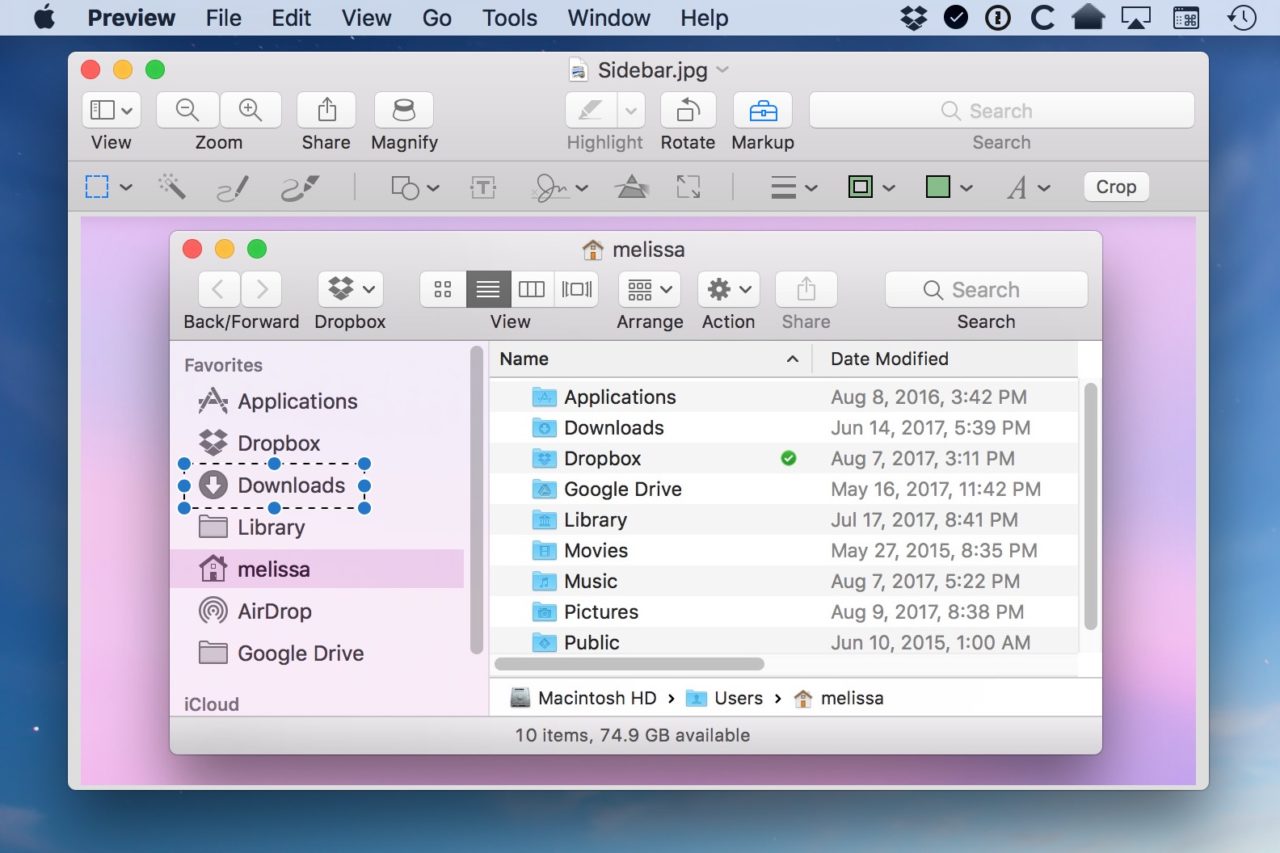
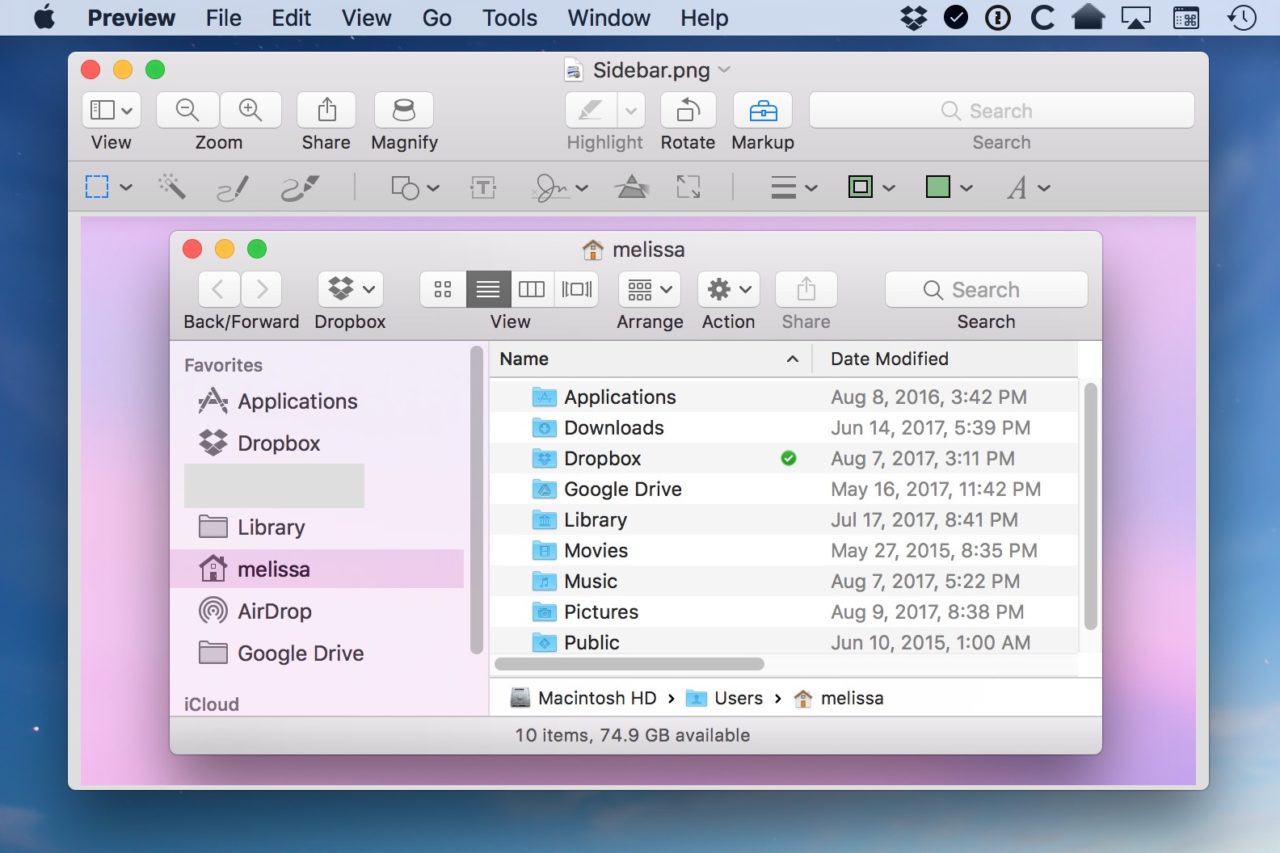
Once your image is open in Preview, use your mouse or trackpad cursor to click and drag a selection. In my example screenshot below, I’ve selected the “Downloads” entry from my screenshot of a Finder window.
Now here’s where a lot of folks get confused. If you click the Markup button in the toolbar at this point and select the Crop button…
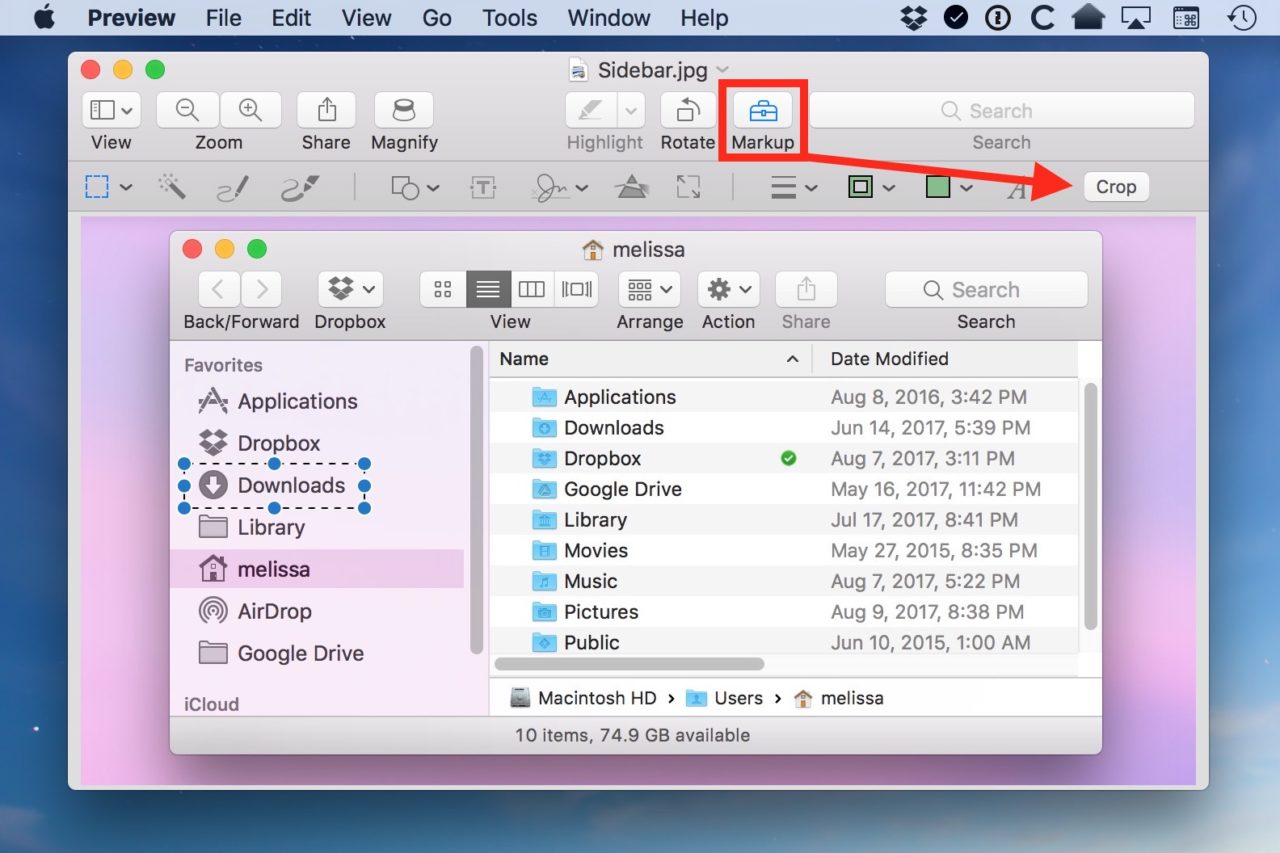
…or if you press Command-K, which is the keyboard shortcut for Tools > Crop…

…then you’ll be left with just the chunk of the picture that you selected.

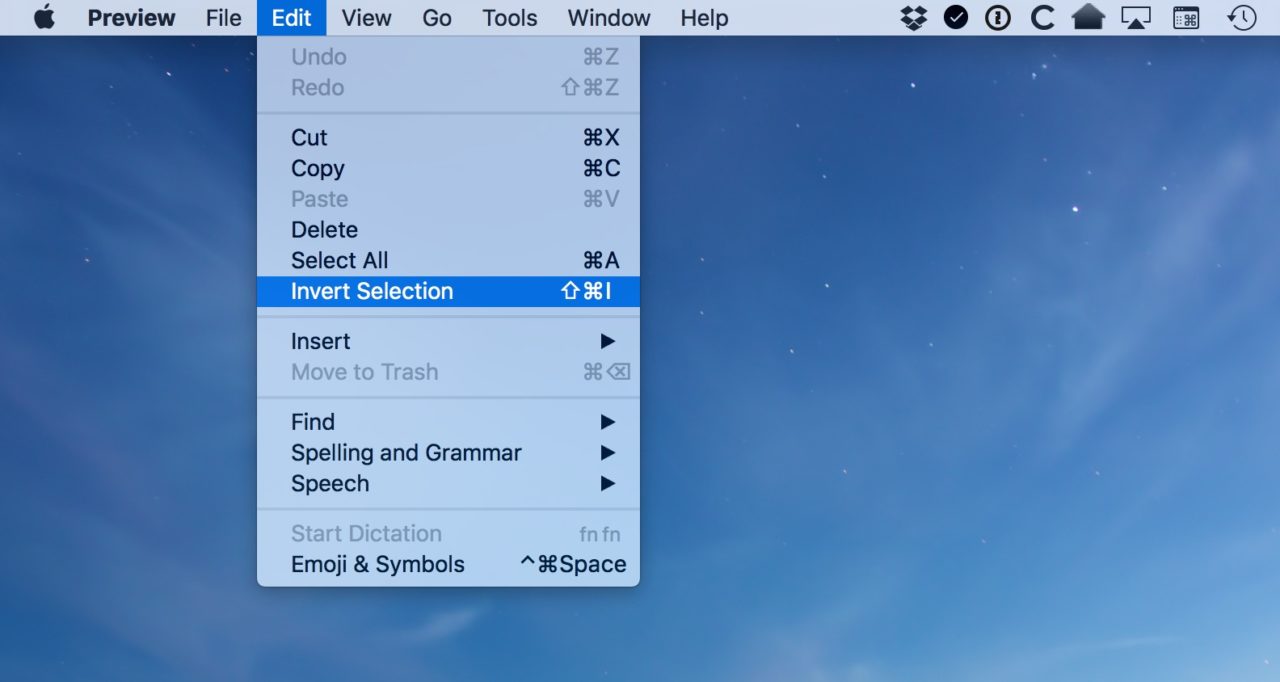
What we need to do first is use the Invert Selection function to select everything in our image except the initially selected area. Invert Selection can be found in the Edit menu of Preview’s menu bar, or by using the keyboard shortcut Shift-Command-I.
Upon choosing Invert Selection, the dotted selection line in your Preview image will switch to include everything except your initial section.

At this point, you can now use the Markup > Crop option or press Command-K and you’ll see only the portion of your original selection disappear, leaving the rest of the image intact.
It was very important that I redact my Downloads shortcut for some reason.
Note, however, that this creates a “hole” in your image, which requires the conversion to a PNG file format with transparency. So, if you started with a JPEG image or a PNG file that didn’t support transparency, Preview will ask you to convert it when saving the file.
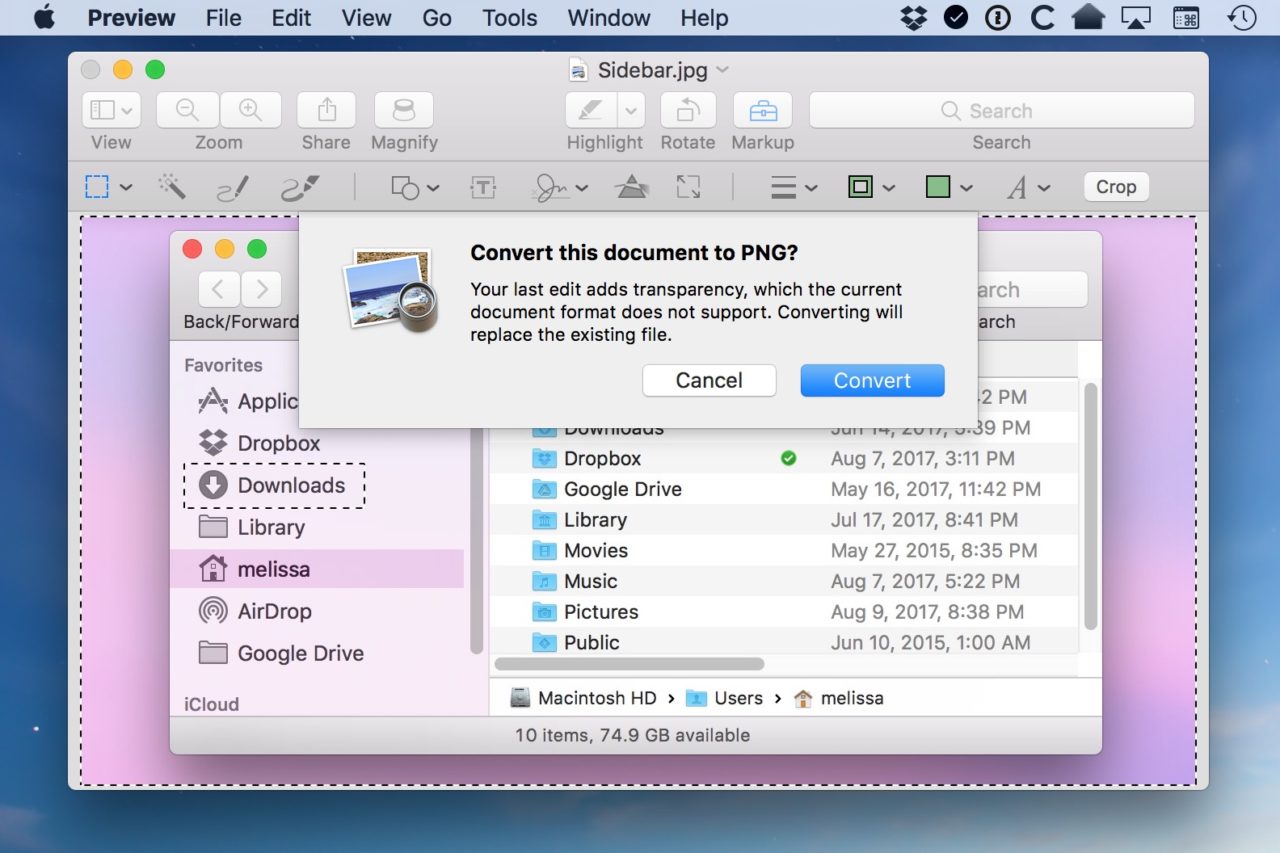
This could result in a larger file size for your image, but you can always convert back to JPG if you don’t need to have the transparency value (the transparent parts will simply display white by default when converted).
Disclaimer: Some pages on this site may include an affiliate link. This does not effect our editorial in any way.


