Lags and authentication issues may often prevent you from surfing the internet. However, there’s another problem you can run into – conflicting IP addresses. It’s relatively common and can keep your device from connecting to the web.
This article will discuss IP conflicts. We’ll tell you what causes this problem and how you can solve it.
IP Conflict Detected – What Does it Mean?
Servers use your IP address to identify a device when connected. There can’t be two identical IP addresses. If a network notices two devices with the same address, it won’t be able to tell them apart, leading to connectivity issues.
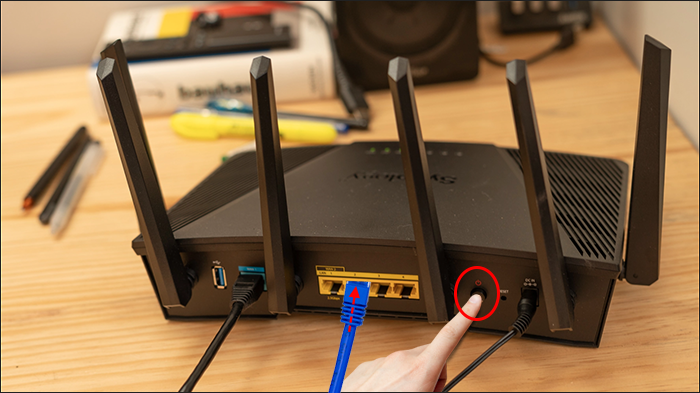
Rebooting the router typically does the trick.
- Turn off the router by pressing the power button.

- Wait 5-10 minutes to ensure the network and router are turned off completely.

- Restart the router and reconnect the device to the internet.

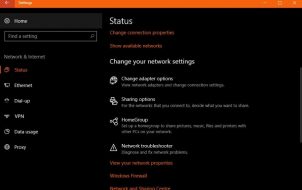
If you have a USB or wireless adapter, disabling the device and re-enabling it may fix the problem.
- Hold your Windows and R keys to open the Run window.
- Enter “ncpa.cpl” and press “OK.”
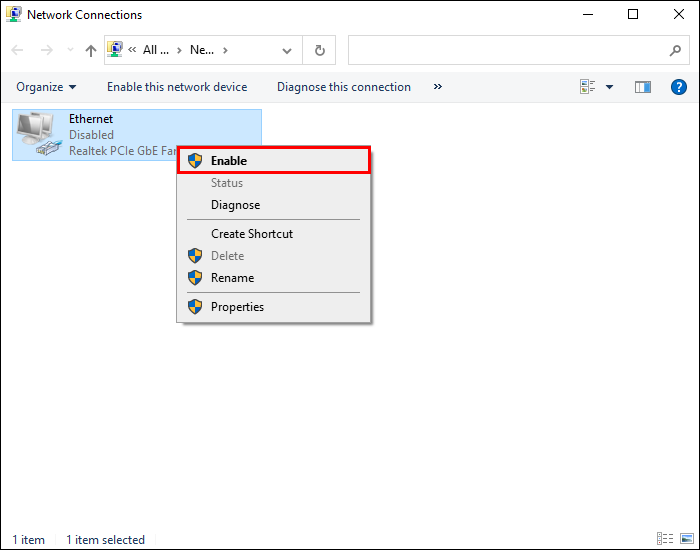
- Right-click your adapter and disable it.
- Re-enable the adapter by right-clicking it and pressing “Enable.”
- Restart the device, establish an internet connection, and see if the conflict is gone.


Fixing IP Conflict Detected with an ASUS Router
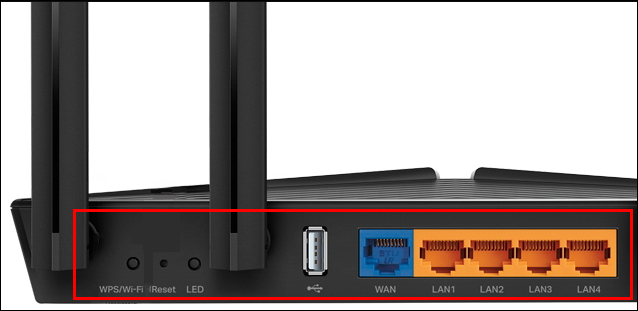
The most common reason ASUS routers get conflicting addresses is that one of the LAN ports isn’t connected to the right slot. Rather than link it to a WAN port, you might have plugged it into your ISP router or modem.
Here’s how you can solve the problem.
- Examine the back of your router.
- Find the WAN port.
- Make sure your ethernet cable is connected to your WAN port.
- Reset the router, and there should be no more conflict.


Fixing IP Conflict Detected with a SonicWALL Router
If you receive an IP conflict notification through SonicWALL, it probably means there’s more than one device that runs DHCP (Dynamic Host Configuration Protocol). The solution is relatively straightforward. It requires you to turn off DHCP services to ensure your SonicWALL is used as the primary source of the IP address.
- Go to the router menu on your computer.
- Turn off DHCP services.
- Request an IP for the PC. You can do this by typing in “ipconfig/release” and “ipconfig/renew” in the command prompt.
- Wait for the system to assign a unique address.

If the problem persists, you can assign a static address to each connected device. Take the following steps to do so:
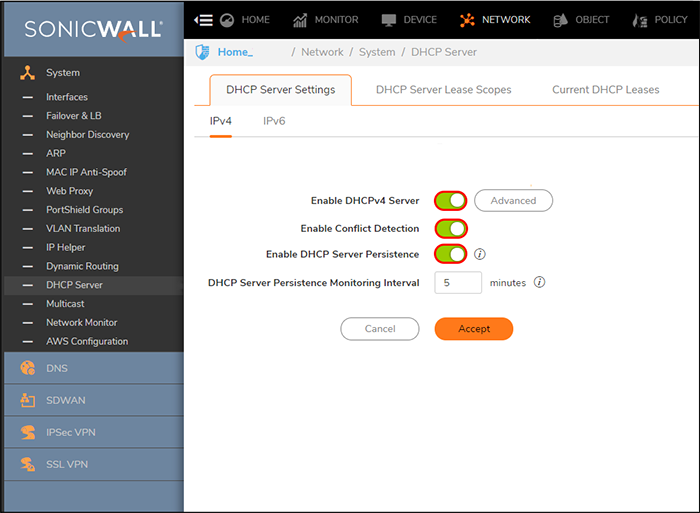
- Navigate to your SonicWALL menu.
- Go to your DHCP Server window.
- Click the “Add Static Entry” menu.
- Type in the Media Access address of the device that will receive the new IP. Do the same for as many devices as necessary.


Your IP conflict issues should now be history. Keep in mind that you should only use this solution for smaller networks. It may cause other problems in larger systems.
IP Conflict Detected – DHCP Error
If a DHCP server detects IP conflicts, it’s usually a good thing for your system. These attempts determine whether your server has sent a ping for available IP addresses before handing them out to other users. If the ping is successful, it means an address already exists on your network. In this case, the platform won’t grant access to the address, keeping you safe.
For this reason, activating DHCP conflict detection can be a great idea. You’ll need to make just a few tweaks.
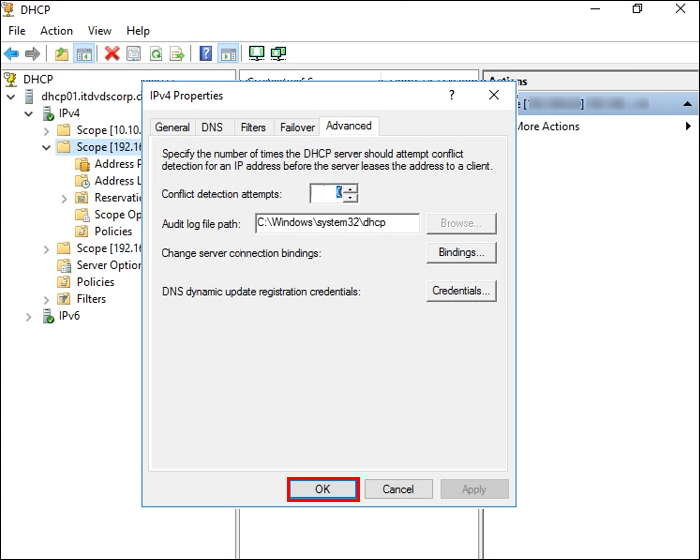
- Open your DHCP’s administrative console.
- Explore your console tree and click the DHCP server you want to modify.
- Click “Properties” on your “Action” menu. You may also need to check IPv4. Configuring an IPv6 scope is impossible.
- Go to “Advanced.”
- Type in the number of attempts after which you’ll get a ping. For example, less than 5-6 should work great for most networks.
- Click the “OK” button to save your changes.


IP Address Conflict Detected with Shortel Service
ShoreTel was purchased by Mitel a few years ago. The transition streamlined the service but didn’t resolve all problems. One of the issues users notice is IP address conflict.
If you can see this on your screen, too, there could be a few culprits on your network. In most cases, it’s something that was already in the system but only revealed itself when you made an upgrade. For instance, the DHCP server might not recognize the modified IPs, or there could be phones statically connected to the network.
Either way, a reboot should help you overcome the obstacle. Here’s what you should do on your IP 400-series phone:
- Strike the Mute key. It should contain a microphone and slash.
- Dial 25327 to issue a CLEAR command and hit the # symbol.
- If your phone doesn’t reboot automatically, use the soft clear key.
- The phone should now restart, and you should see “Assign user” on your screen.


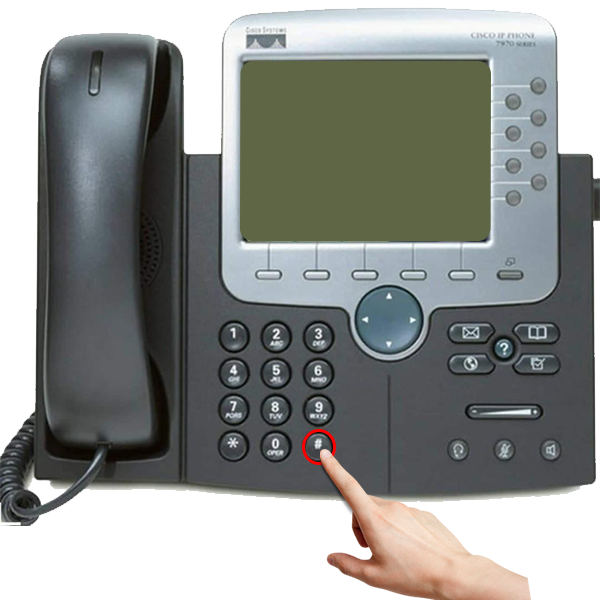
The procedure is slightly different for Cisco 7900-series phones. The 7940 and 7960 models require the following actions:
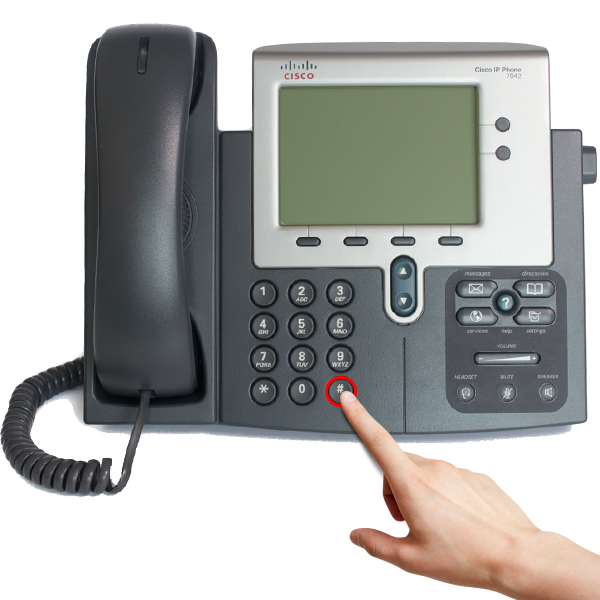
- Hold the # key while plugging in the phone
- Wait for the screen to show the “Factory Reset” message. The wording may vary, depending on your device.
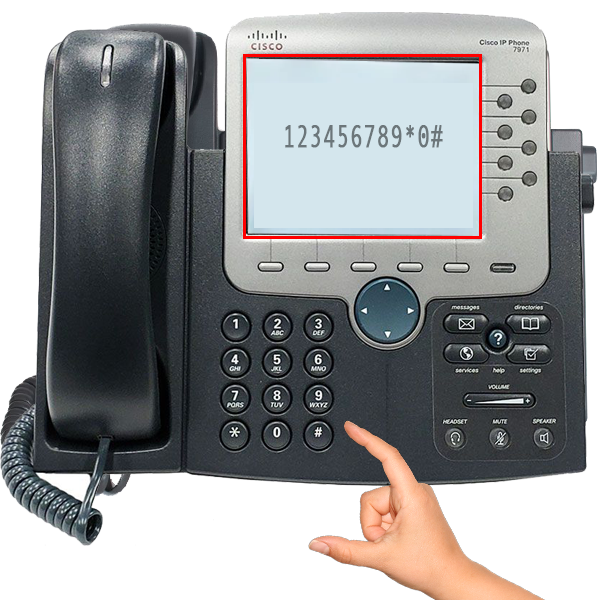
- Release the # key and enter the following combination: 123456789*0#
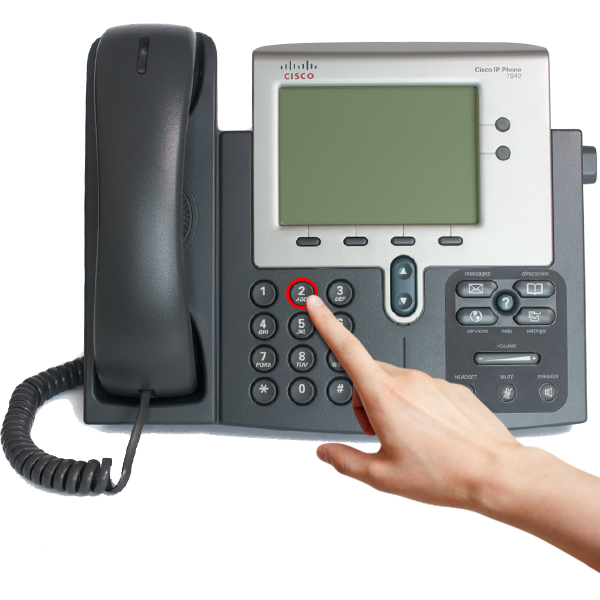
- The device should let you decide whether or not you want to save your configuration. Decline this offer by pressing number 2.
- Let the device reboot, which can take a few minutes.


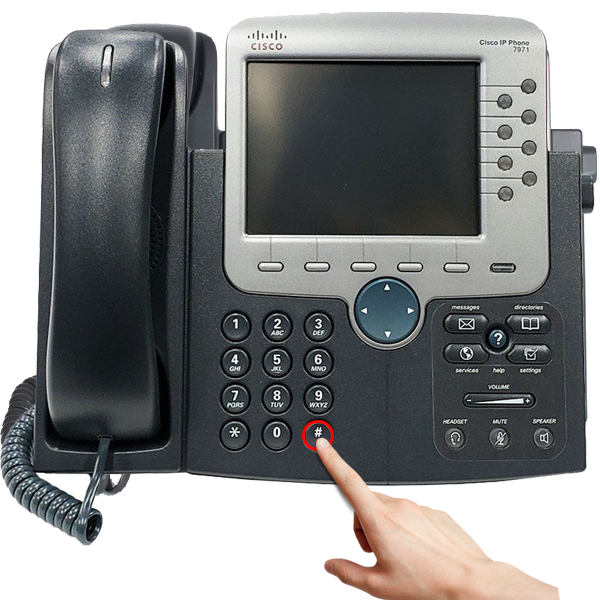
Rebooting Cisco 7971, 7970, 7965, 7961, and 7410 looks like this.
- Hold # while plugging in the device
. - Wait for the indicator buttons to light up sequentially.
- Release # and enter the 123456789*0# combination.
- Your phone should now turn black and reboot to factory settings.

The reboot for these phones may also involve these steps.
- Hold the # button while connecting the phone.
- The indicator buttons should illuminate one after the other. When this happens, let go of the # key and enter this combination: 3491672850*#.
- The buttons should now turn red, meaning the device is going through several reboots. The process is time-consuming, with some devices requiring 6-7 hours to reset. Leave the phone idle until it’s complete.

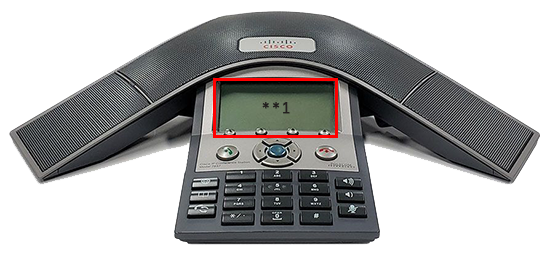
The easiest device to reboot is Cisco 7937 conference phone.
- Strike the application button.
- Enter **1, and the phone should reboot.

Proceed With Caution
IP conflicts are normally a nuisance, but they can also be a reason for concern. Someone might be trying to hack your network and steal your information. Therefore, you want to rule out cyberattacks before disabling DHCP detection. It’s the only way to ensure safe internet journeys.
How many times have you faced the IP conflict issue? How did you resolve it? Let us know in the comments section below.
Disclaimer: Some pages on this site may include an affiliate link. This does not effect our editorial in any way.