Being unable to pinpoint the source of your computer’s lag is the most frustrating part of finding a solution for it. If your Mac still seems as slow as molasses after you’ve closed down all of your apps, there’s a good chance that the dreaded kernel_task is to blame.
Luckily, there are ways to fix this issue. This article will walk you through the necessary steps to resolve the kernel_task problem and get your Mac to run normally.
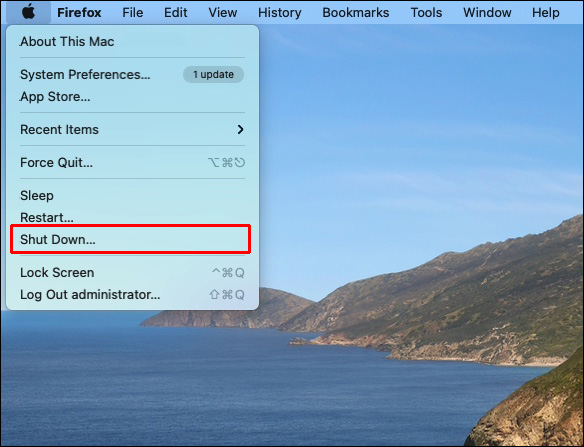
Kernel_task High CPU Mac – External Monitor
The kernel_task process is automatically activated when you start up your Mac and operates in the background by default.
The kernel_task is largely unknown. If you’re concerned about your Mac’s temperature or some programs using too much CPU and overheating the processor, you’ll be glad to know that this app is there to help. The primary job of the kernel_task is to return the temperature inside your Mac to a normal range.
Kernel_task’s high memory and CPU utilization are frequently blamed because it is a very resource-intensive operation. But this isn’t true. Kernel_task occupies your CPU and prevents other processes from accessing it. All other processes are slowed down until they quiet down, and then the CPU is rereleased. However, things don’t always go as planned.
The problem arises if your Mac’s CPU is overtaxed and you can’t get it back under control. Most likely, it’s an easily-solved problem that you should strive to resolve as soon as possible.
A kernel_task hogging the CPU might have several different causes. However, some users can also experience the kernel_task when connecting an external monitor. Here’s what you can do to fix the issue:
- Disconnect the external monitor.
- Shut down your Mac.
- Connect your Mac to a power source through the MagSafe power adapter.

- Press the Power button and the Shift + Control + Option keys simultaneously on the built-in keyboard.
- Now, reset the SMC by simultaneously releasing all keys and the Power button.
- Press the Power button to turn on the computer.
- Shut it down again once OS X has loaded.
- Press and hold the Command + Option + P + R keys shortly after you hear the starting sound.
- If the computer does not restart after hearing the starting sound a second time, press and hold these keys for several seconds to perform an NVRAM reset.
- Once you’ve released the keys, you may log in normally.
- Reconnect your external monitors and keep an eye on the CPU use.


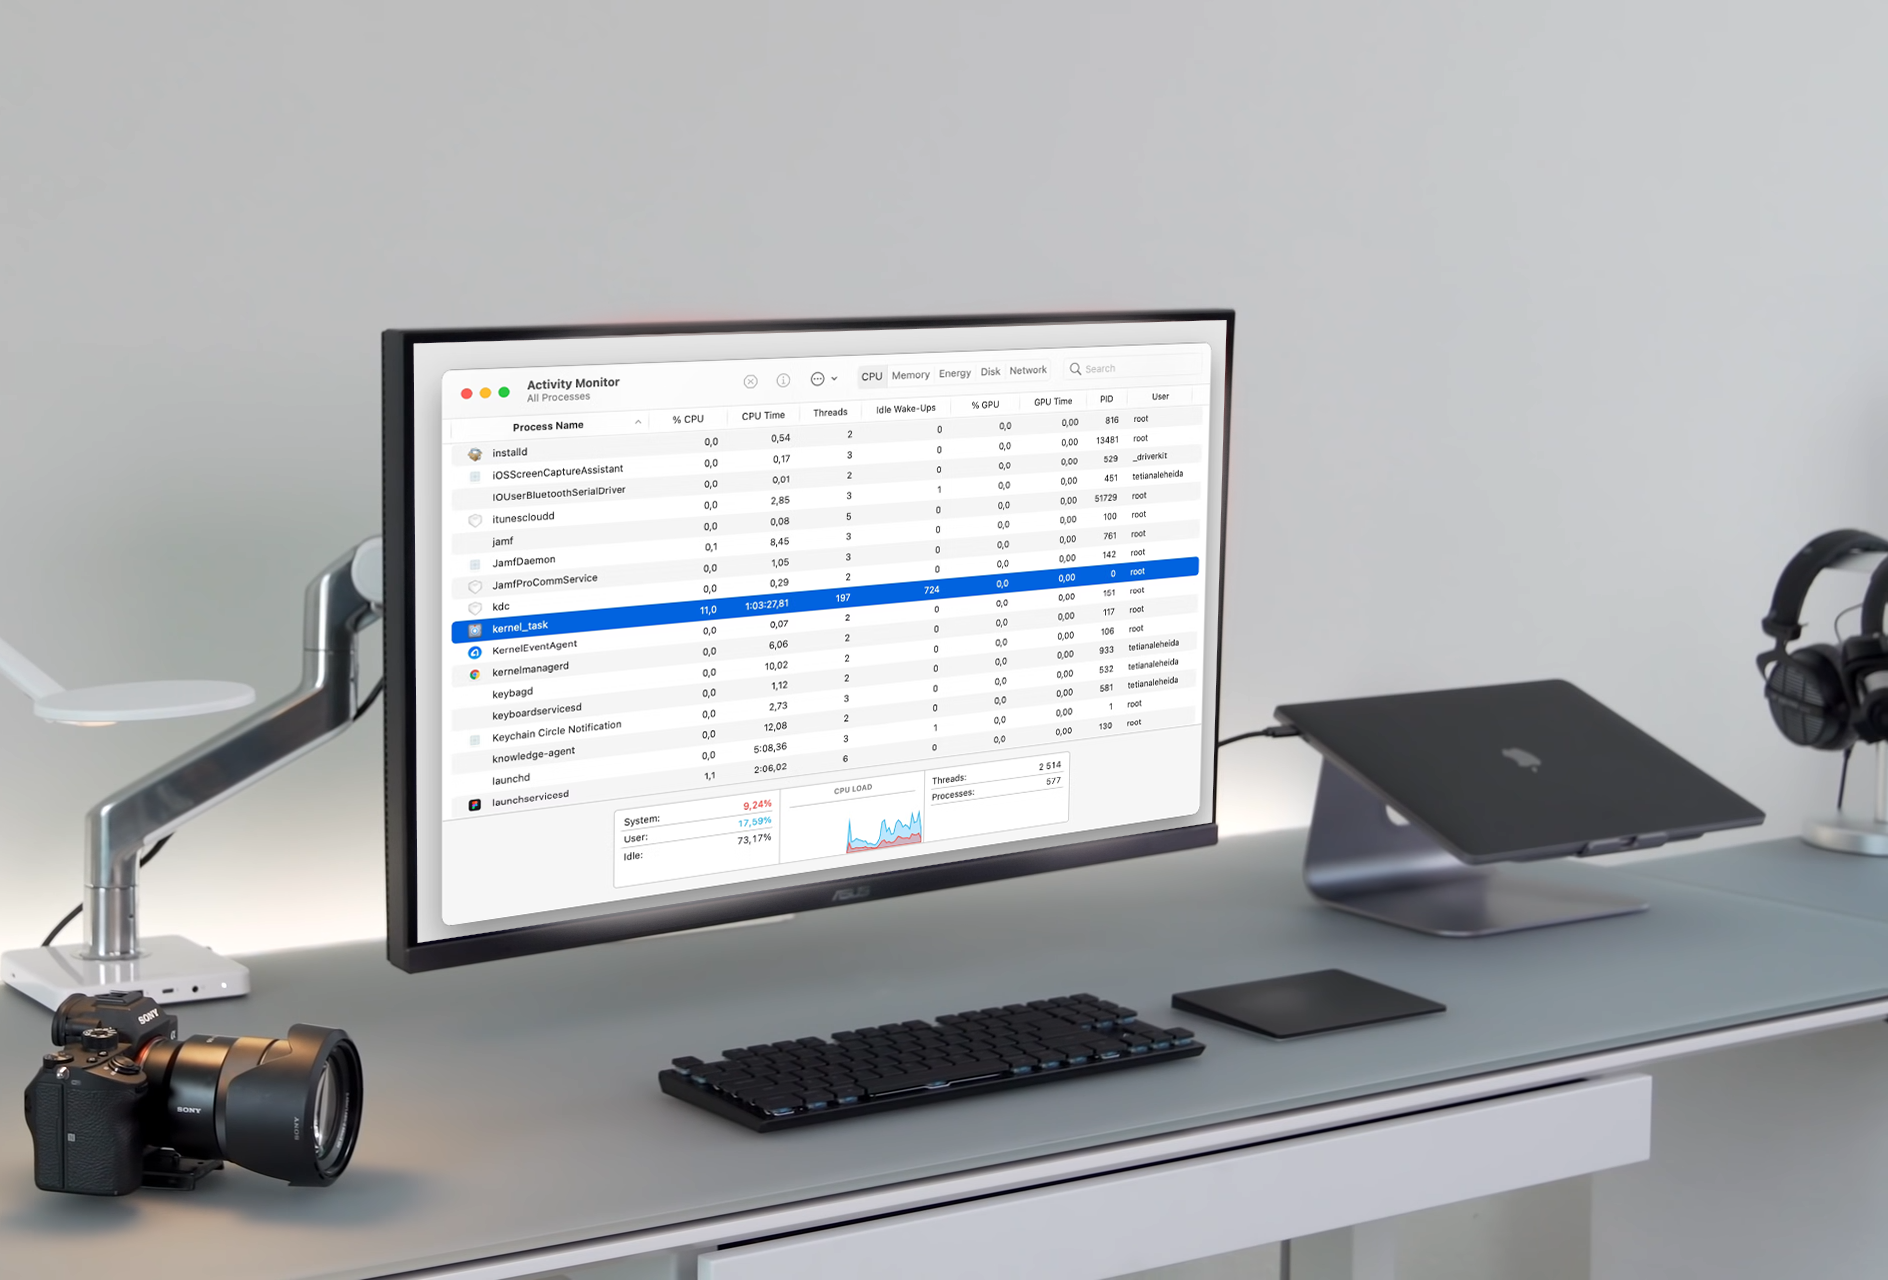
With the help of Activity Monitor, you can see exactly how much memory and processing power the kernel_task uses. Here’s how:
- Open the Activity Monitor application from the Applications Utilities menu.
- In the Process Name column, find kernel_task.
- Look up the CPU percentage in the CPU percentages table.
- To see how much RAM is being used, navigate to the Memory tab.


Kernel_task High CPU – Mac Big Sur
There are several ways to fix the kernel_task issue on Big Sur.
Antivirus Software
Malware may take virtually all of your Mac’s processing power, pushing the CPU to operate at 100 percent or close to it. Run a complete disk scan on your Mac with an antivirus program like Antivirus One. Antivirus One identifies and eliminates malware fast and effectively, avoiding viruses and malware from wasting your Mac’s resources and even destroying it.
Reset Your Mac
This will refresh the OS and close apps and tasks running in the background, stressing your Mac’s CPU without you even knowing about it.
Reset the Mac’s SMC
Your MacBook’s keyboard, fan, battery, and other essential components are powered by the System Management Controller (SMC). The kernel_task process might drive up the CPU load if your Mac’s fan isn’t operating properly. As a result, the SMC needs to be reset.
MacBook Air and MacBook Pro models introduced in 2018 or after have been equipped with the T2 security chip. Follow the steps below to reset the SMC of these Macs.
- Shut off the Mac and disconnect it from the power source (unplug the power adapter).
- Now, press the Shift +Control + Options keys on your keyboard for seven seconds.
- Without releasing the three keys, click and hold the Power button.
- Release all four keys after ten seconds of holding them down.
- Now, press the same keys at the same time: Power + Control + Options + Shift.
- To begin using your Mac, simply press the Power button once more.


If you have a MacBook that was released in 2017 or before, follow these steps:
- Shut off the Mac and disconnect it from the power source (unplug the power adapter).
- Hold the Shift + Control + Option keys, all on the left side of the keyboard, for seven seconds.
- While still holding Shift + Control + Option keys, press and hold the Power button for five seconds.
- Switch on your Mac.
Reset NVRAM
NVRAM is the memory that can keep data even when power to the memory chips has been switched off. When the NVRAM is reset, the CPU use of the kernel_task returns to normal.
- Shut down your Mac completely.
- Press the power button once more.
- Immediately after the display comes on or when you hear the starting sound, hold down the following keys: P + R + Option + Command.
- Keep holding those four keys until your Mac restarts.
Start the Computer in Safe Mode.
Starting your Mac in Safe Mode might assist in diagnosing third-party programs responsible for the excessive CPU utilization of the kernel_task process. Here’s how:
- Press the Power button and wait for your Mac to shut down completely.
- Click the Power button and instantly press and hold the Shift key.
- Release the Shift key when the Apple logo displays on the screen.

Kernel_task High CPU – Mac Catalina
When it comes to Catalina, the steps you can take are the same as for Big Sur. You can run antivirus software, reset your Mac, reset the SMC, Reset NVRAM or boot your computer in safe mode.
Kernel_task High CPU – Zoom
Zoom can also cause the kernel_task issue. There are also many things you can try to solve this issue.
Close All Apps
Closing all unnecessary apps could solve the issue since it will free up your CPU.
Update Zoom
- Launch the Zoom app and log in.
- Click on the profile picture and then select Check for Updates.
- The update will start automatically.
- Verify whether Zoom is still excessively using your CPU.


Change Zoom Settings
- Open Zoom and sign in.
- Click on your profile image and select Settings.
- Go to Video, verify original ratio and deselect HD, Mirror my video, and Touch up my appearance.
- When at a meeting, utilize Speaker View instead of Gallery View.
- Change the Maximum participants displayed per screen in Gallery View to 25 participants.
- Click Advanced under Share Screen.
- Select Limit your screen share to 10 frames-per-second and change the value to 4 frames-per-second.
- Go to Background & Effects and pick None.
- Check whether CPU utilization is back to normal.


Reinstall Zoom
If all of the methods above fail to address your problem, you may need to try reinstalling Zoom as a final option. It’s possible that a clean install can help you resolve the high CPU utilization problem.
- Open Zoom.
- On the top of the screen, go to zoom.us and select Uninstall Zoom.
- Click on OK.
- Once done, you may reinstall Zoom from the official download center.


Solve the Kernel_task Issue Easily
Even though the kernel_task issue is a headache sometimes, there are many ways to solve it. If one doesn’t work for you, try out the next one until you find which solution works best. You can try restarting your Mac or the app causing the issue first and then go from there. This approach is the simplest yet most effective.
Have you ever experienced the kernel_task issue? How did you fix it? Let us know in the comment section below!
Disclaimer: Some pages on this site may include an affiliate link. This does not effect our editorial in any way.