They say that a picture’s worth a thousand words. Well, a photo collage is worth ten thousand words! And, yes, you can create a photo collage on your iPhone.
Photo collages are a fantastic way to share more than one photo in a single post or story. You might want to create and share a collage in hundreds of possible scenarios.
While the iPhone does not have a built-in feature that lets you create a photo collage, there’s an app for that. Well, more like there are dozens of apps for that.
Ways to Make a Photo Collage on iPhone
Making a photo collage on an iPhone is simple enough, but you will need the right tools. There are many third-party applications you can download to create a collage. Of course, some apps are better than others. In the following sections, you’ll see how to make a photo collage on your iPhone using some of the better apps. Let’s get started.
1. PhotoGrid
The first app to use to make a photo collage on iOS is PhotoGrid because it’s user-friendly, reliable, free to use, and gives you a plethora of editing tools. PhotoGrid is a video and picture collage creator and a photo editor in one. With tens of millions of users, PhotoGrid is one of the best choices if you are looking to create photo collages on your iPhone.
The PhotoGrid app has over 20,000 different layouts, so you will never run out of options to combine your pictures in fantastic ways that will impress your audience.

A few editing tools within the app can improve the photos in your collage. The app also has several stickers, backgrounds, and fonts to decorate your collages.
Finally, this popular app is entirely free! However, adding one of many premium options gives you much more.
Here is how to make a collage using PhotoGrid on iOS/iPhone:
- Head to the “App Store” and search for “PhotoGrid.” Then, tap “Get” (if you’ve downloaded it previously, tap the “cloud” icon).

- Tap the “X” in the upper left corner to bypass the free trial, so if you’d like, you can take advantage of the premium features.

- Allow any permissions necessary to use the app.
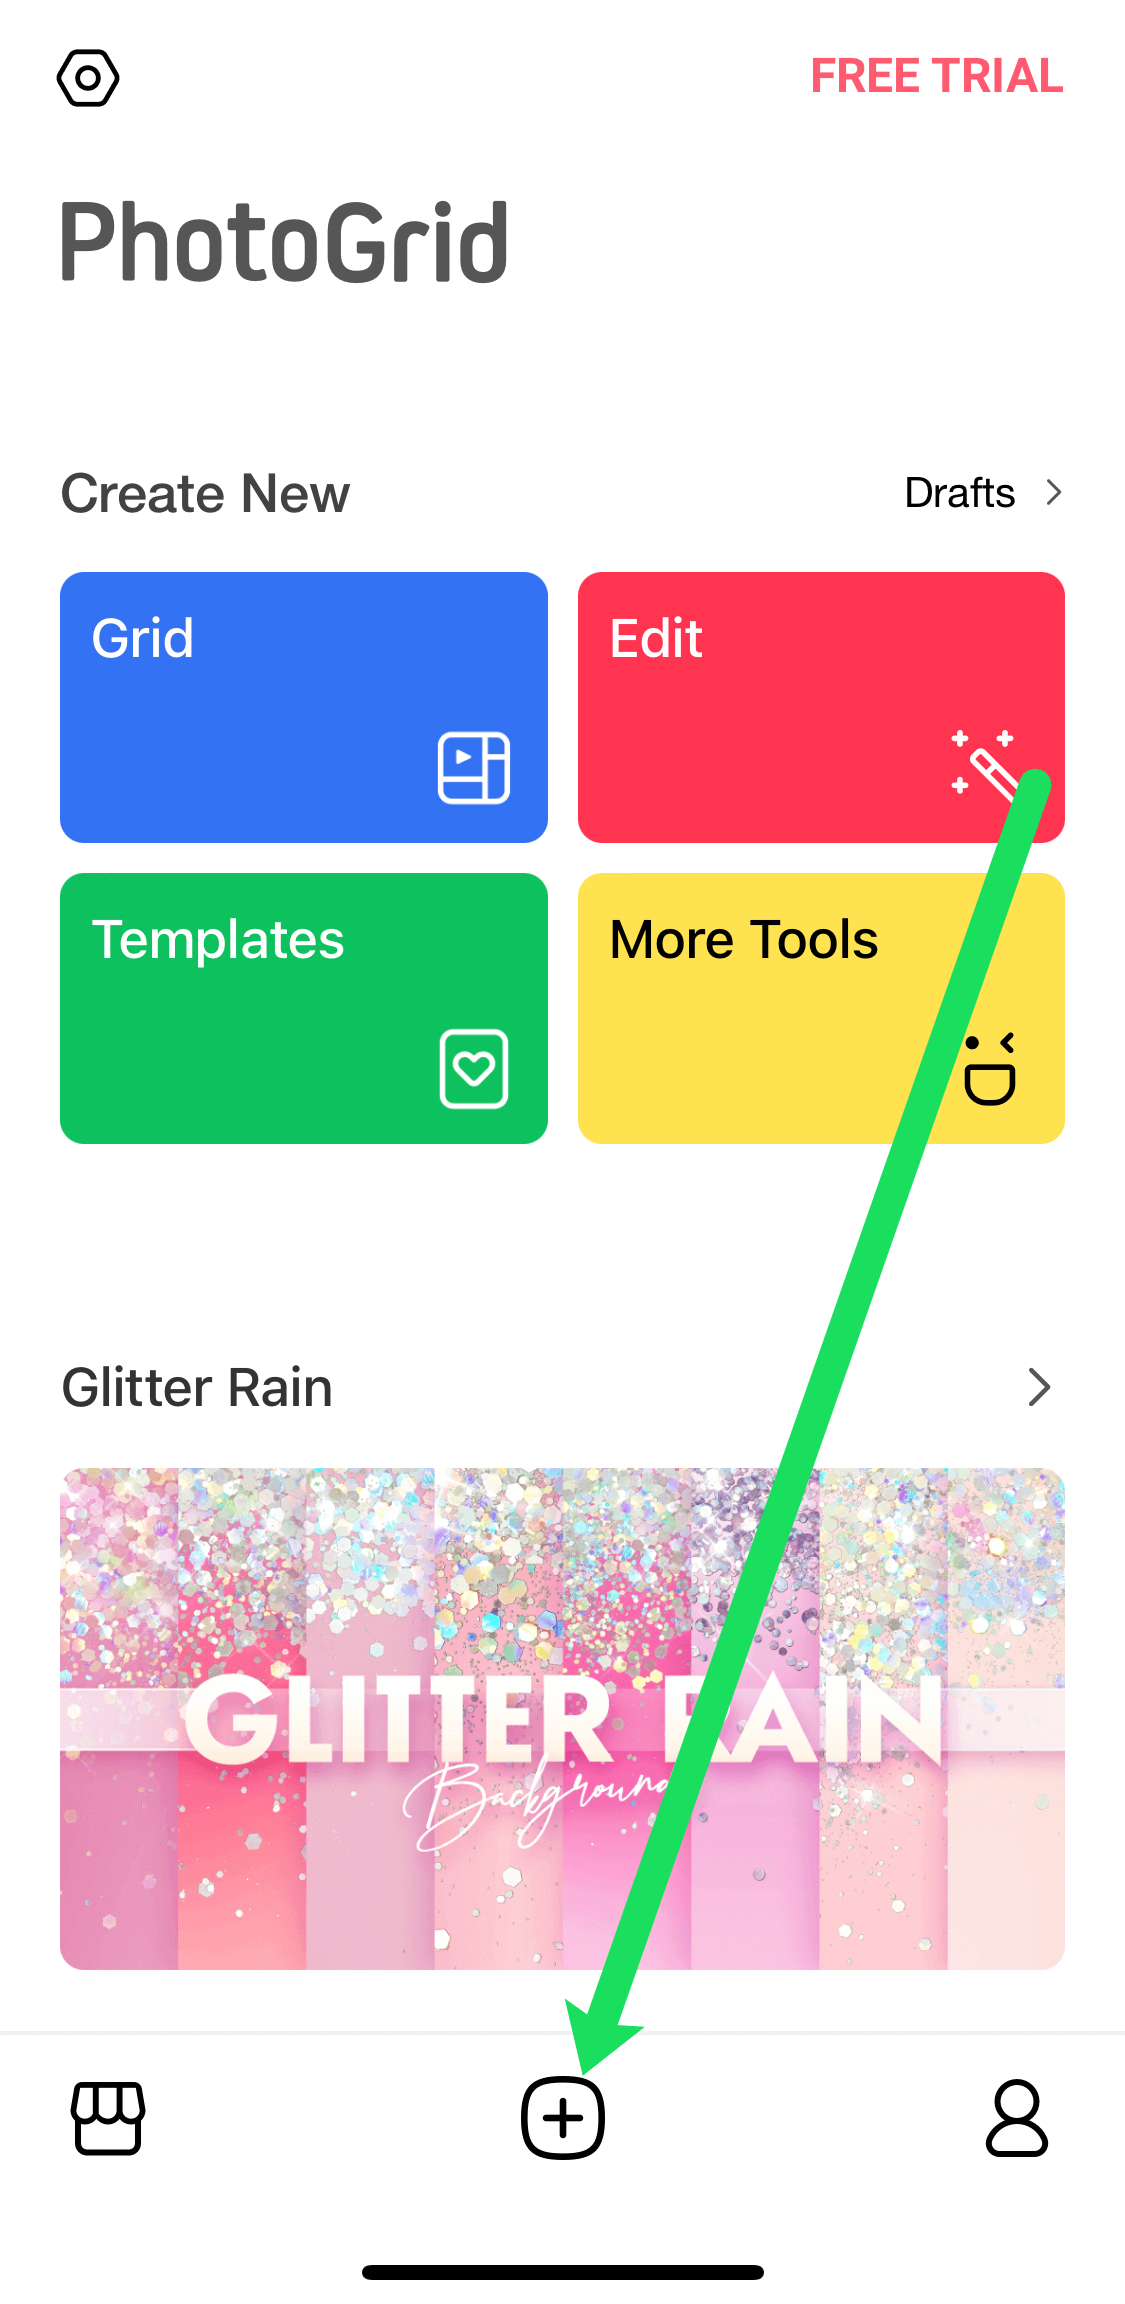
- Tap on the green “+” sign at the bottom of the page to create a new collage.
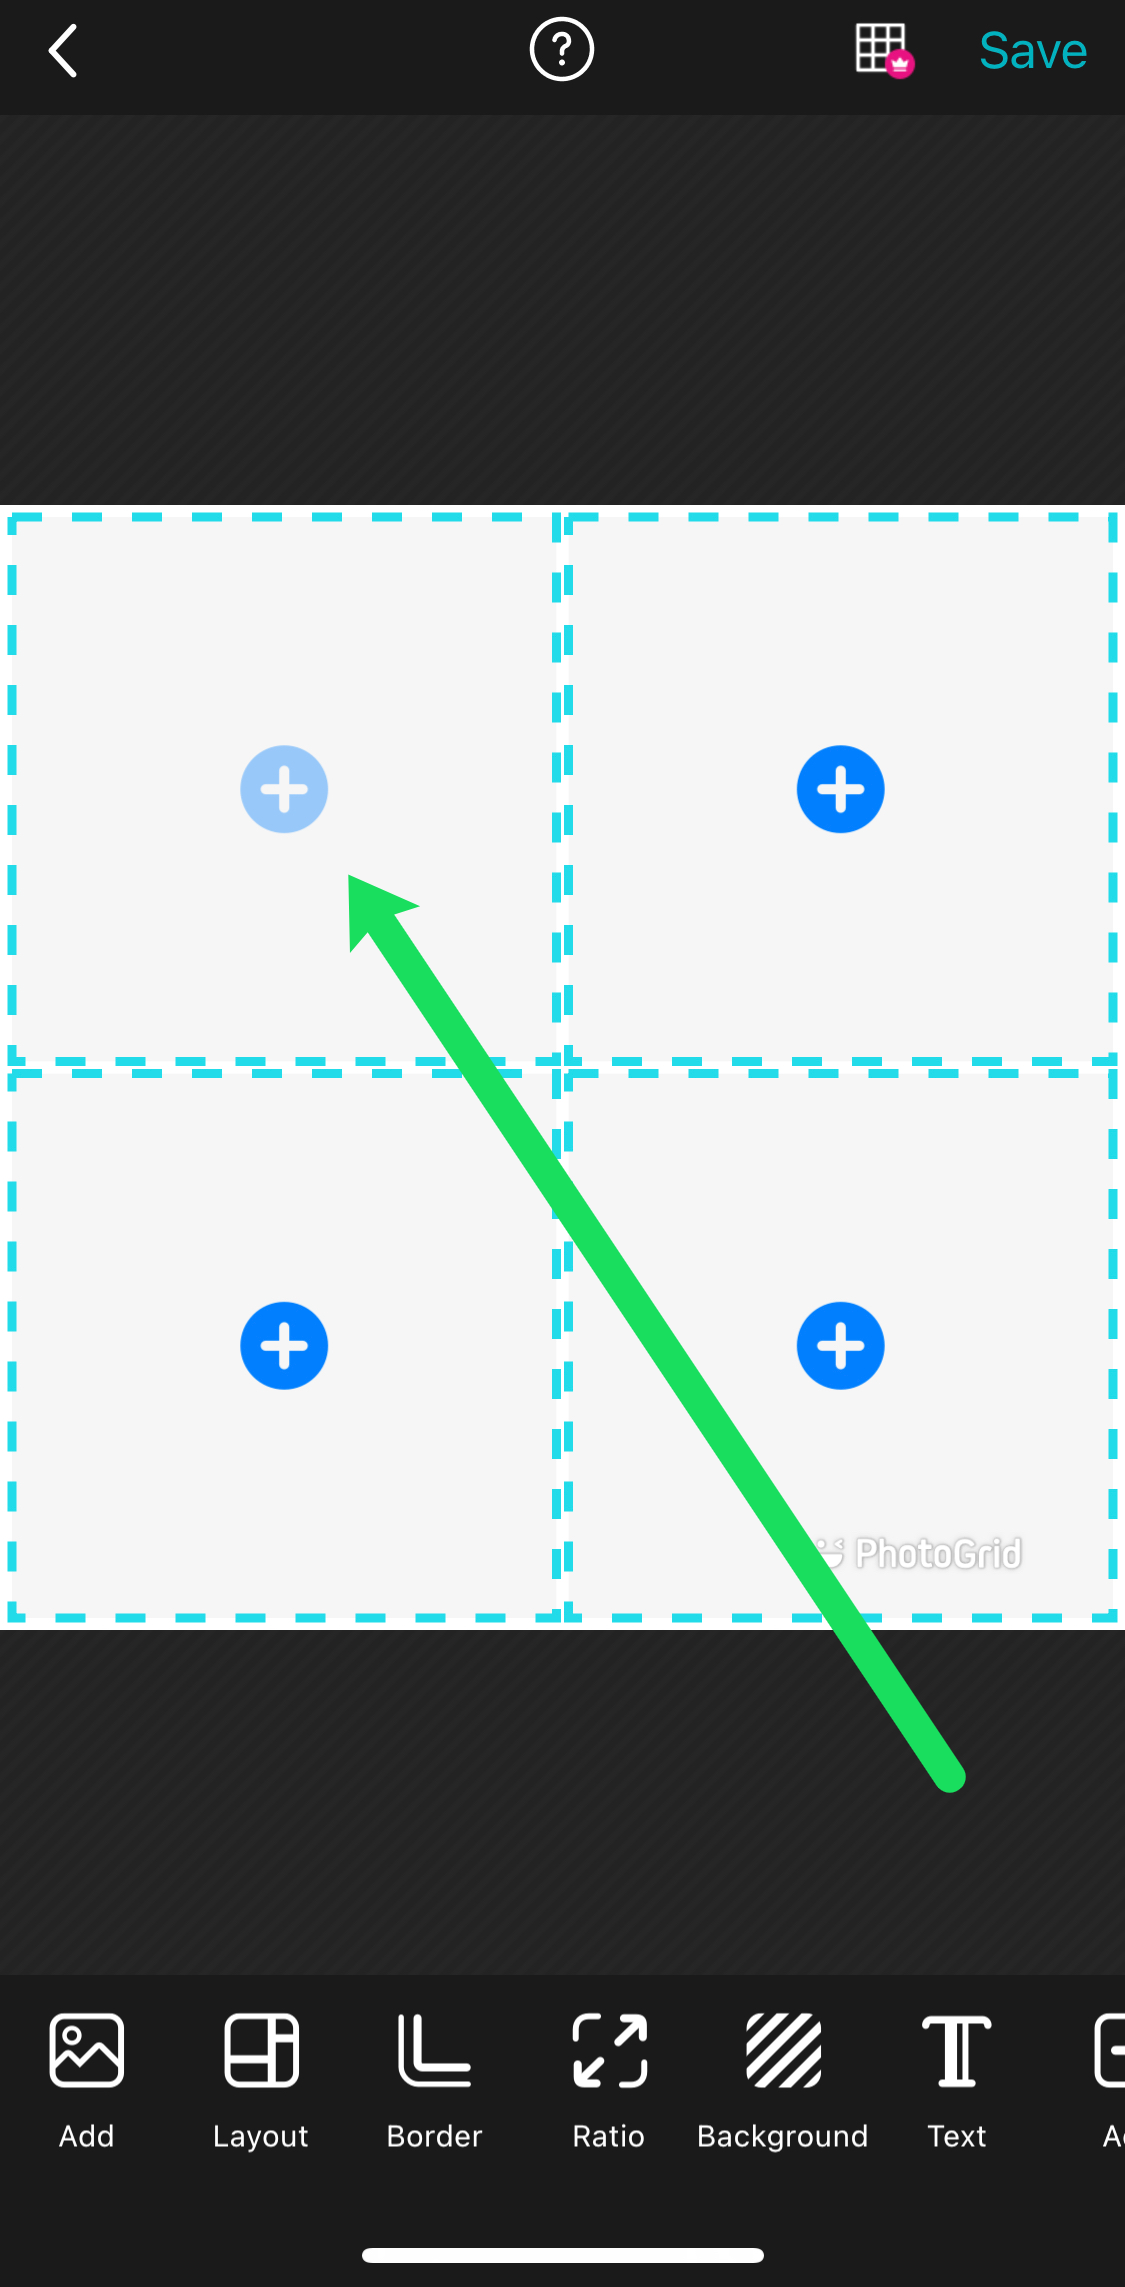
- Tap on the number of photos you’d like to include in your collage. Then, select the layout.
- Tap the “+” sign in the collage to add photos from your iPhone.
- Add the photos from your device’s camera roll and tap “Next.”
- Select “Save” in the upper right-hand corner.
- Now, select one of the options to share your collage.


If you’re an Instagram lover, PhotoGrid is the app for you. It comes preloaded with photo collage templates for the infamous 1:1 Instagram ratio, as well as 16:9 to make perfect Instagram Story collages.
2. Pic Collage

If you want one of the iPhone’s most fully-functioned photo collage makers, PicCollage is the app for you. Over 190 million people have used this app to create fantastic groupings of their favorite photos.
PicCollage includes many templates, ways to decorate your collage, add text, touch gestures, and more. The app also features a clean design and is very simple to use. PicCollage also makes sharing your collages on different social media accounts easy.
The only downside is that PicCollage is not entirely free. If you want access to advanced features or want to remove the watermark from your pictures, you’ll need to pay the $4.99/month subscription fee, which isn’t bad for a quality app. There are also other add-on options to get more features.
Photo Collage by Collageable
You’ll get many results searching for “photo collage” in the App Store, but find the app made by Collageable.
Photo Collage includes 300+ collage layouts, frames, stickers, and body filters for free to make your photos look as good as possible. The premium option provides unlimited access to everything the app offers, including 1000+ collage designs, effects, filters, and more.
Use Instagram’s Layout App to Make a Photo Collage on iOS/iPhone

Layout from Instagram is simple to use and, of course, works well with Instagram. Here’s how to make a photo collage using the app on your iPhone.
- Install and open the “Layout from Instagram” app.
- The home screen will show the photos from your library, and you can sort them by tapping “Faces” or “Recents” at the bottom of the screen.
- Select photos to add them (note the checkmark indicating your selected images).
- Scroll through various collage options at the top of the screen, then choose one.
- Use the “two-finger pinch and close” across the screen to zoom in or out of any photo.
- Options at the bottom allow you to rotate through photos, replace an image, or add a border.
- When you’ve completed the work on your photo layout, tap “Save.”
- Choose a sharing option at the bottom of the screen.
Tips for Making a Photo Collage on iOS/iPhone
Remember that a photo collage is not just a bunch of random pictures stuck together when using these apps. Instead, the pictures should help you tell a story or demonstrate a particular theme.
For best results, keep these tips in mind to make an outstanding photo collage that people will love:
- Use burst mode to take a sequence of pics, then use those pics for the collage.
- Tell a story from start to finish using your photo collage as the canvas.
- Choose pictures with the same color or texture for your photo collage.
- Mix up-close pictures with distant scenes to give the viewer a sense of contrast.
While the three photo collage apps are excellent choices, there are tons more out there that you can try if you wish.
They all have different features and options, so find the one you like the most and roll with it. Most are free to use or very affordable, so switching them up or trying a few different ones is easy, and hopefully, you’ll end up with a few fantastic photo collages in the process.
Making Photo Collages on IOS/iPhone FAQs
Can I make a collage without using third-party apps?
Unfortunately, iOS doesn’t offer a native photo collage feature within the editing functions of the app. This means you will need a third-party application to make the collage.
How do I get rid of watermarks after editing?
After creating your collage, you’ll hit the download button to save the photo on your phone or share it with another app like Instagram. Essentially, app development does cost money, so watermarks are included to draw other people to the app. In this situation, they are helpful, but watermarks sometimes obscure your photo and design.
The only workaround is taking a screenshot of your completed collage while it’s still in the editor. Then you can upload the screenshot after cropping it. However, we recommend leaving the watermark in case your friends want to know which collage app you used so they can use it too.
Disclaimer: Some pages on this site may include an affiliate link. This does not effect our editorial in any way.