Layers are one of the central features of GIMP, making the app easier to use. Almost everything in GIMP is carried out using a layer, which lets you work on different elements separately. The easiest way to work with layers is via the Move tool, which can be used to move selections, paths, guides, and text. If you work with images containing many layers, you may appreciate how this tool can make your complex composite images easier to manage.
Read on to learn more about how to manipulate GIMP layers.
How to Move Layers
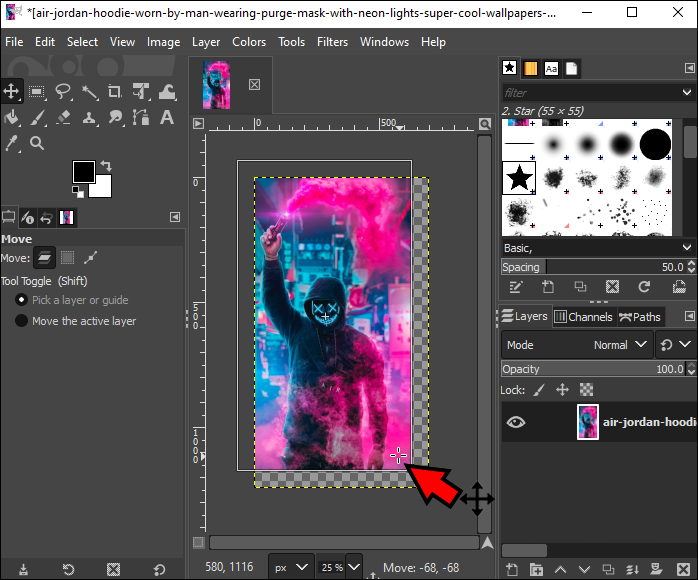
When working with several layers, you’ll likely need to change the position of a layer to create the desired effect. Follow these steps to move a layer in your GIMP composition.
- Launch the GIMP app.

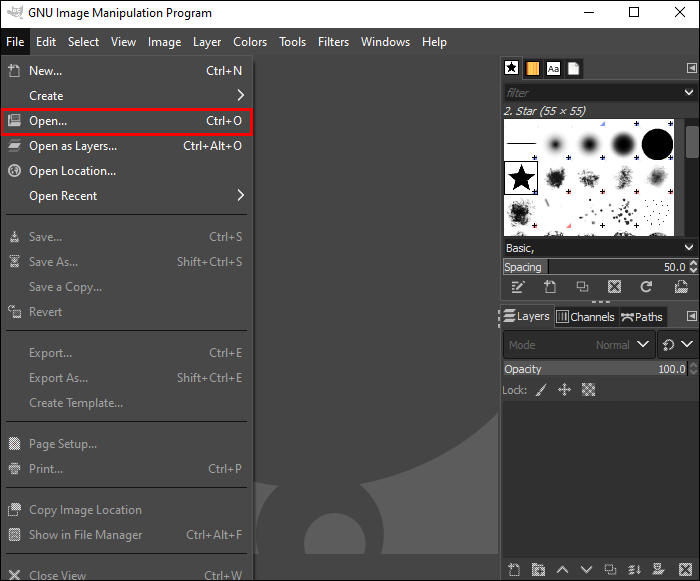
- Go to “File,” then “Open” to select the project you want to work on.

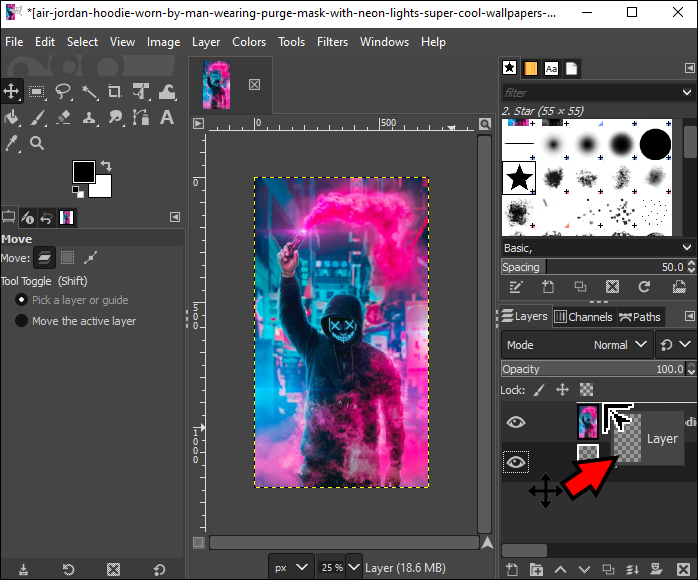
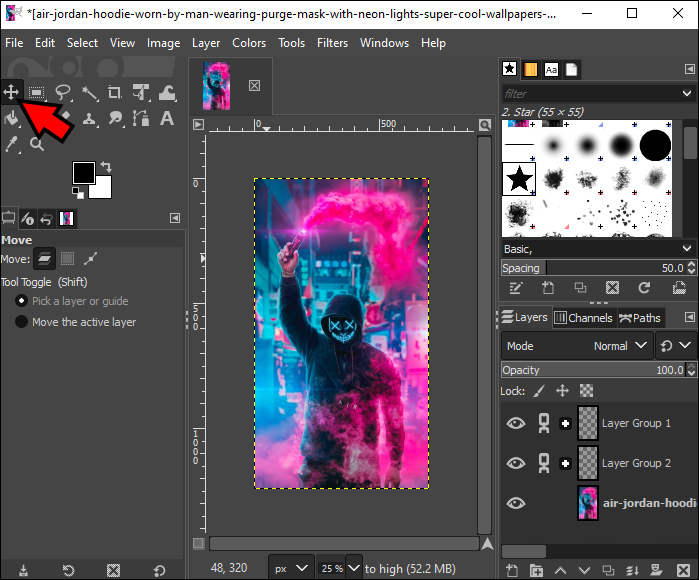
- Select the layer you wish to move in the canvas from the layer dialog box.
- Activate the Move tool by clicking on the crosshairs icon in the Toolbox or by pressing “M” on your keyboard.
- Move the layer by clicking on it and dragging it to the new position.


Gimp How to Move Layer Group
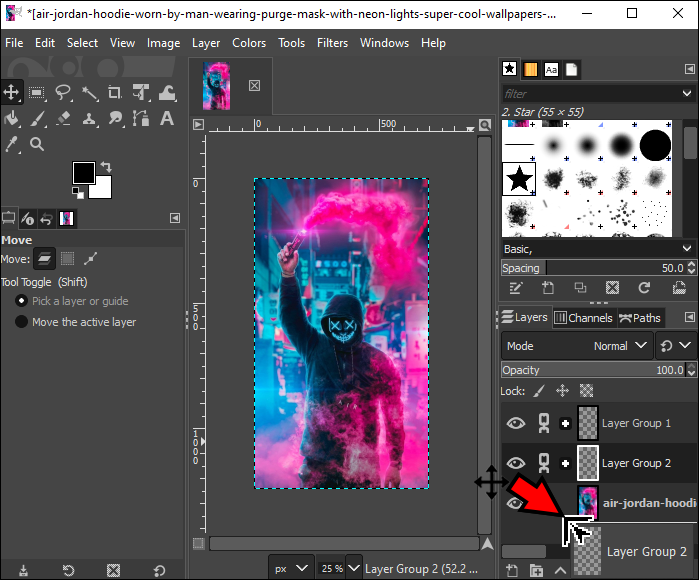
Layers can also be grouped and appear in a tree-like structure in the Layer dialog box. Here’s how to move a layer group to another image.
- Open the GIMP project you wish to work on containing multiple layers.
- Activate the Move tool from the Toolbox by clicking on the crosshairs icon or tapping “M” on your keyboard.
- In the Layer dialog box, click on the layer group you wish to move. Then you can move the layer group to another image by:
- Clicking and dragging it.
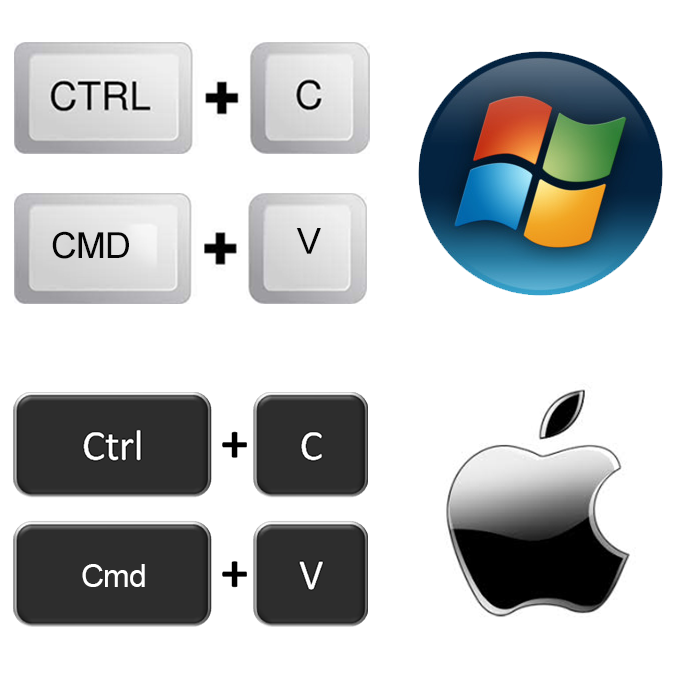
- Using “Ctrl-C” (Windows), “Cmd-C” (Mac), or the “Ctrl-V” or “Cmd-V” shortcuts. You’ll see a floating section to anchor. Use the Anchor button at the bottom of the Layers dialog box to reposition the group.
- Clicking and dragging it.


To move a layer group to the canvas, you’ll first need to chain all layers in the duplicated layer group. Here’s how to copy a layer group.
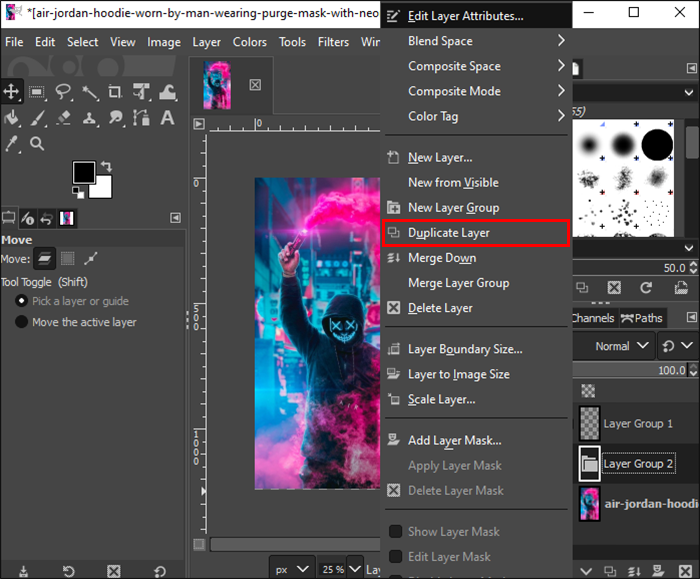
- Select and right-click on the layer group you want to copy in the Layers dialog.
- Choose the “Duplicate Layer” option from the pop-up menu.

You can chain/link two or more layers together to apply the same transformation to each layer without needing to merge them first. This retains the ability for you to make independent modifications later. Here’s how to chain a duplicate layer.
- In the Layers dialog, click on the “Link Layers” box beside the layers you want to chain in the duplicate layer. This is the empty box to the right of the eye icon. The icons will look like chains once enabled.
- Now activate the Move tool by selecting it from the Toolbox.
- In the Layer dialog, select the duplicate layer you want to move to the canvas, then drag and drop it to the new position.

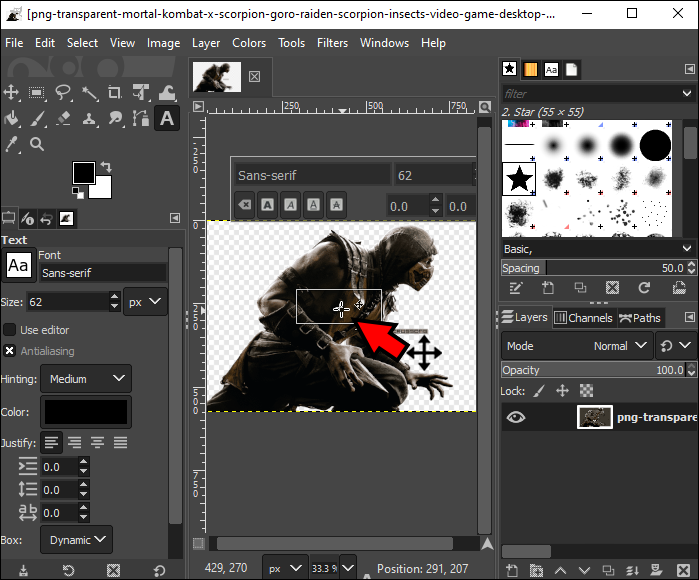
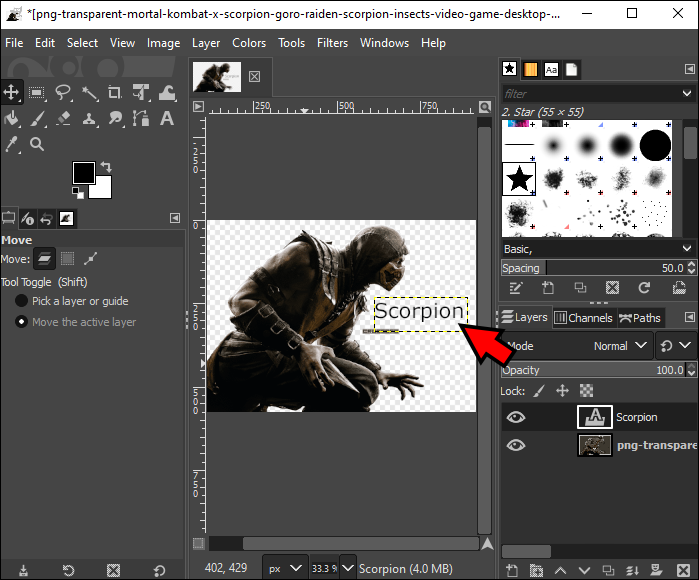
How to Move a Text Layer
There are two ways you can move a text layer: by using the Move tool or the keyboard shortcut to change the Text tool’s function.
Move Text Layer With Text Tool
- Open the composition you wish to work on by clicking on “File,” then “Open.”
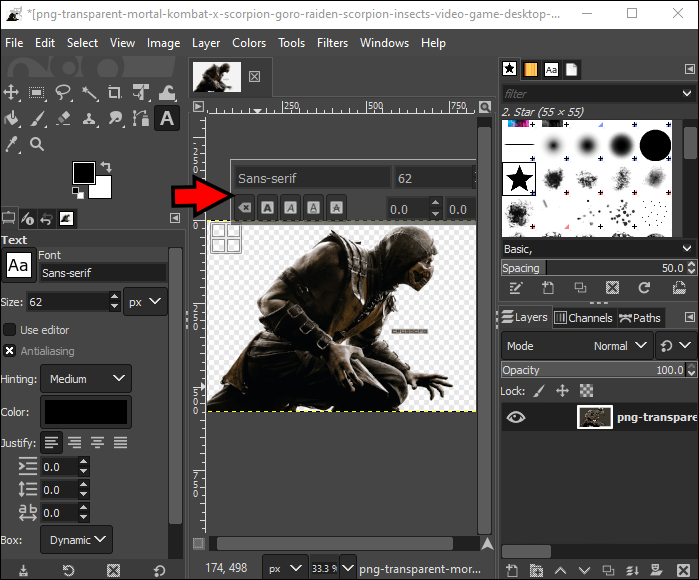
- Activate the Text tool by clicking on the icon from the Toolbox or pressing the “T” keyboard shortcut.
- Click anywhere within the text layer to ensure it’s active. The border handles and text settings dialog box will appear, plus the Layers panel will confirm that the text layer is active.
- While your cursor is hovering over the text box, hold down the “Alt” key (Windows) or “Option” key (Mac). The Move tool will appear beside the Text tool cursor.
- While still holding the “Alt” or “Option” key, click and drag the text layer anywhere to move the text around the canvas to your chosen position.


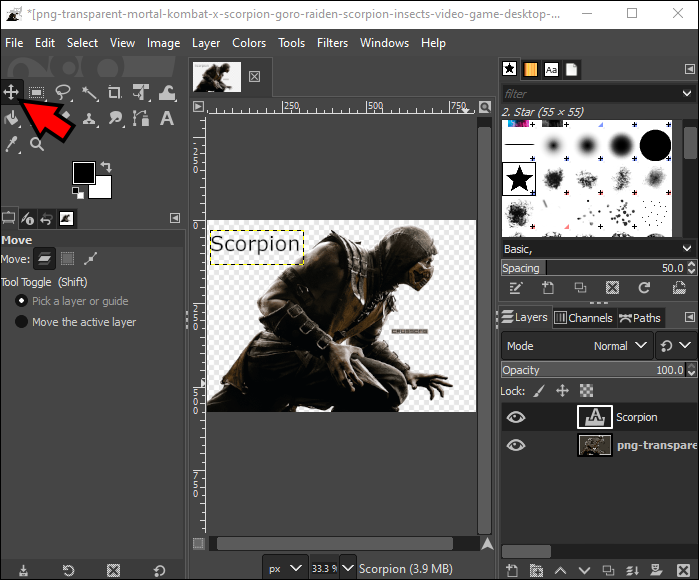
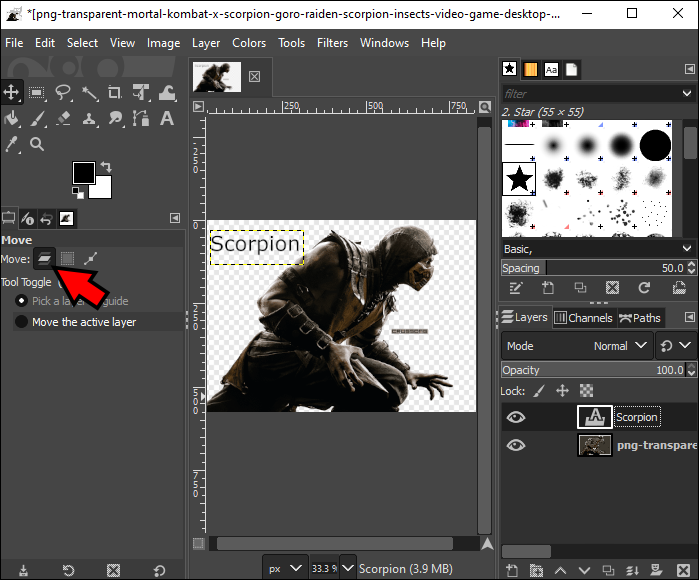
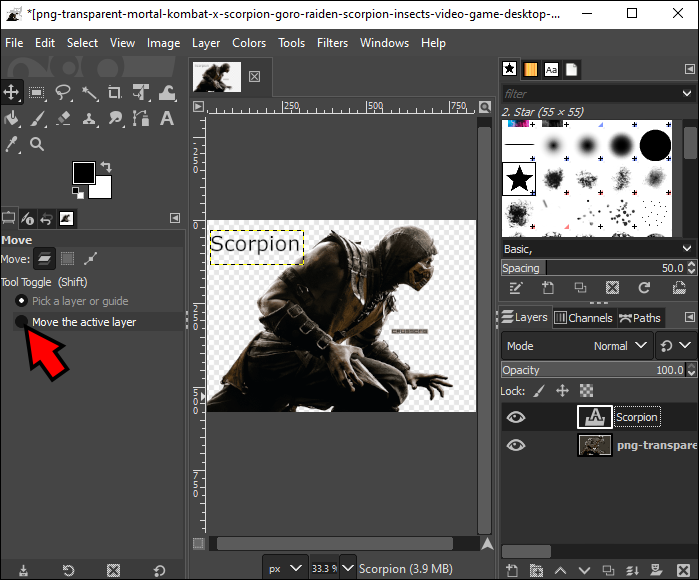
Move Text Layer With Move Tool
- Activate the Move tool by clicking on the crosshairs icon from the Toolbox or hitting the “M” key shortcut.
- Ensure your text layer is selected by clicking on it in the Layers dialog box.
- From the Tool Options panel, click on the Layer icon to set the move feature to “Layer.”
- Under the “Tool Toggle” (Shift) section, check the “Move the active layer” option.
- Click on the area on the canvas where you want the text to go.

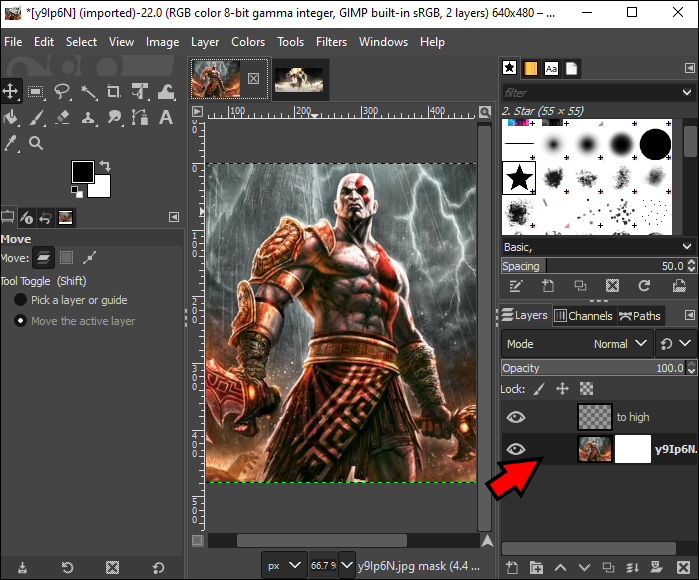
How To Move a Layer Without Mask
Layer masks are an essential tool in image manipulation, and you can selectively change the opacity of the layer it belongs to.
Once you create a layer mask, it acts as an image, but you can temporarily suspend this action with the “Disable Layer Mask” option. Here’s how to activate the “Disable Layer Mask” command.
- Launch GIMP and open the composition you wish to work on.
- Click on “Layer,” “Mask,” then “Disable Layer Mask.”

Alternatively, you can hold down the “Ctrl” button (on Windows systems, it’s “Ctrl + Alt” ). Or press “Cmd” or “Cmd + Alt” on Mac, then single-click on the layer mask’s thumbnail in the Layers dialog box.
Gimp Move Layers Up and Down
The “Layer to Top” command brings the active layer to the top of the layer stack. If there is only one layer or the layer is already at the top, this menu entry will be grayed out. Here’s how to activate the “Layer to Top” command.
- Launch GIMP and open the project you wish to work on.
- Select the layer you wish to move to the top.
- From the main menu, click on the “Layer” option.
- Choose “Stack,” then “Layer to Top.”

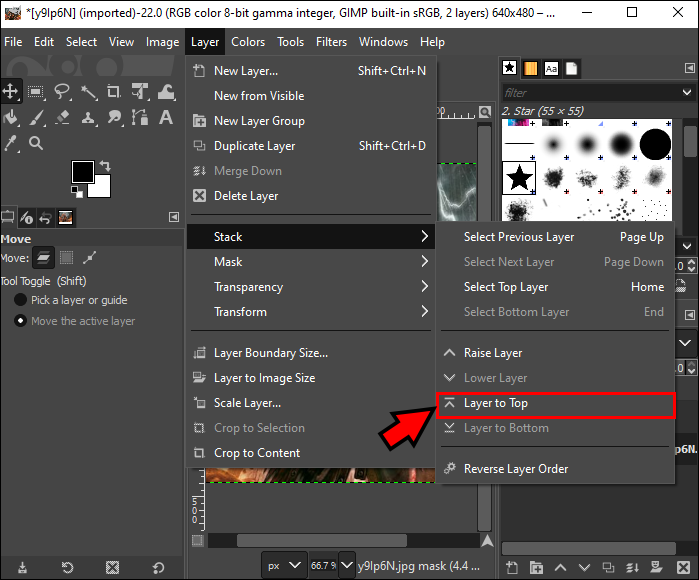
Alternatively, you can press the “Shift” key and click the up arrow icon at the bottom of the Layers dialog box.
The “Layer to Bottom” command will position the active layer at the bottom of the layer stack. Again, if the active layer is already at the bottom or there is only one layer, the command will be grayed out. Here’s how to activate the “Layer to Bottom” command.
- Launch GIMP and open the project you wish to work on.
- Select the layer you wish to move to the bottom.
- Click on the “Layer” option from the main menu.
- Choose “Stack,” then “Layer to Bottom.”

Alternatively, you can press the “Shift” key and click on the down arrow icon at the bottom of the Layers dialog box.
FAQs
How do you hide a layer?
Click on the eye icon to the left of the layer you wish to hide. Click it once to hide, then click again to display the layer.
How do you change the order of GIMP layers?
To change the ordering of your layers in a composition, follow these steps.
1. Launch GIMP.
2. Open the composition you wish to work on by clicking on “File,” then “Open.”
3. All layers will be displayed in the Layer dialog box on the right. To move a layer, click and hold on it, then drag it to a new position.
GIMP Layers Moved Successfully
GIMP is a popular editing image tool that accommodates sophisticated, complex editing projects. And layers are a vital part of most projects. Getting comfortable with how they work and how to manipulate them is key to success with GIMP. There are several ways to move layers around, including using the appropriate settings located in the five main sections of the interface, choosing the option from the main menu, or using keyboard shortcuts.
Were you able to manipulate your layers as desired? Tell us about the project you’re developing and the type of effects you want to create in the comments section below.
Disclaimer: Some pages on this site may include an affiliate link. This does not effect our editorial in any way.


