Building a PC is a pretty easy process, but one area many get hung up on is applying thermal paste. If you’ve never applied thermal paste before, it can be very easy to mess up. There’s a lot of bad information on how much to apply circulating the web, too. And, given that, when you buy thermal paste, you get a pretty sizeable tube, you might assume you need to use a good portion of it, but that’s far from the truth.
But, there’s no need to worry — applying thermal paste is actually a really easy process. First, there’s just a couple things you should know.
What is thermal paste?
Thermal paste is actually called a number of things. You might hear it referred to as thermal compound, thermal grease, thermal grease, thermal interface material and even thermal gel. There’s quite a few other names its referred to as well, but these are some of the more common references.
It’s basically a conductive compound that sits between the heat source and heat sink to eliminate air gaps, and thus, maximizes heat transfer from the chip to the heat sink. Basically, thermal paste has to be applied, as the performance of the heat sink essentially depends on it. This compound helps with the transfer of heat from the CPU to the cooler on top of the chip. Without the compound, the CPU is likely to overheat, causing you multiple problems, including a processor replacement.
Where do I apply thermal paste?
Let’s be clear: thermal paste is not applied to the bottom of the CPU with hundreds of pins. If you do that, you are going to destroy your CPU as well as your motherboard, as this is the side that is plugged directly into the socket on the motherboard.
Instead, thermal compound is applied to the top of the CPU where the smooth metal plate sits. This is also where your heat sink/cooler will sit, thus the compound acting as a conductive material between the CPU and heat sink.
How much thermal paste is used?

Just a little dab of thermal paste goes a long way. Never use too much. Both Intel and AMD recommend squeezing a “pea-sized” glob of paste directly onto the center of the CPU’s metal surface. You might need a little more for larger processors with more cores (anything with 6 cores or above, essentially), but again, less is more. Basically, the amount Intel recommends is shown in their instructional image to the right.
First of all, don’t worry too much if you get a little more than that or even a little less. It’s more of a guideline and there’s no exact amount that’s to be applied. Eyeballing it will suffice. Once placed in the center, don’t try spreading it around, and don’t touch it with your finger, as oils and other substances can cause some problems.
Since the heat sink mounts directly onto the CPU, once you mount it, the thermal paste will spread out as it’s compressed. That’s literally all you have to do. It’s a very simple process — the only thing to be concerned about is using too much. But, if you get about what’s seen in the picture, you’ll be golden. The reason why you don’t want too much is because, once compressed, it could spread out past the chip and plate, entering the socket itself, and thus transferring heat where it’s not supposed to go. If you apply too little, the worse that’s going to happen is that your CPU is going to overheat and cause your computer to crash. Fixing that is as simple as going back in, cleaning the thermal paste up, and reapplying it. So, once again, less is more!
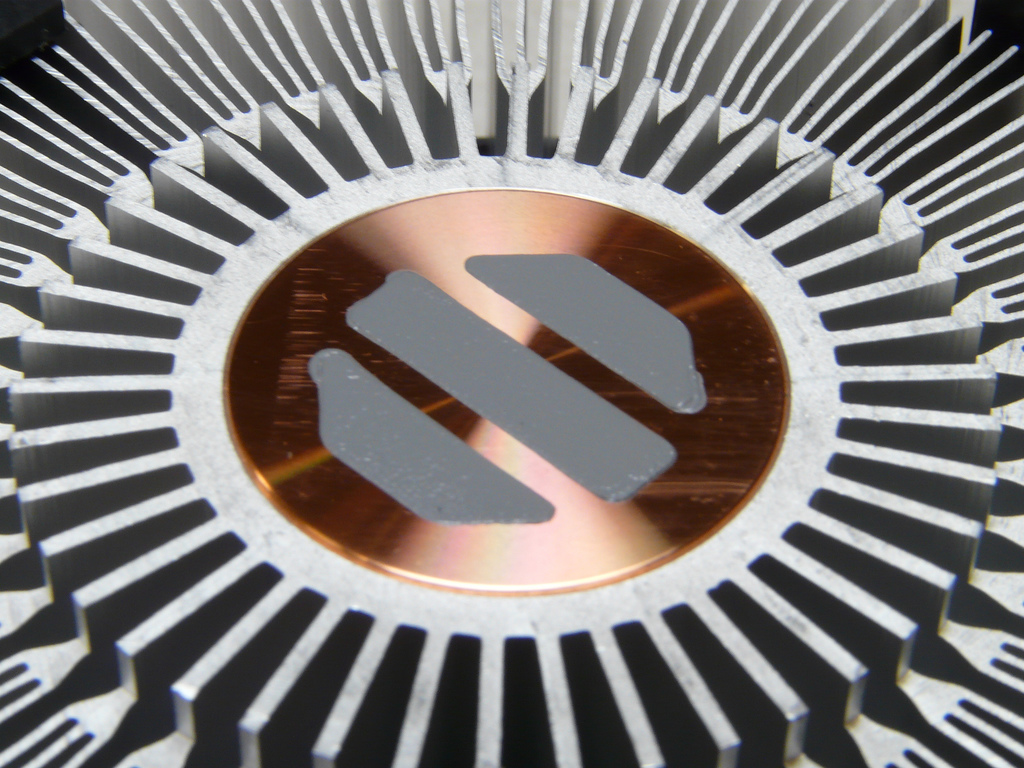
Sometimes you actually don’t need to apply thermal paste if you bought a CPU/heat sink combo. Some heat sinks will actually come with thermal paste already applied in this case. It’s really easy to spot, too. If you see areas of gray-looking material on a copper plate, the thermal paste has already been applied. There’s no need to add more. So, at this point, it’s as simple as bolting the cooler to the CPU, no extra paste needed.
If you want to get rid of the paste, you can just use isopropyl alcohol to rub it off. Once clean, you can always apply your own using the steps above.
Does it matter what type of thermal paste is used?
There’s also absolutely no need to worry about what type of thermal paste you purchase. There’s a couple different types of thermal paste out there, but as Tom’s Hardware shows, there’s very minor differences in terms of temperature changes between them. So, whatever comes with your combo or whatever you can pick up your local computer store will suffice just fine.
Closing
And that’s all there is to it! Applying thermal paste is an extremely easy process — it’s truly just a matter of not applying too much and applying it to the correct side of the processor. We hope we helped you ease your mind when it comes to this whole process — it really is simpler than many make it out to be.
Disclaimer: Some pages on this site may include an affiliate link. This does not effect our editorial in any way.