It is thankfully rare to receive a serious error in macOS without the user having done something to cause it. macOS has been polished and refined to leave such trivialities behind most of the time. It isn’t without its little foibles though and the ‘No camera available’ error seems a common error in macOS. This tutorial will show you how to fix it.
You most often see the ‘No camera available’ error during or when finishing a video or FaceTime call. One minute the camera is working normally and the next you see an error telling you the camera you were using fine a second ago is suddenly not available. So what can you do about it?
You have a couple of options.

Basic Troubleshooting
Before we take a deep dive into more complex solutions, let’s first review some of the basic troubleshooting steps you can take to quickly fix the most common issues.
Restart Your Mac
To start, you should restart your computer. A simple restart fixes most tech issues so we’ll start there. In the upper left-hand corner of your Mac, click on the apple icon. Then, click on ‘Restart.’

You can also restart the application of course.
Quit Other Applications
If a restart didn’t fix the issue, you can quit other applications. The reason we take this step next is that your camera may be in use with another application (or at least it thinks it is). Of course, if you don’t know which program is running, follow these steps first:
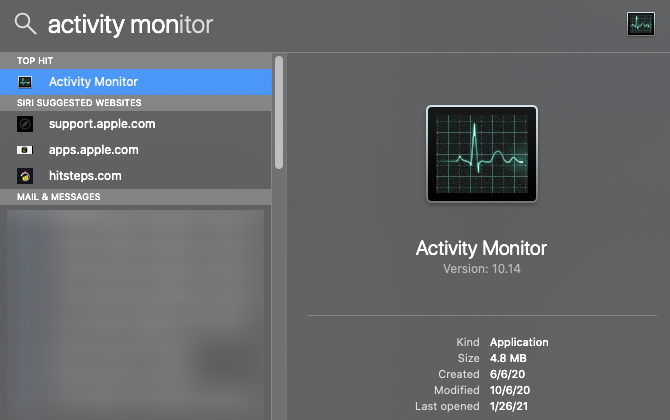
Use the Command + Space keyboard command to open your Mac’s Spotlight function. Then, type ‘Activity Monitor.’ This will take you directly to the Activity Monitor where you will see a list of all programs available.
Scroll through the list under the ‘Energy’ tab. Any programs with a small arrow to left is currently running.
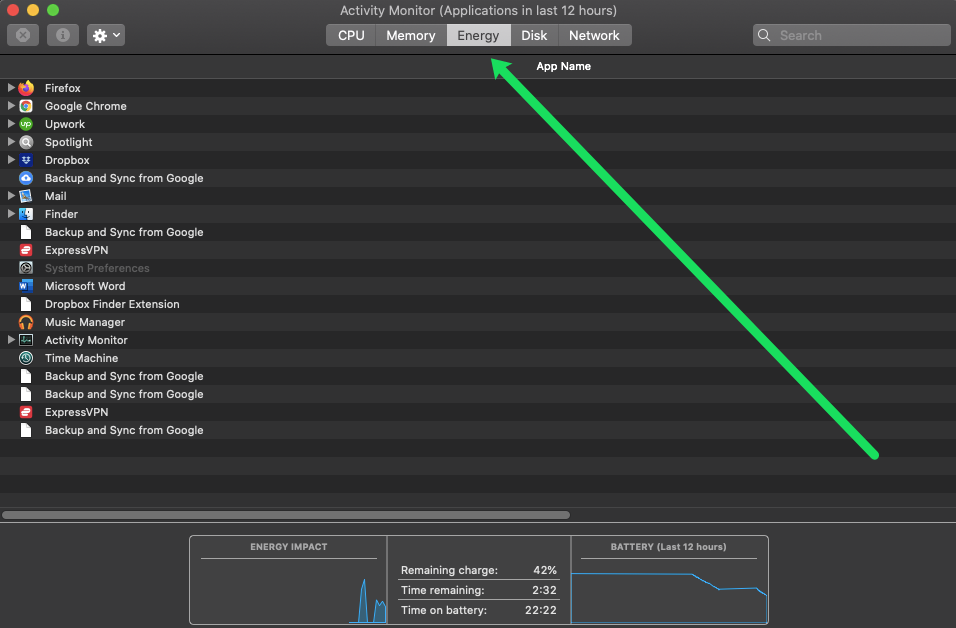
For example, if your camera isn’t working with Zoom but you see that FaceTime is running, that may be your problem. Of course, you could just click the ‘X’ in the upper left-hand corner of the application to close it out. But you may need to force close the app. To force close an app click the Apple icon and click ‘Force Quit.’

Select the application from the list and click ‘Force Quit’ again.

Check Your Camera Permissions on Mac
Lastly, you should check that the camera has permission to operate with the application you’re trying to use. Of course, these instructions only apply to those who have a camera issue with only one app.
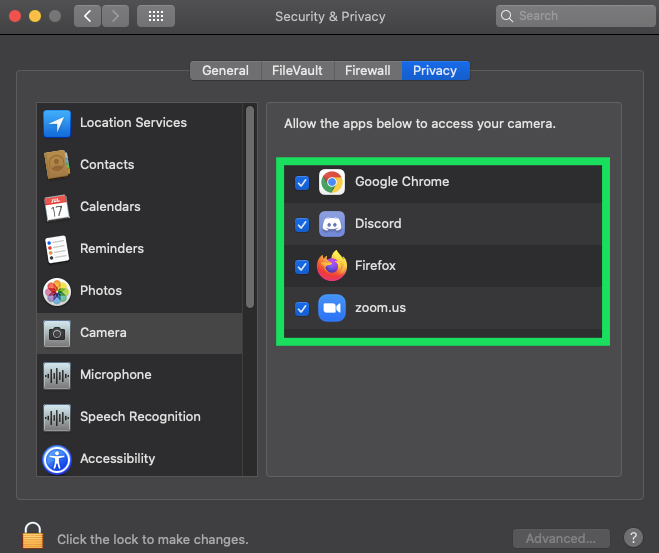
Open the System Preference on your Mac (click the Apple icon followed by ‘System Preferences’). Then, click on ‘Security and Privacy.’

Click on the ‘Privacy’ tab then click on ‘Camera’ in the left side menu. Verify that the application you’re trying to use has a blue checkmark next to it. If not, click the lock icon in the lower left corner, enter your Mac password, then click the checkbox next to the application you’re trying to use.
If you’re still having problems, keep reading. In the next section, we’ll cover more in-depth fixes for your camera woes.
Fixing the ‘No camera available’ error in MacOS
The first thing to try with any computer issue is a reboot. It works on Windows, macOS, and Linux and should always be the first thing you try when you have any problems. You don’t have to do anything special, just reboot your computer in the usual way and see if the camera works.
A reboot forces the computer to drop any cached instructions and reload the default code from the operating system. If there is a corruption with that cached code, such as a setting changed that isn’t compatible, a memory fault that recorded an instruction incorrectly, or something else entirely, a reboot refreshes that cache with system defaults. This is often enough to correct an error.
If that doesn’t work there are a couple of specific fixes for this error.
Force quit AppleCameraAssistant and VDCAssistant
AppleCameraAssistant and VDCAssistant are both processes that support the camera within MacOS. If you cannot reboot or have already tried that and you’re still seeing the ‘No camera available’ error, this is the next thing to try.

- Shut down any app that uses the camera.
- Open Terminal on your Mac.
- Type or paste ‘sudo killall AppleCameraAssistant’ and hit enter.
- Type or paste ‘sudo killall VDCAssistant’ and hit Enter.
Once done you can reload FaceTime, Skype, or whatever you use to video call and retest. While these two processes are reset with a reboot, for some reason, force quitting them works when reboot doesn’t always work. It’s a strange situation but there you go.
According to Apple, if the VDCAssistant process does not fully release the app that last used the camera, neither AppleCameraAssistant and VDCAssistant can utilize the camera next time around. Force quitting both processes releases them to pick up the camera again and should work normally.
Apparently, you can use ‘sudo killall AppleCameraAssistant;sudo killall VDCAssistant’’ in one single command to achieve the same thing.

Run an update to prevent the ‘No camera available’ error
At the time of writing there is no specific fix for this error but that doesn’t mean there won’t be in the future. If stopping the two processes doesn’t address the issue or it keeps coming back, check for OS or app updates regularly in the hope of a fix.
Apple devices update themselves but that system isn’t always foolproof. There will occasionally be App Store updates sitting there waiting to be installed so make a habit of checking regularly. Select the Apple menu icon in the top left of MacOS and select App Store. There may or may not be an update notification already.
Resetting NVRAM
Resetting NVRAM is the nuclear option and should only really be used as a last resort. If your camera keeps erroring and it is becoming problematic, you could try this reset to get it back into shape.
NVRAM (Non-Volatile Random-Access Memory) is like the BIOS in Windows. It’s a place where the system stores many-core settings that are read when your Mac boots up. That will include display resolution, boot disk location, time zone, audio settings, and a bunch of others.
Resetting NVRAM will clear any settings you may have made to your Mac so only do this if you cannot live with the error.
- Shut down your Mac.
- Power it on and immediately hold down Open, Command, P, and R.
- Hold these four keys for around 20 seconds or until you hear the boot sound and then release.
- Navigate to System Preferences to reset any of your customizations.
Your Mac should boot normally after resetting NVRAM but you may have to reset your time zone or other things you changed. This is why this process is the last resort!
Do you know of any other ways to fix the ‘No camera available’ error in MacOS? Tell us about it below if you do!
Disclaimer: Some pages on this site may include an affiliate link. This does not effect our editorial in any way.


