One of the main reasons you’ve added Obsidian to your toolbox is to stay on top of tasks you’ve completed and those you’re yet to finalize. The app doesn’t leave you to your own devices when monitoring your productivity. On the contrary, it offers a variety of features to help you keep abreast of your schedule, one of which is checkboxes.
Checkboxes will be the topic of this article. We’ll show you how to add them with built-in shortcuts, snippets, and plugins.
How To Add a Checkbox in Obsidian with a Shortcut
Obsidian’s user-friendly interface might be the biggest selling point of this app. But the checkbox feature isn’t as visible as others, so adding them isn’t as simple as clicking a button. Instead, you’ll need to press an appropriate key combination. Here’s how it works:
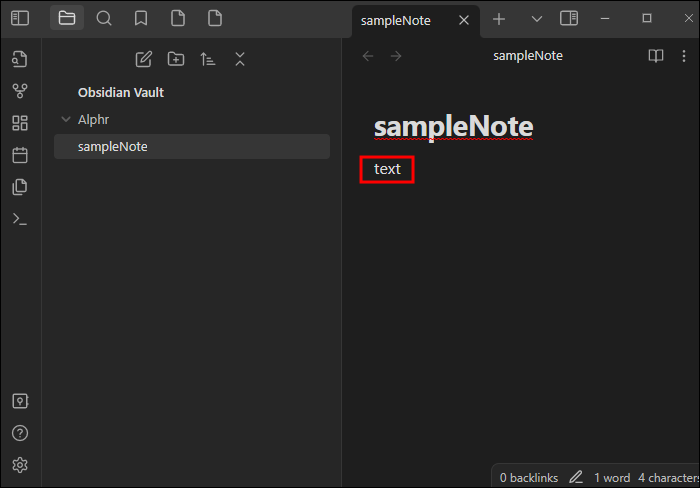
- Open your vault and create a new note or open an existing file.

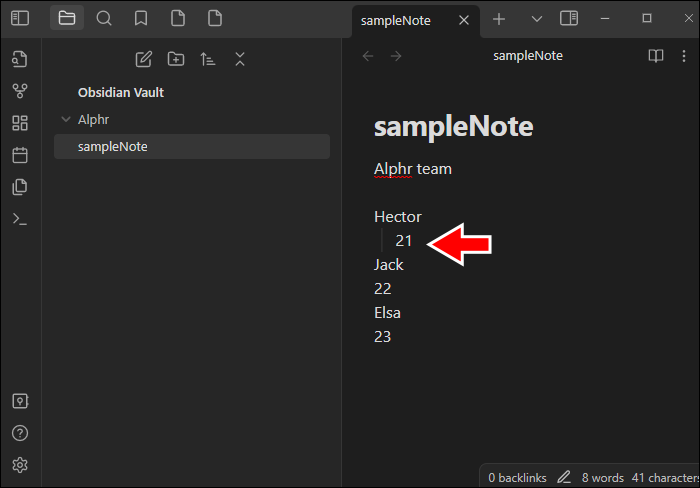
- Place your cursor in the same line as the text next to which you want to add a checkbox.

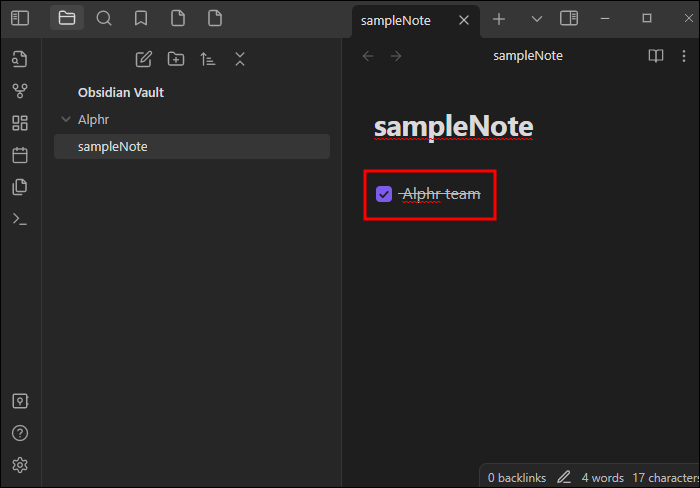
- Hold down the “Ctrl” button (“Cmd” button if you’re an iOS user) and press “Enter” to include a bullet point.
- Hit “Enter” to get a blank checkbox, meaning the task is incomplete. Once you complete the assignment, hold down “Ctrl” and keep pressing “Enter” until you get an “X” in the brackets. If you’ve finalized the task and want to remove it from your notes, simply press the “Ctrl + Z” combination.


Keep in mind that the “Ctrl + Enter” shortcut may not always work. This can happen if you have a different hotkey for setting bullet points and checkboxes.
Don’t hit the panic button yet because the solution is straightforward:
- Open Obsidian.
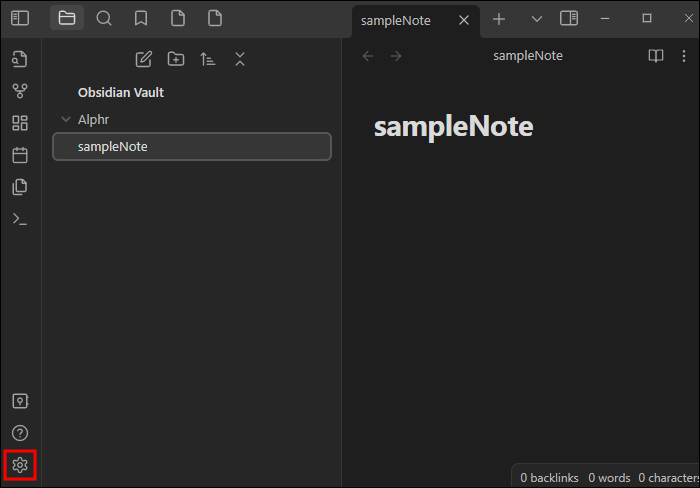
- Head to the “Settings” menu.
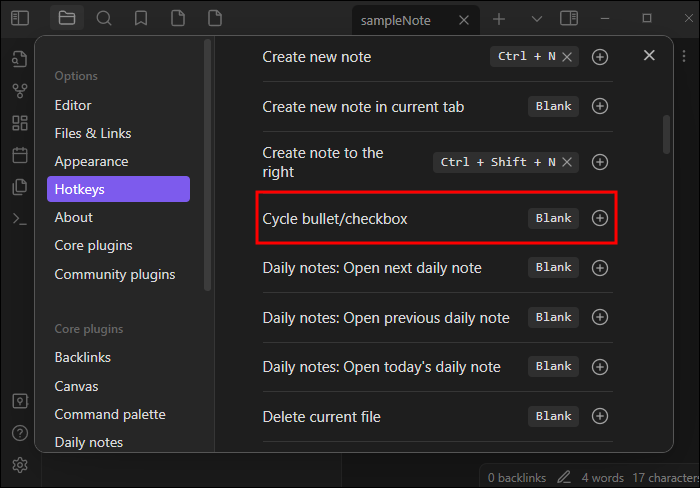
- Choose “Hotkeys.”
- Find “Cycle bullet/checkbox.” The wording may vary, depending on your version, but look for a command that contains bullet points and checkboxes.
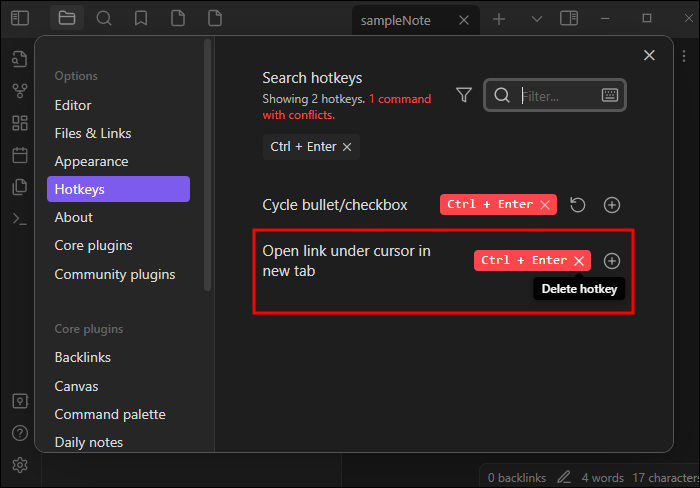
- If the “Ctrl + Enter” command is defaulted to “Open link under cursor in new tab” or any other function, move it to the “Cycle bullet/checkbox” command.
- Head back to your notes and see if the shortcut is up and running.


How Do You Add a Checkbox in Obsidian with a Plugin?
No Obsidian feature is almighty, but shortcuts are the next best thing. Nevertheless, some versions are less polished than others, and key combinations might not be very reliable.
Thankfully, third-party plugins can save the day. The app has more than 1,000 plugins, allowing you to streamline various aspects of your Obsidian experience. Many of those add checkboxes, one of which is Todoist Text.
Take the following steps to install and incorporate checkboxes with the Todoist Text plugin:
- Launch Obsidian and press the “Settings” button on the lower-left part of the screen, represented by a gear symbol.
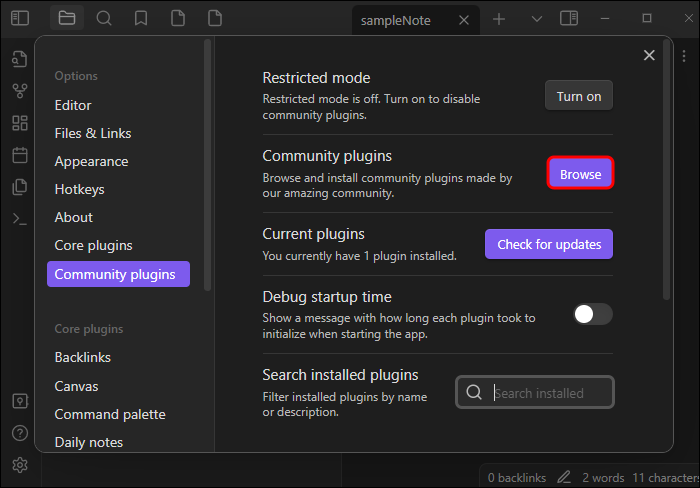
- Navigate to the “Community Plugins” menu.
- Tap the purple “Browse” button.
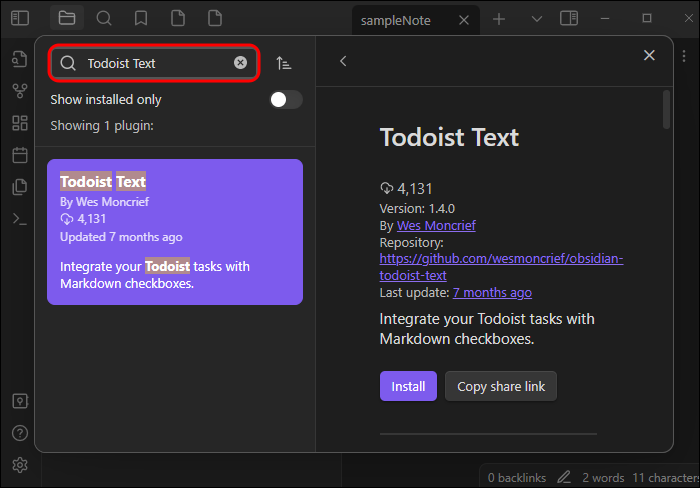
- Type in “Todoist Text” in the search box. You can also enter “checkbox,” and the tool will provide a couple of tools with this feature, including Todoist Text.
- Press “Install” and wait for the system to download and install the plugin to your profile.
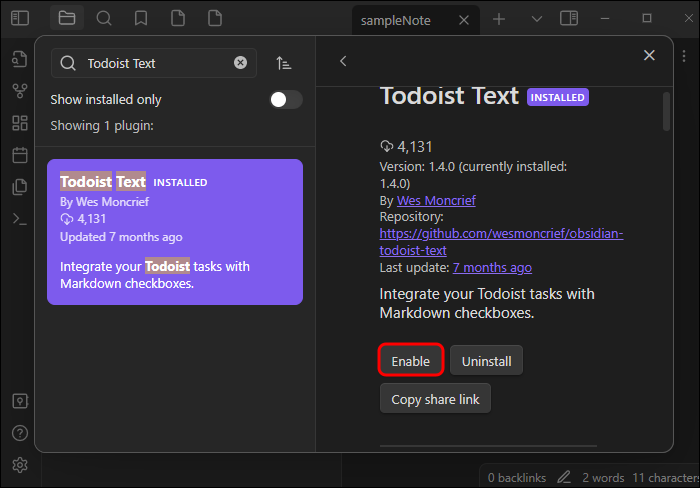
- Strike the gray “Enable” button.
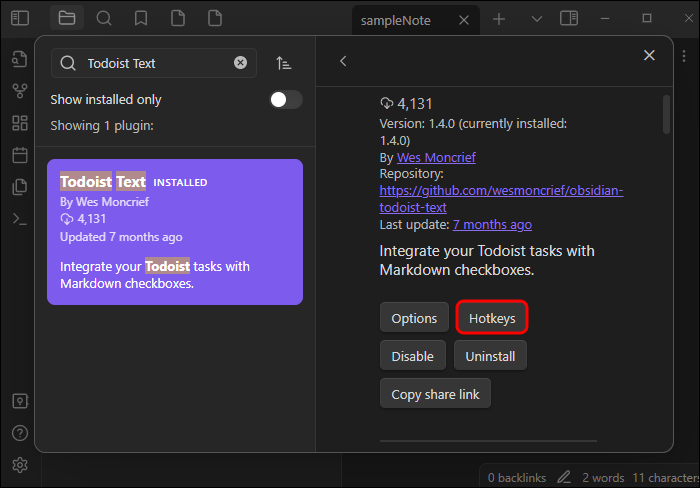
- Scroll up to where the “Install” button was and select “Hotkeys.” You should now see the hotkey for checkboxes. Use the appropriate key combination to incorporate checkboxes into your notes. You’ll also be able to change hotkeys from this menu.


How Do You Add a Checkbox in Obsidian with a Snippet?
If, for whatever reason, neither the shortcuts nor plugins do the trick, you can try adding checkboxes through snippets. These CSS files are a workaround for several issues, and they work perfectly fine for including various types of checkboxes. For instance, a snippet can categorize your checkboxes into the following groups:
- Checked
- Unchecked
- Scheduled or deferred
- Canceled
- Need more information
- Important
How Do You Add Lists in Obsidian?
Checkboxes without lists are obsolete. After all, why add checkboxes in the first place when there are just one or two items in your notes? That’s why lists are crucial for the whole process, and here’s how to create them:
- Start a new file or bring up an existing note.
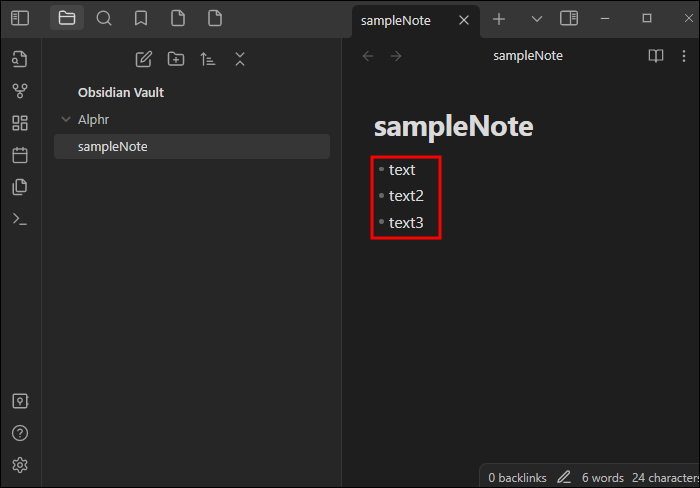
- Go to a blank part of your workspace and enter a hyphen.
- Hit the “Space” button, and Obsidian will automatically create a bulleted list. More specifically, you’ll get a list with four items, but you can add more or fewer points, depending on the desired length. Also, don’t forget to navigate between individual items with the “Enter” button.
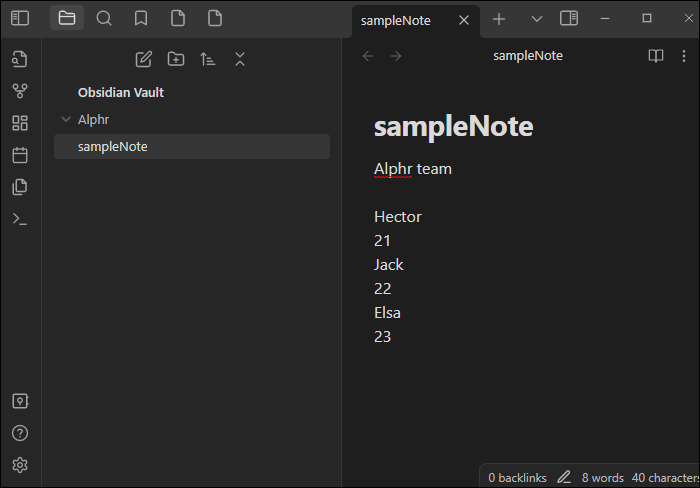
Making basic lists is straightforward, but what if you need a note for a super-busy day with lots of tasks? Adding sub-items is your best bet.
- Start a new list.
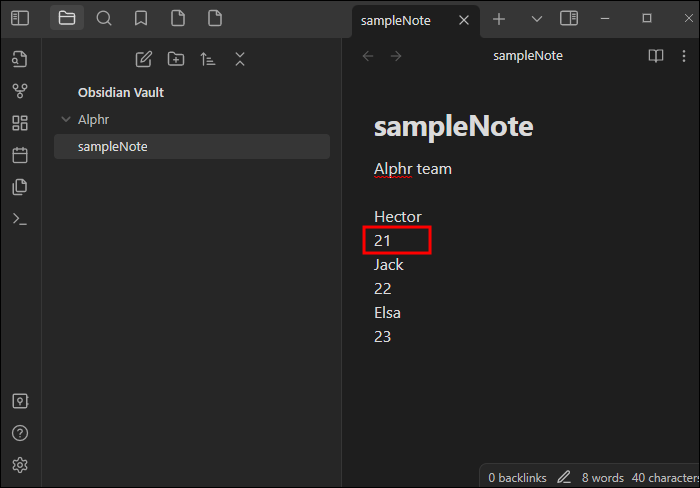
- Put your cursor in any line.
- Tap “Tab” to transform the line into a sub-item.
No Task Remains Unmarked
The last thing you need is to have unmarked tasks in your Obsidian vault. You might not remember you’ve already completed them, requiring you to put in even more elbow grease. But as the checkbox feature is so easily accessible, you shouldn’t have this problem. Whether you add your checkboxes via shortcuts or third-party plugins, they’ll make a world of difference for your productivity.
Other than monitoring task completion, what else do you use Obsidian for? What shortcuts and plugins do you use the most? Share your experiences in the comments section below.
Disclaimer: Some pages on this site may include an affiliate link. This does not effect our editorial in any way.