If you’re a Chromebook user and you want to do some troubleshooting, then CROSH is the place to be. But if you are new to this kind of terminal, you may be confused about where to look. Worry not, as this is neither a complicated nor a time-consuming task.
This article shares detailed information about how to open and get around CROSH so you can access the diagnostics you need without any hassle. And if you need some commands to get started, we’ve got you covered with those as well.
Opening CROSH on a Chromebook
Running CROSH on any Chromebook computer allows the user to run tests and similar line functions like those on Windows cmd.exe and Linux BASH Terminal.
Note that CROSH can’t be found in the Chromebook list of apps. It must be accessed through a browser instead. Also, you don’t have to enter the terminal from the Developer Mode.
Additional Note: CROSH won’t work on alternate OS like Crouton or Chrobuntu.
Access CROSH
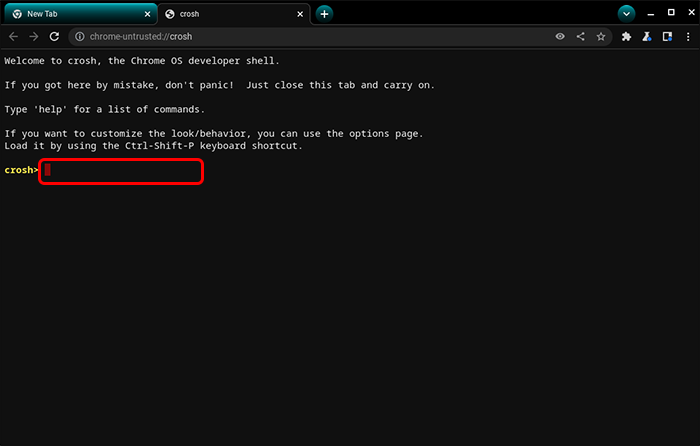
To access CROSH, you have to open the Chrome shell first. Follow the steps below to kickstart this terminal and run some basic functions.
- Launch your Chrome Browser.
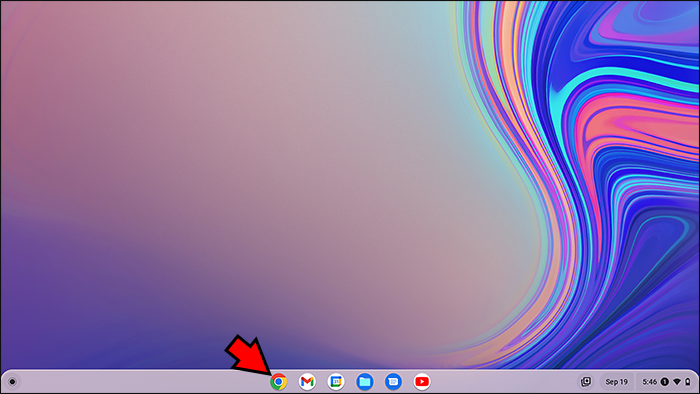
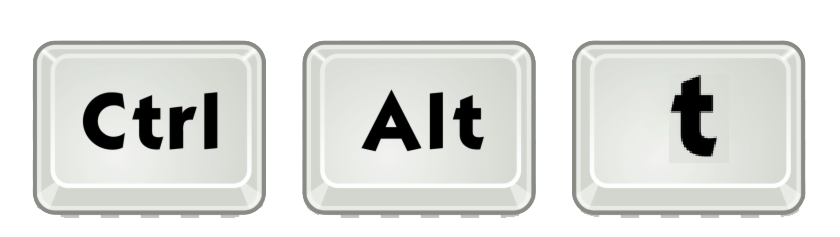
- Hit the “Ctrl + Alt + t” keys at the same time. You should see a new black interface appear on the screen.

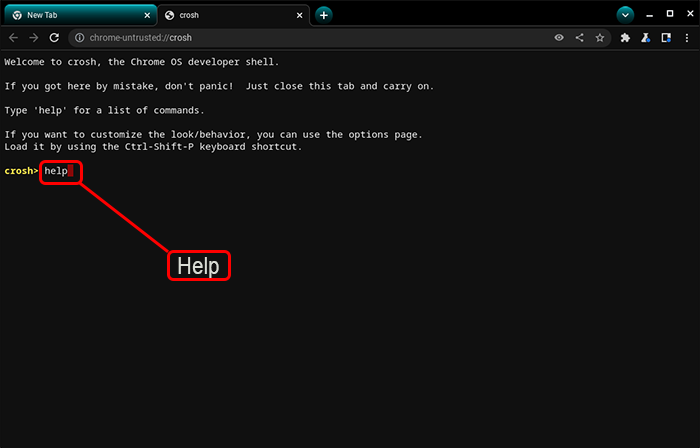
- Enter your CROSH diagnostic commands.
- If you aren’t sure about the commands, you can type “help” to get a list of all available options. For additional help, enter “
help_advanced” to get a complete list of debugging commands.
Common CROSH Commands
To help you get started, we’ll share some of the most common functions you can use in CROSH. On the left-hand side is the command, and next to it is its purpose.
Exit– Exit CROSHPing [domain]– Perform a ping test on a particular domainHelp– Display helpHelp_advanced– Display advanced helpSsh– Start the ssh subsystemSsh_forget_host– Remove a host from the ssh host listTop– Set chapsd logging levelBattery_test [<test length>]– Battery discharge rate test in secondsConnectivity– Display connectivity statusMemory_test– Extensive memory testing on free memoryRollback– Roll back to the last system update that was cachedRoute [-n] [-6]– Show routing tablesStorage_status– Read storage device vendor attributes, SMART health status, and error logSyslog <message>– Log message to syslogFree– Get an overview of memory usageMeminfo– Get detailed information about the memoryUpload crashes– Upload a crash report to the crash serverUptime– Check how long the computer has been running since the last shutdownUpdate_over_cellular enable– Enable auto-updates on the cellular networkUpdate_over_cellular disable– Disable auto-updates on the cellular networkXset m [acc_mult[/acc_div][thr]] xset m default– Change the mouse acceleration paceXet r rate [delay [rate]]– Change the auto-repeat rate in milliseconds
Check Battery Health
One of the most basic functions you can perform in CROSH is checking the battery level and health of your Chromebook. To do so, follow the steps below.
- Launch your Chrome Browser.
- Hit the “Ctrl + Alt + t” keys simultaneously.
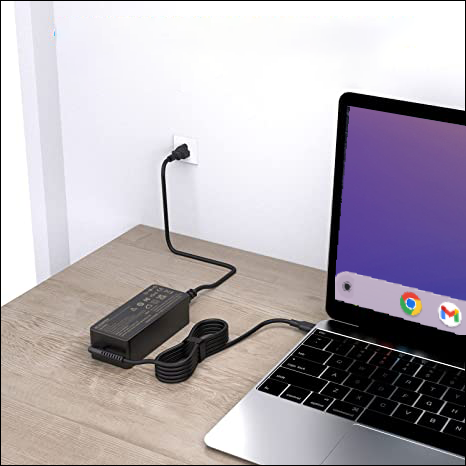
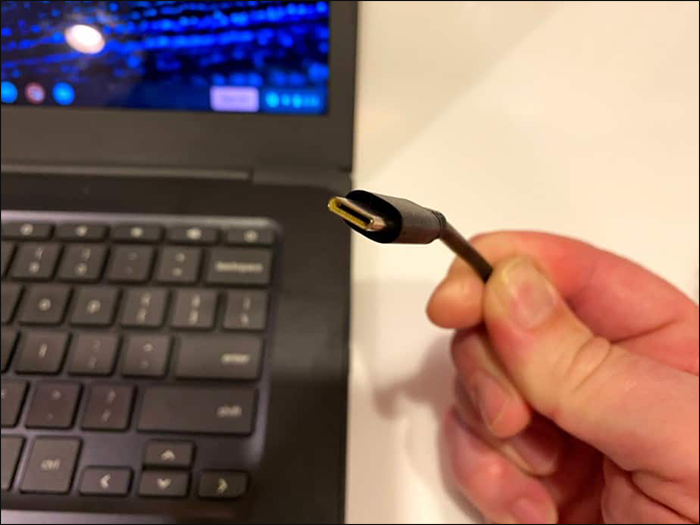
- Plug your Chromebook into the A/C adapter and an electrical outlet.
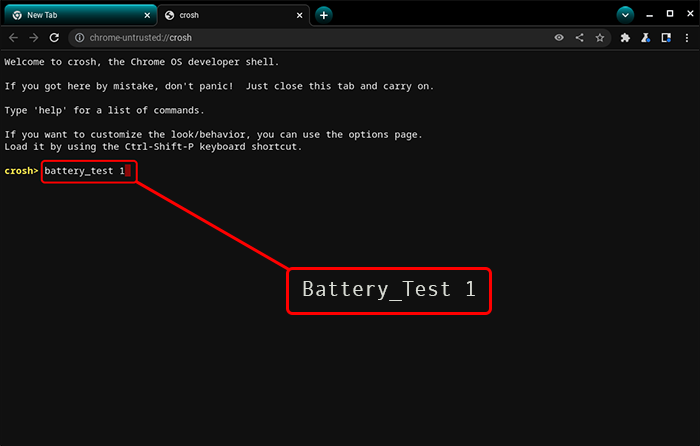
- Enter the following function into CROSH: “
battery_test 1”. There should be a single space between “t” and “1”. - Hit the “Enter” key.
- Find the following section: “Battery is Charging.”
- Unplug your A/C adapter from the Chromebook.
- Enter the following command: “
battery_test 10” (with the space). - Hit “Enter.”
- Find “Battery health.” There should be a percent showing next to this line.


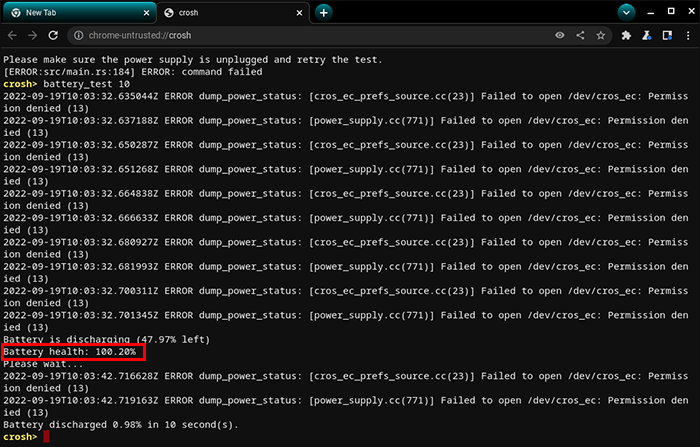
If your battery percentage surpasses 50%, it means your battery is healthy and performs as needed.
Important Note: If you aren’t skilled in using the terminal, make sure to back up your files before proceeding with any experiments. Doing so is easy on Chromebook and will save you precious data in the event you accidentally remove or damage important files during the command execution.
How to Open CROSH on a School Chromebook
If you are a student, you can use the CROSH terminal to perform a variety of functions. If you were to look in your Chromebook’s app list, you wouldn’t find this diagnostics tool. You need to use your browser instead.
Note that you can use your Chromebook in regular mode to access CROSH. There’s no need to start the Developer Mode. Also, note that you won’t be able to use CROSH on the Chrobuntu and Crouton alternate operating systems.
Access CROSH
The procedure for launching the terminal on your school laptop is the same as on any other Chrome computer.
- Start the Chrome browser on your school Chromebook.
- Hit the following keys together: “Ctrl + Alt + t”. You’ll see a new black screen open. This is your CROSH terminal.
- Run the commands you wish in the terminal.
If you need help with the commands, you can enter “help” into the terminal to get a list of available commands. For a more extensive list and additional assistance, you can enter “advanced_help”.
Common CROSH Commands
Here are some of the most popular functions you can run on your Chromebook to get the most out of CROSH.
Memory_test– Test the memory on your computer“Ctrl + C”– Stop a process in the terminalPing [domain]– Run a diagnostics test for a particular domainModem help– Configure the modemTop– Open the task managerBattery_test [sec]– Start the battery managerShell, packet_capture, systrace– Dev Mode commandsUptime– Uptime for usersSet_Time– Tweak the time settingsSyslog < message >– Log a syslog messageSsh_forget_shot– Remove a host from the ssh host listConnectivity– Show your connectivity statusTracepath– Trace the networkNetwork_diag– Diagnostics for the networkMeminfo, free– Memory infoUpload crashes– Upload crash reports to the serverLive_in_a_coal_mine– Move to the canary channelTracepath– Trace the networkRollback– Reinstall an earlier Chrome OS versionUpdate_over_cellular [enable, disable]– Disable or enable auto-updates on cellular networkExit– Exit the terminal
These are some of the most commonly used functions to operate the terminal. Note that using CROSH without knowing what you’re up to can lead to serious system damage or permanent file loss. Luckily for the not-so-skilled users, it’s easy to create a backup before starting to experiment in the terminal.
Additional FAQ
Does CROSH only work on Chromebook?
Since CROSH isn’t part of the Chromebook’s built-in app system, you have to access it using a Chrome browser. This means that the terminal can be accessed by any device that uses Chrome as a browser. However, you can only get the most out of CROSH’s functionality if you use it on a Chromebook device.
What is the shortcut to open CROSH?
You can open CROSH in your Chrome browser by pressing the following three keys at the same time: Ctrl + Alt + t and then hitting the Enter key. There’s no need to turn on the Developer Mode to access CROSH on your browser.
Getting Around in the CROSH Diagnostics Tool
CROSH is a useful tool for performing a range of tests, diagnostics, and battery checks. Accessing the terminal is super easy, as all you have to do is press three keys inside the Chrome browser. However, using the commands requires some precision and know-how. If you aren’t sure about any of the functions provided in the article above, use the Internet to do further research or ask your teacher or IT friend for assistance.
As you get ready to launch CROSH for some extensive work, don’t forget to perform a backup beforehand!
When do you use CROSH on your Chromebook? How can CROSH help you improve your laptop or online experience? Share your thoughts and insights in the comments section below.
Disclaimer: Some pages on this site may include an affiliate link. This does not effect our editorial in any way.