Device Links
Films and TV show scenes aren’t recorded in order, so why should your Instagram cinematic masterpiece? The good news is that it doesn’t have to be. There is a simple method to reorder clips in Instagram Reels after shooting them. This way, you can focus on being creative and having fun and leave the technicalities for the editing process.
Keep reading to learn how to rearrange clips in Reels.
How to Rearrange Clips in Reels on an iPhone
When filming a video, thinking of too many details in advance can stifle your creativity. Luckily, Instagram made it possible to live in the moment first and decide how to best shape the footage into a Reel afterward.
When a good filming opportunity presents itself, grab your iPhone and:
- Open the Instagram app.
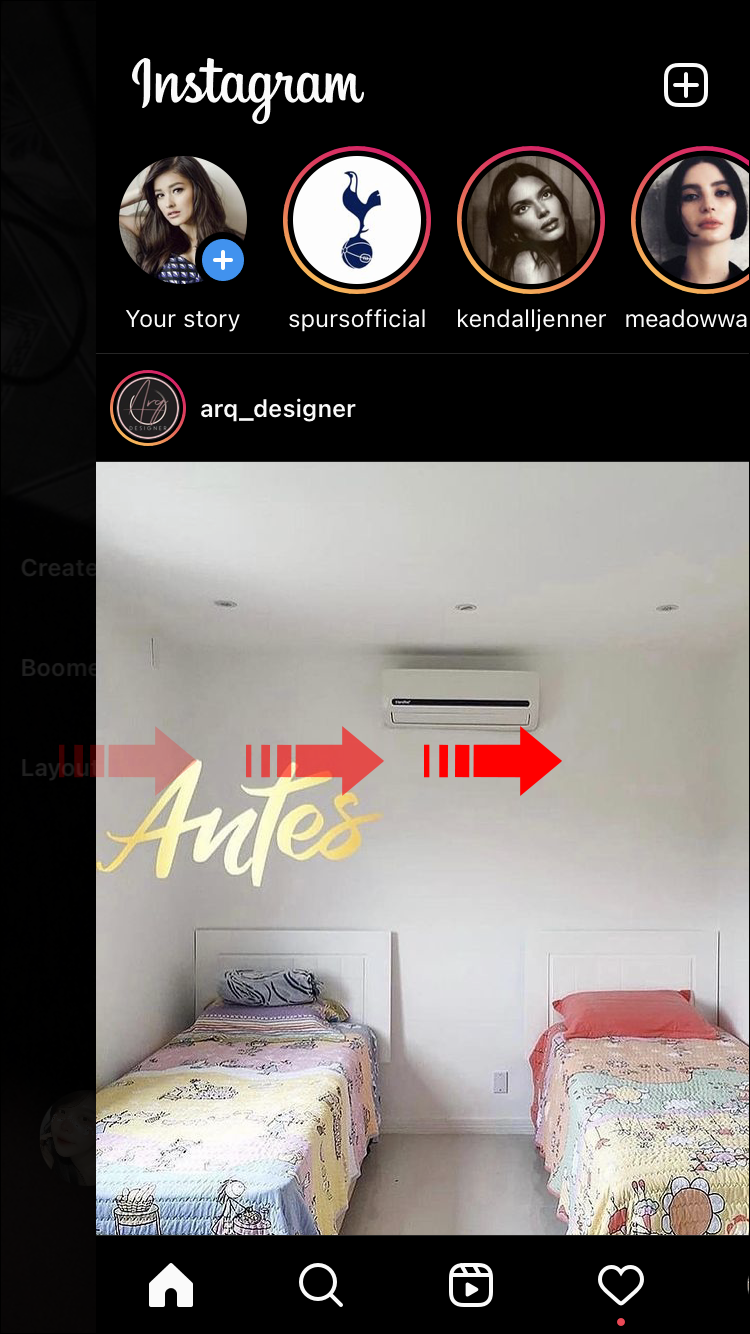
- Swipe right to open the recording screen.

- Long-press the “Record” button to capture your video.
- Repeat step 3 for every clip you’d like to film.

If you have previous footage you’d like to include in your Reel, go to the square button in the bottom-left corner. Tap “plus” to open your “Photos” folder and select the clips.
Once you’re satisfied with the clip selection, it’s time to move on to editing. Follow these steps to rearrange clips in your Reel:
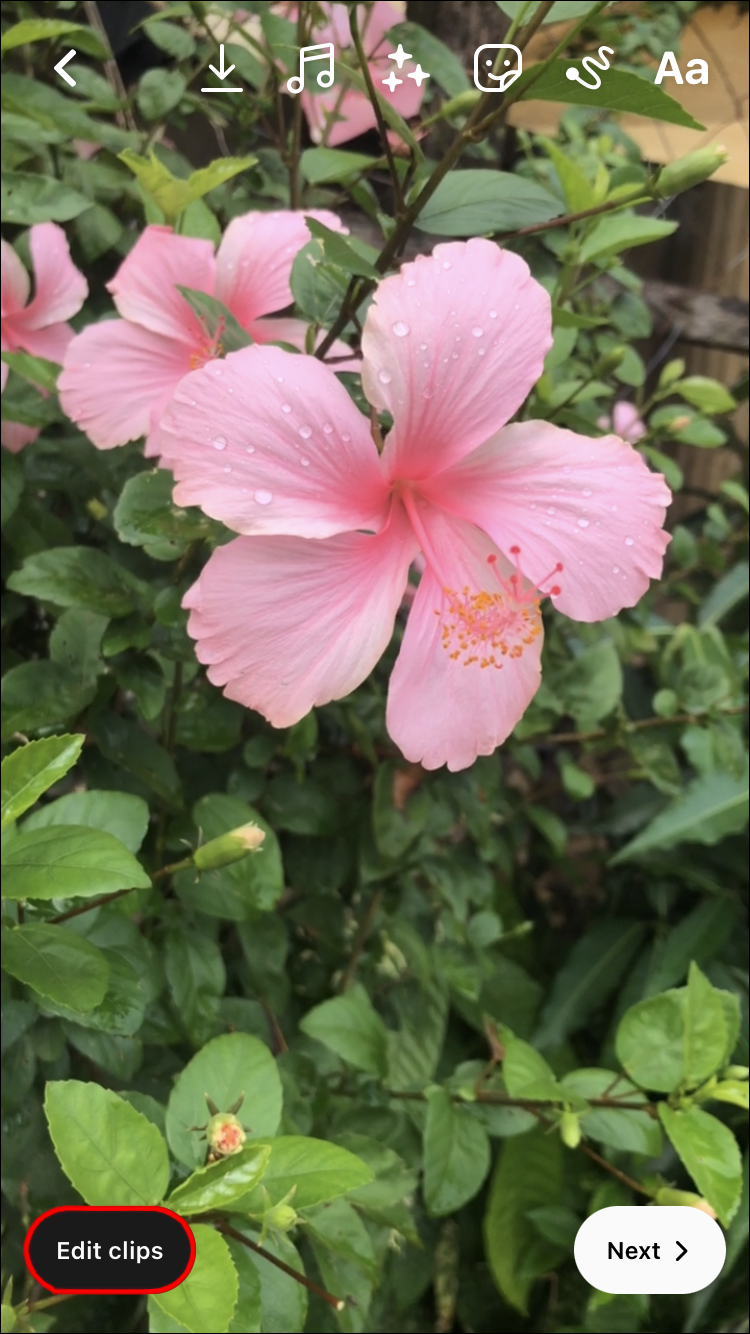
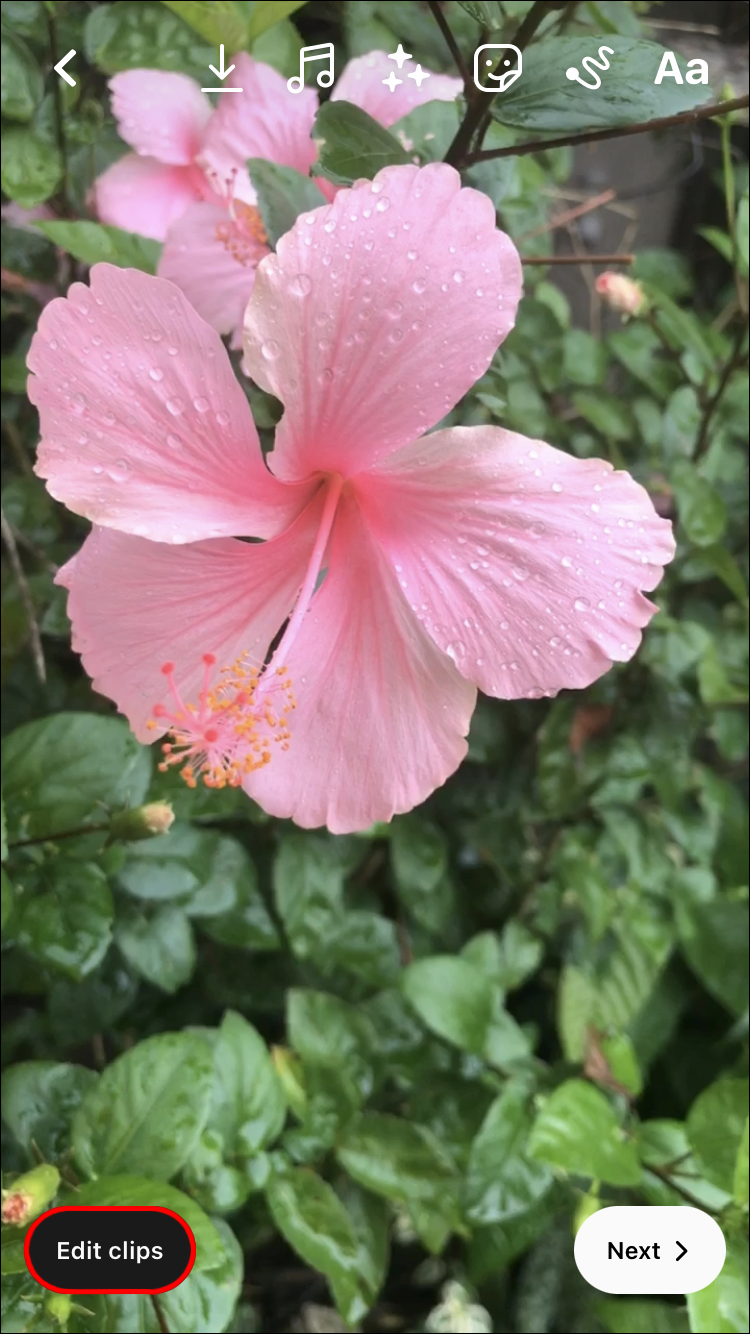
- Hit the “Preview” button in the bottom-right corner.
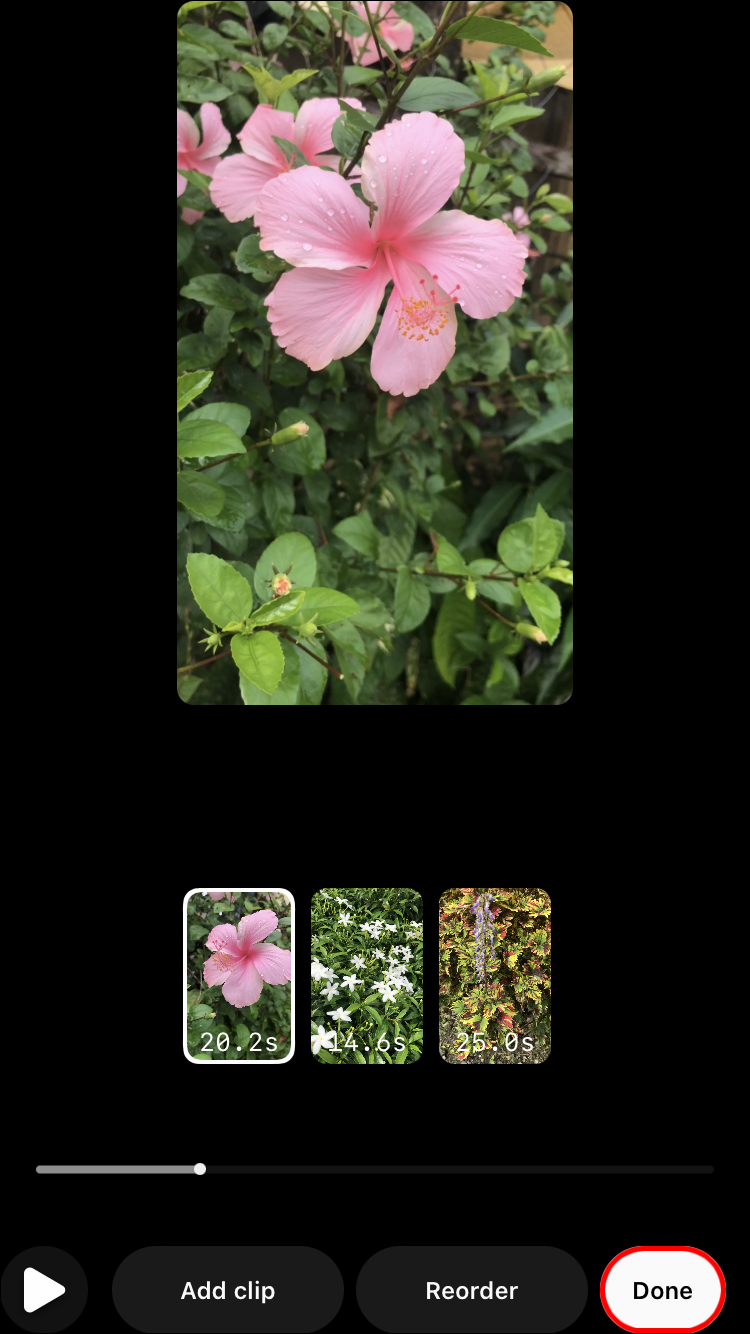
- Tap “Edit Clips” at the bottom left.
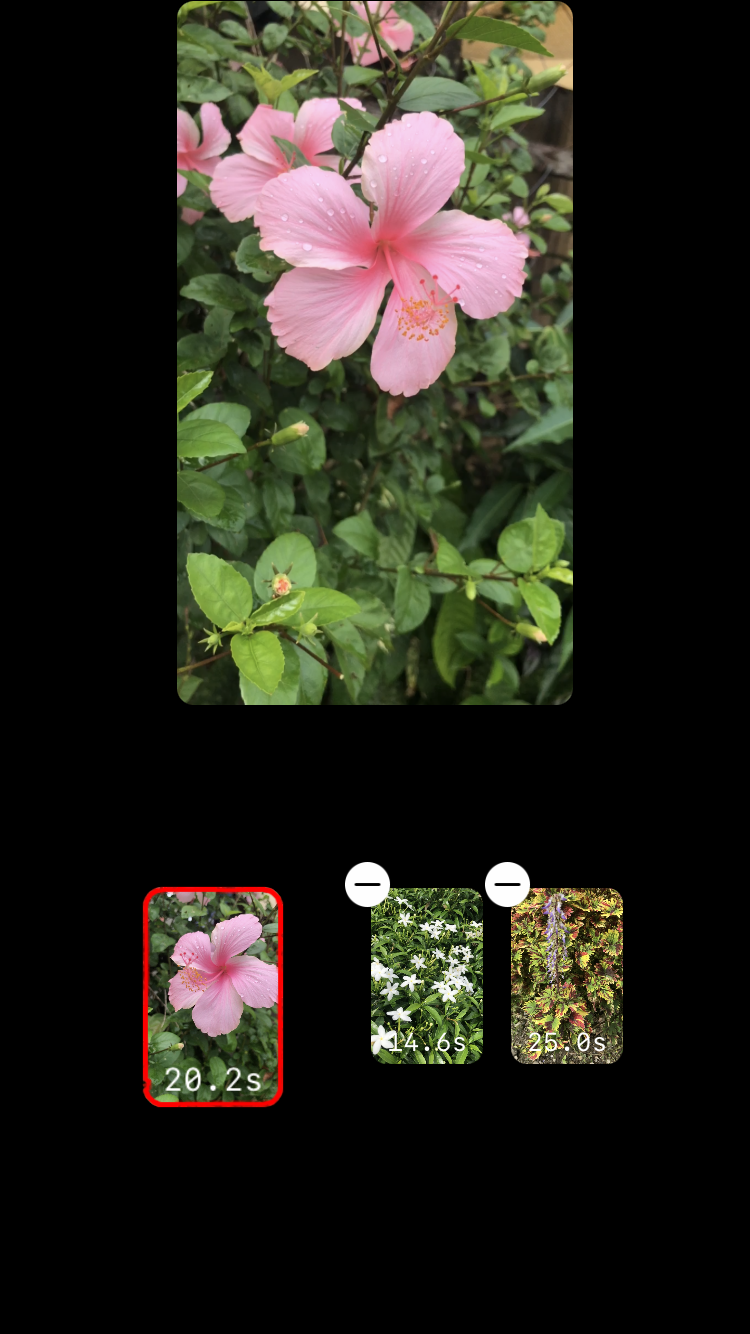
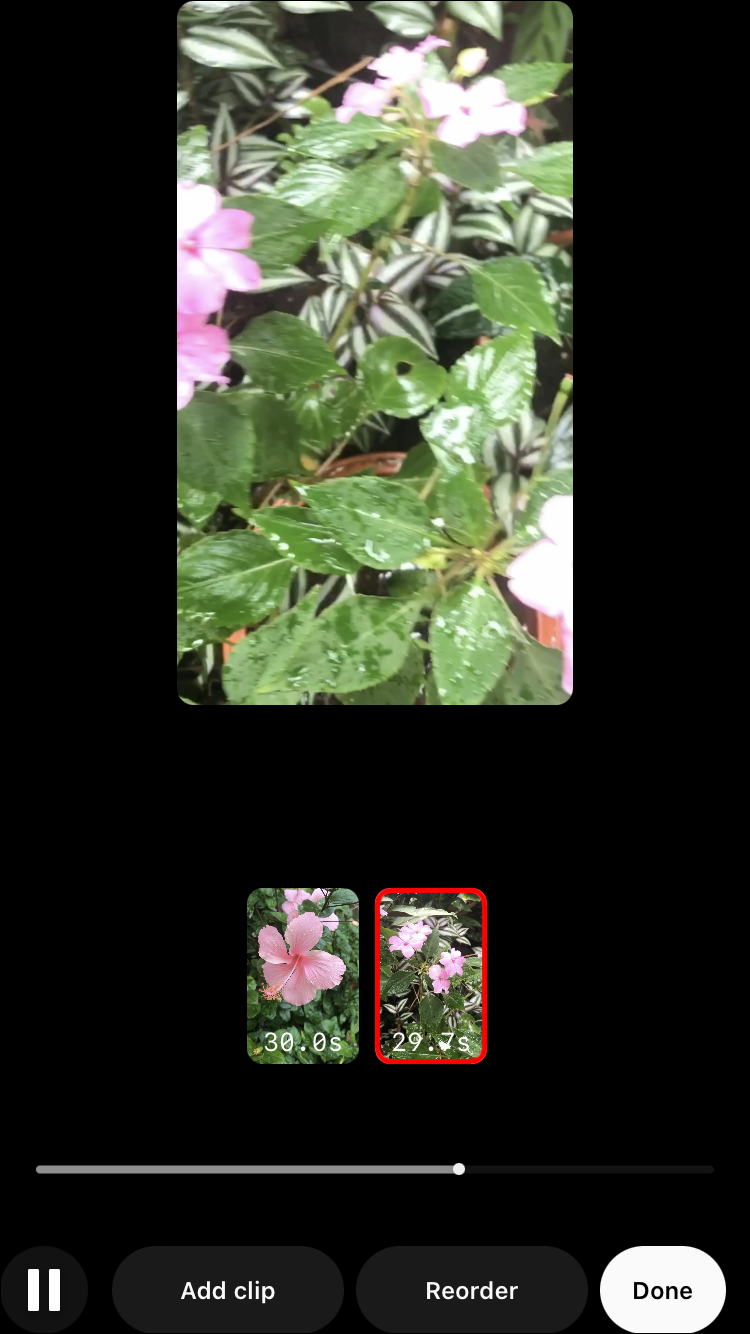
- Click the “Reorder” option on the editing screen.
- Press the clip and drag it to your desired position.
- Repeat step 4 until you’ve organized the clips to your liking.
- Hit “Done” to save the changes.

Press the “Play” button in the bottom-left corner of your screen to ensure you’re satisfied with the end result.
If you realize you’ve forgotten to record or add something, don’t worry. You can film more clips to include in the Reel, provided you haven’t maxed out on the time limit.
While on the editing screen, tap the “Add Clips” button at the bottom left. Either film new clips or choose a pre-recorded video. Follow the steps above to find the perfect place for them in your Reel.
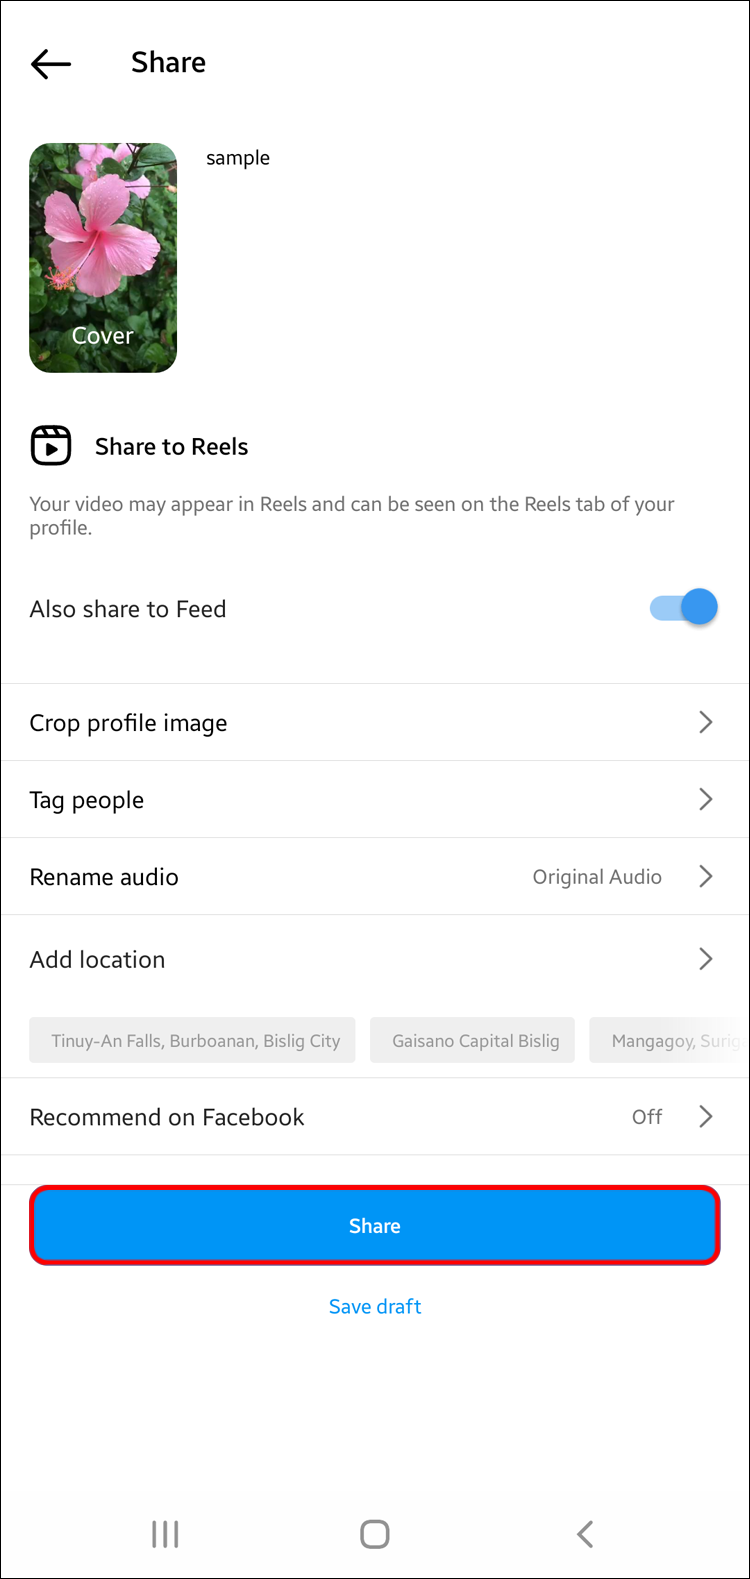
Now that your video is ready to post, follow these steps to share it to your feed:
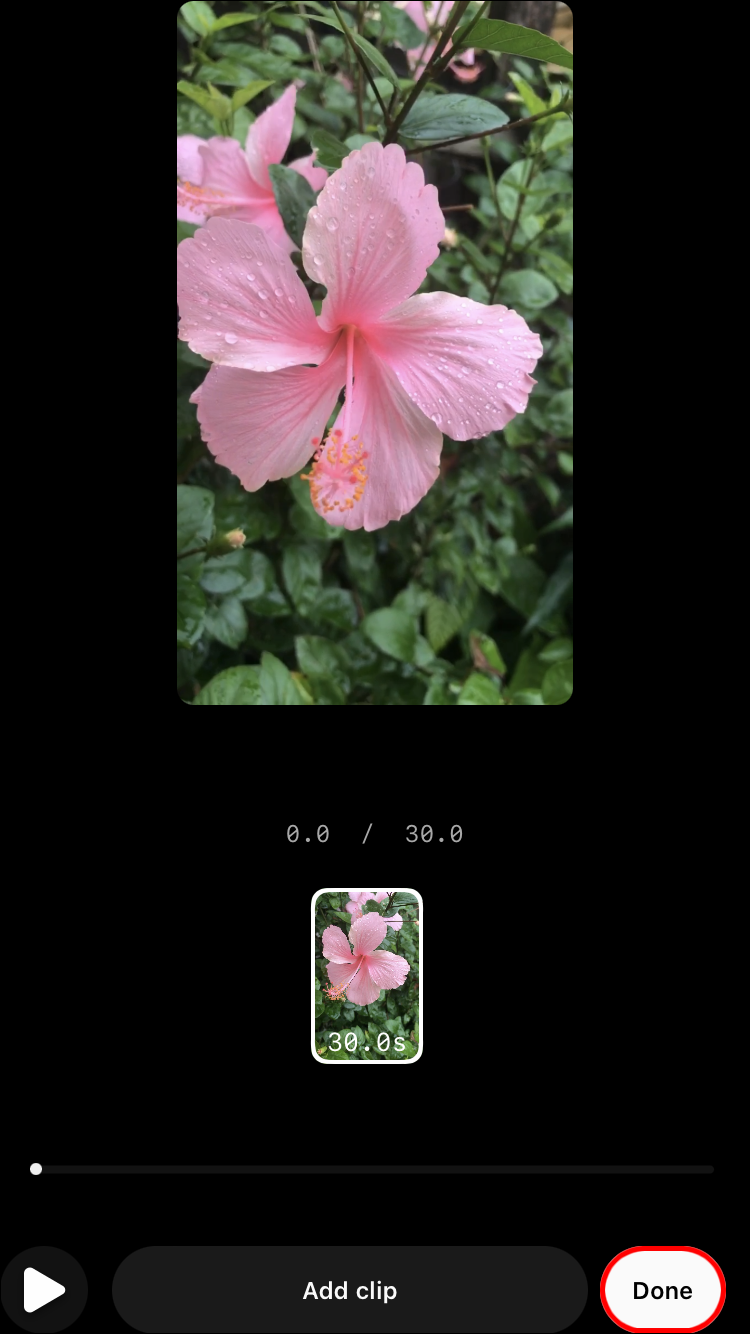
- Press “Done” in the bottom-right corner of the editing screen.
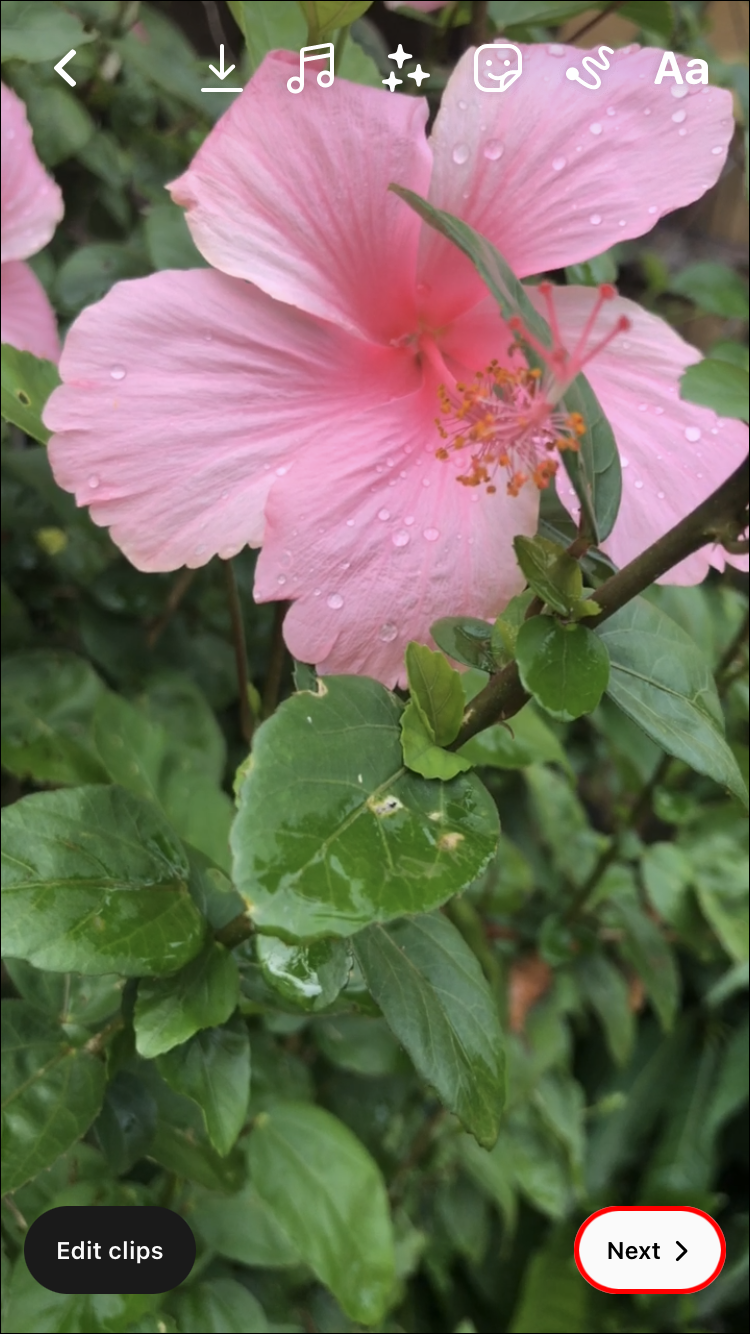
- Tap “Next.”
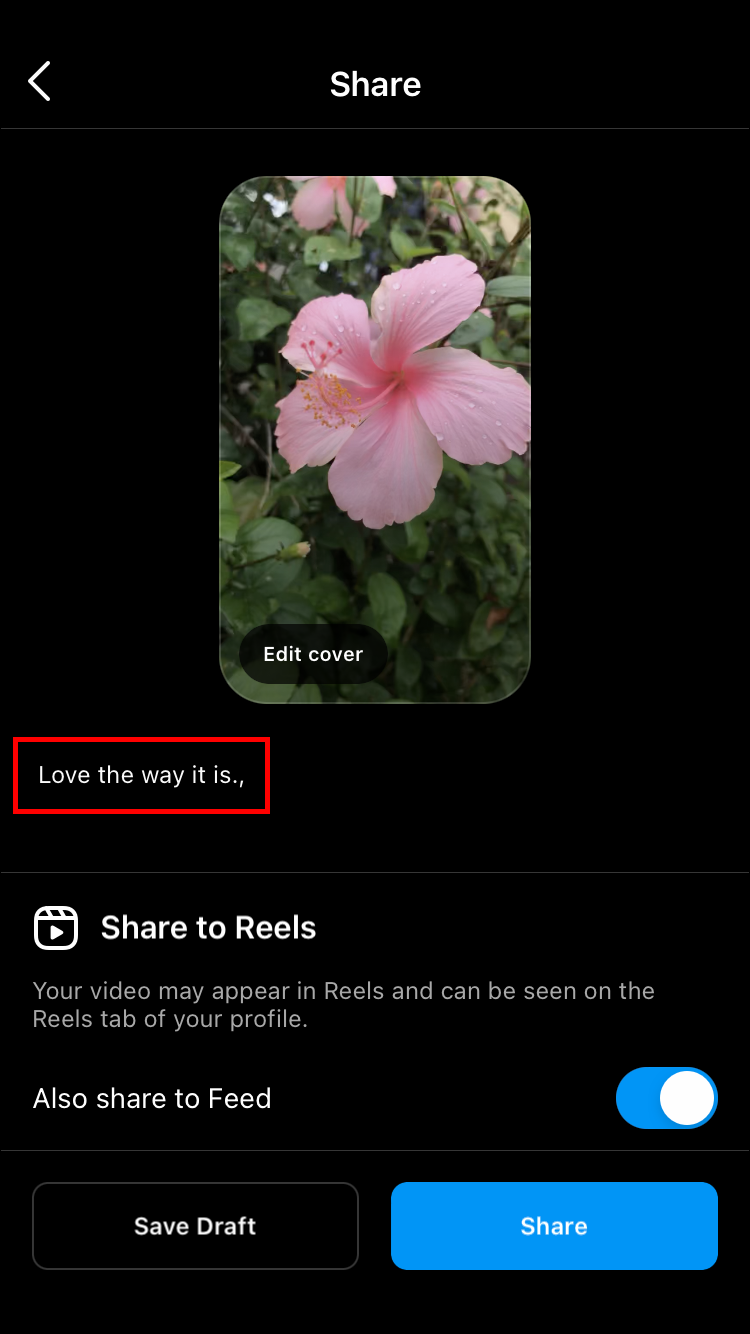
- Optionally, write a caption, and add a cover photo and a location.
- Hit “Share” to publish your Reel.

However, you can trim or delete individual clips if you’d like to do more fine-tuning before posting the Reel.
How to Trim Clips in Reels
The trimming option can come in handy if you think some clips run too long. Also, the middle of the video is usually where all the good stuff is. So, getting rid of the first or last few frames of a clip will set a better pace for your Instagram Reel.
Here’s how you can trim individual clips on your iPhone:
- Record your clips or choose pre-recorded videos from your “Photos.”
- Click “Preview” in the bottom-right corner.
- Tap the “Edit Clips” button.
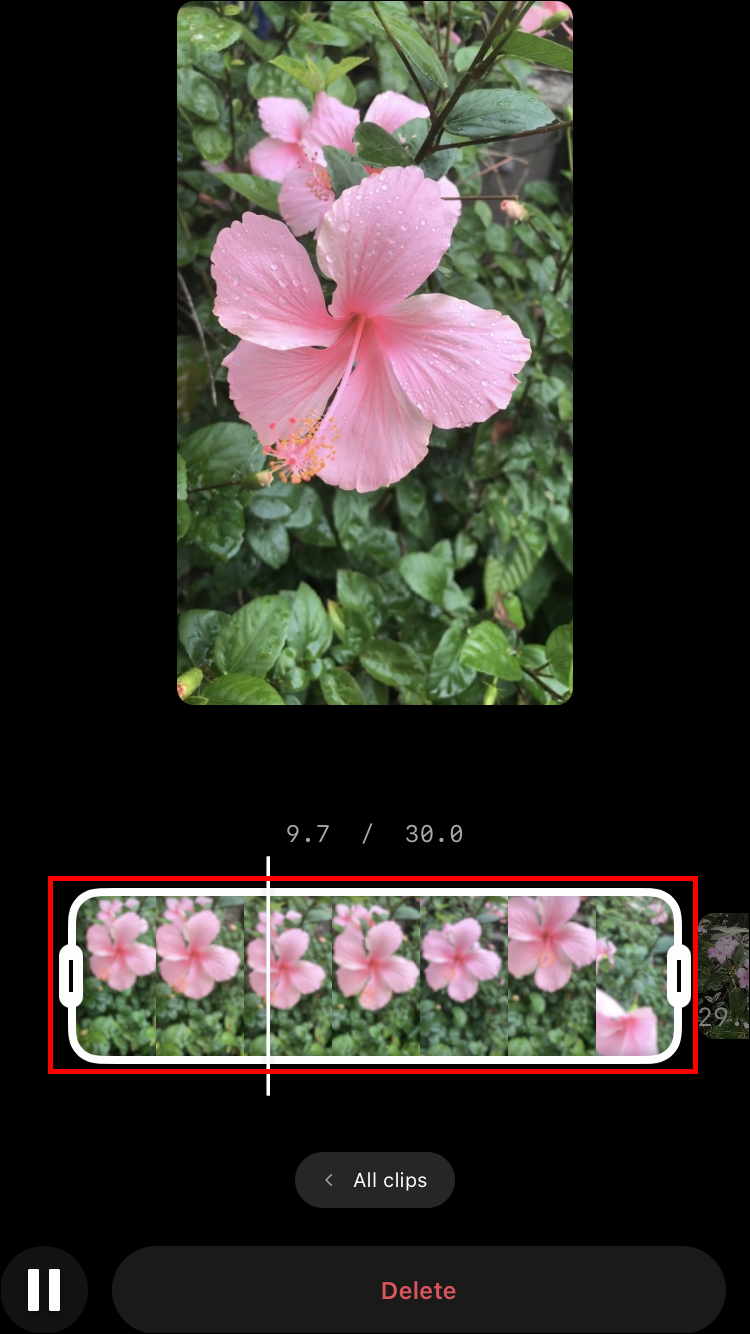
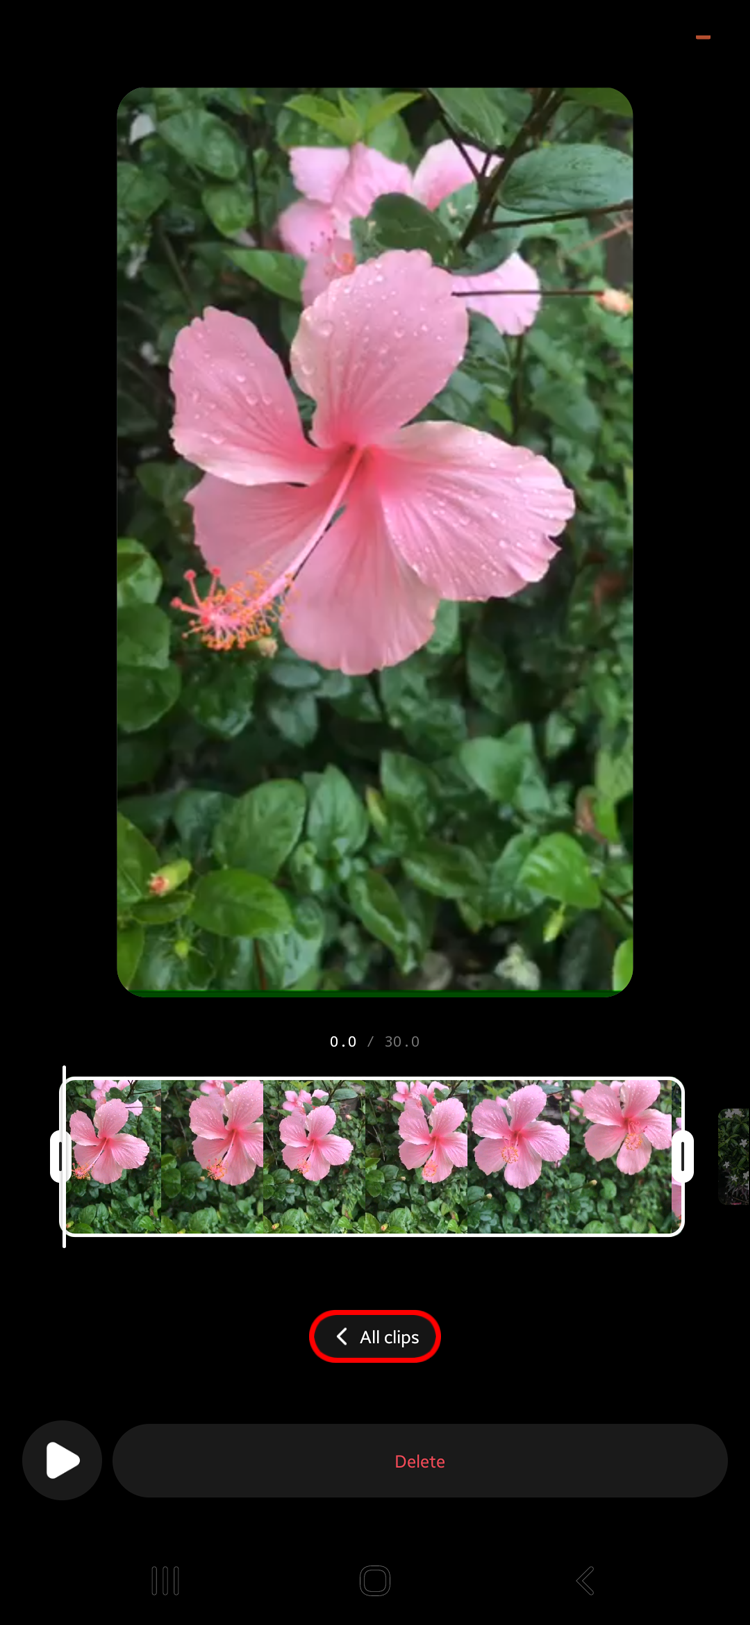
- Press the clip you’d like to edit to expand it.
- Use the slider to trim the beginning of the end of the clip.
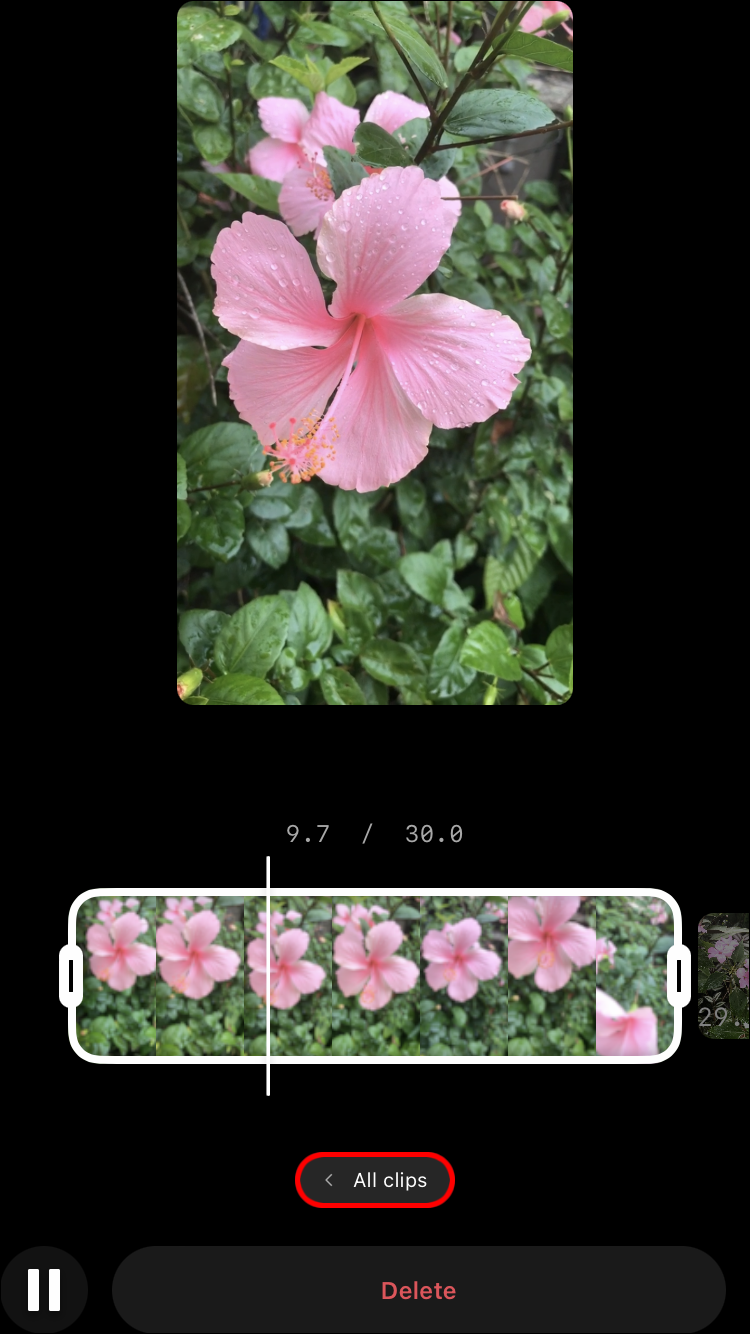
- Once you’ve eliminated the unnecessary parts, tap “All clips.”
- Repeat steps 4–6 for all clips you’d like to trim.

How to Delete Clips in Reels
If a clip doesn’t fit in with the rest of the video or you don’t like how it turned out, you can delete it in five relatively easy steps:
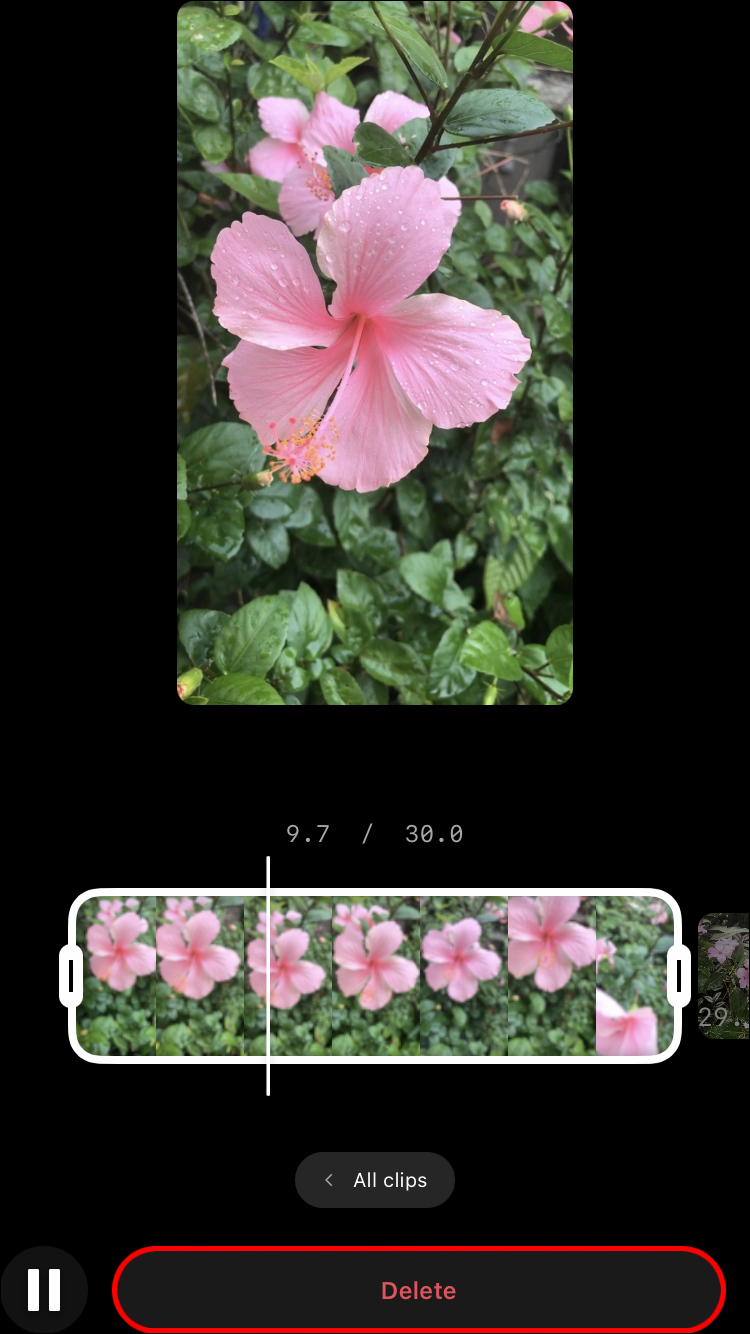
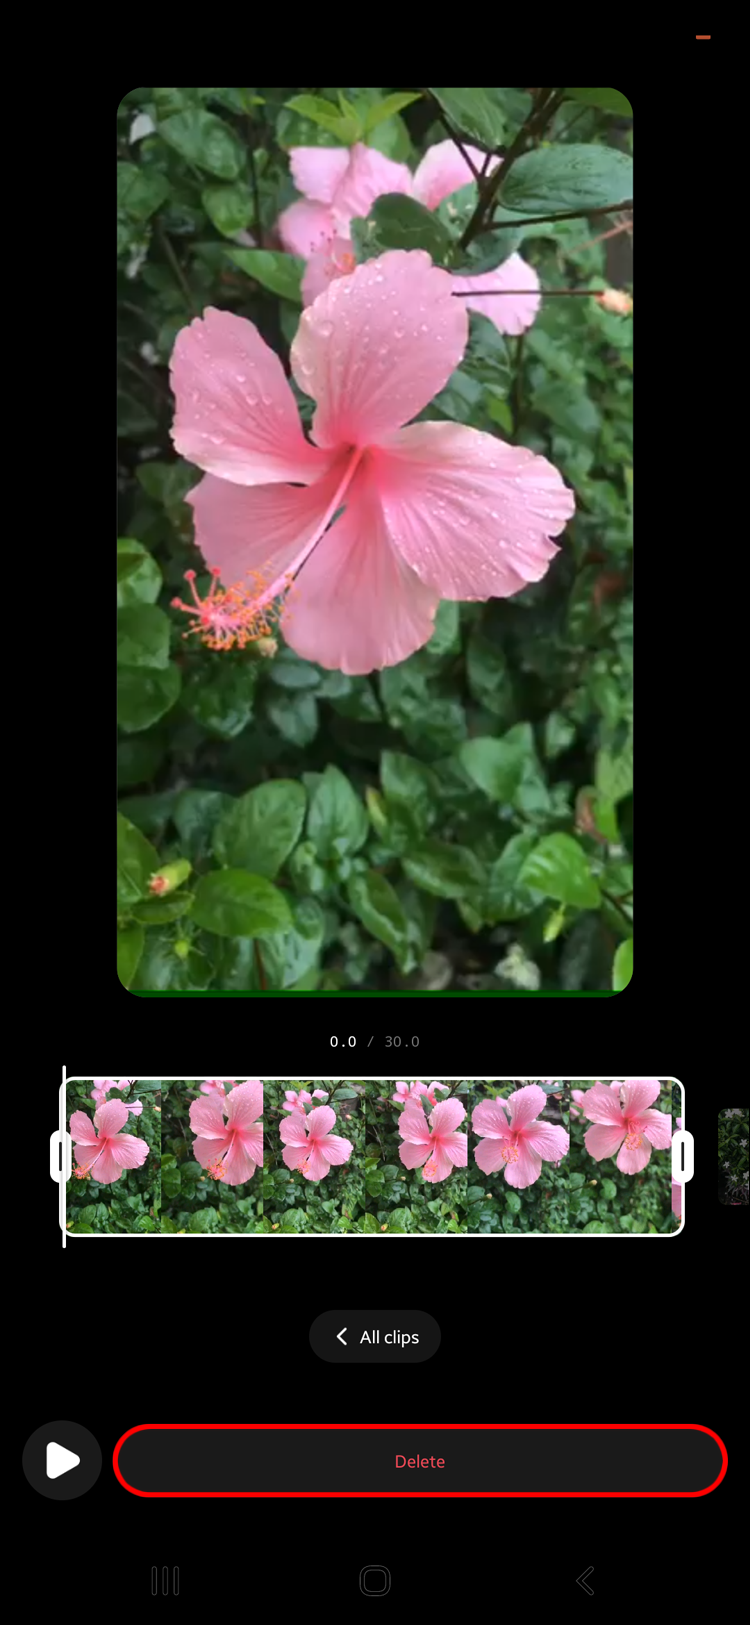
- Click the clip you want to remove to expand it.
- Tap the three-dot icon in the bottom-right corner.
- Select “Delete.”
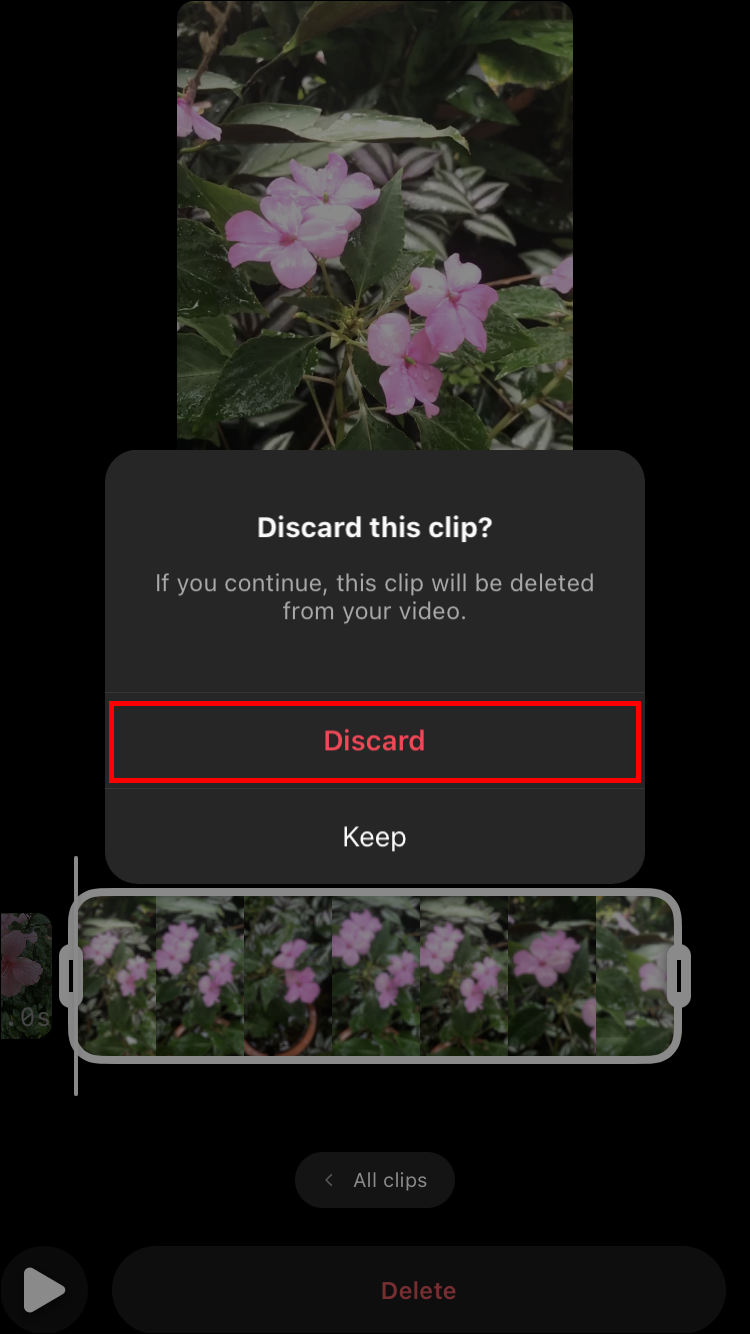
- Press “Discard” on the pop-up window.
- Hit “Done.”
How to Rearrange Clips in Reels on an Android
You don’t have to map out the exact sequence of your clips before pressing the “Record” button. You can be spontaneous and have fun filming your clips. Then, you can use Instagram’s editing options to figure out the best way to order your clips.
Follow the steps below to record your clips:
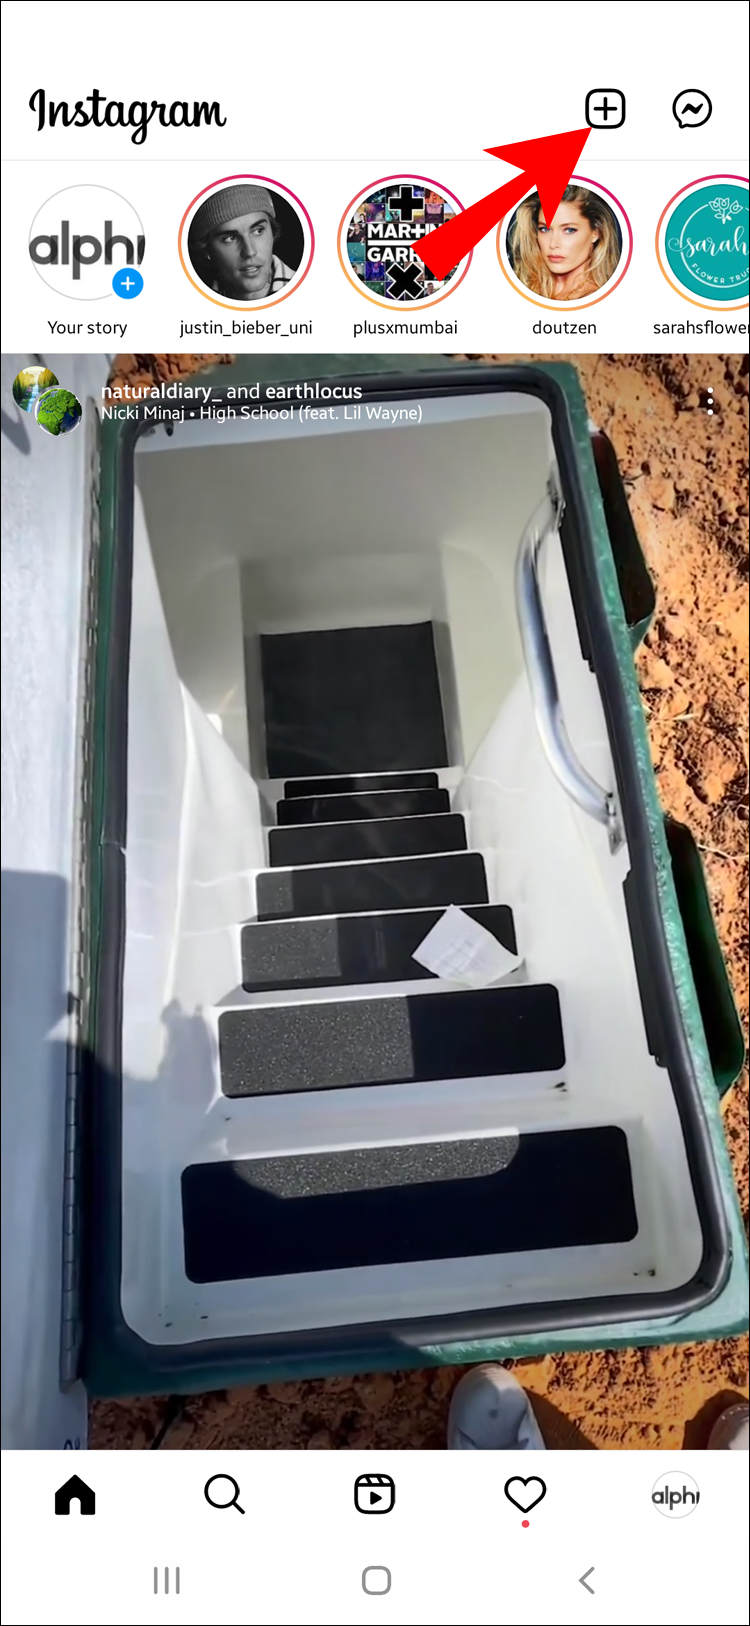
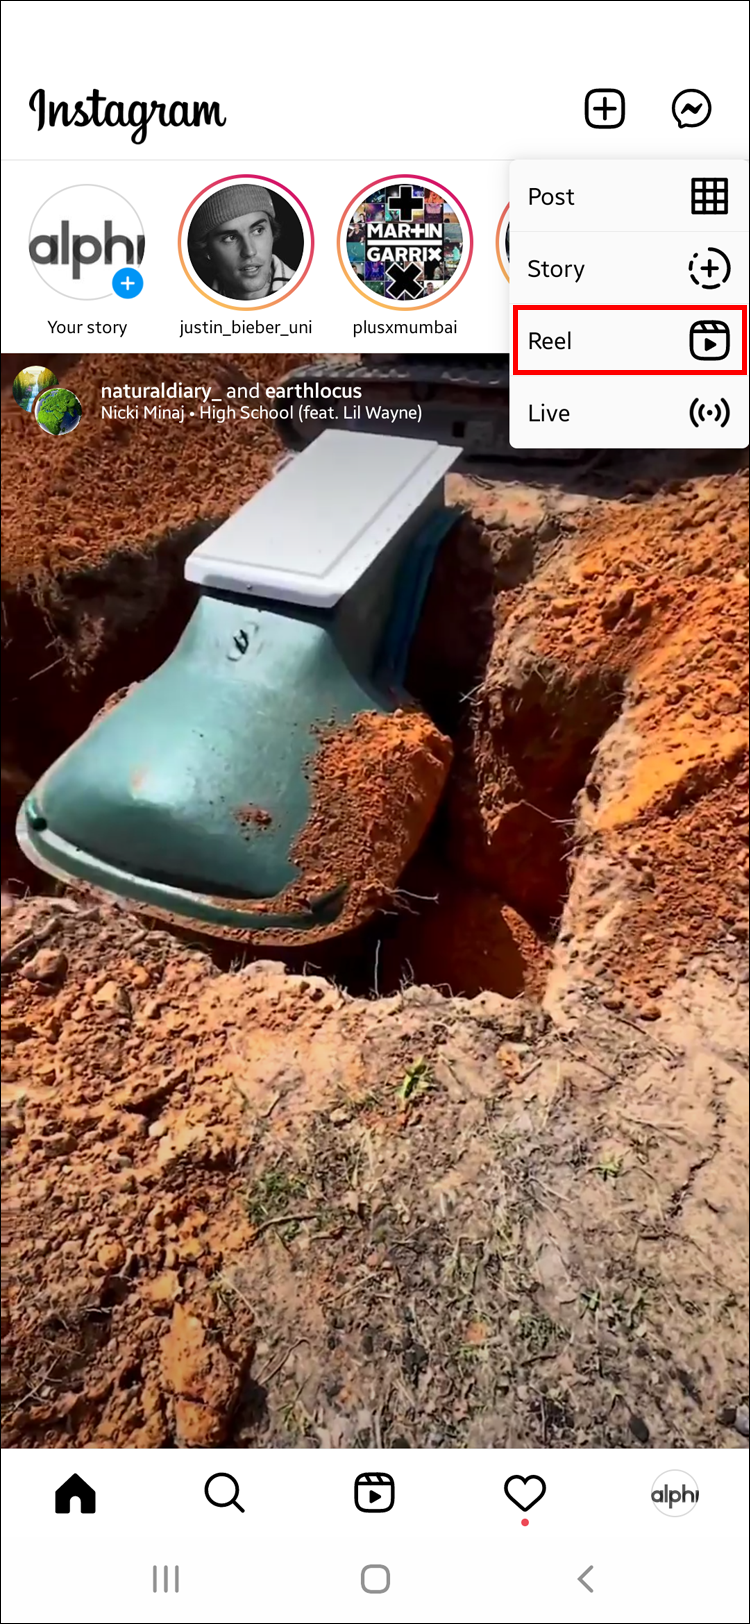
- Tap the “plus” button in the top-right corner of your screen.
- Select “Reel.”
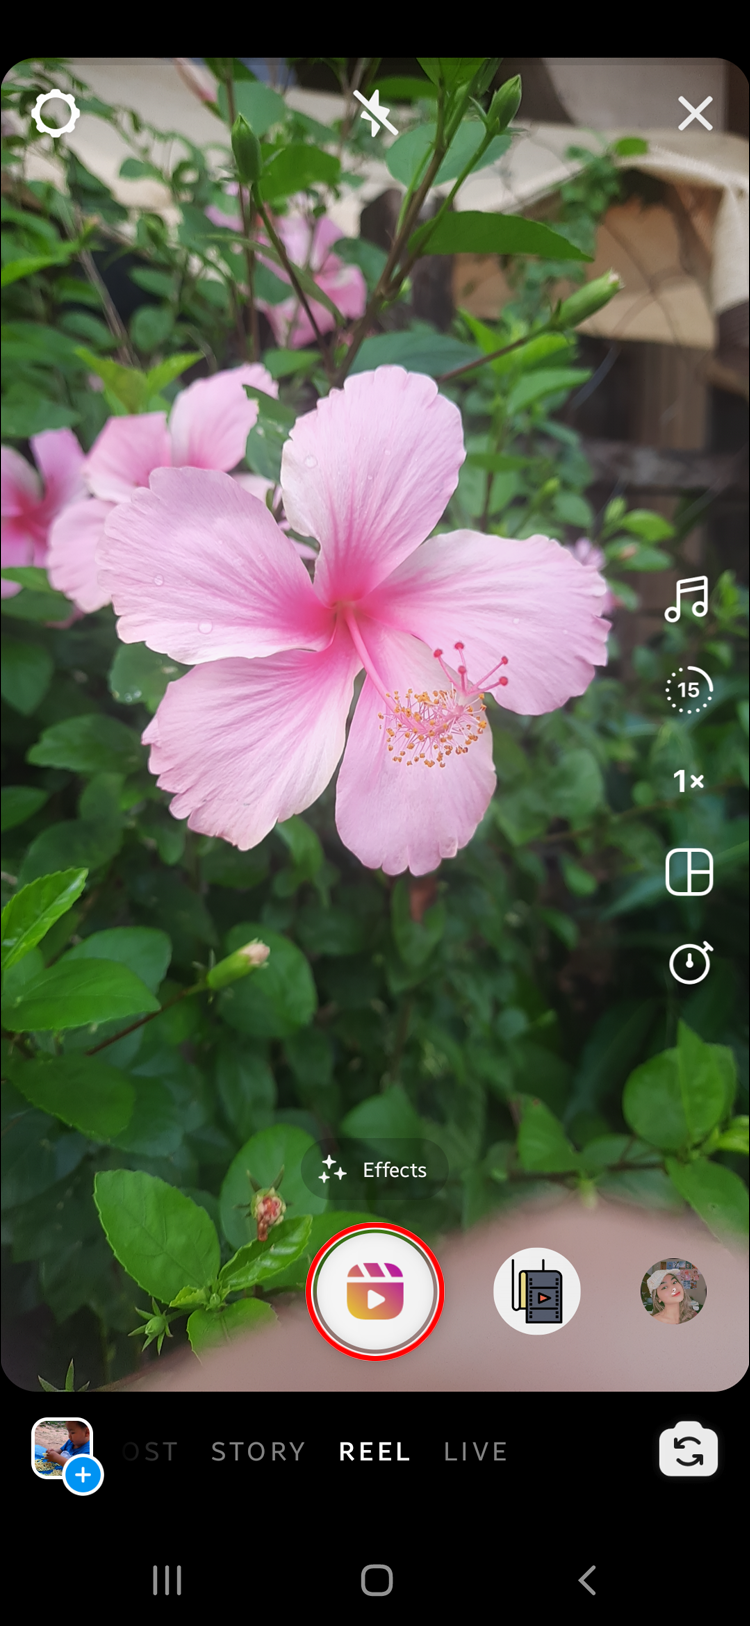
- Press the “Record” button in the center to record your video.
- Hit the same button to stop recording.
- Repeat steps 3–4 for all the videos you’d like to film.
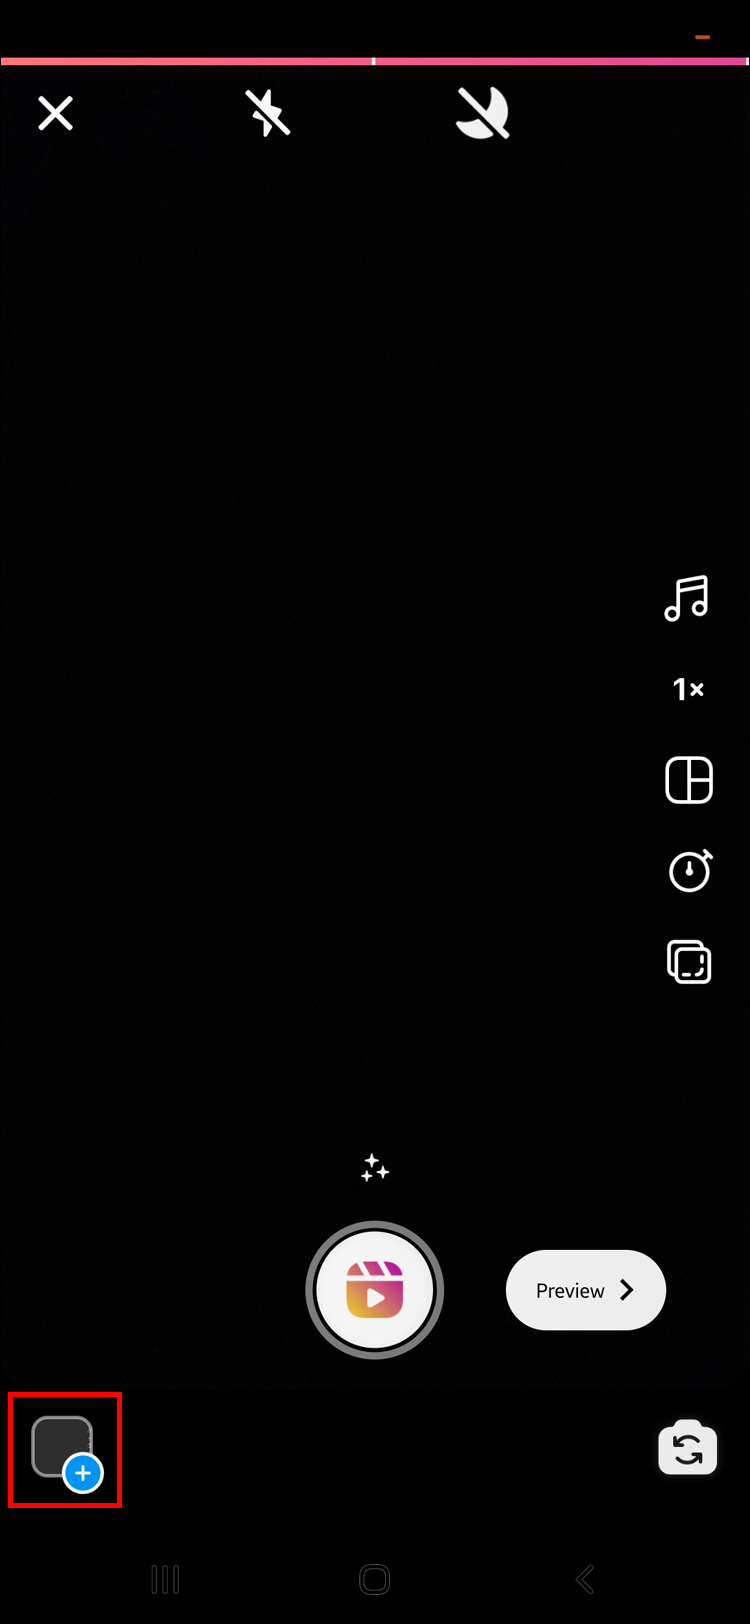
You can also add some pre-recorded clips to your Reel. Just tap the “plus” button in the bottom-left corner of your recording screen and select the clips.
Once you’ve shot your videos or reached the 60-second limit, it’s time to get down to editing. To change the order of the clips, do the following:
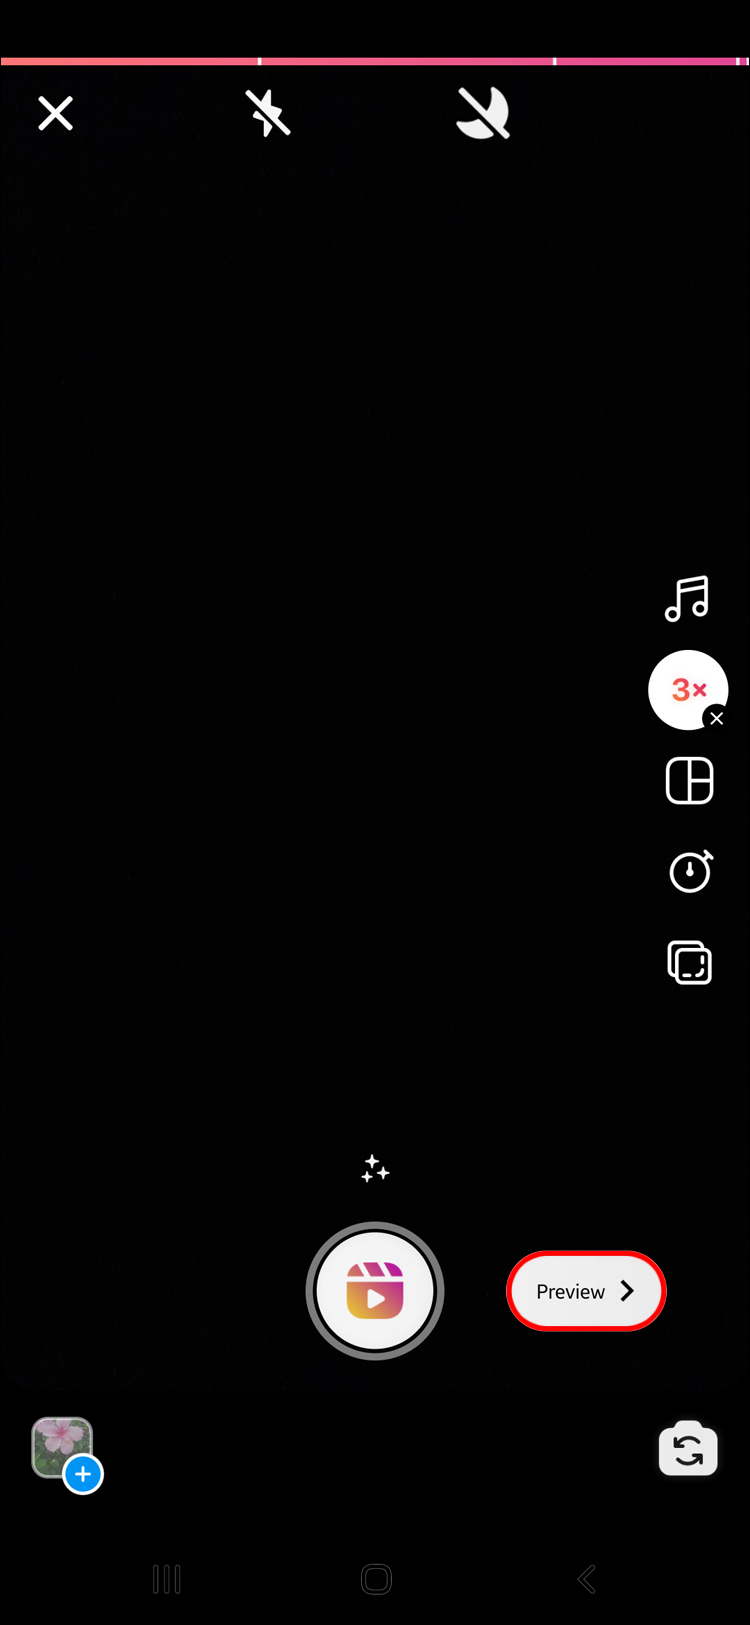
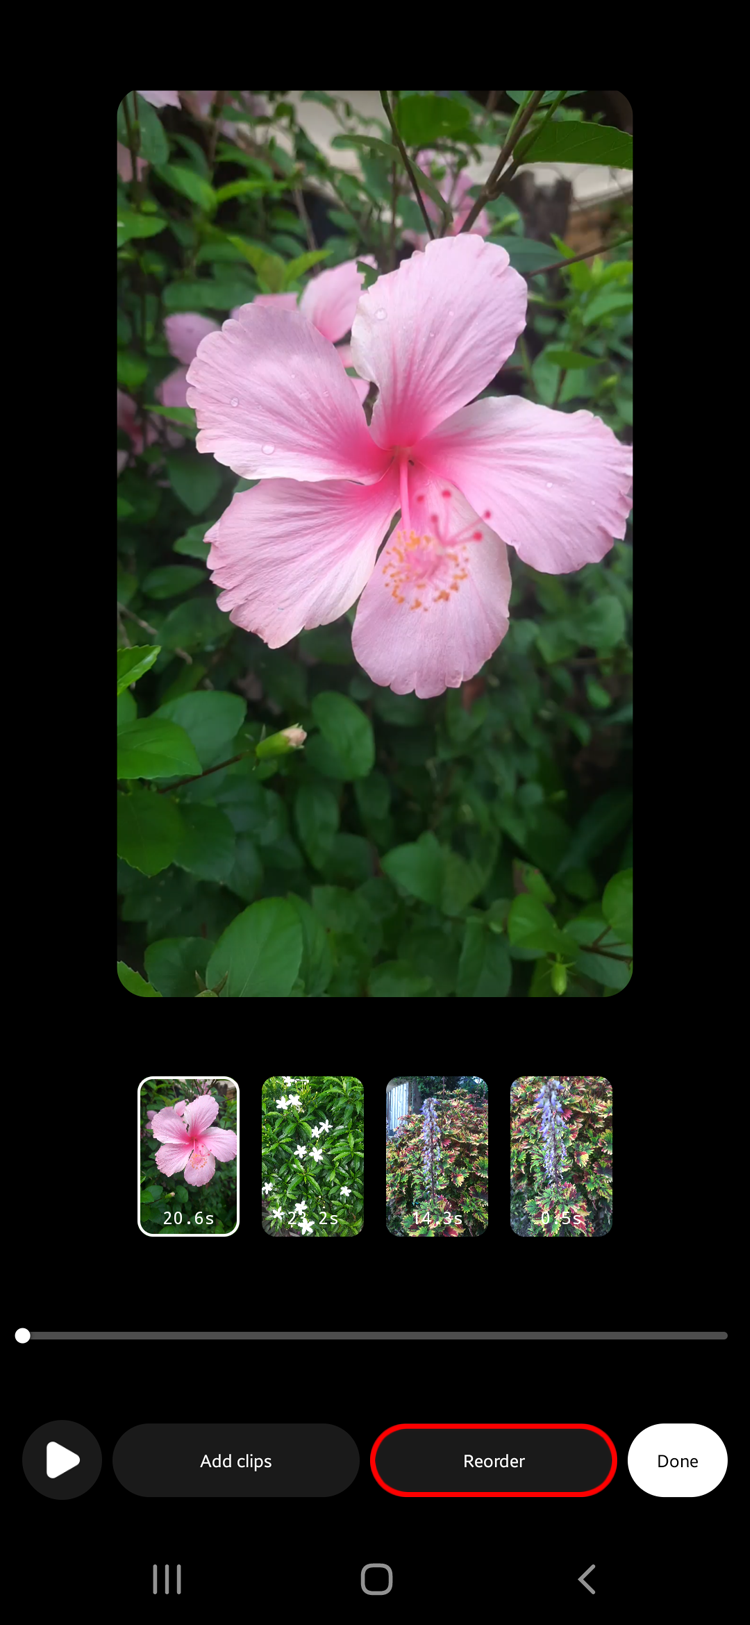
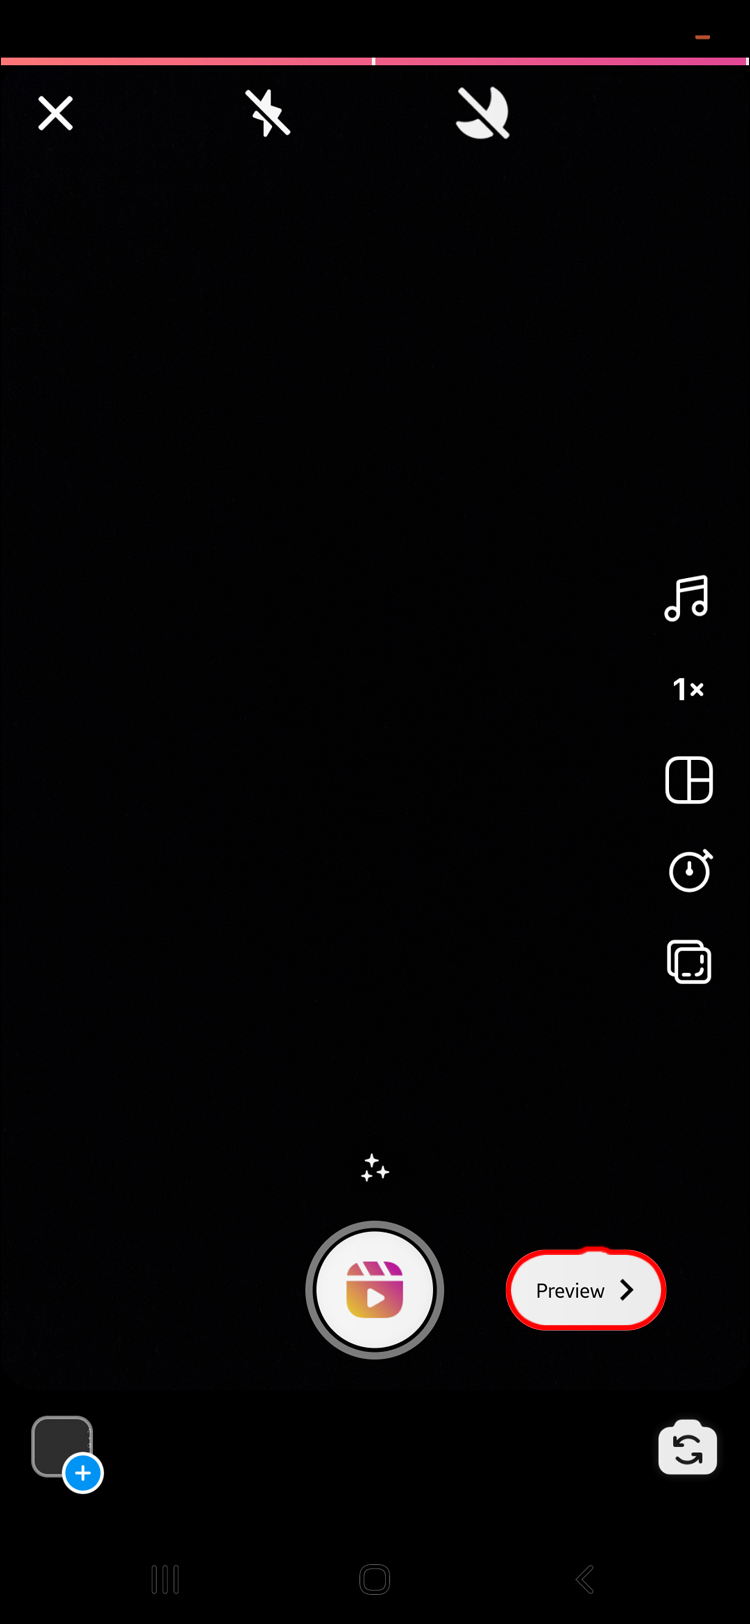
- Press the “Preview” button next to the “Record” button.
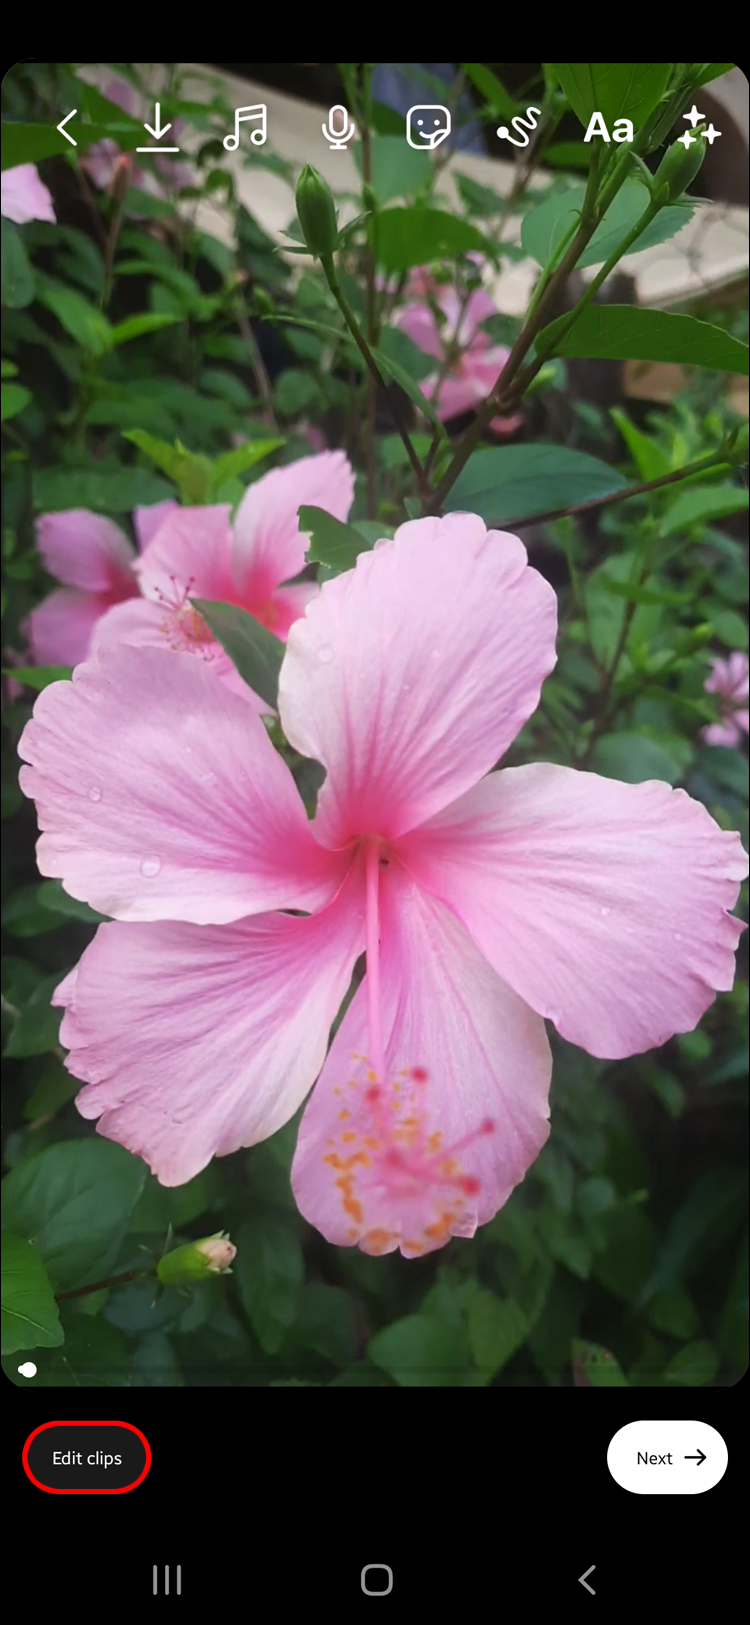
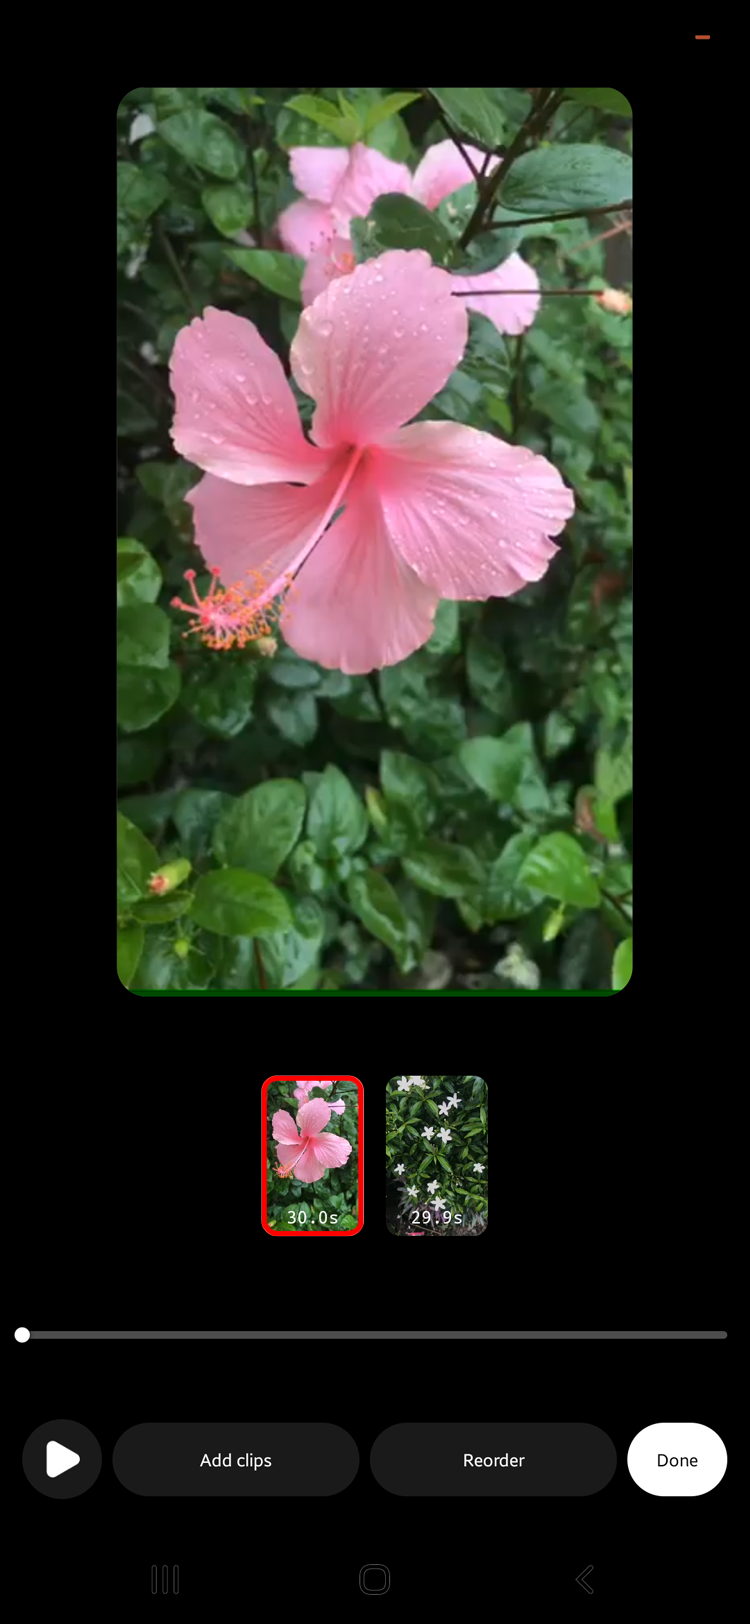
- Go to “Edit Clips” at the bottom left.
- Tap “Reorder” on the editing screen.
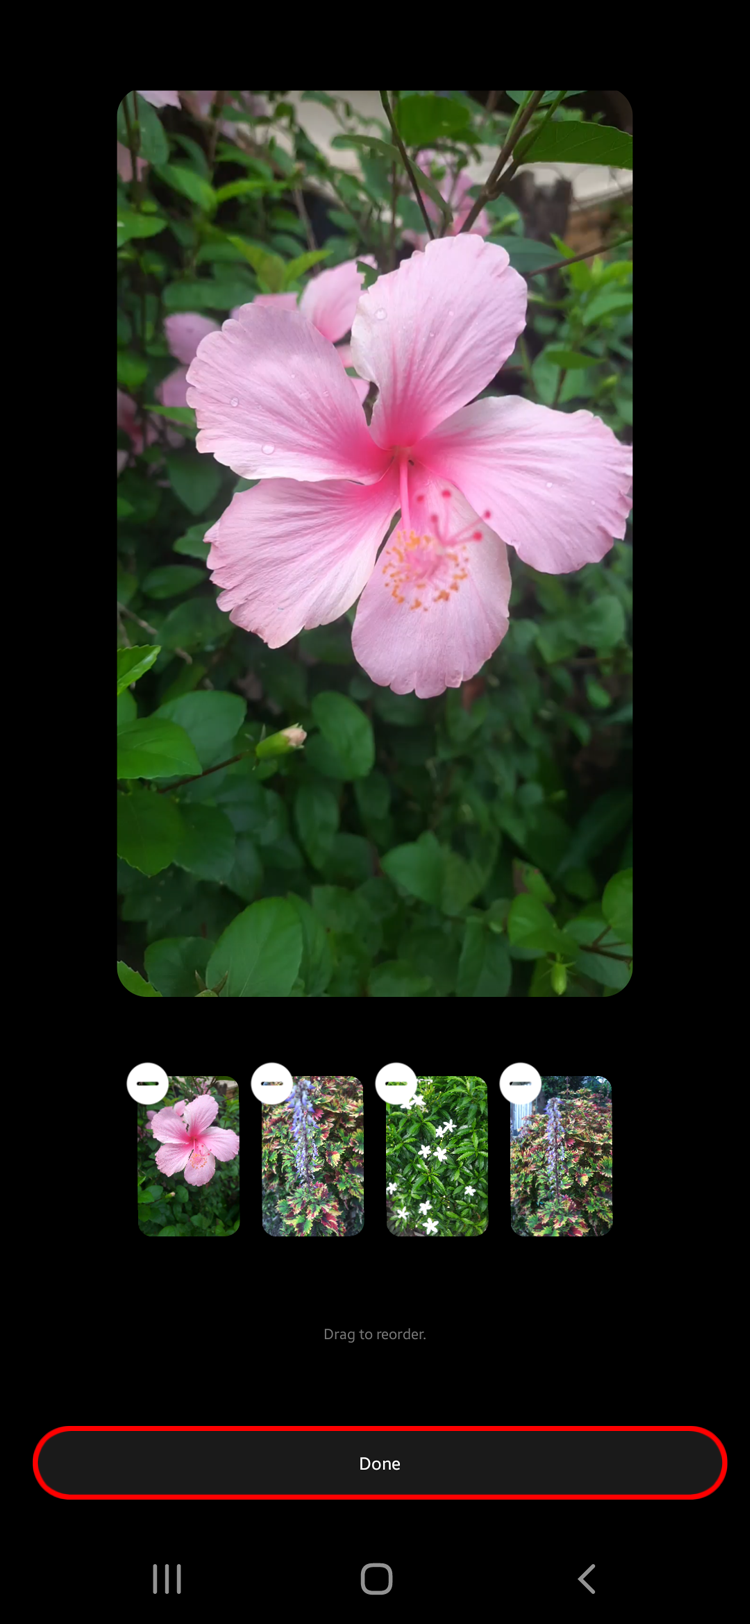
- Long-press the clip you want to move.
- Drag the clip to your desired position.
- Once you’ve rearranged the clips to your liking, hit “Done.”


You can even skip step three and press and hold a clip from the editing screen. Once all clips start to wiggle, you can begin reordering them.
When you finish rearranging the clips, press the “Play” button in the bottom-left corner to preview the completed video.
If you feel like you’re missing a piece of the puzzle, you can film more clips and add them. Just tap the “Add Clips” button next to the “Reorder” button. Follow the steps to record your videos and reorder them again, if necessary.
Alternatively, add clips from your Gallery by hitting the “plus” button at the bottom left.
If there are no other changes you’d like to make, here’s how to post your Reel:
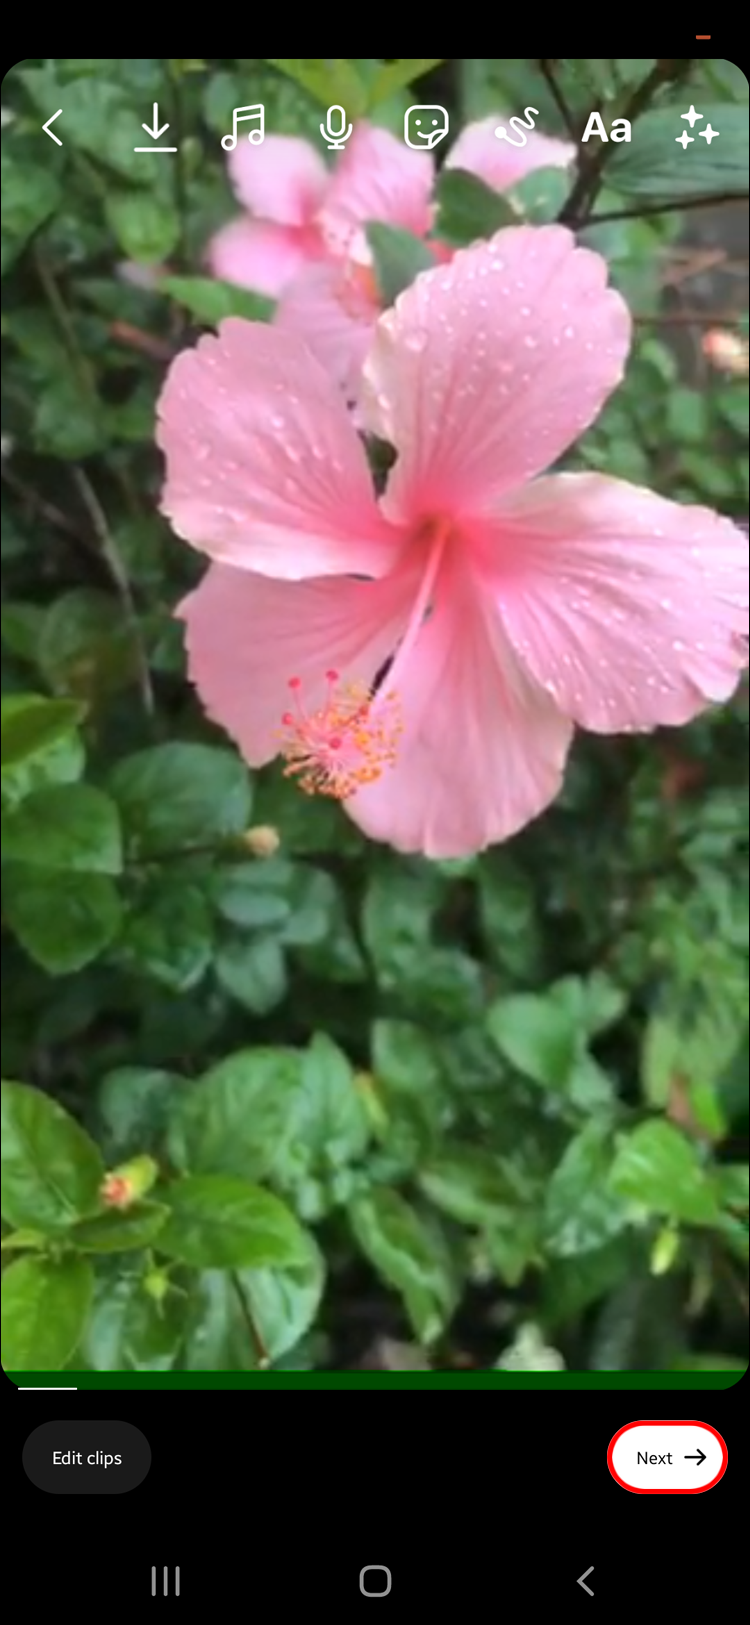
- Tap the “Done” button at the bottom right.
- Hit “Next” in the bottom-right corner of your screen.
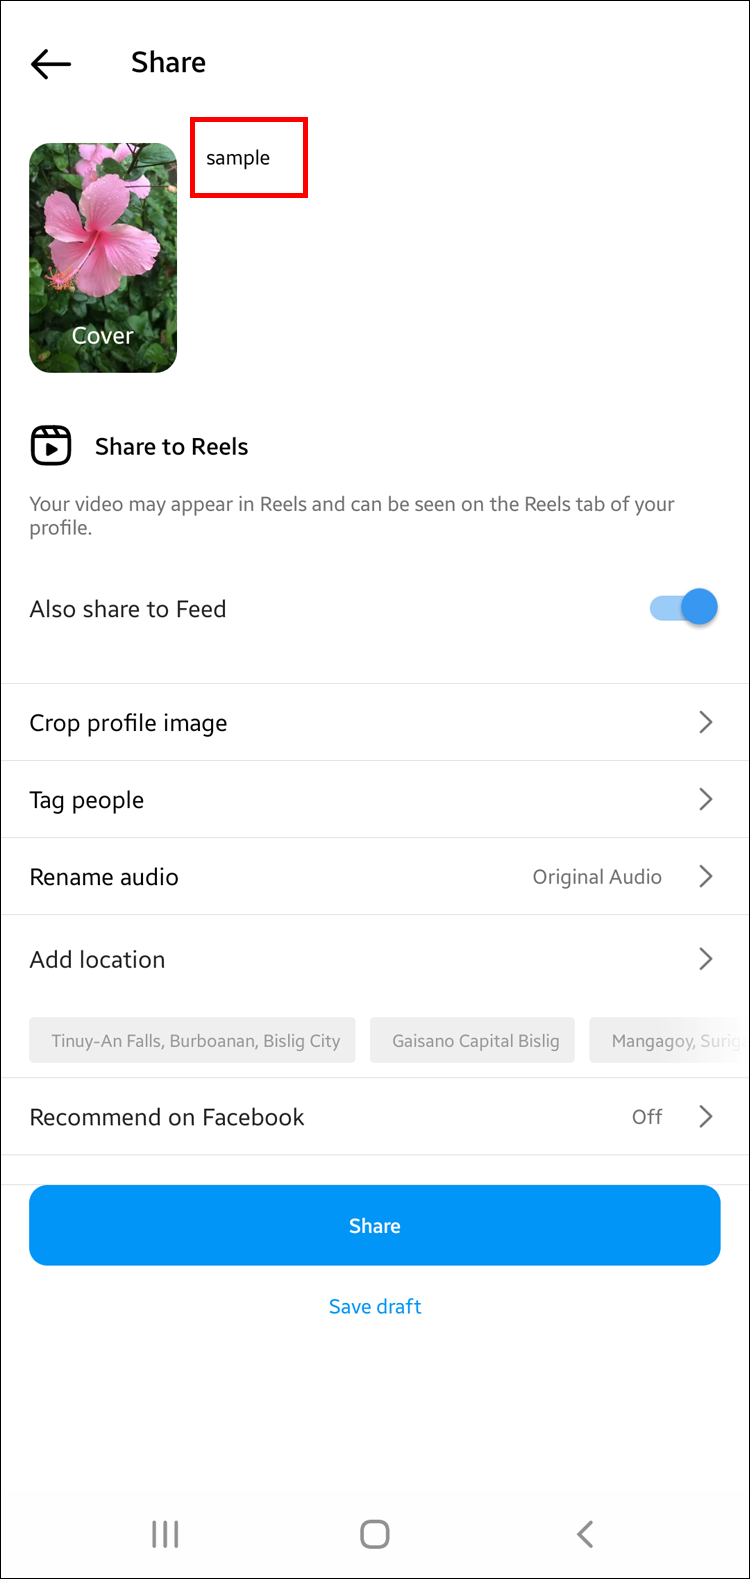
- Optionally, add a caption, a cover photo, or a location.
- Press “Share” to post your video to Instagram Reels.
Suppose your artistic vision includes more light editing of your video. In that case, you can also trim or delete the existing clips.
How to Trim Clips in Reels
It can sometimes take time to get the right angle or think of a good way to end a clip. As a result, the opening and ending frames can be unusable.
There’s no need for a reshoot once you figure out how the clip should begin and end. You can simply trim the clip to make it fit perfectly in your Instagram Reel. Here’s what to do:
- Assemble your clips by recording them on the spot or choosing from the “Gallery.”
- Click “Preview.”
- Press the “Edit Clips” button in the bottom-left corner.
- Tap the clip you’d like to trim to expand it.
- Drag the slider toward the center to trim the beginning or the end.
- When you’re satisfied with the length of the clip, hit “All clips.”
- Repeat steps 4–6 for all clips you’d like to edit.

How to Delete Clips in Reels
Some clips you’ve recorded might turn out to be a bad call. If a clip doesn’t work with the overall video, you can remove it in a few taps.
You can delete an individual clip from an Instagram Reel in three ways:
- Tap the clip to expand it and then hit “Delete.”
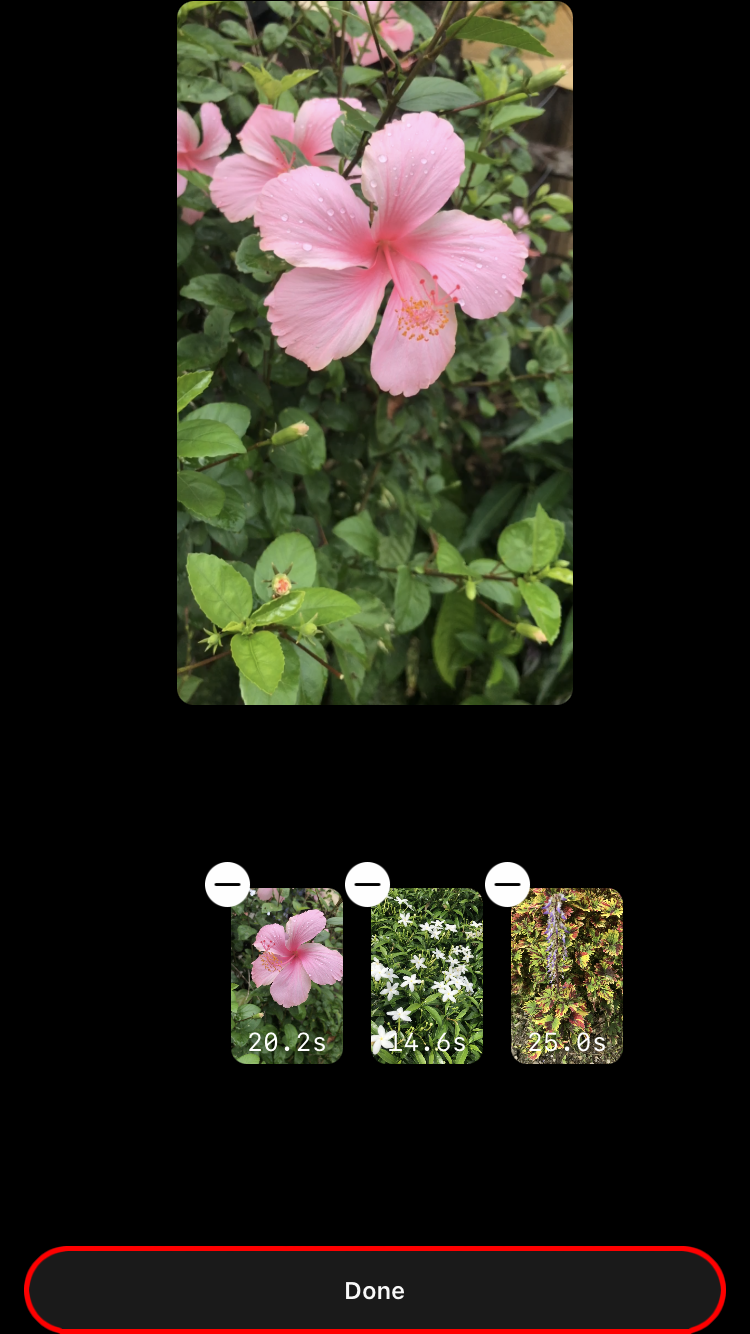
- In the “Reorder” screen, tap the “minus” button in the upper-left corner of the clip.
- Long-press the clip in the “Preview” screen and hit the “minus” button.
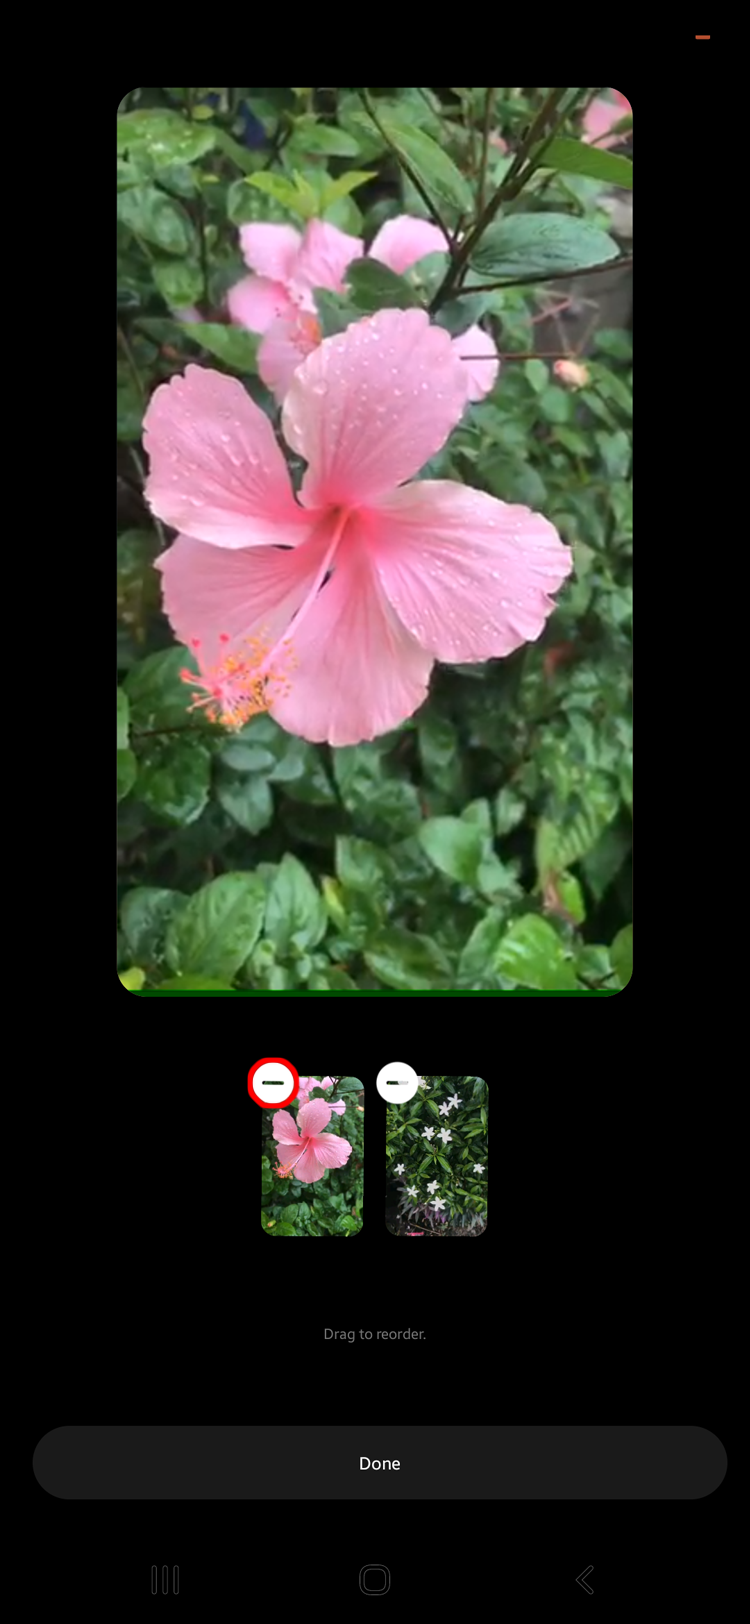
Whichever route you take, confirm your action by choosing “Discard” when prompted.
How to Edit Reels in Drafts
Sometimes, you might not be sure if a video is Instagram-worthy. So, instead of your feed, it ends up in your drafts. The good news is that you can revisit the video whenever you’d like to make the necessary changes.
Follow these steps to access your “Drafts” folder on Instagram:
- Tap your photo to open your profile page.
- Navigate to the “Reels” tab.
- Click “Drafts” to open your saved videos.

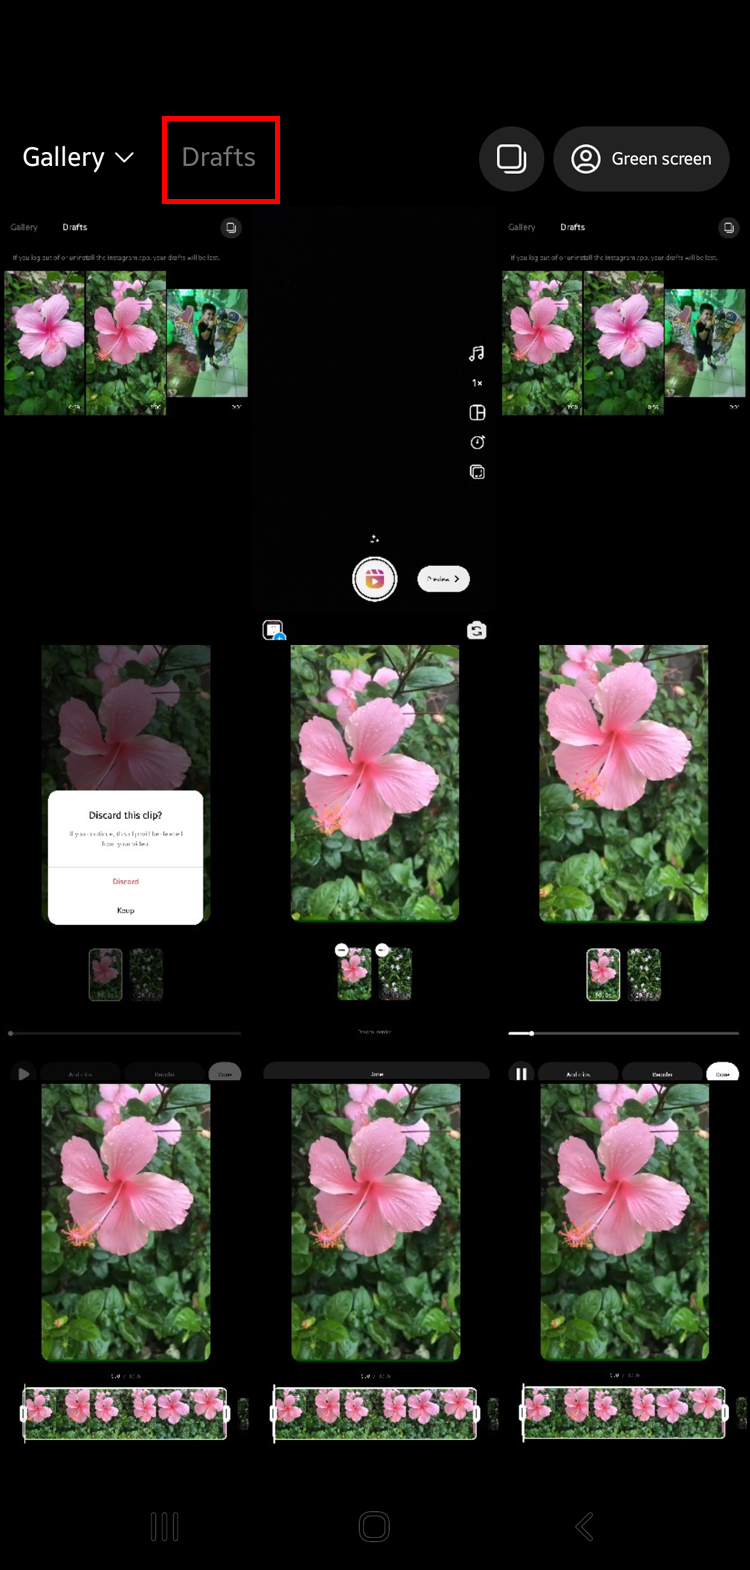
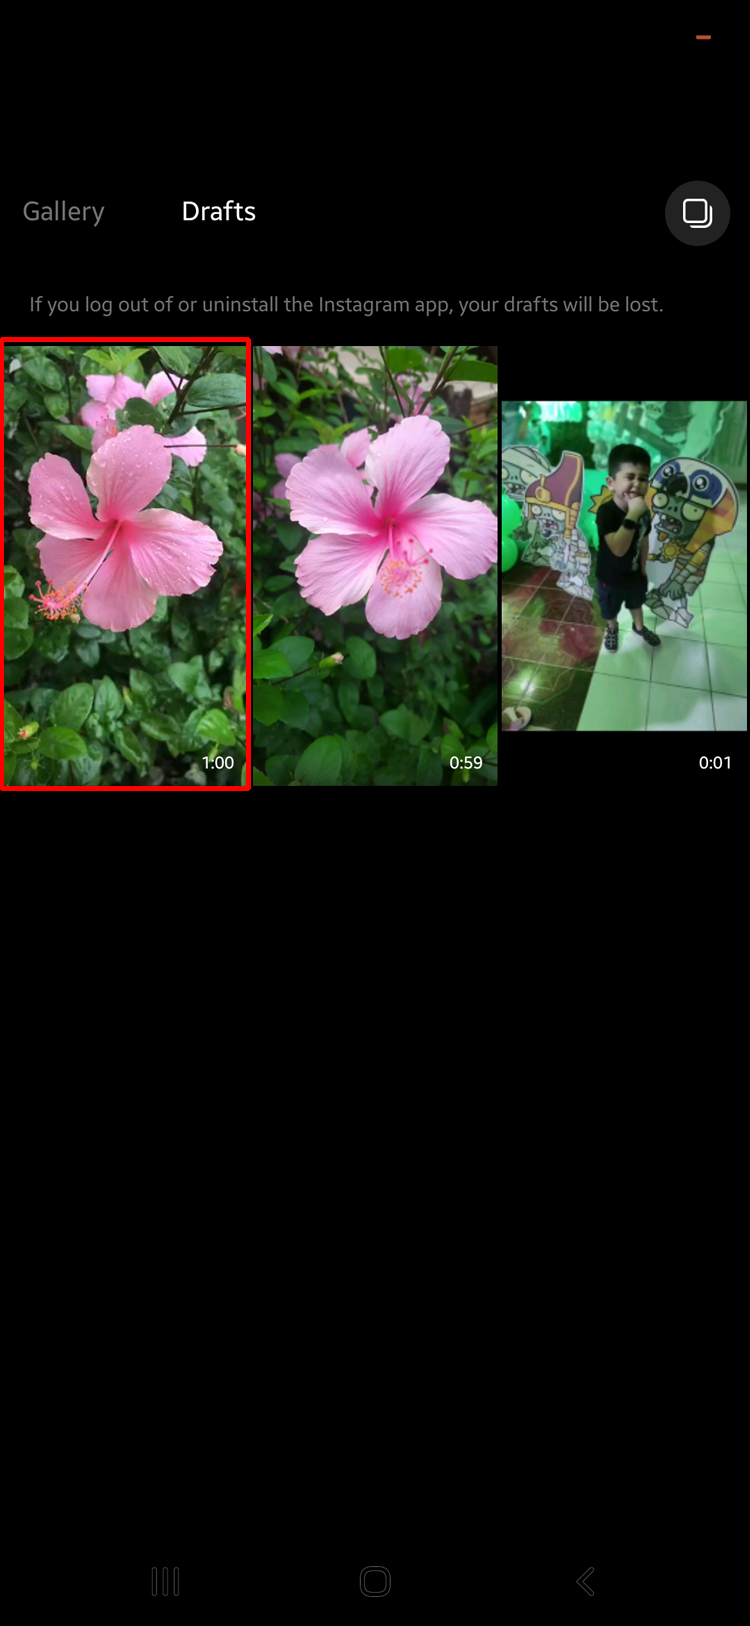
Once you’re on the “Reels drafts” page, do the following:
- Find the video you’d like to edit.
- Tap the video to open it.
- Press “Edit” in the top-right corner of the “New reel” page.
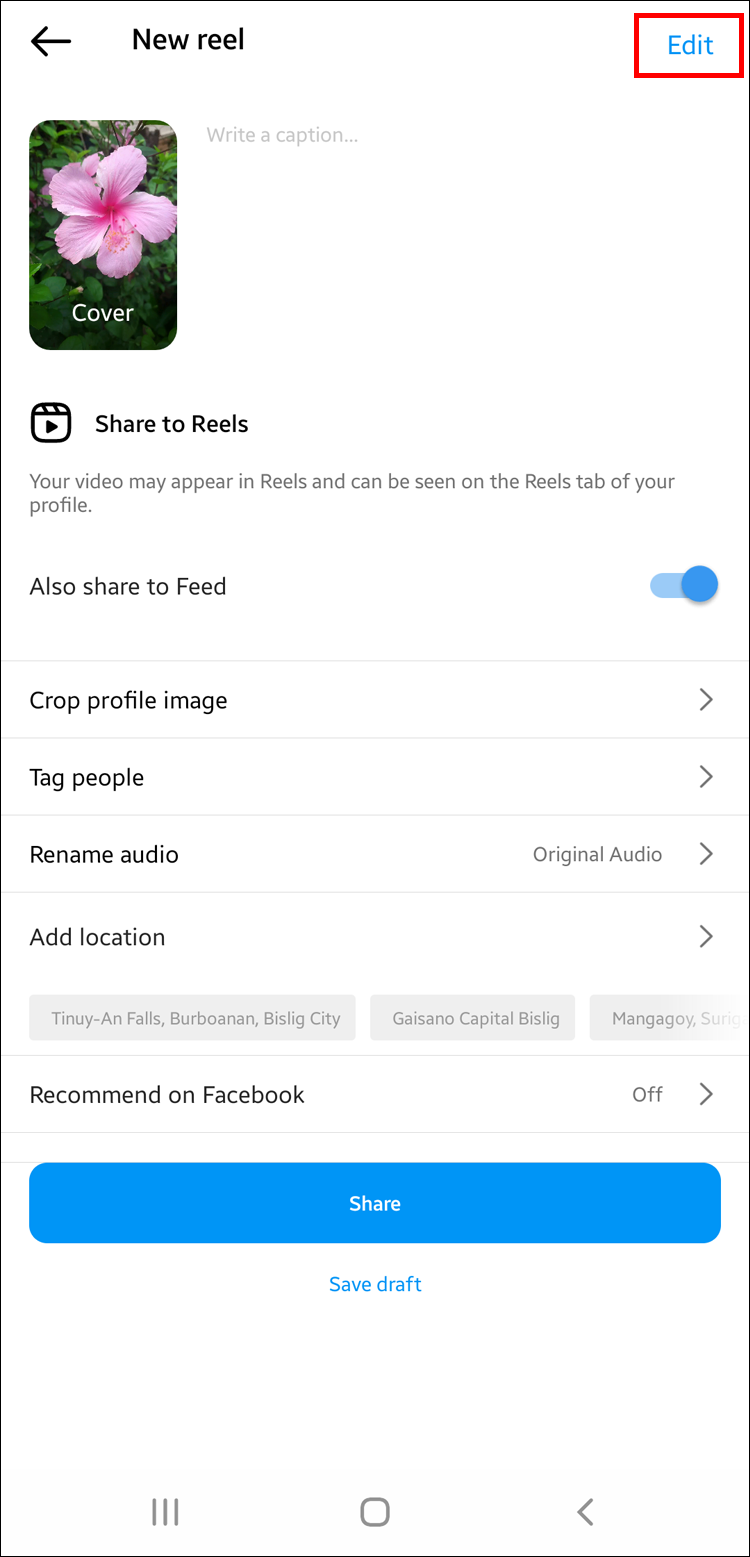
After that, follow the steps from our guide to rearrange, trim, or delete clips.
Lights, Camera, Action
Creating an attention-grabbing Instagram Reel is a serious undertaking. First, you develop an exciting idea and shoot some quality footage. Afterward, use our guide to rearrange and edit the clips to make your Instagram Reel visually appealing and perfectly paced.
Have you ever tried to rearrange clips in Instagram Reels? Were you satisfied with the end results? Let us know in the comments section below.
Disclaimer: Some pages on this site may include an affiliate link. This does not effect our editorial in any way.