Saving image files as PNG is a key feature in any image editor. PNGs allow for much more flexibility than other popular formats. Unlike program-specific project file formats, they can also be opened with any image editor.
Gimp users might thus be puzzled when they don’t see the option to save their picture as PNG using their app’s save command. Does Gimp support PNGs? How do you save an image as PNG using this program? Read on to learn everything you need to know about the topic.
Exporting Your Image as a PNG
Gimp is a popular free alternative to image editor giants like Adobe Photoshop. While the latter uses PSD as its default file format, Gimp files will be saved in XCF. This file format is essential for everyone who wants to get the most out of their Gimp, as it retains all layer and other crucial information inside the file. You can save your project and pick up where you left off or tweak details before finalizing them, thanks to the XCF format.
That said, the XCF format isn’t without its disadvantages. While you can open PSD files with Gimp and various other apps, you won’t be able to open XCF files with Photoshop and other image editors. Therefore, saving your project in a file format compatible with other platforms is crucial.
Since version 2.8, Gimp’s Save menu only allows you to save files in XCF format. However, that doesn’t mean you can’t produce other file formats in this app. Instead of saving the file, you will need to export it. Here’s how to export your project as a PNG file in Gimp.
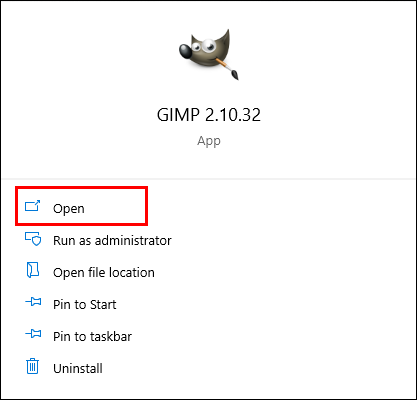
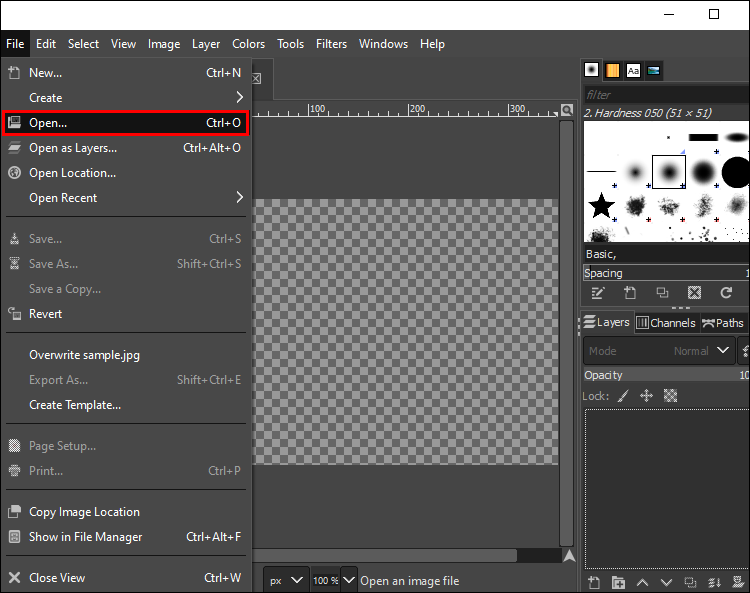
- Launch Gimp app and open your project by clicking “File,” then “Open…”
- Select the file you want to save as a PNG and import it. Once you’ve opened the image, click “File” and find the “Export as…” option. You can also press your Shift, Ctrl, and E keys on Windows or Shift, Command, and E keys on Mac simultaneously to open the Export window.

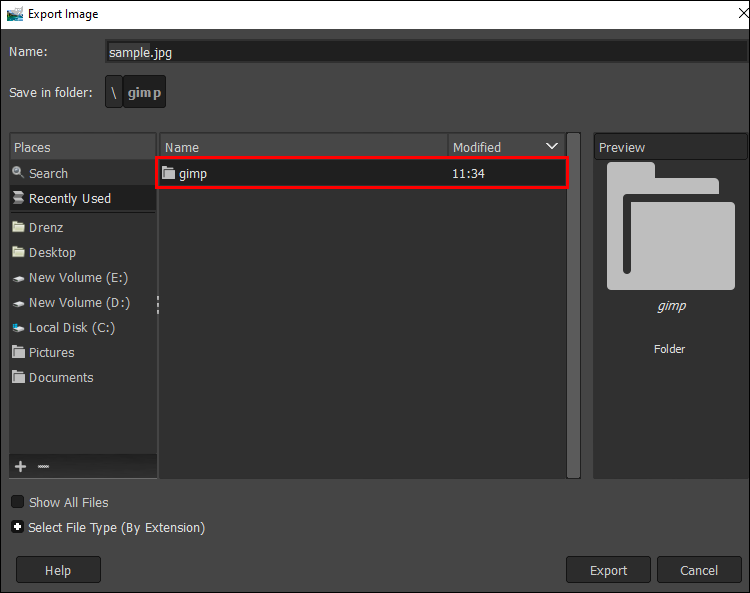
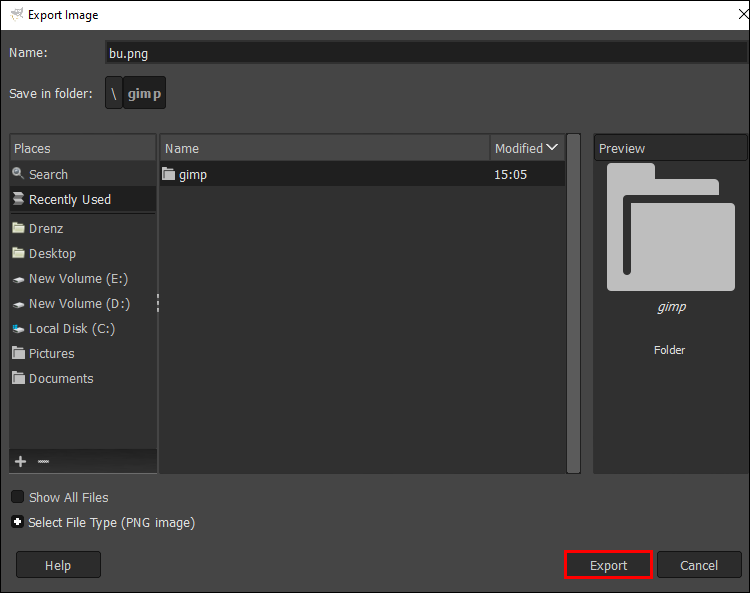
- Choose where you want to save your file.
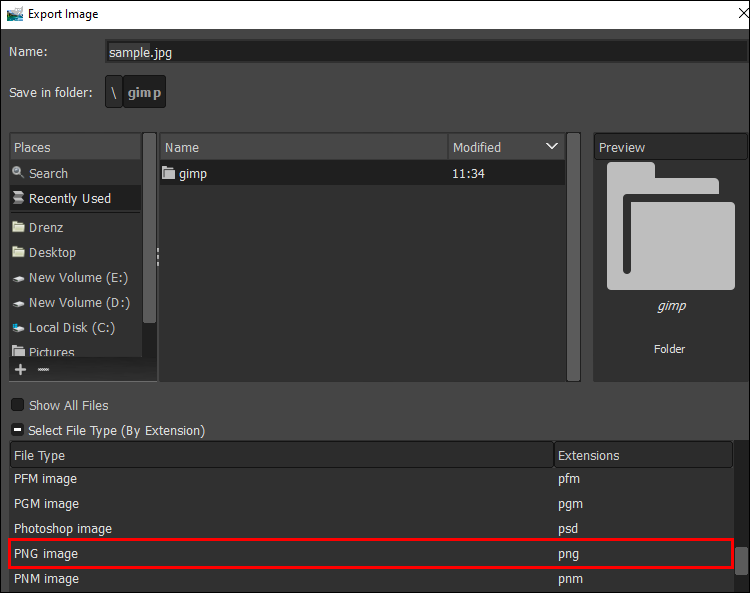
- Expand the “Select File Type” option at the bottom of the window and select “PNG image” from the list. You can also type “.png” at the end of your file’s name to get the same result.
- Hit “Export.”


The “Export Image as PNG” window will pop up. You can tweak several settings here to fine-tune your PNG. Nevertheless, the default settings will be just fine if you don’t have a specific preference. Click “Export” and enjoy your PNG.
If you want to customize your settings, here are some of the things you can tweak in the Export window. Most options have to do with the file’s metadata and won’t actually affect the quality of your image.
- Check “Interlacing” if you want the PNG to load progressively on a web page.
- Change the compression level to decrease the file size of your PNG.
- The “Save background color” option will define a background color for your PNG when variable transparency is not supported.
- “Save Gamma” increases color accuracy in browsers.
Saving Your PNG With Transparency
One of the biggest advantages of PNG files is that they offer multi-level transparency. The default export settings will allow your image to retain this quality. If your saved PNGs aren’t coming out transparent, you might have skipped a crucial step. Here’s how to save a file as PNG with transparency in Gimp.
- Open the Gimp app.
- Click “File,” then “Open” to import your project.
First, the file needs to have an alpha channel to leverage transparency. Look at the Channels dialogue box to see if your image has one. If there’s no alpha channel on the list, add one.
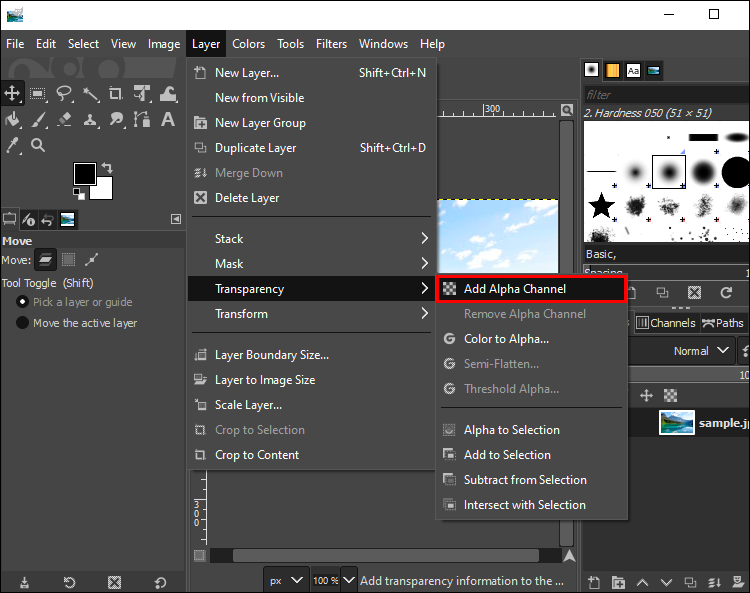
- Click “Layer” in the menu bar.
- Move your cursor over “Transparency.”
- Select “Add Alpha Channel.”

If the file has multiple layers, disable the background layer for a transparent backdrop. In the case of a flat image with a background, you’ll need to remove the background first. There are many ways to go about this, depending on the complexity of the image. To remove a simple background, follow these steps.
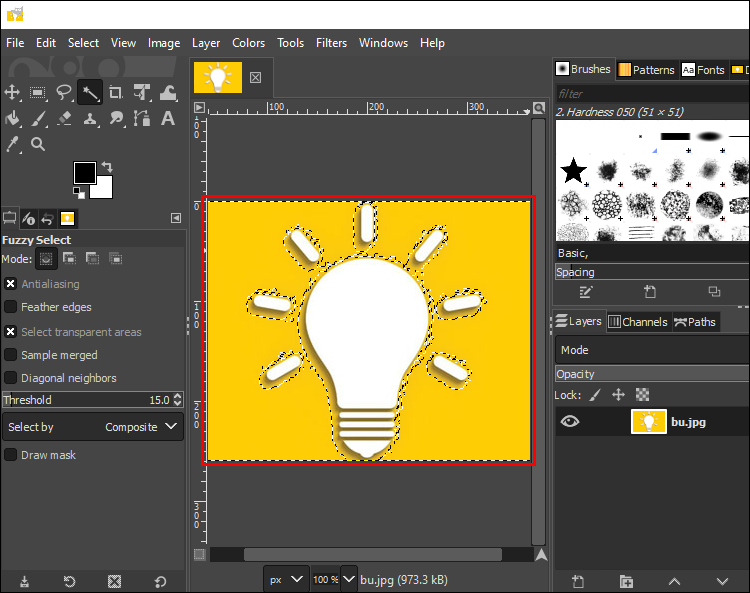
- Choose the Fuzzy Select tool from your toolbar.
- Click the background to select it.
- Hit your “Delete” button.


To get a smoother result, you can try the following method.
- Select the background with the selection tool of your choice.
- Click “Colors” in the menu bar.
- Choose “Color to Alpha.”

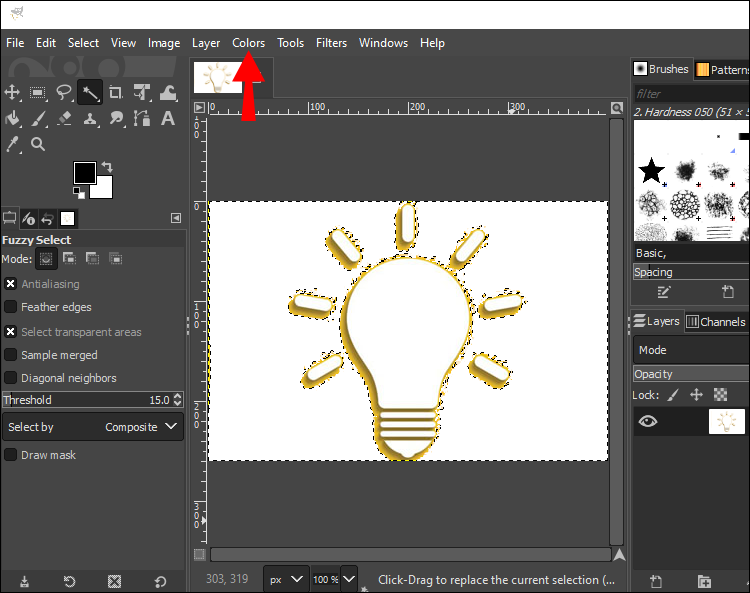

You’ll see a checkered background indicating transparency. Now, it’s time to export the image.
- Click “File,” then “Export as…” or press “Shift+Ctrl+E” on Windows or “Shift+Command+E” on Mac.
- Select a location for your PNG file.
- Type “.png” at the end of the file name or browse for “PNG image” under “Select File Type.”
- Click “Export” and do so once again in the PNG dialogue box.


The default settings will allow your image to have transparency. If you’re unsure whether your settings are on default, check Gimp’s recommendations.
When You Should Save Your Project as PNG
When you’re done with your project, exporting the file in the appropriate format is essential. PNGs are some of the most versatile image formats out there. They not only allow for lossless compression but also offer multi-level transparency. Saving your work as a PNG is often a better option than going for JPEG, especially if you plan on editing the image again. A PNG won’t lose its quality even when edited multiple times, so you can tweak your project in the eleventh hour without compromising on quality.
That said, PNGs have some drawbacks, so they aren’t the most suitable image format in all cases. While their size is smaller than other formats and might seem insignificant initially, storing many large PNGs will quickly consume your disk space. Large-scale, high-resolution PNGs can also present challenges to image editors. Attempting to export a sizeable PNG with high compression can slow down your PC or even crash your program. Don’t risk losing your work. If you’re editing a large image, save your final project as XCF before attempting the export process.
Learn to Export as PNG
While Gimp’s dedicated file format is useful for keeping projects editable, its compatibility is limited. Fortunately, you can save your file in PNG using the program’s “Export” feature to create a high-quality, lossless image with transparency.
Did you convert your file to PNG by following the steps above? Do you have any additional tips about exporting PNGs you’d like to share? Let us know in the comments section below.
Disclaimer: Some pages on this site may include an affiliate link. This does not effect our editorial in any way.


