Taking the perfect picture requires a lot of work. In many situations, using your camera’s timer can save you a lot of time. This camera tool can be a life-saver when you’re by yourself, and you don’t feel comfortable asking someone else to take your picture. It’s also convenient for group shots, so no one gets left out. Setting a timer on your iPhone’s camera is a simple task, which only takes a couple of seconds.
In this guide, we’ll talk about how you can set a timer on the Camera app on your iPhone. In addition, you will find out how to take multiple simultaneous shots with the iPhone camera timer.
How to Set a Timer on iPhone Camera
Your camera’s timer is handy for a number of reasons. If you and your friends want to take a group shot, but there’s no one there to take the picture, the timer is your best friend. On the other hand, if you’re all by yourself and you want to take a photo, but you prefer not to give your phone to a stranger, just turn the timer on, and you’re ready to go. In some situations, there is someone who can take the picture, but they just don’t know how to do it properly. You can position your iPhone at the right angle and take the photo with the timer.
Of course, you can take all of these photos with your selfie camera, but it’s not the same. Selfies give you much less room, even if you’re using a selfie stick. What’s more, selfie group shots are usually smushed, and there isn’t enough room for everyone. If you’re traveling to a beautiful destination with your friends, the whole point of the photo is to capture the background.
You don’t have to install any special app to take a photo with a timer, since it’s a built-in feature within your iPhone’s native Camera app. Whether you want to take photos with your rear camera or the selfie camera, the timer is located in the same place. If you’re using your phone’s camera, you can choose between two timers: three seconds and 10 seconds. Choosing the delay is up to you, but if there are more people in the photo, the more time you have to prepare and get in position, the better.
If you want to set a timer on your iPhone’s camera, this is what you need to do:
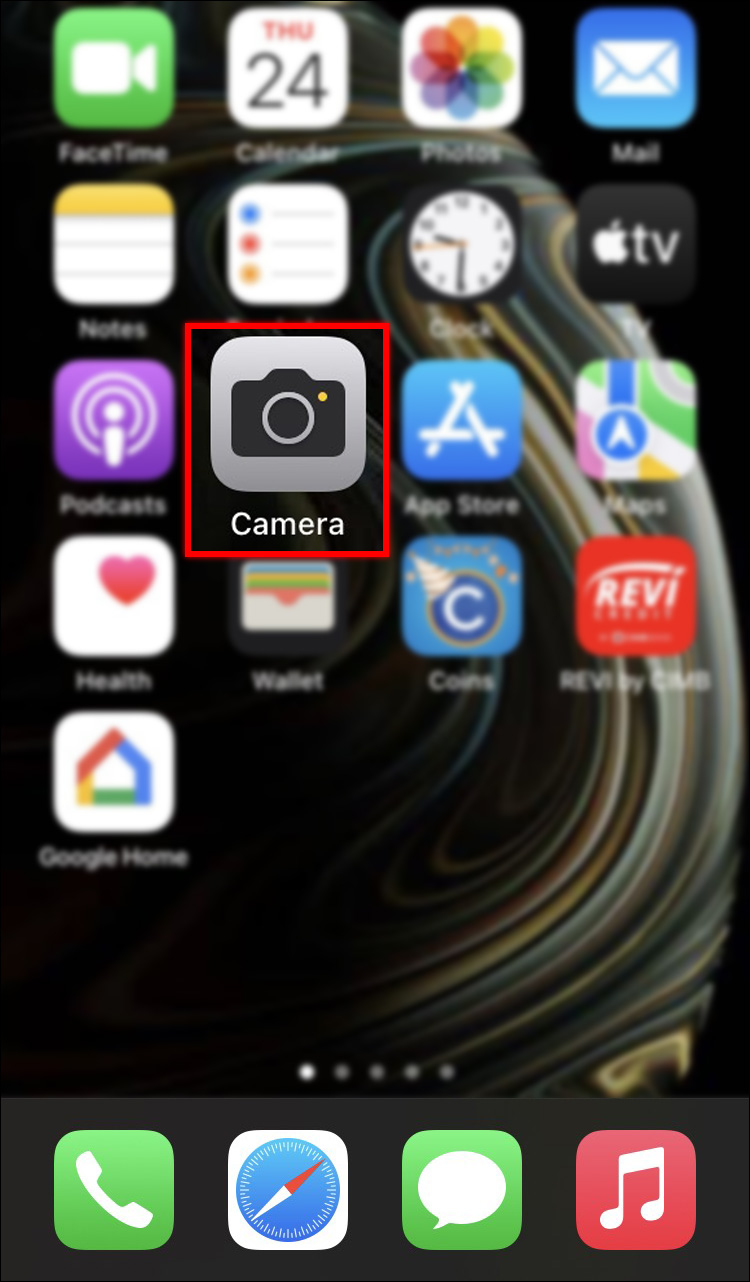
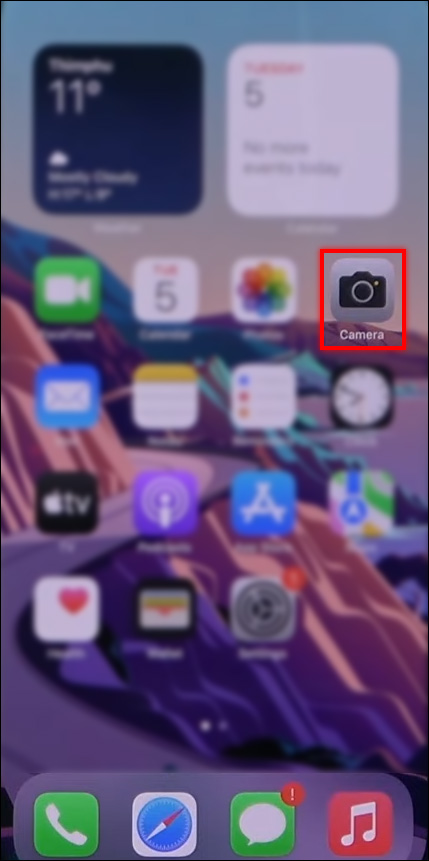
- Go to your Camera app on the home screen, or just swipe left on your lock screen.
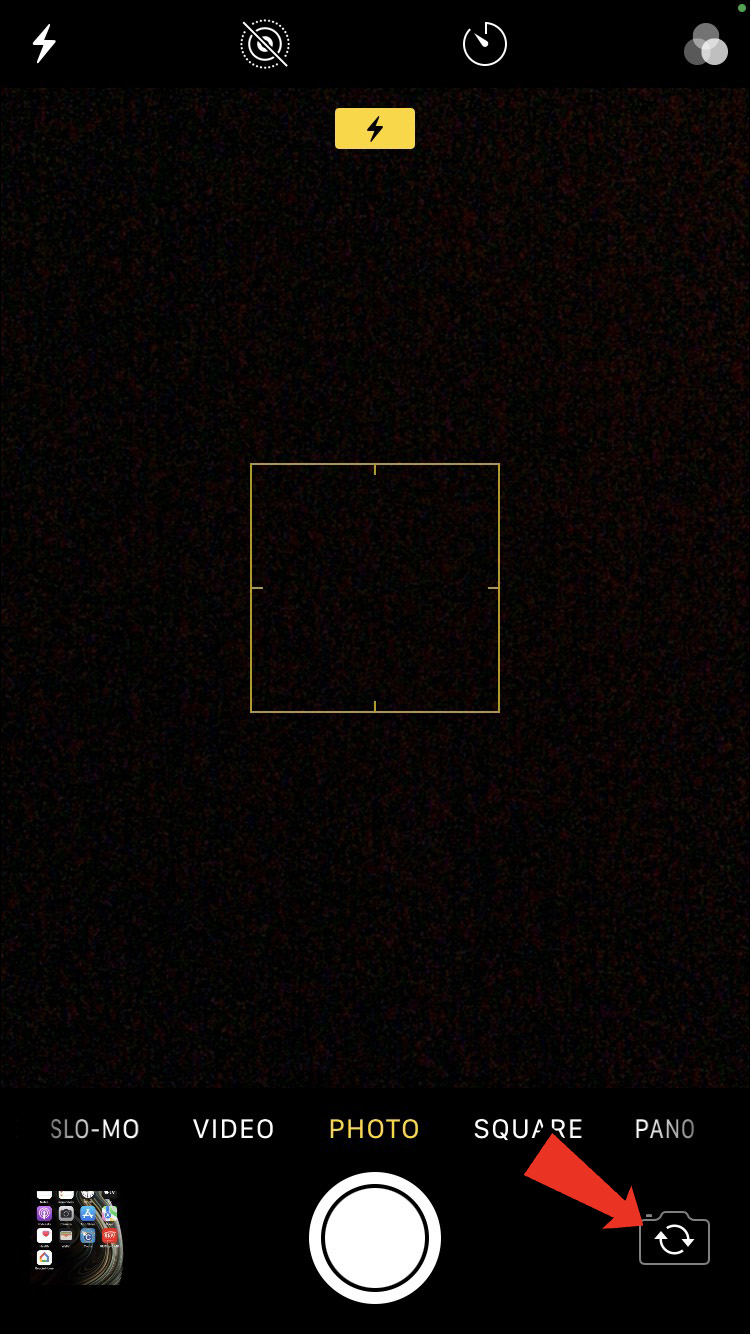
- Choose between the main camera and the selfie camera.

- Tap on the timer icon in the upper-right corner of the screen.
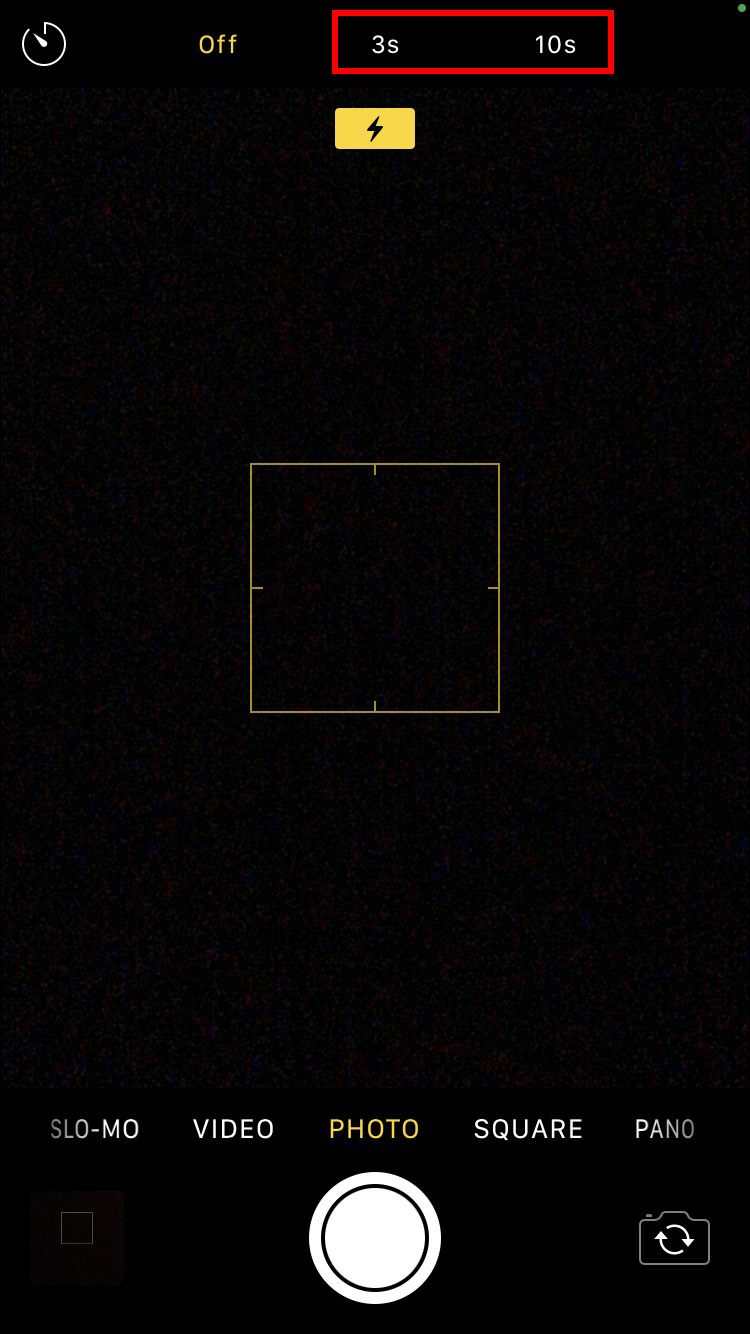
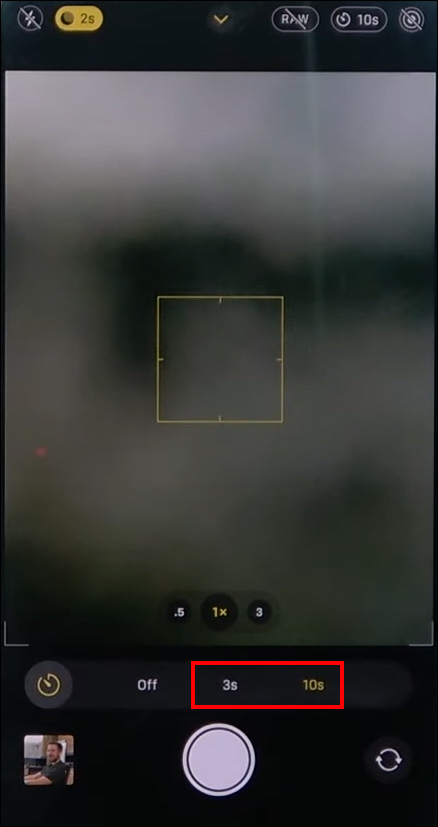
- Select between “3s” and “10s.”
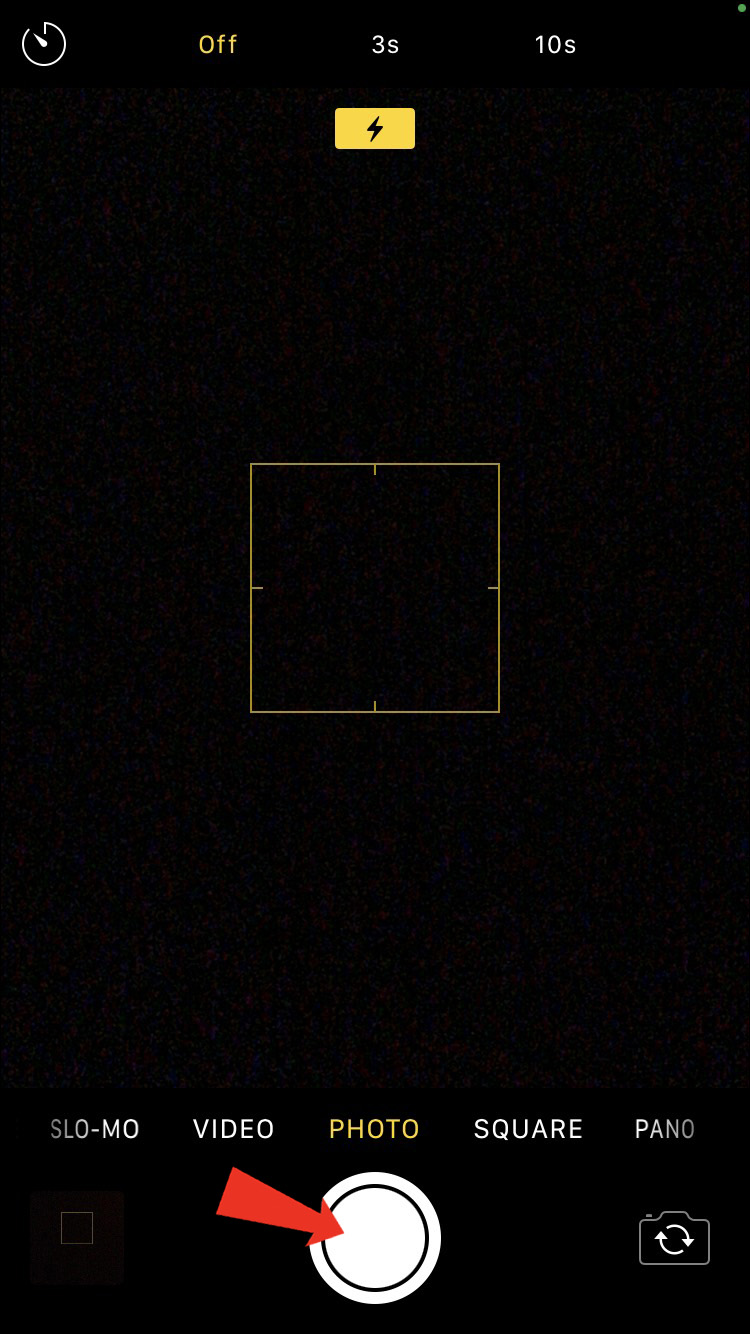
- Take the photo by tapping on the shutter button.

What’s great about the iPhone camera timer is that for every second of the countdown, the camera will release a quick flash. This will let you know exactly how much time you have left until the photo is taken. If you want to disable the timer and use your iPhone camera normally, tap on the timer icon once again and choose the “Off” option on the left side.
If you have the iPhone 13 Pro or iPhone 13 Pro Max, this is how you can use the timer to take a photo with the Camera app:
- Go to the Camera app on the main screen.
- Position your iPhone horizontally.
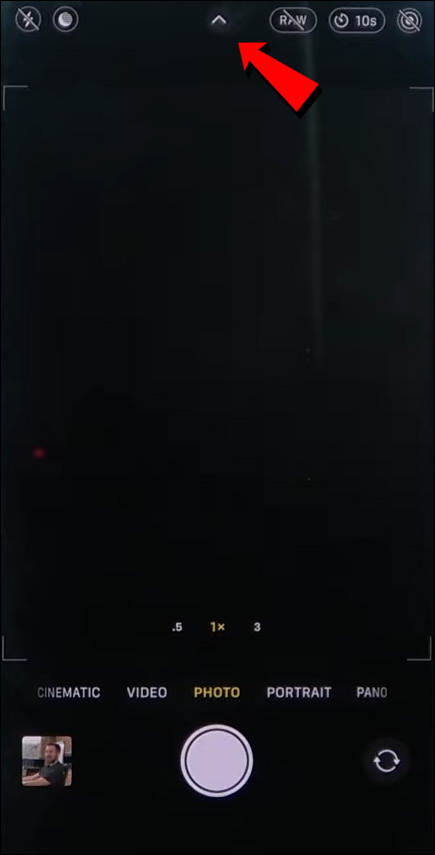
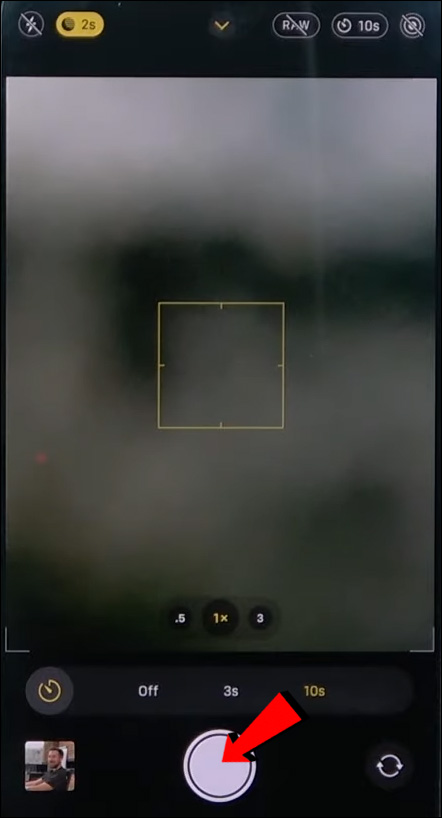
- Tap on the “More Options” arrow at the top of the screen.
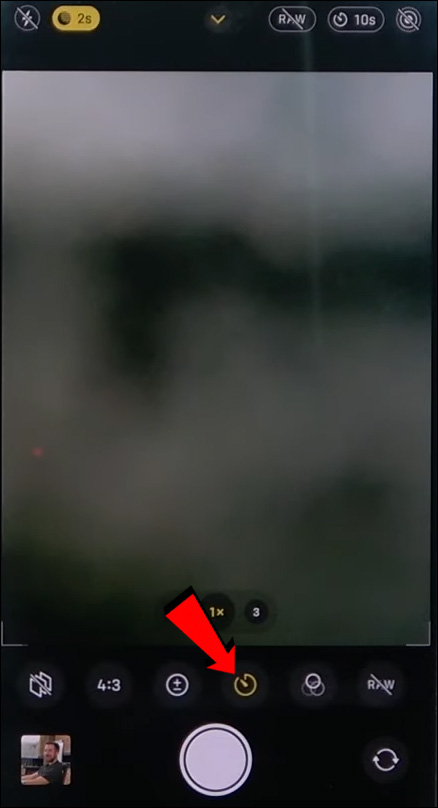
- Choose the timer icon in the bottom-right corner of the screen (which is the upper-right corner if you’re holding your phone horizontally).
- Select the timer delay.
- Tap on the shutter button to take the photo.
That’s all there is to it. You’ve successfully taken a photo with the self-timer. For a bonus tip, make sure you place your iPhone on a steady surface. Using a tripod is the best option, but if you don’t have one, just place the phone against a small object and make sure it stays in place. With the timer tool, you won’t have to deal with shaky hands, blurry photos, or someone’s thumb accidentally getting in the frame.
How to Take Multiple Photos with the Timer on Your iPhone
No matter which countdown option you choose, three seconds or 10 seconds, your iPhone will take 10 photos at the same time, which are otherwise known as burst images. This is a very useful feature that allows your camera to take multiple shots at the same time. It also saves you a lot of time, since you won’t be required to go back and forth to tap on the capture button for each photo.
Burst Mode is enabled by default in your camera’s settings. It’s very easy to disable, and you can even do it by accident. Whether or not you want to use Burst Mode together with the self-timer is up to you.
There is no designated button or option that lets you enable and disable Burst Mode. As we already said, it’s enabled by default. However, if you can’t seem to turn Burst Mode on, it can mean two things. The Live photo option is enabled, Portrait Mode, or both. In order to take burst images, these two modes need to be turned off.
Let’s see how you can take burst photos with the iPhone camera timer:
- Launch your Camera app.
- Make sure the live photo icon isn’t yellow (it’s located on the left side of the timer icon). This will automatically enable Burst Mode.
- Tap on the timer icon in the upper-right corner.
- Choose the timer delay – three seconds or 10 seconds.
- Take the photo(s).

Even though you only tapped the capture button once, the camera will still take 10 photos. What’s convenient about burst mode is that it lets you sort between those 10 photos, so you can delete the bad photos and keep the good ones. If you’re wondering how to do this, follow the steps below:
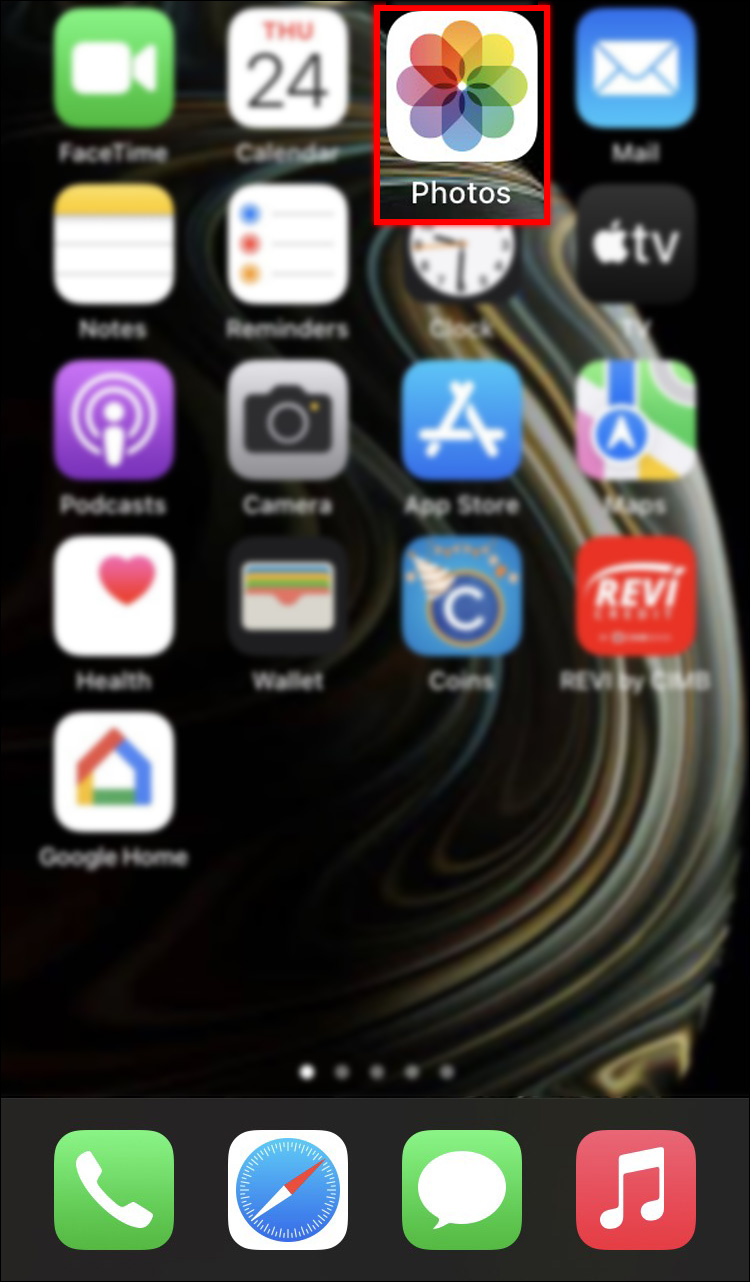
- Go to your Gallery on your home page.
- Proceed to the “Recents” folder.
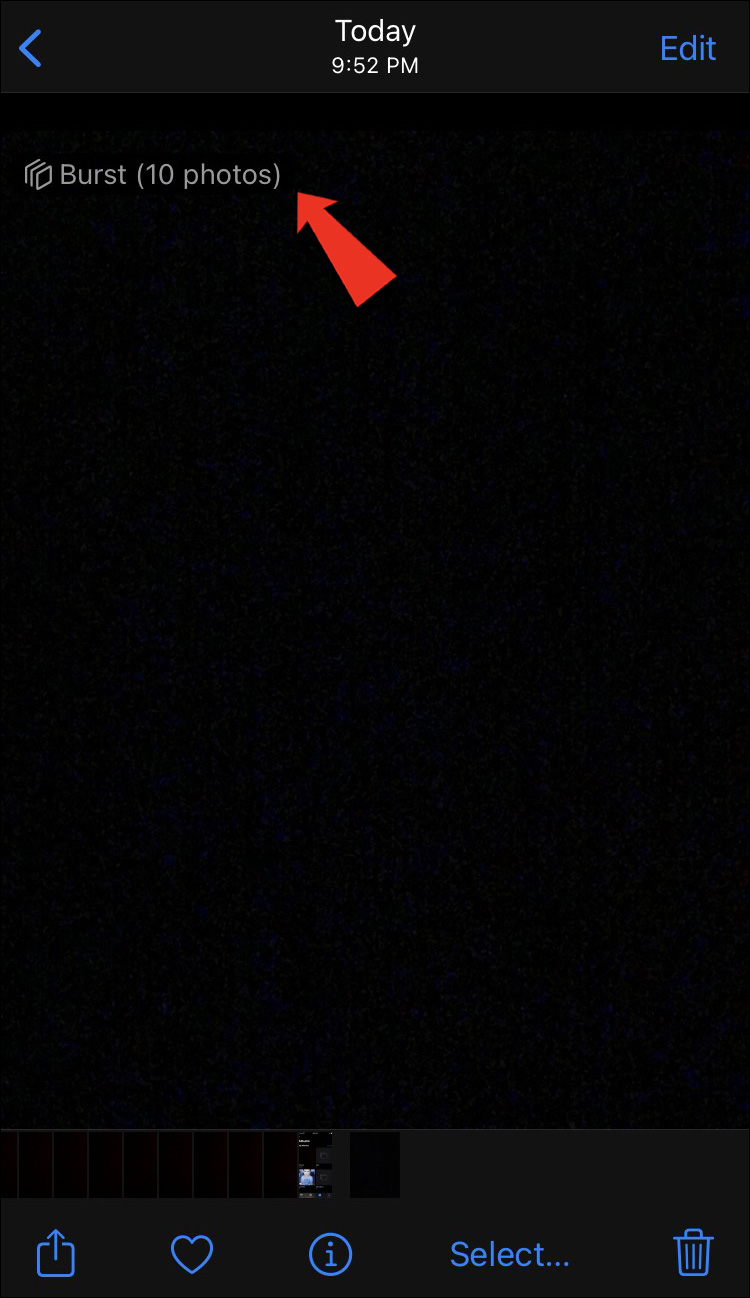
- Open the burst image. You’ll see the “Burst (10 photos)” message in the upper-left corner of the photo.
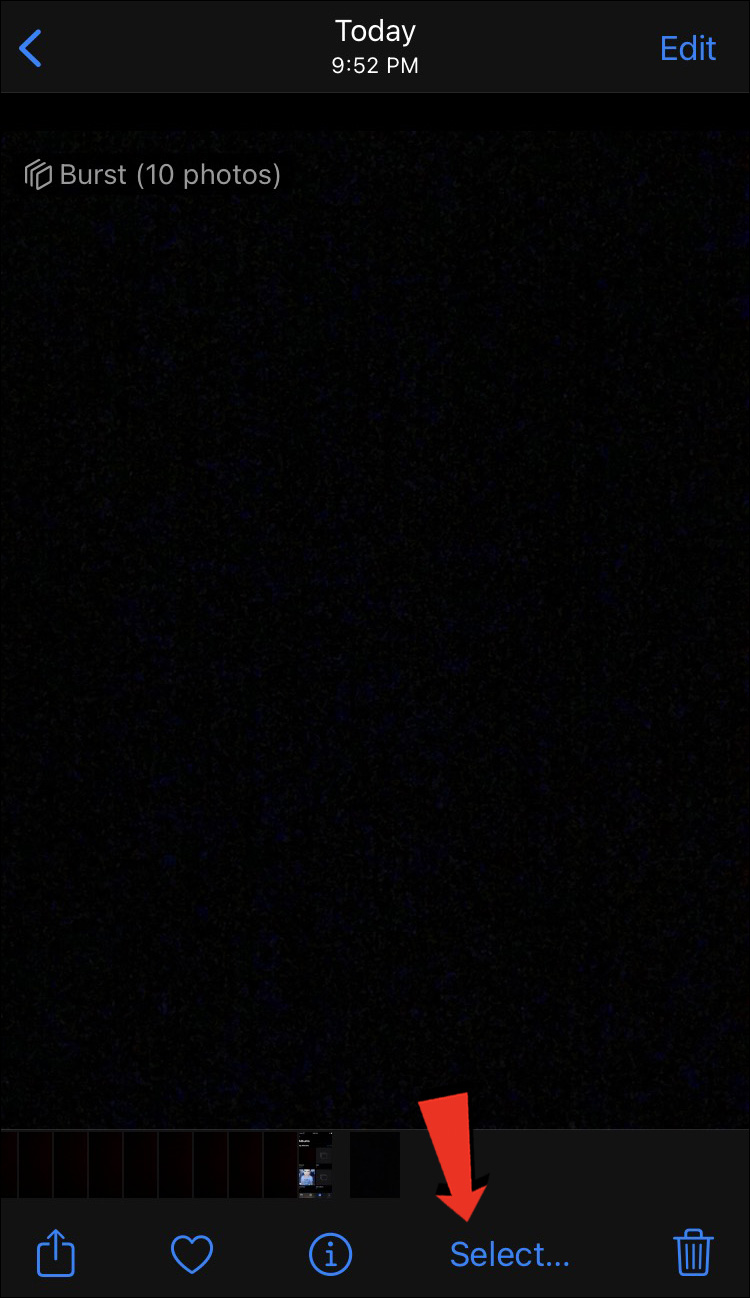
- Tap on the “Select” option under the photo.
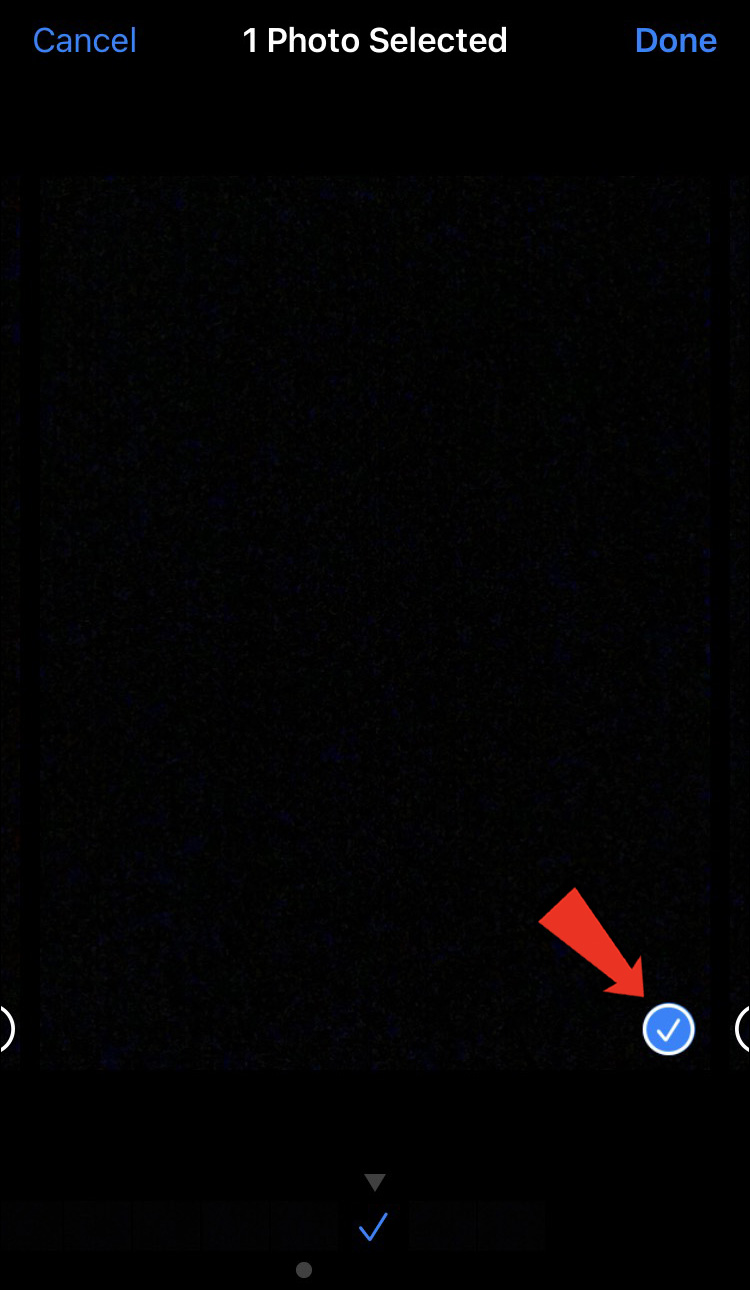
- Choose the photos that you want to keep by tapping on the circle in the bottom-right corner of each photo.
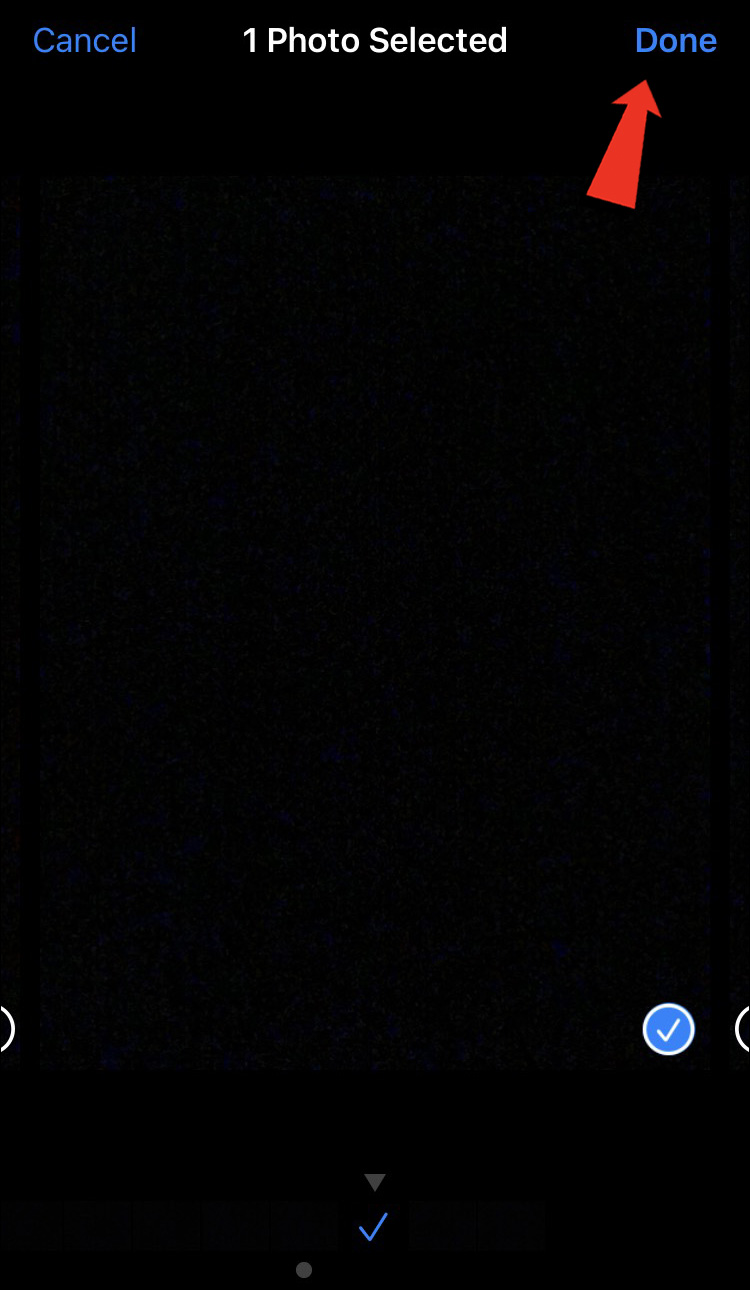
- Select “Done.”
- Tap on the “Keep Only Favorites” option on the pop-up window.

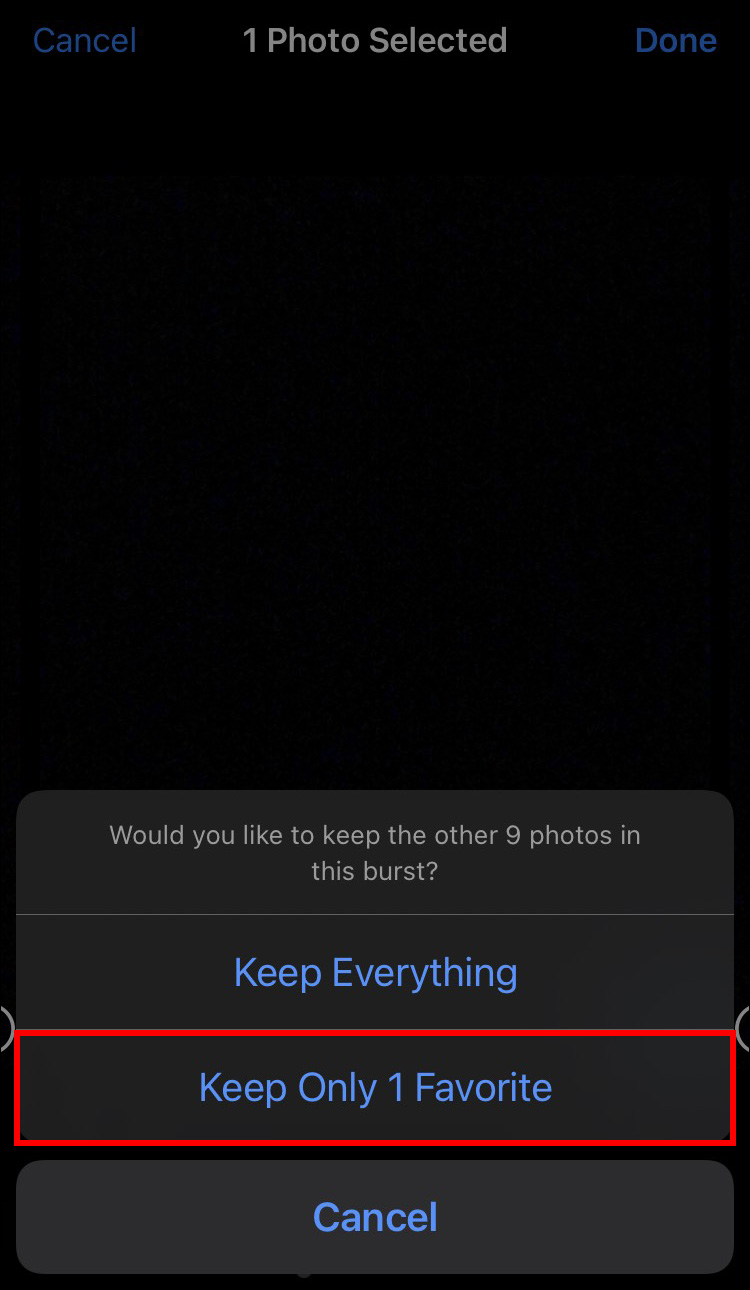
Doing this will immediately move the bad photos to the trash, so you won’t have to delete each photo individually.
Take Photos with Your iPhone Like a Pro
The photos you take with your iPhone can turn out amazing if you know how to use your camera properly. There are many tricks that can help you improve your photography skills, and the self-timer is one of the easiest ones. This camera tool allows you to take photos with your friends or yourself when no one is there to take the photo. It saves you time, and the photos turn out a hundred times better than selfies.
Have you ever used the timer on the Camera app on your iPhone before? Did you know how to use this feature? How did the photos turn out? Let us know in the comments section below.
Disclaimer: Some pages on this site may include an affiliate link. This does not effect our editorial in any way.


