Updating your Sony TV helps you access feature improvements, bug fixes, and more applications. Not only does doing so help enhance your viewing experience, but also keeps your Sony TV operating correctly. If you’re wondering how to update the Sony TV firmware, this article will cover the steps and tips for doing it right.
Updating the Firmware
For the best experience using your Sony TV, keep it updated with the latest software and firmware. Firmware updates can be done automatically or manually over the internet or offline through a USB flash drive.
Performing Firmware Updates via the Internet Automatically
Having the latest firmware on your Sony TV is highly recommended. To ensure this is the case, keep the “Automatic software download” or the “Automatically check for update” option “On” if you have a model that permits this. The option will send you notifications whenever an update is available.
First, set the “Automatic software download” or “Automatically check for updates” option. This step isn’t necessary in some models.
For the Google TV models:
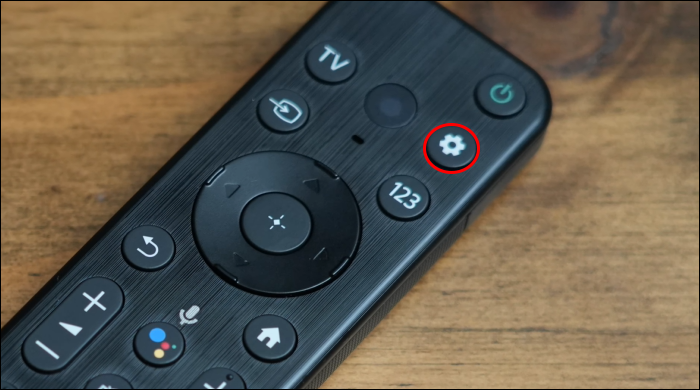
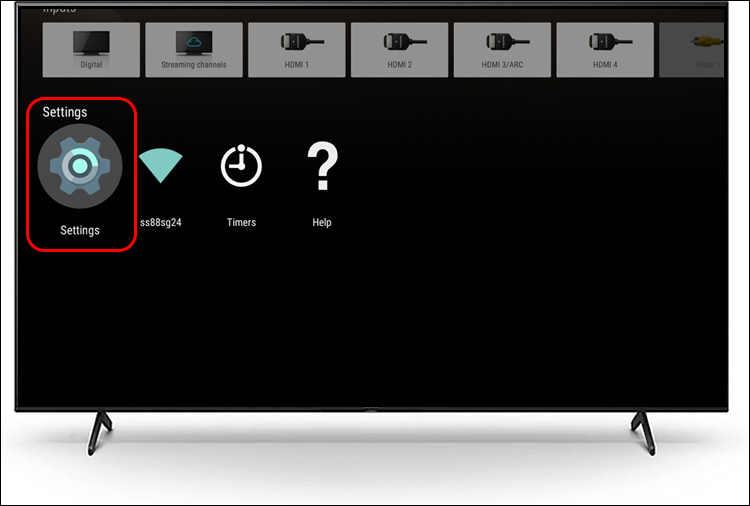
- Choose the “Quick Settings” button on your remote, indicated by a gear or tool icon.
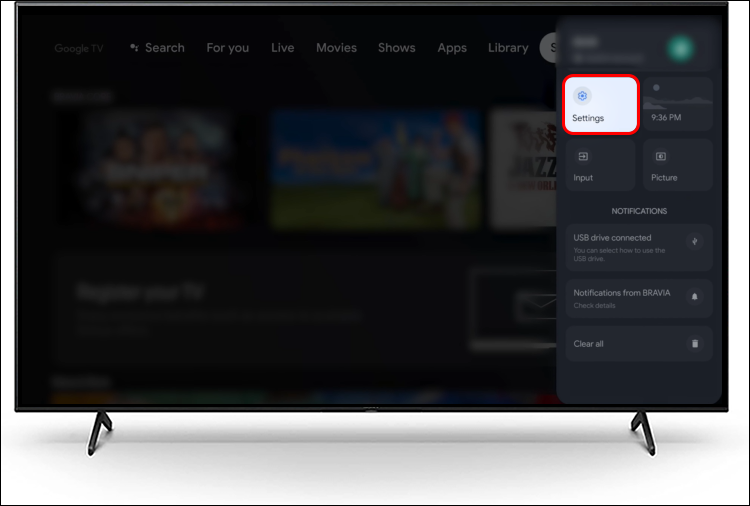
- Select “Settings.”

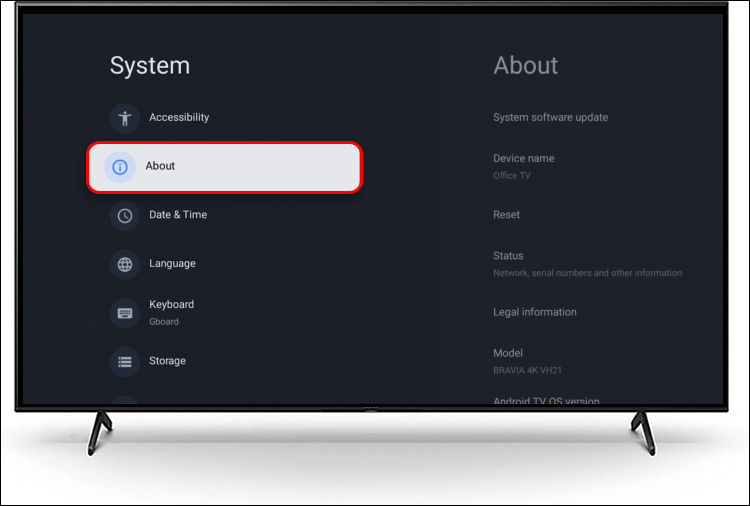
- Choose “System” and pick the “About” option in this menu.
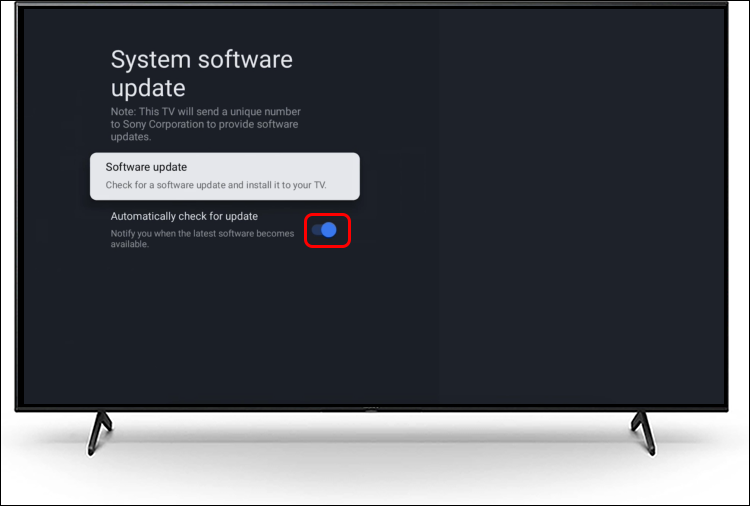
- Select “System software update” to access “Automatically check for updates.”
- Check the option and set it to “ON.”

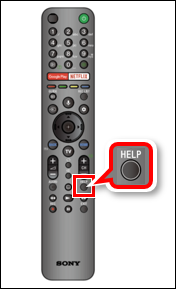
For Sony Android TV model owners:
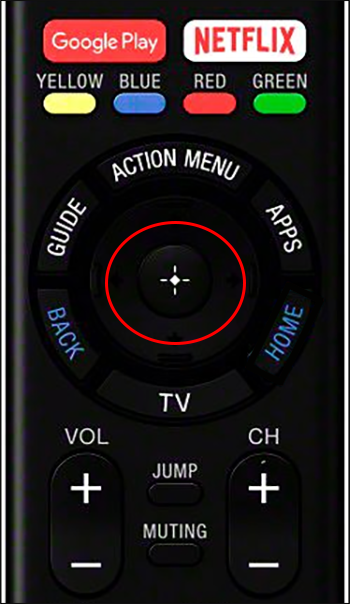
- On the TV remote, hit the “HELP” button.
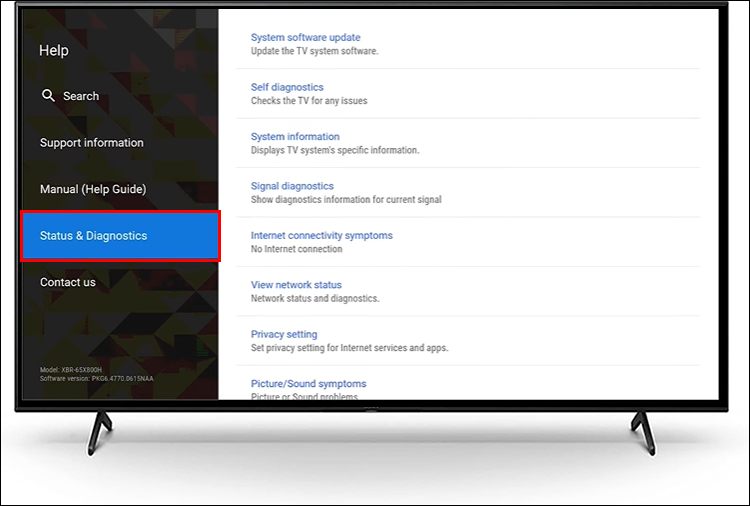
- Choose the “Status and Diagnostics” option.
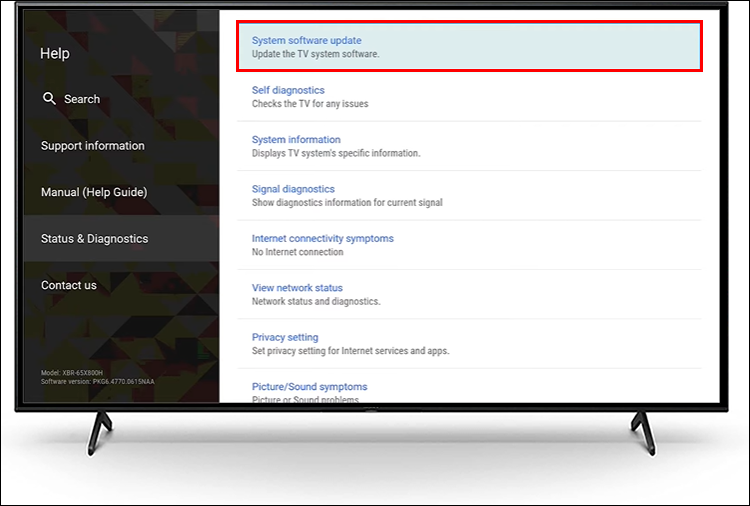
- Select “System software update.”
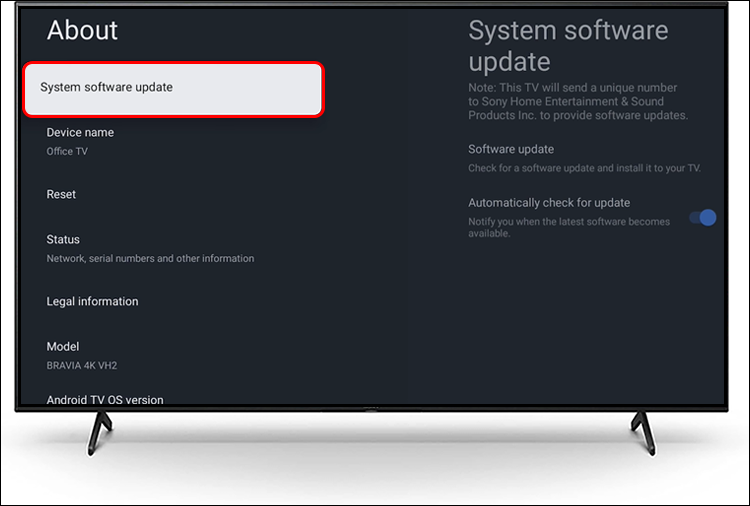
- Choose the “Automatic software download” or “Automatically check for update” option and make sure it’s “ON.”

You should note that not all Sony TVs have the “Status and Diagnostics” option.
Download Updates and Install Them Directly From the Internet
Before getting started on this option, it is important to note there is a high risk of hardware damage with this method. Don’t power off your TV or press any buttons when installing an update. Also, don’t disconnect the TV from the AC outlet. Losing power while a firmware update is in progress can lead to some severe damage that may make the TV unresponsive or need repairs.
All on-screen instructions need to be followed to download the firmware and install it successfully. Note that the notification message and position may differ between models.
The first thing to do is to check for updates manually on the internet.
- Press the “Quick settings” option in the remote and choose “Settings.”
- Select “System or Device Preferences.”
- Choose “About” followed by “System software update.”

For other Android TV or Google TV models without this feature:
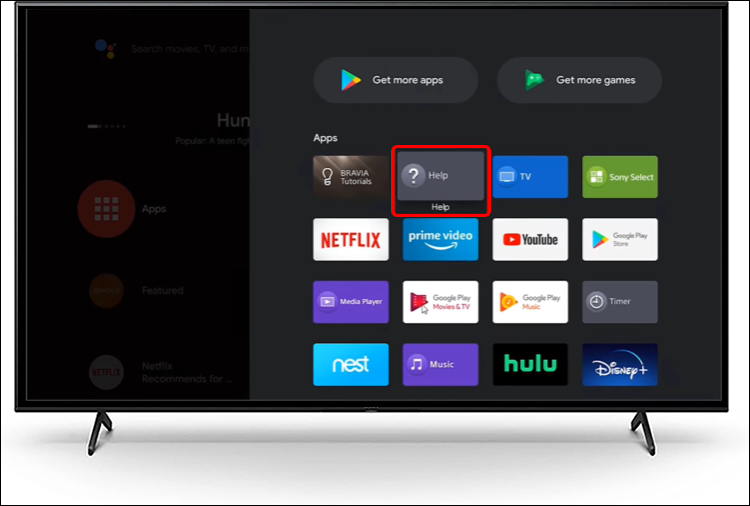
- Hit the “HELP” button on the TV remote. Alternatively, hit the “Input” button and choose “Help.”
- If the procedure isn’t available on your remote, select the “Home” button and choose “Apps.” This should be followed by the “See all” option. Choose “Help.”
- If the procedure isn’t available on your remote, select the “Home” button and choose “Apps.” This should be followed by the “See all” option. Choose “Help.”
- Depending on your TV menu options:
- Choose “Status and Diagnostics.” In the resulting menu, choose the “System Software Update” option and then “Software Update.”
- Choose “System Software Update” followed by “Software update” or “Check for a system software update.”
- Choose “Status and Diagnostics.” In the resulting menu, choose the “System Software Update” option and then “Software Update.”
These steps lead you to the “Searching for the latest software” screen. A notification will pop up if the software is up to date. In this case, you don’t have to perform any updates on your Sony TV.
Perform Firmware Update Through a USB Drive Without Internet
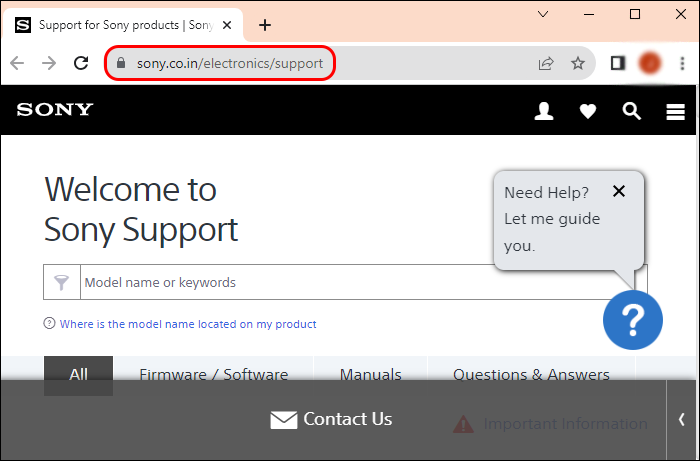
Use a USB drive if your TV doesn’t have internet access and you need to manually update the firmware. You need to visit the Sony support site and download the update. You should do the following:
- Visit the support website.
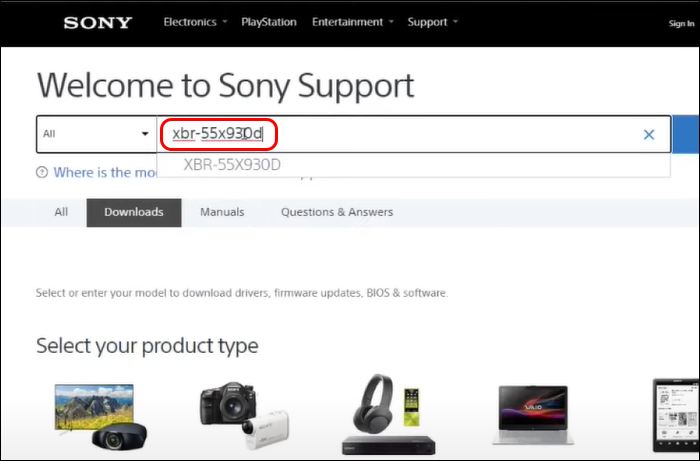
- Type in the TV model name in the search box.
- If you don’t know the model number, check the TV back panel on the lower left side. There should be a sticker bearing the number.
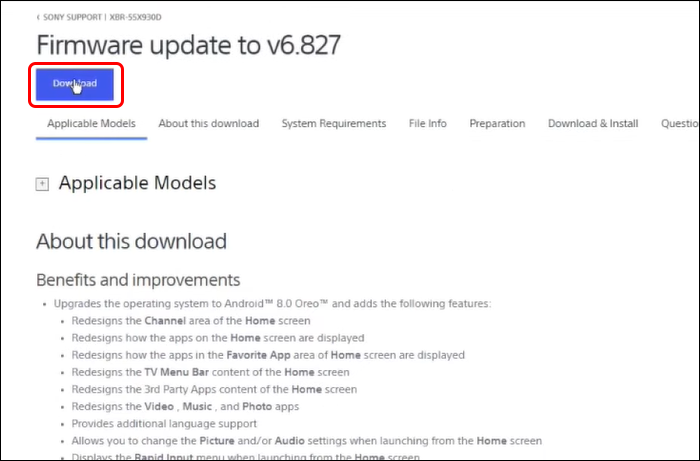
- Navigate to the “Downloads” option and select an update.
- Follow the instructions to download an update to your USB flash drive.
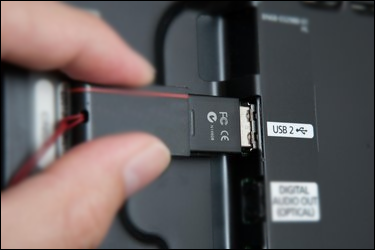
- Turn on your TV
- Insert the USB drive into the appropriate TV port and follow the on-screen instructions.


You’ll see the LED on the TV flash once the update starts. The TV may turn on or off during the update. Don’t touch any buttons. The TV will automatically restart on completion. When completed, disconnect your USB drive.
Other TV Models Other Than Google and Android TV Models
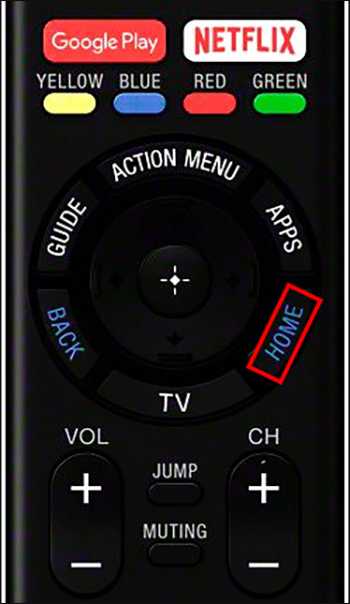
When you execute a firmware update from the internet, the steps to follow may differ from one system to the next. You may get the “Software Update Required” message with some models. If you get such a message, hit your remote’s “Home” button. The next steps depend on what you see displayed on the screen.
If you see the “Help” button on the right corner:
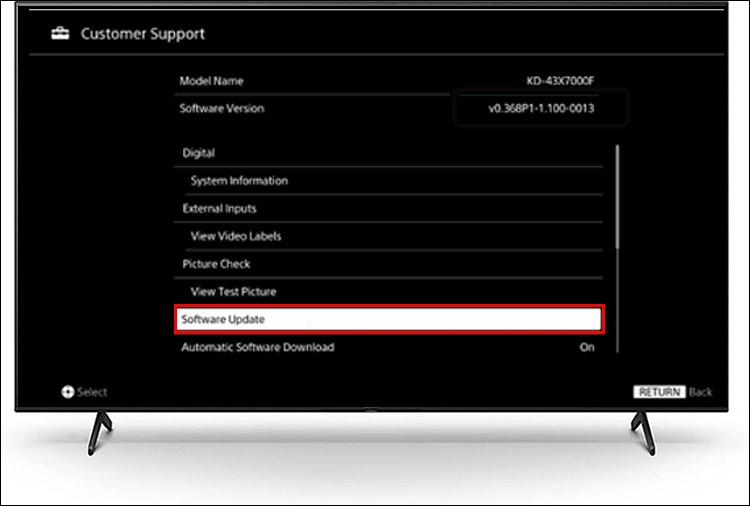
- Select the “Help” button.
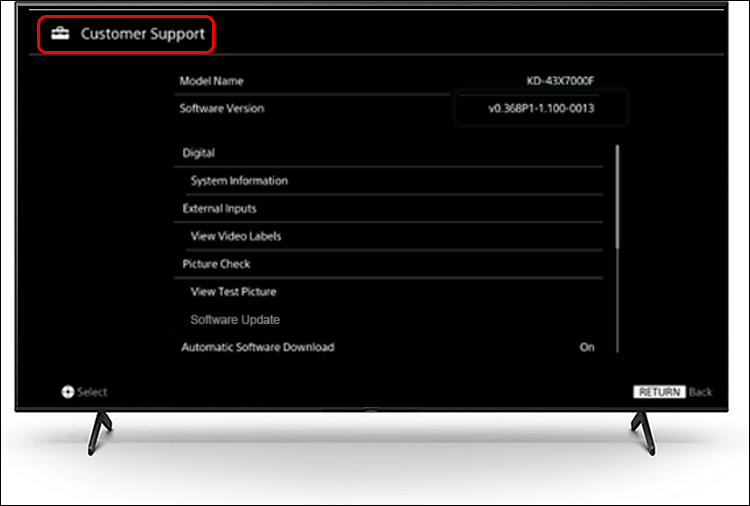
- Choose “Customer Support” and select the “Software Update” option.
- Close the “Network” tab. Some TVs don’t have this option.
- Choose the “OK” or “Yes” tab to initiate the update installation.
If there isn’t a “Help” option on the right side of the screen, you need to follow the steps below:
- Choose “Settings.”
- Go to the “Customer support,” “Product Support,” or “Setup” option depending on the model.
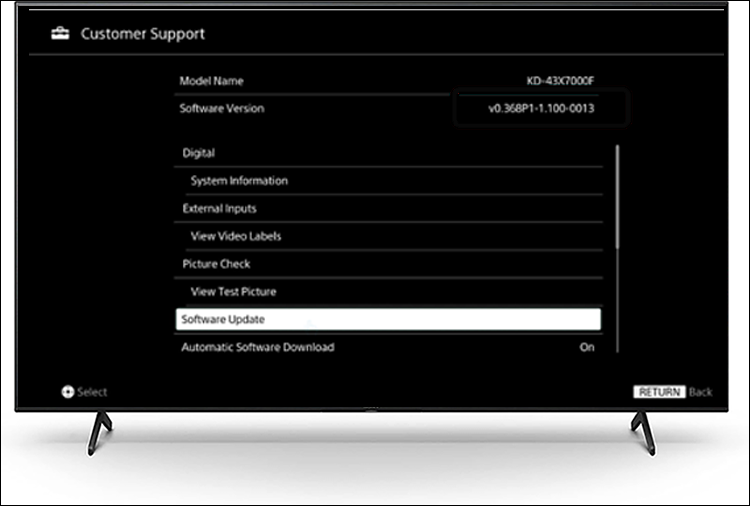
- Choose “Software Update.”
- Choose the “Network” option.”
- Hit the “Ok” or “Yes” button to install.
What to Do If There Is No Software Update Option on the Menu
With some older Sony models, you can’t force your TV to search for an update. In such a case, the only option may be to get “Automatic Software Updates.” This allows the TV to search for updates automatically while on standby mode. An installation prompt is sent after the download.
- On your remote, hit the “Home” button.
- Choose “Settings.”
- Choose the “Customer Support” or “Product Support” option.
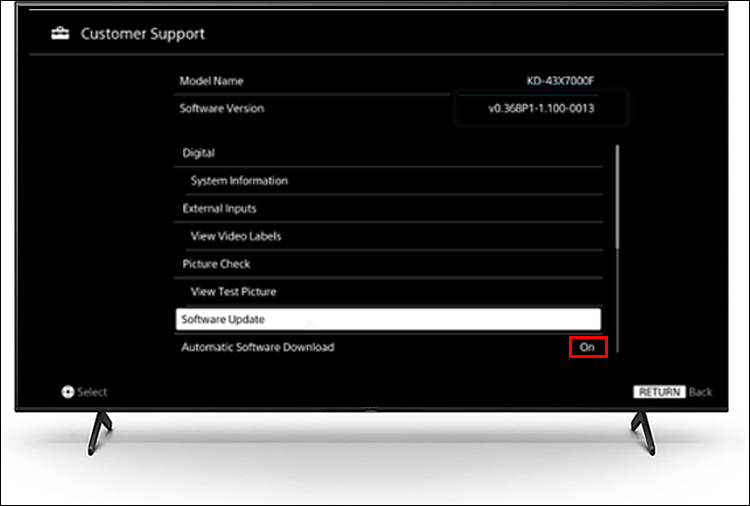
- Hit the “Automatic Software Update” or “Automatic Software Download” option.
- Tap the “On” tab.
- Select “Enter.”

Setting your TV to get automatic software updates means avoiding delays.
Updating Without Internet Connection
If you don’t have an internet connection, don’t worry. You can get the latest firmware through broadcast signals if you don’t have an internet connection. When the automatic software option is set to “On,” you’ll get software updates through broadcast signals automatically.
Note that automatic updates in this manner aren’t available in all TV models. After the update, you may have to reset the TV’s clock.
An automatic update usually starts while your TV is on standby mode. During the update, the TV flashes an orange LED, and at such a time, it doesn’t respond to the control panel button or the remote control until the update completes.
Keep Your Sony TV Updated
With the above information, you should be able to access the latest firmware update on your device. If you run into issues while trying to update, you may have to do a factory reset. Do this by accessing the “Settings” menu on the Sony TV and selecting “Storage and Reset” followed by “Factory data reset.” If this doesn’t help, you may need to contact Sony support or your retailer for assistance.
Did any of the steps above help you update the Sony TV firmware? Did you face any issues in the process? Let us know in the comments section below.
Disclaimer: Some pages on this site may include an affiliate link. This does not effect our editorial in any way.