Virtual machines enable you to run a different operating system on your computer, and VirtualBox is one of the most popular choices. If you’re using it, you may have found you can’t copy and paste files from VirtualBox to your host computer. Although this option isn’t enabled by default, transferring files is straightforward and can be done in several ways.
If you’re interested in learning how to transfer files from VirtualBox to host, you’ve come to the right place. This article will discuss several ways to do it on host Windows and Mac computers.
Transfer Files from VirtualBox to Host on a Windows PC
You can transfer files from VirtualBox to your host Windows computer in numerous ways. Let’s check them out:
Shared Folder
A shared folder is a folder available on both the guest machine (VirtualBox) and the host machine (your Windows computer). Creating shared folders makes accessing and managing files much easier. Here’s what you need to do to create shared folders:
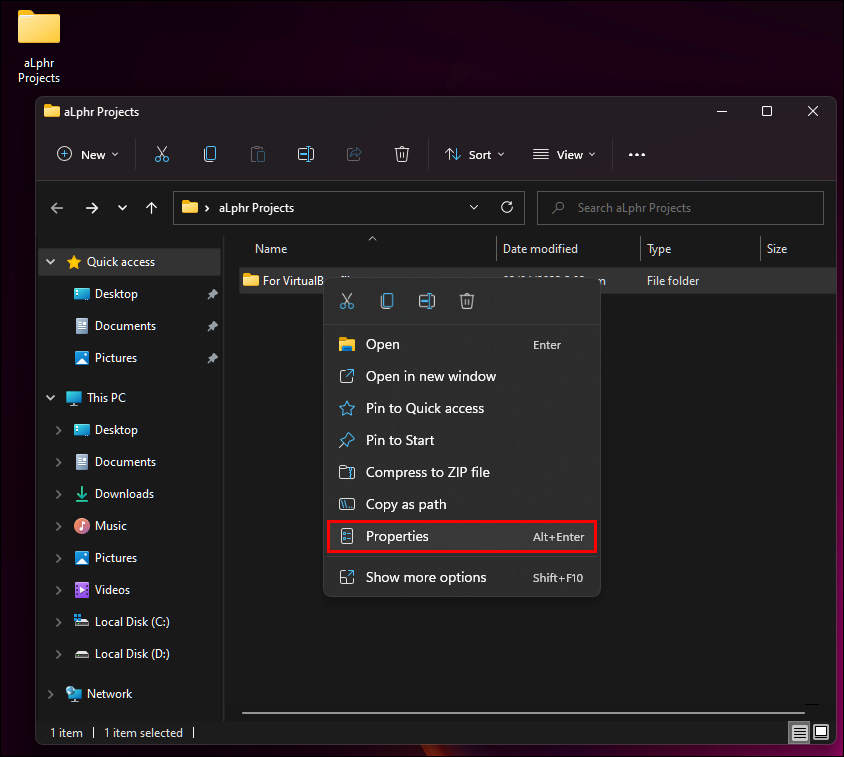
- Find the folder you want to share and right-click on it.

- Press “Properties.”

- Go to the “Sharing” tab and choose “Advanced sharing.”
- Mark the checkbox next to “Share this folder.”
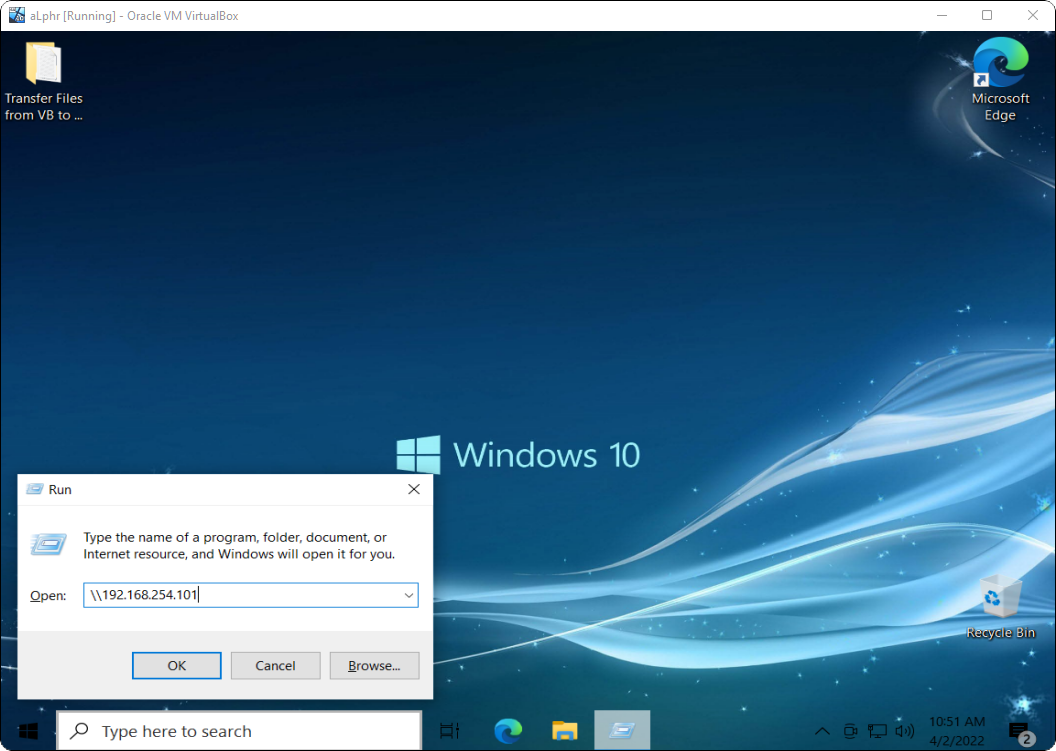
- Run VirtualBox and press “Windows + R.” Enter the IP address of your host Windows computer and press “Enter.”


Now you can access the folder in question from your guest and host machine. If you still can’t access it, you may need to install guest additions. Here’s how to do it:
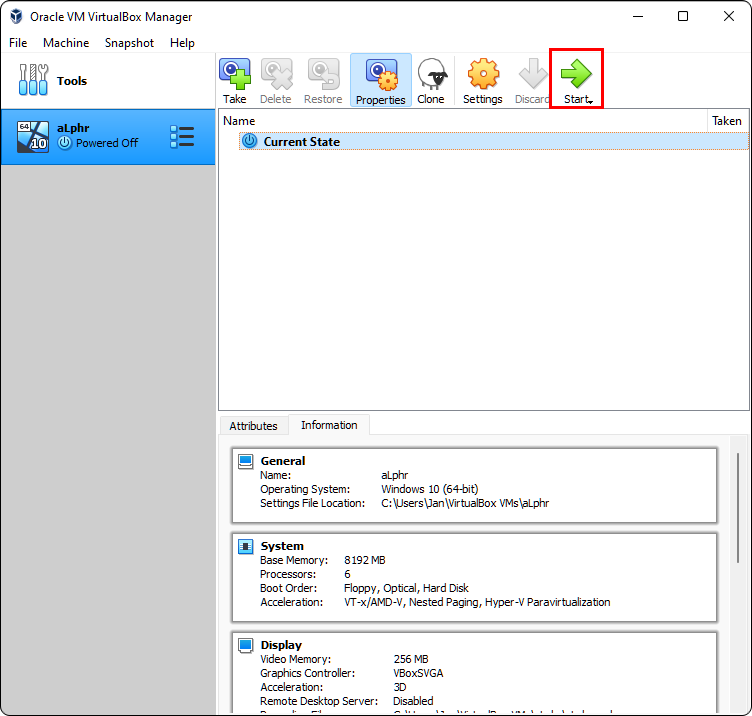
- Launch VirtualBox.
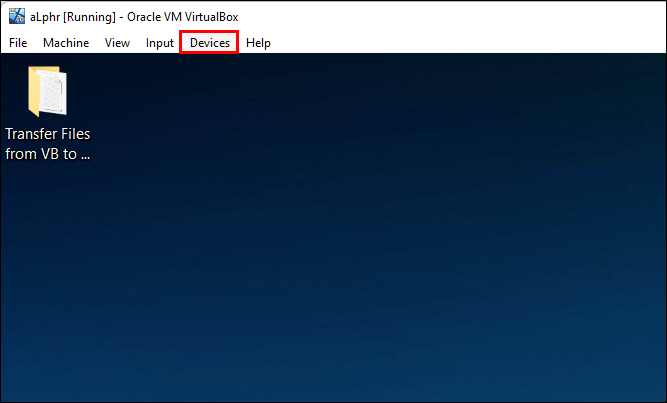
- Select “Devices.”
- Press “Insert Guest Additions CD Image.”
- Locate and run guest additions as administrator to install them.


Shared Clipboard
One way to transfer files from Virtual Box to a host Windows computer is through a shared clipboard. We’ve divided the steps into two sections. The first explains how to install guest additions, and the second how to enable file sharing.
Follow the steps below to install guest additions:
- Launch VirtualBox.
- Press “Devices.”
- Choose “Insert Guest Additions CD Image.”
- Find and run guest additions as administrator to install them.
Once you’ve installed guest additions, it’s time to enable file sharing:
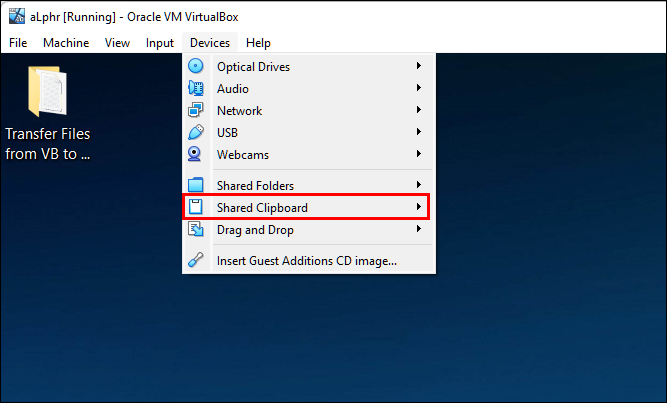
- Select “Devices.”
- Choose “Shared Clipboard.”
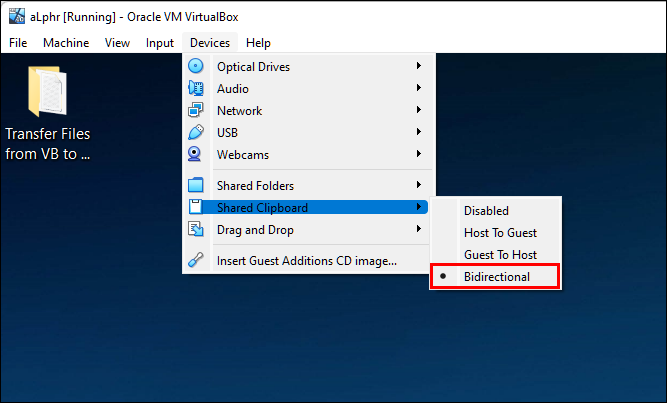
- Select “Guest To Host” if you want to enable sharing files from VirtualBox to your Windows computer. You can also choose “Bidirectional” if you wish to share from guest to host and vice versa.
Drag and Drop
Dragging and dropping is probably the most frequently used method of transferring files from your VirtualBox to the host Windows computer. However, if you’ve tried doing this, you may have realized it’s not working. This is because you first need to configure VirtualBox settings.
Follow these instructions to set up dragging and dropping:
- Open VirtualBox.
- Select “Devices.”
- Choose “Drag and Drop.”
- Select “Guest To Host” if you only want to transfer files from your Virtual Box to the host computer. If you want to be able to do it both ways, select “Bidirectional.”
- Reboot the machine.


USB Stick
Transferring a large number of files is much easier with a USB stick. Before getting to it, you’ll need to enable USB access. Here’s what you need to do:
- Insert the USB stick you want to use.
- Launch VirtualBox and right-click the machine you want to use.
- Choose “Settings.”
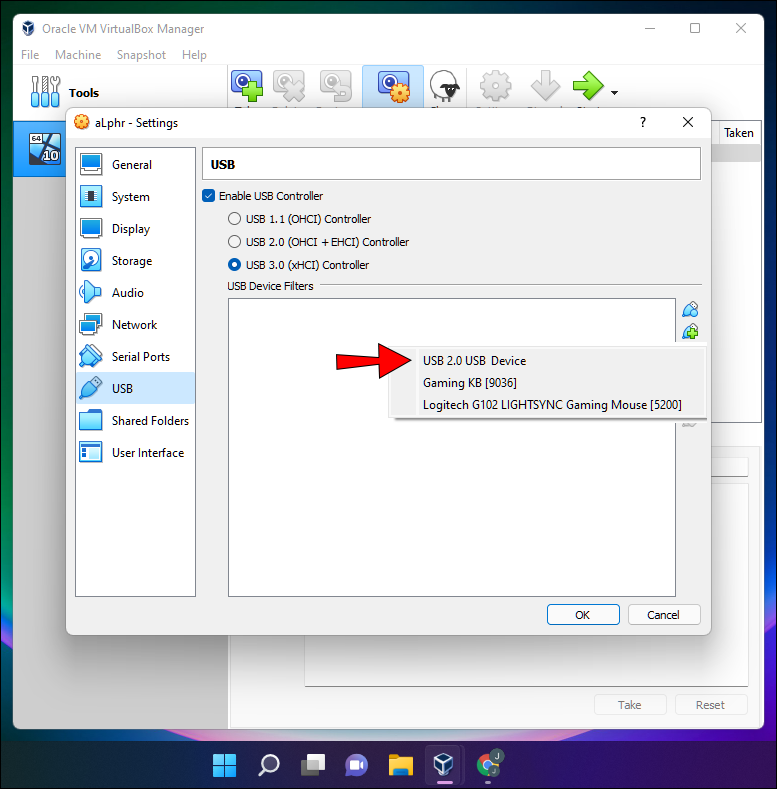
- Select “USB.”
- Press the plus sign and find the USB stick. Restart VirtualBox, and the USB stick will become available.


Transfer Files from VirtualBox to Host on a Mac
Many Mac users run VirtualBox to take advantage of other operating systems and their respective programs. Here’s how to transfer files from VirtualBox to your host Mac computer:
Shared Folder
Shared folders are folders that can be accessed from both your VirtualBox and Mac computer. If you want to share files between the guest and host machine, all you need to do is place them in a shared folder. Here’s how to create this folder:
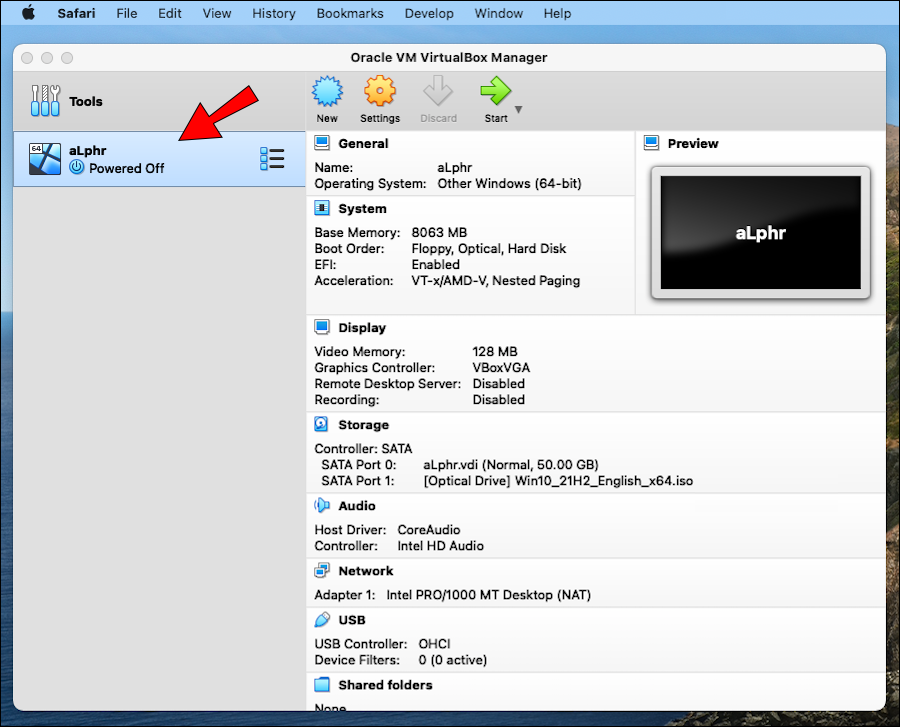
- Launch VirtualBox and select the machine you want to use.
- Press “Settings.”
- Go to “Shared folders” and select the plus sign on the right.
- Press the arrow pointing downwards next to “Folder path.”
- Select “Other” and select the folder in question.
- Mark the checkbox next to “Auto-mount.”
- Press “Ok.”


Now, you’ll need to install guest additions. If you’ve already installed them, you can skip these steps. Here’s how to install the additions:
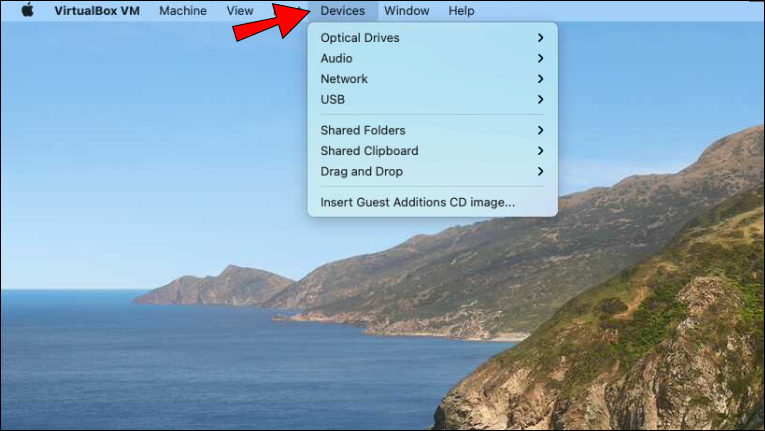
- Launch VirtualBox.
- Press “Devices” at the top menu.
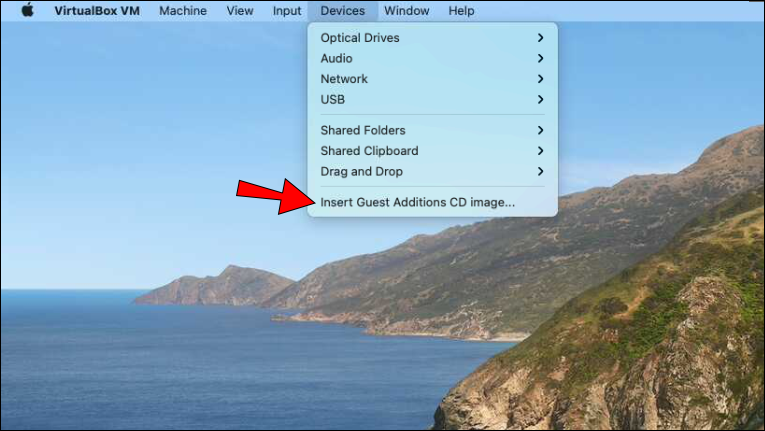
- Select “Insert Guest Additions CD Image.”
- You’ll see a pop-up at the bottom-right corner. Click on it.
- Install the guest additions.
- Reboot the virtual machine.
- Access the shared folder.
Shared Clipboard
VirtualBox offers the “Shared Clipboard” option for transferring files from your guest to the host machine and vice versa. Here’s how to configure it:
- Launch VirtualBox.
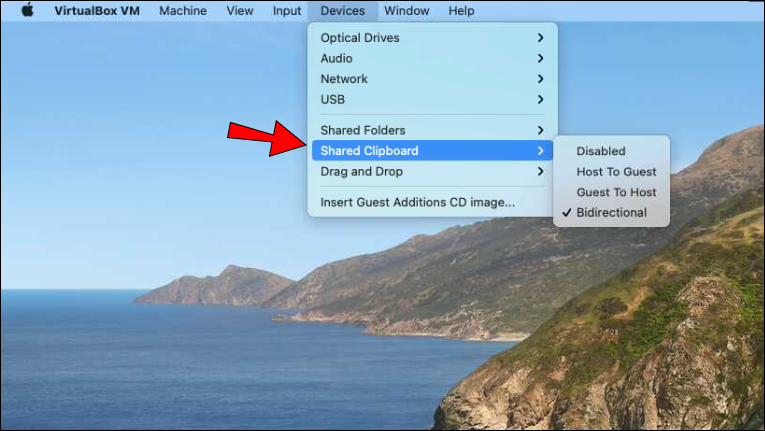
- Choose “Devices” from the menu at the top and select “Shared Clipboard.”
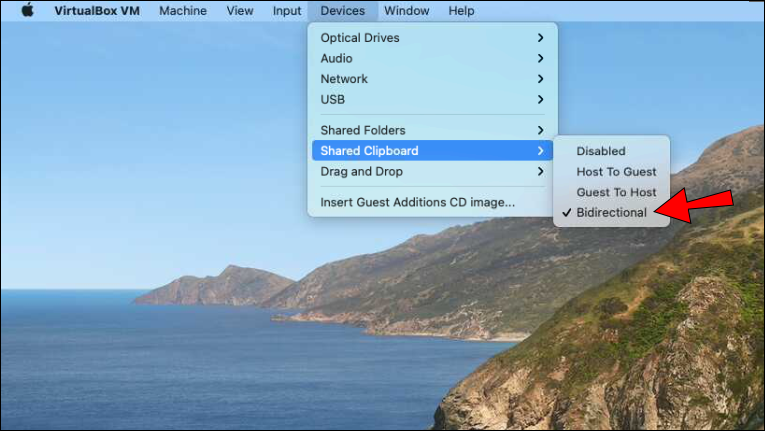
- Press “Guest To Host.” You can also select “Bidirectional” to transfer files from host to guest.
This feature enables you to copy and paste files from VirtualBox to your Mac computer. If you’ve enabled “Shared Clipboard,” and it’s still not working, you may need to install guest additions. Here’s how to do it:
- Open VirtualBox.
- Select “Devices.”
- Choose “Insert Guest Additions CD Image.”
- Locate and install the guest additions.
- Restart VirtualBox.
Drag and Drop
Dragging and dropping is probably the most convenient way of transferring files from your guest to the host machine. Here’s how to enable it:
- Launch VirtualBox and select your machine.
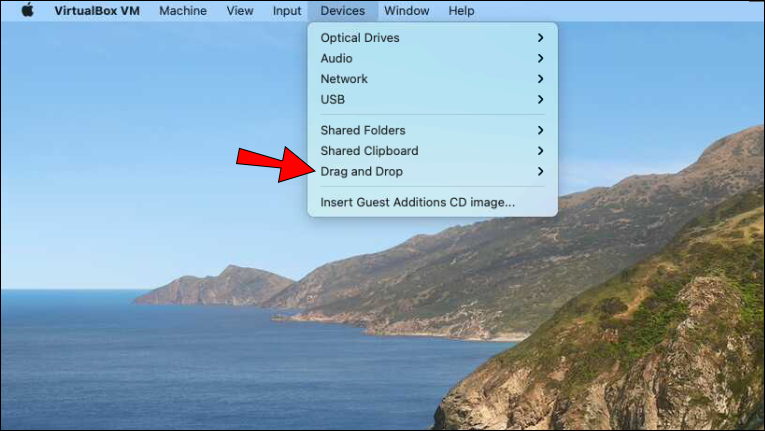
- Choose “Devices.”
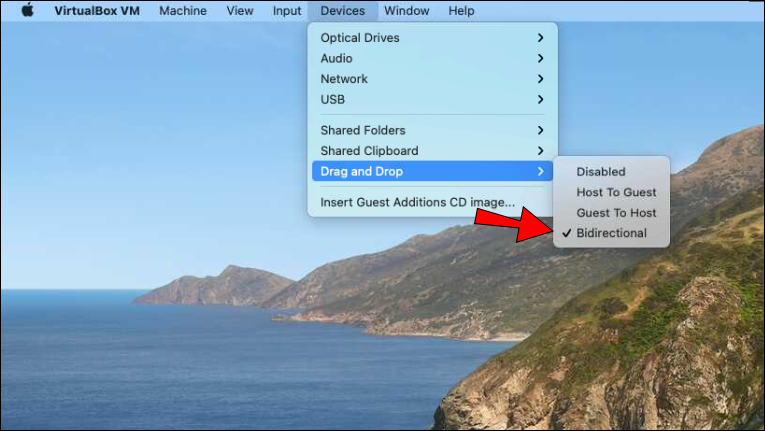
- Press “Drag and Drop.”
- Choose “Guest to Host.” If you want to transfer files from guest to host and vice versa, choose “Bidirectional.”
- Restart the machine.
USB Stick
Most Mac computers feature a USB-A or USB-C port, enabling you to use USB sticks for transferring files from VirtualBox to the host machine. If you’ve tried this and it didn’t work, it’s most likely because you’ve skipped a crucial step: enabling USB access in VirtualBox. Here’s what you need to do:
- Mount the USB stick into the USB port.
- Open VirtualBox, right-click on the machine you wish to use, and select “Settings.”
- Choose “USB.”
- Select the plus sign and locate your USB stick.
- Reboot VirtualBox and the USB stick will be displayed. You can now add files to it and paste them to your host machine.
Transfer Your Files with Ease
Since transferring files is one of the most basic functions, many users are surprised VirtualBox doesn’t enable it by default. Fortunately, you can enable this in only a few steps. What’s more, you can choose the most convenient way to transfer files, depending on their number and size.
We hope this article explained how file transfer works in VirtualBox and that you’ve successfully moved your files to the host computer.
What is your favorite way of transferring files? What virtual machine do you prefer? Tell us in the comments section below.
Disclaimer: Some pages on this site may include an affiliate link. This does not effect our editorial in any way.


