Device Links
If you’ve bought a new phone and installed Viber but are unsure of how to transfer all your data from your old phone to your new one, you’re in the right place. The most important thing to do is back up your Viber data on your old phone. Once you do this, you can restore that Viber data onto your new phone. Here’s how.
Restore Viber Data on a New Phone
Before transferring your Viber data from your old phone to your new phone, you must ensure it’s backed up to your device’s cloud. Scroll below for steps on backing up your Viber data.
Assuming you’ve backed your data up and are ready to restore it to your new phone, let’s jump into how to do this. If you haven’t, check out the section below.
It should be noted that Viber chat data is linked to your phone’s operating system, iOS or Android, and there isn’t a straightforward way of transferring your data between these two platforms.
Here are steps for restoring your Viber data to your new phone after you’ve backed it up on the old one:
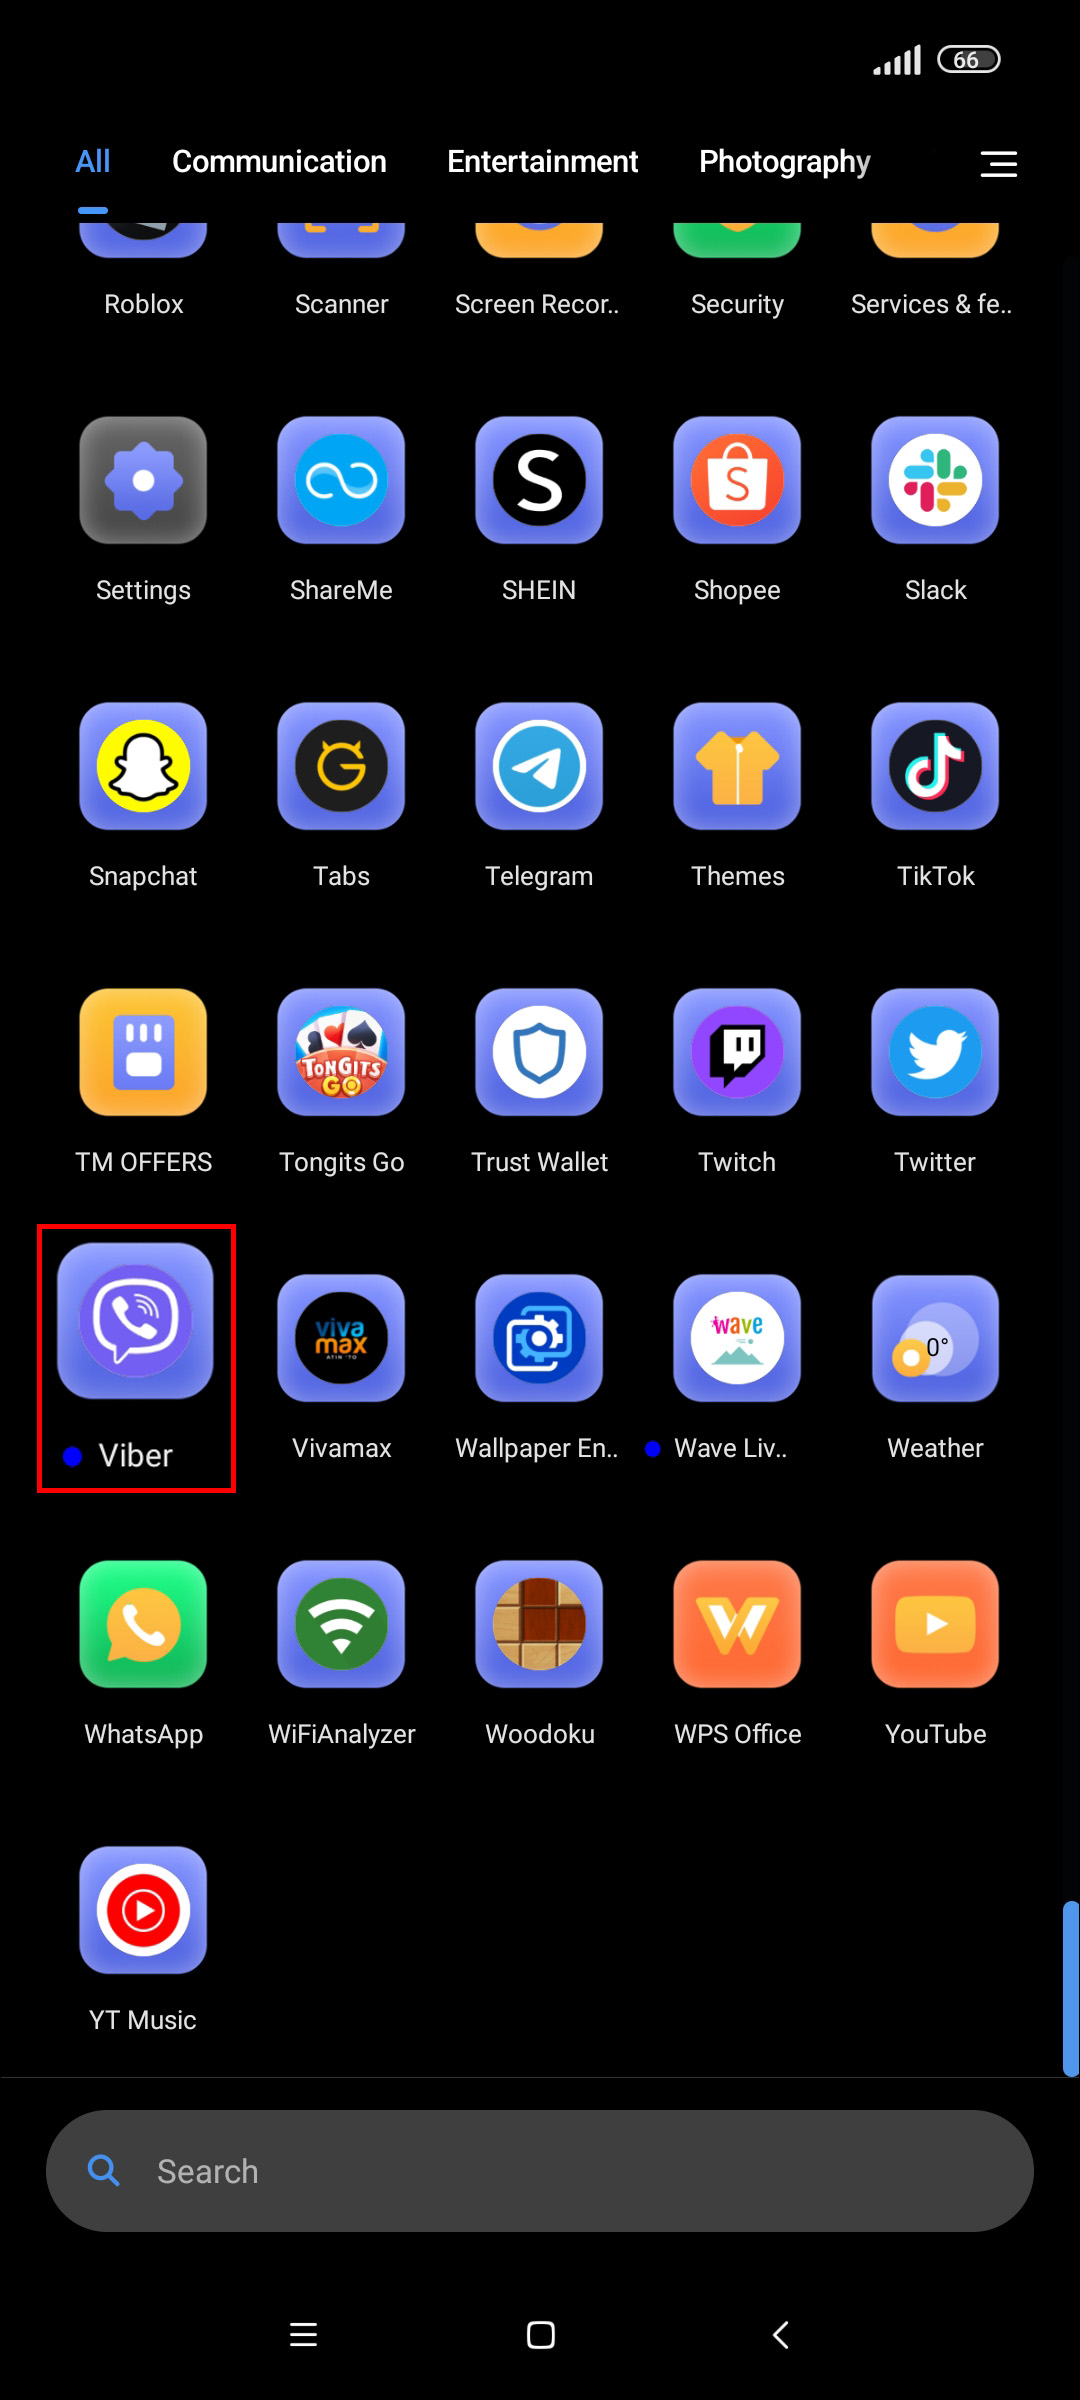
- Download and install Viber on your new phone.
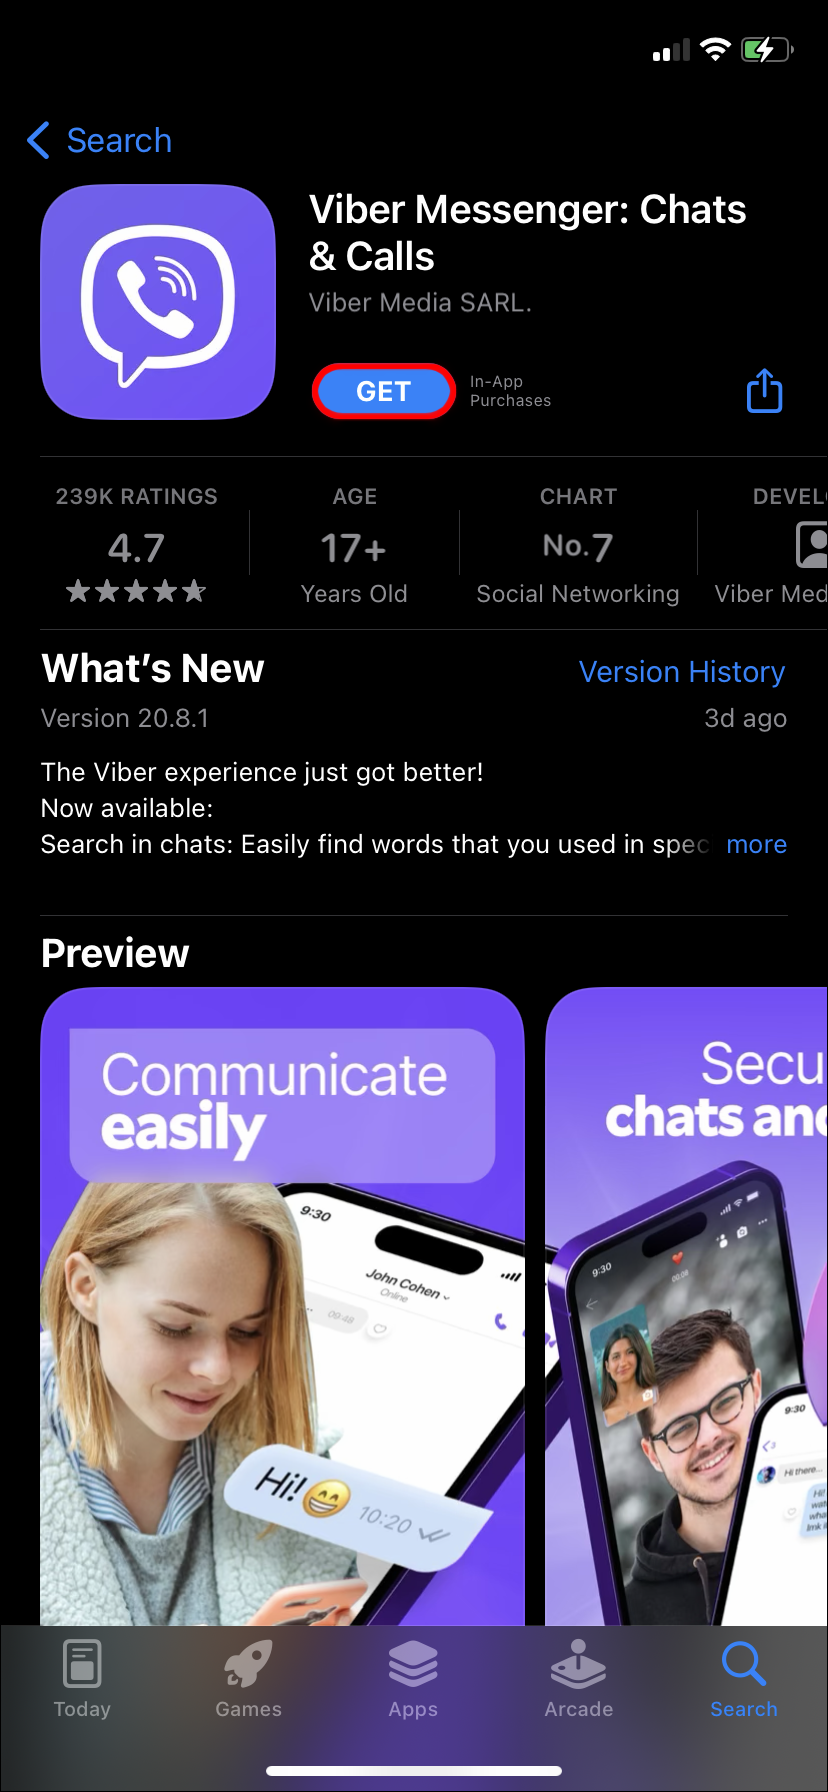
- Launch Viber.

- Activate it with your phone number connected to your Viber account.
- You’ll receive a prompt to “Restore Viber Content.”

To restore Viber data to your new phone manually, follow these steps:
- Launch Viber on your new phone.
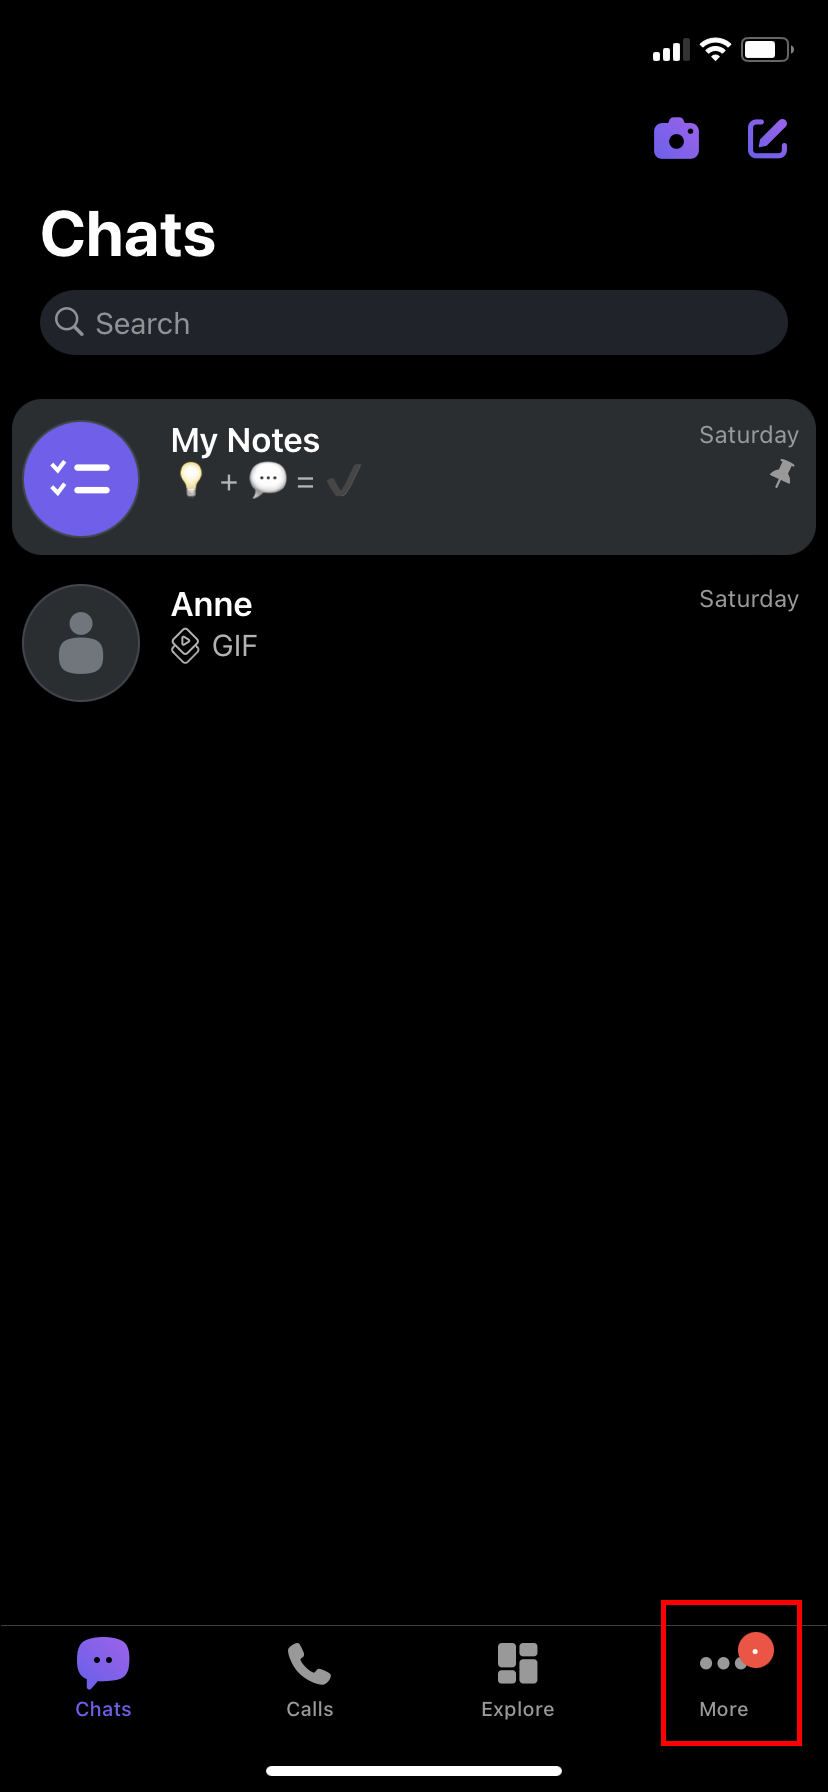
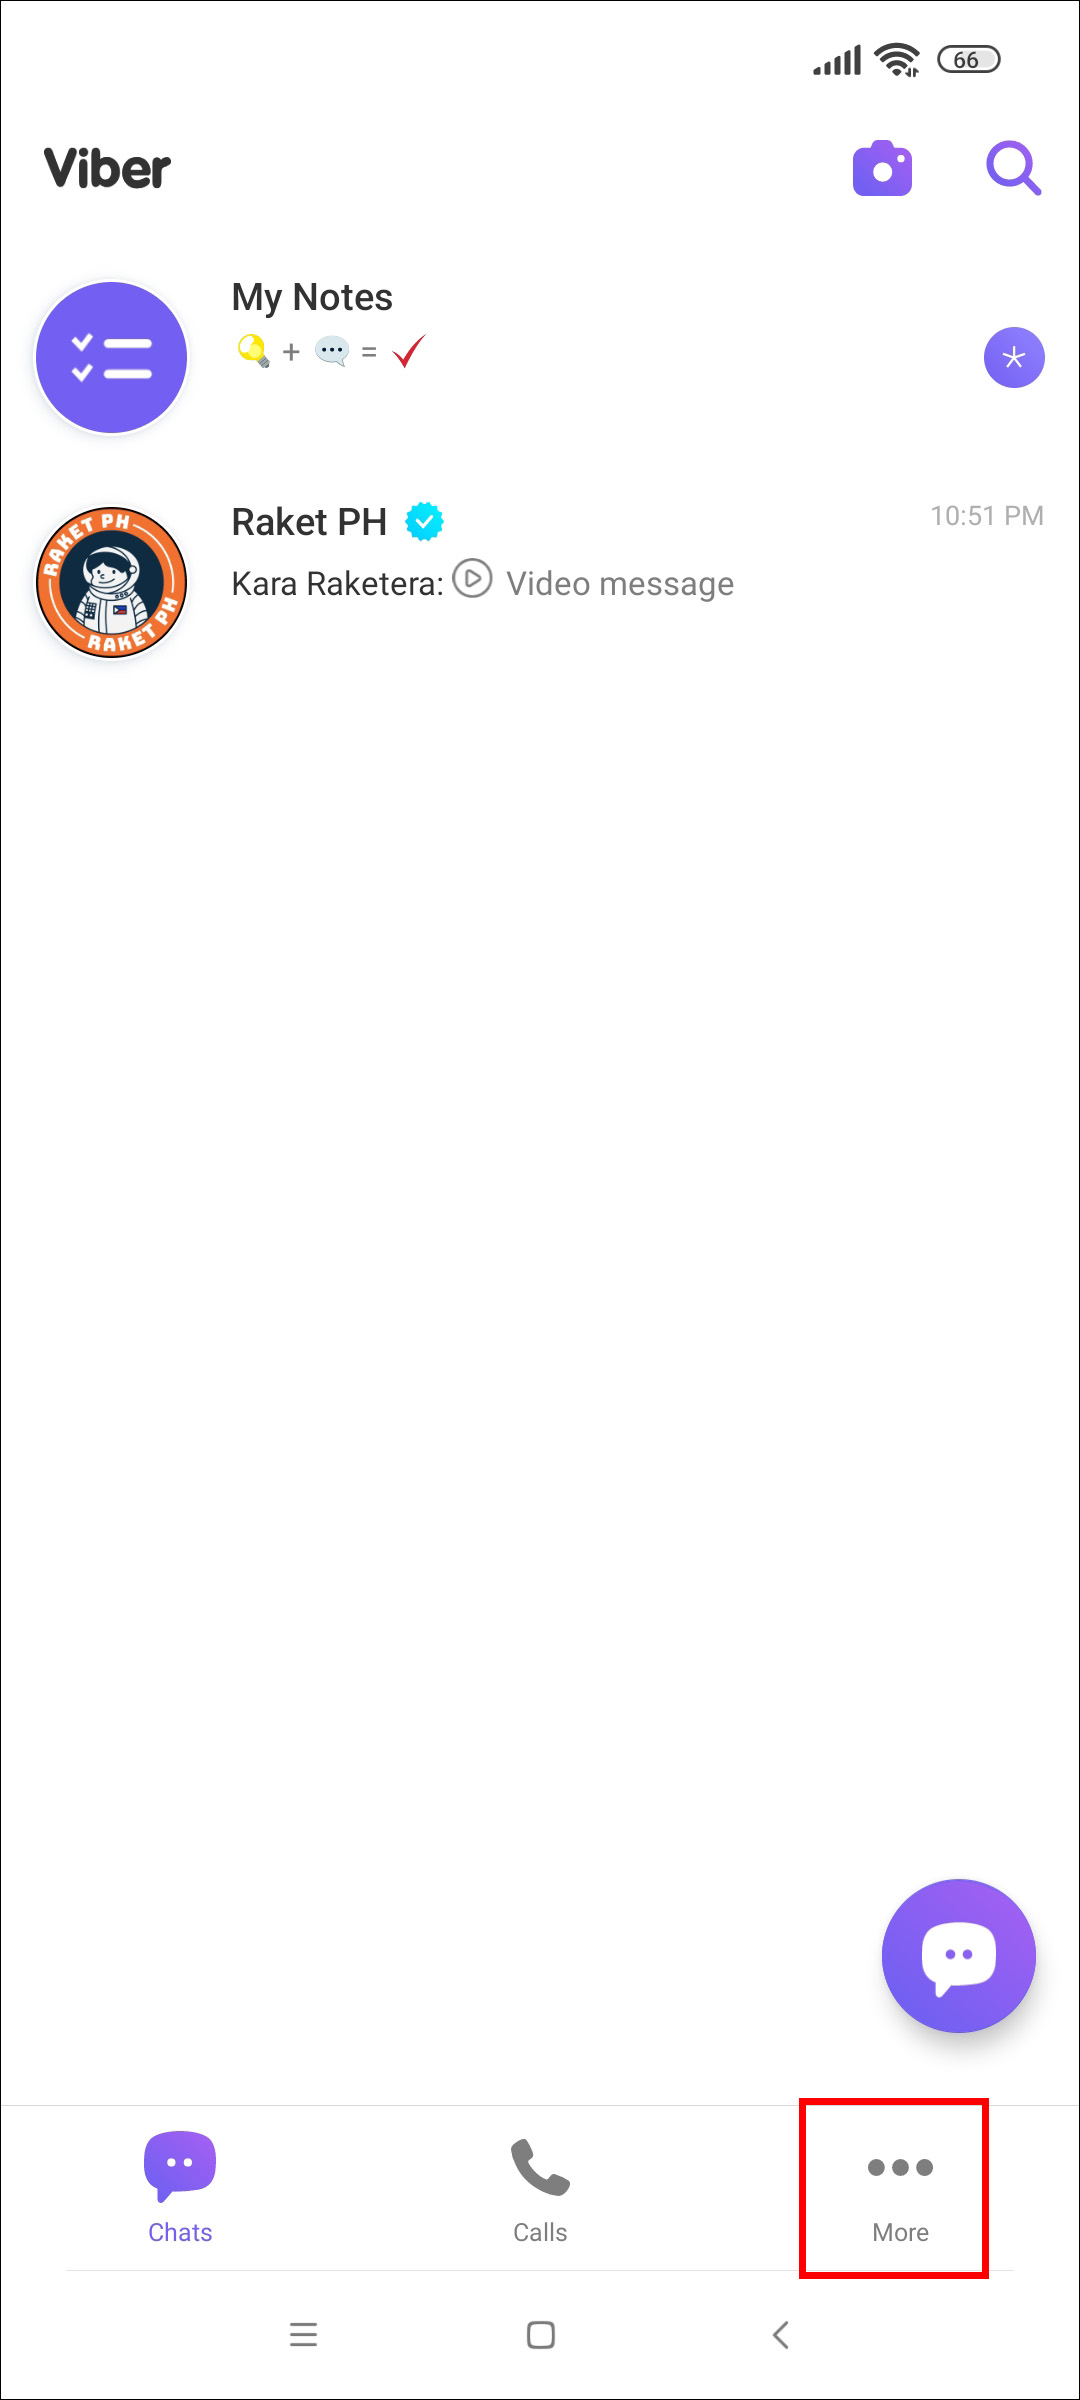
- Go to “More.”
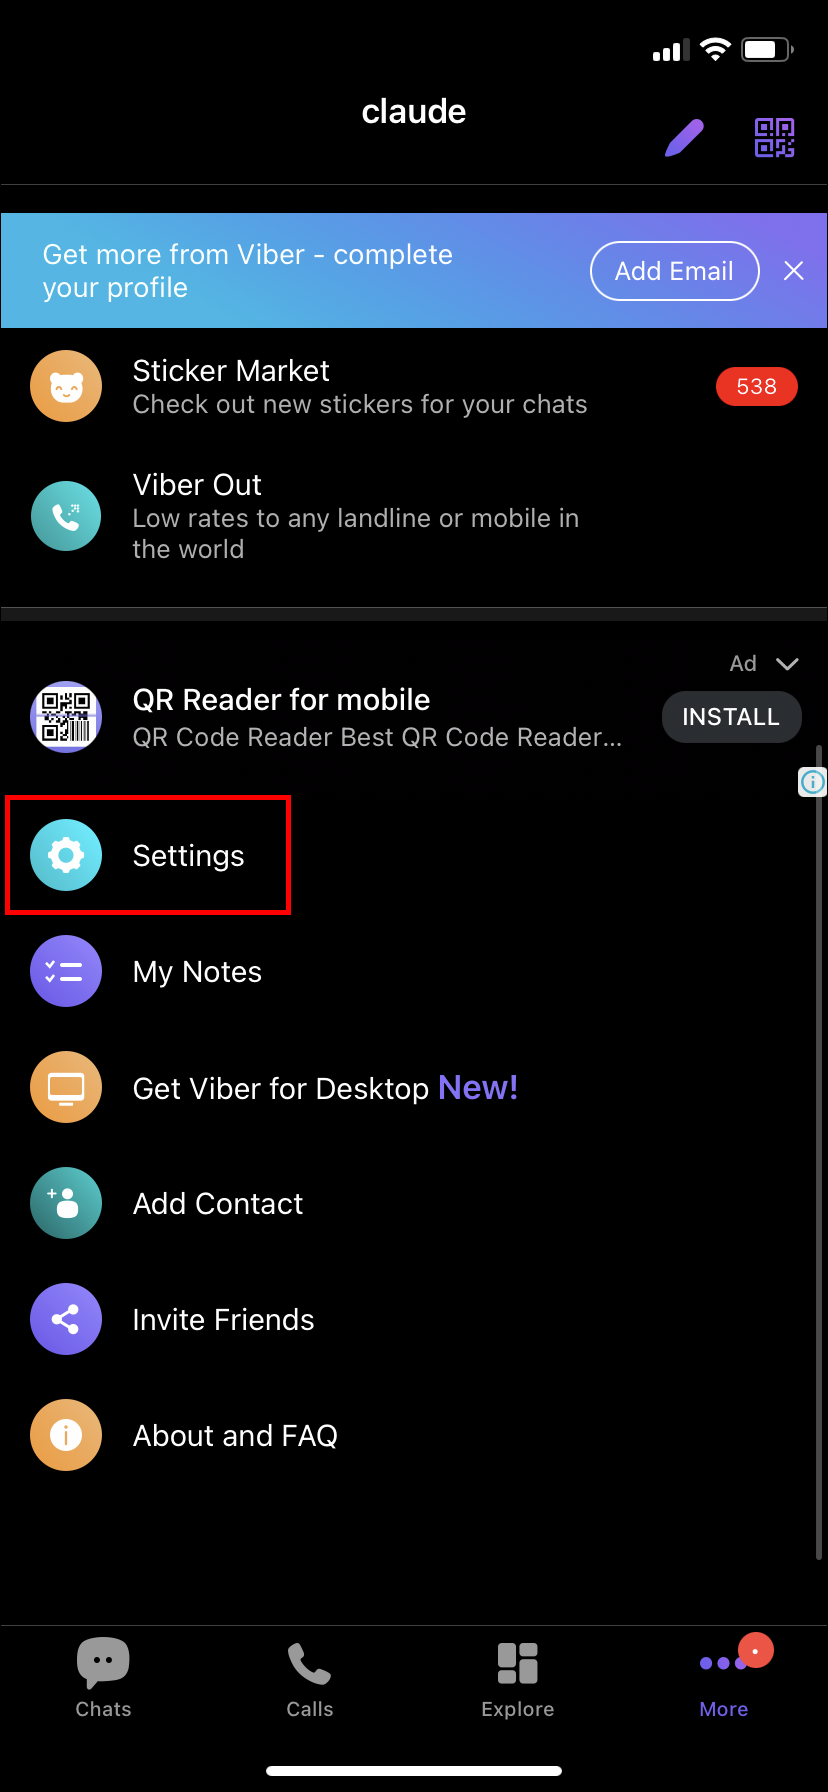
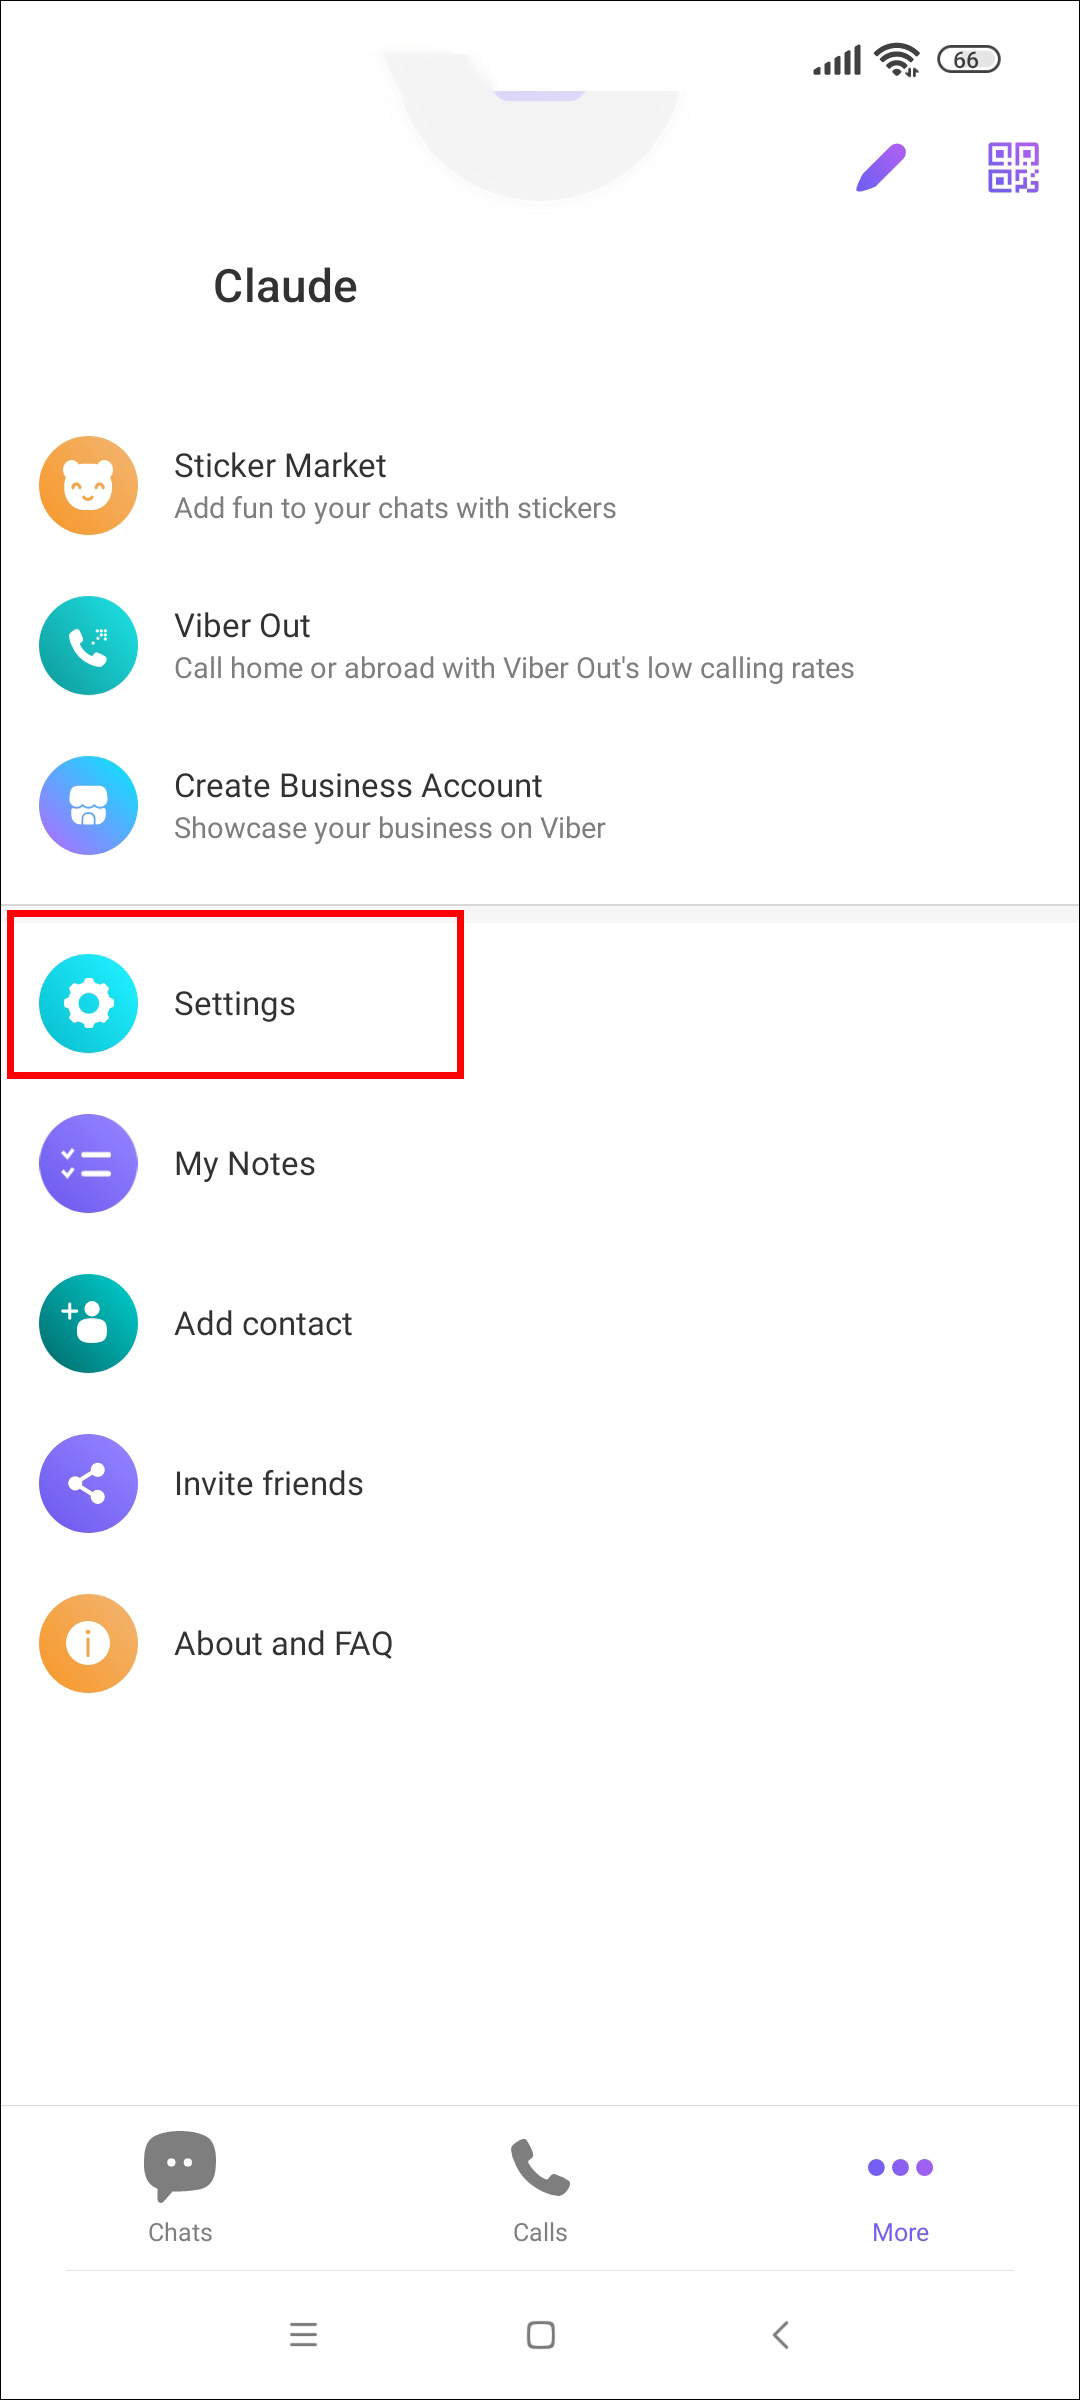
- Select “Settings.”
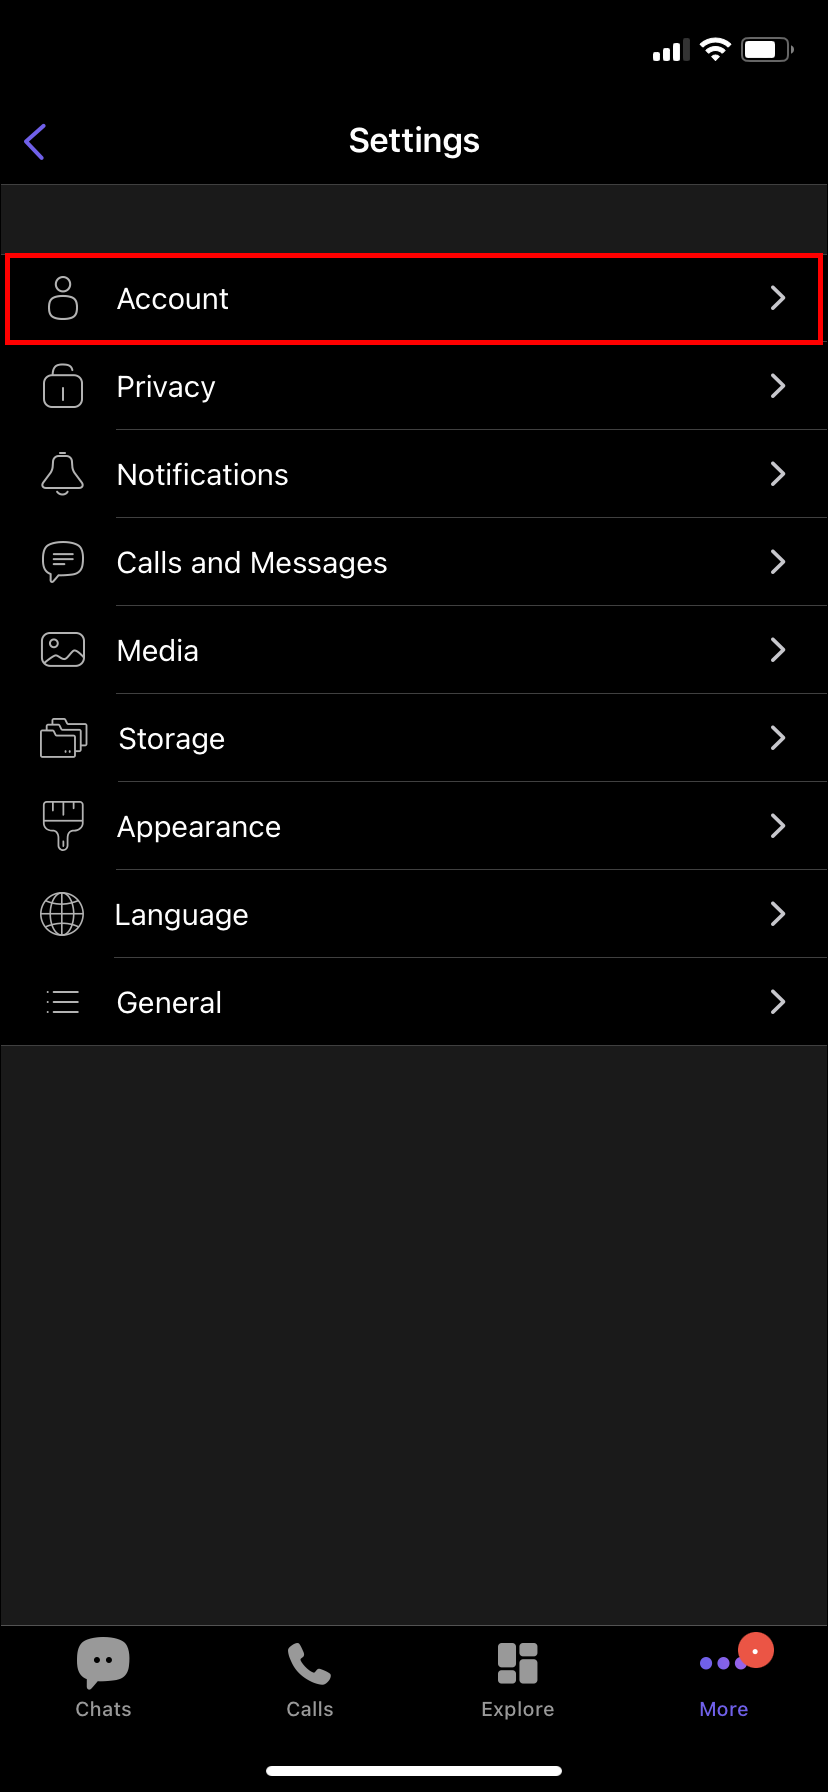
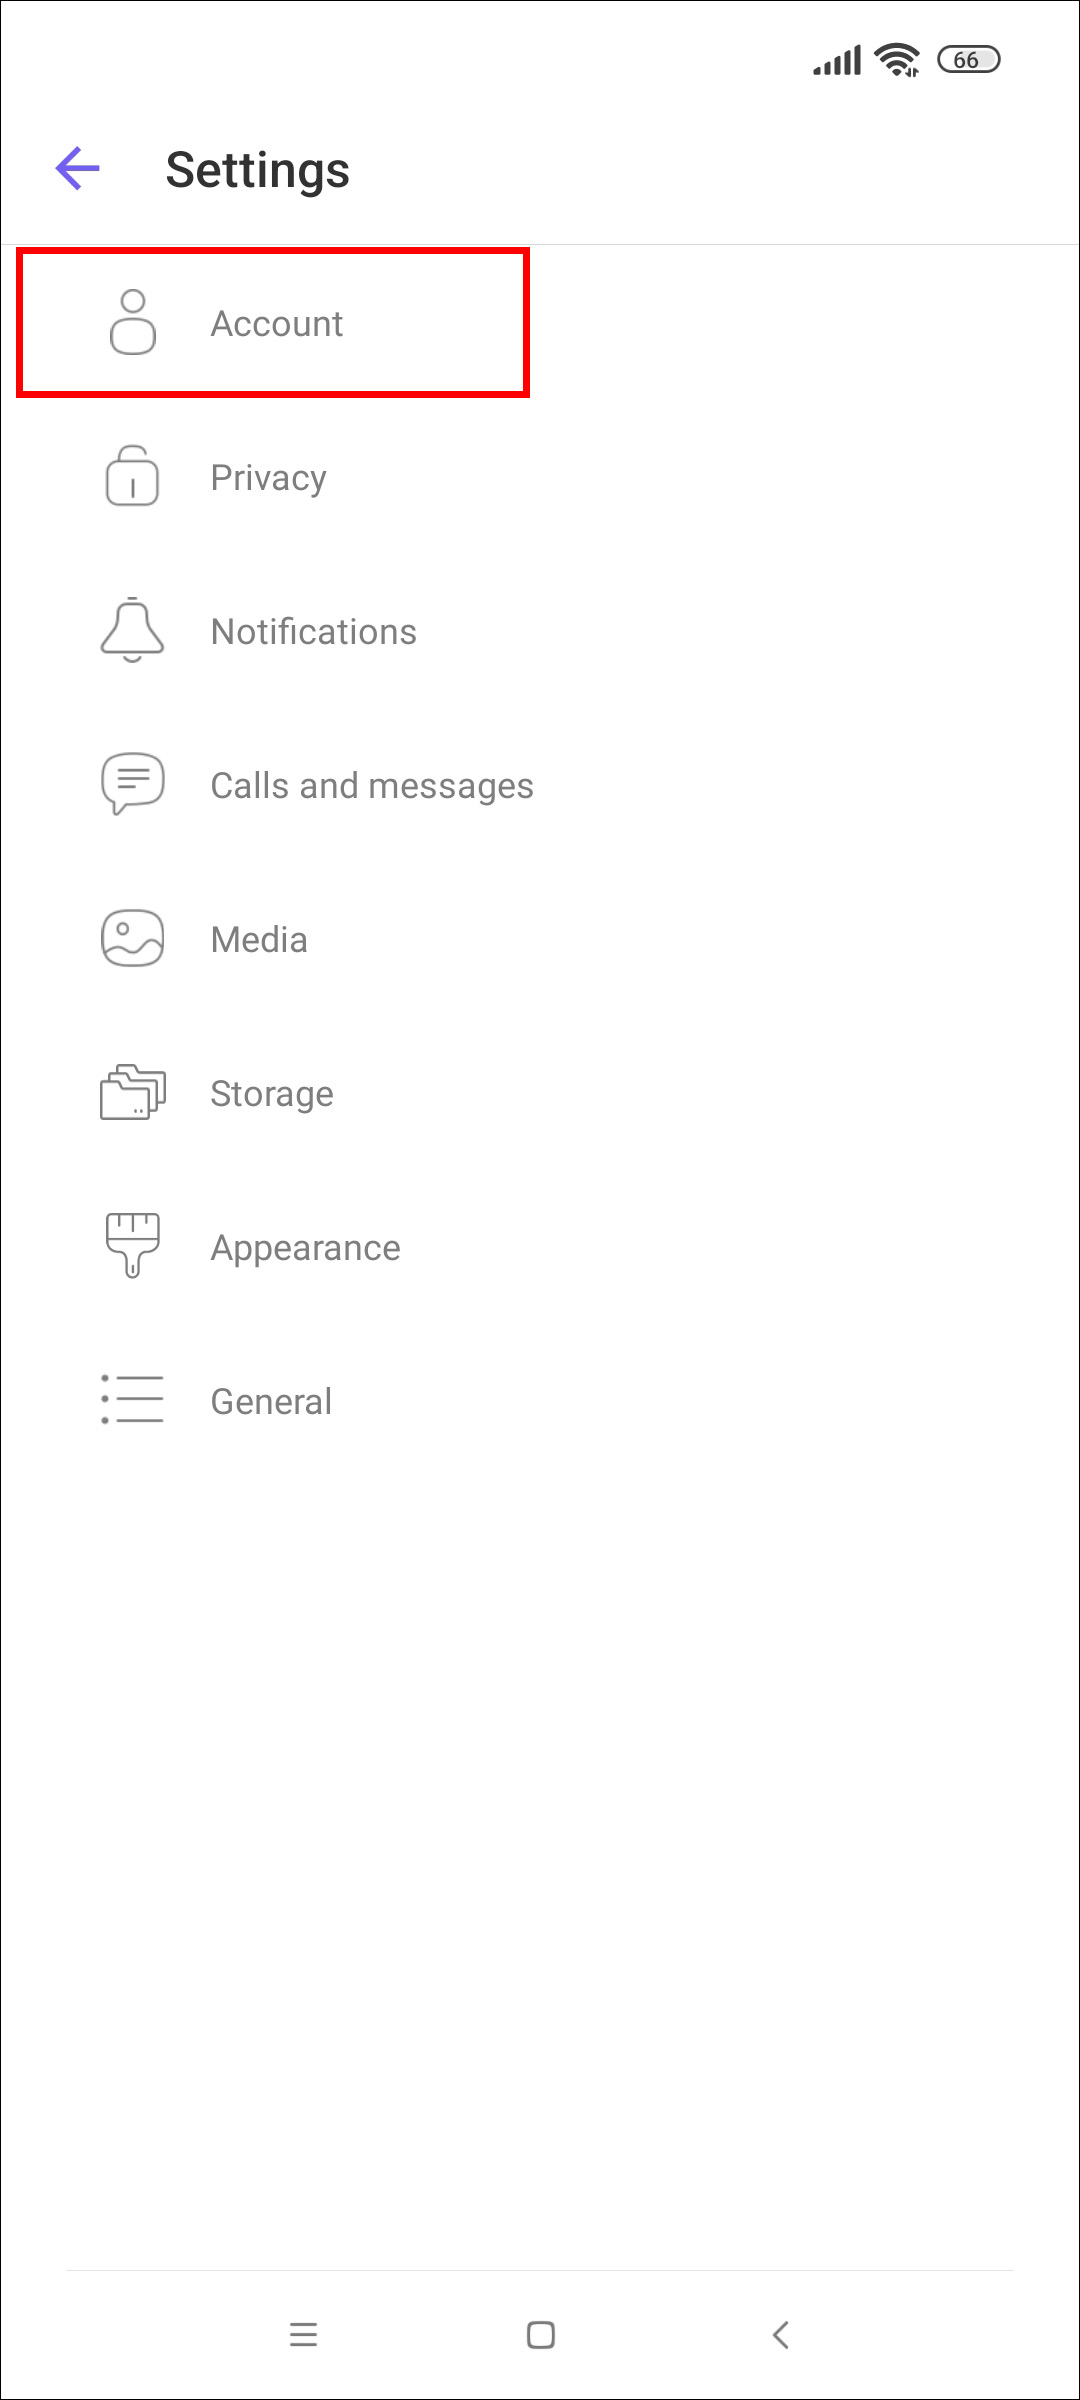
- Choose “Account.”
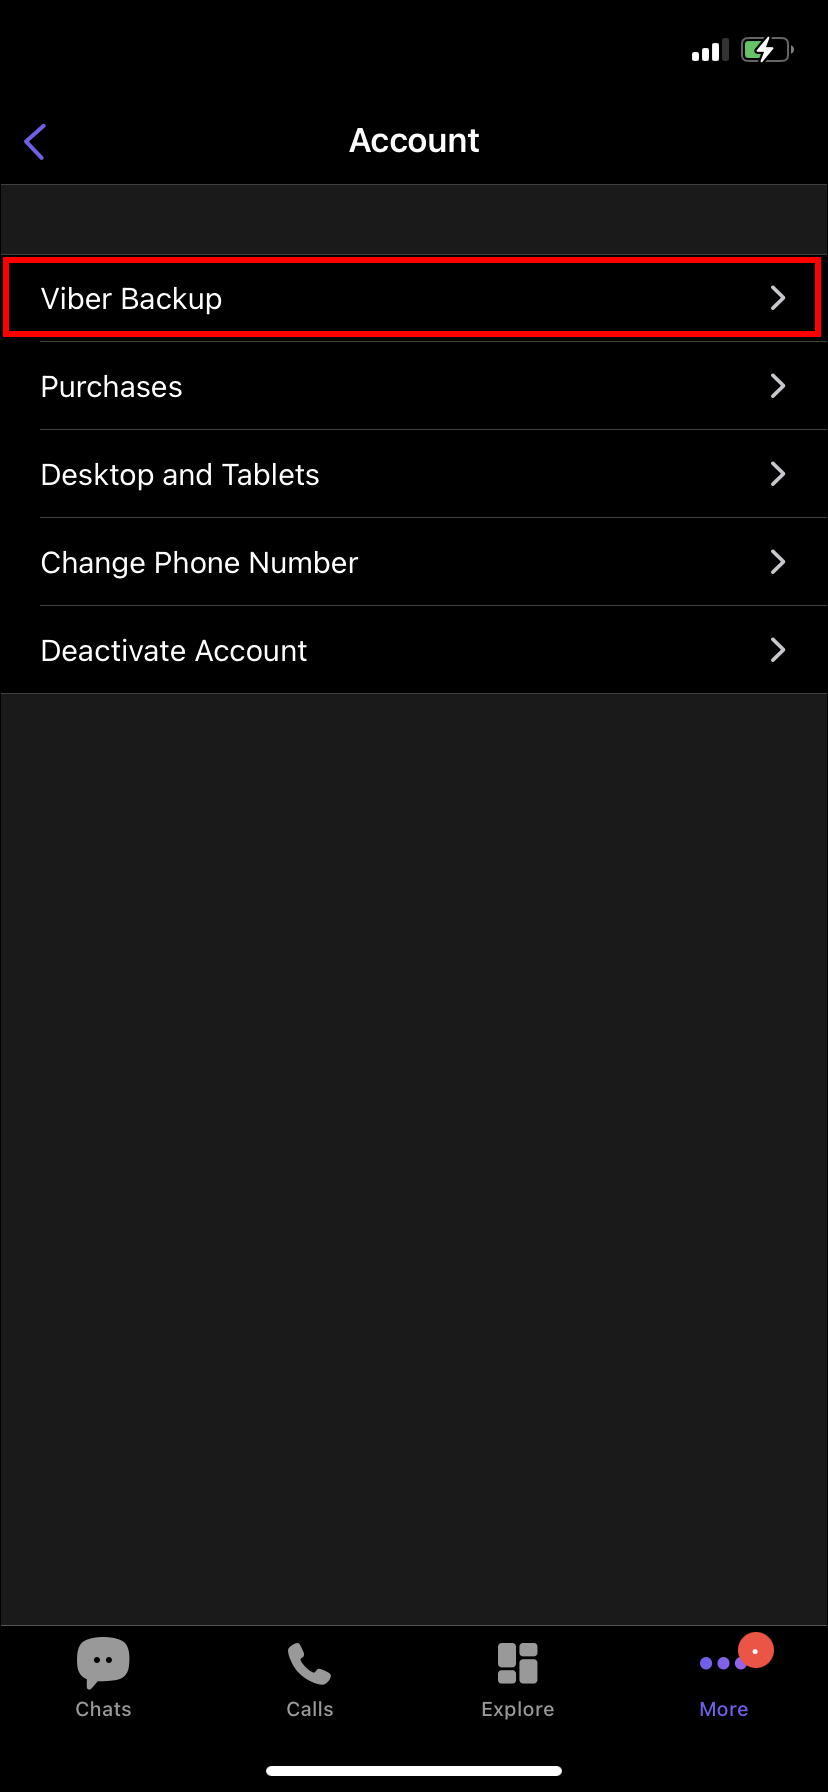
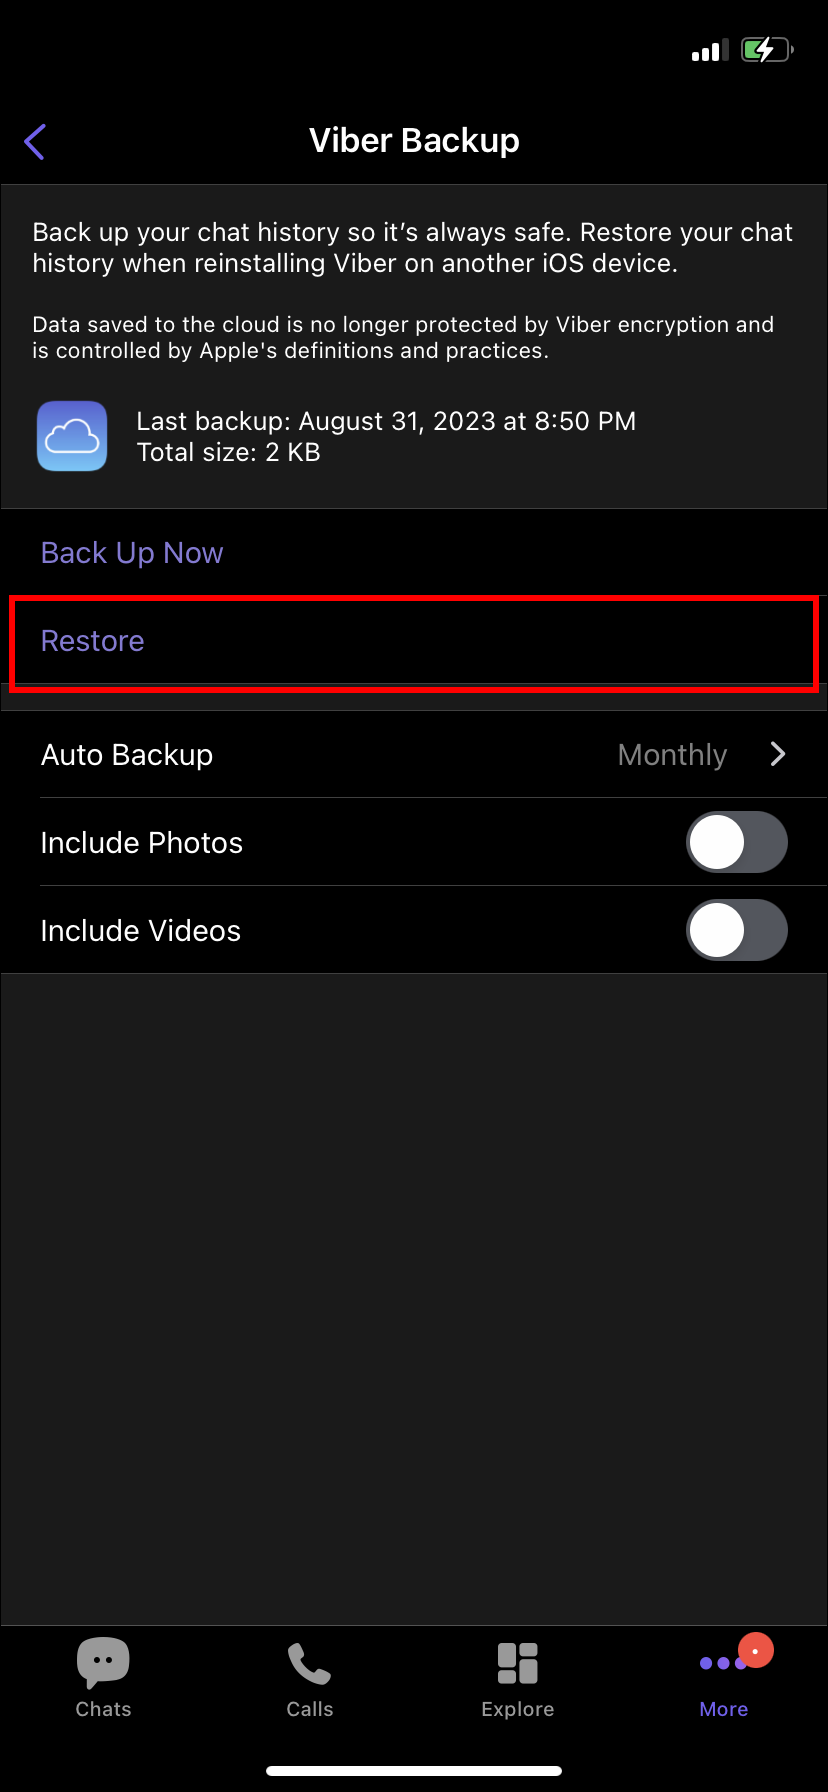
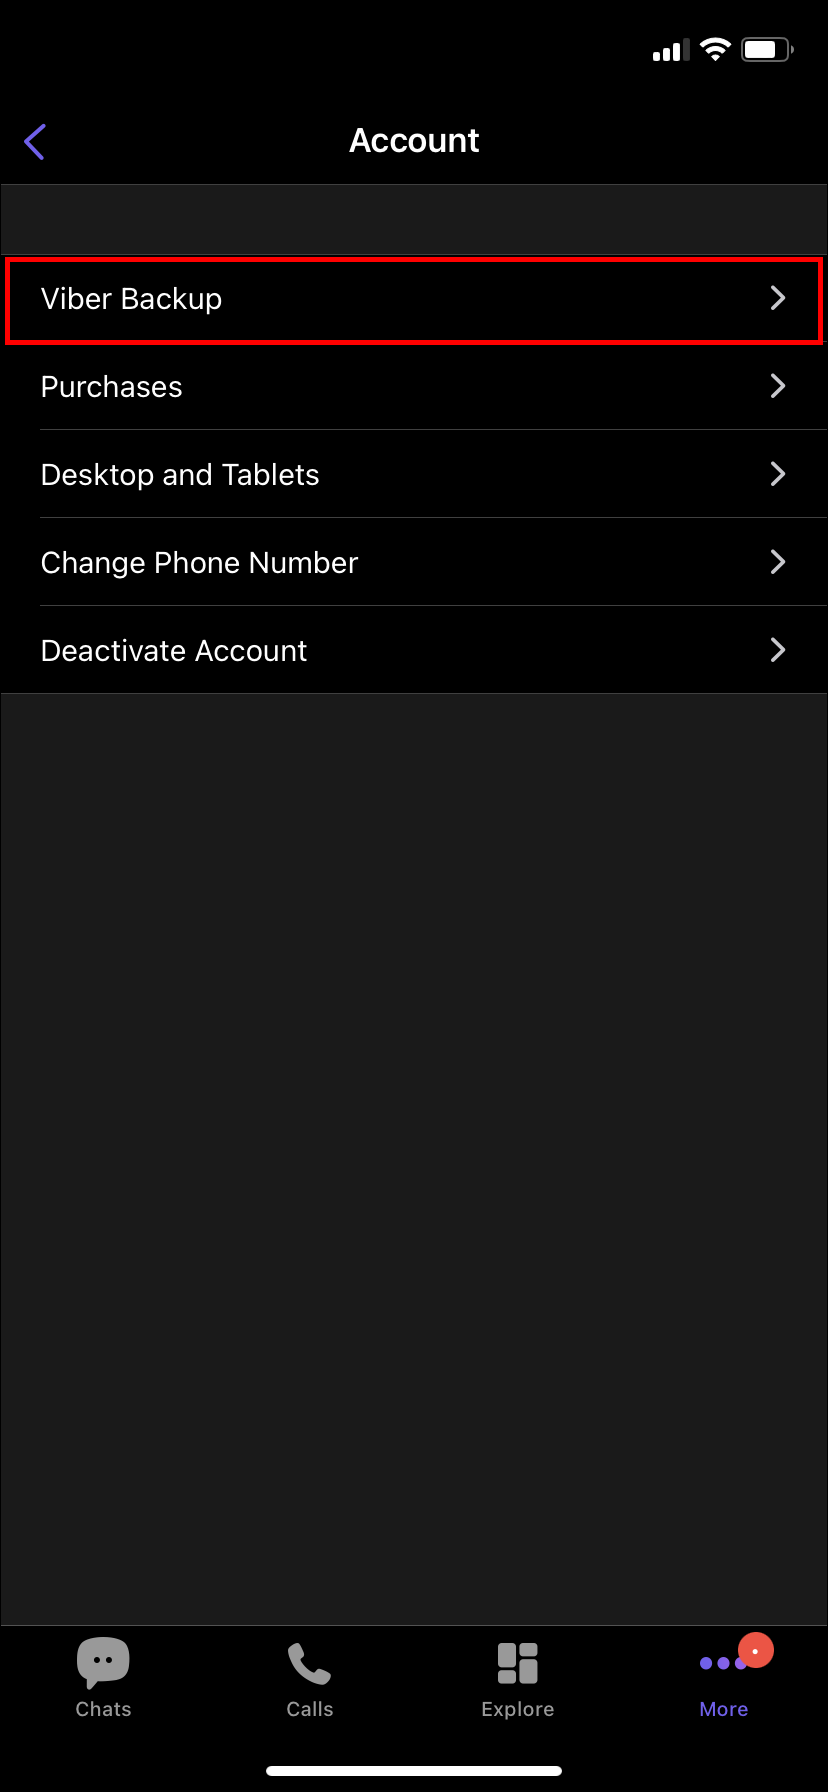
- Tap on “Viber Backup.”
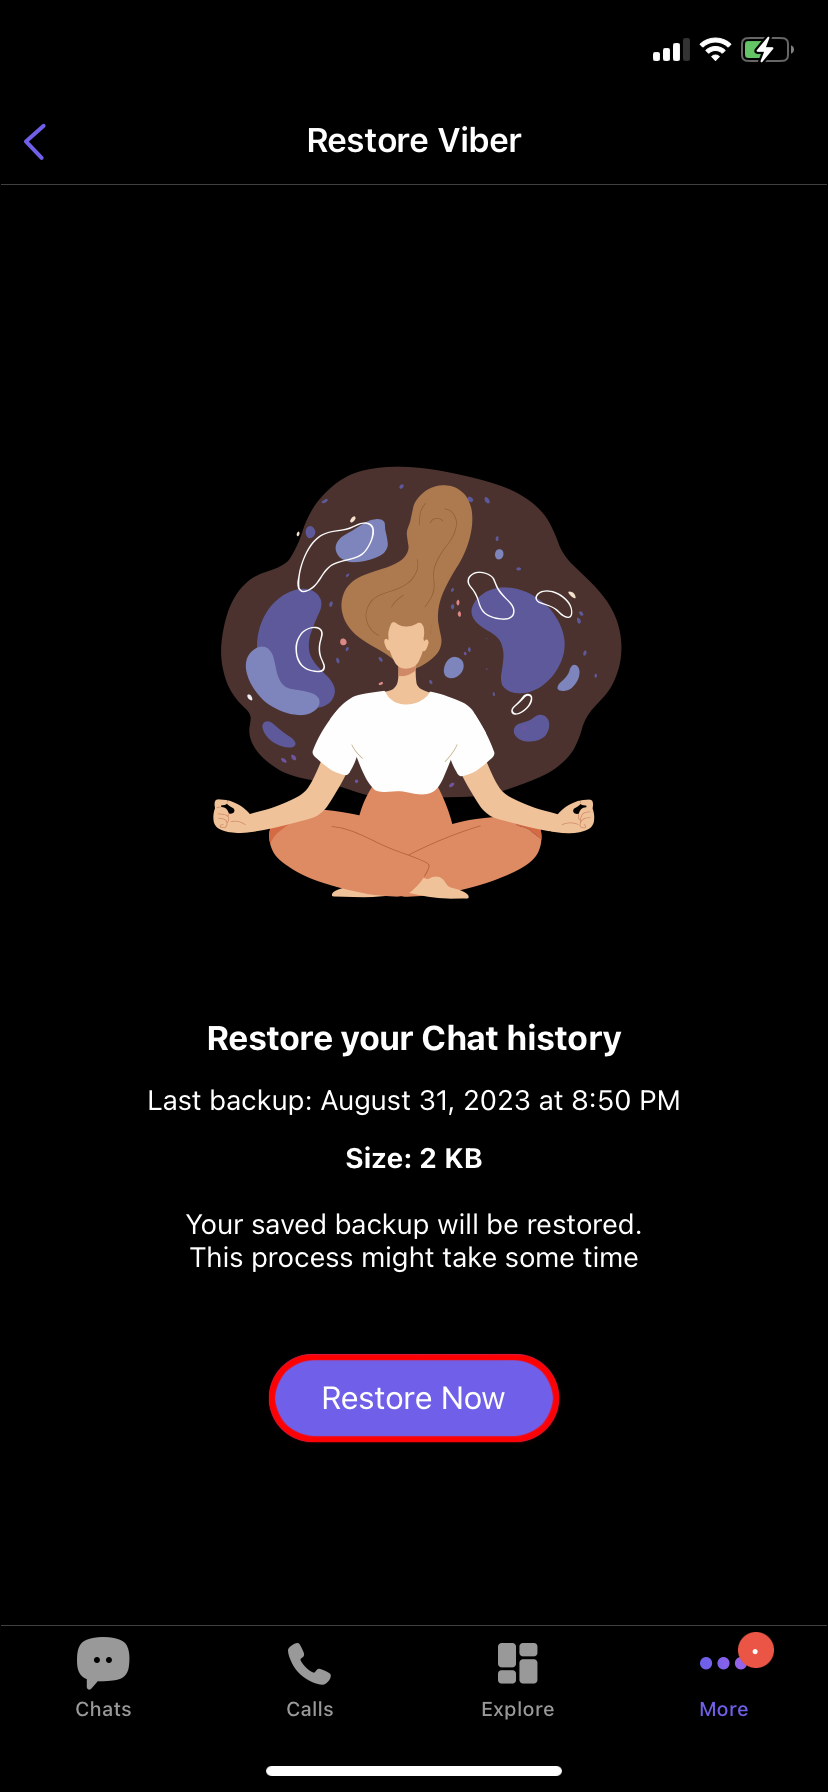
- Hit “Restore.”
- Select “Restore Now.”

Viber then restores your chat history first, allowing you to use Viber for messaging while it restores your videos and photos in the background.
You can complete the above steps at another time if you prefer to restore your chat history later. But note that new messages won’t be saved because the restored data reverts your chat history to what it was when you backed up.
Restore Viber Out Purchases and the Sticker Market
Follow these steps to restore your Sticker Market purchases and Viber Out subscriptions.
- Launch Viber on your new phone.
- Hit “More.”
- Choose “Settings.”
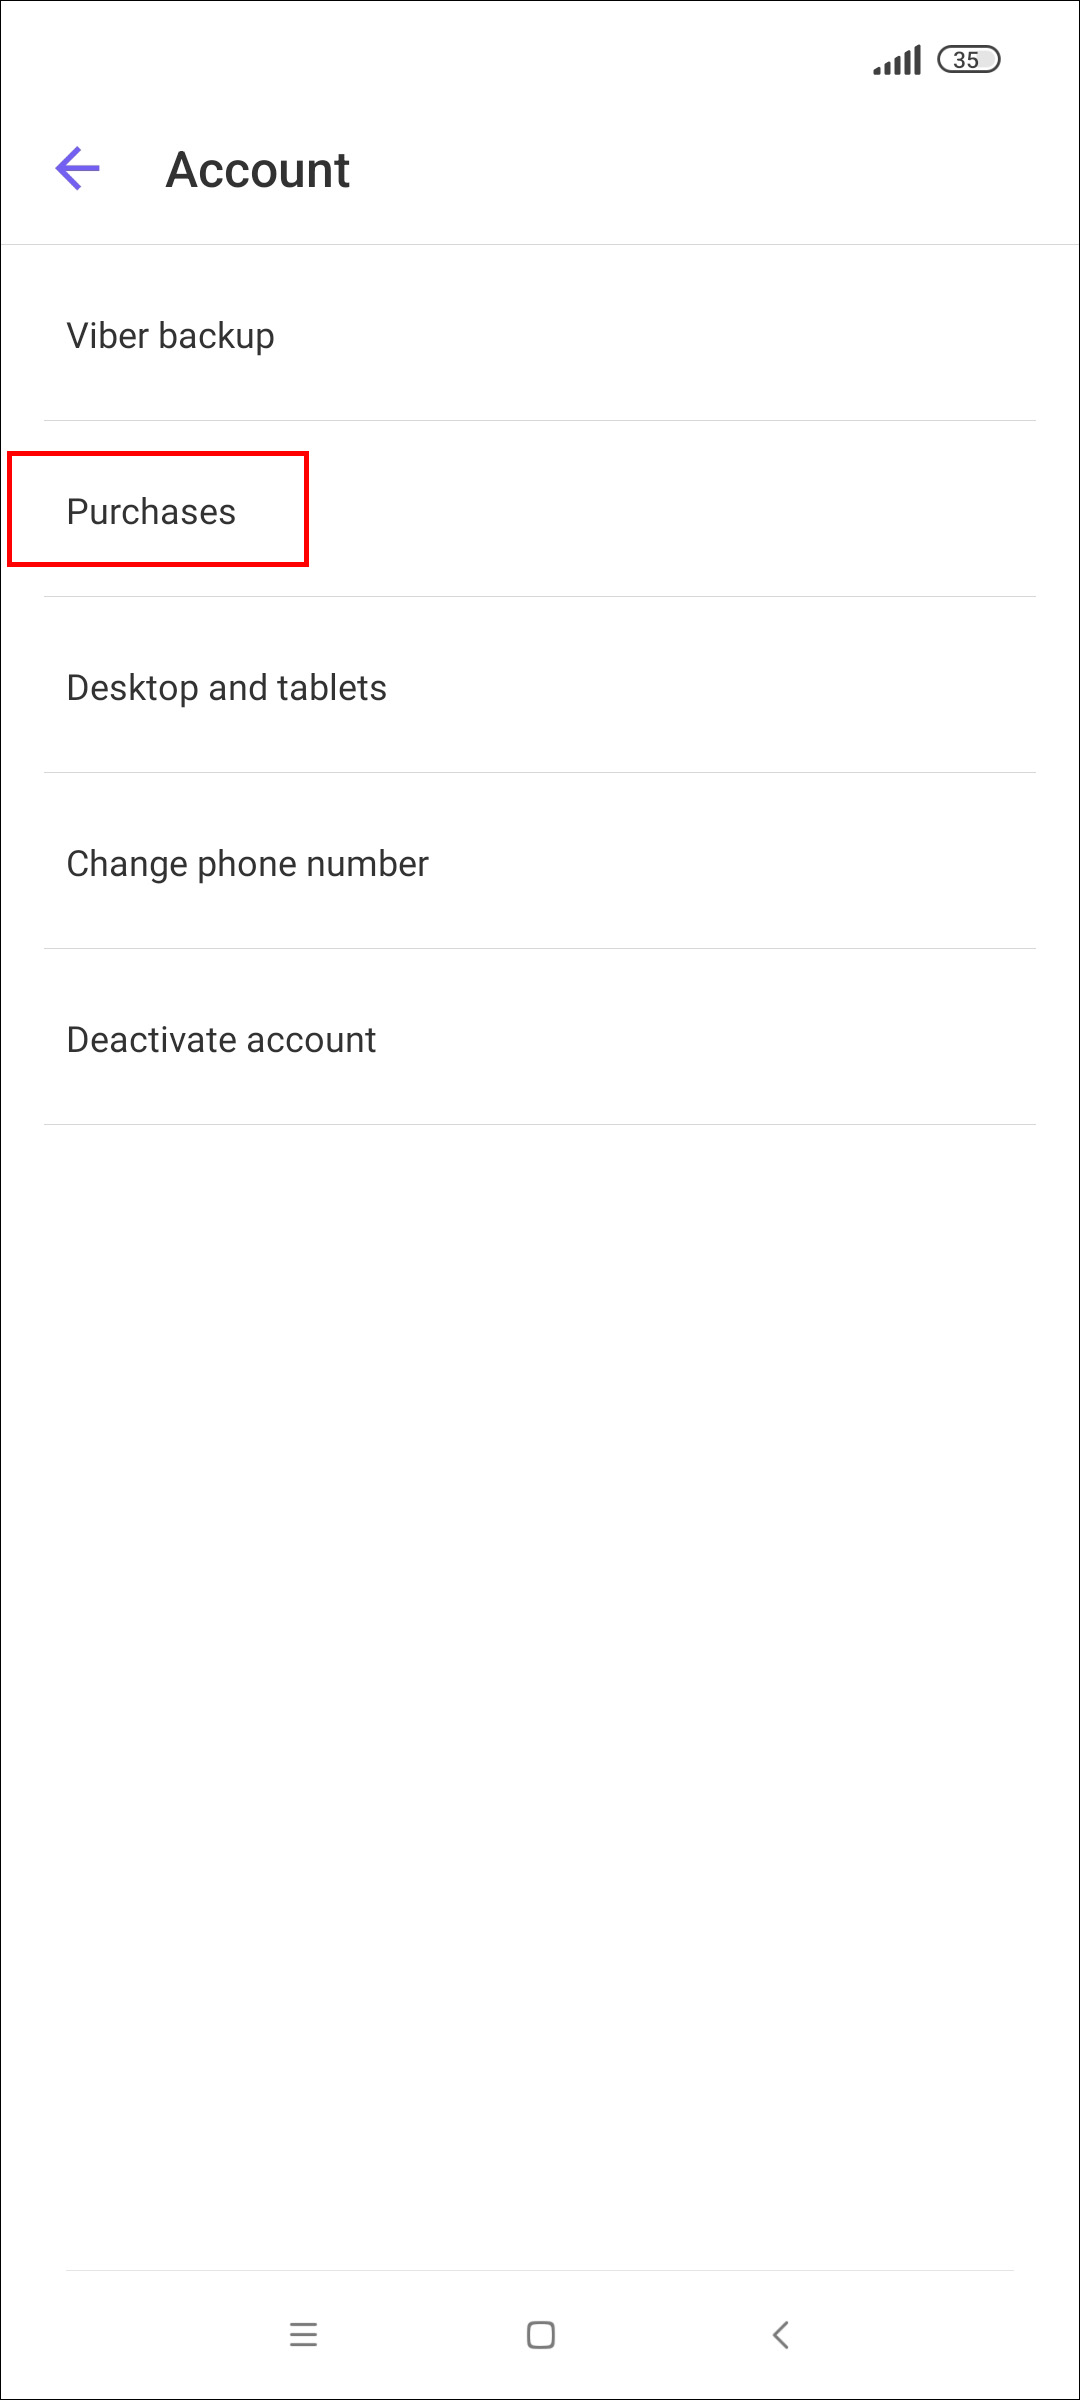
- Select “Account.”
- Tap on “Purchases.”
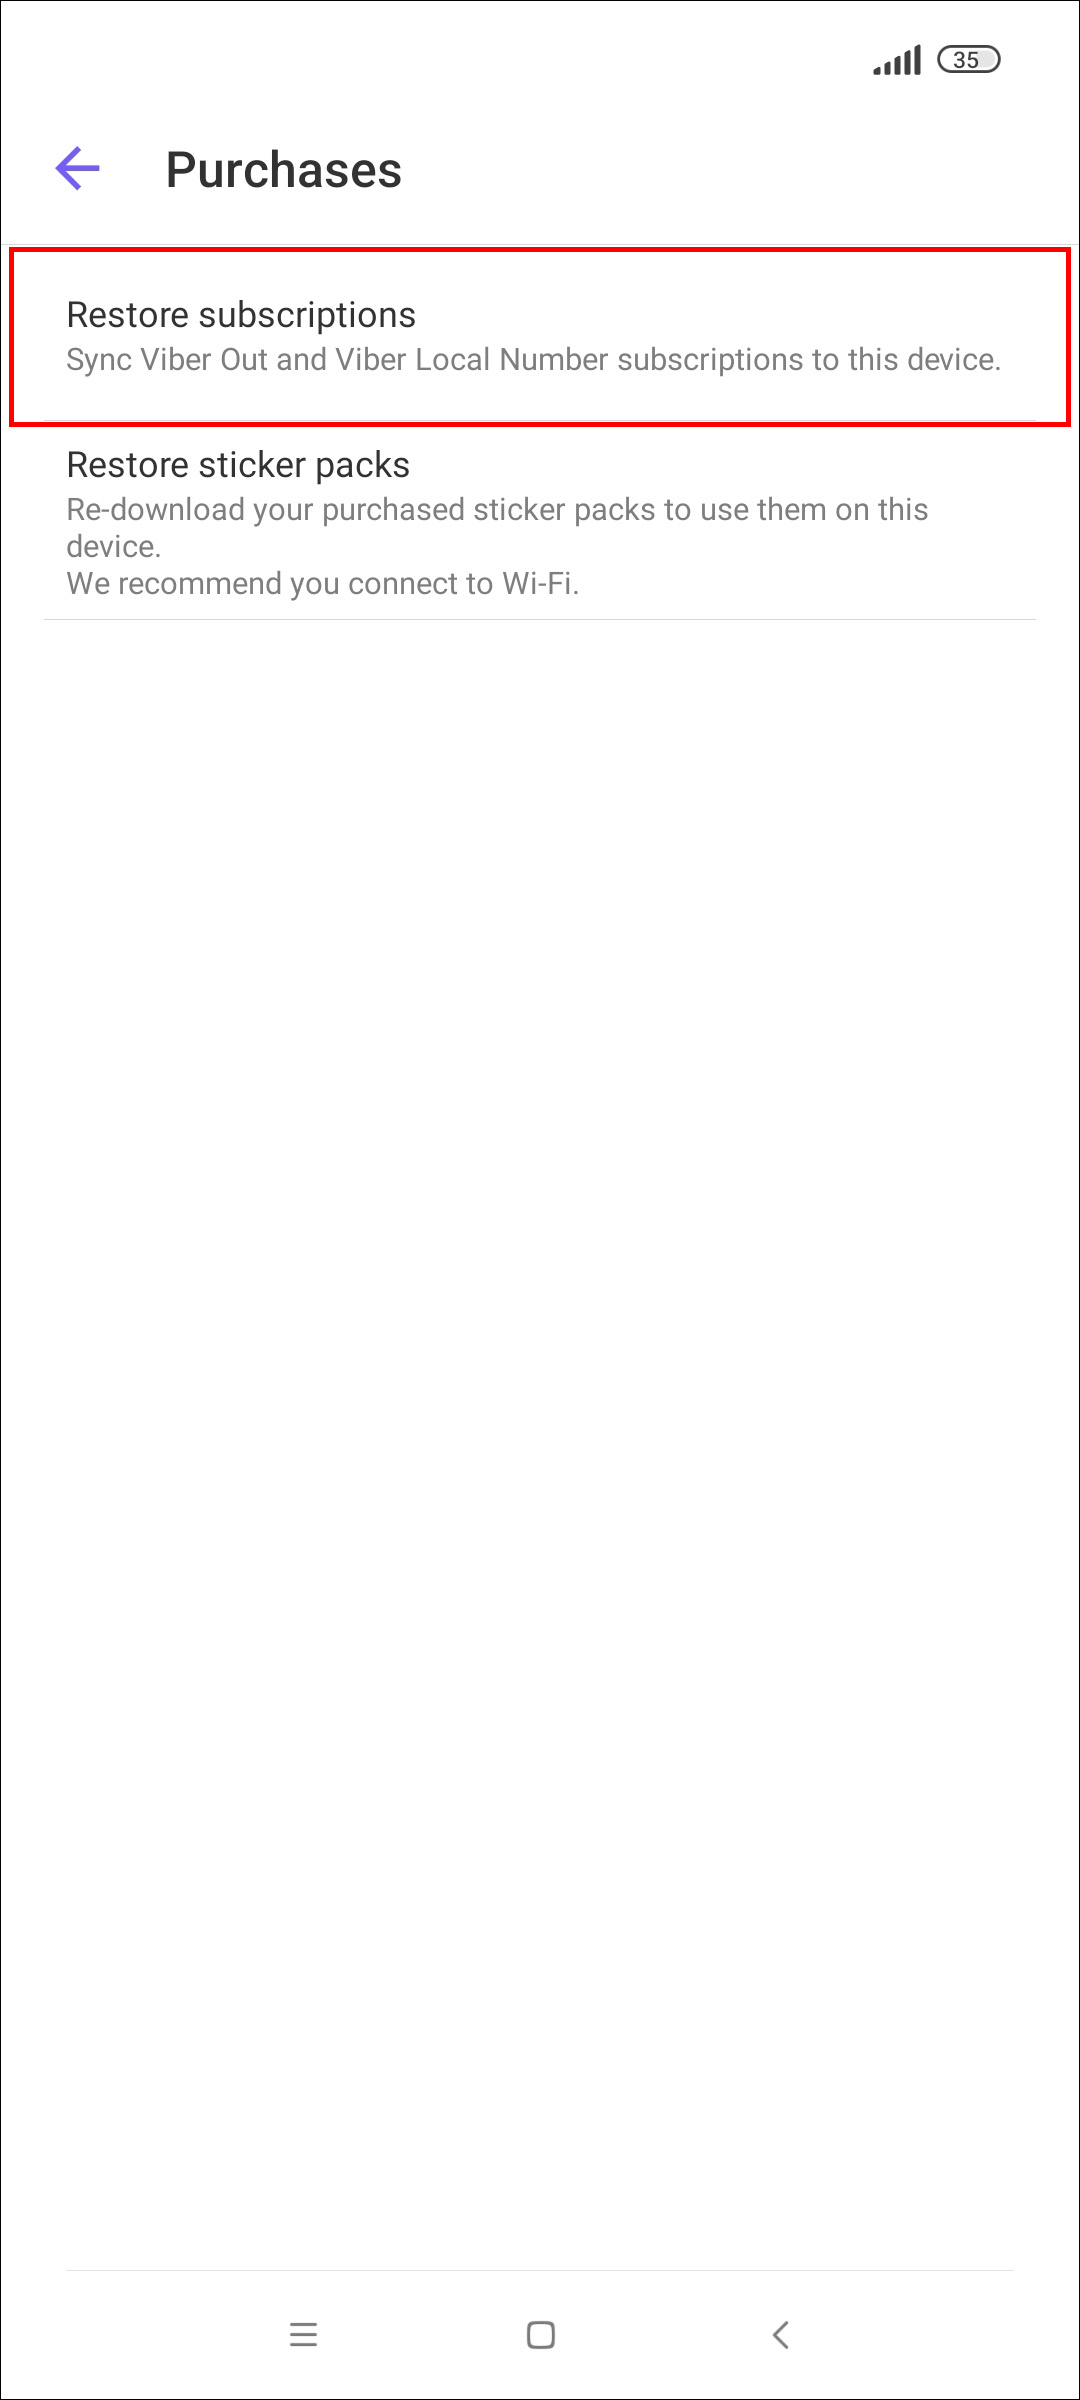
- For Android users, choose “Restore subscriptions to sync Viber Out plans and credits.”
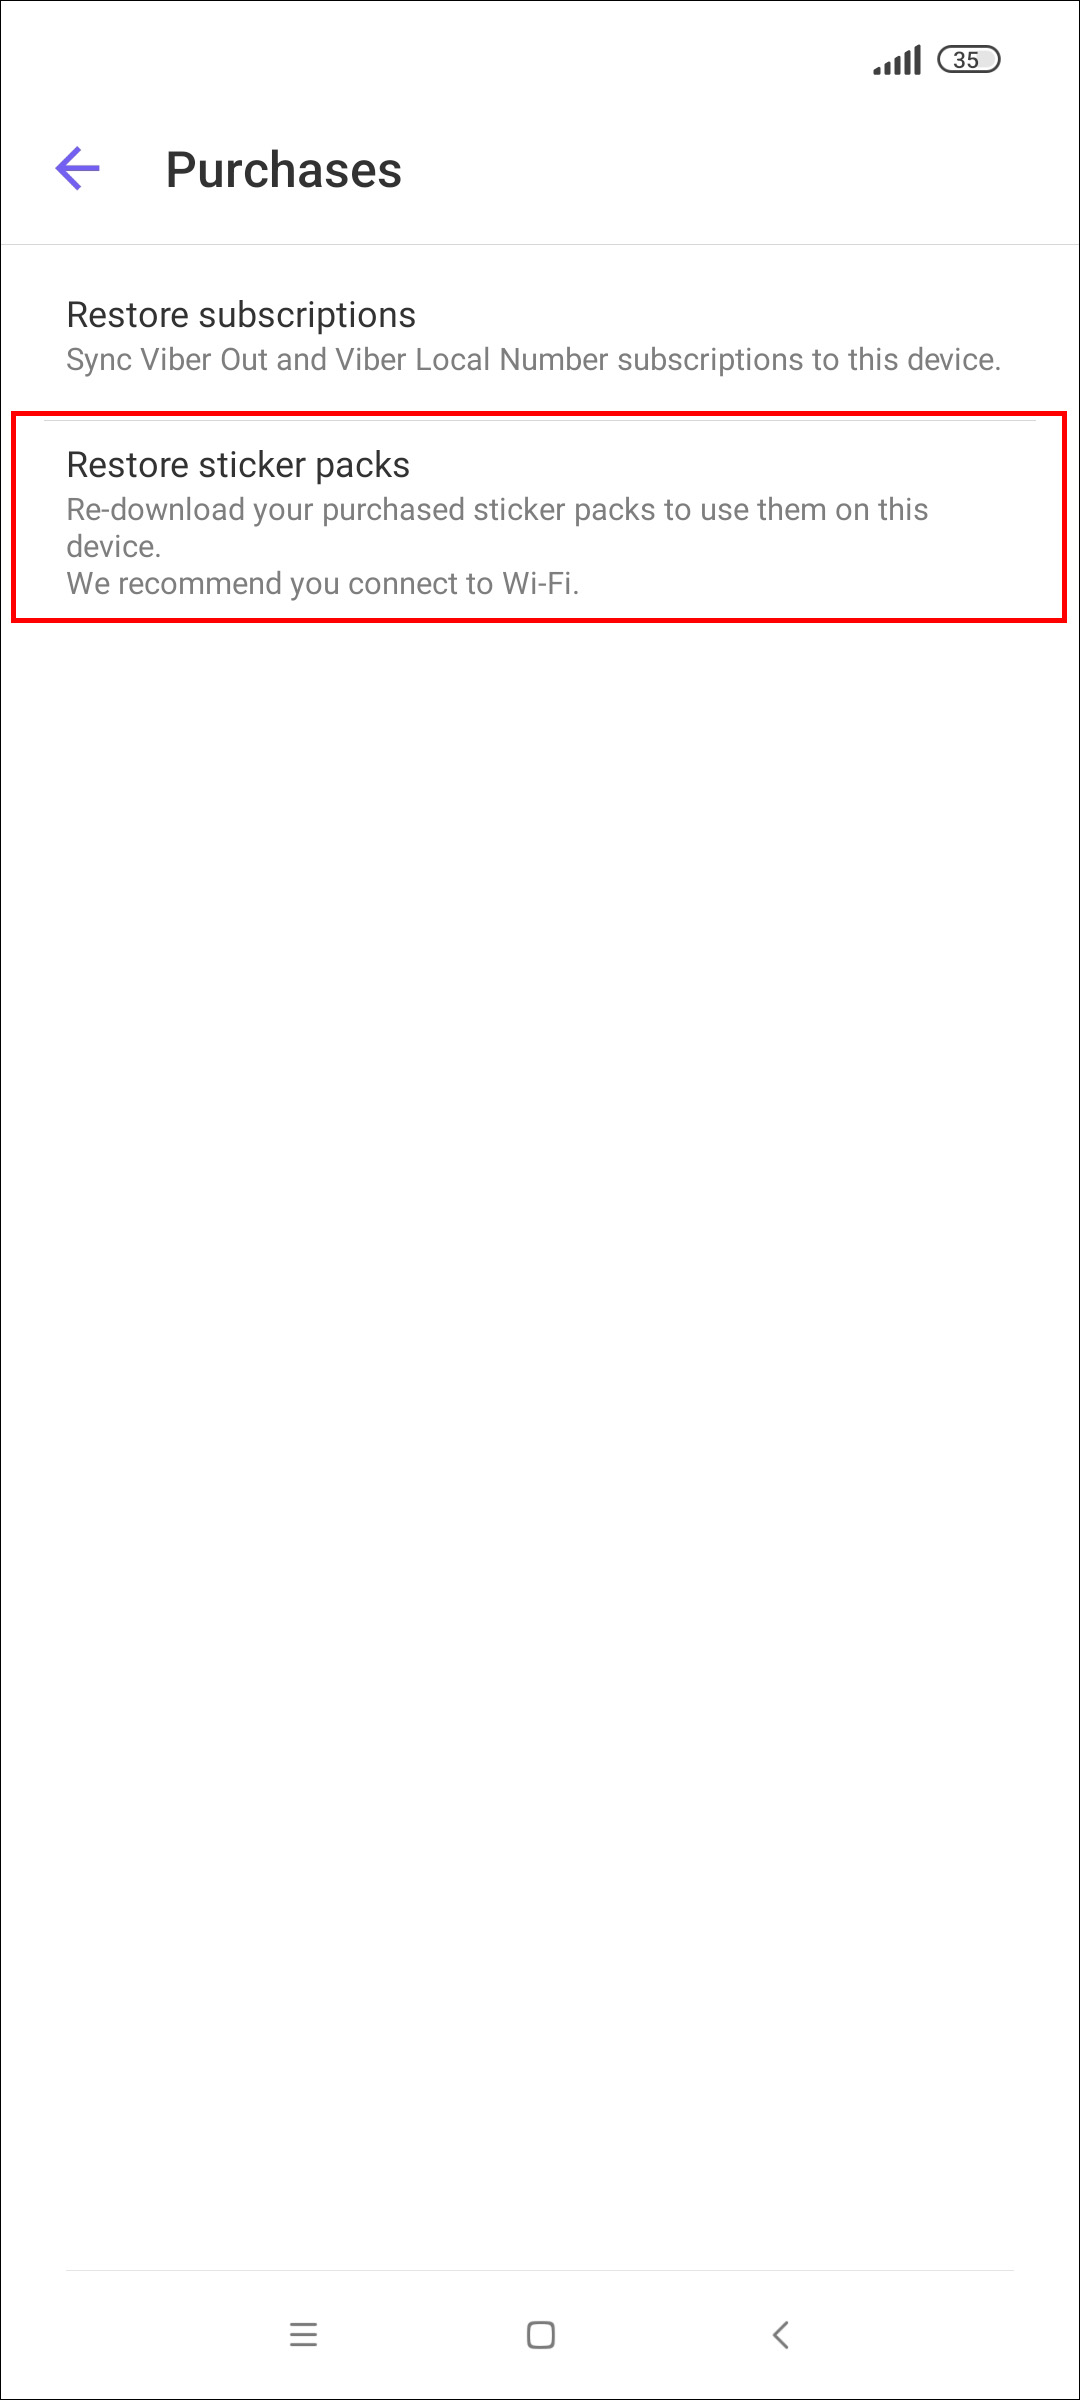
- For Android users, tap on “Restore sticker packs” to sync your purchased ones.
- For iOS users, select “Restore.” This automatically syncs all your sticker packs and Viber Out plans and credits.
Back Up Your Viber Chat History
You must use your old phone to back up your Viber data, as backup is unavailable on a tablet or desktop unless this is your primary device. Before you back up your Viber data, updating Viber on your old phone to the latest version is advisable. Your Viber chat data is linked to your phone’s operating system, e.g., iOS or Android.
Check That Your Viber Account Is Linked to a Cloud
Before beginning a Viber data backup, check that your account is linked to your Apple iCloud (iPhone) or Google Drive (Android). Here are steps to check that your Viber account is linked to your cloud on Android and iPhone.
Link Your Viber Account to Google Drive on Android
- Launch Viber on your mobile.
- Select “More.”
- Choose “Settings.”
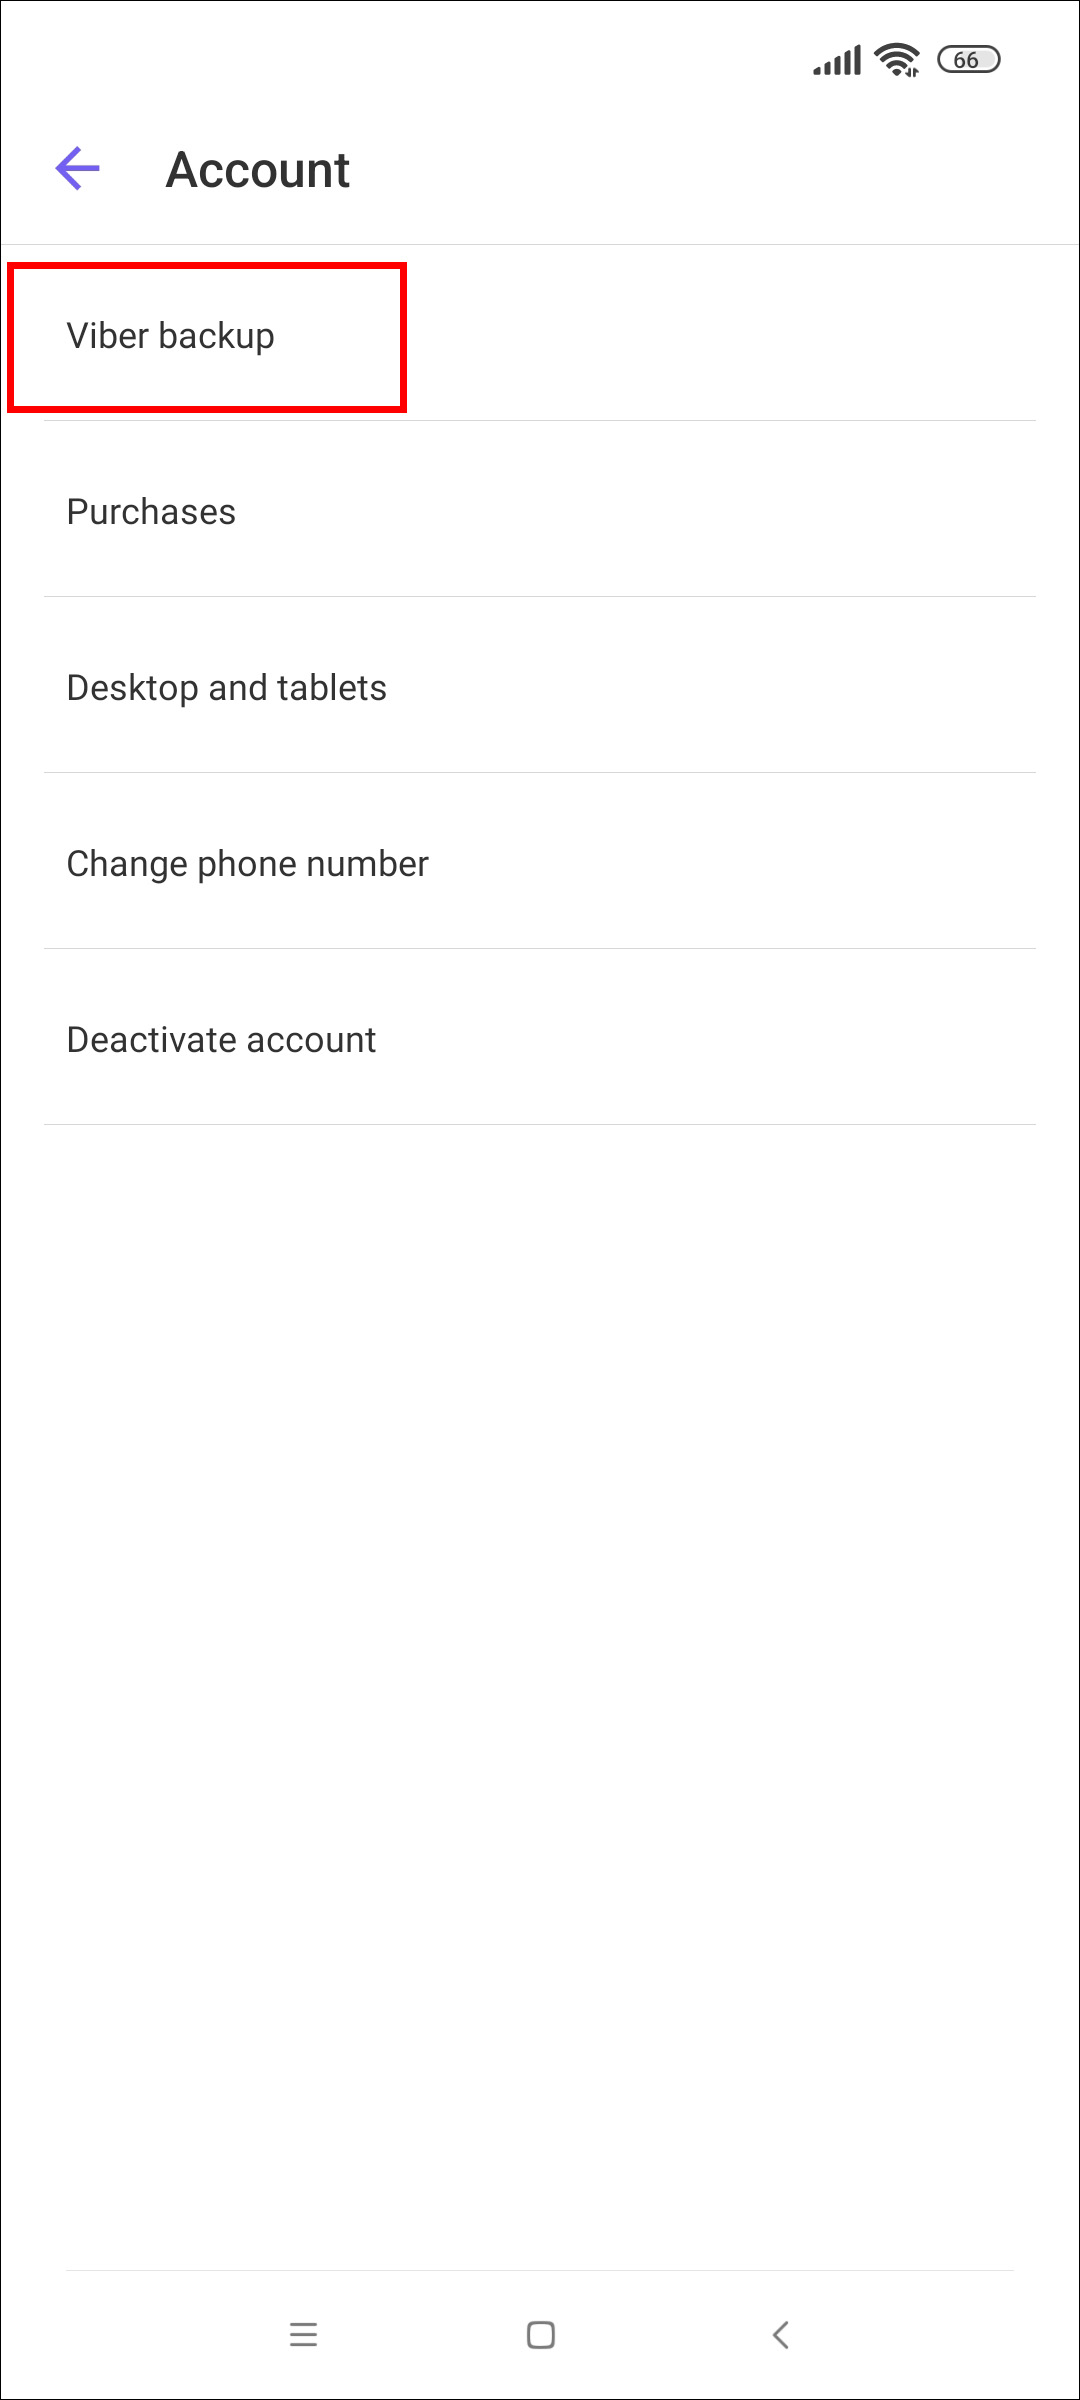
- Tap on “Account.”
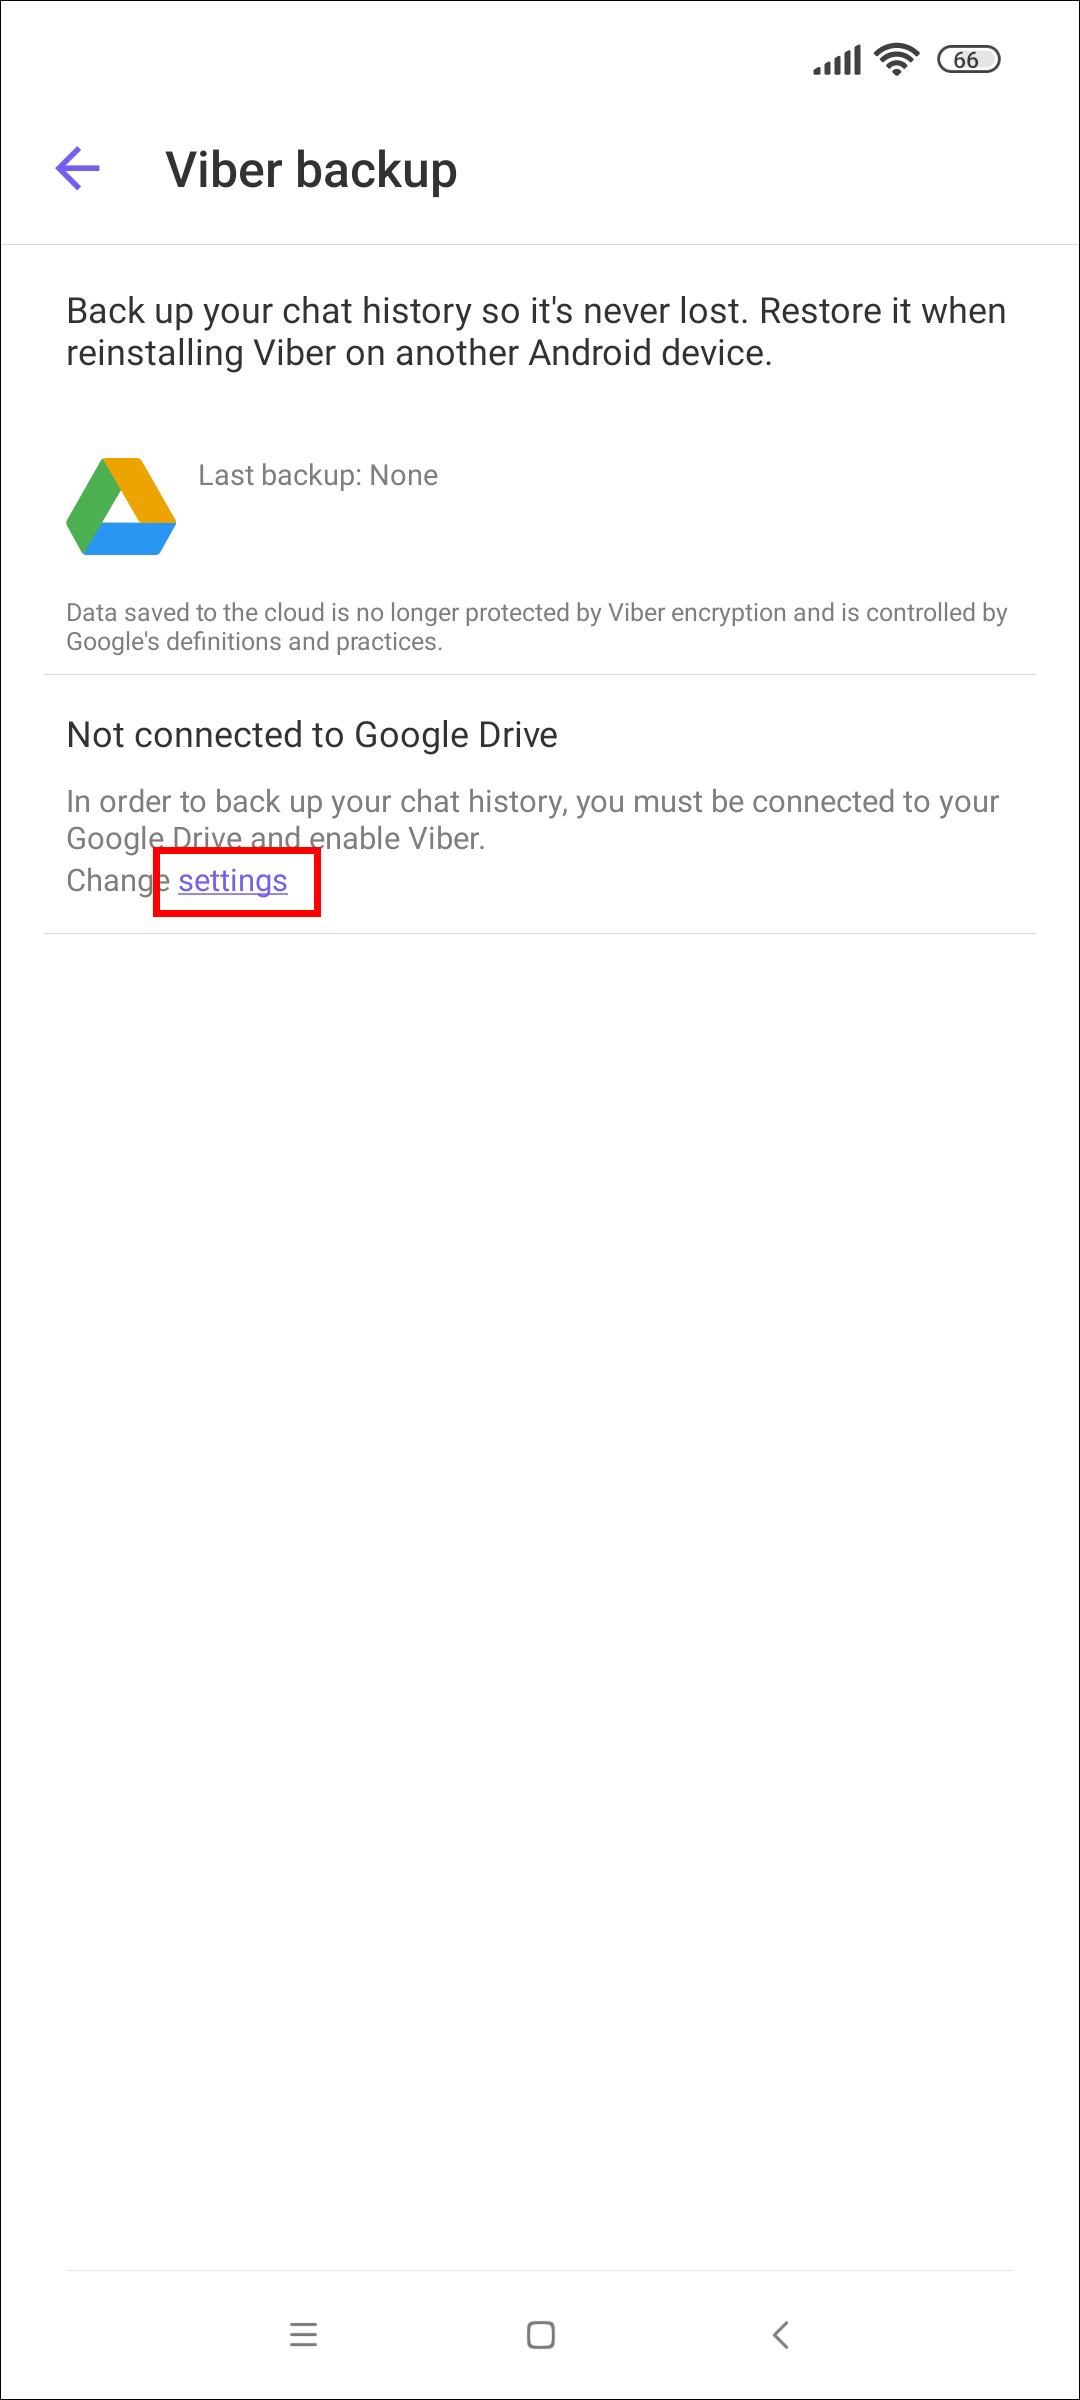
- Go to “Viber Backup.”
- Hit “Settings” in “Not connected to Google Drive.”
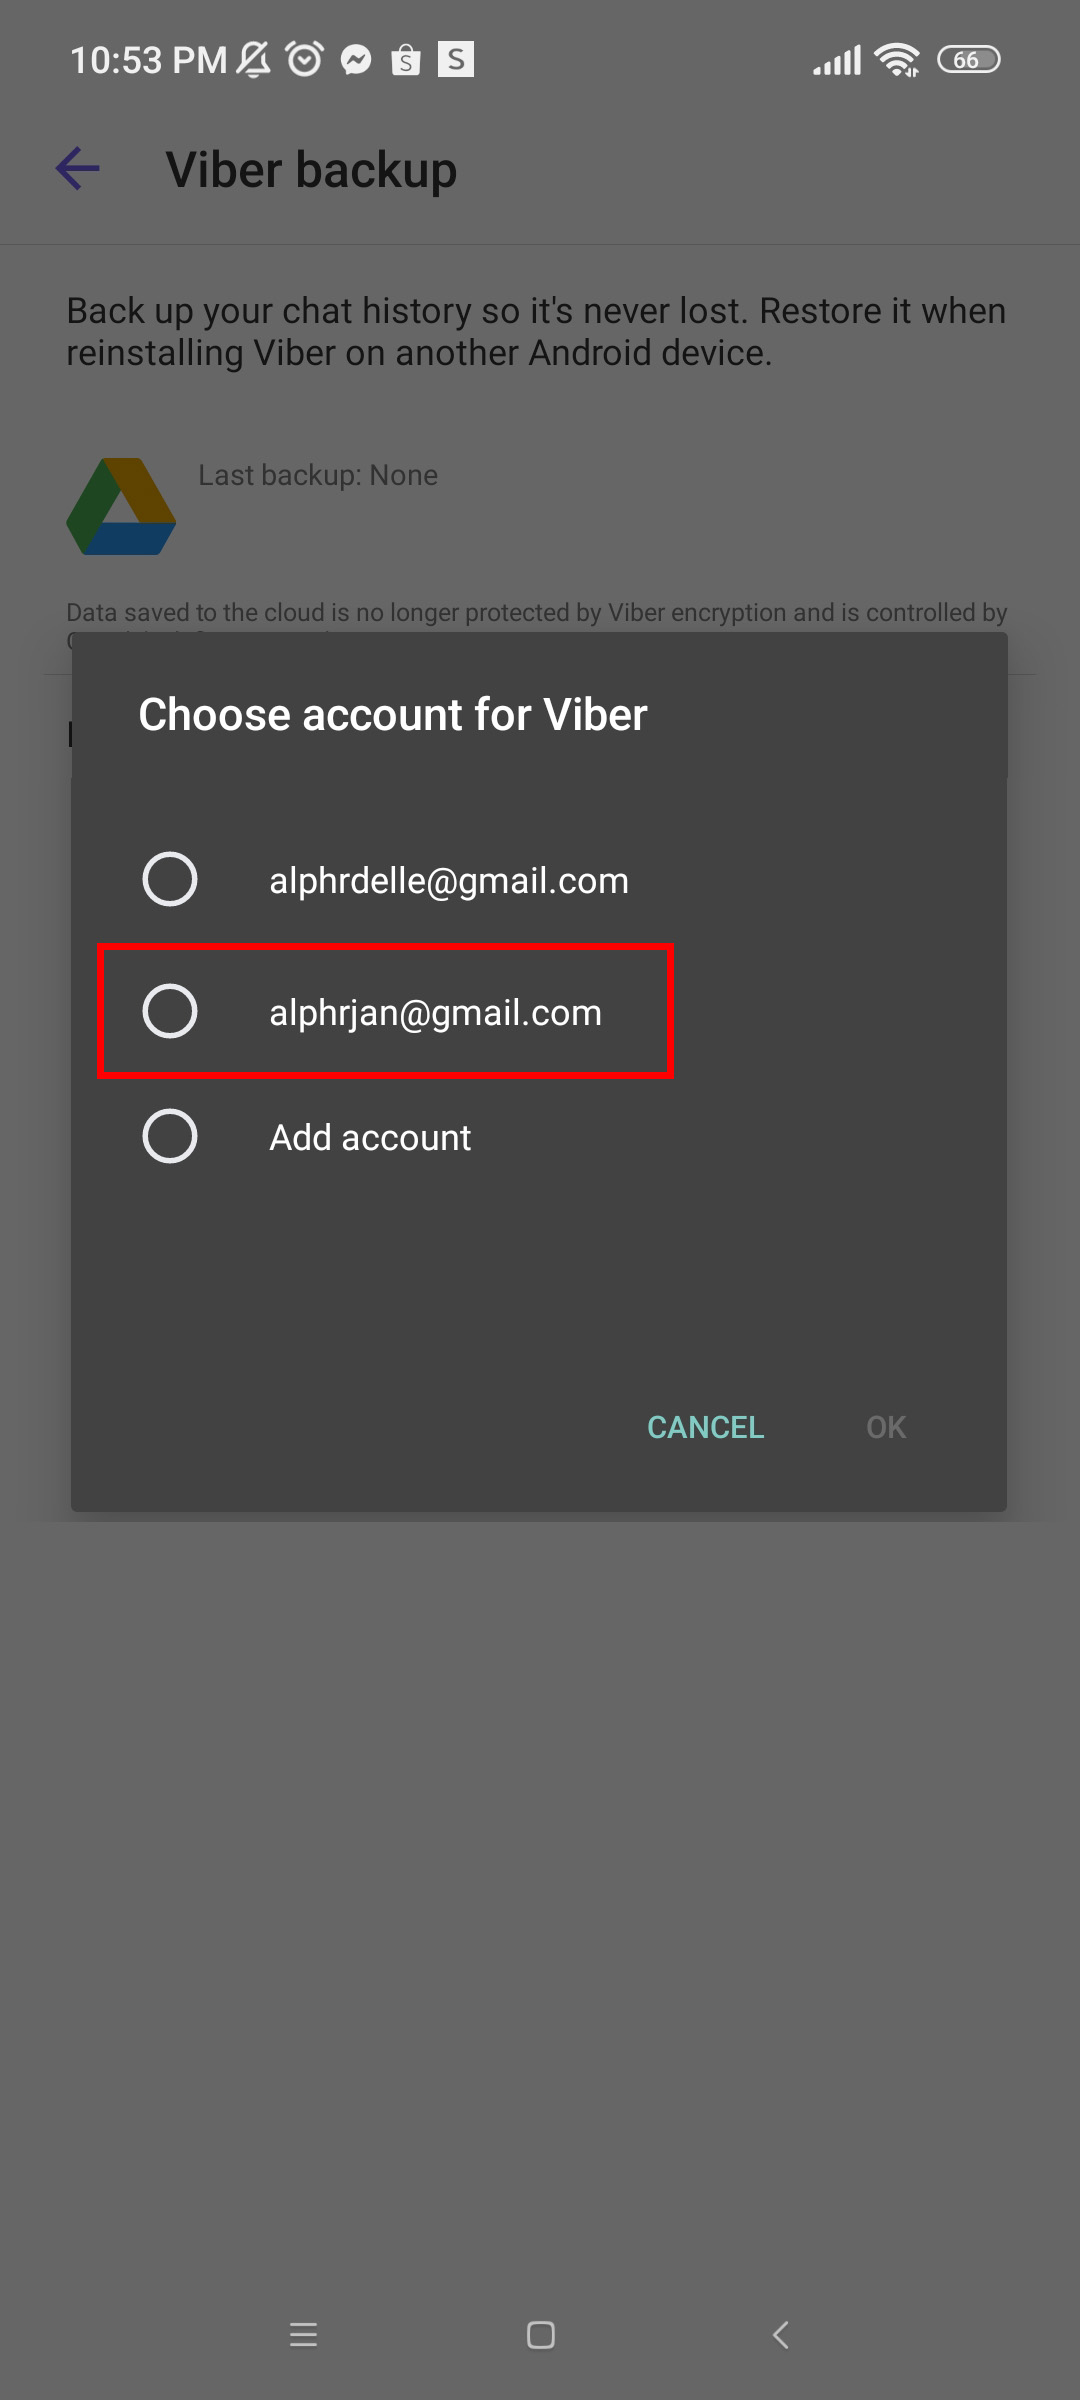
- Choose the account you’d like to use for your Viber data backup.
If you use a Huawei phone that doesn’t have Google Drive, you can link and back up your Viber data to Huawei Drive.
Link Your Viber Account to iCloud on iOS
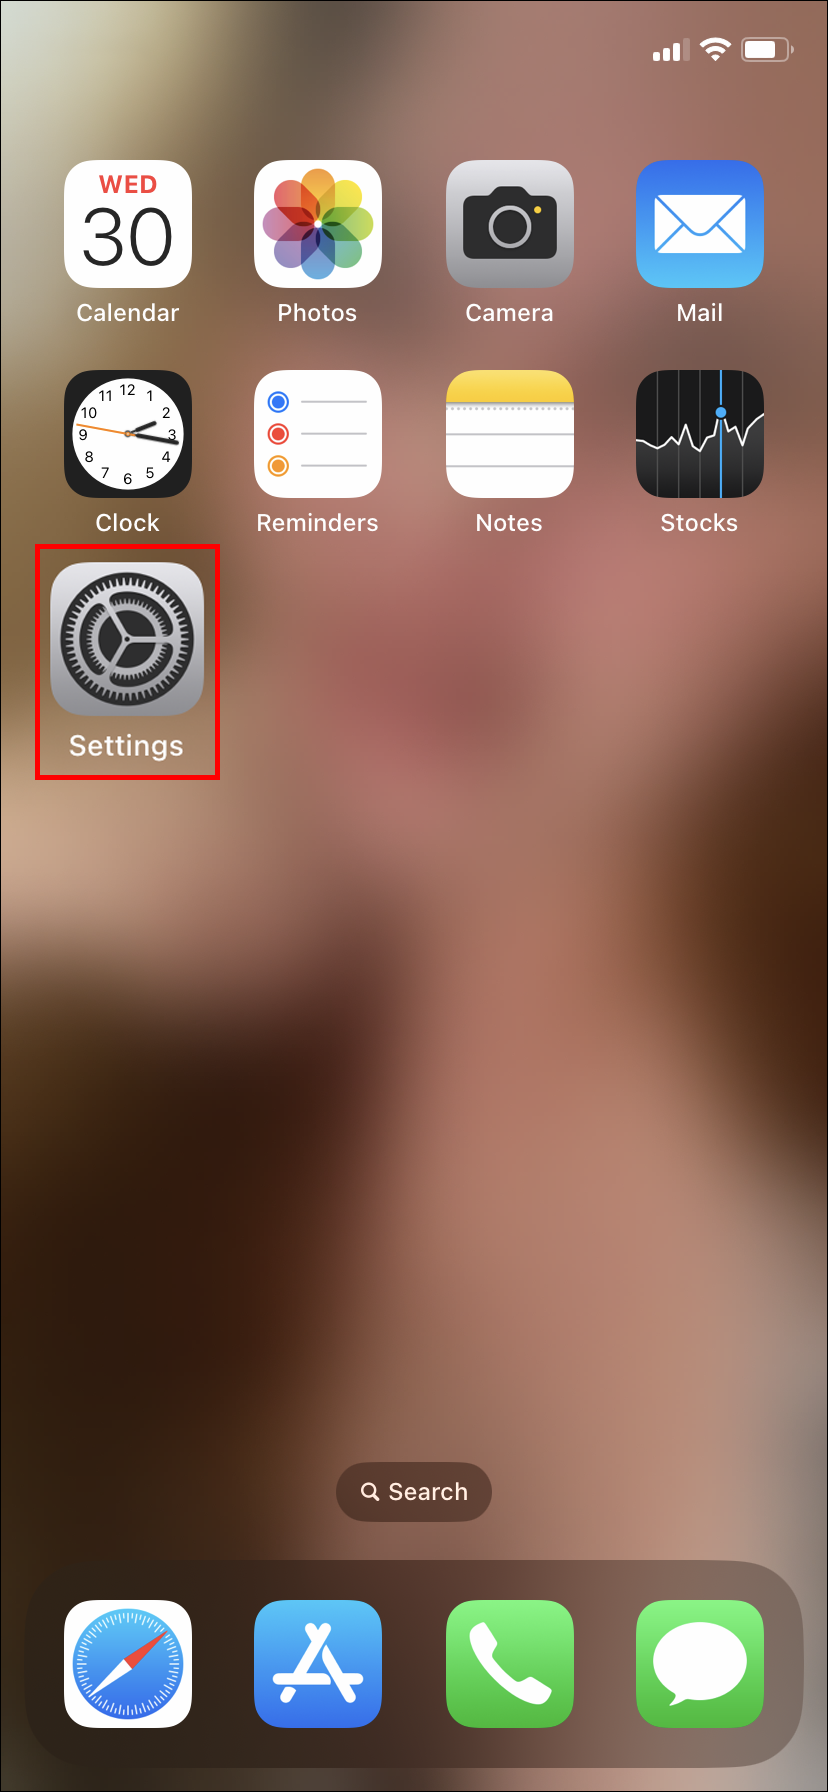
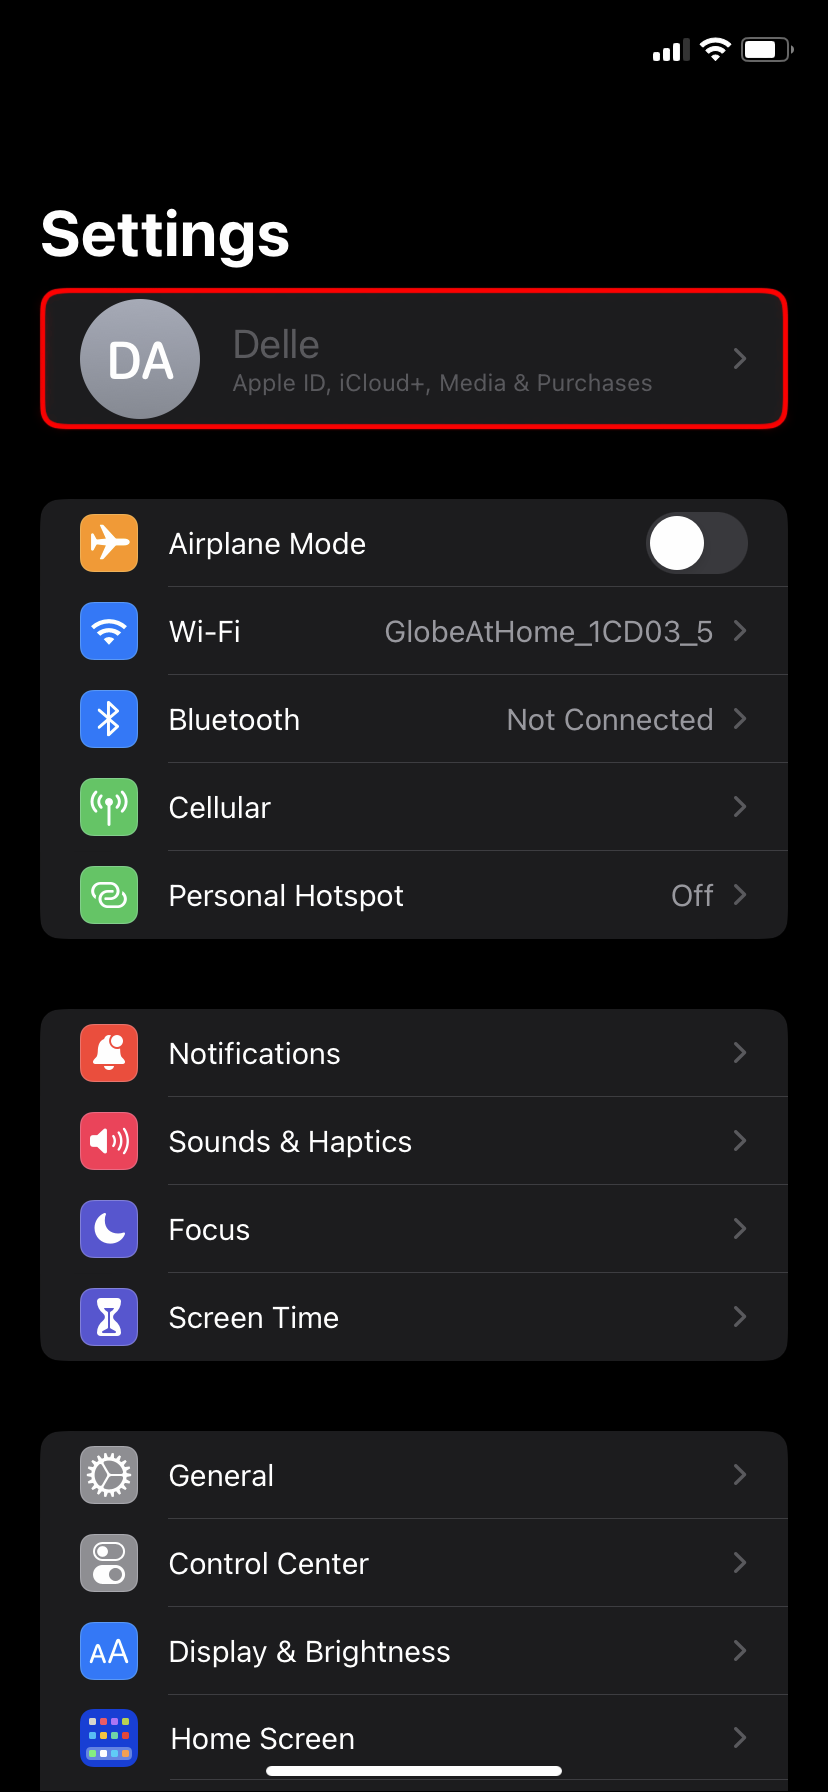
- On your iPhone, open “Settings.”
- At the top of your screen, select your “Apple ID.”
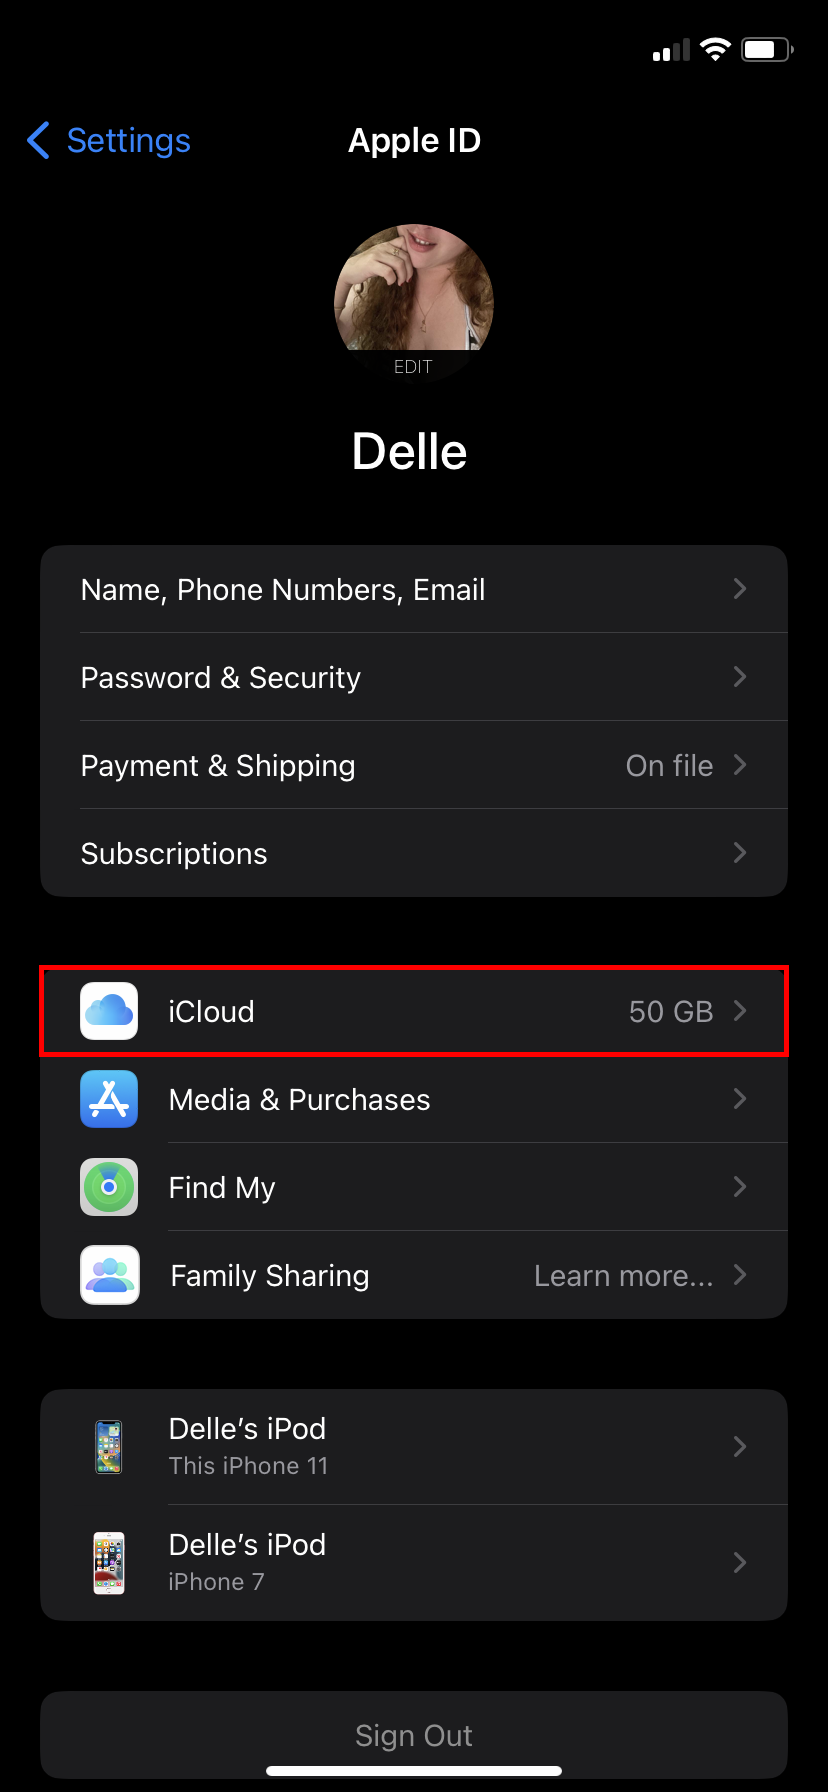
- Tap on “iCloud.”
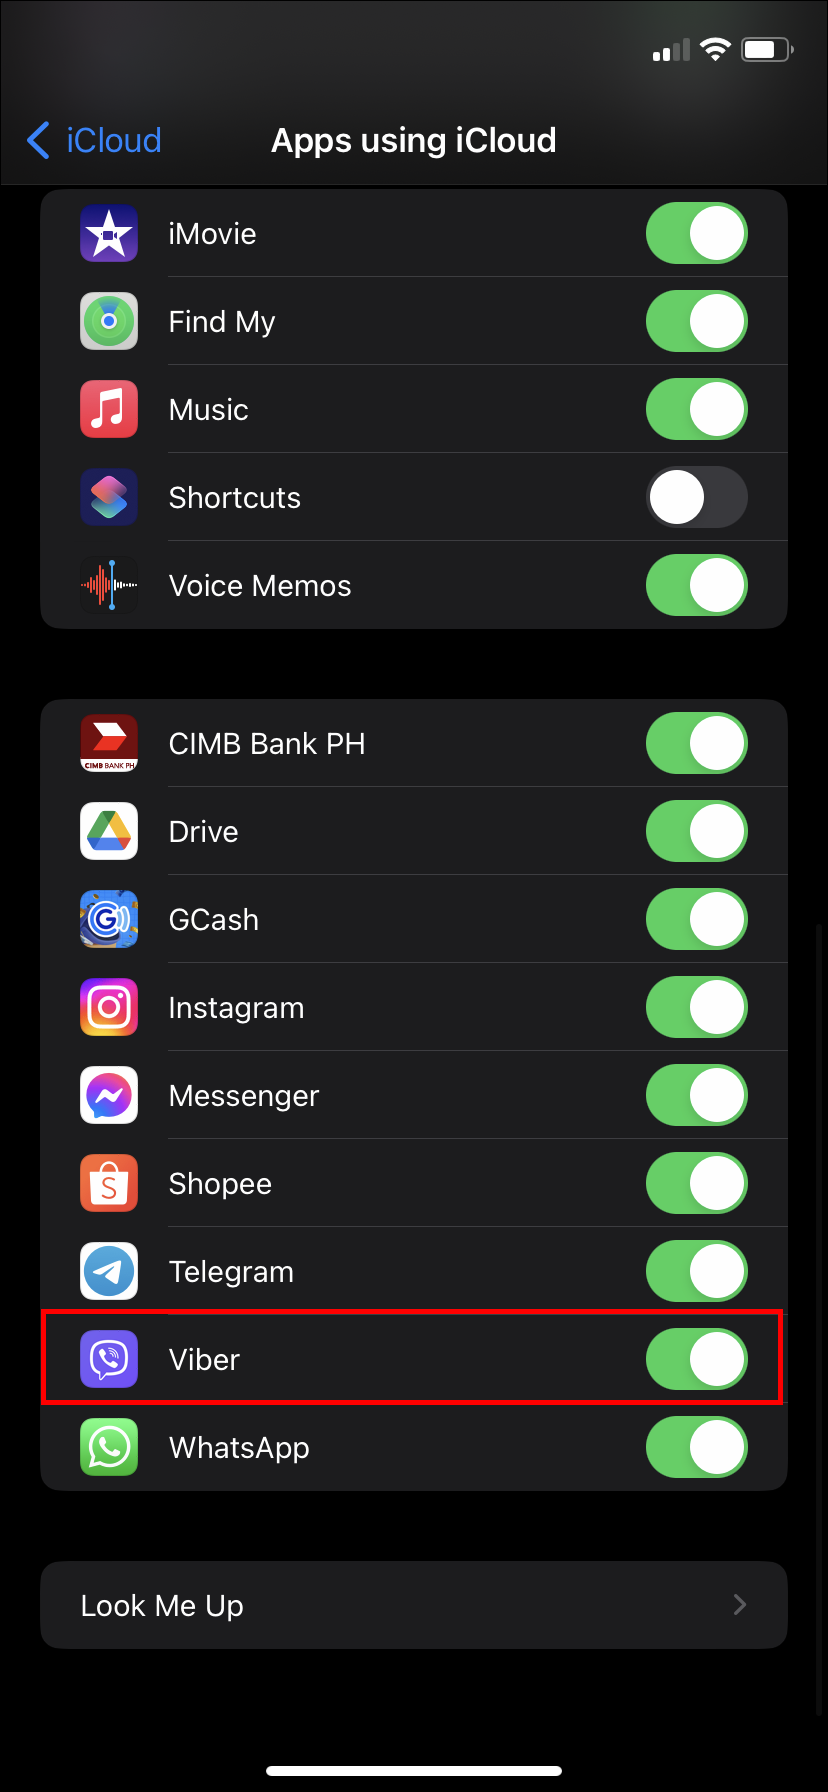
- Switch Viber “On.”
Back Up Your Viber Data Manually
If you’d like to save space on your phone and prefer to back up your Viber data manually, here’s how:
- First, ensure you’re connected to a stable Wi-Fi connection.
- Launch Viber on your old phone.
- Go to “More.”
- Tap on “Settings.”
- Hit “Account.”
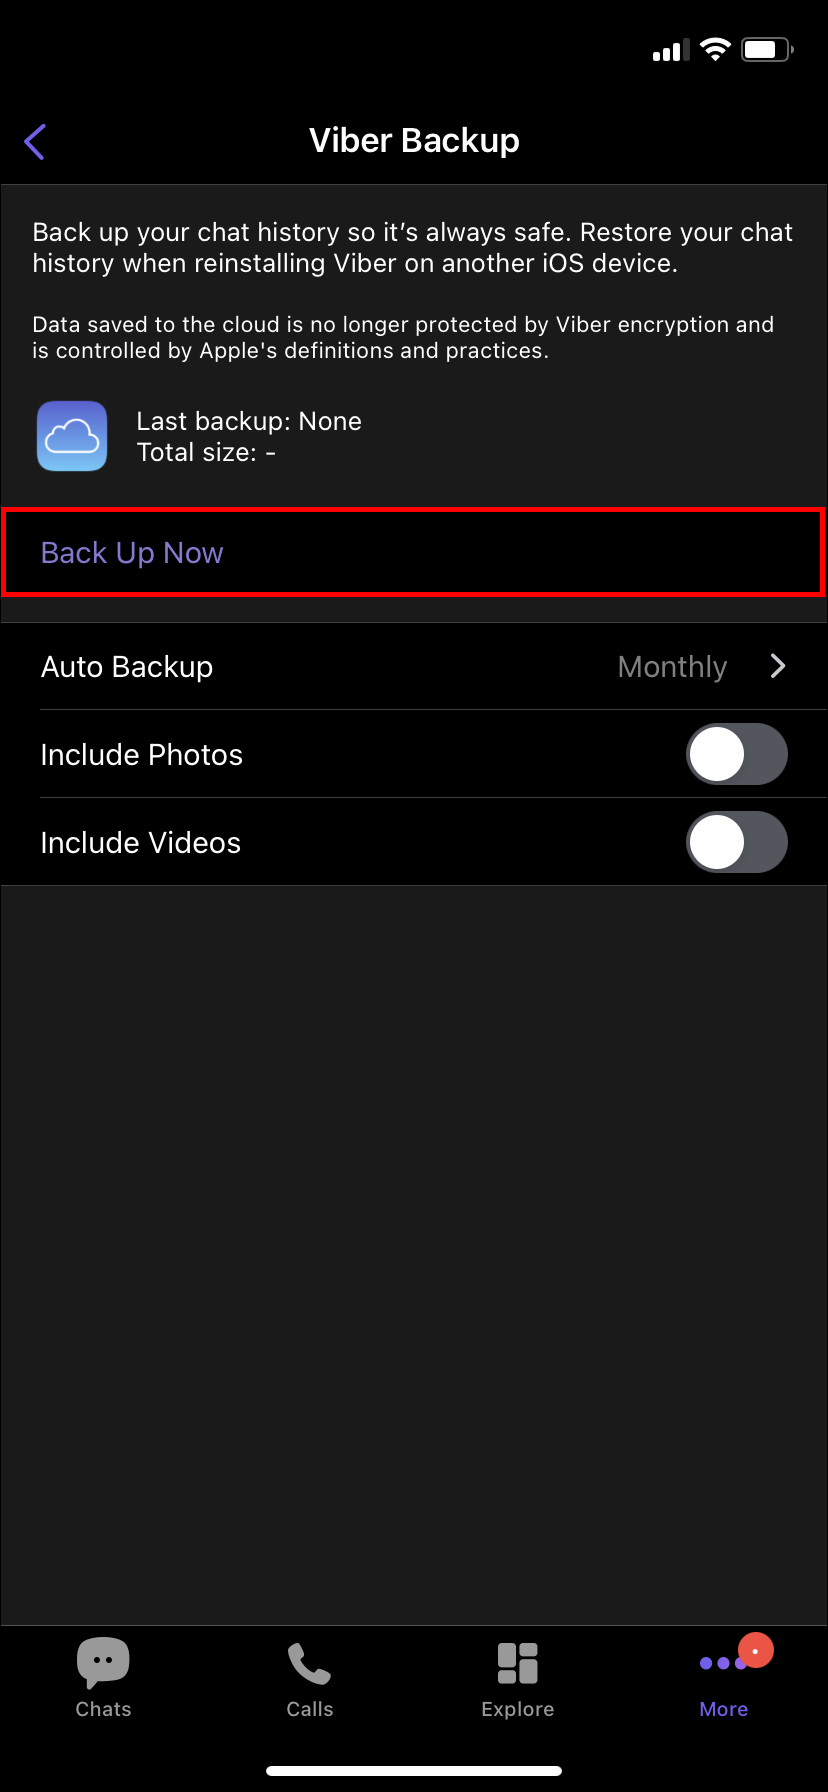
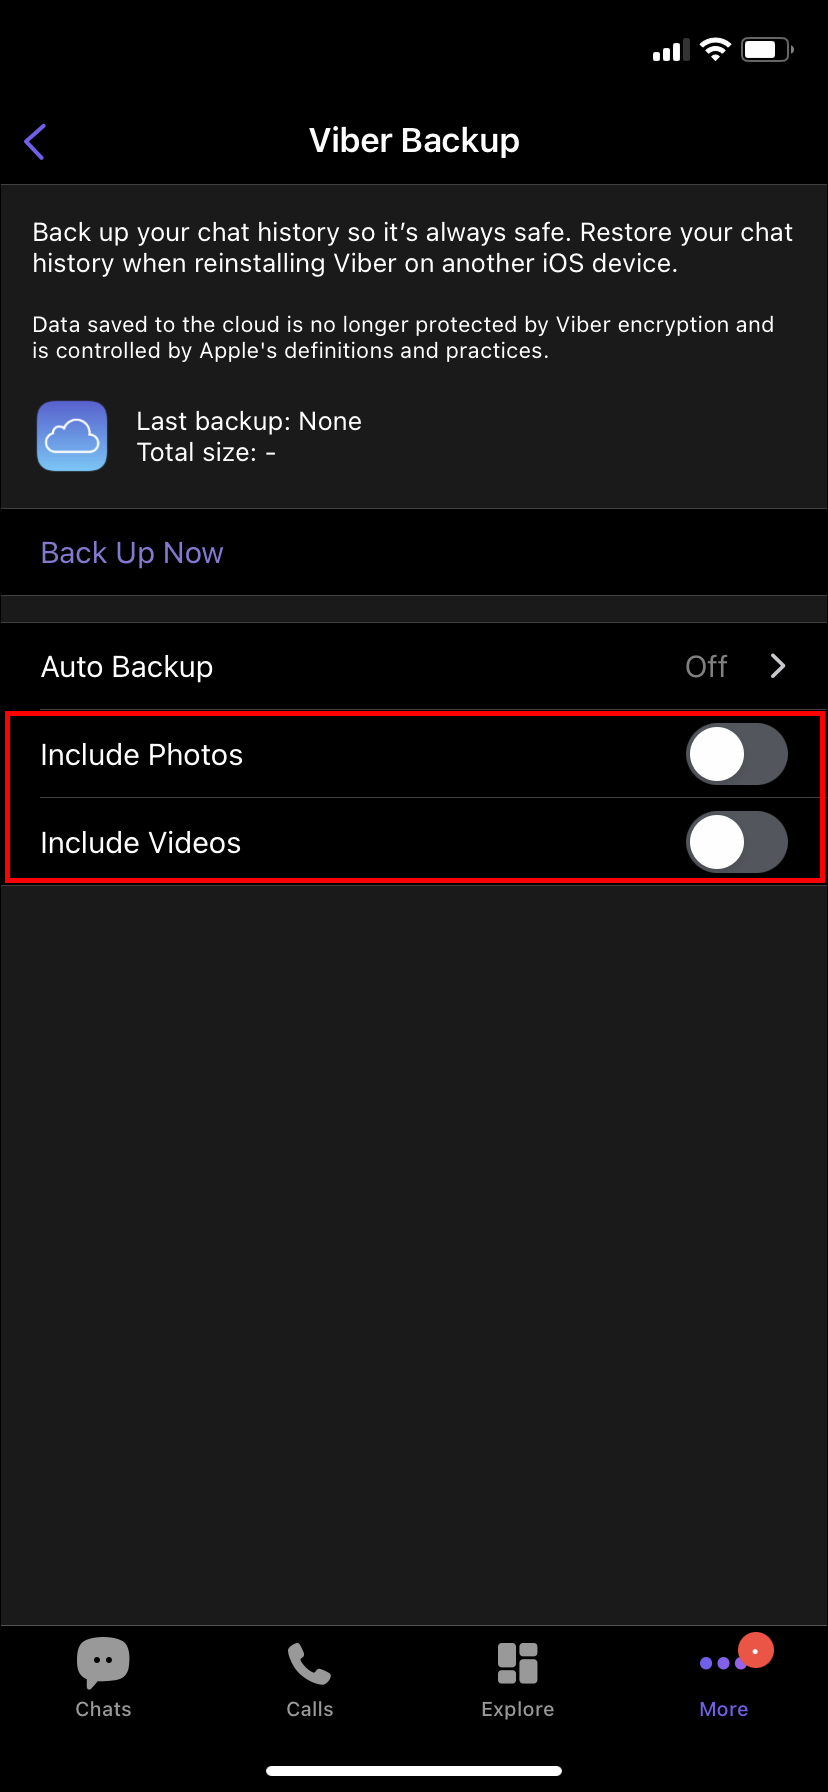
- Choose “Viber Backup.”
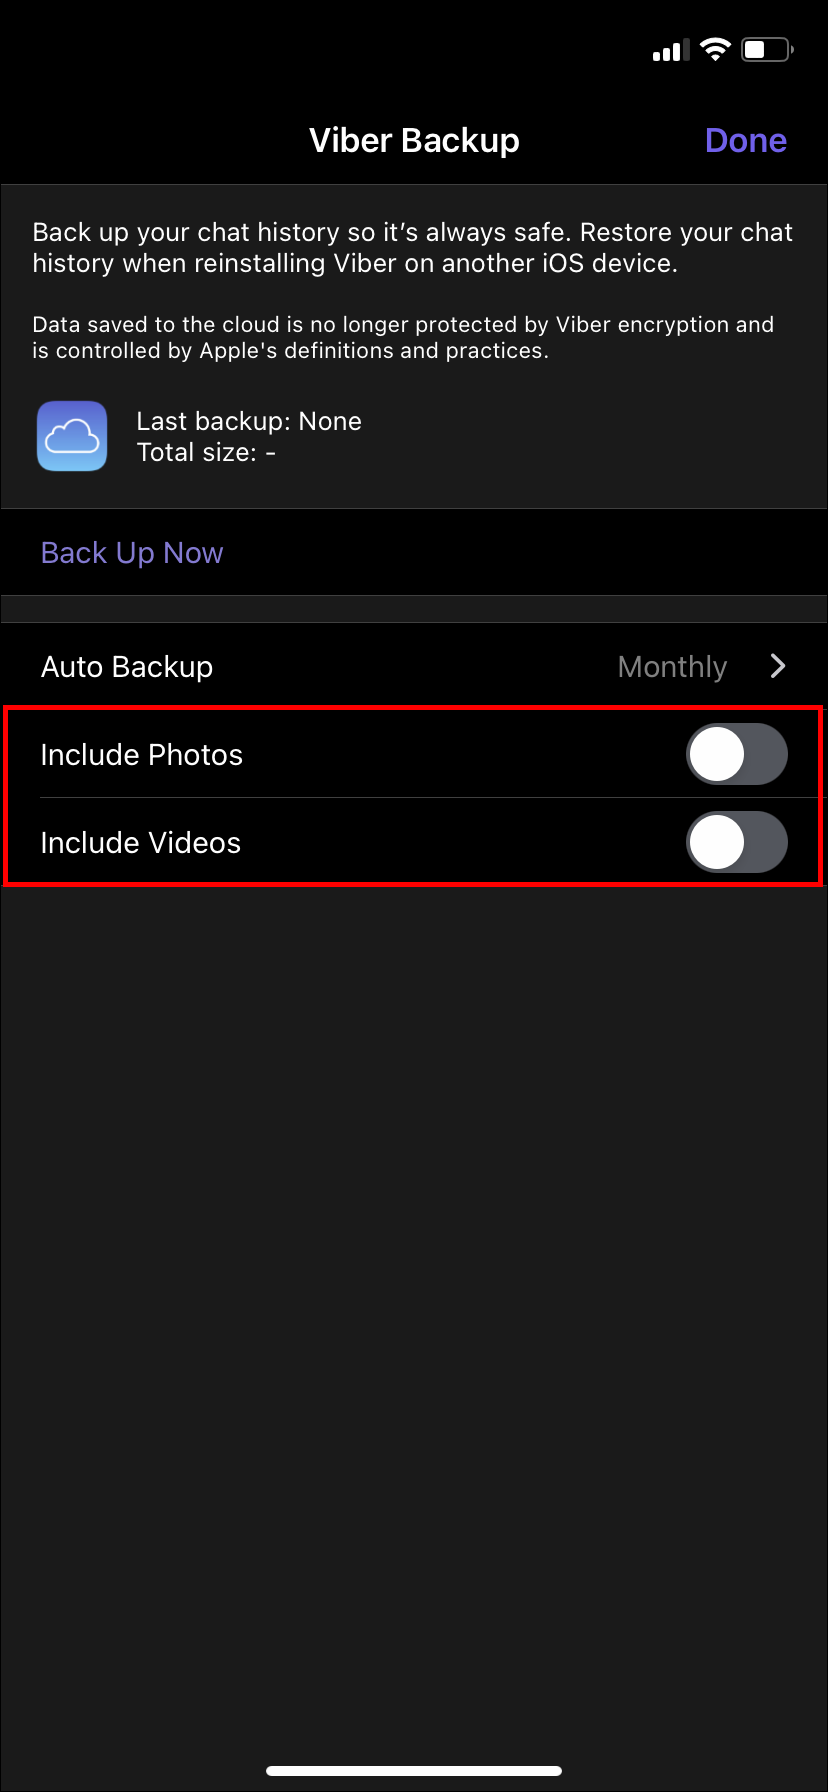
- Select whether you’d like your “Photos and Videos” included in the backup.
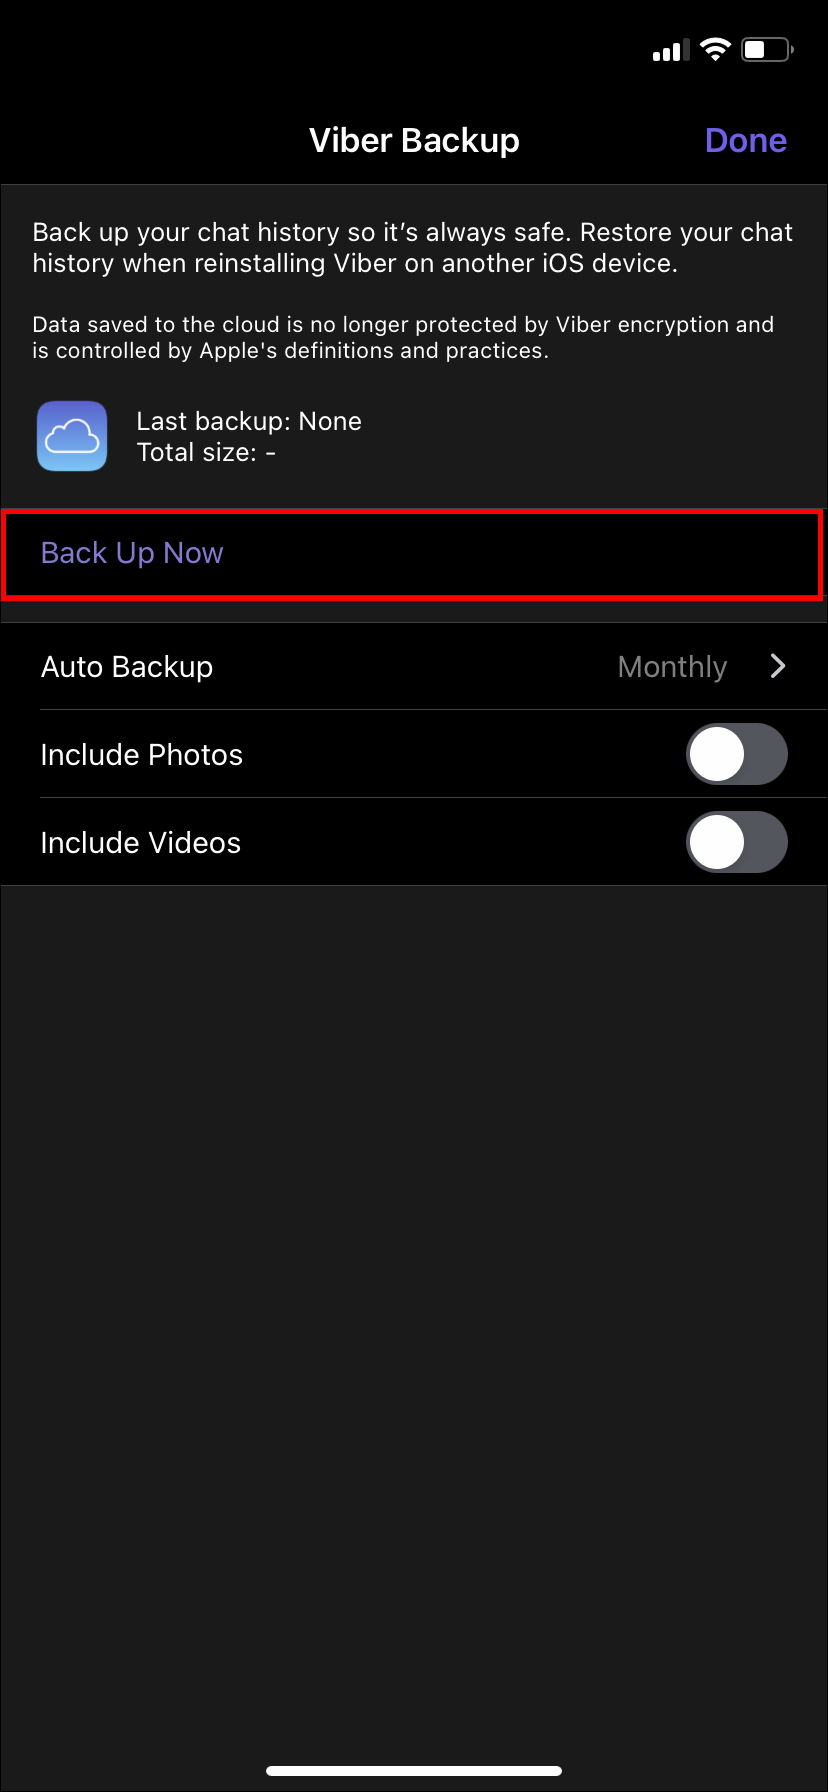
- Tap on “Backup.”


Back Up Your Viber Data Automatically
This is handy for ensuring your Viber data is backed up for the next time you change phones. Here’s how to set your Viber account to backup automatically.
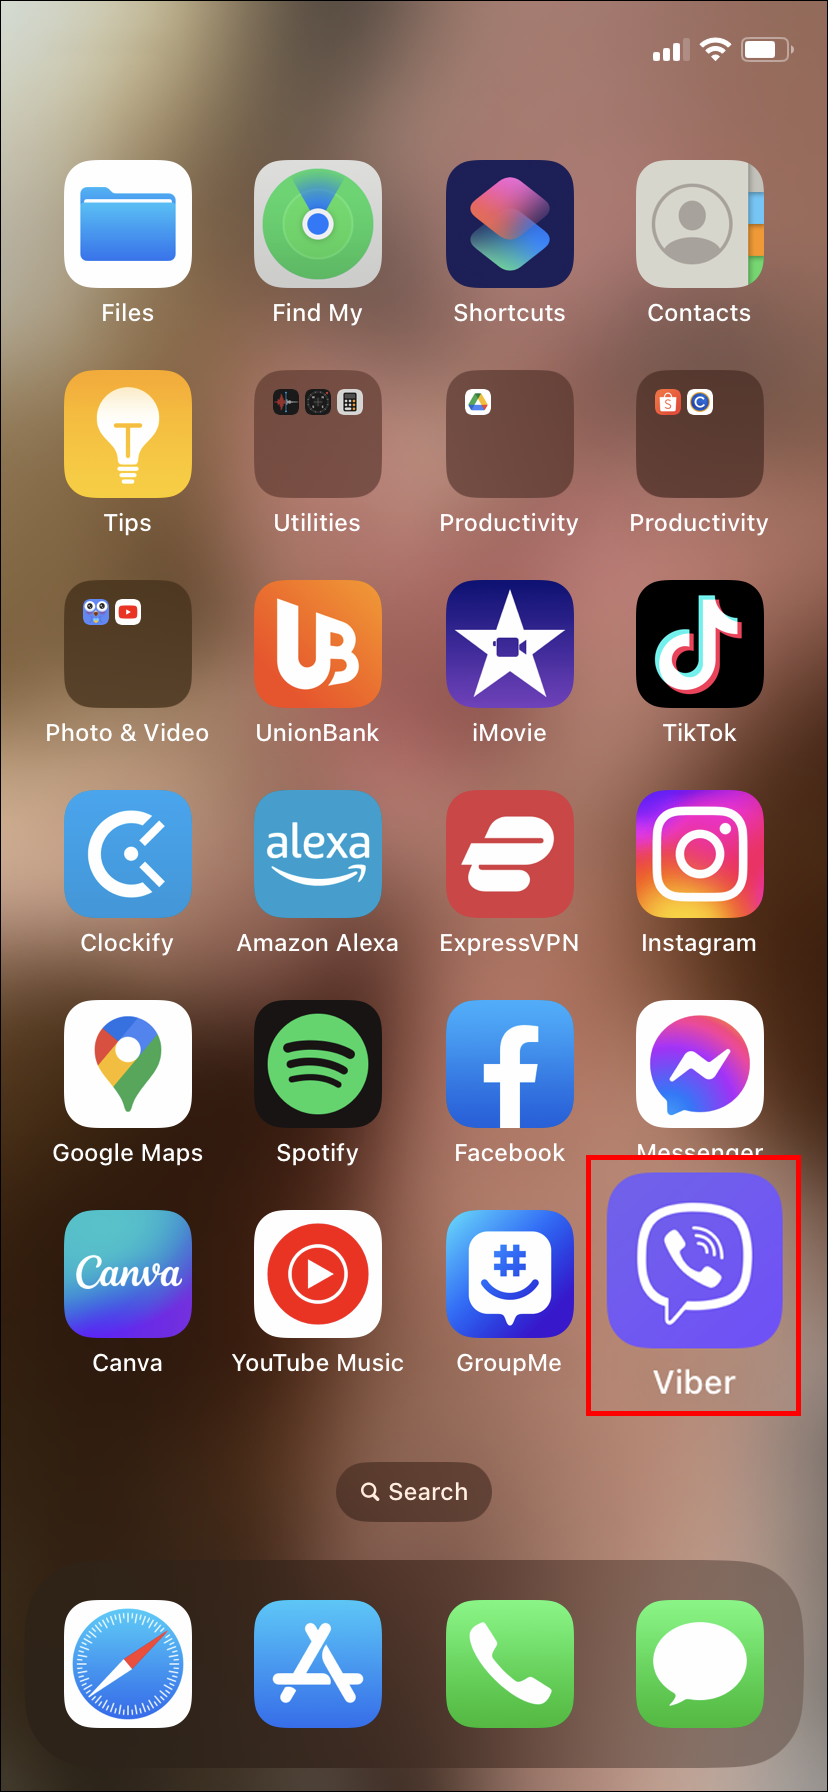
- Launch Viber on your mobile.
- Select “More.”
- Tap on “Settings.”
- Go to “Account.”
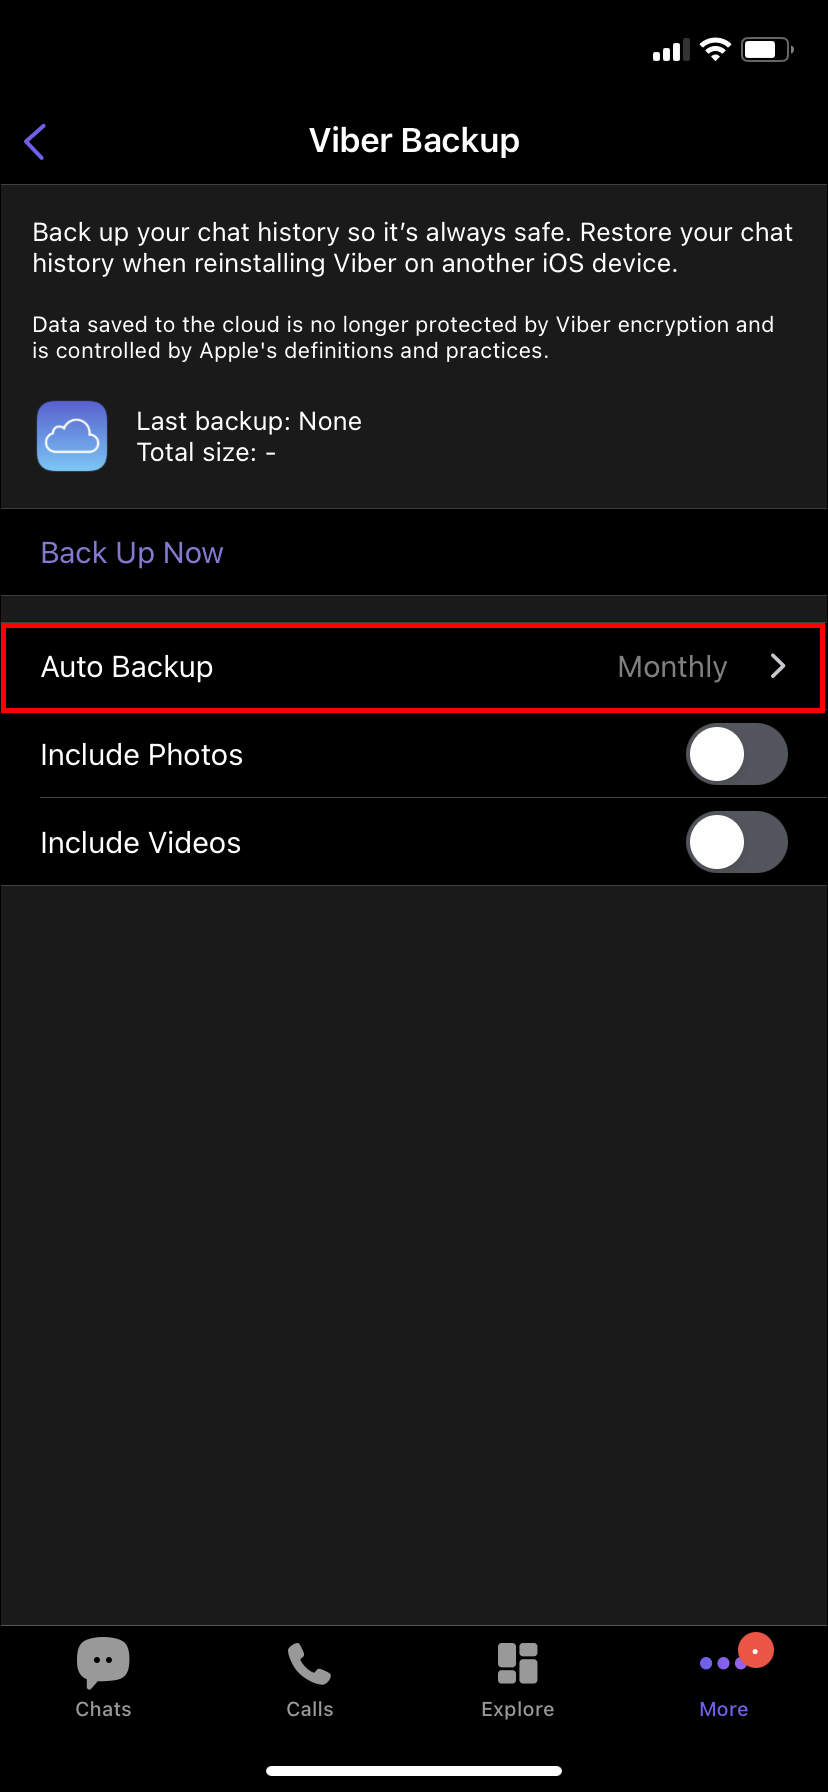
- Choose “Viber Backup.”
- Select “Auto Backup.”
- Pick how often you’d like your Viber data to be backed up; Daily, Weekly, or Monthly.
- Select whether you’d like your “Photos and Videos” included in the backup.


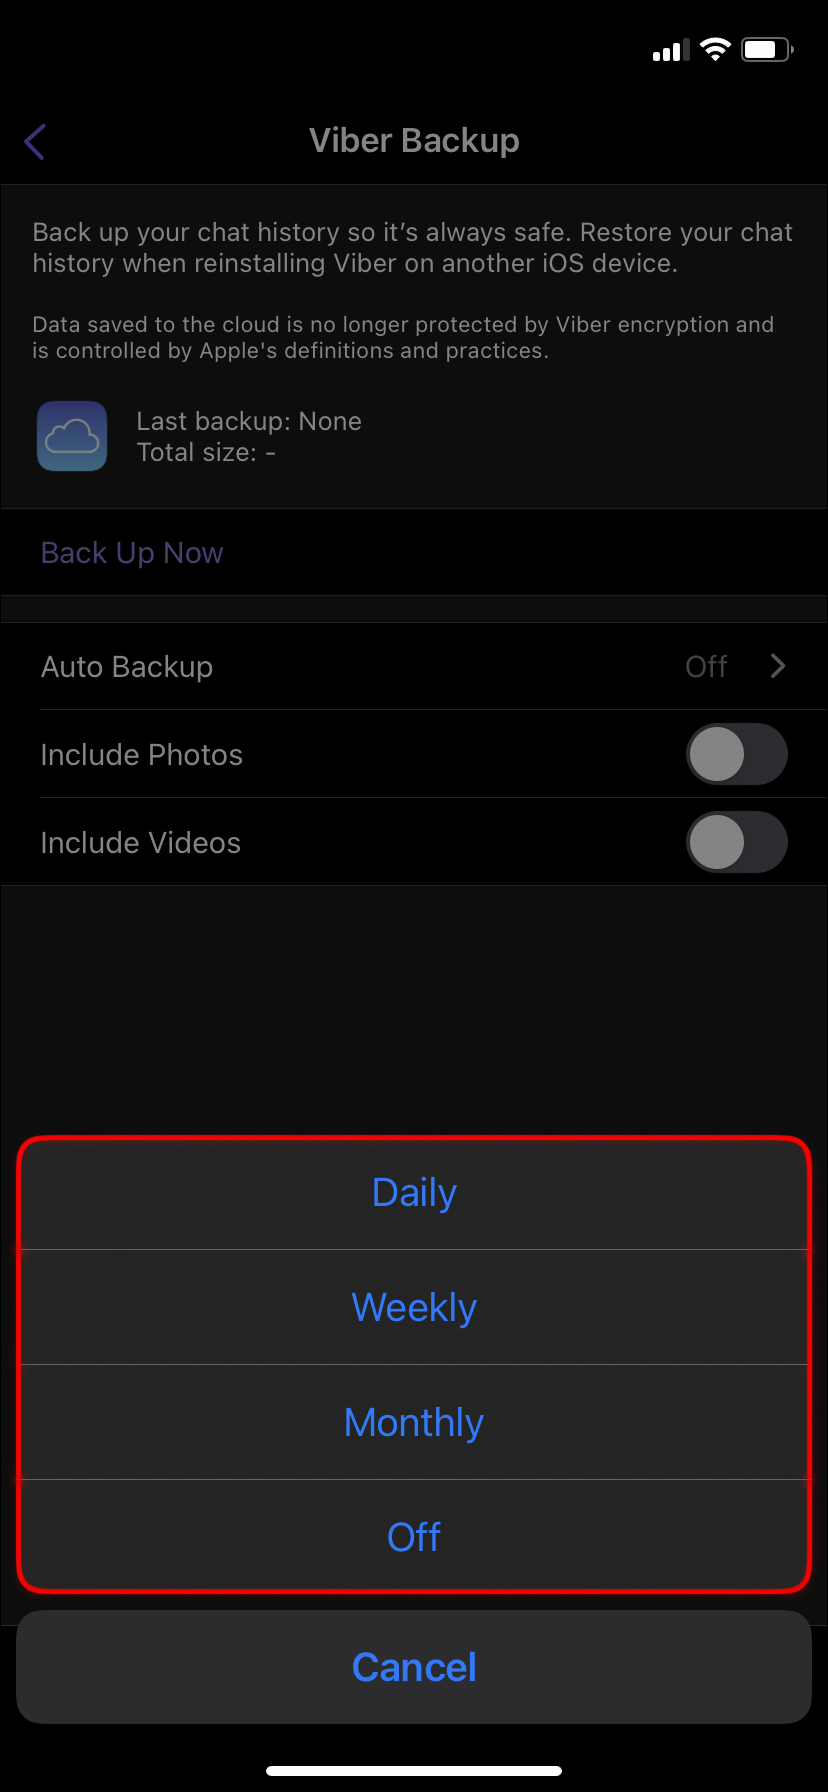
If you want to switch off auto backup, tap on “Off.” For iPhones, your Viber data will only be automatically backed up when using a Wi-Fi connection. Android users have the option of auto-backing up to a cellular data connection.
What Does a Viber Backup Contain?
When you back up your Viber account, the following data gets saved:
- Bought stickers.
- Community and Group memberships.
- All profile information.
- Chat history, including text messages, videos, and photos if selected.
- Viber Out plans and subscriptions.
Changing Your Viber Phone Number and Phone
If you’ve got a new phone and you’re changing your phone number too, you have to back up your Viber data on the old phone and then change your phone number to your new number and activate it. Here’s how to do this:
- Launch Viber on your old phone.
- Select “More.”
- Go to “Settings.”
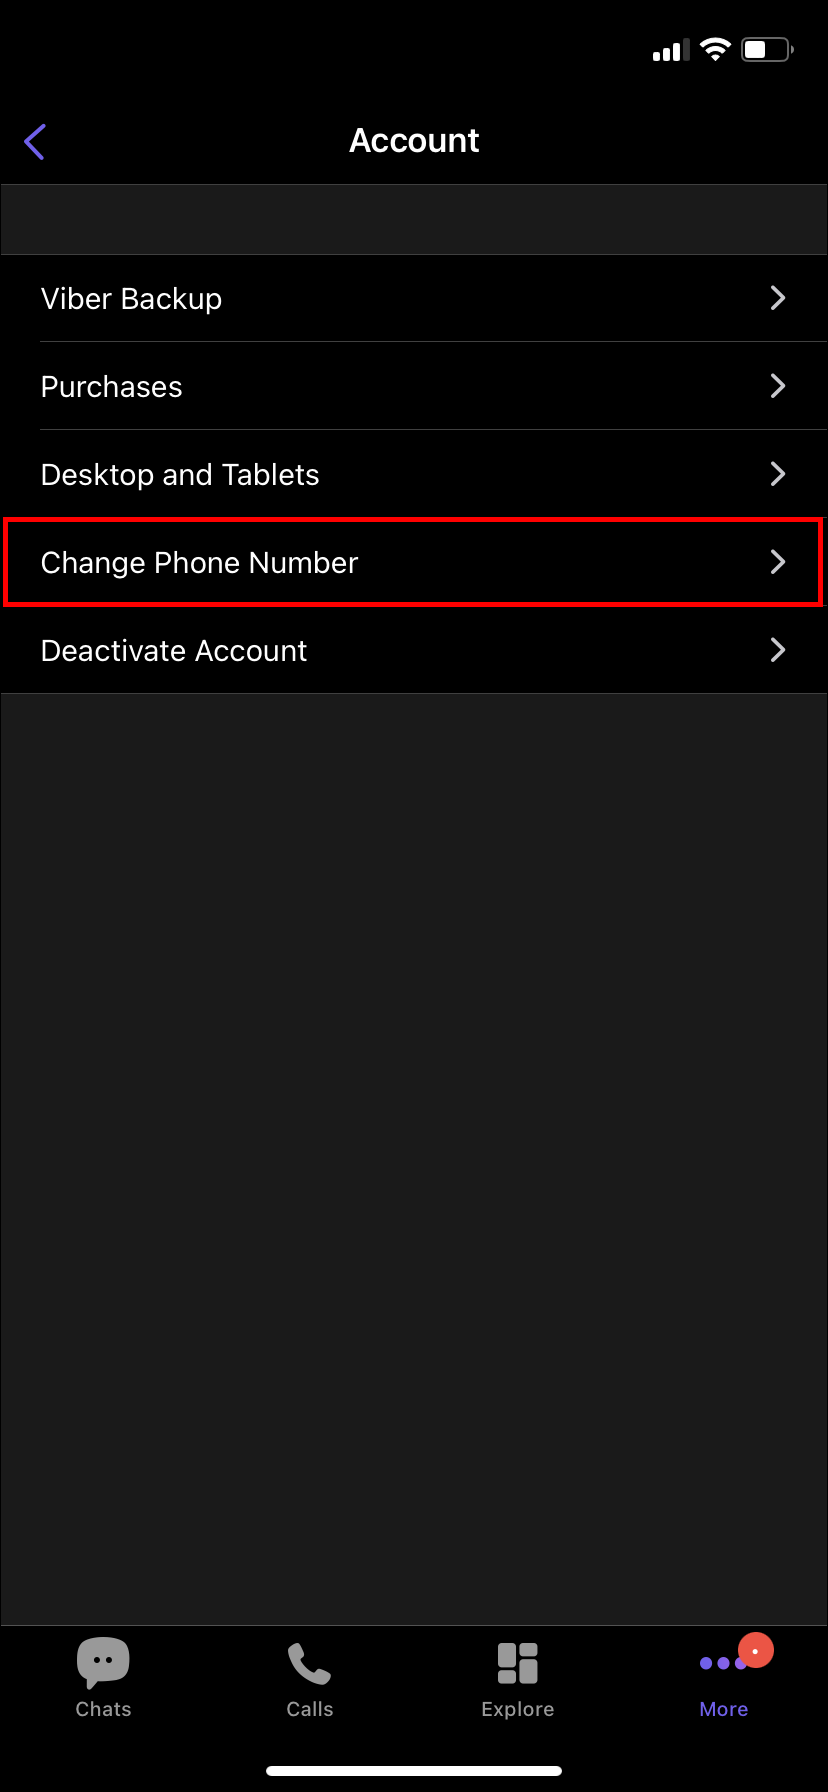
- Tap on “Account.”
- Hit “Change phone number.”
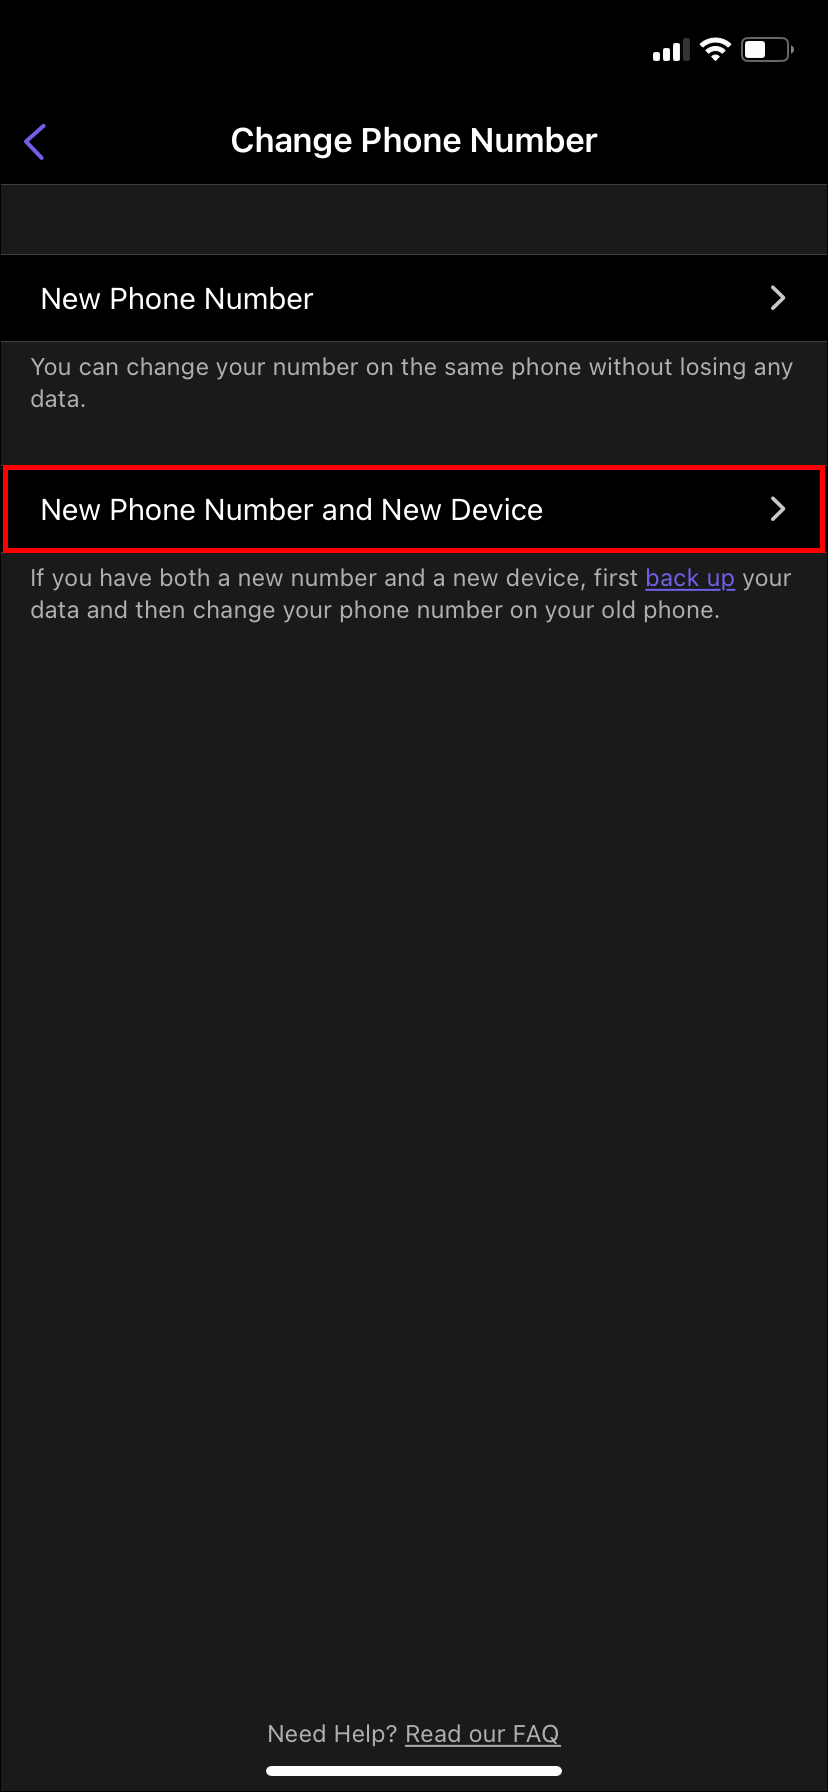
- Select “New phone number and new device.”
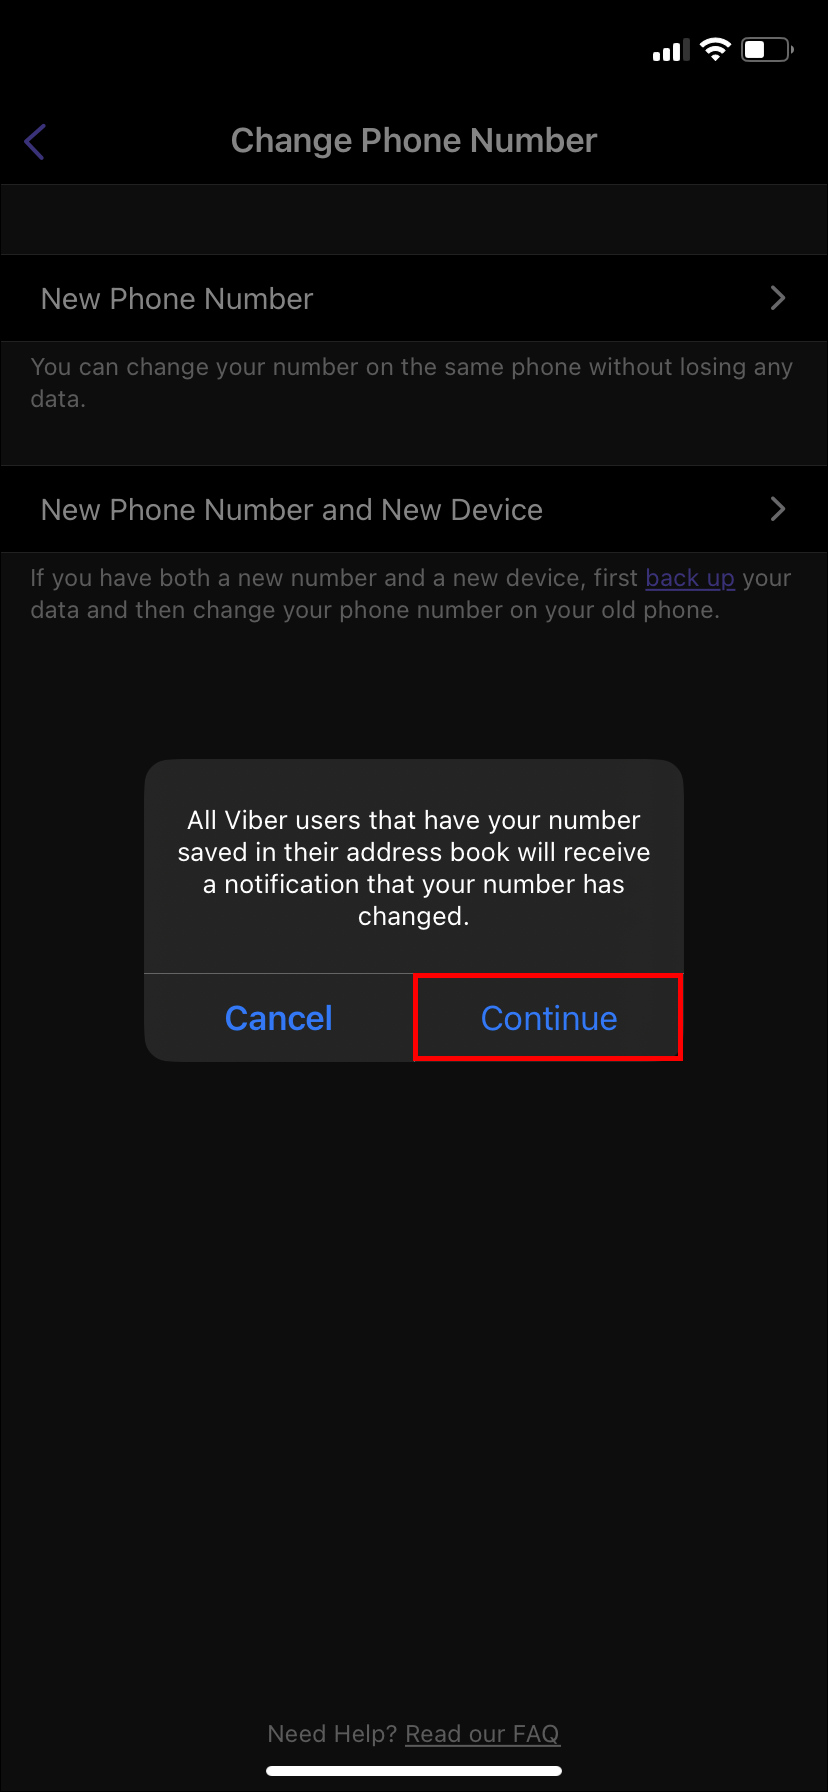
- Tap on “Continue.”
- Choose whether or not to include videos and photos.
- Go to “Backup now.”
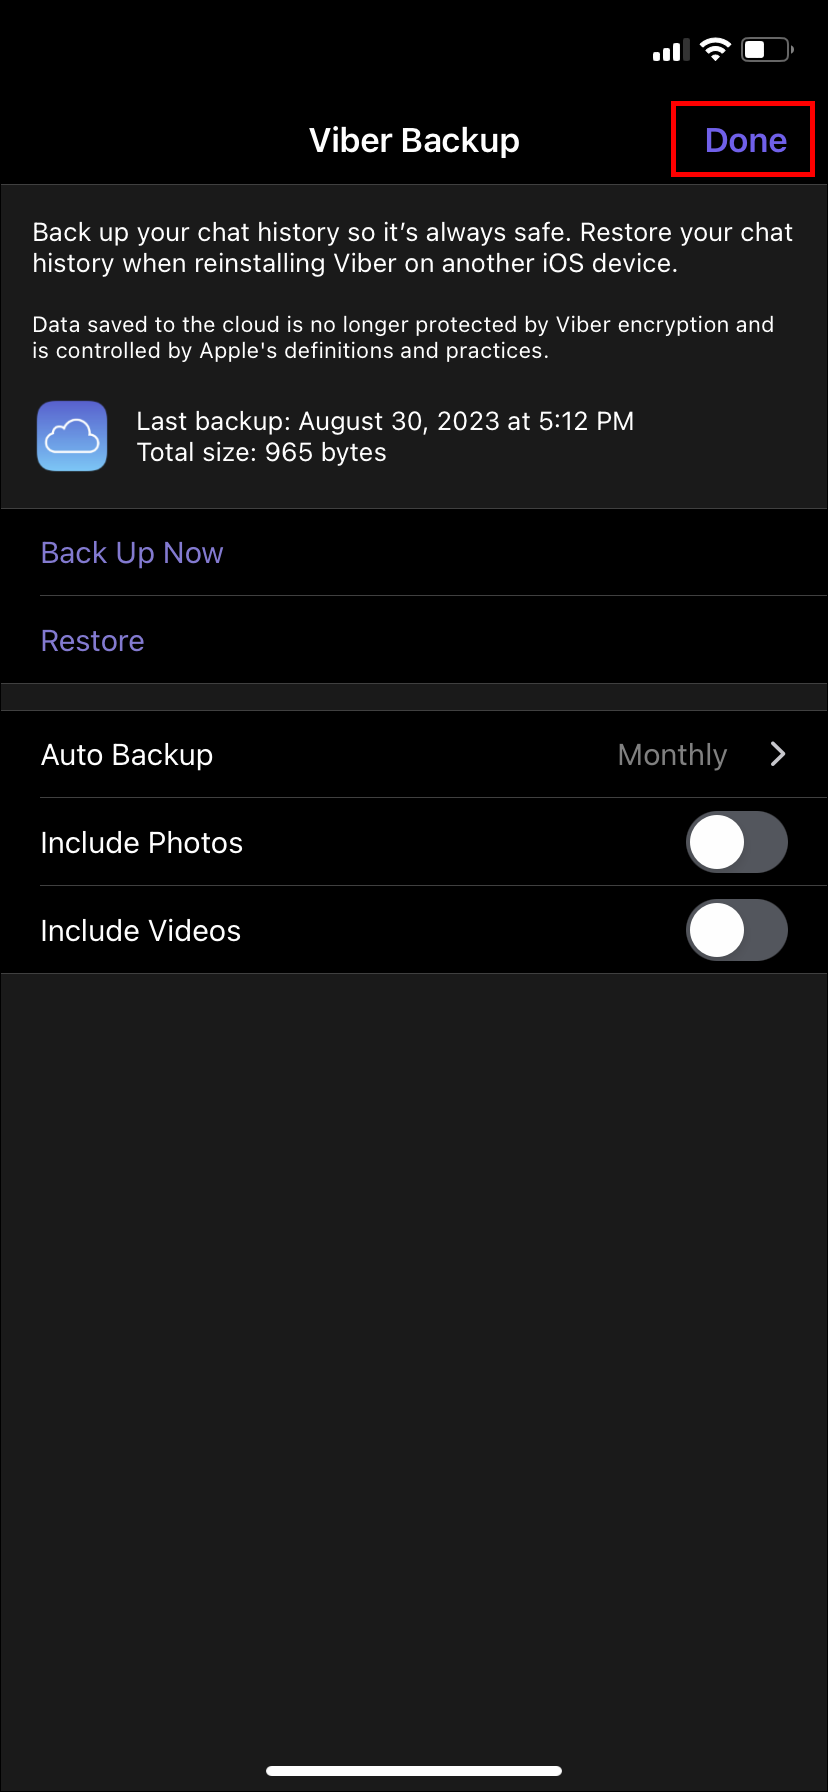
- Once completed, select “Back” on Android or “Done” on iOS.
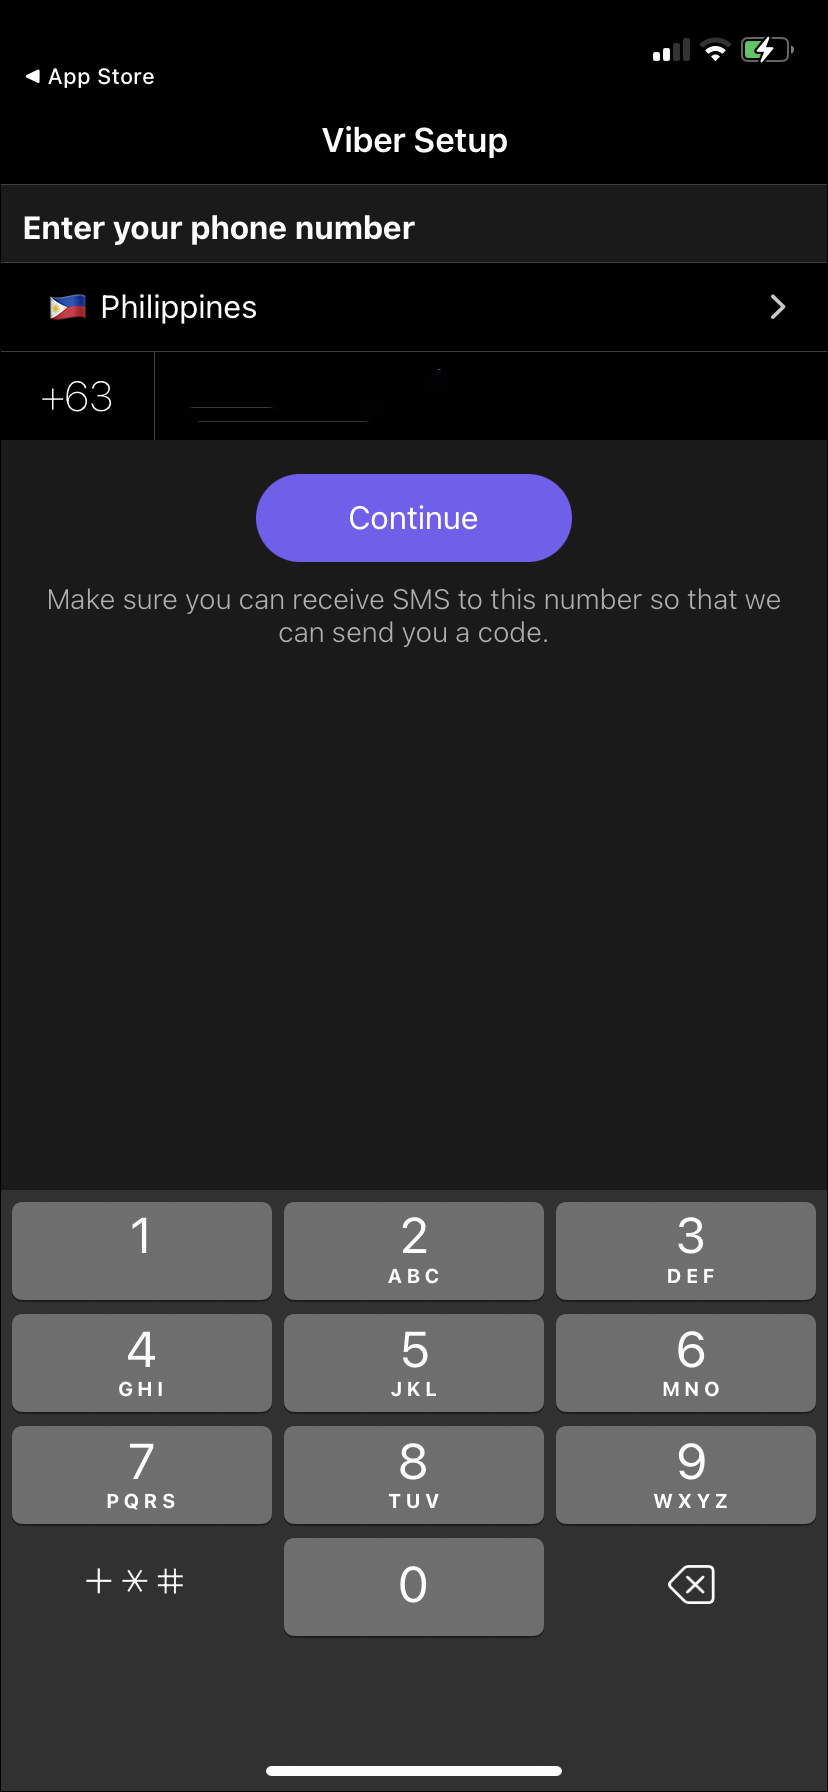
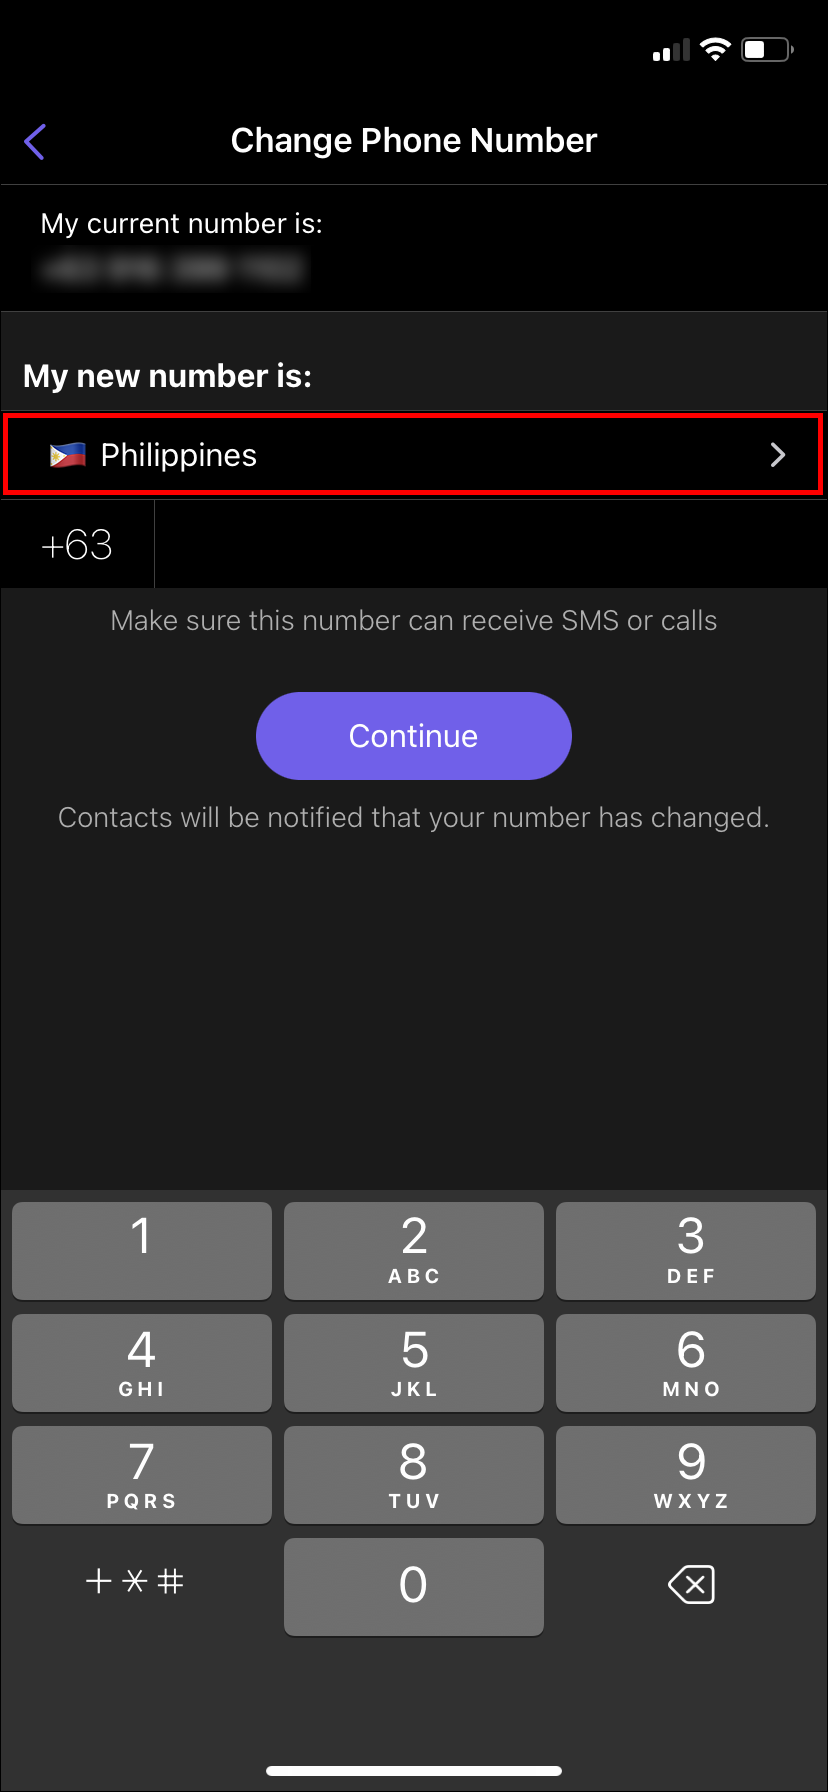
- Choose your country, and the code will be automatically displayed.
- Type in your phone number.
- Tap on “Continue.”

You’ll receive an SMS containing a 6-digit code which you’ll need to input on the next screen to complete the process.
Once you’ve backed up your Viber data and changed your phone number on your old device, download and install Viber to your new one and restore all your data by inputting your new number.
Note that once you’ve activated your new mobile number and phone, the Viber account on the old phone number is deactivated.
Transferring Messages From Android to iPhone
As mentioned before, there isn’t a straightforward way to transfer messages between the two platforms. However, you can achieve it if you connect the old device to a PC and perform a manual backup there. Once you do that, you can transfer the messages from the new device once you connect it to the PC.
There are also third-party apps that claim to be able to perform the process. Research carefully which app will suit you best, as some of those options might be too good to be true. Apps like PhoneTrans from iMobie can be a solid option.
Transferring Viber Data From an Old to a New Phone
There’s nothing worse than losing your Viber chat history, especially those sweet messages and fun stickers! The best way to ensure this doesn’t happen when you get a new phone is to back up all your Viber data to Google Drive or iCloud. Then restore the backup to Viber on your new phone to get back all your messages.
Before backing up your data, it’s a good idea to update Viber on your old phone and ensure you’re connected to a strong Wi-Fi connection when restoring your data.
Did you find the process of backing up and restoring your Viber data fast and efficient? Do you have any suggestions for how Viber can improve the process? Let us know in the comments section below.
Disclaimer: Some pages on this site may include an affiliate link. This does not effect our editorial in any way.