If you’re seeing 0xc1900101 installation errors, chances are you are either upgrading to Windows 10 from a previous edition or performing a version update. This error code is specific to those updates and were quite common in the first year of release of Windows 10. If you want to fix 0xc1900101 installation errors in Windows 10, read on.
The typical syntax of the error is something like ‘We couldn’t install Windows 10. We’ve set your PC back to the way it was right before you started installing Windows 10. 0xC1900101 – 0x30018. The installation failed in the FIRST_BOOT phase with an error during SYSPREP operation’. Sometimes the second error code is different and sometimes it is BOOT and not SYSPREP.
Essentially what it means is that the Windows 10 system preparation or installer hit an error that it couldn’t overcome and had to abort. While a royal pain when you see it, it isn’t a showstopper as it is usually a configuration issue that causes it. That’s what we are going to tackle now.
Fix 0xc1900101 installation errors in Windows 10
Fortunately, it’s the usual suspects that most often cause the error. Antivirus software, anything that locks files, monitors file changes and a few other pieces of software such as Daemon tools and system drivers. Sorting out these will get Windows 10 installing in no time.
- Boot your computer back into normal mode.
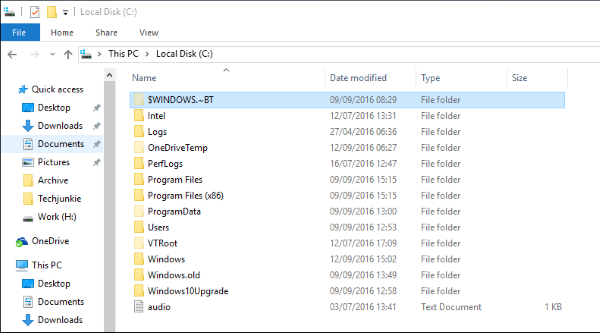
- Navigate to C:$Windows.~BTSourcesPanther or C:$Windows.~BTsourcesRollback. Look for a file called ‘setuperr.log’. This should tell you exactly what is causing the issue.
- Find out what is stopping the install, address it by uninstalling, disabling or updating and retry the installation.
Or:
If you’re not comfortable reading log files, we can use the broad brush approach and address the most common issues that cause 0xc1900101 installation errors.
- Uninstall your firewall, antivirus and any malware detection software you have installed.
- Uninstall anything that locks files, for example Spybot, Adaware or any encryption software.
- If you use Daemon tools or other drive simulator, stop the service.
- Update all of your graphics, audio, network and motherboard drivers.
- Perform a final Windows Update before the install so you have everything up to date.
- Retry the installation.

If that doesn’t work, we can run System File Checker and Deployment Imaging and Servicing Management to verify the integrity of your existing Windows install.
- Open a Command Prompt as an administrator.
- Type ‘sfc /scannow’. Let the process run and correct any errors is may find.
- Type ‘dism /online /cleanup-image /restorehealth’. Again, let the process complete and correct any errors it finds.
If either process finds errors, reboot and retry the Windows 10 upgrade. If neither process finds anything wrong, you are going to have to perform a clean install. Make backups of everything you don’t want to lose, create a System Restore Point or System Image, perform the clean install and then use restore or the image to bring you back to a working PC again.
Disclaimer: Some pages on this site may include an affiliate link. This does not effect our editorial in any way.


