Accounting is all about collaboration, and so is Xero. When it comes to expanding your organization, this unique platform offers plenty of flexible solutions for keeping track of user numbers and user roles. If you’re new to the software, you may be confused about how to add a new user to your organization.
Fortunately, you’ve come to the right place. In this article, we provide in-depth, step-by-step instructions on how to add new users to your organization in Xero. We’ll also cover how to add a read only user that can view but not change the data.
So, without further ado, let’s dive right in.
Adding a User in Xero
Adding new users is essential to growing your Xero organization. Without this function, you wouldn’t be able to form a well-functioning team. Luckily, this is one of the easiest tweaks you have to do as the organization owner.
However, not everyone on Xero has the ability to add new users to an organization. To do so, you must have a user role that includes user management permissions. You can add users (including accountants) to your organization free of charge.
Here’s how to do so:
- Open the organization in Xero you want to add a user to.
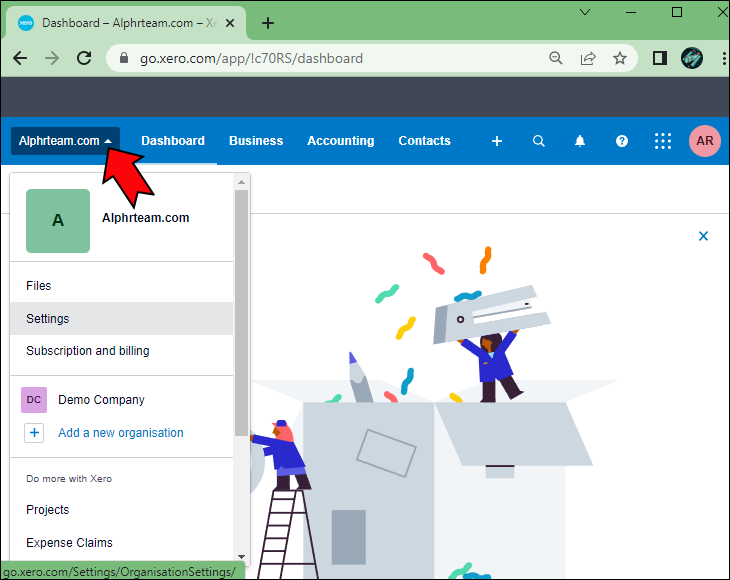
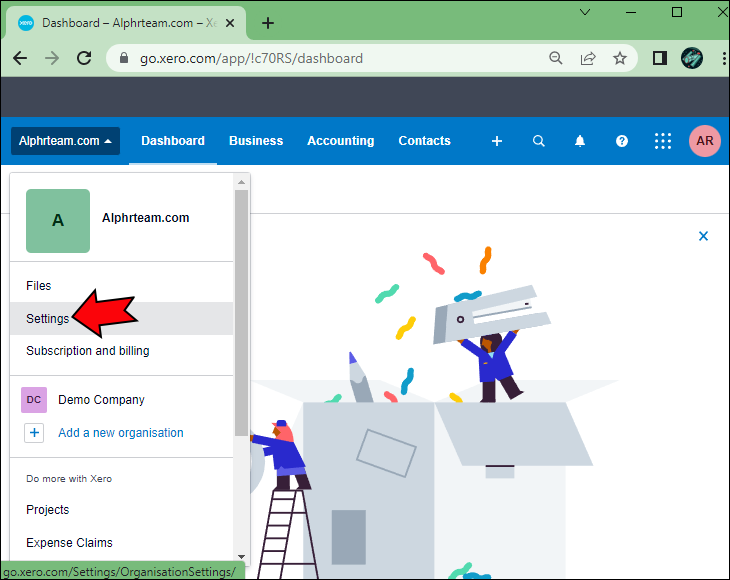
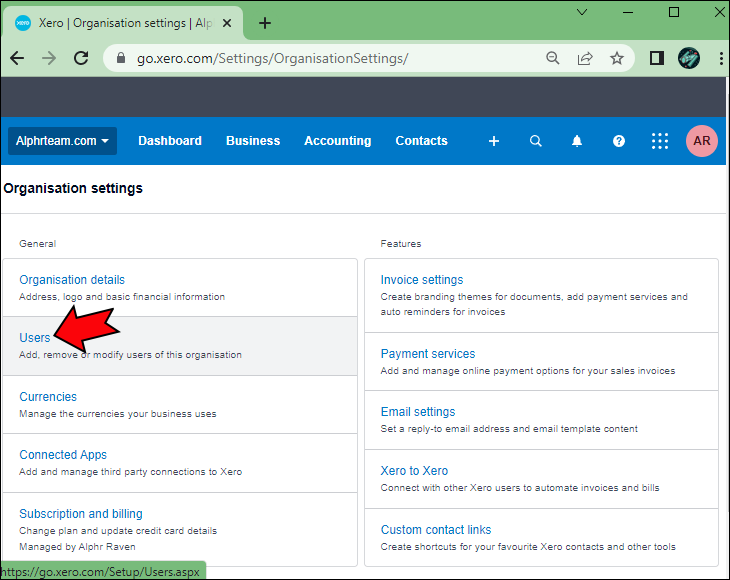
- Navigate to the “Settings” and press the “Users” option.

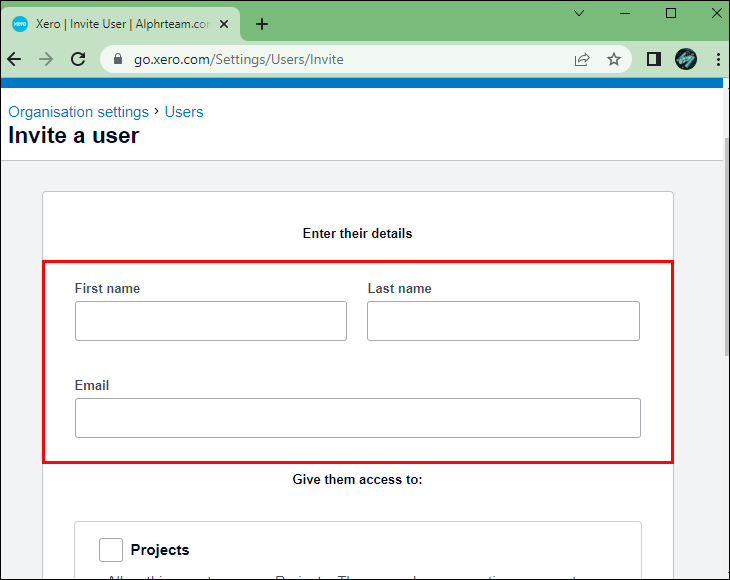
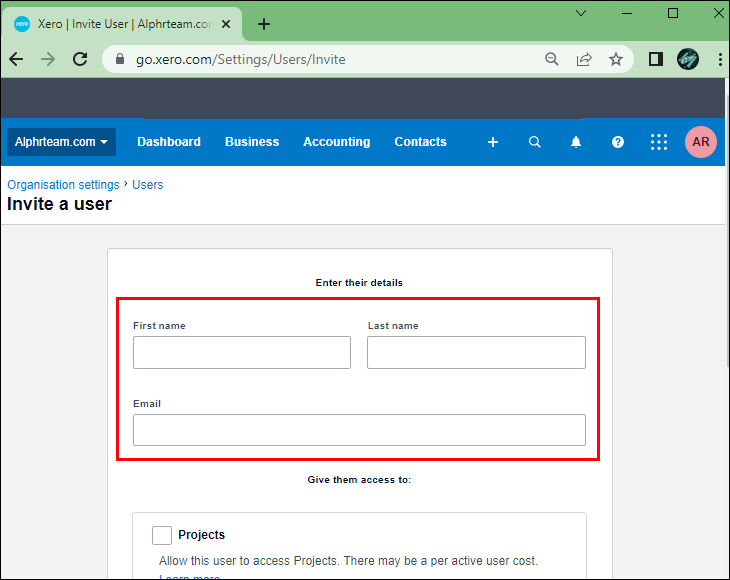
- Hit the “Invite a User” button.
- Type in the first and last name and the e-mail of the new user. The user will use the e-mail address you add here when logging in to the organization.
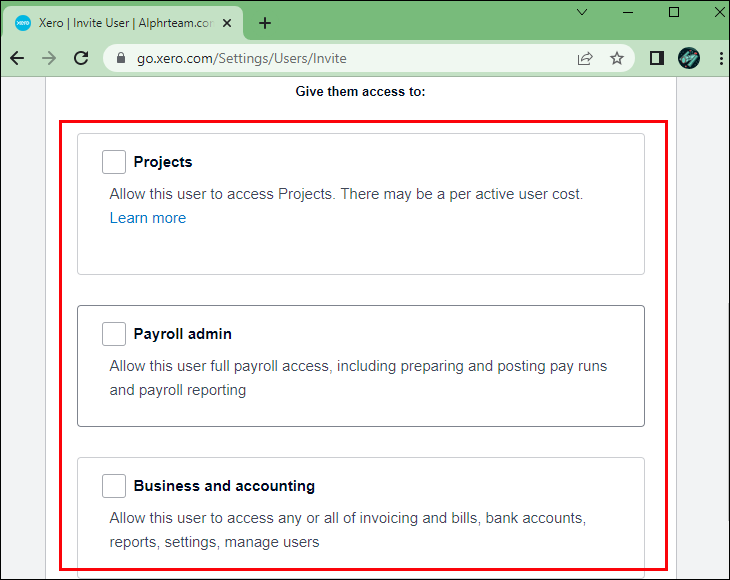
- Manage features you want to allow the new user to access.
- Assign the new user with user roles for the features they’ll have access to.
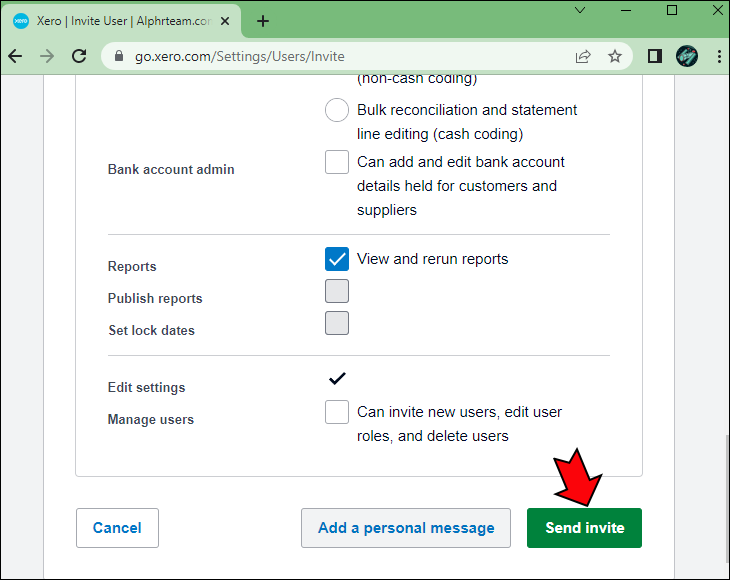
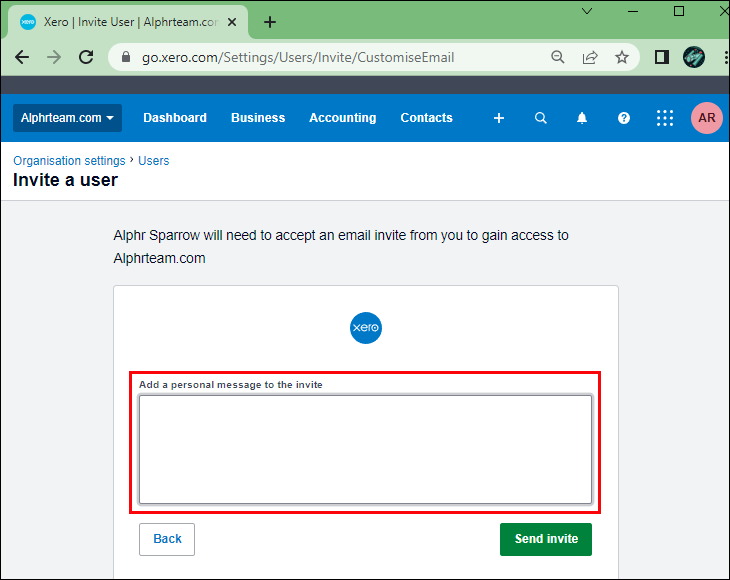
- If you wish, you can send a customized message in the “Add a personal message” section. Xero suggests inserting a link on an article that explains how to decline or accept Xero invitations. You could also write a welcome message or explain why the person is invited to the organization.
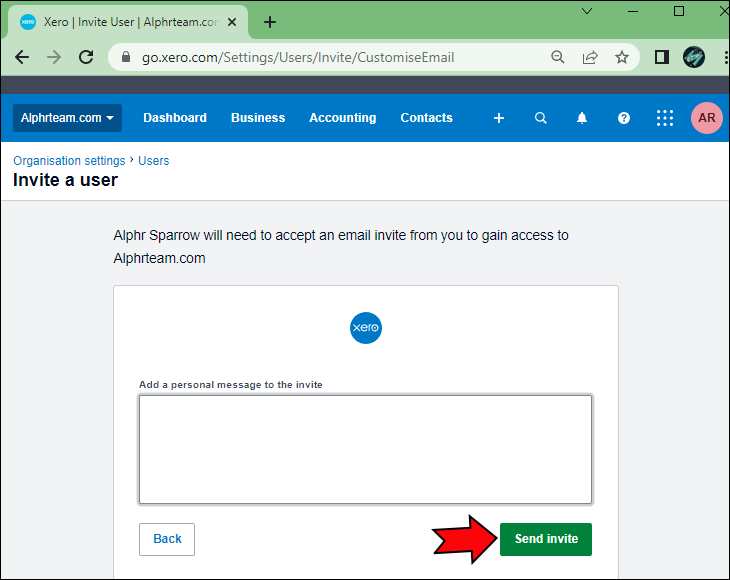
- Hit “Send Invite.”


The user will have 14 days to accept the invitation to join your Xero organization. After 14 days, the link will expire and won’t work anymore.
However, if the person doesn’t accept the invite after two weeks, you can still resend the invitation by following the steps below:
Resend an Invitation on Xero
- Select the name of the organization on Xero and go to “Settings.”
- Navigate to “Users” and click on the pending user’s name.
- Select “Resend invite.”
- (Optional) Type a message for the user.
- Hit “Send invite.”


Note that you can add an unlimited number of users on Xero, and they can access the information in the cloud at the same time. They can do so from any device they have at hand. It’s not necessary to use a desktop computer.
How to Add a Read Only User in Xero
The read only user role on Xero allows you to give access to a person to most Xero areas without allowing them to change your organization’s data. Trustees, directors, and auditors can mostly benefit from assuming this role since they only need to gain insight into an organization’s records without having to tweak anything.
Here’s what a read only user can do on Xero:
- View transactions and bank accounts
- View bills, quotes, invoices, credit notes, and purchase orders
- View fixed assets and expense claims
- View, run, and print reports
- Print manual journals
- View an adviser user’s management records regardless of the report status
- View payment history and other financial details of a contact
On the other hand, a read only user won’t have access to inventory, budgets, bank reconciliation, and the settings.
If this is something that speaks to you, you can add a read only user on Xero by following the steps below:
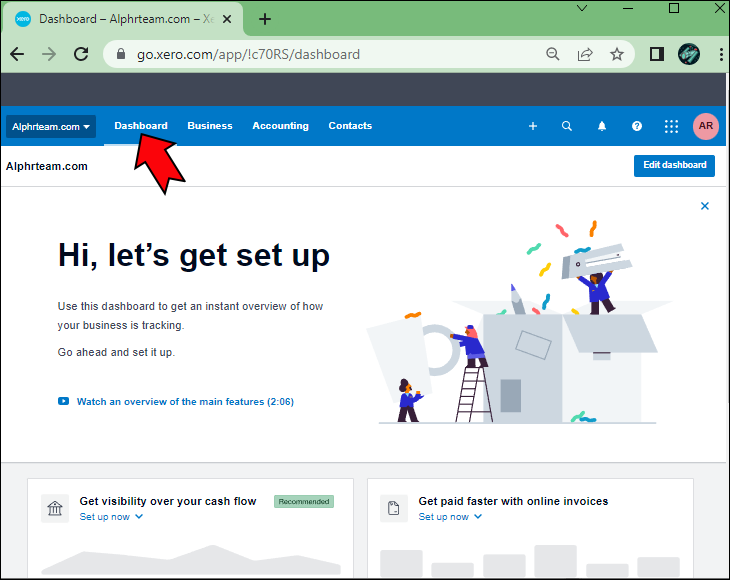
- Go to your Xero account and open the Dashboard.
- Navigate to the drop-down menu and hit the “Settings” button.
- Open “Users,” then “Invite a user.”
- Enter the first and last name of the user followed by their email address.
- Select the “Read Only” role in the “Business and Accounting” section.


The user will have 14 days to accept your invitation. If they don’t accept the invite within the given time frame, you’ll have to resend the invitation to them by following the steps below:
- Click on your organization’s name in Xero and head to “Settings.”
- Hit “Users,” then select the pending user’s name.
- Press “Resend invite.”
- (Optional) Send the user a message.
- Press “Send invite.”
They will now have 14 more days to accept the invitation.
Grow Your Xero Organization
Xero is a wonderful platform for accounting collaboration. You’ll hardly find a competitor that will give you as much freedom to invite users and assign them different roles within your organization. Fortunately, with the steps we have provided today, you can now grow your organization by adding new users without a hitch.
Whether you want to add a user that will have specific roles or simply grant them read only access, you now know where to look for the right settings.
What type of stakeholders do you grant read only access to in your organization? How many different roles do you have in your team? Share your experience in the comments section below.
Disclaimer: Some pages on this site may include an affiliate link. This does not effect our editorial in any way.