Windows 11 brought a lot of changes compared to its predecessor. One of the best things about Windows 11 is that it’s expedited several processes. Primarily, you can rename your user folder faster than in previous versions.
There are multiple ways to rename your Windows 11 user folder, allowing you to upgrade from the bland default designation, follow along in this article to learn how it’s done.
How to Rename a User Folder in Windows 11
Changing your user folder name requires you to change the name of your profile. To do so, you’ll need to log in using another administrator account. This is because the OS doesn’t allow you to modify existing profiles with the same account.
But if you don’t have your alternative administrative account, no worries – take these steps to create one:
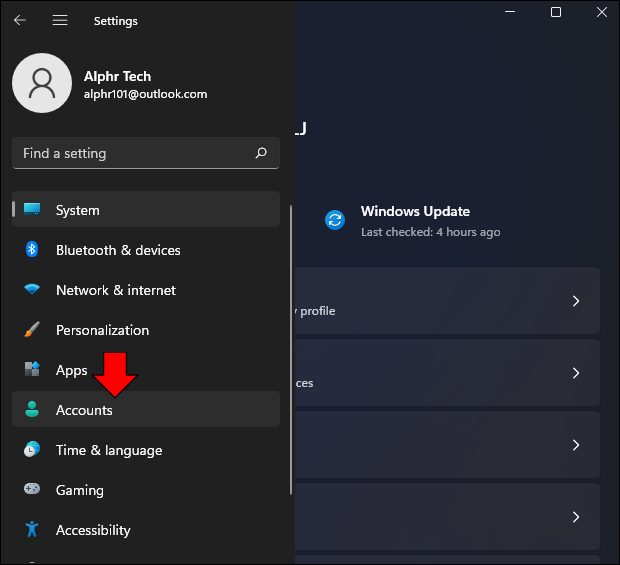
- Access “Settings” by pressing the “Windows key + I” combination.

- Go to the left section and choose “Accounts.”
- Navigate to the right part of your screen and click “Family & other users.”
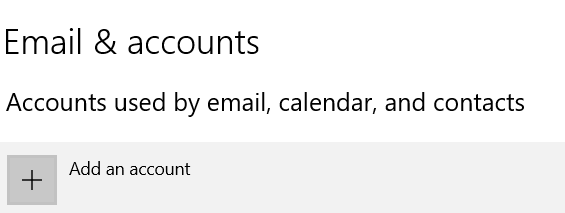
- Find “Other users” and press the “Add account” button.
- Click the prompt that says you don’t have the person’s log-in information.
- Add a new user without using their Microsoft account by pressing the corresponding button.
- Enter the name of the account and ignore the password.
- Click “Next” and go to the new account. Choose the option that lets you change the type of the account.
- Navigate to “Account Type,” followed by “Administrator.”
- Strike the “OK” button to save your changes.


Once you’ve created your new account, you’ll need to grant it administrative privileges:
- Hit the Windows button and type “Control Panel.”
- Open “Control Panel,” select “View by” and choose “Category.”
- Find the “User Accounts” section and select the option to change your account type.
- Go to “Manage Accounts,” and you’ll see your new and old accounts. Click the new one.
- Use the “Change the account type” option in the left part of the window.
- Press the button next to the “Administrator” tab to set the account as the administrator of the PC.
- Hit “Change Account Type” again to apply the change.


Finally, you can rename your user folder using the administrative privileges:
- Right-click the Windows symbol and select “Run.”
- Type in “control” and choose “OK” to launch your Control Panel.
- Click “Category” and pick the option to change the type of your account under the “User Accounts” tab.
- Double-click your new account.
- Hit the prompt to rename the account and enter the new designation in the corresponding box.
- Complete the process by pressing “Change Name.”


The following step isn’t mandatory, but it’s recommended. Namely, you may want to strip your old account of its administrative rights since you’ve created a new one. Here’s how to do so:
- Launch Control Panel and head to “Category.”
- Jump to “User Accounts” and change the type of your account.
- Find your old account and press the prompt to alter its type.
- Use the “Standard” option to make this account a standard user of your PC.
- Click “Change Account Type” to finalize the process.
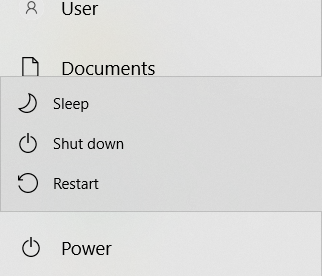
- Restart the device, log in to the old account, and ensure it no longer has administrative powers.


How to Rename a User Folder in Windows 11 with Command Prompt
The Command Prompt is a versatile Windows 11 tool that lets you perform various tasks. Among other things, it can help you rename your user folder:
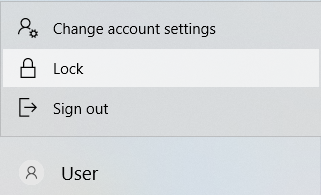
- Sign out of the account whose user folder you want to rename.
- Log in with another administrator account. If you don’t have one, follow the steps in the previous section to create it.
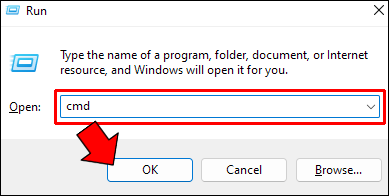
- Press the “Windows key + R” combination and type “
cmd.” Hit the “OK” button to launch your Command Prompt. - Enter this command:
wmic useraccount get name, SID. This reveals the Security Identifier of your user accounts. Write down the one that belongs to the account whose user folder you’ll rename. - Hit the “Windows + R” shortcut and type in “
regedit.” - Strike the “OK” button to start your Registry Editor. Go to this location: HKEY_LOCAL_MACHINE\SOFTWARE\Microsoft\Windows NT\CurrentVersion\ProfileList
- Inside your ProfileList section, click the name that matches the appropriate SID.
- Enter the new name of the user folder and press “OK.”
- Close your Command Prompt and Registry Editor.
- Hit the “Windows button + E” combination to launch File Explorer.
- Go to the Users directory on your C: drive.
- Highlight the user profile. Press “F2” or the “FN + F2” shortcut to rename the folder. Type in the new name, making sure it matches the one entered in your Registry Editor.
- Click the “Continue” button to save your changes and wrap up the process.


How to Rename a Standard Folder in Windows 11
After renaming your user folder, you may also consider renaming standard folders in Windows 11. The platform has introduced several convenient ways. However, using the context menu might be the quickest one:
- Open “File Explorer” and find the folder you want to rename.
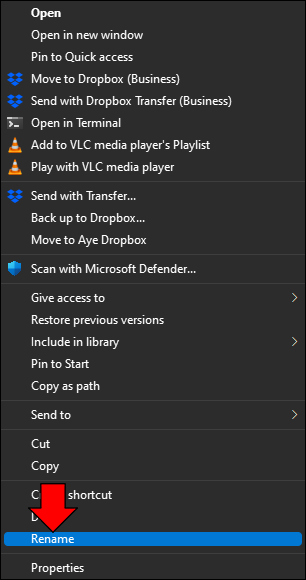
- Right-click on the folder and choose the “Rename” symbol next to your “Copy” icon.
- Type in the name and hit the “Enter” button to save your changes.


Next, you can rename a Windows 11 folder with the “Show more options” technique:
- Right-click your folder.
- Press “Show more options.”
- Select “Rename” and enter the folder’s new name.
- Strike “Enter,” and you should be good to go.


Another simple way to rename a folder is to use a keyboard shortcut:
- Select a folder.
- Press the “FN + F2” key combination or just “F2,” depending on your computer.
- Decide on a name and hit “Enter” to apply it.

Alternatively, you can go for the “Alt + Enter” keyboard shortcut:
- Highlight the folder you wish to rename.
- Hit the “Alt + Enter” combination to bring up the Properties.
- Type in the new name in the uppermost box and press “OK” to wrap it up.


The next method requires you to use folder Properties:
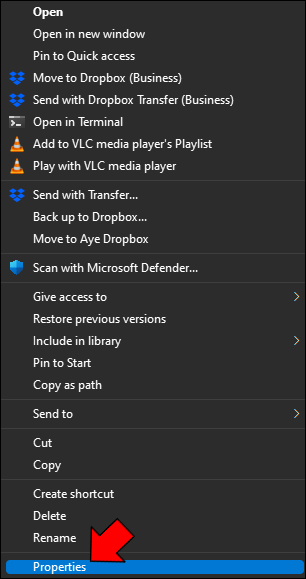
- Right-click on a folder.
- Click “Show more options.”
- Pick “Properties.”
- Navigate to the “General” section.
- Type in a name and click the “OK” button.

The most common renaming techniques rely on the keyboard. But your mouse can be just as convenient:
- Go to the folder that will be renamed.
- Left-click it twice, making sure there’s a one-second pause in-between.
- Rename the folder and hit “Enter” to save your changes.

The final method is the most demanding one. It involves activating the Command Prompt:
- Start “File Explorer” and head to your address bar.
- Enter “
cmd” and press the “Enter” button. - Type in the following command:
ren folder location:folder name, and the new name. Here’s an example:ren D:miscellaneous My documents. In this case, the old name (miscellaneous) will be changed to My documents.


Move on From Bland Names
Default Windows 11 user folders are fine, but over time, you may want to switch to something more memorable. Doing so isn’t too tricky. You need only create a new account and authorize administrative privileges. From there, the process is very straightforward.
Additionally, there’s no reason you should stick to default standard folders. Rename them to whatever you want, and your desktop will be better organized.
Are you familiar with any other methods of renaming user folders? How often do you rename folders? Let us know in the comments section below.
Disclaimer: Some pages on this site may include an affiliate link. This does not effect our editorial in any way.


