Last year Amazon brought a clever set of internet-connected buttons to consumers. These Dash buttons were designed to help users make quick repeat orders of common products. Now, a year after our friends across the pond, Amazon has finally brought its Dash buttons to the UK.
The thing is, it turns out any of the 48 available one-press ordering buttons can be used for far more than simple product orders. With a little bit of a tweak here and there, you can turn an Amazon Dash button into an Internet of Things device, allowing you to create portable light switches, connected trackers or silent doorbells. Not bad for a fiver.
Amazon Dash buttons are much cheaper than rival Internet of Things buttons on the market. Bttn will set you back €70 (about £52) and a Flic costs $90 (about £58), but Amazon’s battery-powered, Wi-Fi-enabled button is available for just £4.99.
That price comes with a compromise, though: Dash buttons aren’t as simple to manipulate. That said, it takes only a bit of tinkering to make them the internet-connected button you want them to be.
The hackability of Amazon’s Dash buttons was discovered by Cloudstitch CEO Ted Benson who, for want of a better solution, repurposed a Dash button to track how often he had to change his newborn baby’s nappy.
Benson goes into detail in his Medium post about how he used a bit of Python script, his own data, and spreadsheet product Magic Form to log basic timestamps. However, by integrating IFTTT into your commands, you can use Dash buttons to build a connected home on the cheap.
6 Amazon Dash button hacks for your home
Dash buttons are capable of doing so much once you’ve connected them up to the internet. However, with near-limitless possibilities, it can be hard to find a goal to start working towards, which is why we’ve put together five potential Amazon Dash button hacks you can get to work on.
1. Create a shopping list of common items

Like the idea of Dash buttons, but don’t want to order only products from Amazon, nor to have them delivered to your door? Well, you can cut out Amazon entirely and have each Dash button create an entry on a shopping list.
You could keep buttons on the inside of cupboard doors or stuck to the outside of your fridge. Run out of milk or coffee? Just press the button to add an entry as an iOS reminder, an Evernote list or in a Google Sheet.
It takes the pressure off having to use Amazon as your ordering service – and it should keep your bank balance a little healthier, too.
2. Build a silent doorbell

If you’ve just had a baby, the ringing of a doorbell could well wake them from a much-needed sleep. Maybe you work nights and don’t want to be woken with a start by the postman. Or perhaps you just hate the invasive sound of a ringing bell.
A silent doorbell could solve these problems easily and wirelessly. Using an Amazon Dash button, via either of the methods mentioned above, the press of a button could send you a text, an Android notification or a fake call to let you know someone’s at the door. No noise, no fuss.
3. Create a remote on/off switch for connected lightbulbs
Fed up with tackling the assault course that is the journey from the light switch to your bed at night? A portable Dash-button-powered light switch could help solve this problem by letting you turn bedroom lights off from your bedside – or even control all the house lights from one room.
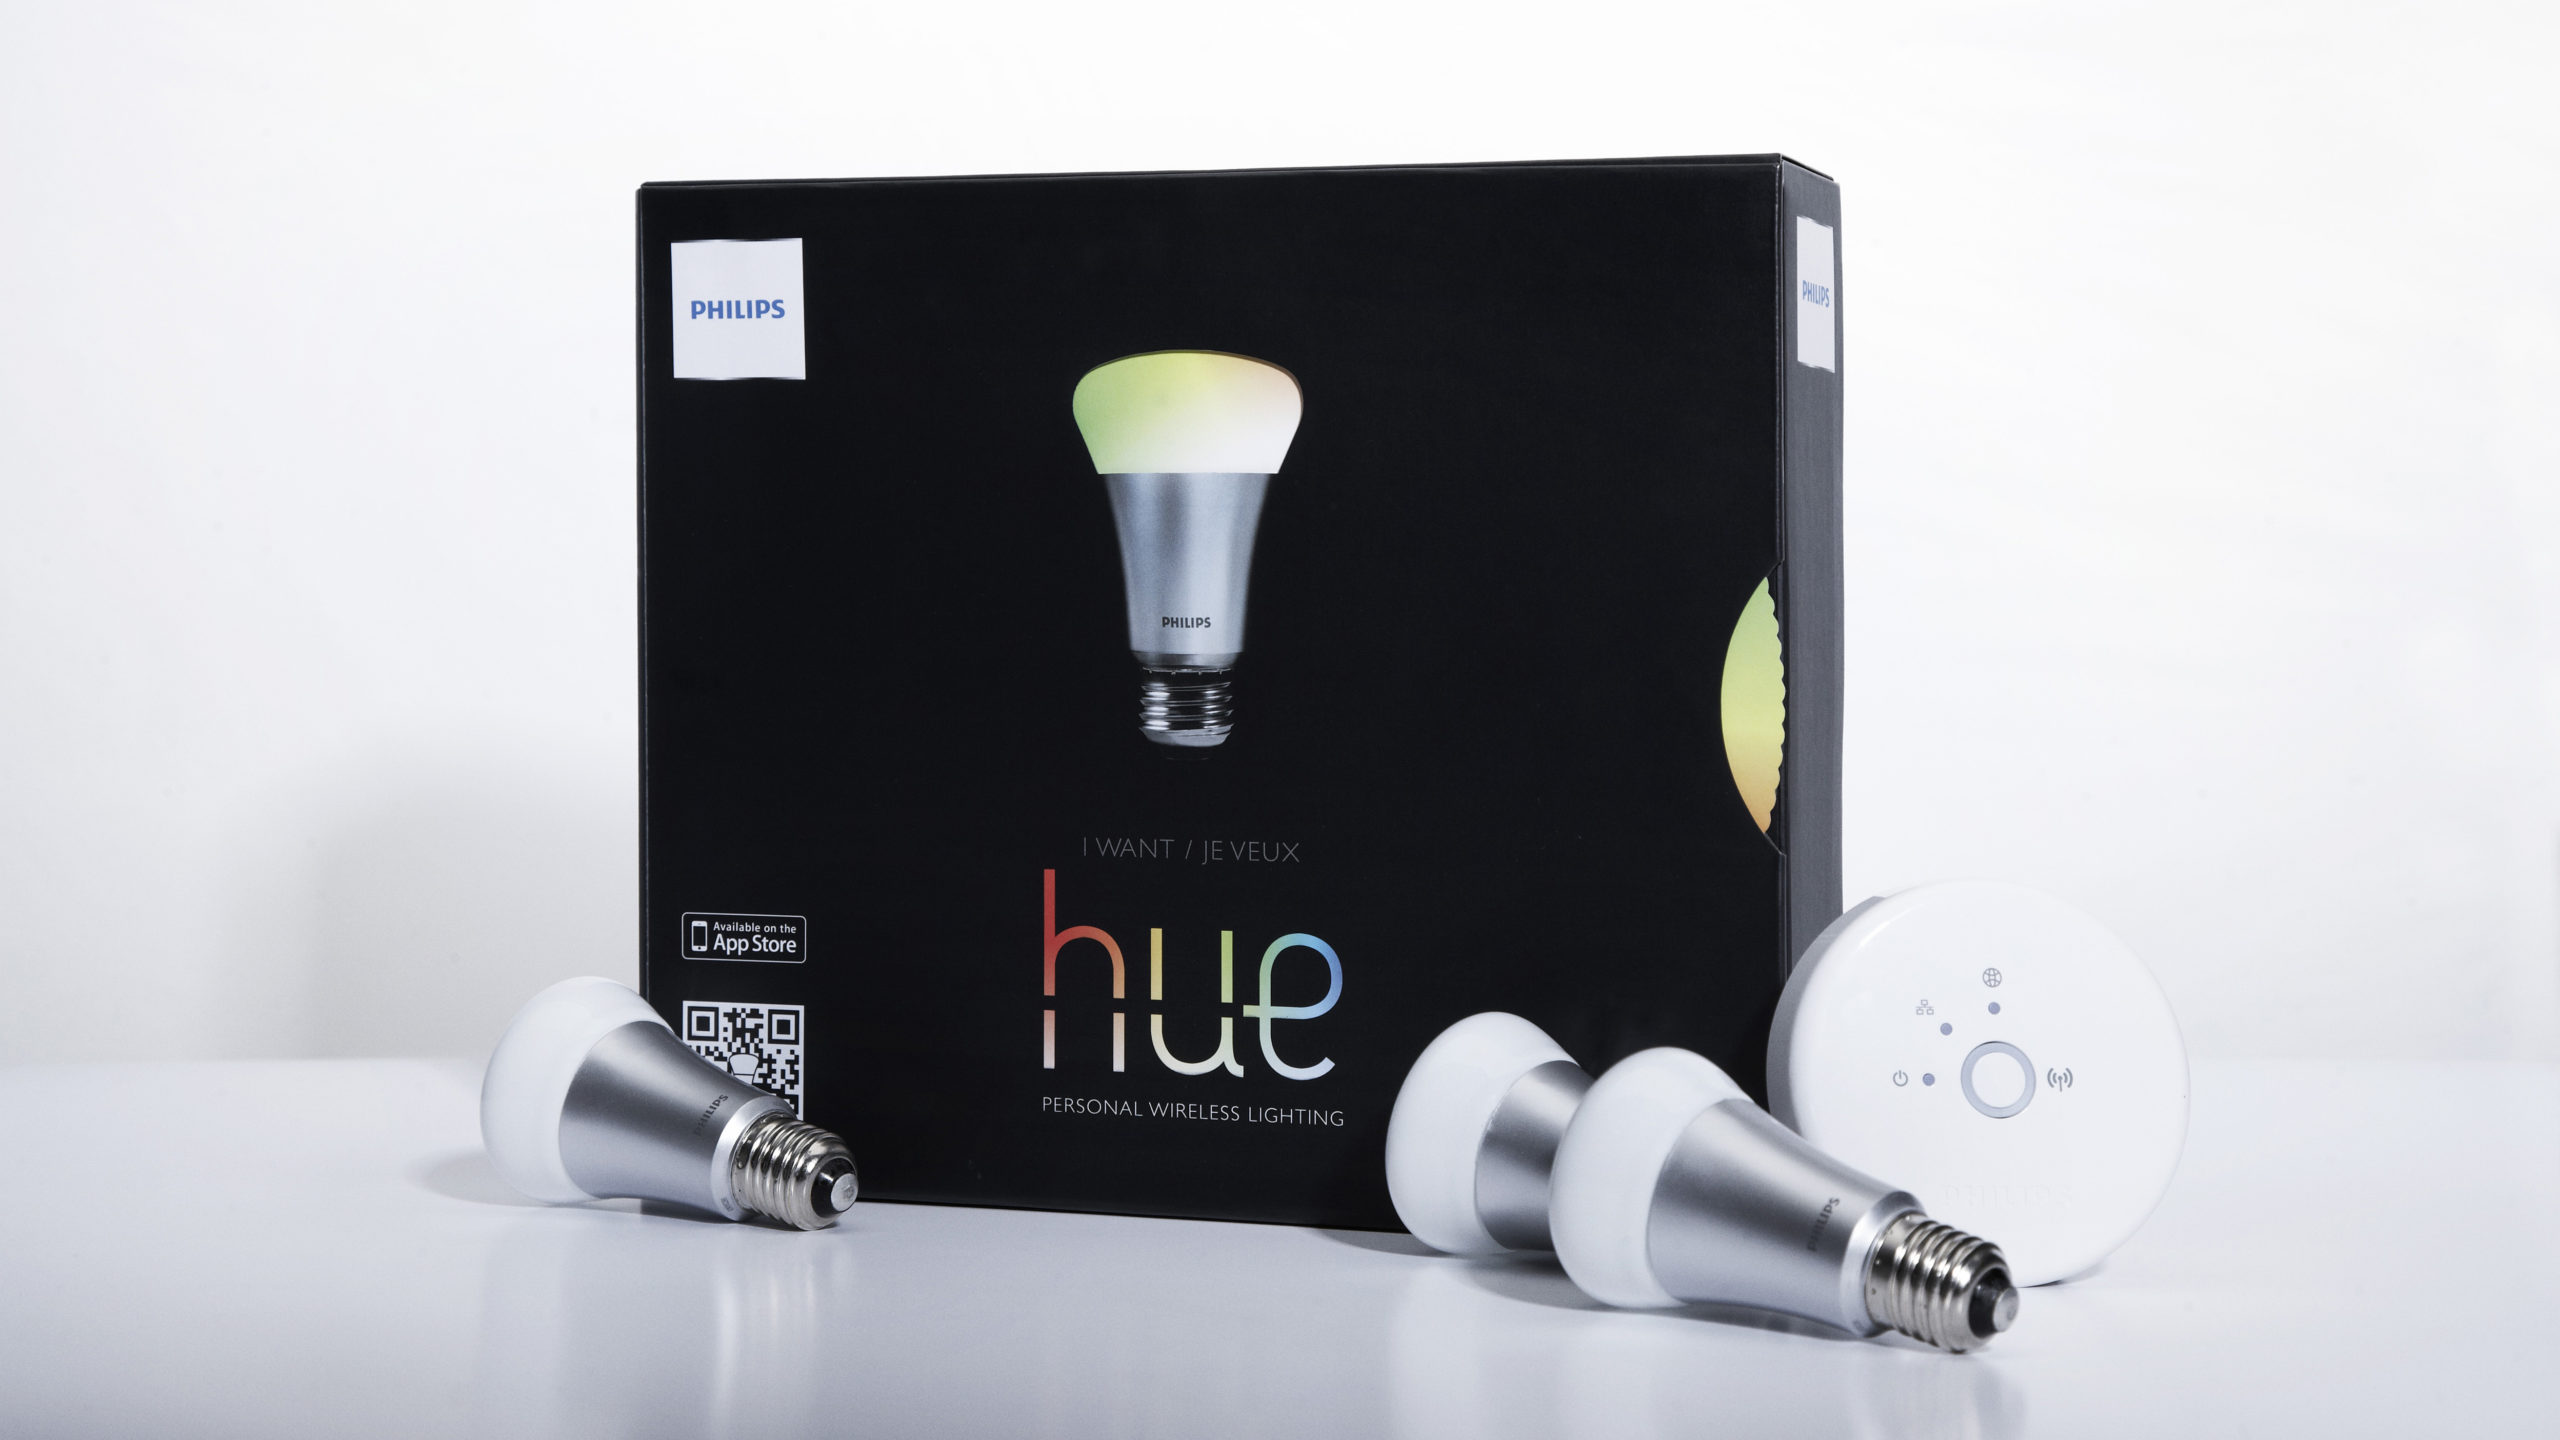
That can be set up easily through IFTTT, the only caveat being that you need a connected lightbulb or a Wi-Fi power socket such as Belkin’s WeMo Switch. Thankfully, prices for these are dropping quickly. While a Philips Hue LED bulb starter pack still costs £59, a quick Amazon search yields results of Wi-Fi-enabled LED bulbs for as low as £20, and you can pick up a WeMo switch for £31.
4. Build yourself a panic button

Do you have elderly parents or disabled housemates, family members or friends? You could create an affordable household panic button to quickly and quietly alert you, their neighbours or an SOS contact to any distress at the press of a button.
They could keep one button on themselves at all times and place others throughout their home, so you’d know where exactly they need help.
Using IFTTT, you could send a notification or a call directly to a trusted number, or log a call to the police – be sure to exercise caution here, especially for testing purposes.
5. Log your habits in a shared spreadsheet

Ever tried to take up running, give up smoking or – like me – make yourself cycle to work every day? Well, a shared spreadsheet and a Dash button to log your progress could certainly motivate you to do more.
Simply create a Google Sheet and you press your Dash button every day that you’ve gone on a run/avoided smoking/cycled to work. Everyone you share it with can then see if you’ve kept to your targets. If you fail, maybe peer pressure can motivate you to do better.
Of course, this requires your friends and family to check the Google Sheet. If you’d rather be a bit more direct, you can use IFTTT to send a notification or message directly to their phones.
6. Log your hours with two taps

Similar to the spreadsheet logging above, only with two taps: one to say you’ve started something, and another to stop the clock. This data then gets fed into a spreadsheet which lists the duration and frequency of the taps.
Why would this be useful? There are several possibilities. Maybe you want to track how long you spend studying? Or how quickly you can do 5km on a rowing machine? If you’re a freelancer, perhaps you want to make note of how long you spend working for a specific client for accurate billing (just make sure you remember which client you’ve allocated which button for…)
Now you know what to do with your Dash buttons, you’re probably wondering how to actually set one up. Well, fear not: on the next page we will guide you through the Dash button setup process.
How to set up your Dash button to do anything
Setting up your Dash button isn’t as complex as you would think, requiring only a Raspberry Pi or an always-on computer, a bit of basic Python coding (which we will show you in a moment) and an application such as IFTTT’s Maker system or Cloudstitch’s free, Google Docs-powered Magic Form.
To get started, you’ll first need to download the Unix-powered Scapy and a Python editor. Don’t worry if you’re not running Linux or OS X; you can also get Scapy to work on Windows (with a bit of effort).
When you’re ready to go, write a short Python program in your Python editor to tell Scapy to look out for your Amazon Dash button’s unique Mac address. Paste the below into your Python program’s editor:
from scapy.all import *

def arp_display(pkt):
  if pkt[ARP].op == 1: #who-has (request)
	if pkt[ARP].psrc == '0.0.0.0': # ARP Probe
  	print "ARP Probe from: " + pkt[ARP].hwsrc

print sniff(prn=arp_display, filter="arp", store=0, count=10)
This code will listen in for an ARP probe (the request your Dash button makes to join your Wi-Fi network), and spot the button’s Mac address. When you press a Dash button, the Python script you’ve just written will record the device’s Mac address, allowing you to hard-code it in to your Python program, using custom names to indicate what’s what.
To do this, copy and paste the Python code below, replacing the empty fields with the correct information.
from scapy.all import *
def arp_display(pkt):
  if pkt[ARP].op == 1: #who-has (request)
	if pkt[ARP].psrc == '0.0.0.0': # ARP Probe
  	if pkt[ARP].hwsrc == '[button MAC address]':
        # [insert button1 name]
    	print "Pushed [button name]"
  	elif pkt[ARP].hwsrc == '[button MAC address]':
        # [insert button2 name]
    	print "Pushed [button name]"
  	else:
    	print "ARP Probe from unknown device: " + pkt[ARP].hwsrc
print sniff(prn=arp_display, filter="arp", store=0, count=10)
At this point, you have two options:
- Use Magic Form to push the data to a Google Sheets document that you can view or integrate with an IFTTT recipe
- Link your button directly to an IFTTT recipe using its Maker API
Doing it the Magic Form way
If you want to use the Magic Form, create a Cloudstitch account for free and set up your own Magic Form. This will give you a unique URL to which you can send data packets for adding to a spreadsheet.
Add this URL to your Python program, so it can feed the relevant data to the spreadsheet. Your final Python code should look something like this:
from scapy.all import *
import requests
import time
MAGIC_FORM_URL = '[INSERT URL HERE]'
def record_[insert parameter name]():
  data = {
	"Timestamp": time.strftime("%Y-%m-%d %H:%M"),
	"Measurement": '[What you want to record]'
  }
  requests.post(MAGIC_FORM_URL, data)
def arp_display(pkt):
  if pkt[ARP].op == 1: #who-has (request)
	if pkt[ARP].psrc == '0.0.0.0': # ARP Probe
  	if pkt[ARP].hwsrc == '[button MAC address]':
        # [insert button1 name]
    	print "Pushed [button name]"
  	elif pkt[ARP].hwsrc == '[button MAC address]':
        # [insert button2 name]
    	print "Pushed [button name]"
  	else:
    	print "ARP Probe from unknown device: " + pkt[ARP].hwsrc
print sniff(prn=arp_display, filter="arp", store=0, count=10)
Doing it the IFTTT Maker way
IFTTT’s Maker Channel allows tinkerers to connect any internet-enabled device capable of making URL requests to an IFTTT recipe. Maker also allows any other connected service to send requests to an internet-enabled device, but this isn’t important for setting it up to work with an Amazon Dash button.
After writing the Python script to determine which Dash button is which, create an automation that can work with a Raspberry Pi (find instructions here if you’re unsure) to trigger Maker recipes.
When you’ve linked your IFTTT account to the Maker Channel, you can set about creating events for your triggers. Event names are there to help you remember what you’ve created the trigger for. Once events are named, Maker will spit out a unique code for you to incorporate into the Pi automation’s web request.
For an event to be triggered successfully, your Python code has to direct the Pi to a specific web address:
https://maker.ifttt.com/trigger/[event_name]/with/key/[unique_code]
When this is done, you can use IFTTT to link that Maker request to any of its 218 channels, opening a Dash button’s potential up to hundreds of different applications.
Disclaimer: Some pages on this site may include an affiliate link. This does not effect our editorial in any way.