We all agree that smart TVs are one of the most convenient technological advancements of this era. They allow us to browse the internet, stream on-demand content, access social media, etc. That’s why we understand your frustration if your Android TV refuses to connect to the Wi-Fi network. But fret not because this issue is more common than you think.
From restarting your devices to updating your router’s firmware, this guide will explore all the possible ways to fix the problem so you can continue to enjoy seamless access to any internet-based services on your Android TV. We have a lot to unpack, so let’s get started.
Android TV Not Connecting to Wi-Fi
Below, we’ve highlighted all the possible fixes that users can try if their Android TV isn’t connecting to Wi-Fi. Some fixes are specific for the TV while others are specific to the router. Regardless, try them in order and see which one resolves the problem.
Forget Your Wi-Fi Network and Connect to It Again
This is, without a doubt, the first fix you should try if an Android TV refuses to connect to Wi-Fi. Forgetting your Wi-Fi network and reconnecting to it can eliminate minor system glitches and allows the TV to establish a fresh connection. Thankfully, the process is very straightforward:
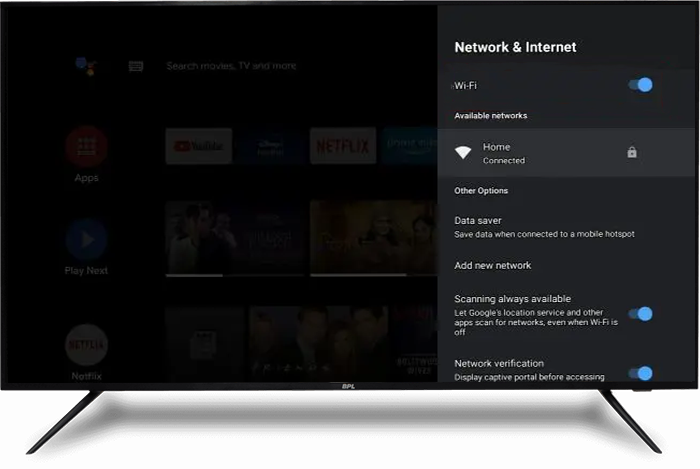
- Use your Android TV remote control to open “Settings.”

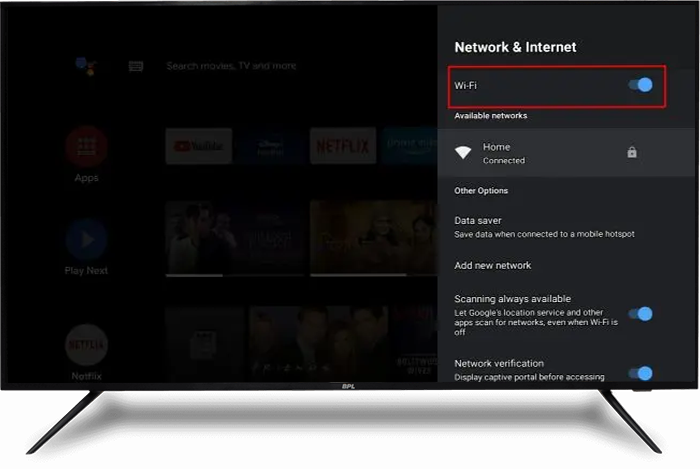
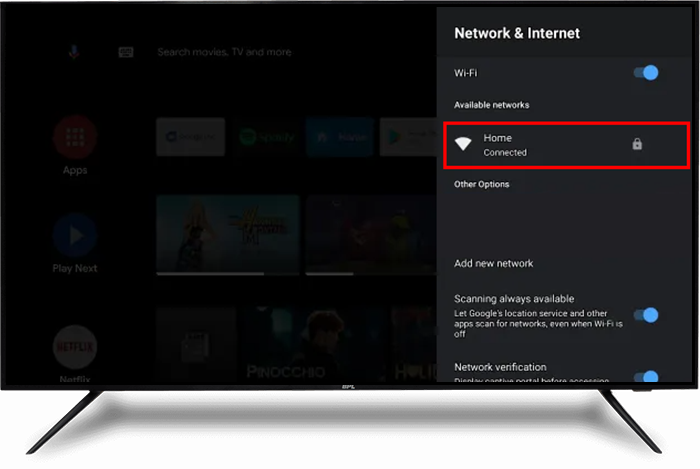
- Pick “Network & Internet.”

- Choose your Wi-Fi network.
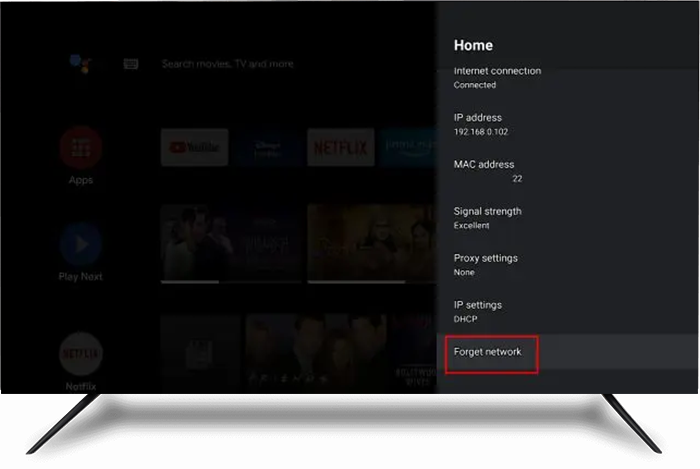
- Click on “Forget network,” then “Ok.”
- Wait a few seconds, then reconnect to the network.
- Follow the on-screen instructions to complete network authentication then see if the TV successfully connects to the Wi-Fi network.

If the above fix doesn’t work, try the next solution.
Double-Check That Your Router Is Working Correctly
Prior to trying other complex fixes, determine which of these two devices has a problem. To rule out if the router is the problem, connect another device to the Wi-Fi network and check if the connection is successful. If the connection fails, the router is the obvious culprit. So, it’s a good idea to focus on the solutions for the router.
Restart Both the Wi-Fi Router and the TV
Restarting your Wi-Fi router and TV will refresh and restore default settings, as well as clear any system glitches that might be triggering the issue. Even better, this process doesn’t erase user data.
To restart your Android TV, disconnect it from the power source and plug it back in after 30 seconds. Alternatively, you can:
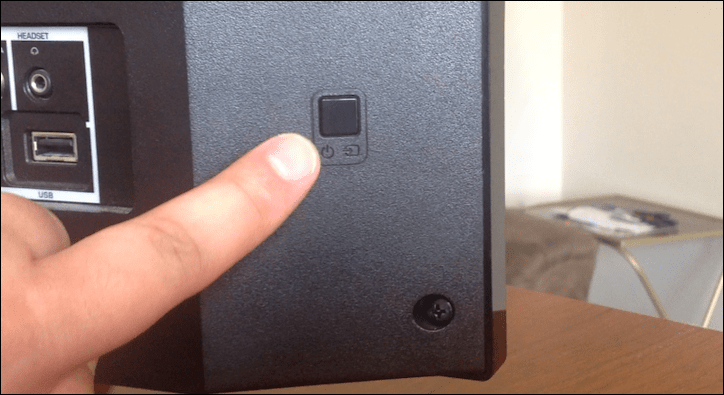
- Locate and long-press the power button on your Android TV.
- Choose “Restart.”
- Wait a few minutes for the process to complete, then reconnect to the Wi-Fi network.

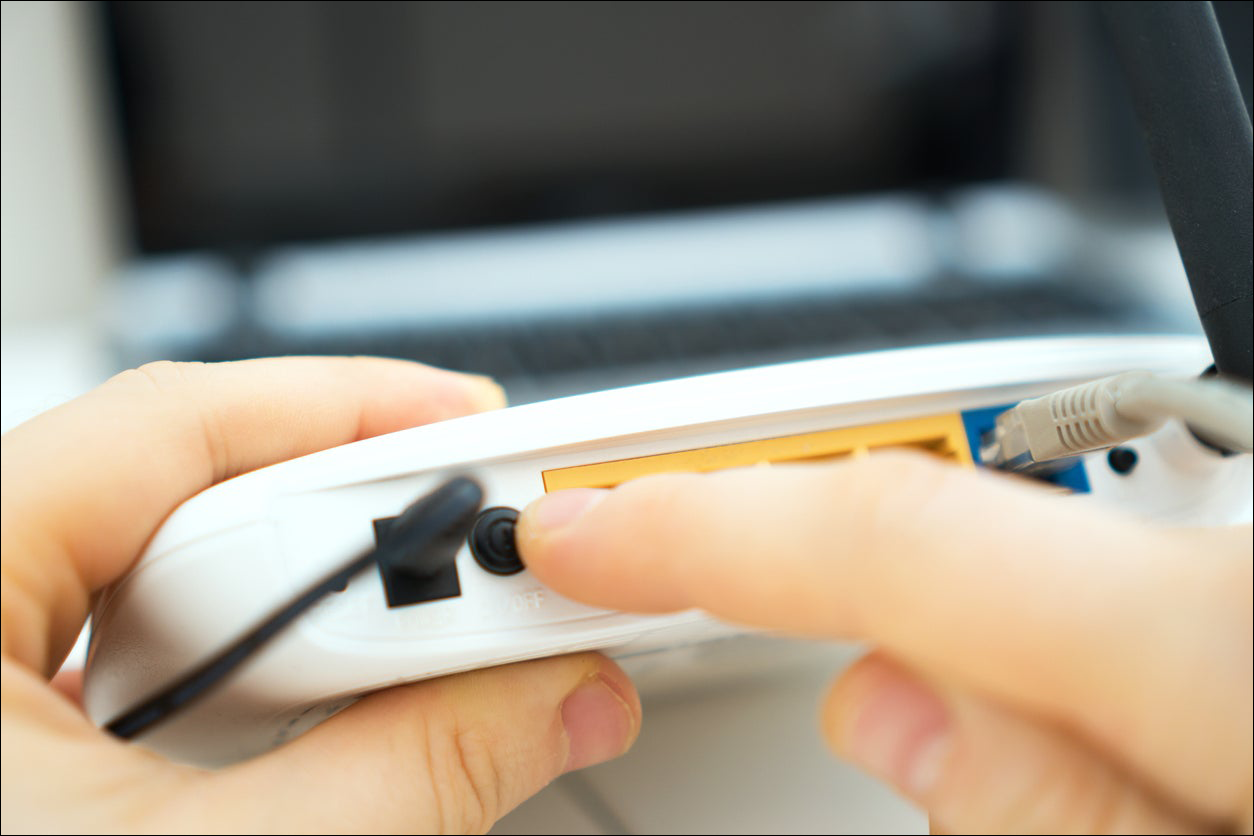
To restart your Wi-Fi router, disconnect it from the power source, wait 60 seconds, and plug it back in. This process should resolve connectivity issues and other minor system glitches in your router. If restarting the two devices doesn’t work, proceed to the next solution.
Update Your Router’s Firmware
Outdated firmware will cause your router to run into a myriad of issues, including problems with Wi-Fi connectivity. The procedure for updating the router’s firmware is straightforward, but it depends on the specific model. Below are general steps that work for most models:
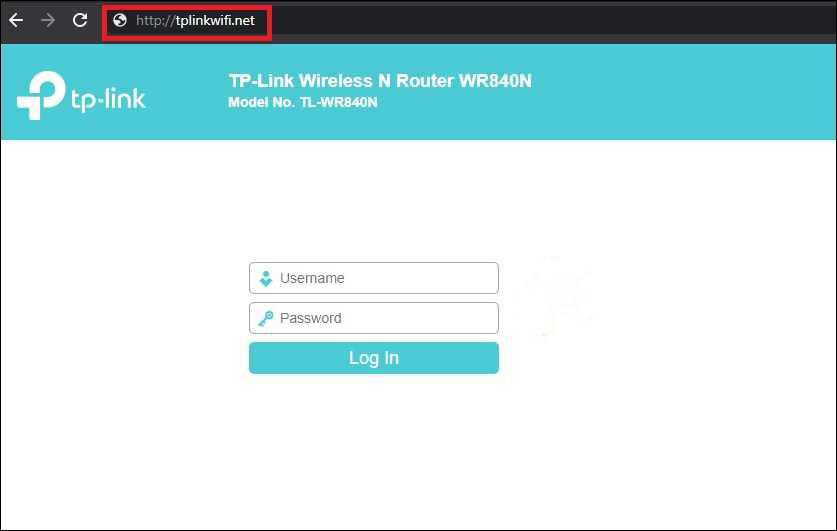
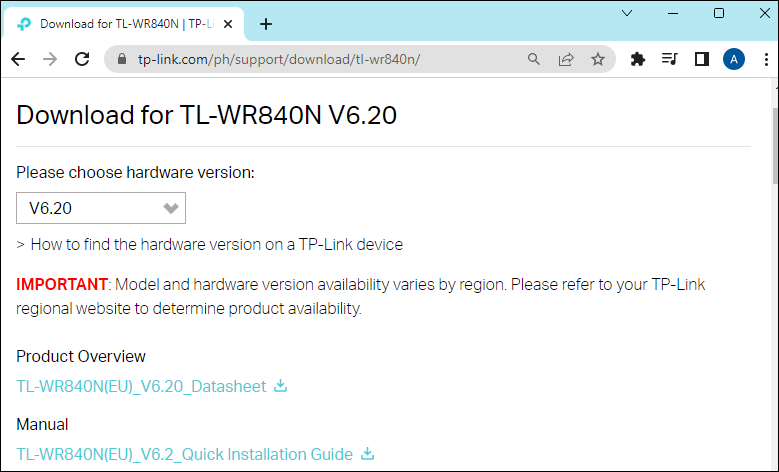
- Open your preferred browser and open the router’s official website.
- Download the router’s firmware file.
- Transfer the firmware file to the router.
- Restart the router.
Try connecting your Android TV to the Wi-Fi again and see if it works.
If the above solution doesn’t work, try other solutions highlighted below.
Check the Wi-Fi Network Connection
If your Android TV isn’t connecting to Wi-Fi, your local internet service might be to blame. Check the Wi-Fi connection using another device, such as a tablet or a smartphone. If the connection doesn’t work on the other devices, contact your internet service provider (ISP) to check the internet service status in your area. However, if your other devices are working fine on the Wi-Fi network, but your TV still can’t connect, then the problem lies with the TV.
Check the Wi-Fi Signal Strength
If your Android TV isn’t connecting to Wi-Fi, then the signal strength of your Wi-Fi may be a problem. There are factors that can interfere with the strength of a wireless signal including:
- Physical obstructions like drawers and thick walls
- Interference from similar wavelengths from nearby electronic gadgets
- A long distance between the router and the device you’re trying to establish a connection with
- Router operating on the wrong frequency settings
Fortunately, checking your Wi-Fi signal strength is very easy:
- Use the remote control of your Android TV to open “Settings.”
- Pick “General” then “Network.”
- Notice the number of bars on the Wi-Fi icon.

If there are two or fewer bars, then your Wi-Fi signal is weak. If the bars are full, it means you have a strong Wi-Fi signal and you should try another fix.
Those with a weaker Wi-Fi signal should consider moving the router near the Android TV. If that doesn’t work, adjust the frequency on your Wi-Fi router to 5.0GHz instead of 2.4GHz. Alternatively, turn off all the electronic gadgets in the room and see if that works.
If none of the above fixes have worked so far, proceed to the ones below.
Double-Check the Wi-Fi Password
Keying in the wrong password sounds trivial. However, it might be the culprit behind your Android TV not connecting to Wi-Fi. You may have changed it a while ago and are now entering an outdated version. Or perhaps, you accidentally omitted a character or keyed in the case of a letter. If you suspect that this is the problem, then double-check that you are entering the correct password. If you have forgotten the password, check on your Wi-Fi router for instructions on resetting it.
Use an Ethernet Cable
Ethernet cables are much faster than wireless networks. That means that the signal strength from an Ethernet cable is much stronger than that of a Wi-Fi network, guaranteeing seamless internet connections. Simply plug one end of your Ethernet cable into your router, then take the other end and plug it into the Ethernet port on your Android TV. This process should restore your internet access immediately, but if it doesn’t, consider trying subsequent fixes.
Turn on the DHCP (Dynamic Host Configuration Protocol)
In order to connect to Wi-Fi, many smart TV models require you to turn on the DHCP option. This is the configuration protocol that assigns users a unique IP address which allows them to connect to the internet. If this feature is turned off, you might encounter problems connecting to your Wi-Fi. To turn on DHCP on your Android TV, navigate to “Network settings” and toggle the “DHCP” button.
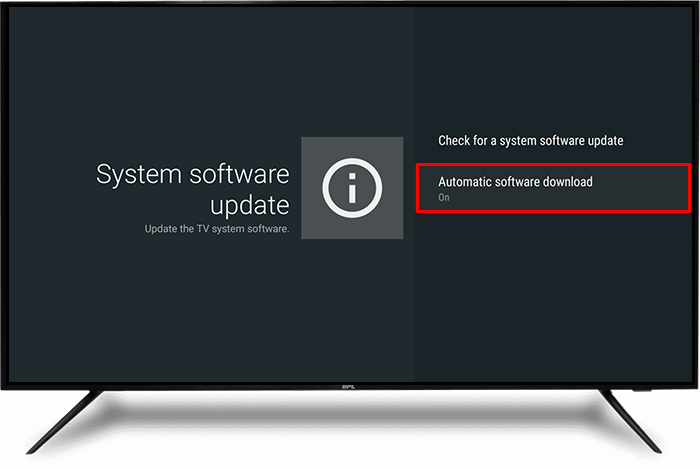
Update the System Software on Your Android TV
If your Android TV system software is outdated, you’ll likely encounter several system malfunctions, including not connecting to the Wi-Fi network. If this is the case, please navigate to settings and check if there are any updates that require installation. Often, Android TVs will perform automatic updates, but this might change if you’ve not been using the TV for a while. In that case, you’ll have to perform the updates manually. Updating the Android TV system software is pretty straightforward:
- Press the “Home” button on your Android TV remote.
- Pick “System software updates.
- Turn on the “Automatically check for updates” toggle button.
- If the toggle button in step 4 is already on, turn on the “Check for a system software update” button to download the available updates manually.


Contact the Support Team
If your Android TV is still not connecting to Wi-Fi after trying the above fixes, please contact the Android TV support team to help you out. They might require you to drop the TV at one of their locations for a physical examination. If the team finds nothing wrong with the TV’s internet access system, please contact your ISP to check for any issues with your router or Wi-Fi settings.
Keep the Fun Going
Your Android TV not connecting to Wi-Fi is downright frustrating. But in many cases, the issue is can be resolved by restarting the router and the TV. If that doesn’t work, other fixes like checking the strength of the Wi-Fi signal, performing software updates, adjusting the frequency settings, etc., should resolve the problem. If all the fixes fail, please contact the support team for the respective devices and request help with the problem.
Have you ever encountered problems connecting your Android TV to Wi-Fi? How did you resolve the problem? Please share your experience with us in the comments section below.
Disclaimer: Some pages on this site may include an affiliate link. This does not effect our editorial in any way.


