Many remote-working teams rely on Zoom’s meeting recording to revisit important discussions and ensure the company’s goals are aligned across all employees. For this reason, automatic recording is an important feature that ensures you don’t accidentally forget to press the recording button and lose all that valuable information.
Fortunately, you can automatically record meetings on Zoom. This article will review all the different methods to ensure that your Zoom meeting is seamless.
Enable Automatic Recording Locally and On Cloud
Zoom facilitates automatic local and cloud recordings. Local recording is available to free users and paid subscribers, but free users can only record and save files to their PC, laptop, or Mac. The recording can capture the meeting’s video and audio, participants’ names, timestamps, and other elements the person recording can see.
On the other hand, paid subscribers (Pro, Business, and Education accounts) can record the meetings and webinars using the Zoom app on their Android or iOS devices and save them to the cloud. In addition, they can record the active speaker, gallery view, shared screen, and use audio transcription and other cloud recording options.
For All Account Users
Zoom lets you add multiple users to your Zoom account and assign them different roles (owner, admin, or member). That said, you can only allow automatic recording to all users of an account if you’re an admin with the ability to edit account settings.
To do so, follow these steps:
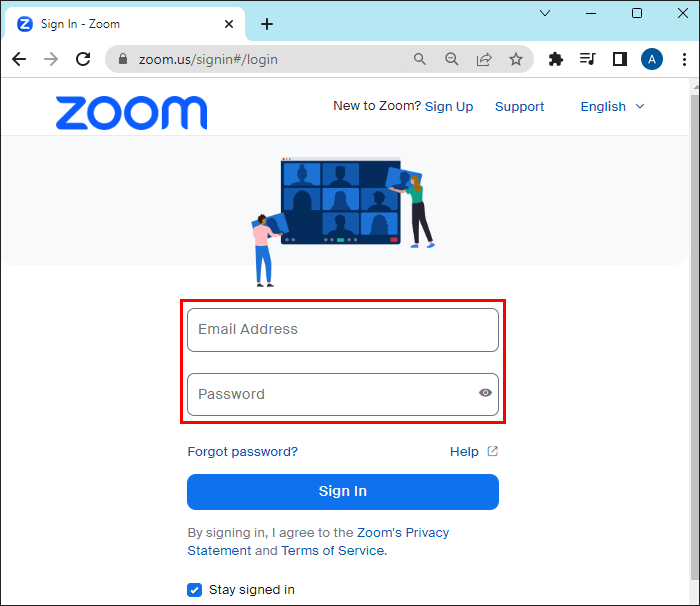
- Sign in to your account on Zoom’s web portal.
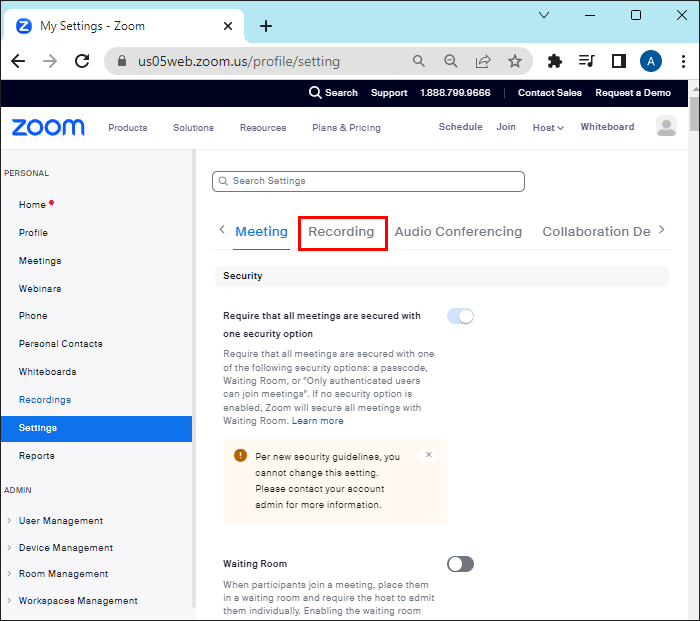
- Under the navigation menu, select “Settings.”

- Click on the “Recording” section.
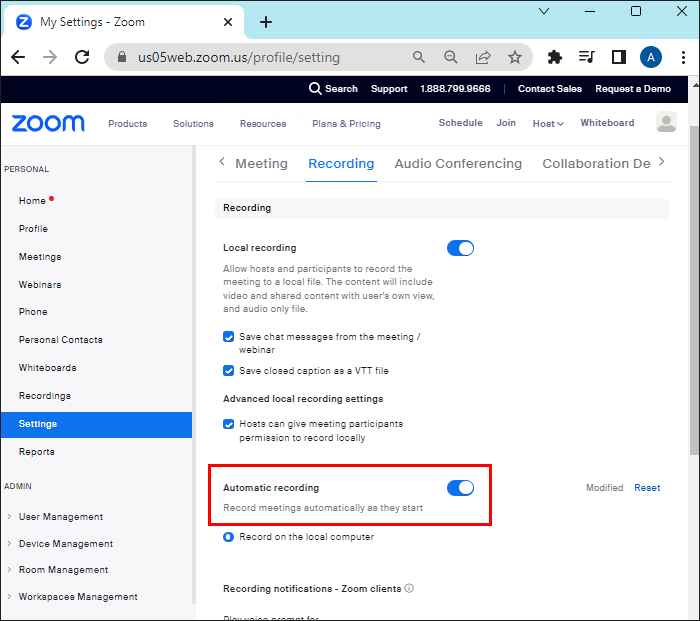
- Tap the moveable knob next to the “Automatic Recording” to enable the setting.
- Confirm the pop-up verification by selecting “Enable.”
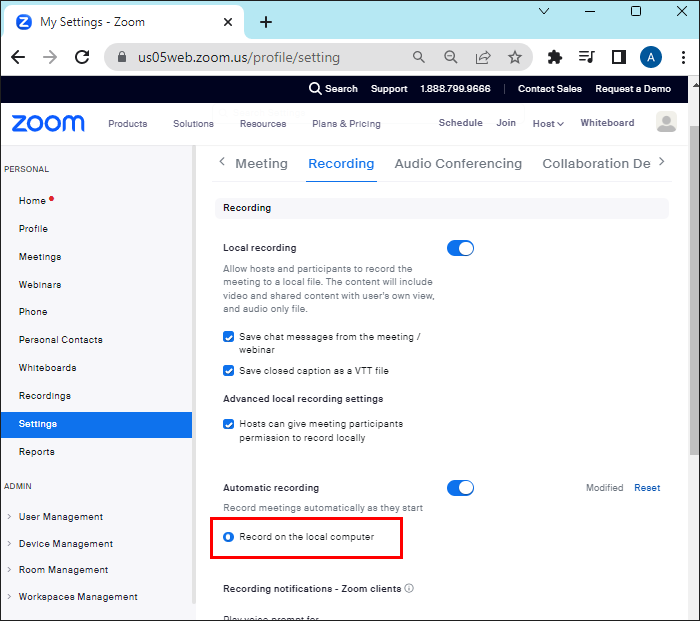
- Depending on your subscription, you can choose to “Record in the cloud” or “Record on the local computer.” Make sure to enable “Host can pause/stop the auto recording in the cloud” if you opt for cloud recording.


Note: For cloud recordings, there’s a 150-file limit per live session. You create a new file by stopping and starting a new recording, not by pausing. Plus, cloud recordings usually take double the amount of recorded time to process a recording.
For Group Users
You can also enable the automatic recording of a group of users. Here’s how you do it:
- Sign in to your account on Zoom’s web portal.
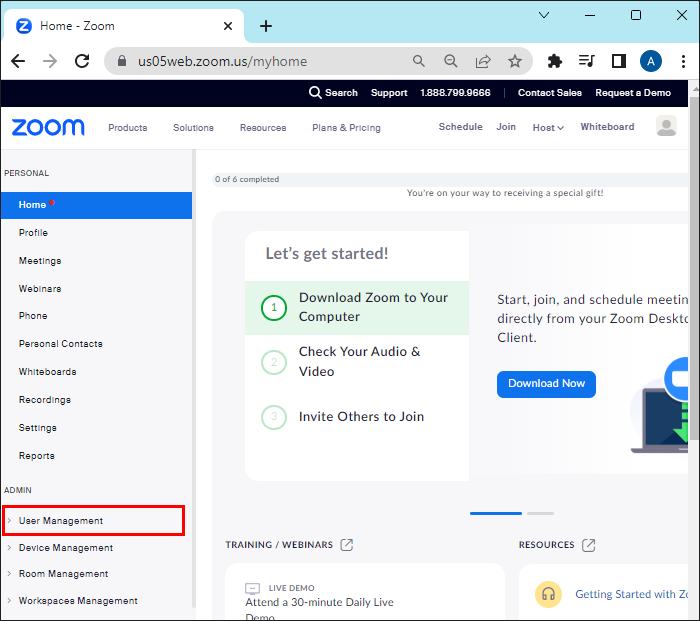
- Click “User Management” in the navigation menu.
- Tap “Groups.”
- Select the name of the group you wish to allow automatic recording to.
- Go to “Recording.”
- Enable “Automatic recording” by tapping the moveable knob.
- Confirm the change by clicking “Enable” if a pop-up verification appears.
- Choose between “Record on the local computer” and “Record in the cloud.” Make sure to enable “Host can pause/stop the auto recording in the cloud” if you opt for cloud recording.
- Confirm your choices by tapping “Save.”

Note: If you wish to be the only one who can change these settings, you can click the lock icon and then “Lock.”
For Yourself
If you want to automatically record meetings or webinars only for yourself, simply follow these steps:
- Sign in to your account on Zoom’s web portal.
- Tap on “Settings” in the navigation menu.
- Go to “Recording.”
- Enable “Automatic recording” by tapping the moveable knob.
- Enable the setting in the pop-up menu.
Note: If the option is in grey, it means that your admin has locked the option for your group or account. To enable it, you’ll have to contact your Zoom admin.
- Choose between “Record on the local computer” and “Record in the cloud.” Make sure to enable “Host can pause/stop the auto recording in the cloud” if you opt for cloud recording..
Note: The new setting will apply only to your future meetings. If you want to enable this setting to already scheduled meetings and meetings under your Personal Meeting ID, you’ll have to turn on the automatic recording manually for each meeting.
For Individual Meetings
To enable automatic recording for a particular meeting, follow these steps:
- Log into your Zoom account on Zoom’s web portal.
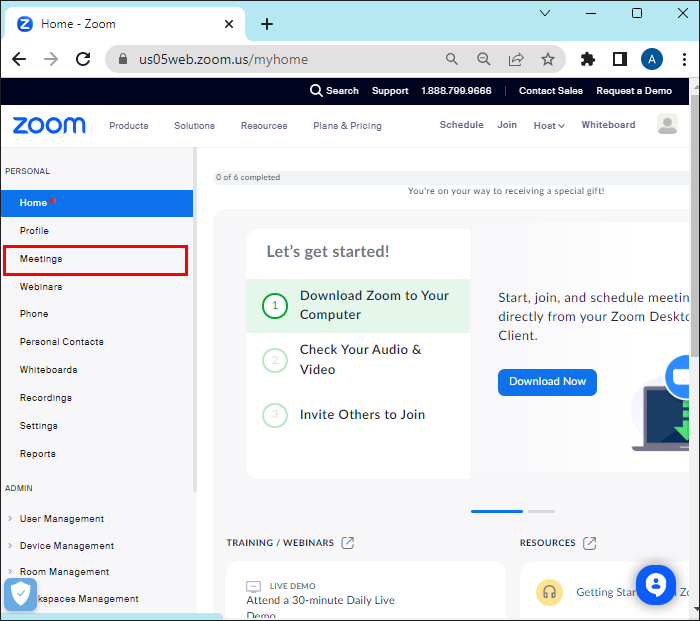
- Go to “Meetings” in the navigation menu.
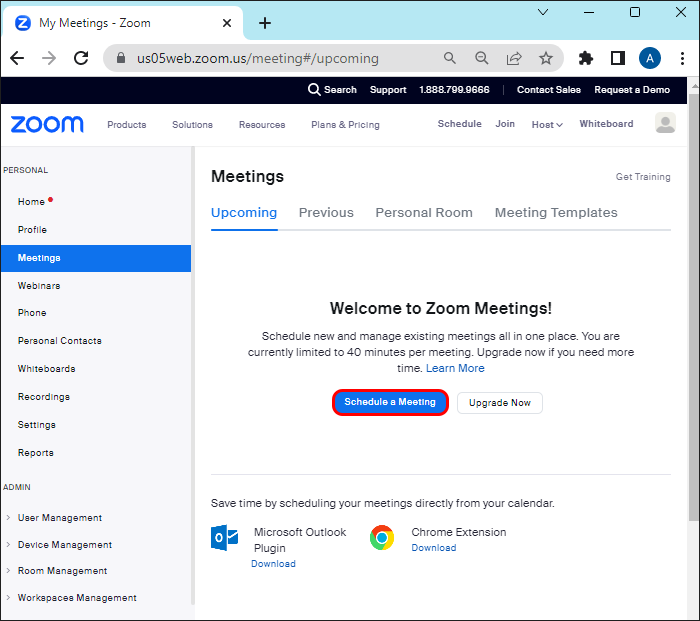
- Select “Meeting” under the “Upcoming” section. You can also click “Schedule a Meeting.”
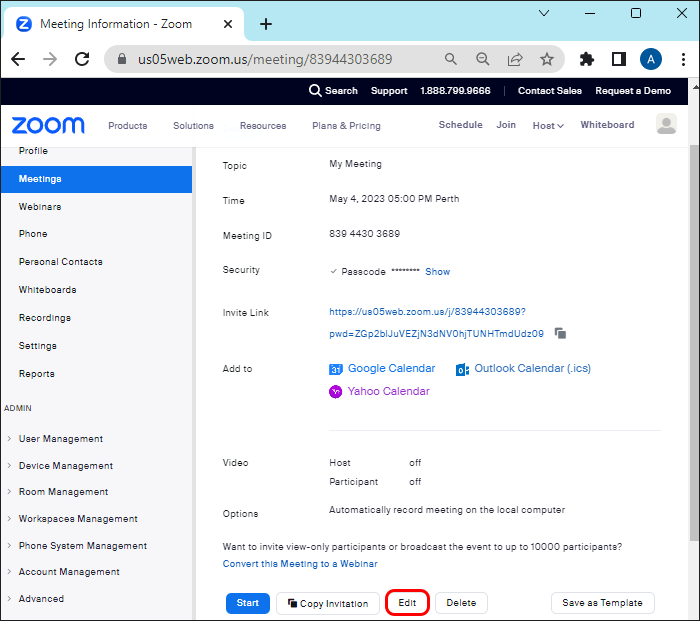
- If you choose the first option, click “Edit” next.
- Find “Options” and tap the check box next to “Automatically record meeting.”
- Here, you can choose between saving the recording “On the local computer” or “In the cloud.”

Note: Enabling automatic recording for an individual meeting is available even if the setting hasn’t been enabled by the admin.
Without the Host
The option to automatically record all Zoom meetings without the host is only available for cloud recordings. To record a meeting in the cloud without the host, enable automatic cloud recording as described above or enable the “Join before host” option before scheduling a meeting.
If you want to record locally without a host, they will have to grant you permission to do so or set you up as an alternative host.
FAQs
How to disable automatic recording on Zoom
You can stop automatically recording Zoom meetings and webinars by following the steps outlined above.
When does automatic recording start in Zoom?
Automatic cloud recording in Zoom will start when the host joins the meeting. The host can also start automatic cloud recording by using “Allow participants to join anytime,” which allows participants to join the meeting or webinar before the host. For local recording, the Zoom meeting will only start being recorded once the host joins.
Can you share Zoom recordings?
You can share local Zoom recordings by uploading them to Dropbox, Google Drive, or other third-party storage platforms. As for the cloud recordings, you can share them by sending the link to other users. You can set a password to limit access to the link, share it with everyone or only with specific people, set an expiration date, and allow others to edit, download, or see the transcript of the video/audio if there is one.
Can others see that I’m recording a Zoom meeting?
Zoom always informs all participants that a meeting or webinar is being recorded. For desktop users, this will be shown in the form of a disclaimer asking whether you want to continue to a meeting that’s being recorded or leave. For mobile users, there will be a sound at the beginning indicating that the meeting is being recorded or a consent disclaimer asking them to press “1” if they want to join a recorded meeting.
Streamline Your Zoom Meetings With Automatic Recording
Automatically recording all your Zoom meetings and webinars saves you the time and effort of enabling the setting before every meeting. By following the instructions in this article, you’ll have one less item on your to-do list and won’t have to worry about forgetting to press the recording button before your meeting starts.
Have you already recorded a Zoom meeting? Did you follow the steps from this article to enable the automatic recording setting? Tell us in the comments section below.
Disclaimer: Some pages on this site may include an affiliate link. This does not effect our editorial in any way.