It’s essential to know how to back up your Windows 11 computer. If something goes wrong, the last thing you want is to lose all your data. With regular backups, your most recent files and settings are preserved, thus giving you the option to restore to the previous state.
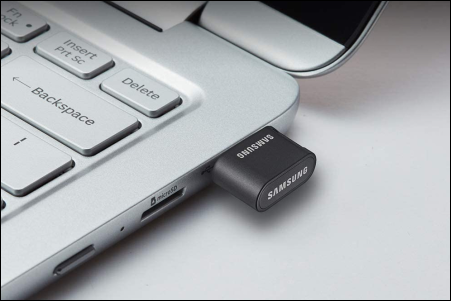
A hassle-free way to back up your data is to use an external hard drive. Using the Windows 11 UI, you can back up your entire internal hard drive or just your files. Read on to learn more.
Backing Up Externally
The two different ways you can back up your Windows 11 computer to an external drive is by performing an image backup or file backup:
- An image backup creates an individual .ISO file for all your files, folders, applications, and Windows settings. It is a snapshot of everything on your hard drive in one file.
- A file backup makes a backup of selected files and folders instead of backing up the entire system.
Before performing any backup to your external hard drive, you’ll need to ensure it’s formatted correctly.
Format or Reformat Your External Hard Drive
Your external hard drive may need to be formatted if it is brand new or reformatted if it was used previously on a different device. It is recommended to clear all the data, then apply a file system so Windows 11 can read and write data to it.
Windows 11 offers several ways to format your external hard drive. We’ll go with the “Settings” method. Follow these steps to format/reformat your external hard drive:
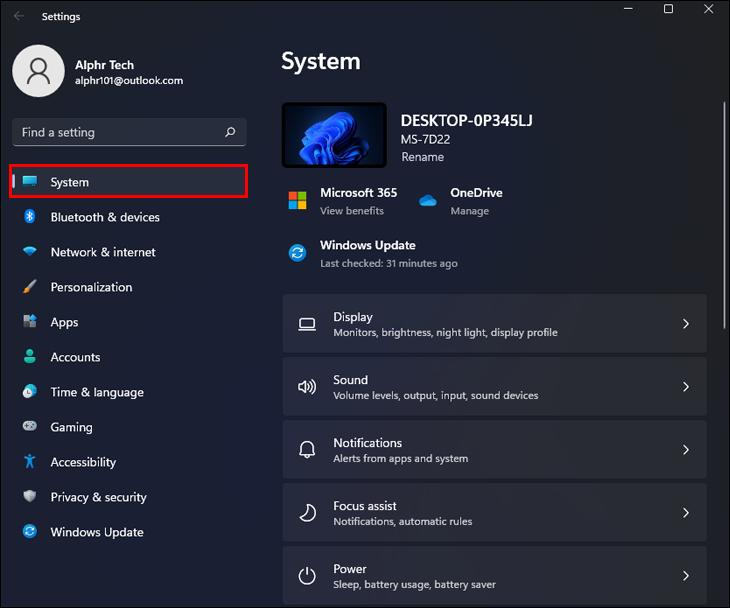
- Open the “Settings app and choose “System.”
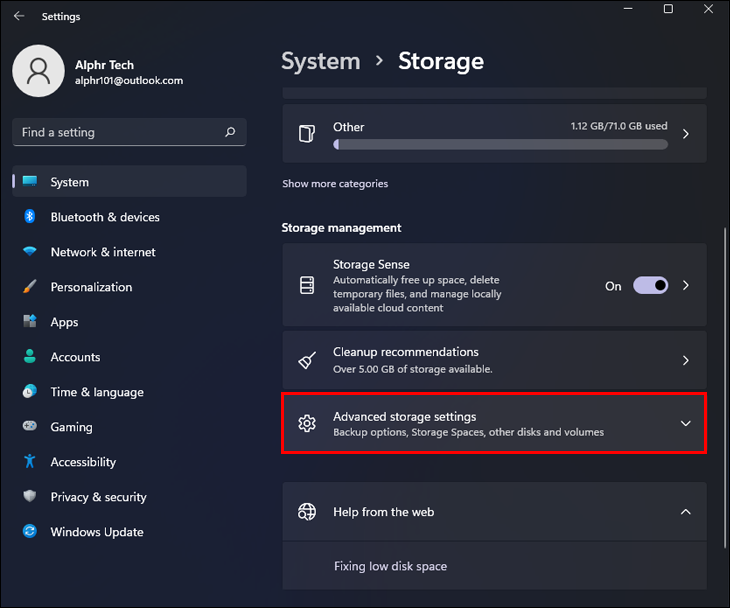
- Choose the “Storage” page on the right.

- Select “Advanced storage settings.”
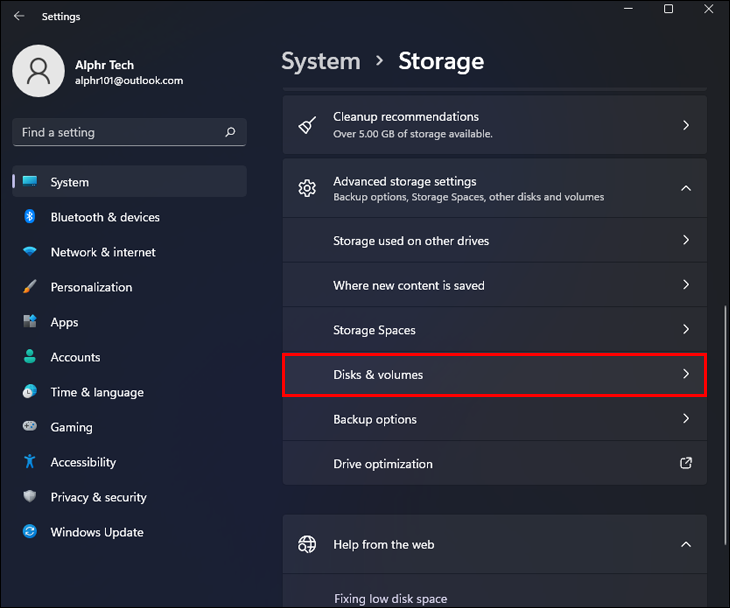
- Choose the “Disks & volumes” setting.
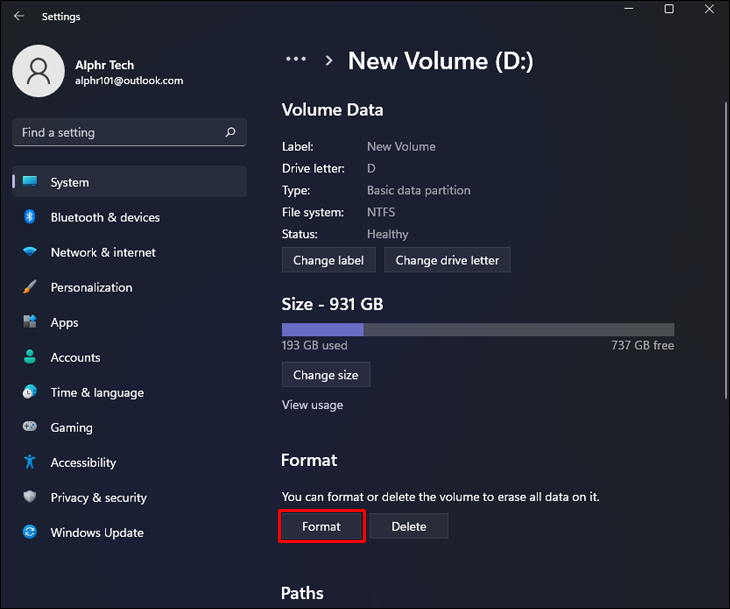
- Click on your external hard drive, then choose “Properties.”
- Select “Format.”
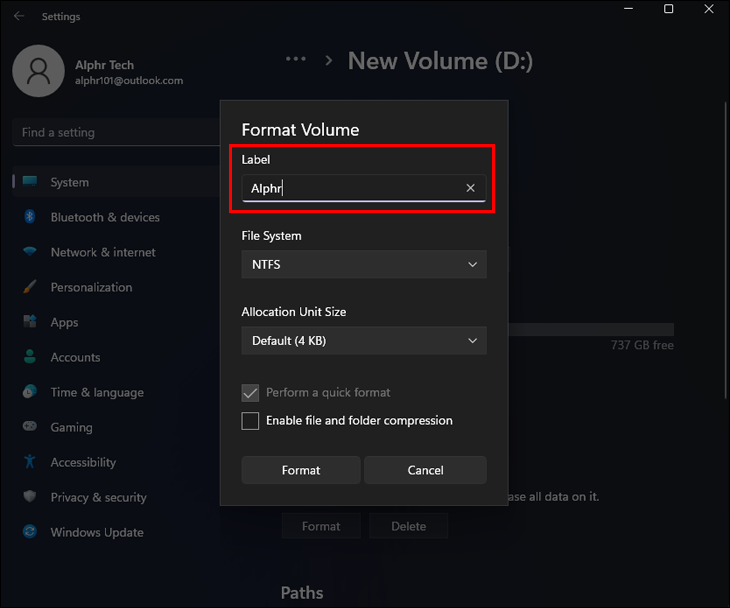
- In the “Label” field, enter a name for your drive.
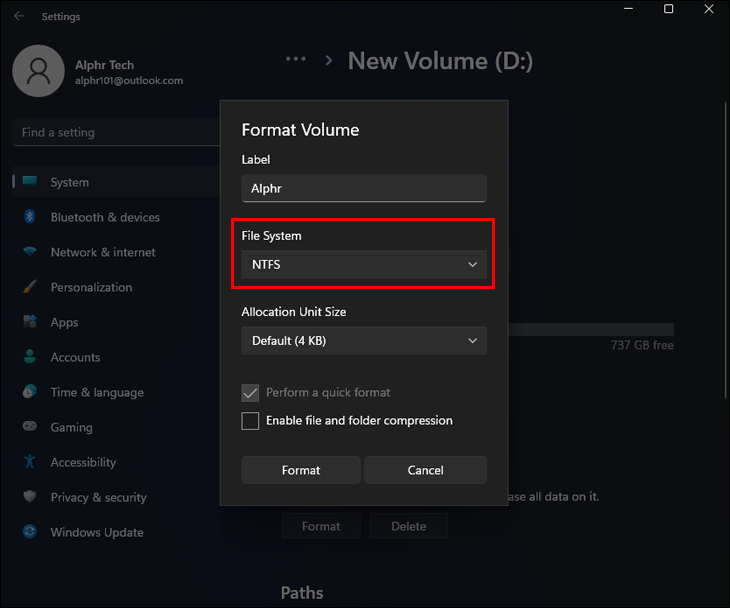
- Select the “NTFS” option as the “File System.” This option is recommended for exclusive Windows use.
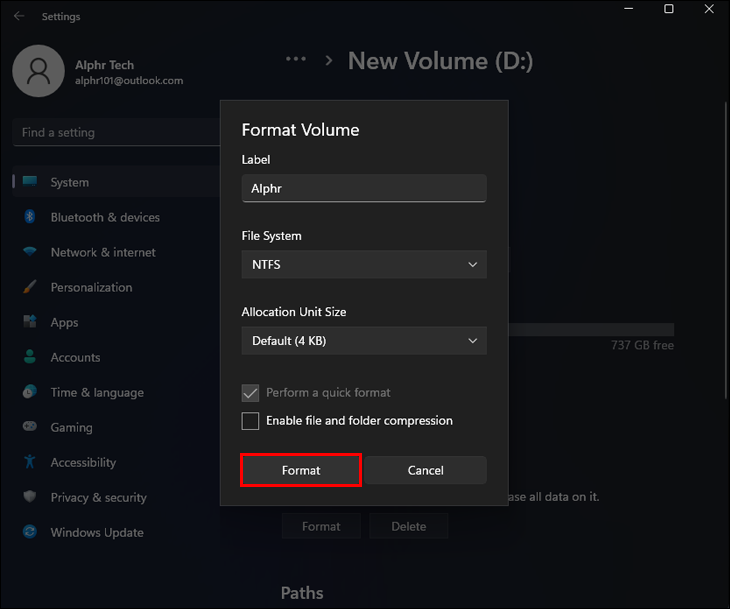
- Click “Format.”


Your external drive is now formatted and ready for an image or file backup.
Image Backup
The “Backup and Restore” feature lets you create a complete system backup. Follow these steps to create a snapshot of everything presently on your internal hard drive:
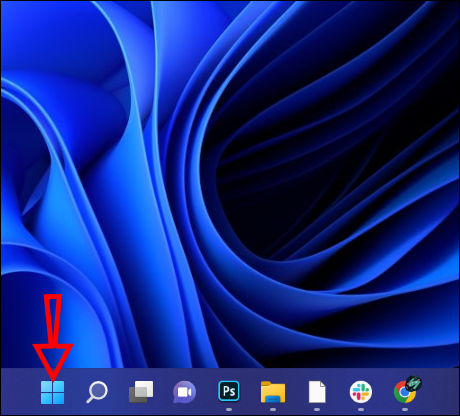
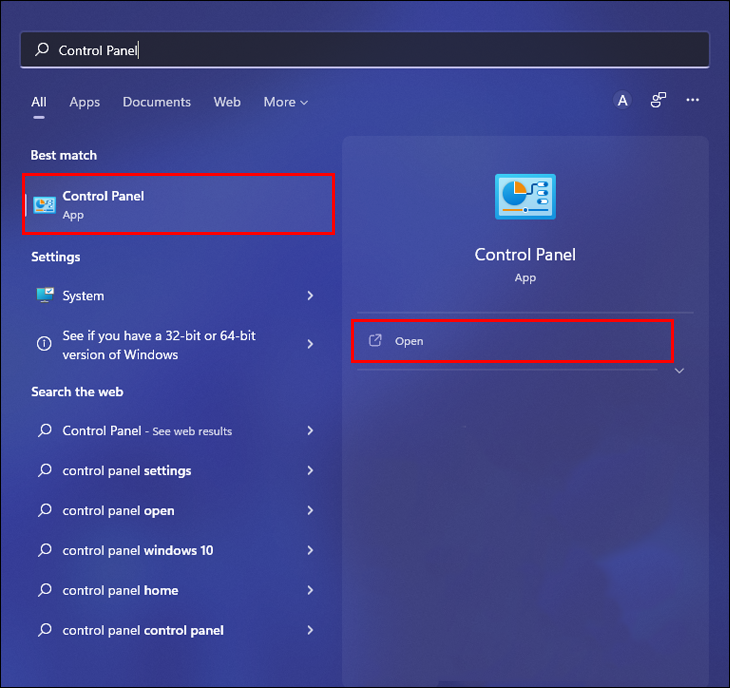
- Launch “Start.”
- Enter a search for the “Control Panel” and click on the relevant result to open the app.
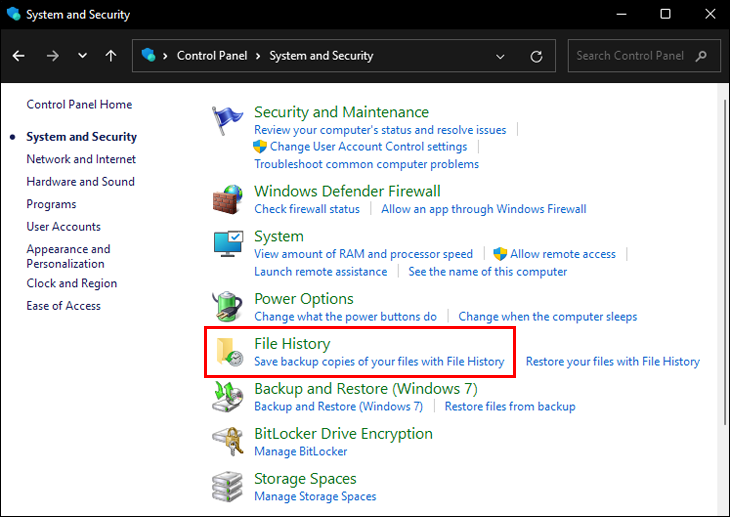
- Select “System and Security,” then choose “File History.”
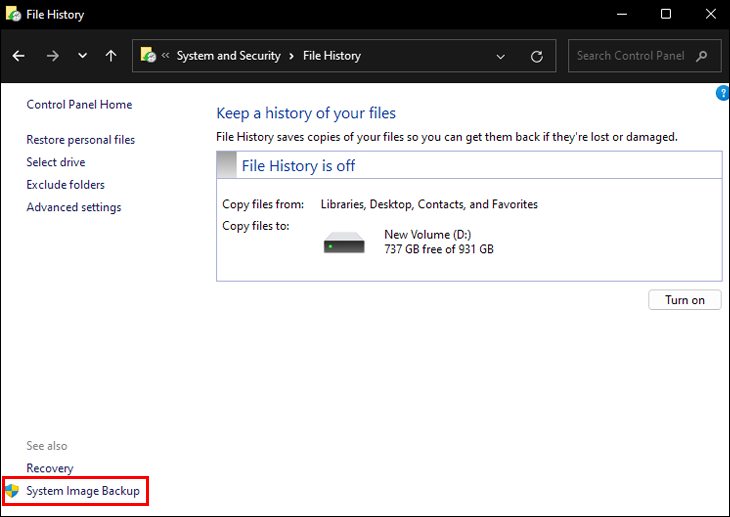
- At the bottom-left, select the “System Image Backup” option.
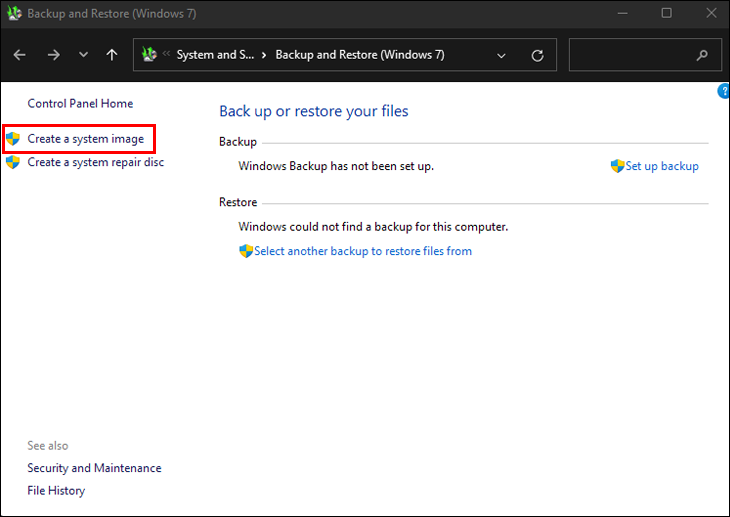
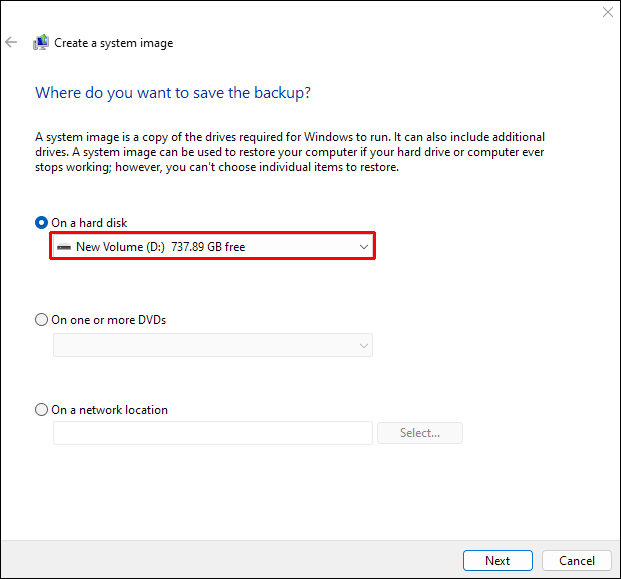
- From the left navigation pane, choose “Create a system image.”
- Choose the option “On a hard disk.”
- Use the pull-down menu to select the “Windows 11 full backup destination” option.
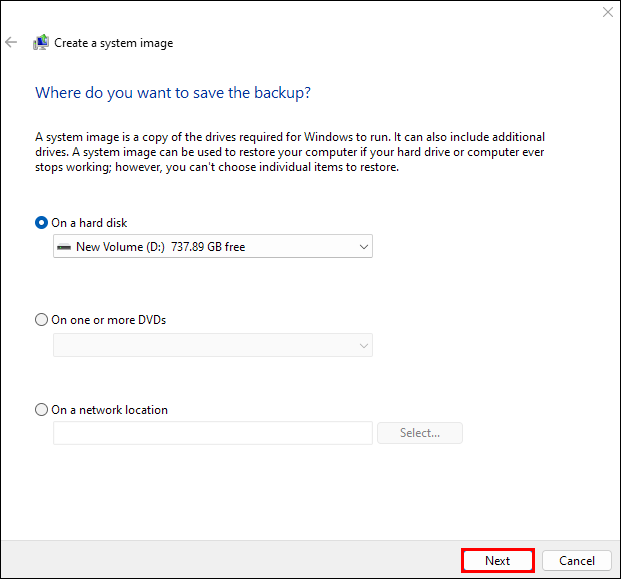
- Click “Next” and select the additional drives you want to be backed up (if any).
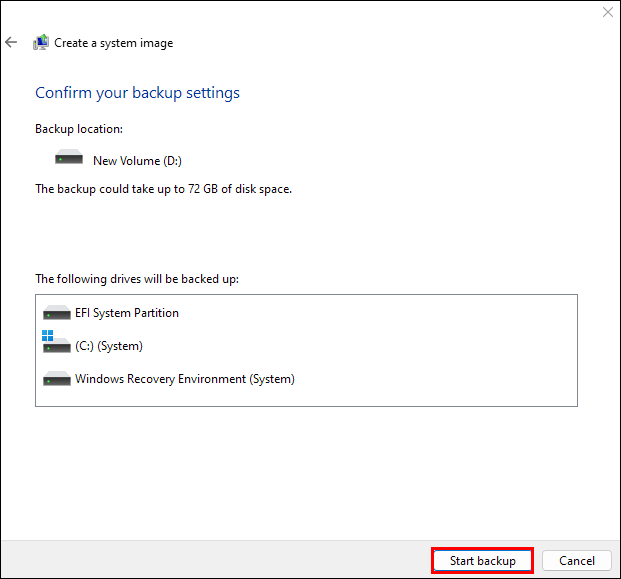
- Press “Next” again, then the “Start backup” button.
- You can say “No” to the prompt to create a system repair disc, as you can use this backup if you need to roll back to a previous installation.
- Click “Close.”

You’ll now have a backup of everything on your main hard drive and any other selected drives.
File Backup
You could use the “File History” feature or manual transfer depending on whether you want all files and folders backed up or a selection. Next, we’ll go through the steps for both.
Backup Files With File History
“File History” can regularly backup all your files and folders, and you’ll have multiple backup copies over time. You can restore any lost, damaged, or accidentally deleted files from “File History.”
For regular data backups and to create a backup now to save to your external drive, follow these steps:
- Connect the external hard drive to your computer.
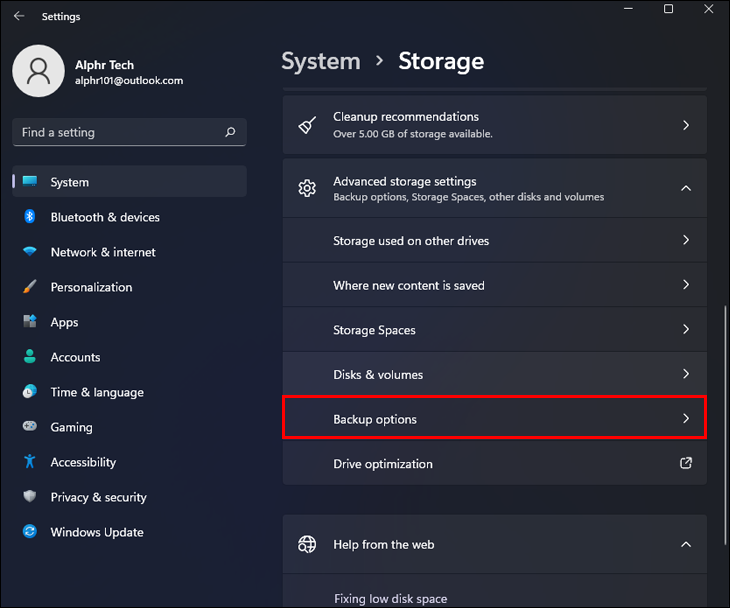
- Open “System,” “Storage,” “Advanced storage settings,” then “Backup Options.”
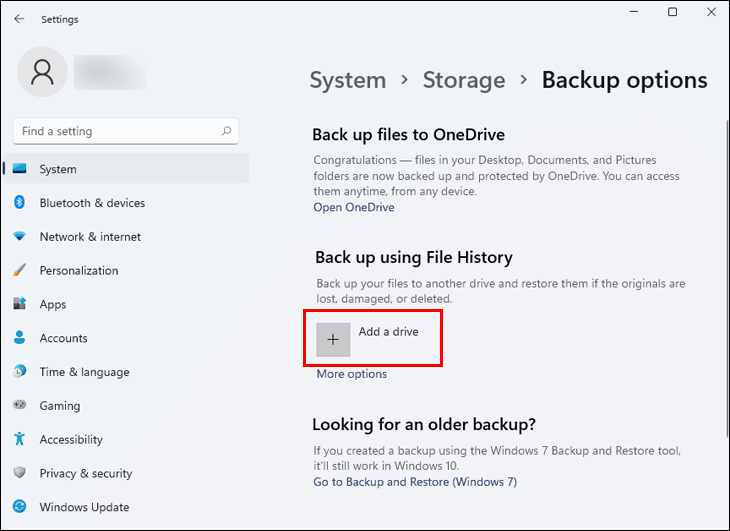
- Beneath “Back up using File History,” click “Add a drive.”
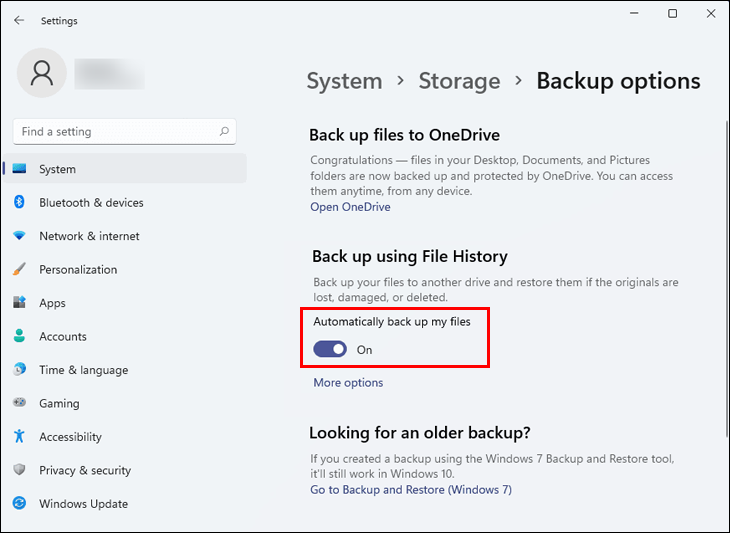
- Enable the “Automatically back up my files” slider option.
- To set up how often “File History” backs up, what it backs up, and how long backups are kept for, choose “More options.”
- Once you’re done, hit “Save and exit.”
- To create a backup of your files now, click “Back up now.”
Back Up Files Manually
When you want to make a backup of a few files and save them to your drive, the best way is through manual transfer. However, this isn’t the method to use if you want to back up a large amount of data, as the transfer may take some time. Follow these steps to back up some files or folders to your external hard drive:
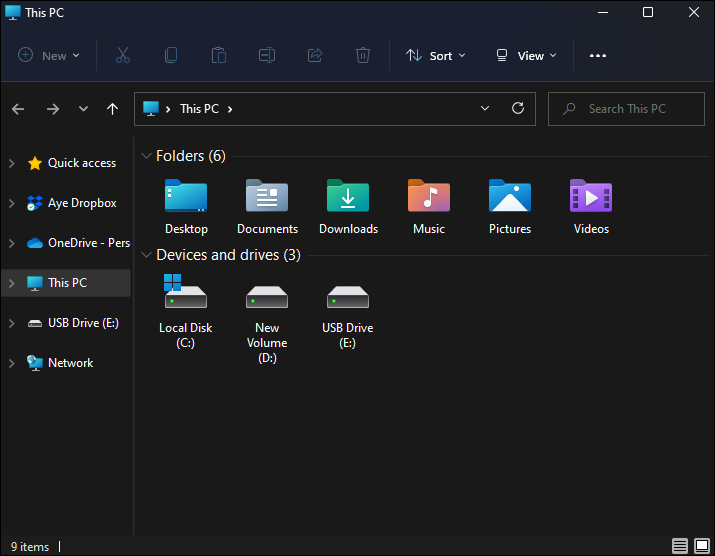
- Connect your external hard drive, then double-click the “This PC” icon.
- In the “Devices and drives” section, find then double-click on your external drive to open it.
- Leave the window open, then use hotkey “Ctrl + N” to launch a “File Explorer” window.
- Go to the folder or file location in the “File Explorer” window.
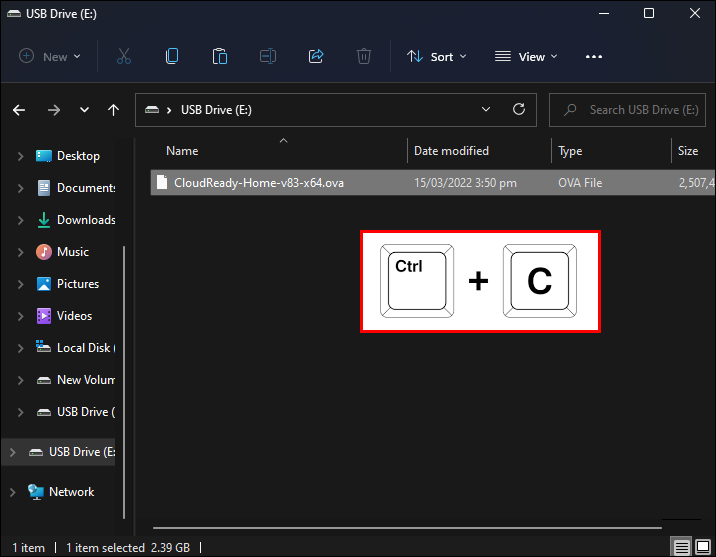
- Select the folders or files you want to back up, then use the hotkey “Ctrl + C” to copy them to your clipboard.
- In the “File Explorer” window, use hotkey “Ctrl + V” to paste the folders and files.
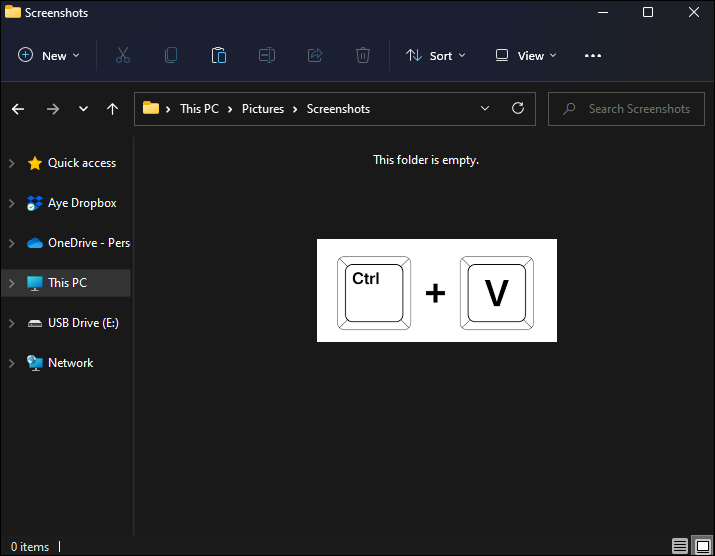
You now have a copy of the files and folders pasted to your external drive.
Additional FAQs
How do I restore a backup from my external hard drive?
You can use “File History” to restore the files saved on your external hard drive. Here’s how:
1. On the taskbar, click on the Windows icon.
2. Enter a search for “File History,” then click on the relevant result.
3. Go to the bottom of the Backup options and choose “Restore files from a current backup.”
4. Find the backup version you want to restore by clicking on the left or right arrows. Alternatively, search for the files using the search box.
5. Once you’ve found it, click the “Restore button” to restore it to the original location. Or click the gear icon and choose “Restore to” to restore to a new location.
How do I access my external hard drive on Windows 11?
There are several troubleshooting methods if your external hard drive is not showing up. First, try connecting to another port or another computer. This will rule out any problems caused by the physical connection between your external drive and your computer.
If you can confirm that your device connects fine, try the following:
• Run the “Hardware and Device Troubleshooter” and the “Windows USB Troubleshooter.”
• Create a new partition.
• Reinstall or update the device driver.
• Use “Disk Management” to format and enable it.
• Clean the external drive disk and start again.
All Is Not Lost With Regular Backups
Image and file backups are an excellent way to protect your system and personal data. Should something go wrong, regular backups mean you can restore your files and continue with business as usual. In Windows 11, you can take a snapshot of your entire system, including settings, just the files and folders, or selected files and folders only.
What backup method do you prefer using? Tell us about your backup regime in the comments section below.
Disclaimer: Some pages on this site may include an affiliate link. This does not effect our editorial in any way.