Creating the occasional backup is a very good choice for most Note 8 users.
Your phone contains your conversations and contacts. It also stores your reminders, app settings, and downloads. Your gallery may contain artwork you’ve created, or the videos and pictures you’ve taken with the dual OIS camera.
You can set your phone to automatically back up some of your data. But it’s a good idea to set up a schedule and periodically upload everything to a safe location. So where does your backup get stored?
Cloud storage is simple, safe, and increasingly popular. Some people prefer to store everything on a PC or another device. SD cards are another excellent, easy option.
Here is a quick look at the process of creating backups on your Note 8 using a microSD card and Samsung’s Smart Switch function.
Using an SD Card to Create Your Backups
Both the single SIM and the dual SIM models of the Note 8 support microSD cards up to 256GB. However, the memory card has to use a FAT32 or exFAT file system. If you insert a memory card that uses a different file system, you’ll get an error message asking you to reformat your SD card.
You should also keep in mind that some memory cards aren’t compatible with this phone. Once you’ve found an appropriate microSD card, how do you use it to create a backup?
- Insert the Card in the Tray
Your microSD card is inserted next to your nanoSIM card. How do you place your SD card safely into the tray?
First, open the tray using the ejection pin or a paperclip by sliding it carefully into the hole by the tray.
When the tray opens, place the microSD card on the slot. The gold area of your card should face downward. Make sure that the card is placed securely before you close the tray.
Now turn your phone on.
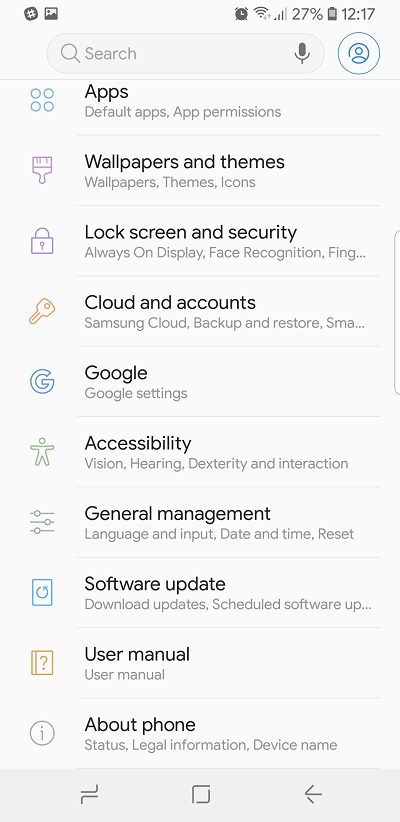
- Go into Settings
- Select Clouds and Accounts
- Tap on Smart Switch
This option makes it extremely easy to transfer content from your device to any other device.
Your main options now are to use a USB cable or a wireless connection. While you can use either of these to create a backup, you don’t need them to access your SD card. So, you should click on the three dots icon on the top of your screen. This will give you more options.
- Select External Storage Transfer

External Storage Transfer brings you to a screen that shows the free space available on your SD card.
- Choose the Contents You Want to Back Up
Your data is sorted by category, such as messages and contacts. Images and music files are there too. Select all the data you want to keep safe.

- Tap on Back Up
It takes a while for your backup to complete.
A Final Word
Unfortunately, SD cards are easy to misplace or damage, so it’s a good idea to create a few different backups of your most vital data. For example, you can also use Smart Switch to transfer your data to a computer, tablet or phone.
Disclaimer: Some pages on this site may include an affiliate link. This does not effect our editorial in any way.


