The Note app can be used for creating plans, to-do lists, and sketches. While simplistic, it boasts an admirable text manipulation suite. Not everyone decides to take the time to make a spreadsheet or format a text because dealing with those additional options can seem time-consuming.
However, making a list into bullet points is straightforward. Here is what you need to know about bullet points for Apple Notes and some advanced tips for all your devices.
How to Make Bullet Points on an iPhone
Making bullet points on an iPhone can be a bit weird if you’re used to Android phones. Apple Note has similar text formatting options, but they are tucked away in the toolbar. Luckily, the steps to create a bulleted list are rather simple:
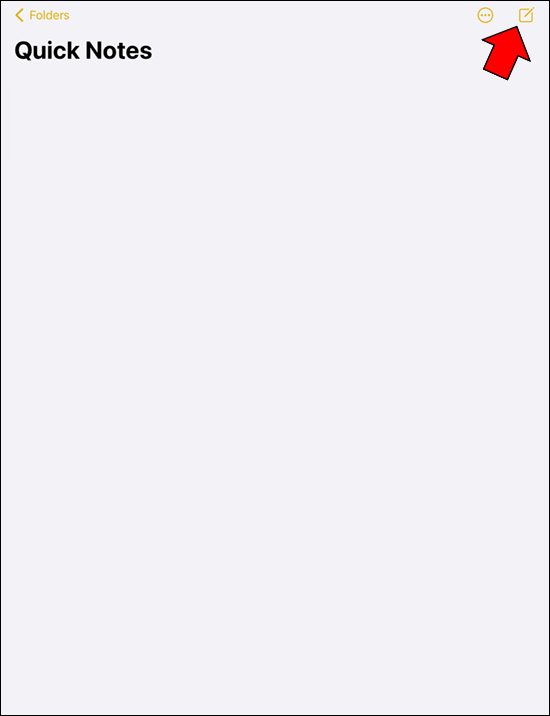
- First, open your Notes app.
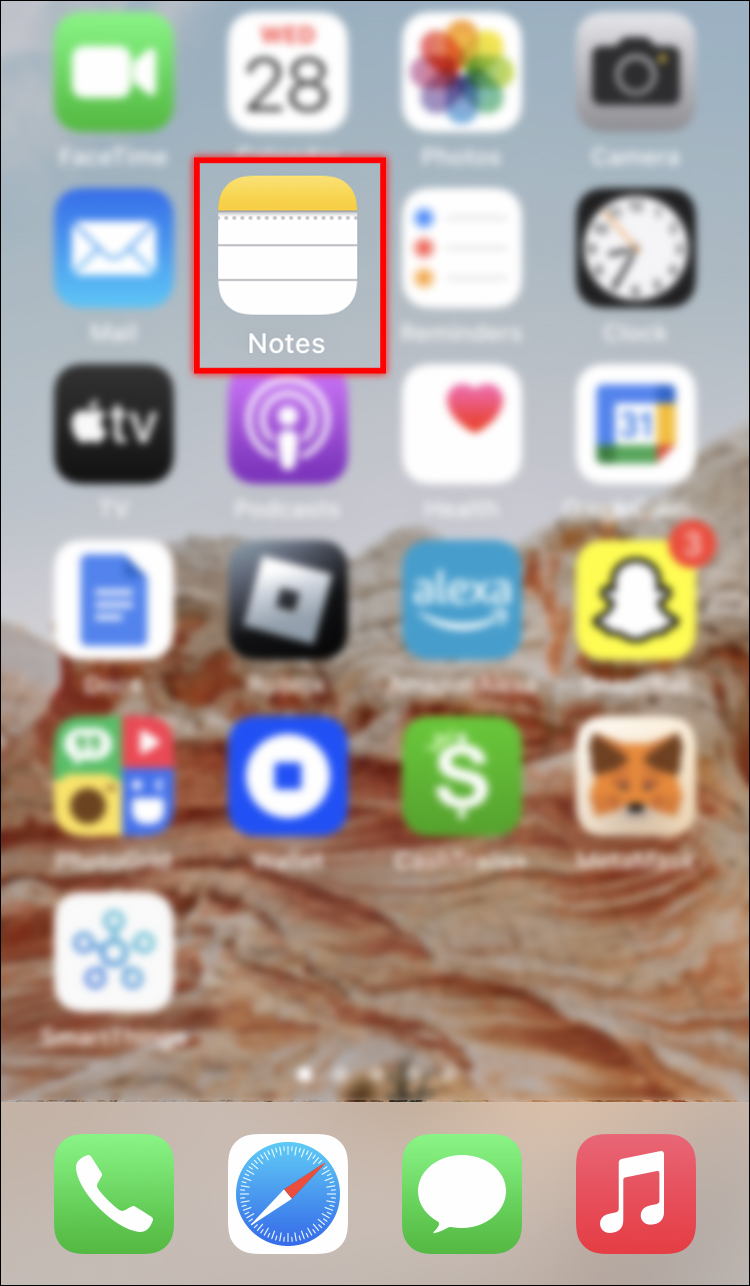
- Tap the icon in the bottom right corner to start writing your note.

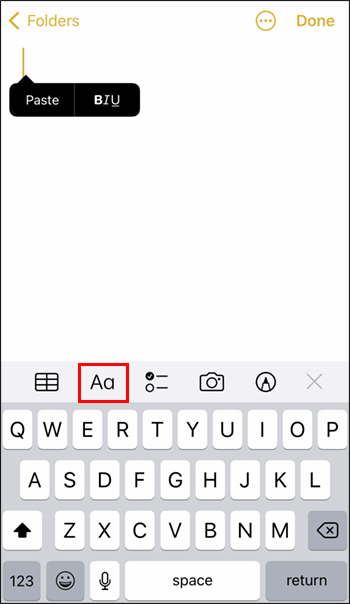
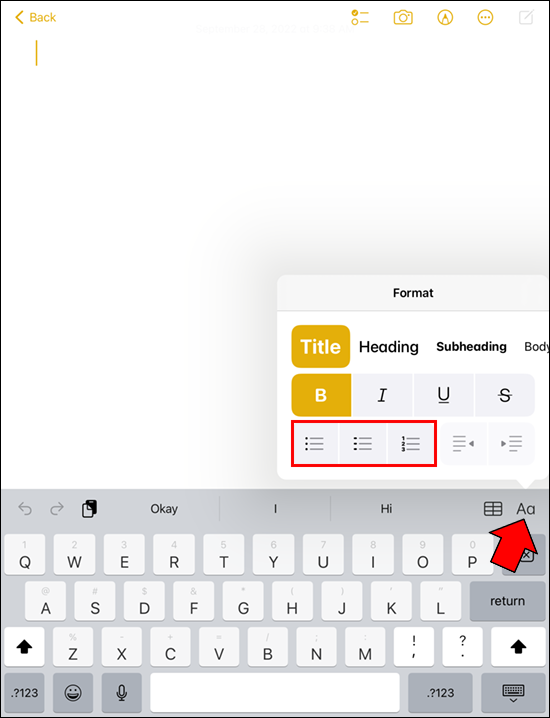
- Press the “Aa” symbol on the toolbar on top of the keyboard. If you don’t see the toolbar, tap on the “+” symbol on the bottom right above the keyboard.
- Choose the bullet list icon from the options. It’s on the bottom left.
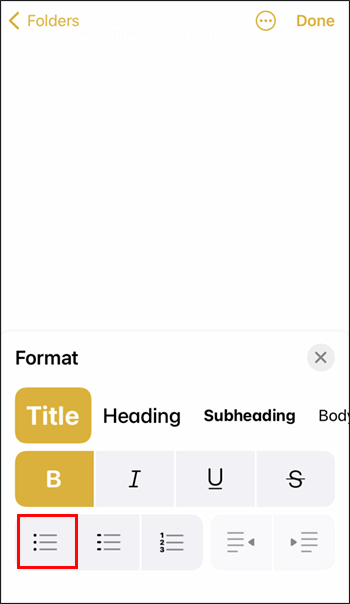
The “Format” button (“Aa”) also holds other options, such as a numbered or hyphenated (dashed) list. Unfortunately, you can’t change the look of the bullet point.
If you want to make a multi-tier list, there are two ways to do it:
- Use the “Format” button and select the indent option, which is on the bottom right.
- Swipe on the row you need to indent back or forth.
When swiping, do it gently, and don’t press and hold before swiping. Otherwise, you’ll move the cursor around or open additional options instead. A multi-tiered list is handy, but we don’t recommend it for comprehensive lists with long item descriptions. The indentations make text awkward to read for subsequent bullet points.
How to Make Bullet Points on a Mac
With a streamlined cross-platform design, Notes for Mac are a great way to carry tasks over to mobile devices. If you remember what you need to buy the next time you go grocery shopping, Notes allows you to save these to your iCloud directly. Bullet points are the most straightforward for list-making, so here’s what you’ll need to do:
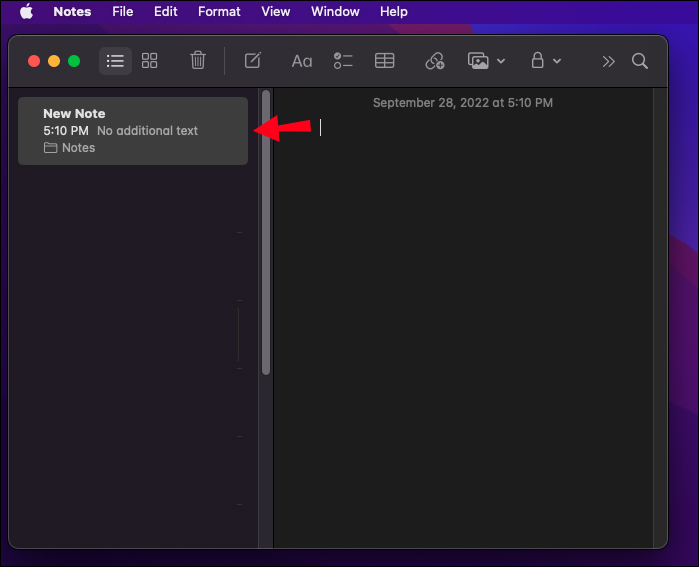
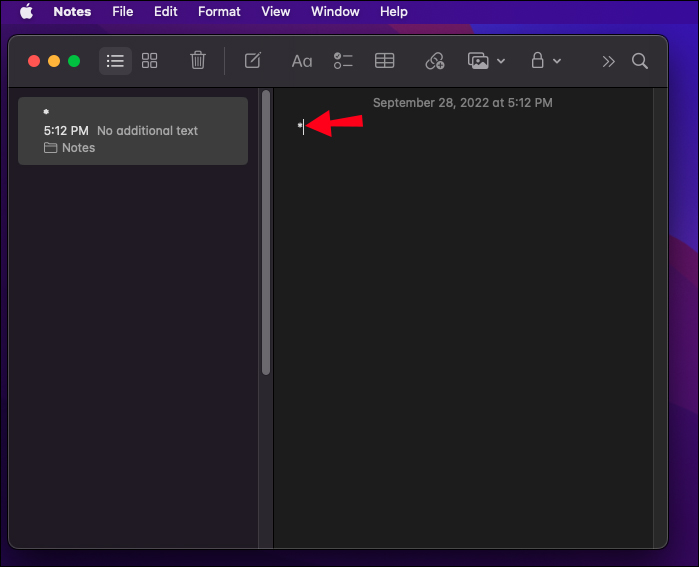
- In the Notes app on your Mac, click a note in the notes list.
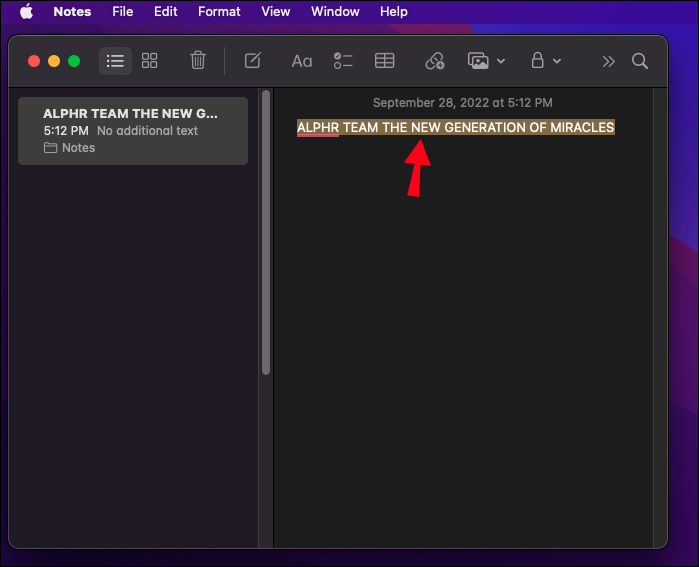
- Type an asterisk followed by a space, then continue with the text. Repeat for each new row.
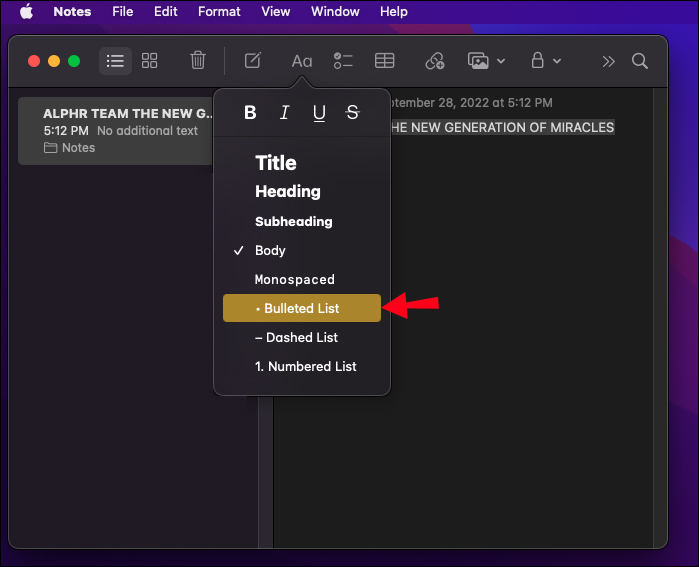
If you already have a note you need to convert into list form, here’s how to do it:
- Open the note in the Notes app.
- Select the text you need to convert.
- Select the Format button (“Aa”).
- Choose the bullet point icon from the list.


When making a multi-tier list, you can select the row you want to indent and press the “Tab” button on your keyboard or use “Shift + Tab” to move back the indentation. This applies only if the text is already in bullet list form.
How to Make Bullet Points on an iPad
Making bullet points on an iPad is the same as on an iPhone. Here are the steps below on how to easily format your text:
- Launch Notes on your iPad.
- Tap the “New Note” button in the upper right corner.
- Tap the “Format” (“Aa”) button, and then choose the list format you would like to use. You can choose from bulleted, hyphenated (dashed), or numbered lists.
If you want to make a multi-tiered bullet list, swipe a row to the right to indent it or to the left to move it back. Alternatively, you can select indentation options in the Formatting tab.
How to Make a Checklist
If you’re using bulleted points to go through daily tasks, to-do lists, or grocery shopping, then a checklist might be more effective. A checklist essentially creates a bullet point you can mark off, but the formatting is slightly different.
Here is how to make a checklist row on an iPad:
- Open the Notes app and create a new note or open an existing one.
- Open the toolbar by pressing “+” if it’s not already above the keyboard.
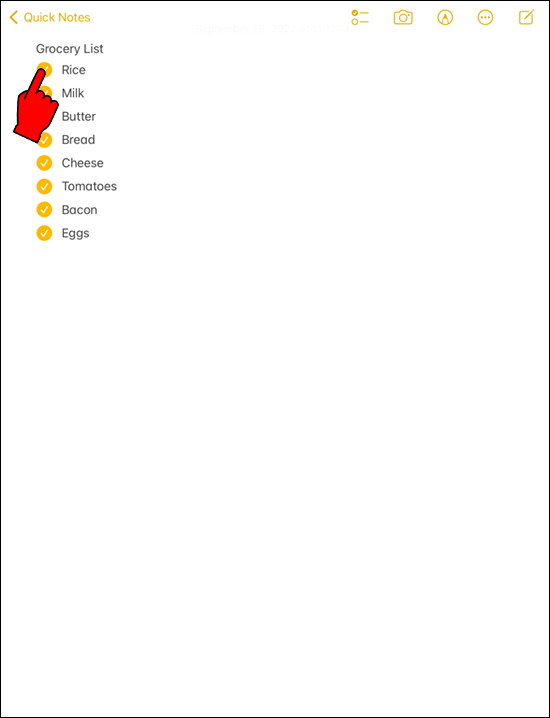
- Tap the “Checklist” button to start the list. It has two lines, one with a small checkmark and the other with a blank circle.

If you use a checklist in a new note, pressing Return (commonly the “Enter” key) will continue with a new checklist in the next row. Pressing Return on an empty checklist row will revert it to a regular row.
Once you’ve made your list, you can tap the empty circle to check the item off your list. The first time you mark a checklist item as complete, your device will notify you whether you want to automatically delete checkmarked (or ticked) items. If you choose yes, you can revert this in settings. It might be best not to enable that option, since there’s an easy way to manually achieve that. Here’s what you need to.
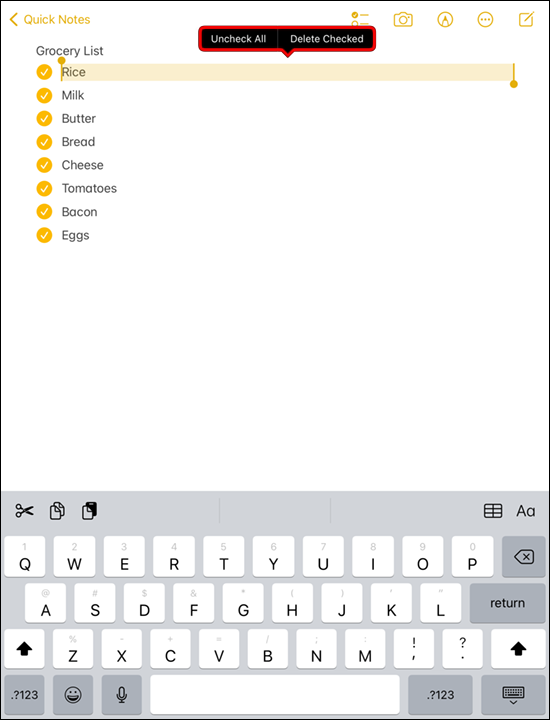
- Long press on a checkmarked item.
- In the menu above the cursor, press the right arrow until you see “Checklist,” then select that option.
- Press on “Delete Checked” to remove all rows marked with a check. You can also “Uncheck All” to revert your checklist items to empty.

Additional FAQ
Device Links
lass="tj-custom-question">How to remove a bullet from notes?
If you already have a note with a bullet point list, you might need to revert it to regular text. Unfortunately, you can’t simply press the bullet point option to revert text. The process is relatively easy, albeit slightly unintuitive:
1. Open the note and select the row you want to revert. Alternatively, select the entire text.
2. Press on the “Format” (“Aa”) button in the toolbar.
3. Select “Body.”
Fast Like a Bullet
Formatting text in Apple Notes is essentially very quick. However, there is a sea of possibilities to choose from – from drawing, scanning documents, making lists, to comprehensive tables – which is why a simple option such as making bullet points can seem impossible to find. Bullet points are easy to make to sort out your to-do or shopping list and you can customize them decently well to make your experience better.
Do you have any other Notes tips and tricks? Share them in the comment section below.
Disclaimer: Some pages on this site may include an affiliate link. This does not effect our editorial in any way.