
Visual Studio Code is a handy tool in its own right, but sometimes you might need a little extra assistance from an integrated source, like Claude. Though the app does go a long way to making this integration easy, you may still encounter a few different errors. This article is here to help you make VS Code with Claude work.
VS Code with Claude – Making Things Work
If you can’t run Claude from VS Code, we’ve got a few troubleshooters below for you to try. Let’s get started:
Check Your Claude Integration
First, you need to ensure that VS Code and Claude are talking to each other properly. Claude integrates through the “Claude Code” extension. To install this:
Step 1. Open the Extensions view by clicking (Ctrl + Shift + X).
Step 2. Type “Claude Code” into the Search and choose the extension for you.
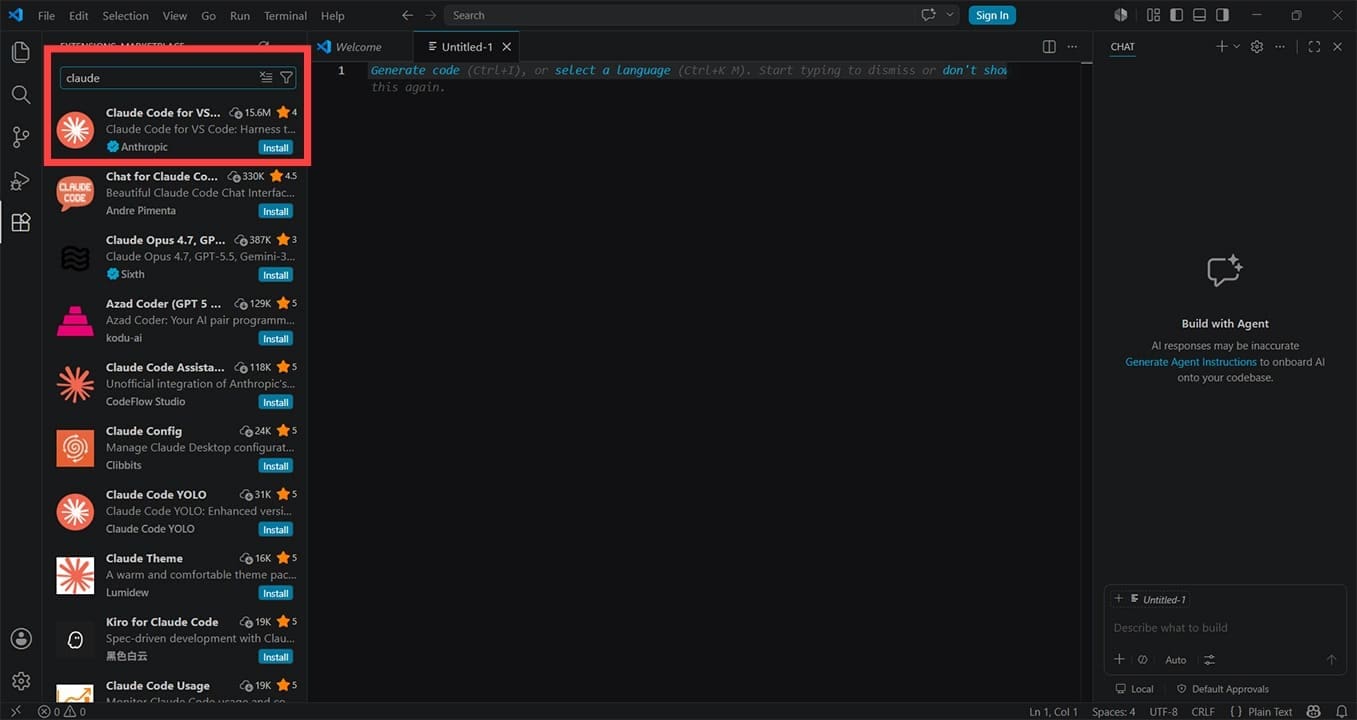
Step 3. Click the “Install” button.
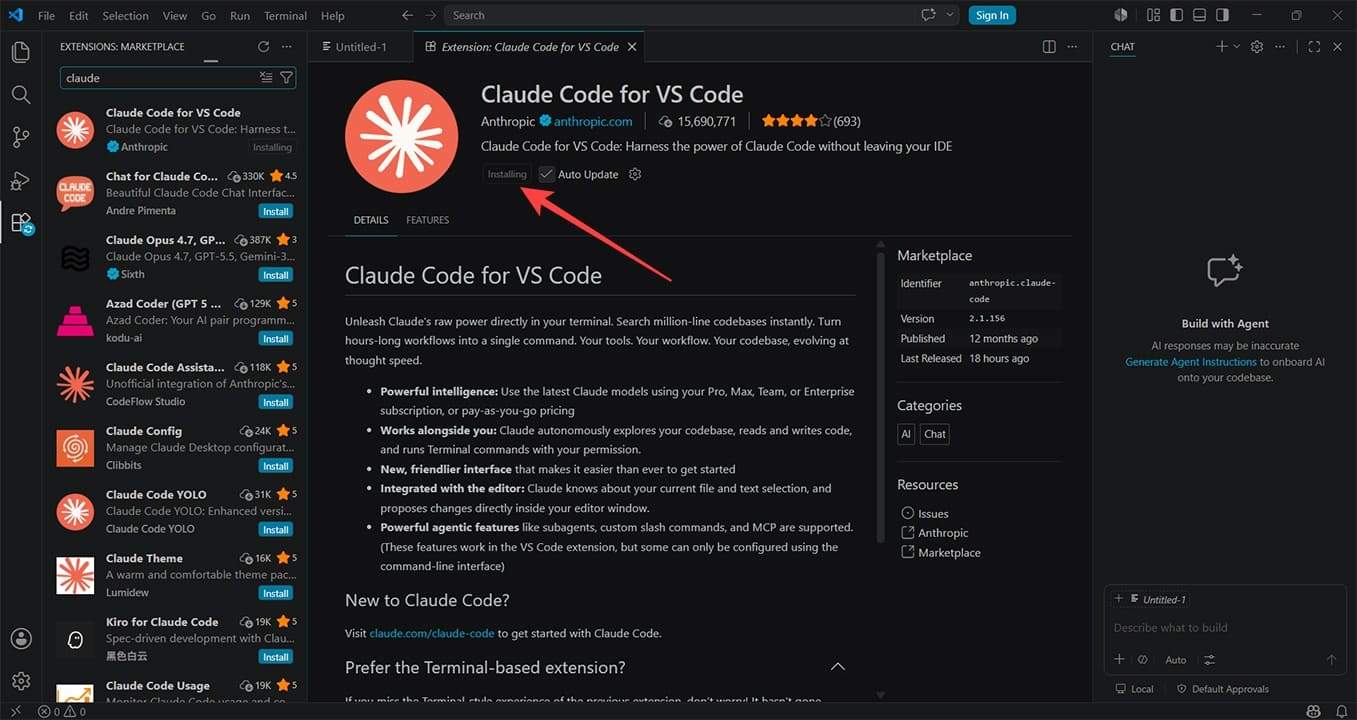
Step 4. If you already have an extension installed and it isn’t working, you can try removing it and reinstalling it to see if this resolves the error.
Choose Your Use
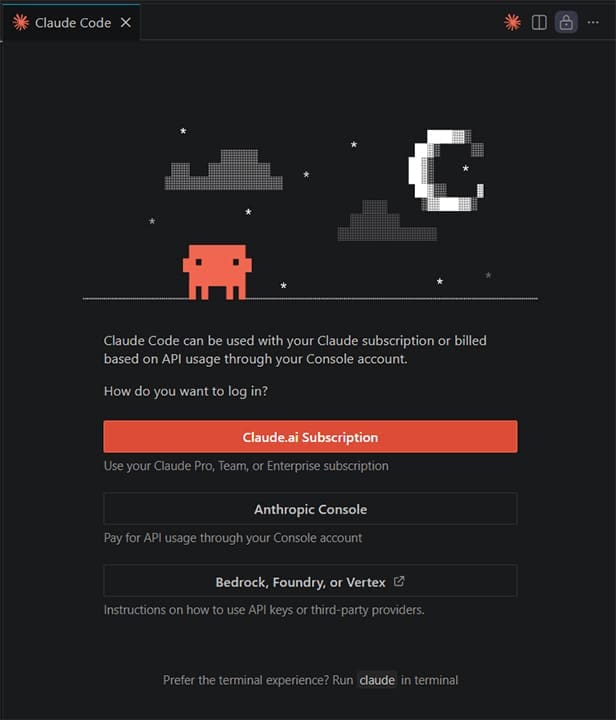
Claude can be used in VS Code with an active subscription to Pro, Max, Team, or Enterprise, or through a Console account. Third-party providers – Amazon Bedrock, Google Vertex AI, and Microsoft Foundry – are also supported. If you can’t use Claude, ensure that you are either logged in to the Claude window or have an API key or provider configured.
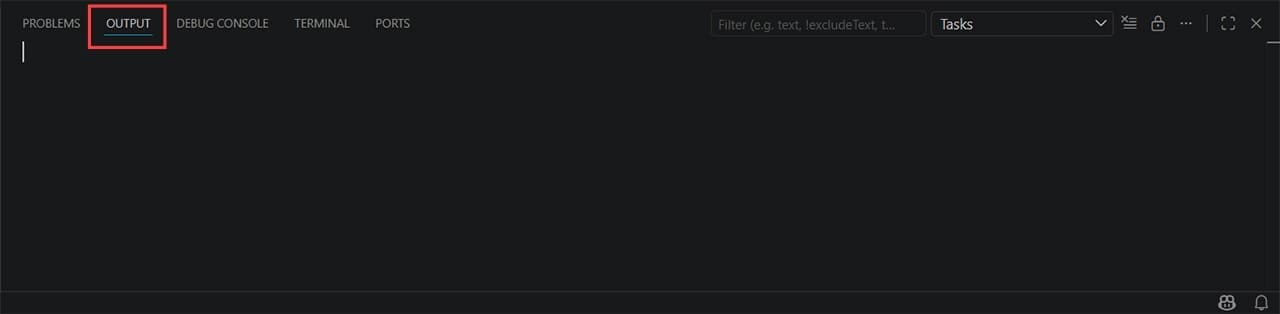
Error Search With Output
VS Code also has built-in methods to help you check for errors. It could help with troubleshooting Claude. Here’s what to do:
Step 1. Open VS Code’s integrated terminal (Ctrl+` on Windows/Linux).
Step 2. Type “claude doctor” and press “Enter.” This checks your installation and configuration and reports any problems it finds.
Check Node.js Version
For Claude to stay functional in VS Code, the Claude CLI requires a Node.js version of 18 or higher. To check that it’s installed, do the following:
Step 1. In Windows, open the Run dialog (Win + R) and type “cmd” before clicking (Ctrl + Shift + Enter) to run as Admin.
Step 2. In Command Prompt, type “node -v” and press “Enter.”

Step 3. If this command isn’t recognized and you used the npm installation method, you’ll need to install Node.js.
To install or update Node.js dependency, do the following:
Step 1. Visit the Node site to download the latest version.
Step 2. Once the installer has downloaded, double-click it and run through the steps.
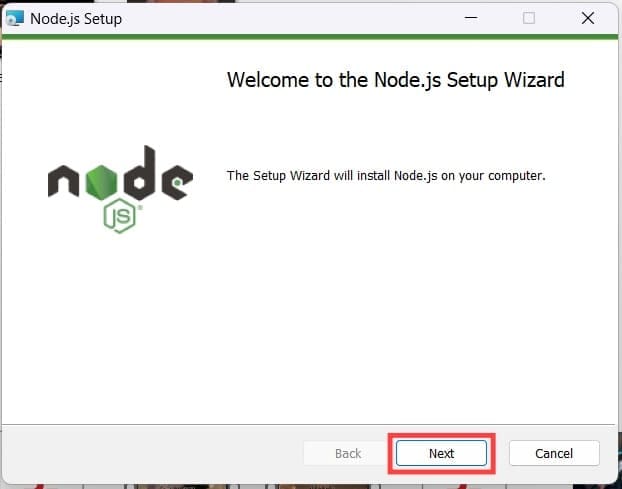
Step 3. Completely restart VS Code and try running Claude again.
Check Your Firewall and VPN
Seeing as Claude needs internet connectivity to do its job, it’s important to ensure your VPN or Firewall isn’t blocking it. Temporarily turn off any VPN you have installed, and check your Firewall to make certain VS Code isn’t being blocked.
Turn Off Other Extensions
Third-party extensions aren’t always going to play well together. If you suspect this might be hampering your Claude extension, then it’s a good idea to disable all others and check functionality again. You can do this in the extensions window (Ctrl + Shift + X). If it does help, then turn on other extensions one by one until you encounter the troublemaker.
Related Posts
 ChatGPT vs. Gemini vs. Claude – How Do They Compare?
 DeepSeek vs. ChatGPT vs. Claude – Or None of Them?
 What Is New in Claude 4?
 Get ChatGPT, Claude, and Midjourney on Telegram With Unlim AI
 How to Speed Up Your Excel Data Analysis With Claude AI
 AppDeploy Review: Deploy Real Apps Directly From ChatGPT or Claude
 Sintra AI Gives AI Employees to Help Run Business

Disclaimer: Some pages on this site may include an affiliate link. This does not effect our editorial in any way.