Everyone talks about video editing, but no one ever mentions how powerful transitions really are. What stands between a well-edited video and an “okay” video isn’t only the animations and background music but also the choice and flow of transitions. Luckily, CapCut makes adding transitions to your video a breeze, and all from the comfort of your smartphone or tablet.
In this article, you’ll learn how to add transitions to your videos to take those CapCut videos to the next level.
How to Add Transitions
CapCut has taken over the internet over the past few years as the most mobile-friendly video editor, and the app is undeniably excellent at what it does. It features a plethora of video editing functionalities, and one cool feature is adding transitions to your video.
Here’s how to add a transition to your videos using the app:
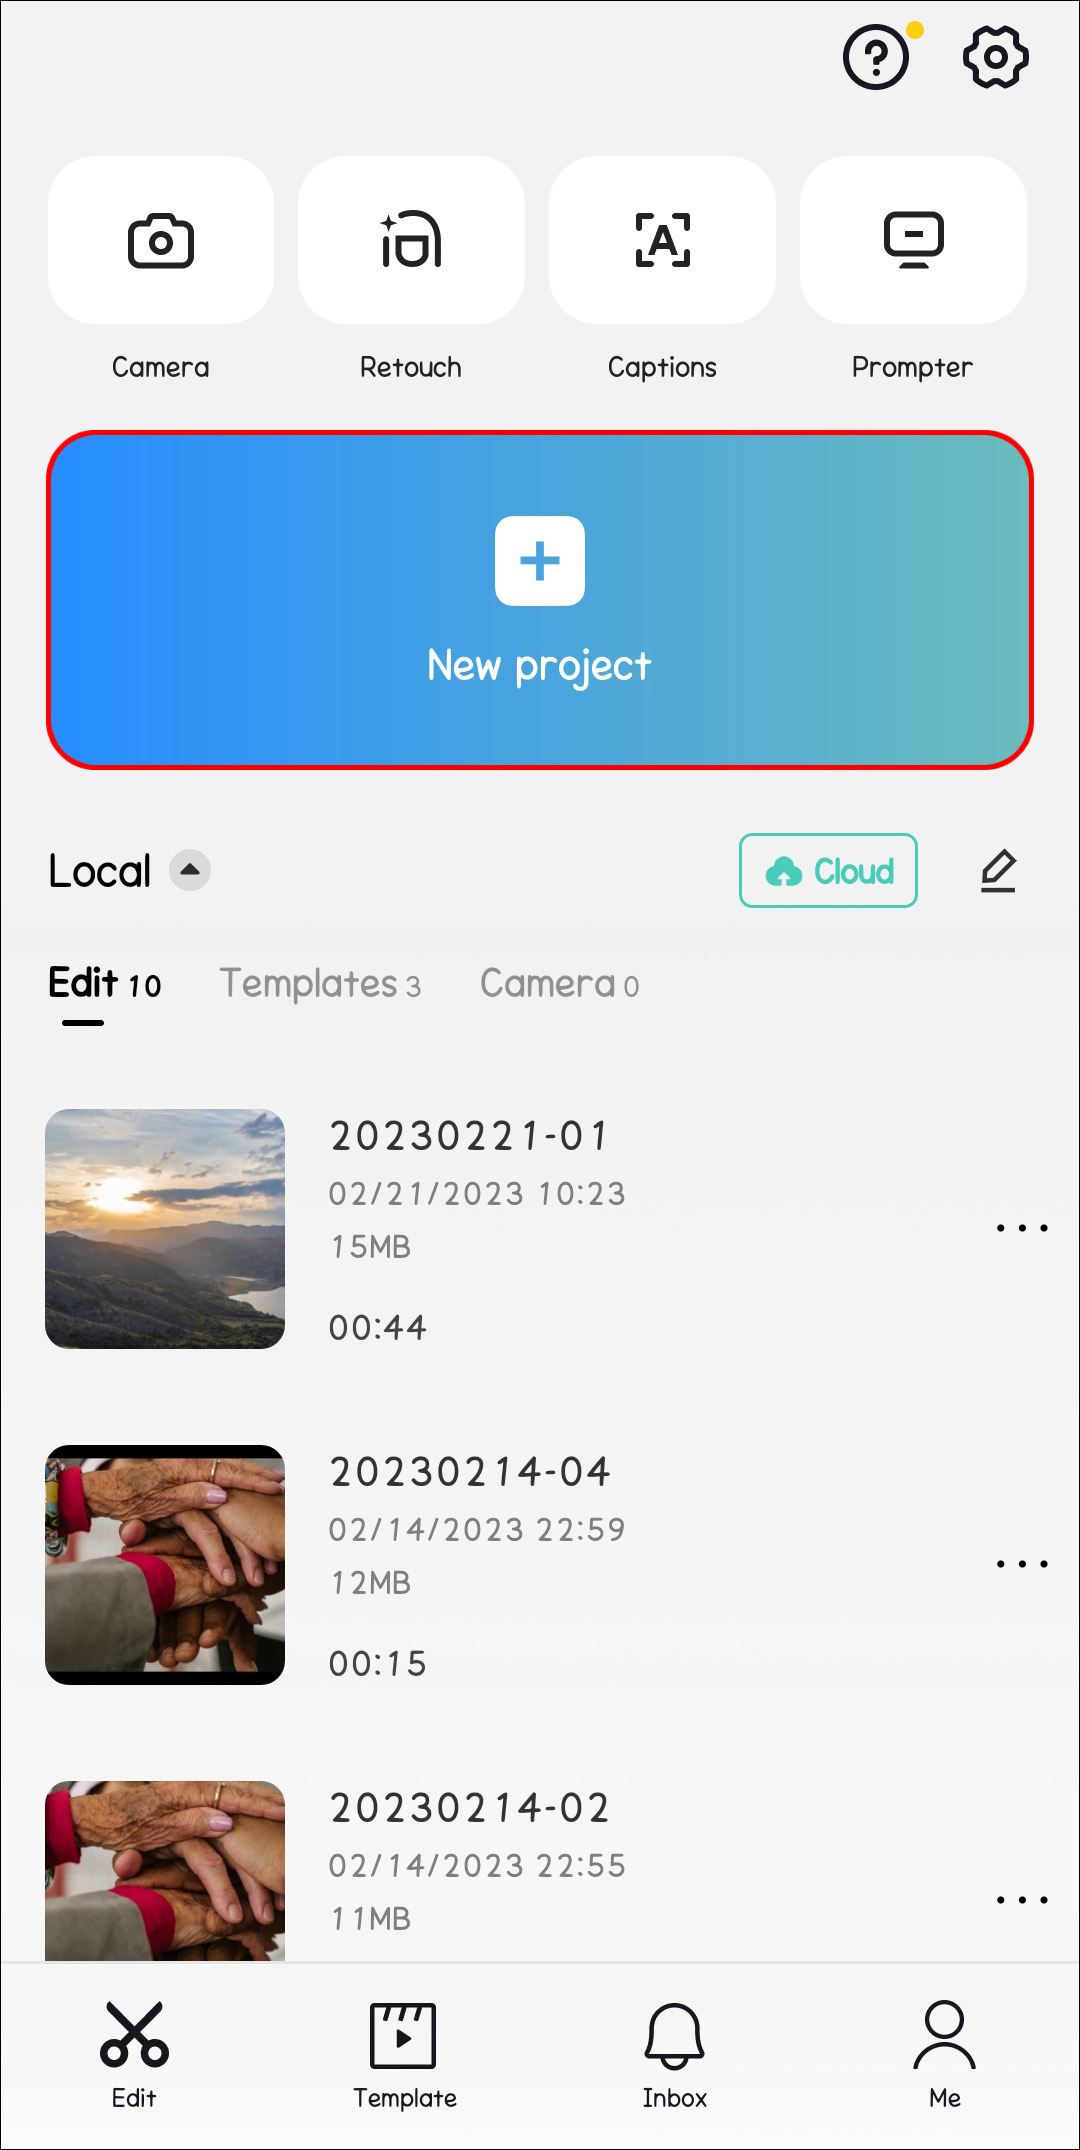
- On your phone, launch the CapCut app.

- Click on the widget that says “New project.”

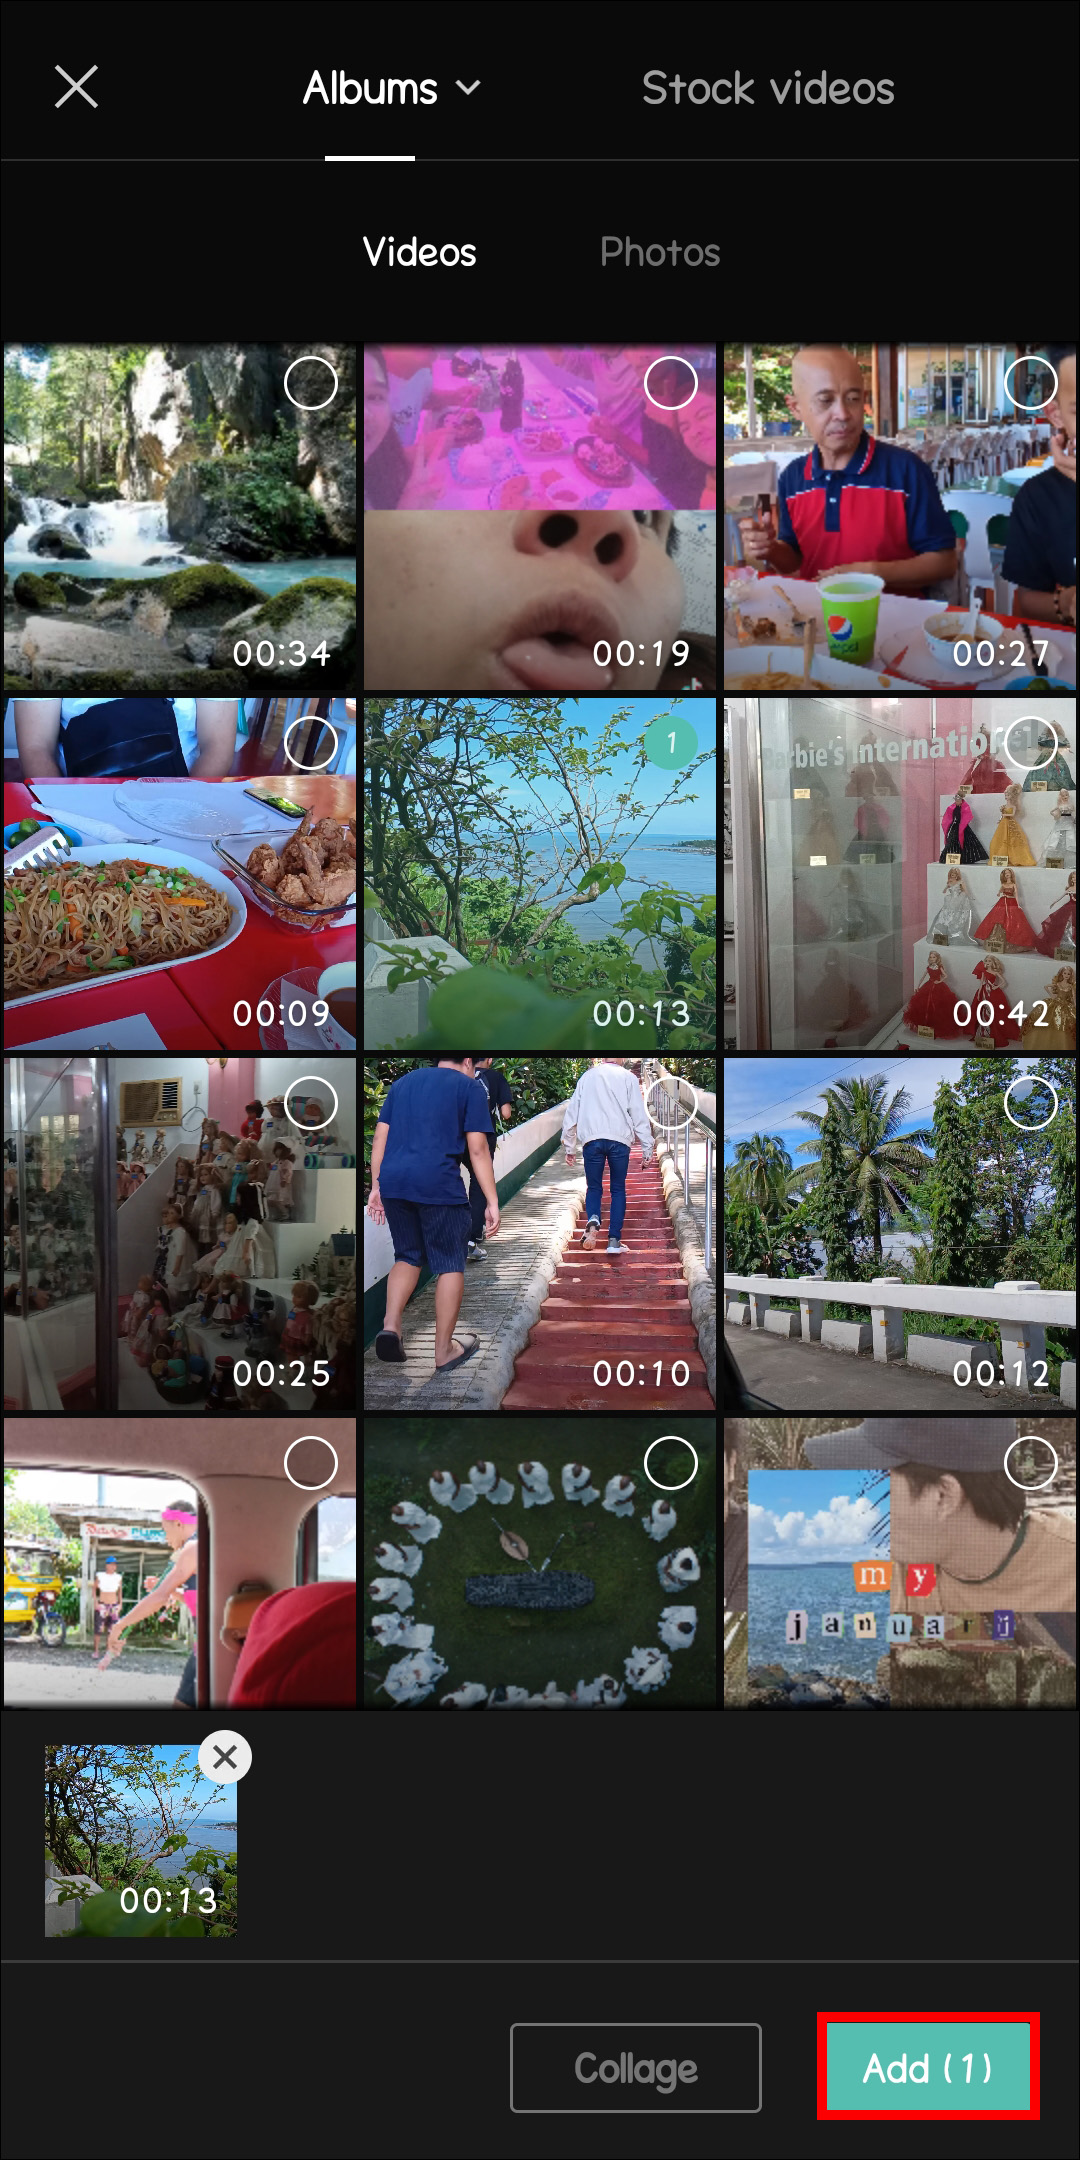
- Select the clips you’d like to apply transitions on and click “Add.”
- You should now see your clips on the timeline.
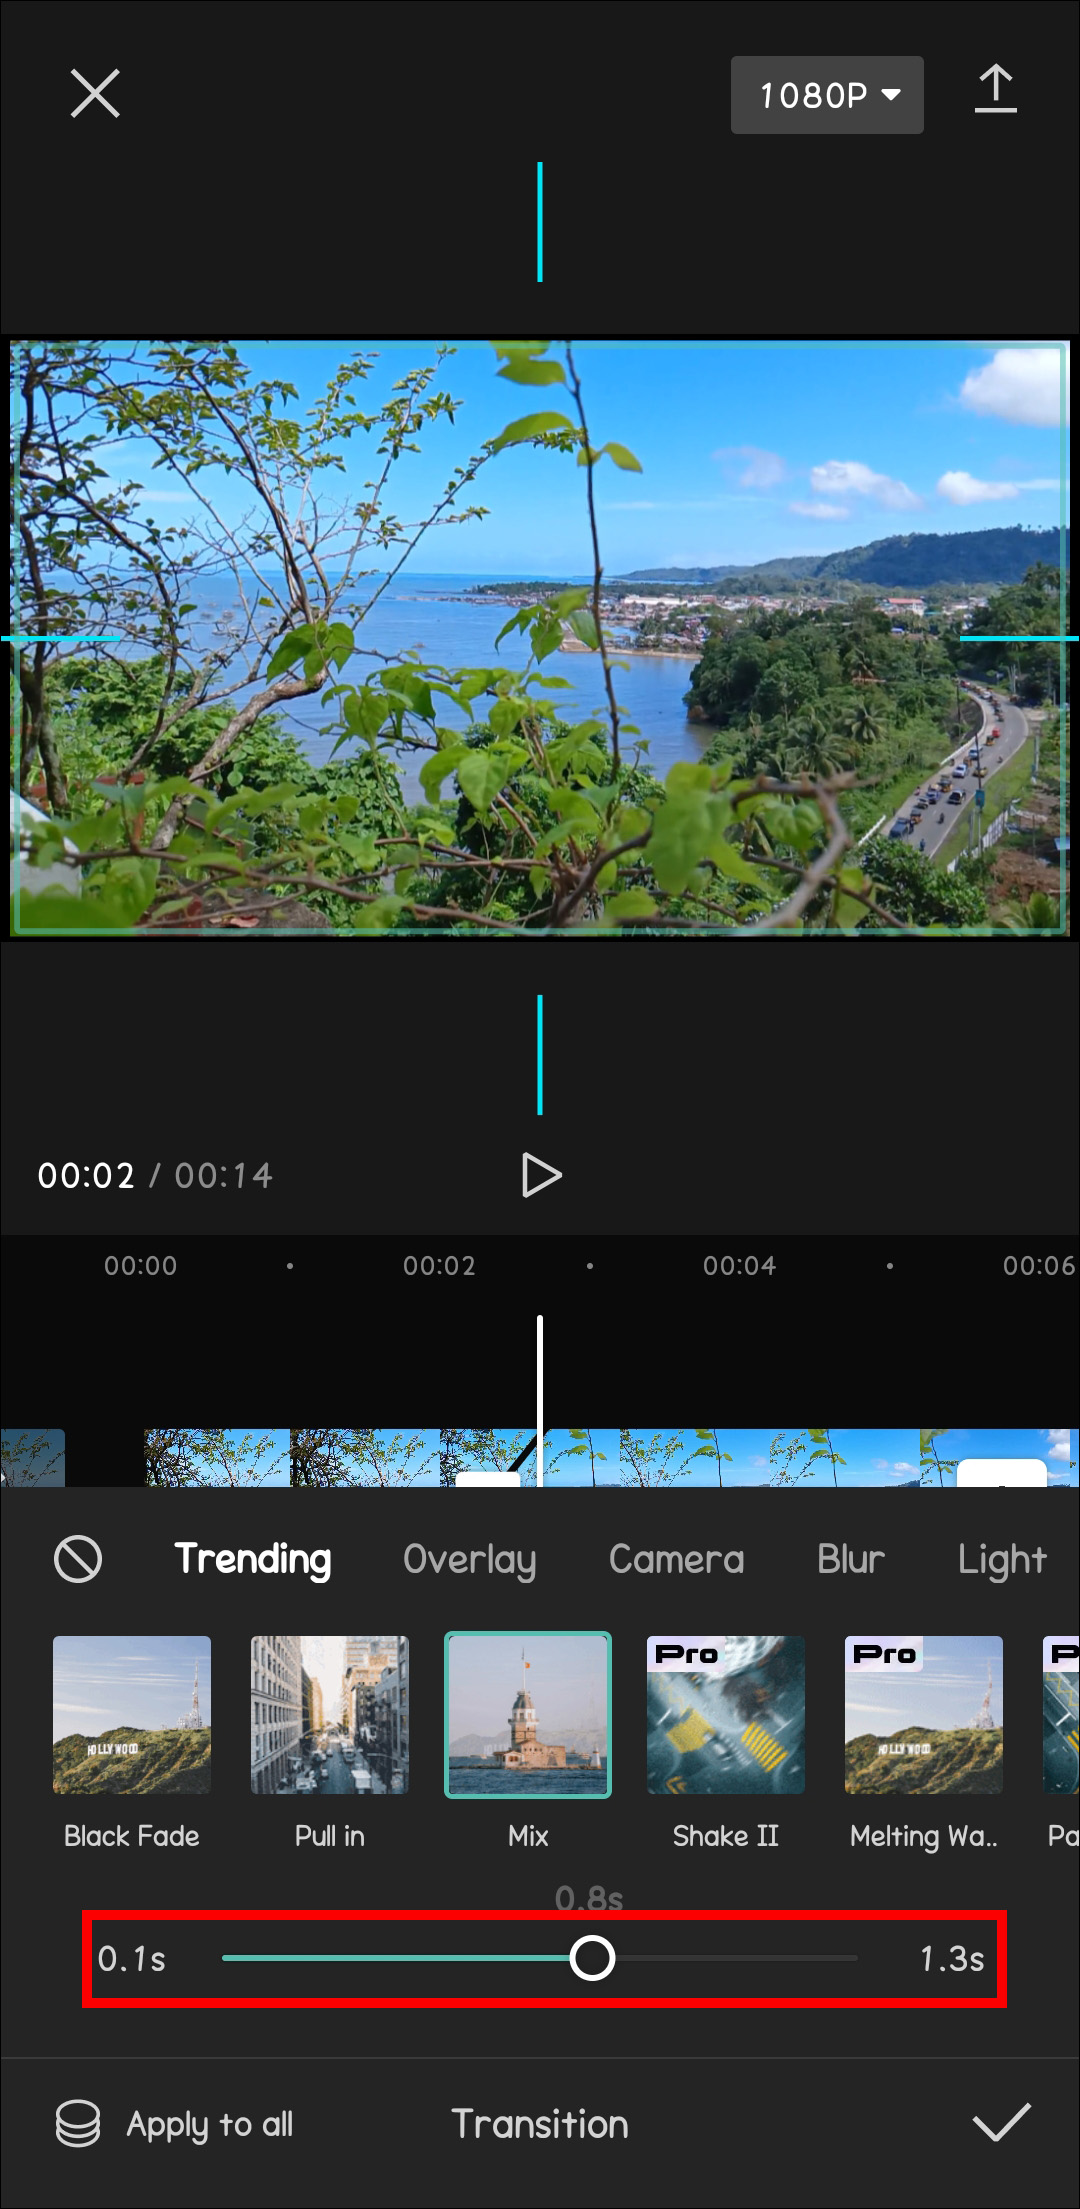
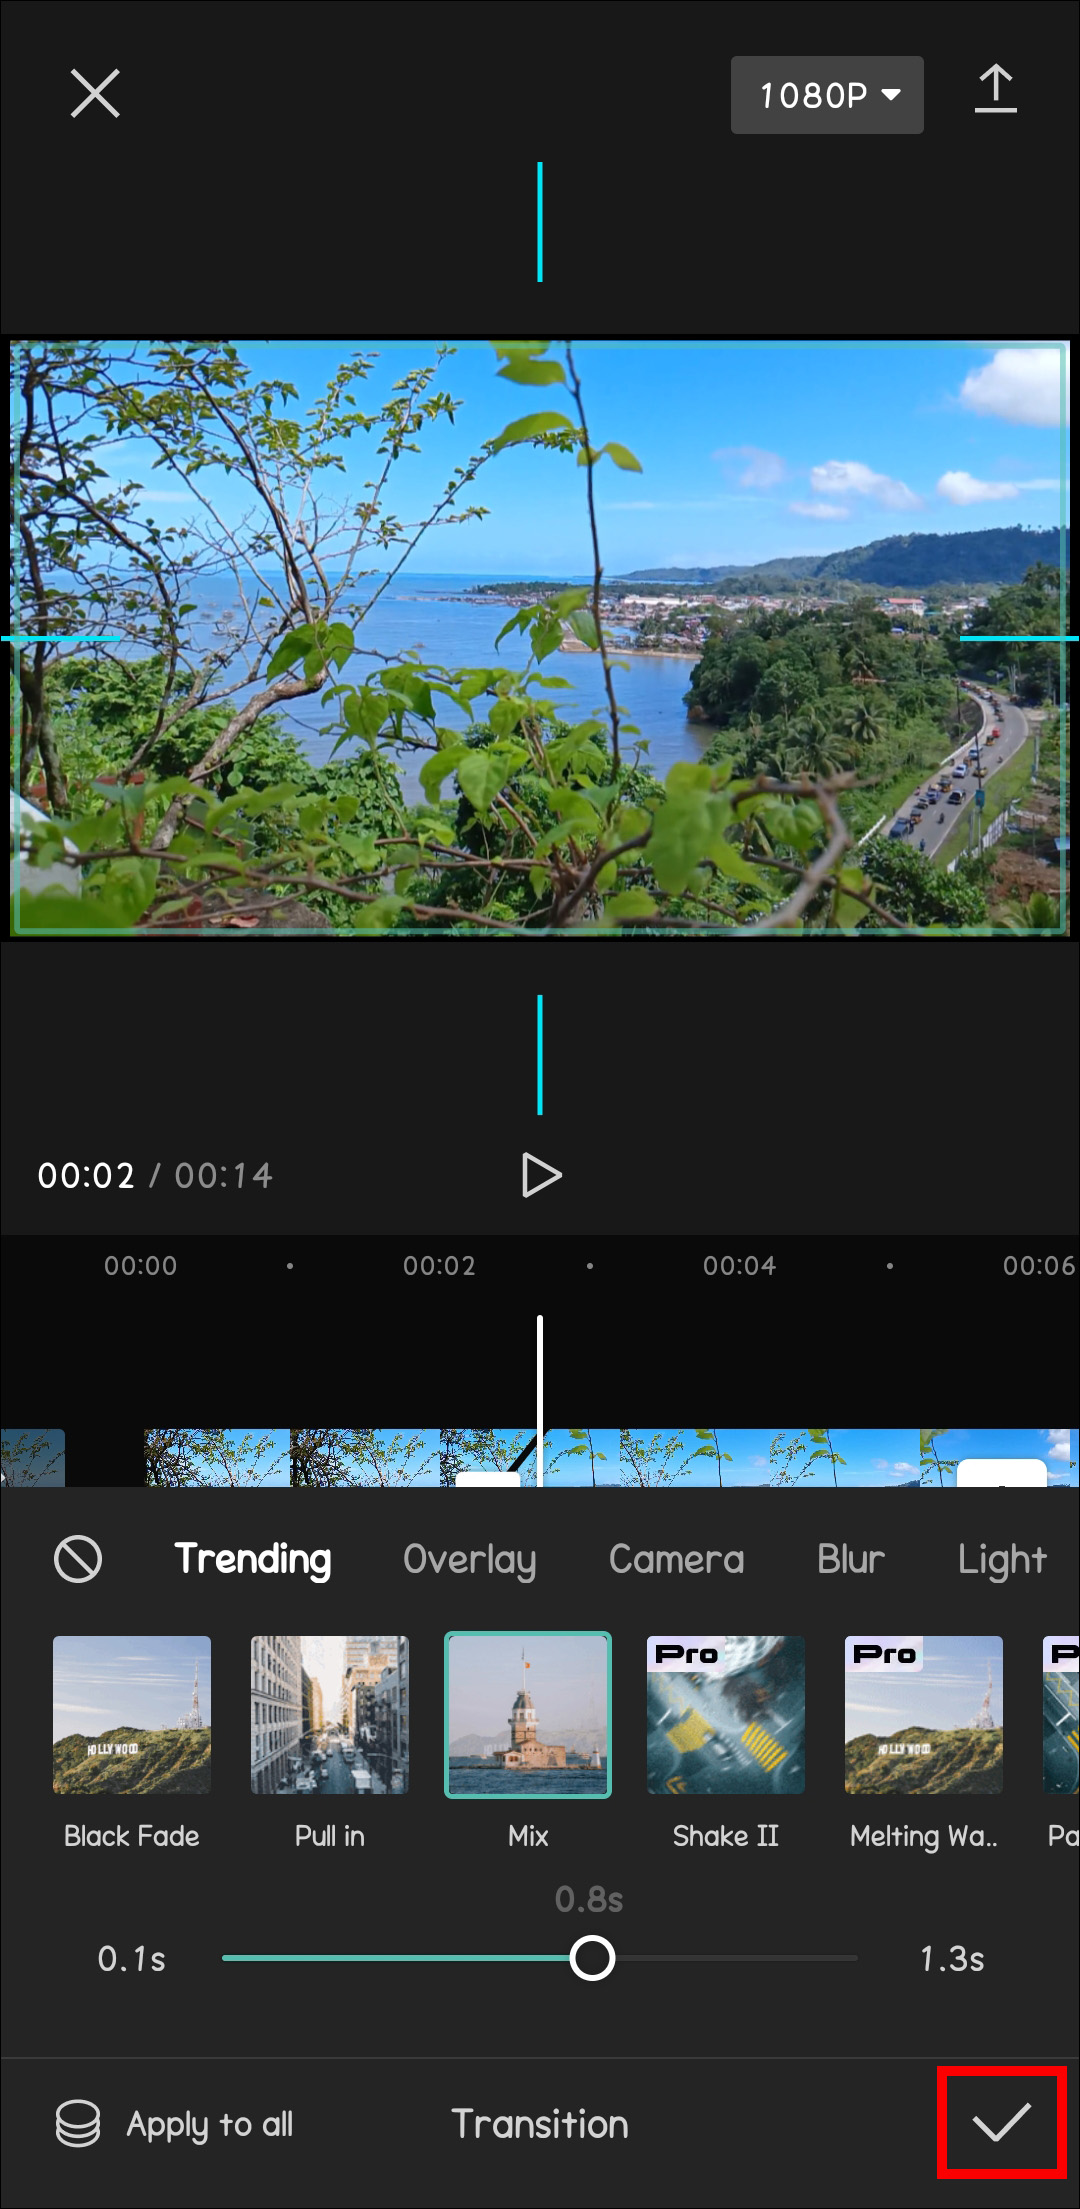
- At the intersection of the clips, you should see a white icon with a small vertical line between them. Go ahead and click on the box.
- Click the transition from your transition options. By dragging the white circle across the duration line, you can also manipulate how long the transition will last.
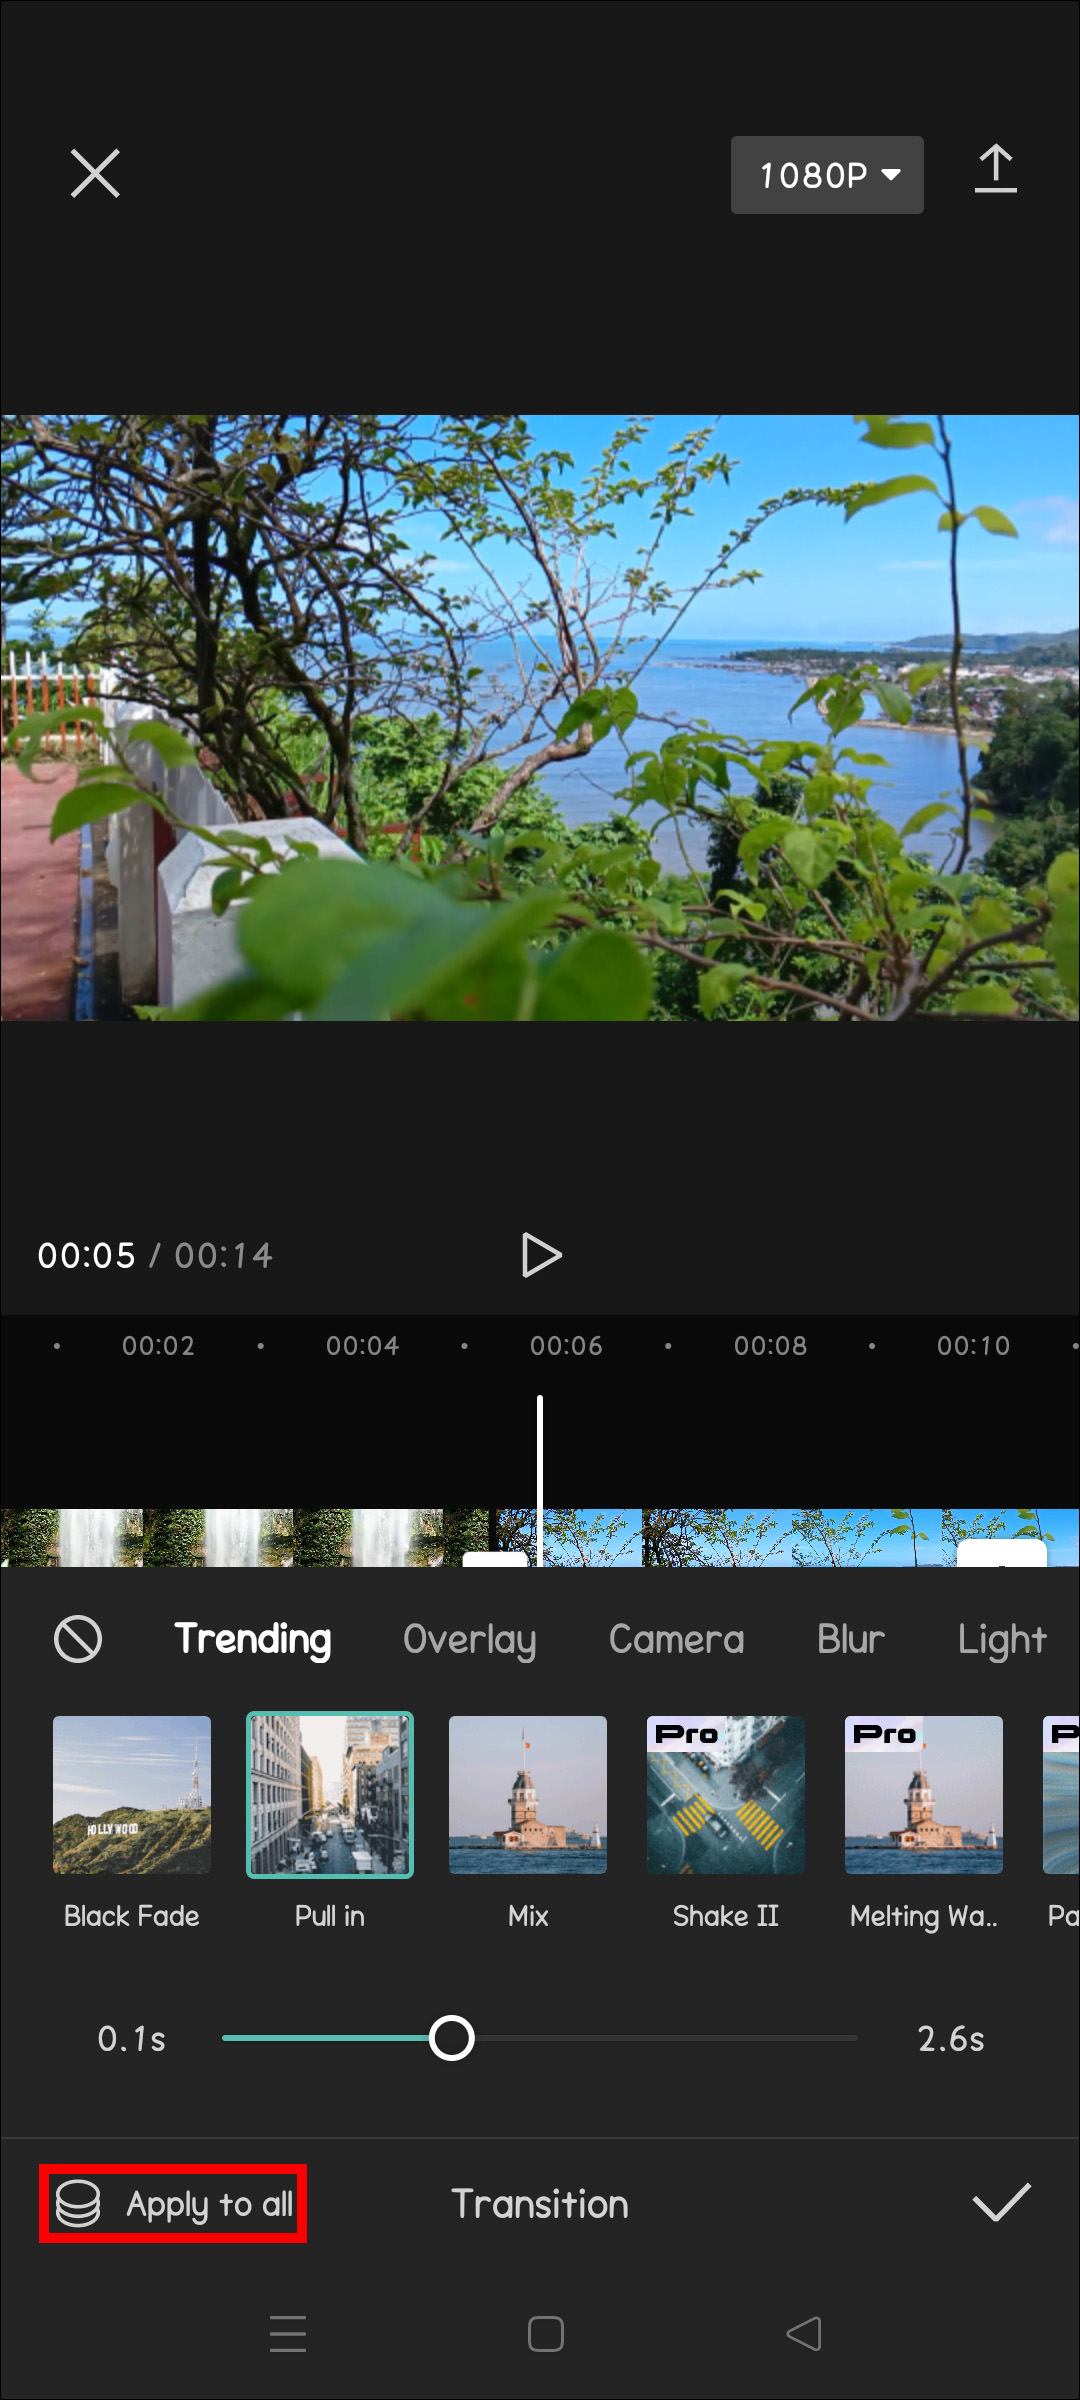
- Tap on “Apply to all” to apply the transition to all the clips on the timeline.
- Select the checkmark icon in the bottom left corner of the screen to apply the transitions.
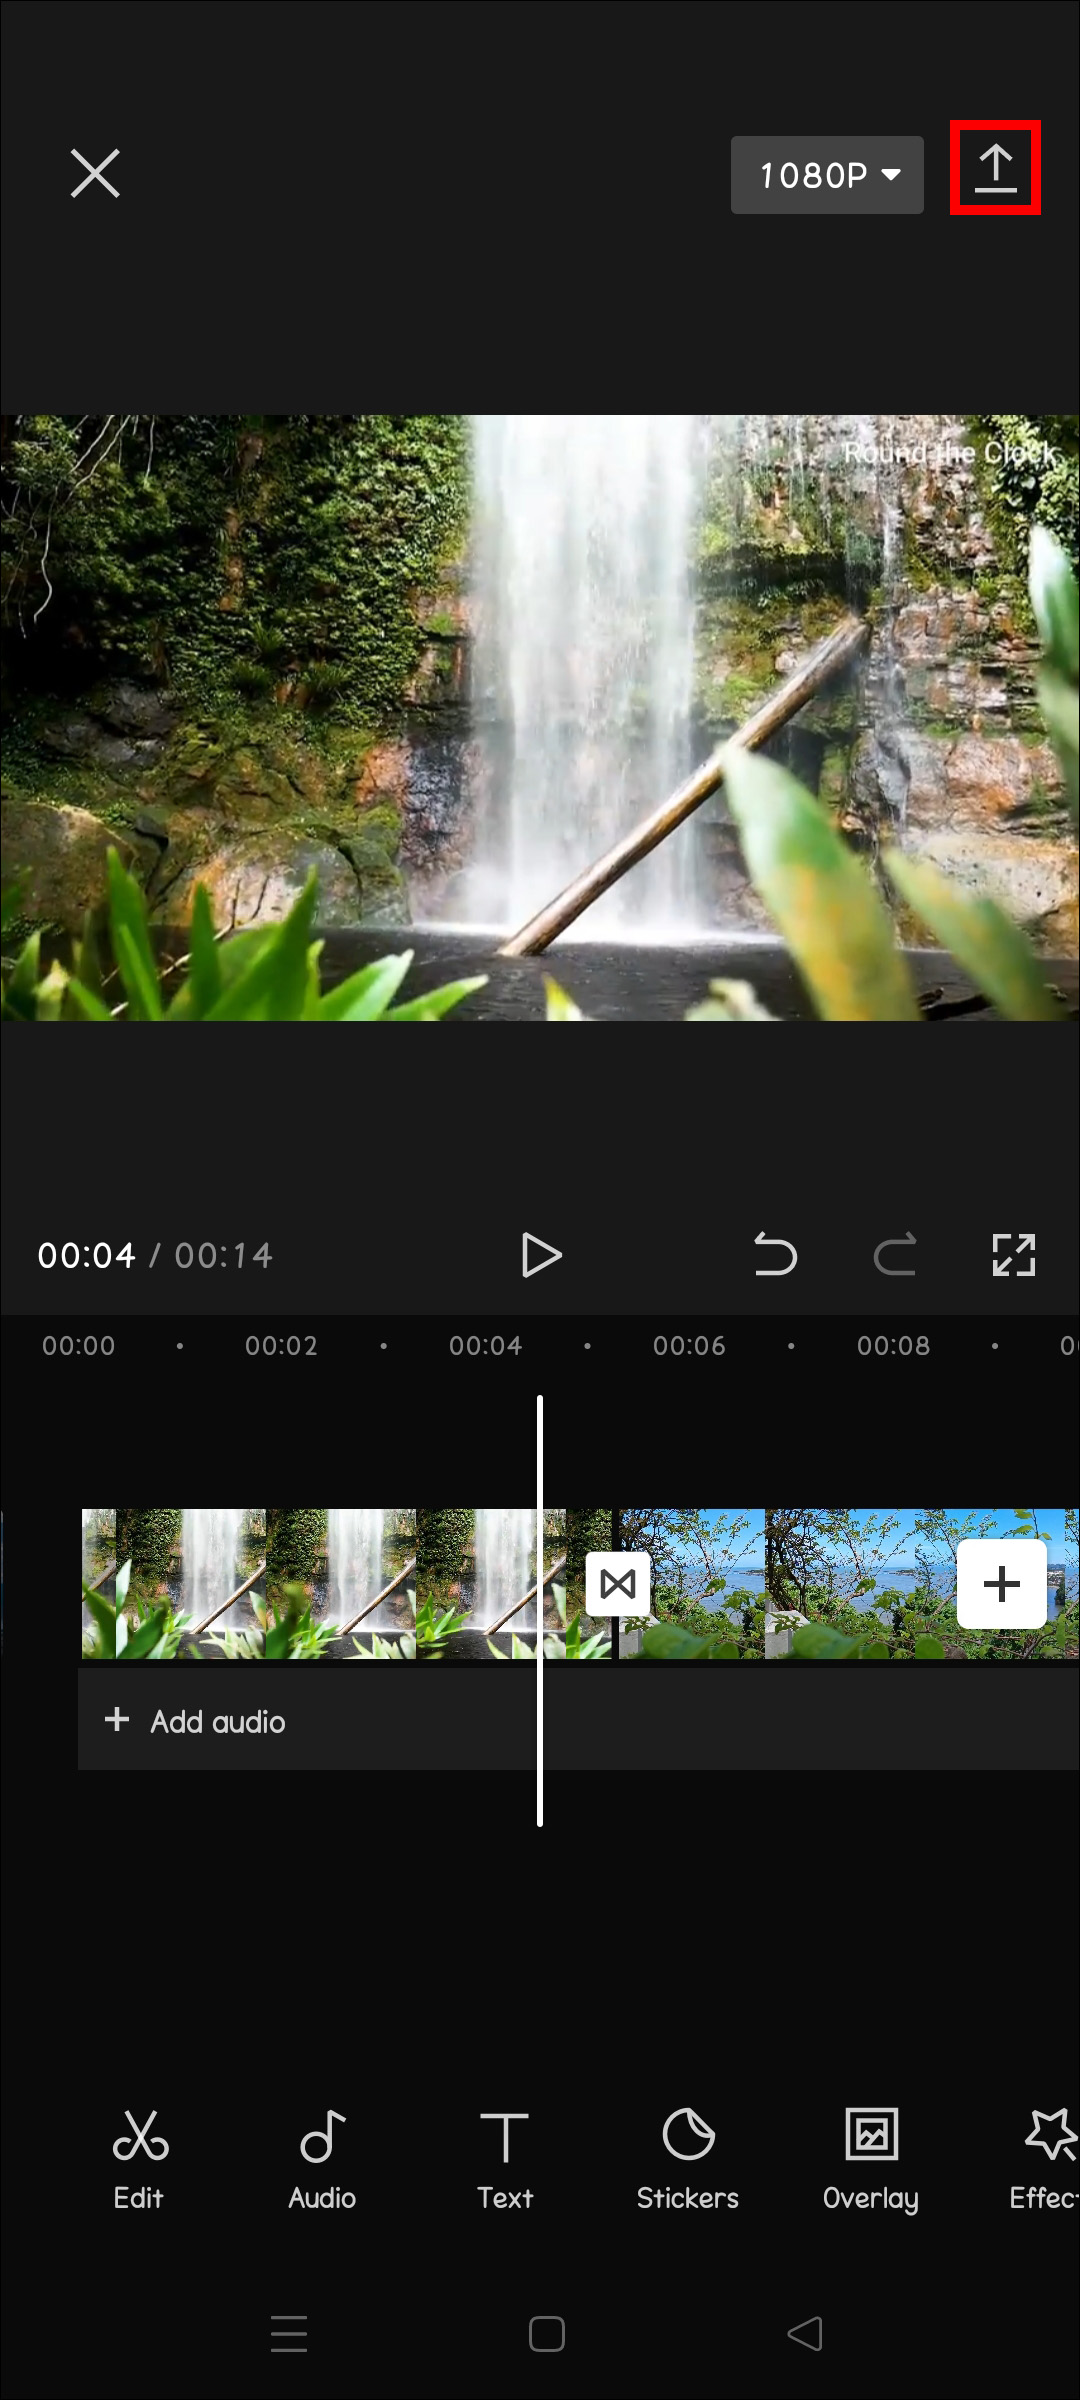
- Tap on the arrow at the top right corner of the screen to export your video to your local storage.


Once the export is done, you can also share the video to different social media platforms directly from the app by clicking the icons at the bottom of the screen.
How to Add a Transition to a Single Clip Using CapCut
The steps above illustrate how to add transitions to multiple videos. But what if you have a single video, and you’d like to add a transition? Well, it’s relatively simple, too.
Here’s how to do it:
- On the home screen of your CapCut app, tap on “New project.”
- Select the clip you’d like to add a transition to from your album and click on “Next.”
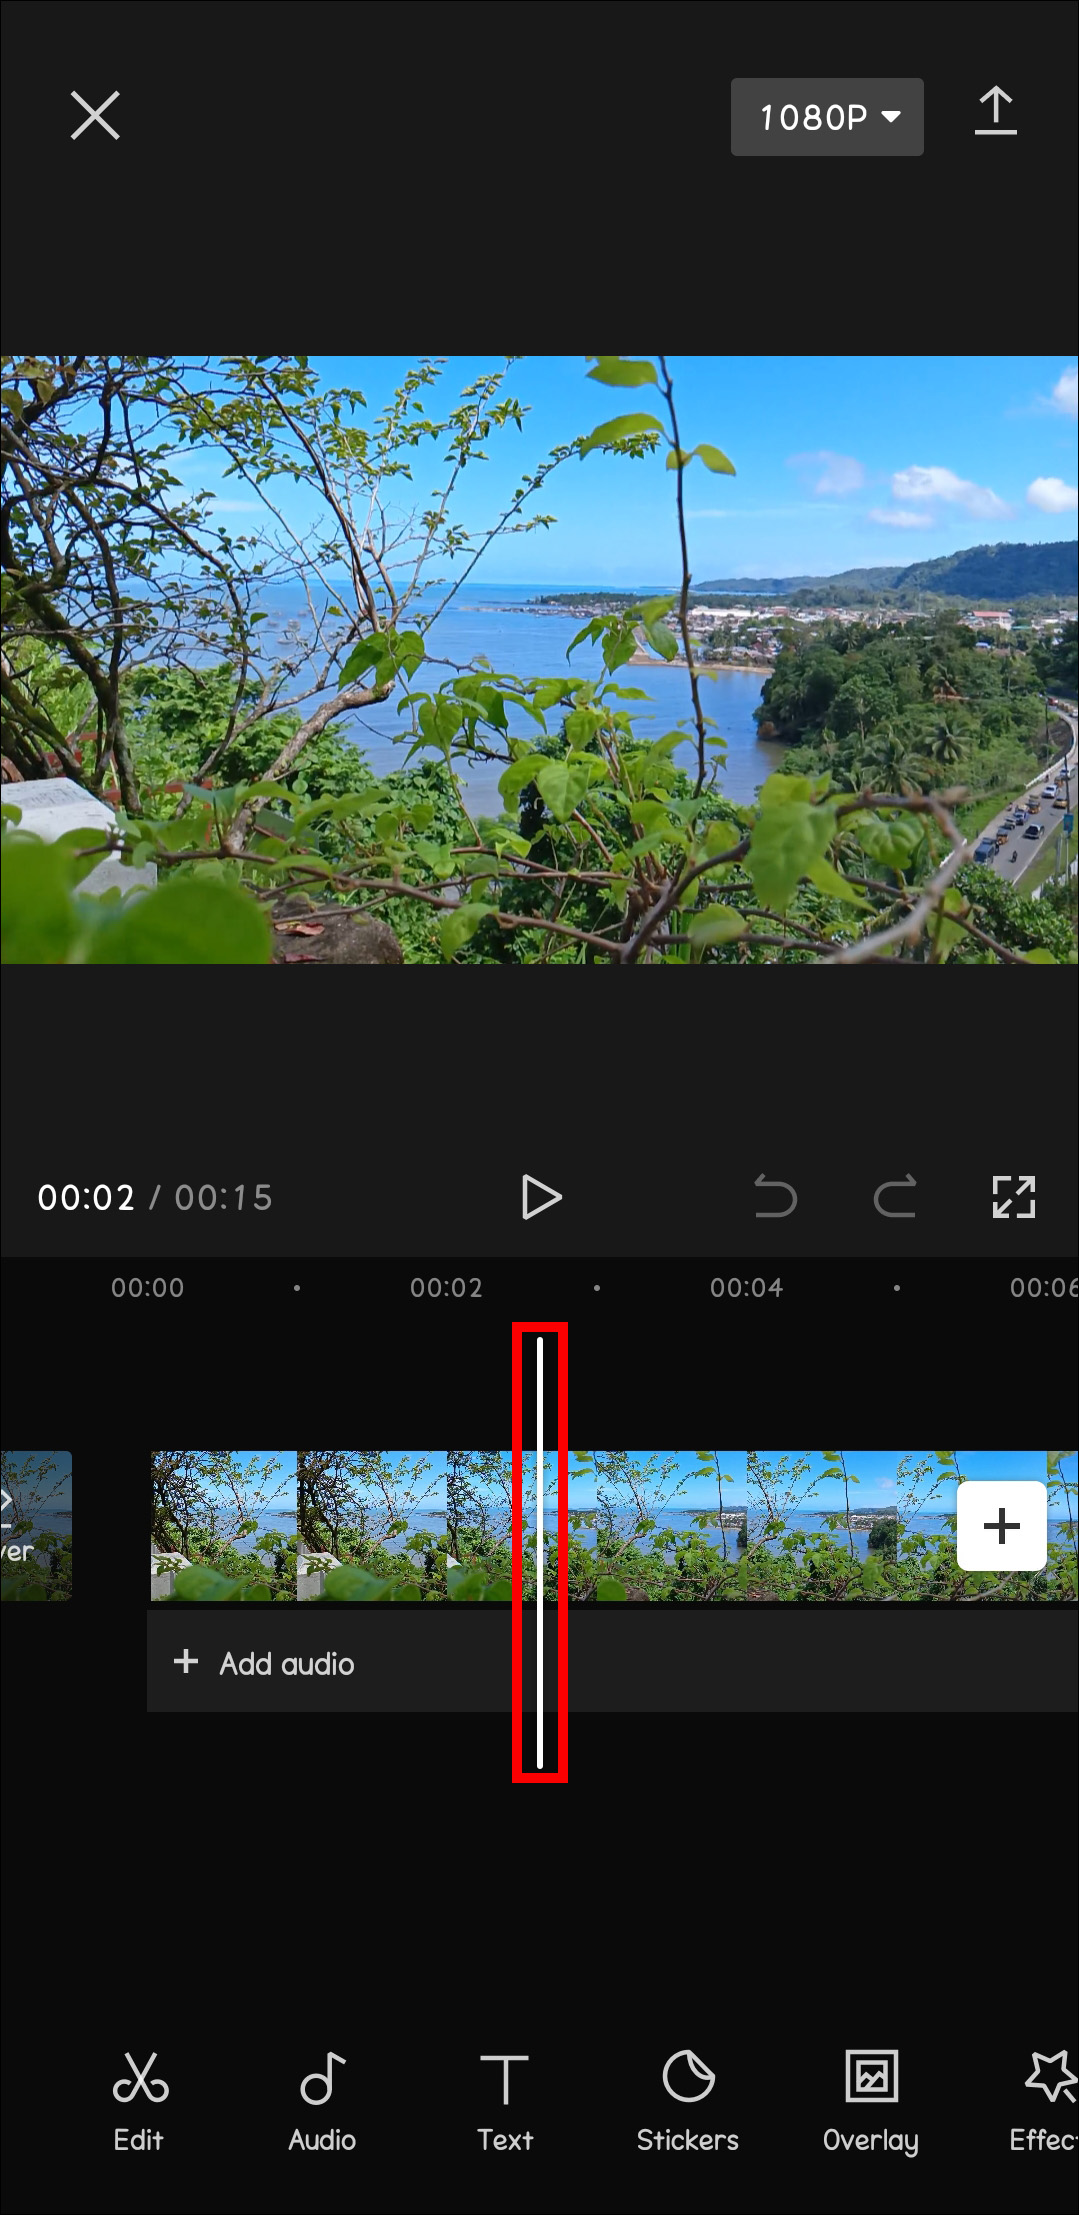
- Drag the white vertical line to the specific part of the video where you’d like to add a transition.
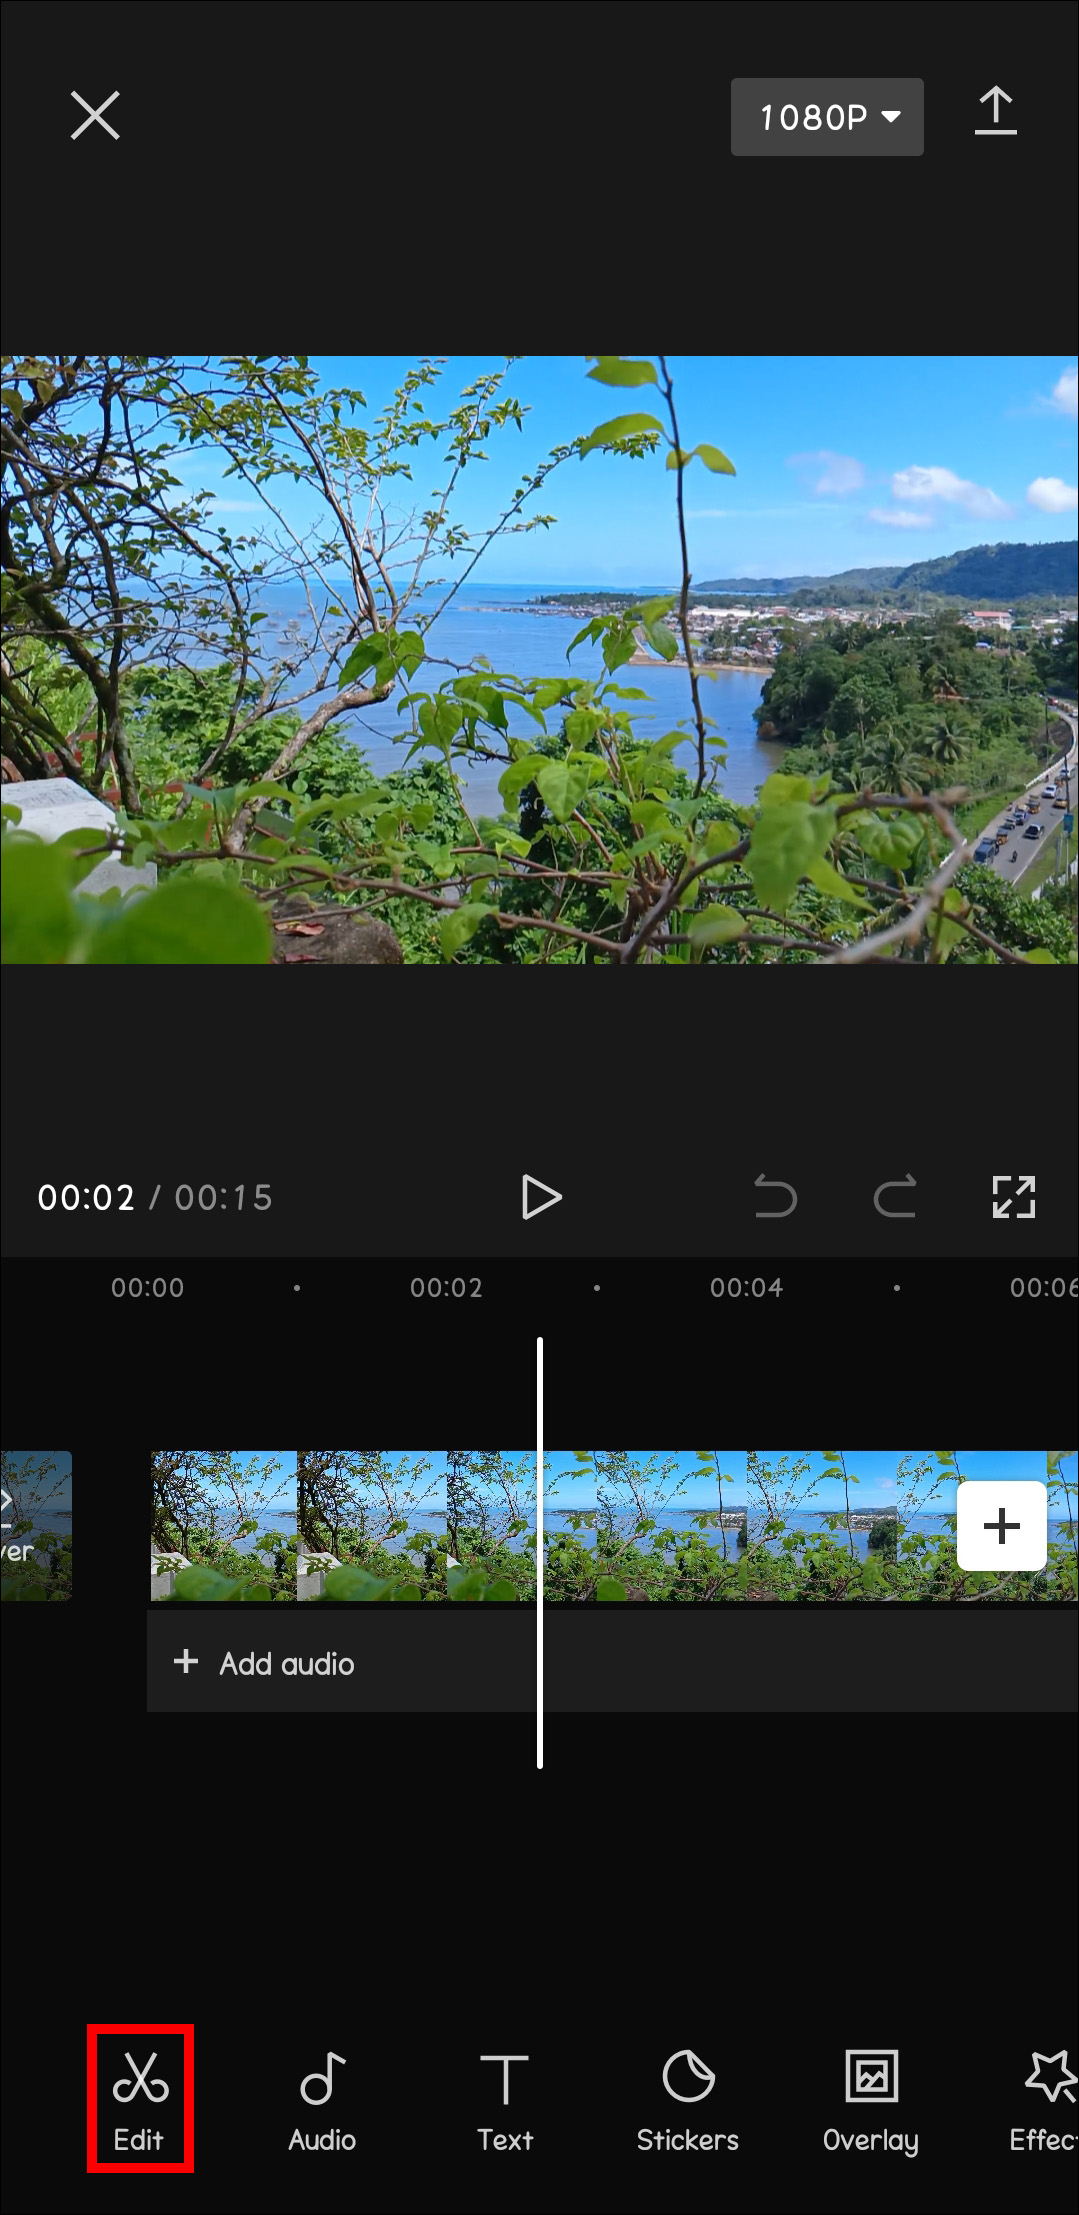
- Press “Edit.”
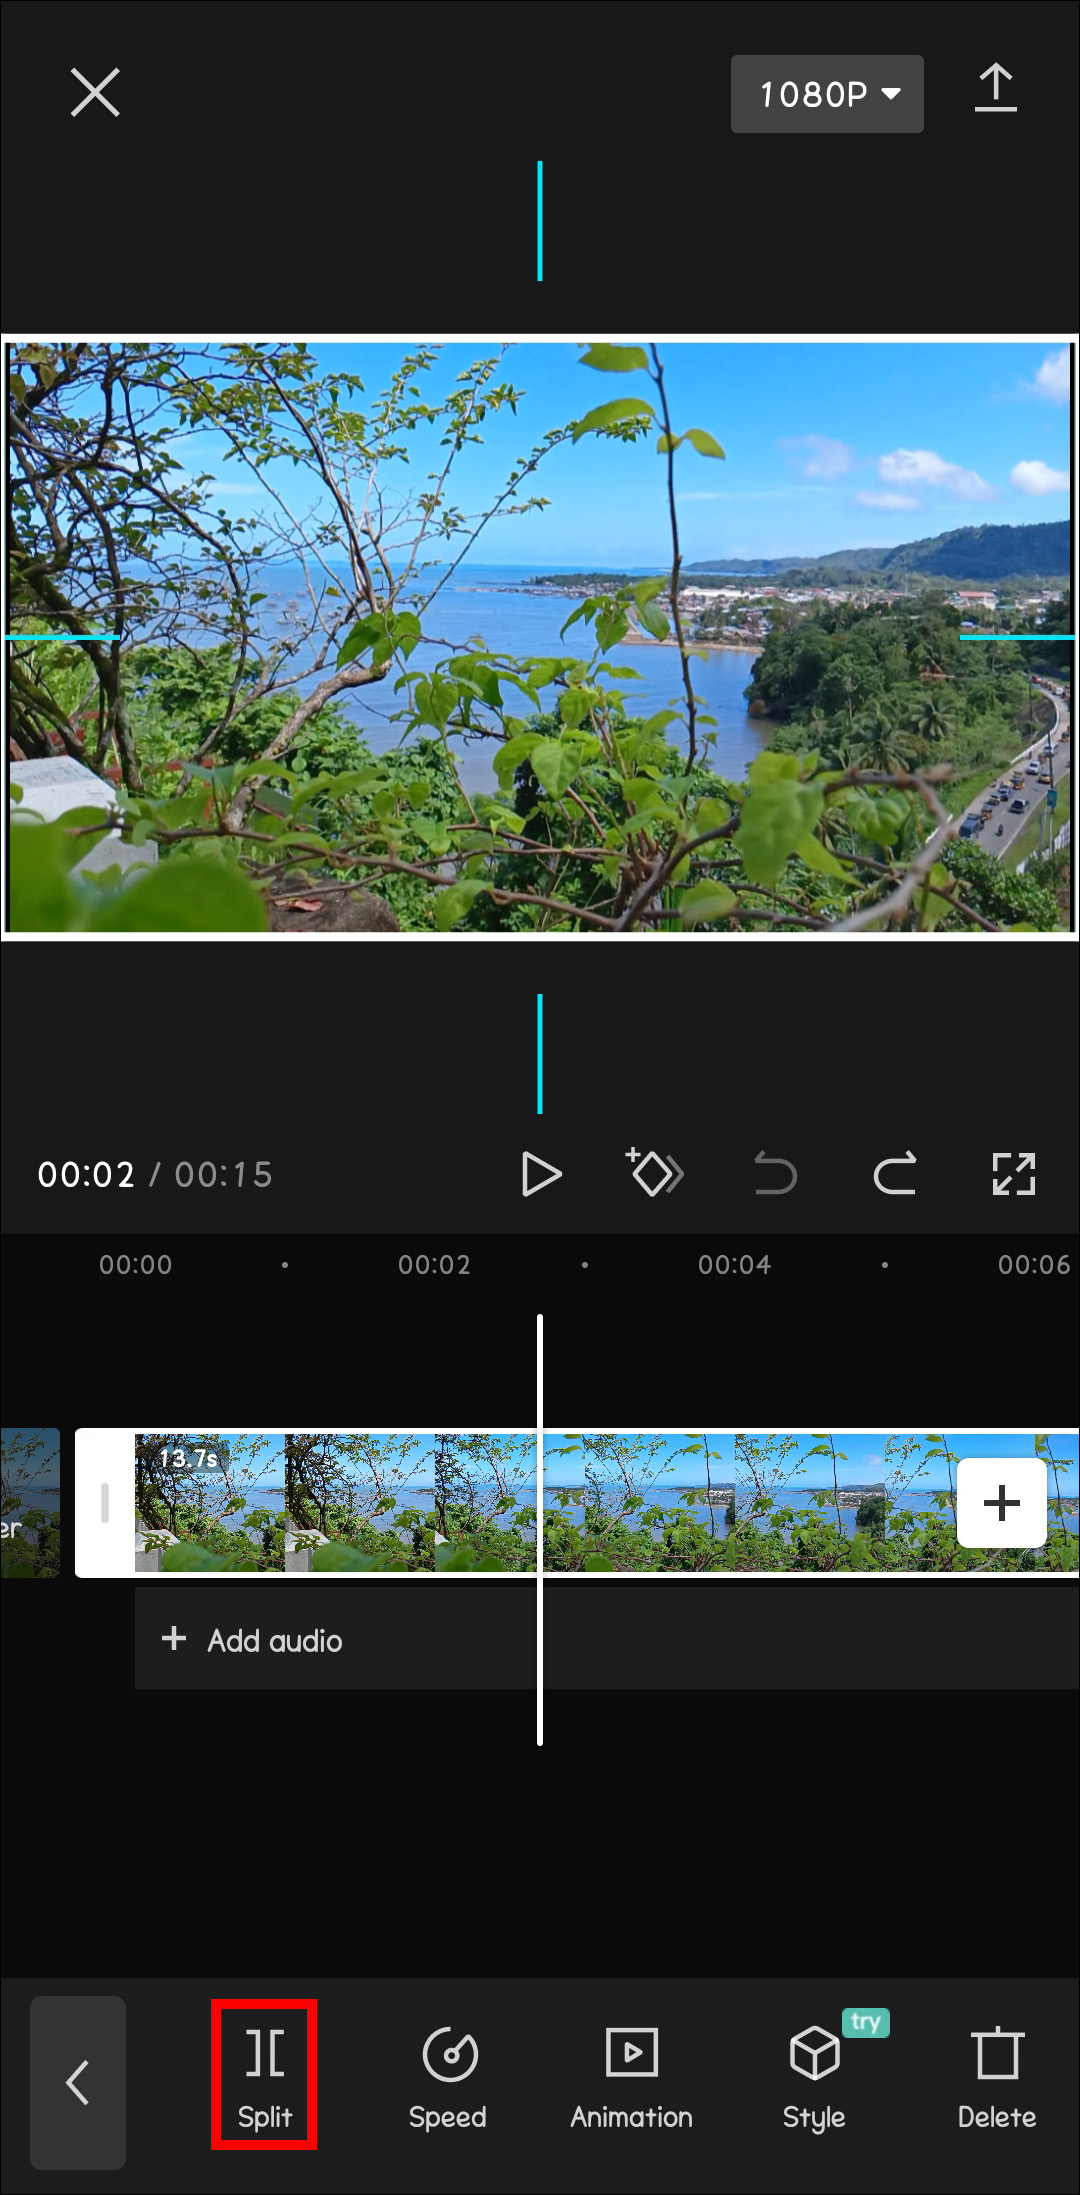
- Tap “Split.”
- Your video should now be divided into two parts, and between them, you should see the transition icon. Select the icon and choose the transition you’d like to add.
- Preview the video.
- If you’re happy with the final effect, tap on the checkmark icon right below the screen to apply the transition to the video.


How to Edit a Transition in CapCut
Adding a transition to a video using CapCut isn’t a sealed deal. You can always make changes to it if you want to. Here’s how to go about it:
- Open the video whose transition you wish to edit.
- Tap on the transition icon. The icon should now have two lines that cross each other instead of a straight line.
- Choose another transition to replace the one currently running on the video.
- Adjust the duration of the transition according to your preference.
- Tap on the checkmark icon to apply the transition to your clip
- Your new video should now feature the new transition.


How to Remove the CapCut’s Branding at the End of Your Video
So, you just went to CapCut to add a simple transition to your video, but then it adds an annoying branding clip at the end of it. Here’s is how to remove it:
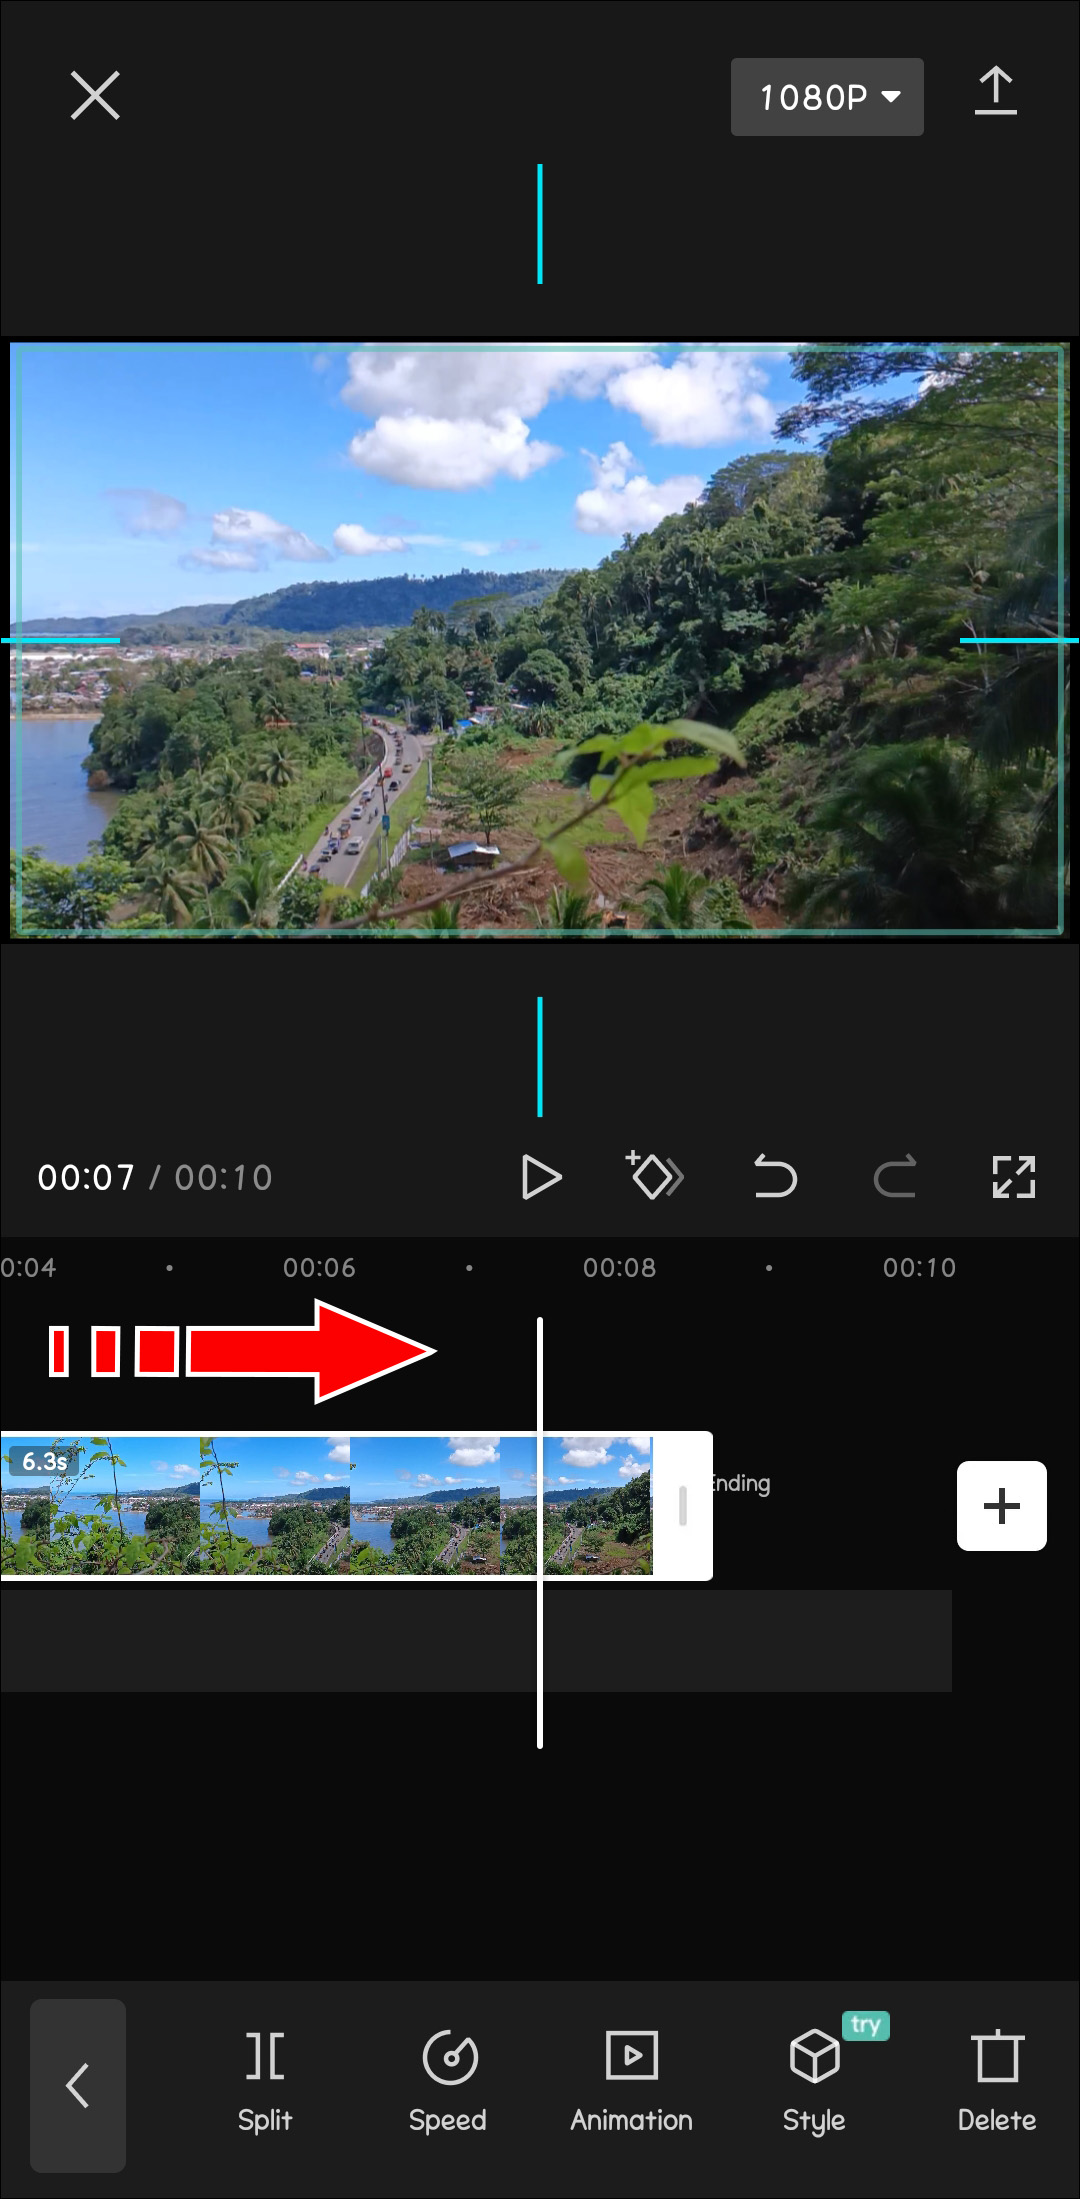
- In CapCut’s timeline, swipe to the end of the video.
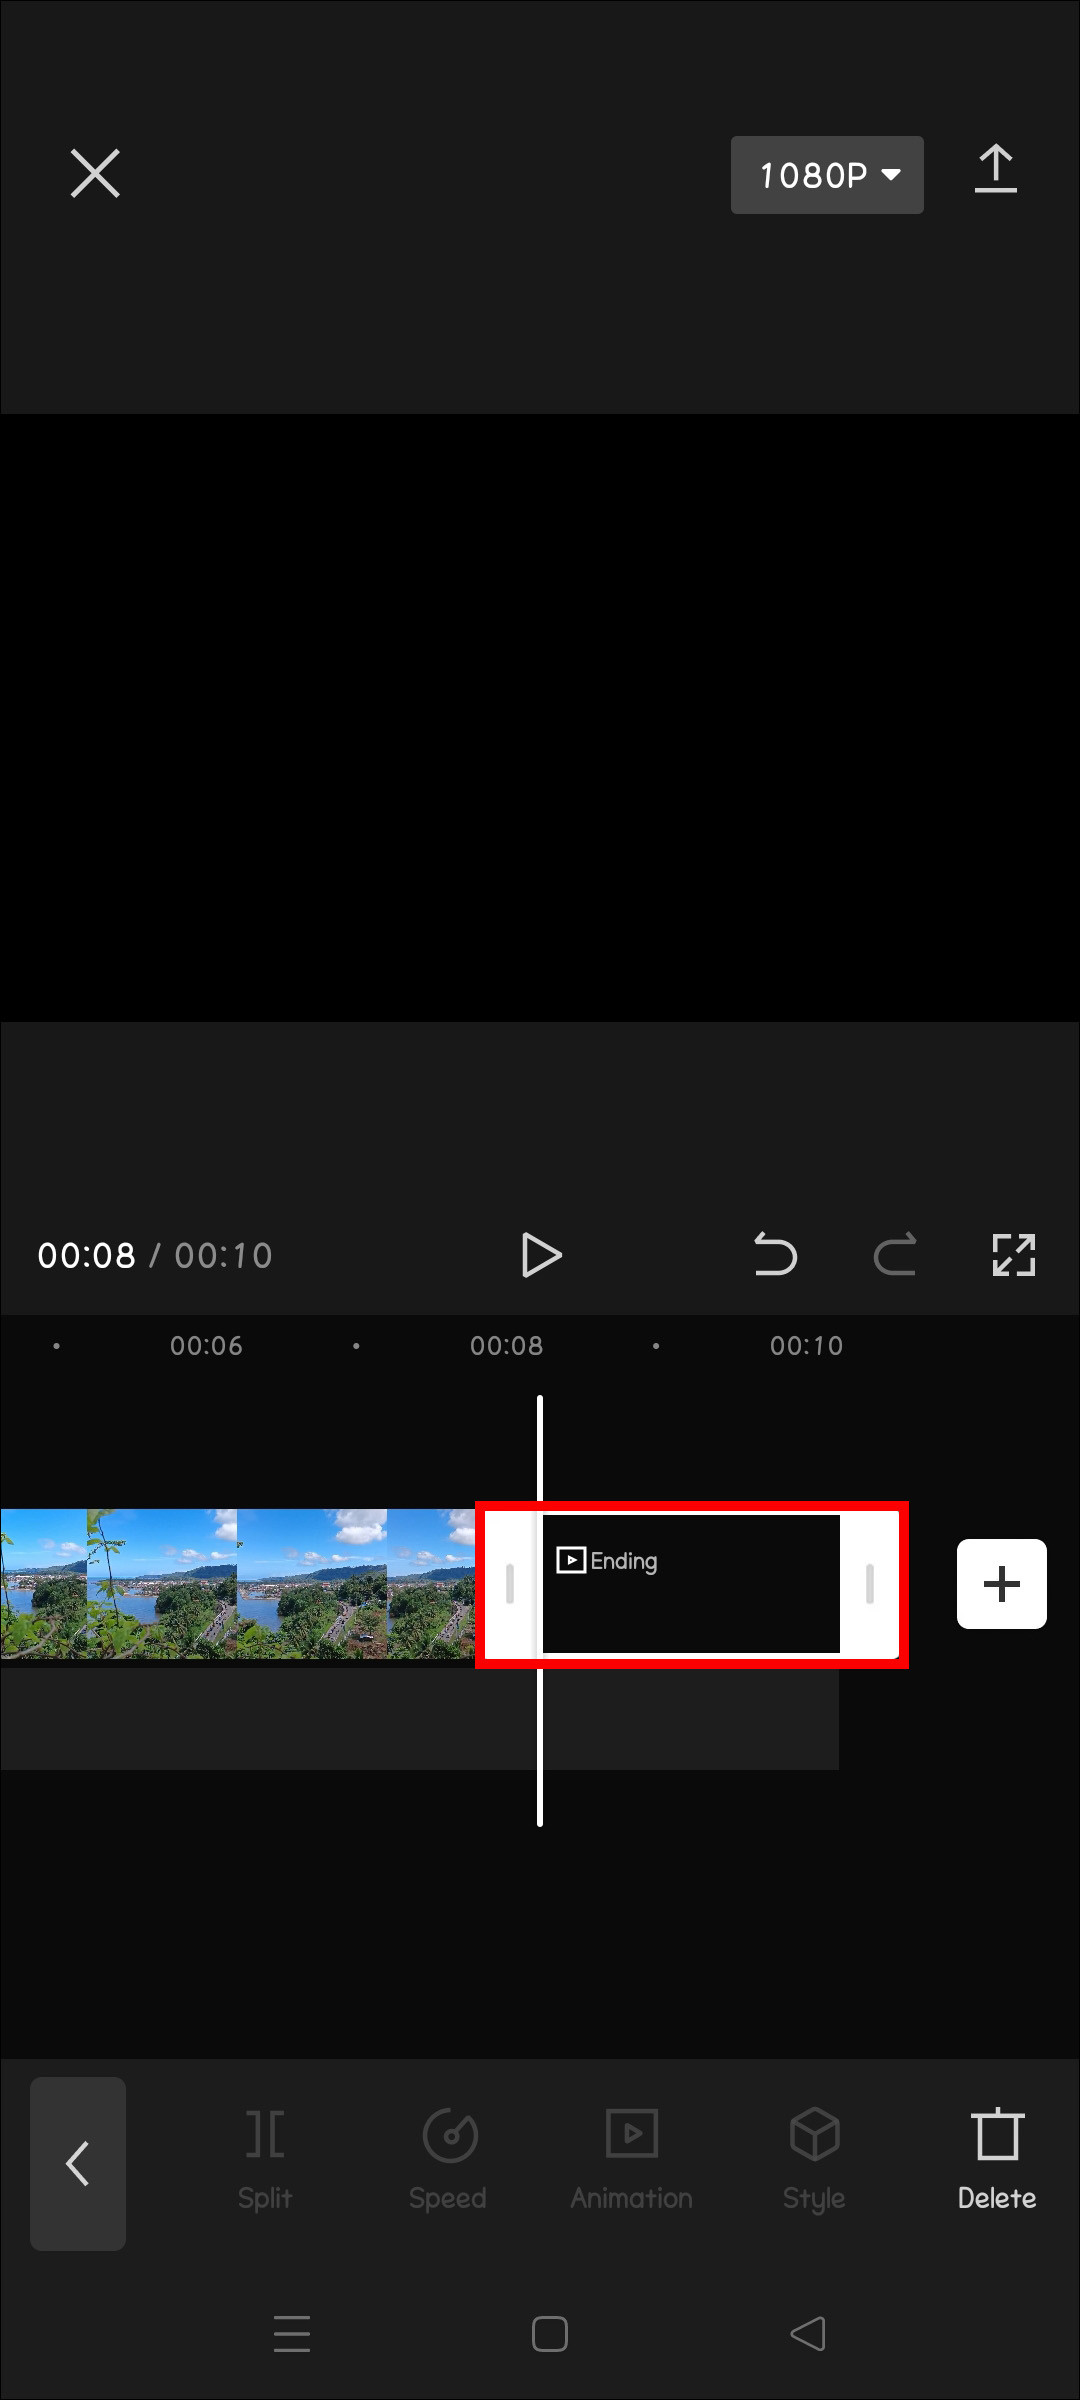
- Tap on “Ending.”
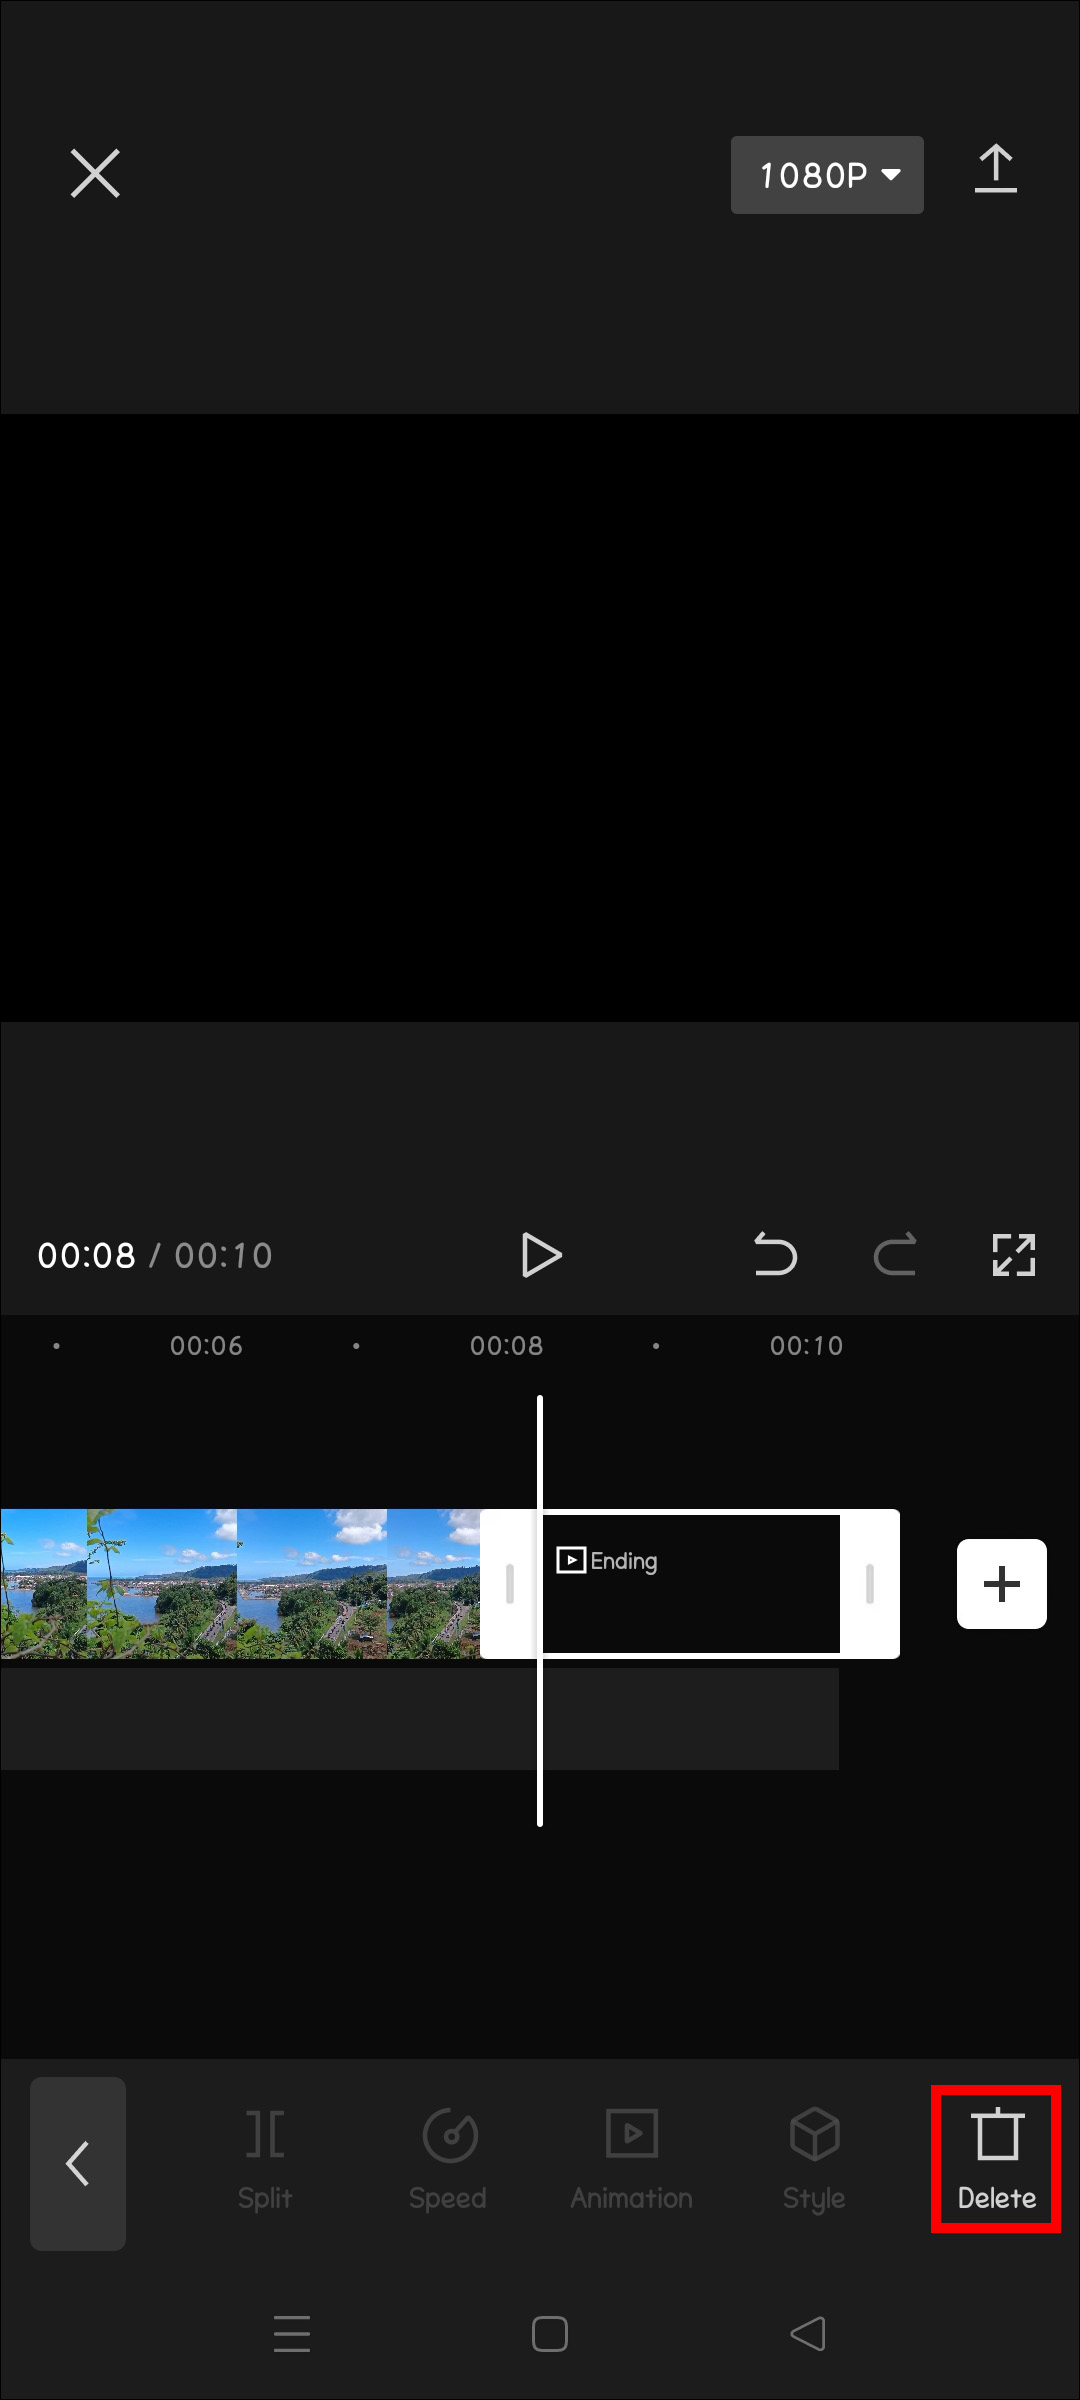
- You should now see a menu with icons at the bottom of the screen. Tap the delete button.
How to Automatically Add Transitions to Your Videos on CapCut
If you don’t want to go through the hassle of choosing what transition is perfect for your next TikTok, let CapCut do the job for you. After all, who doesn’t like running things on autopilot?
CapCut has a feature called “ShortCut,” which contains hundreds of premade video templates that you can use in your videos. These templates already have what you need in an edited video, including transitions and animations. Plus, the feature uses AI to help determine what kind of effects are perfect for your video.
Here’s how to use the ShortCut feature:
- On your CapCut’s home screen, tap the “ShortCut” widget.
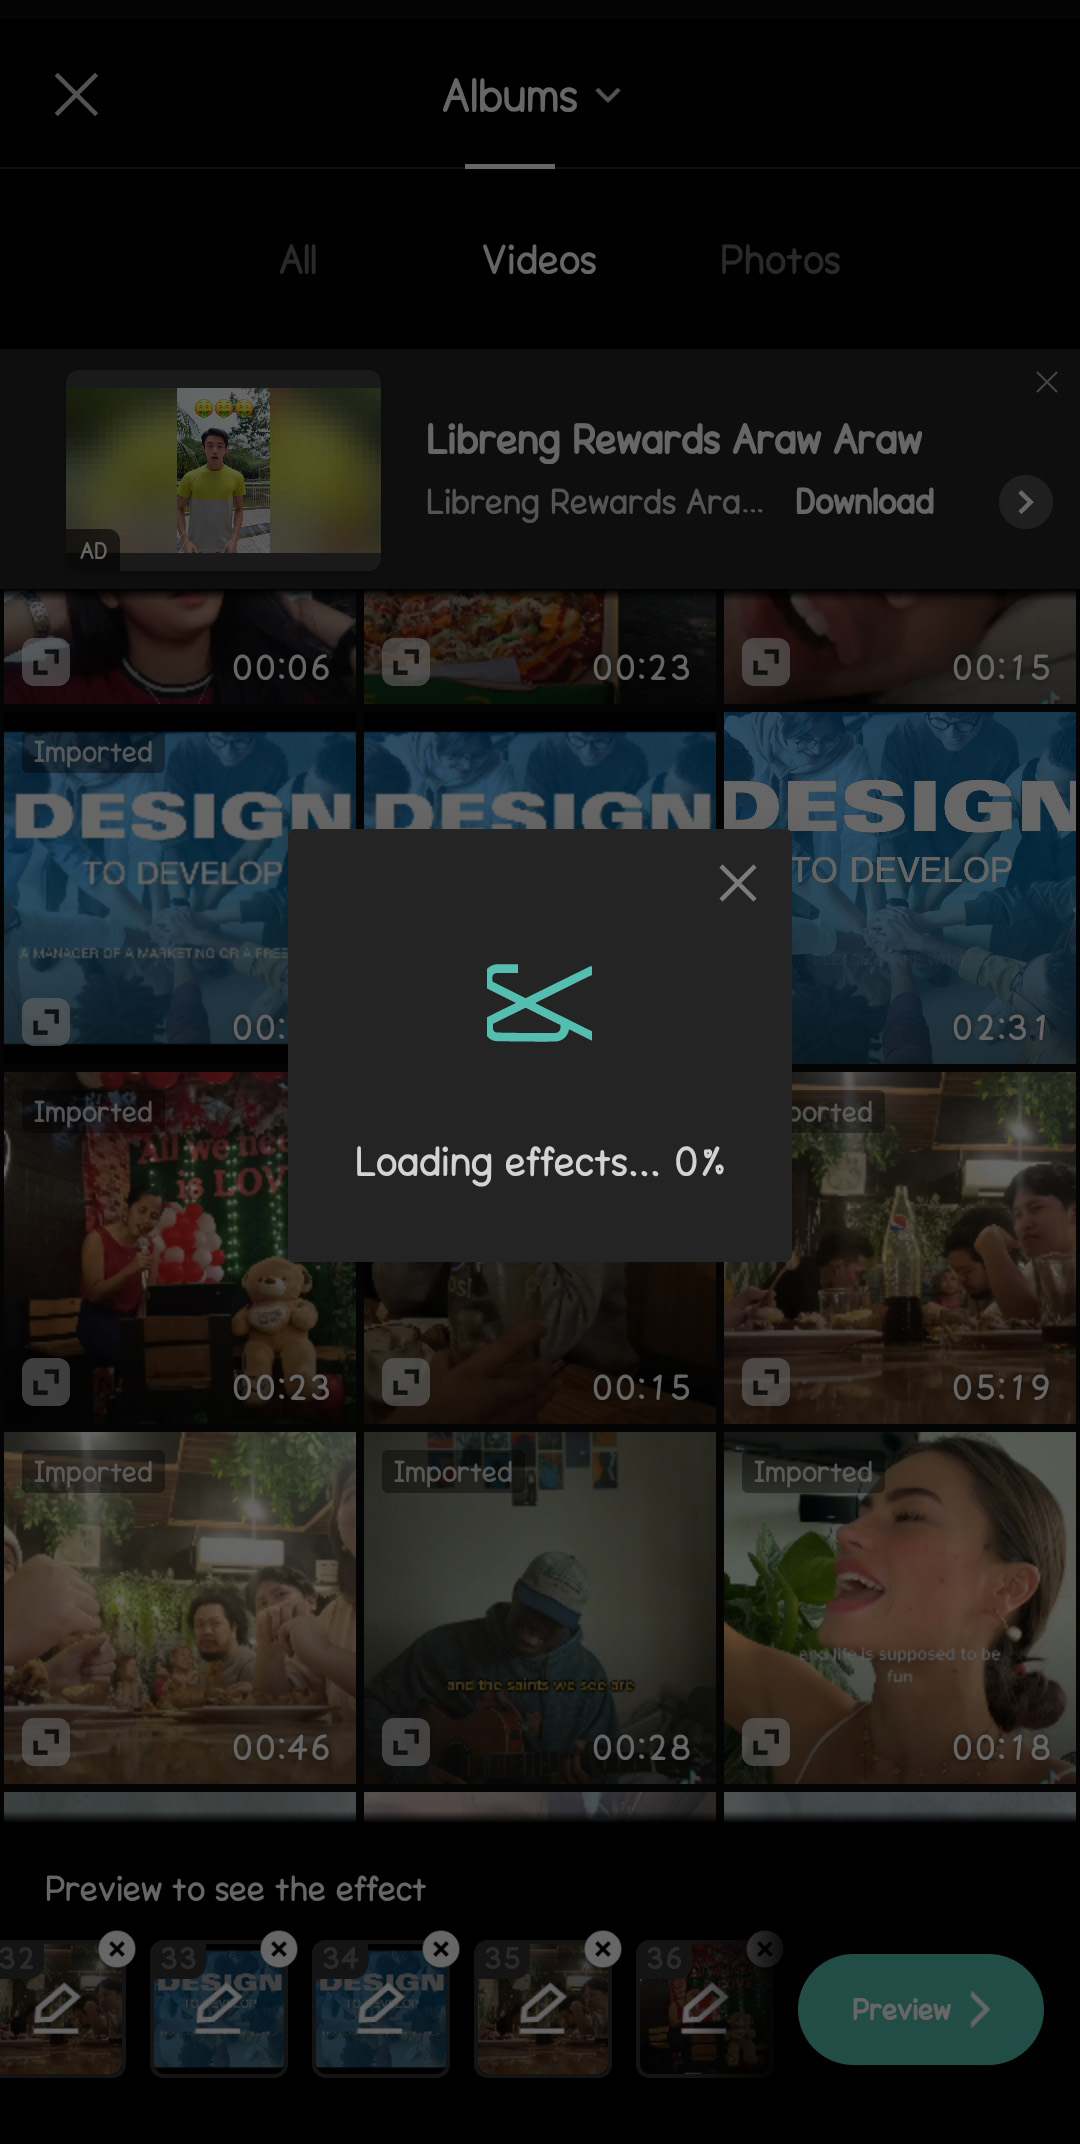
- Select a video you want to add transitions to and press on “Next.”
- Allow some time for ShortCut to analyze and generate a suitable template for your video.
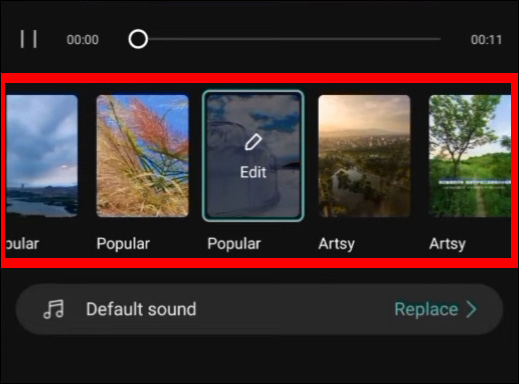
- Tap on any of the templates at the bottom to preview your video.
- If you want to keep the original sound of the clip, tap on “Default sound” and then “CLIPS.”
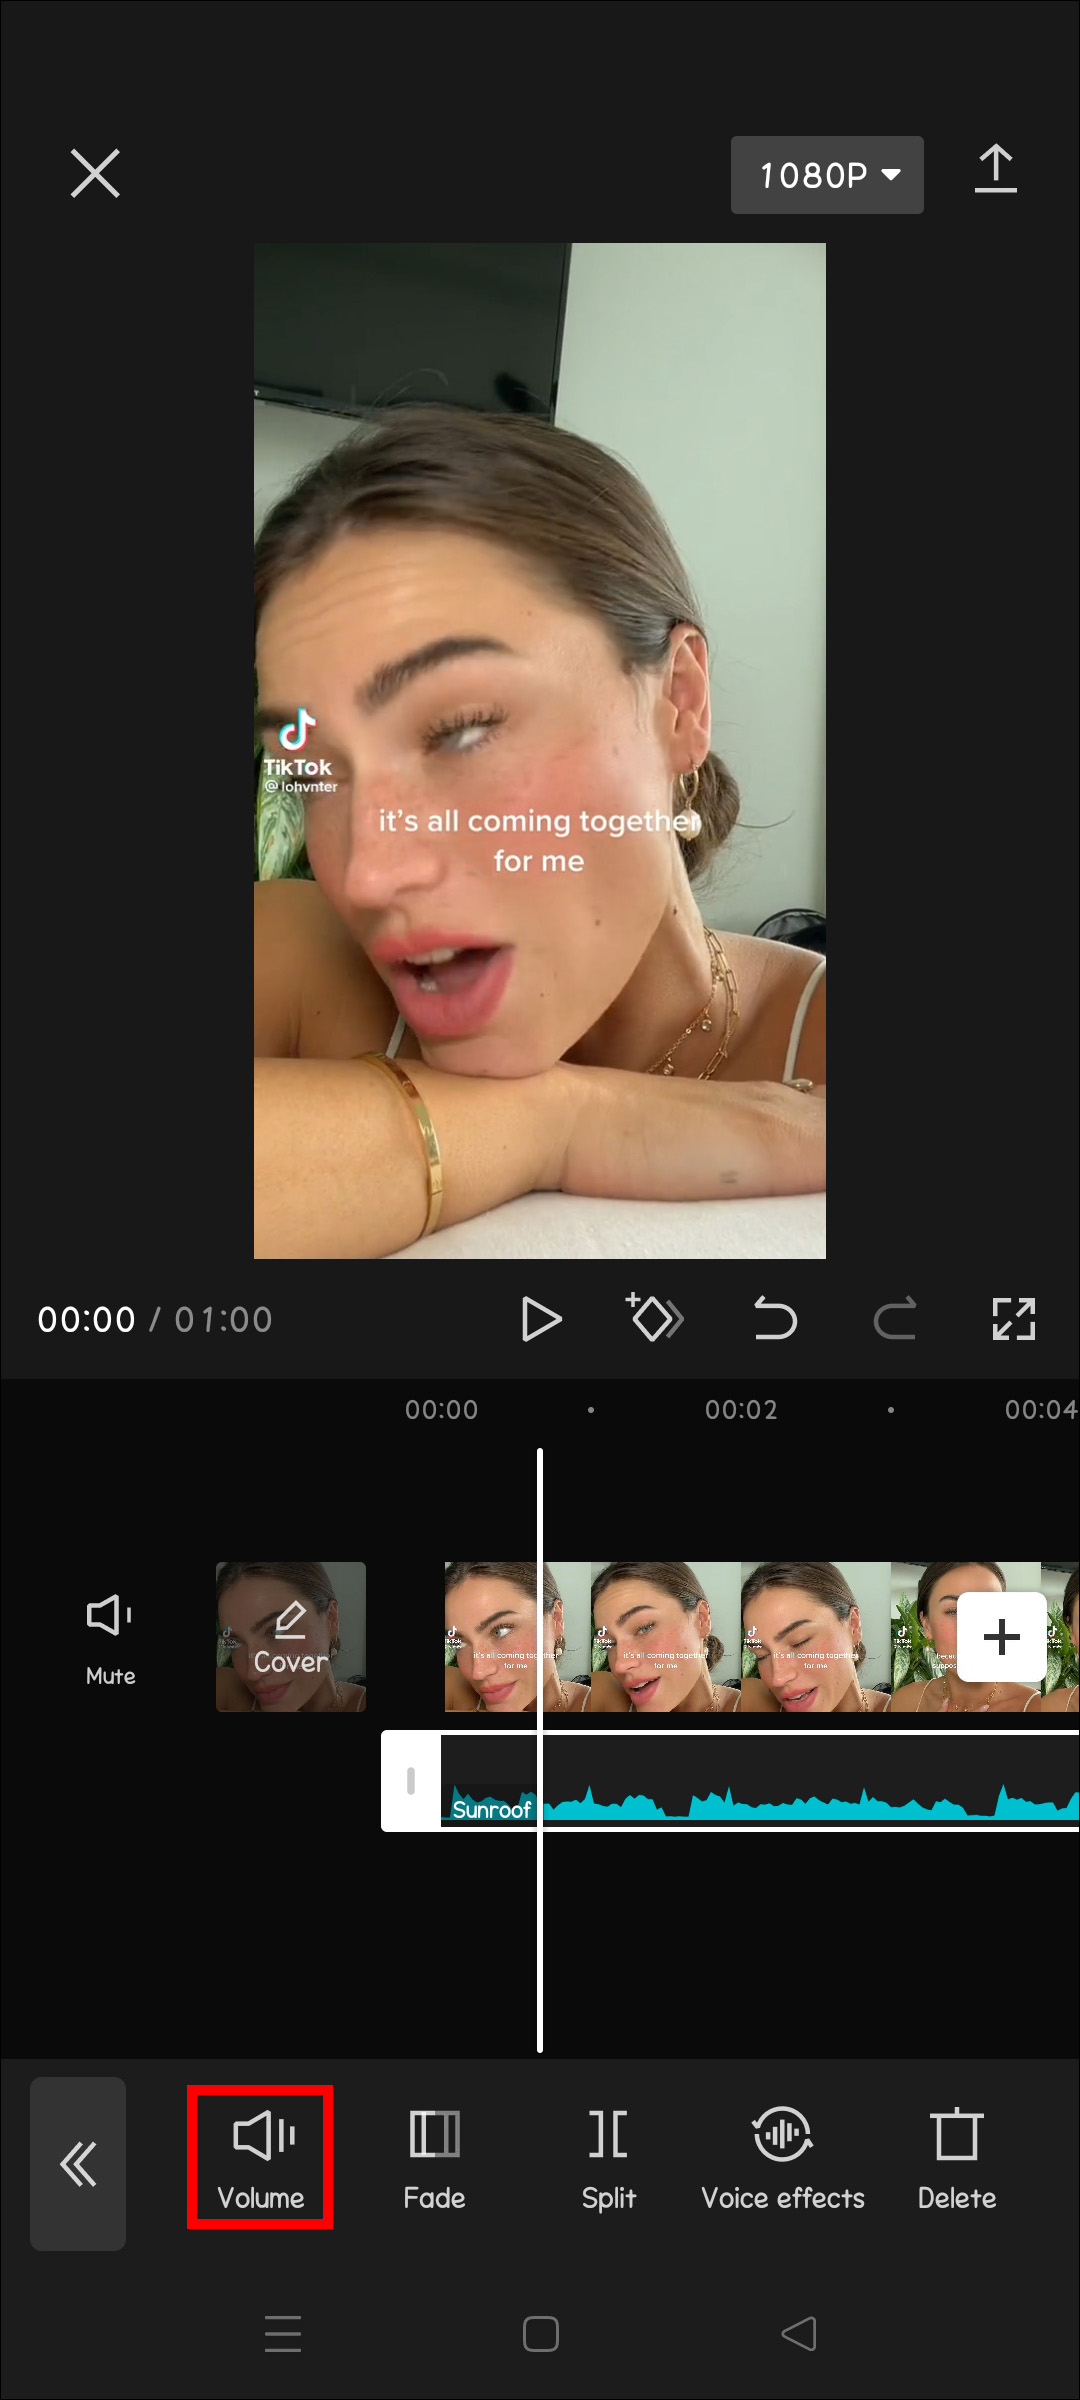
- At the bottom of the screen, tap on the video preview that says “Edit” and press the volume icon.
- Increase the volume to the maximum, and now your video should play with its original sound.
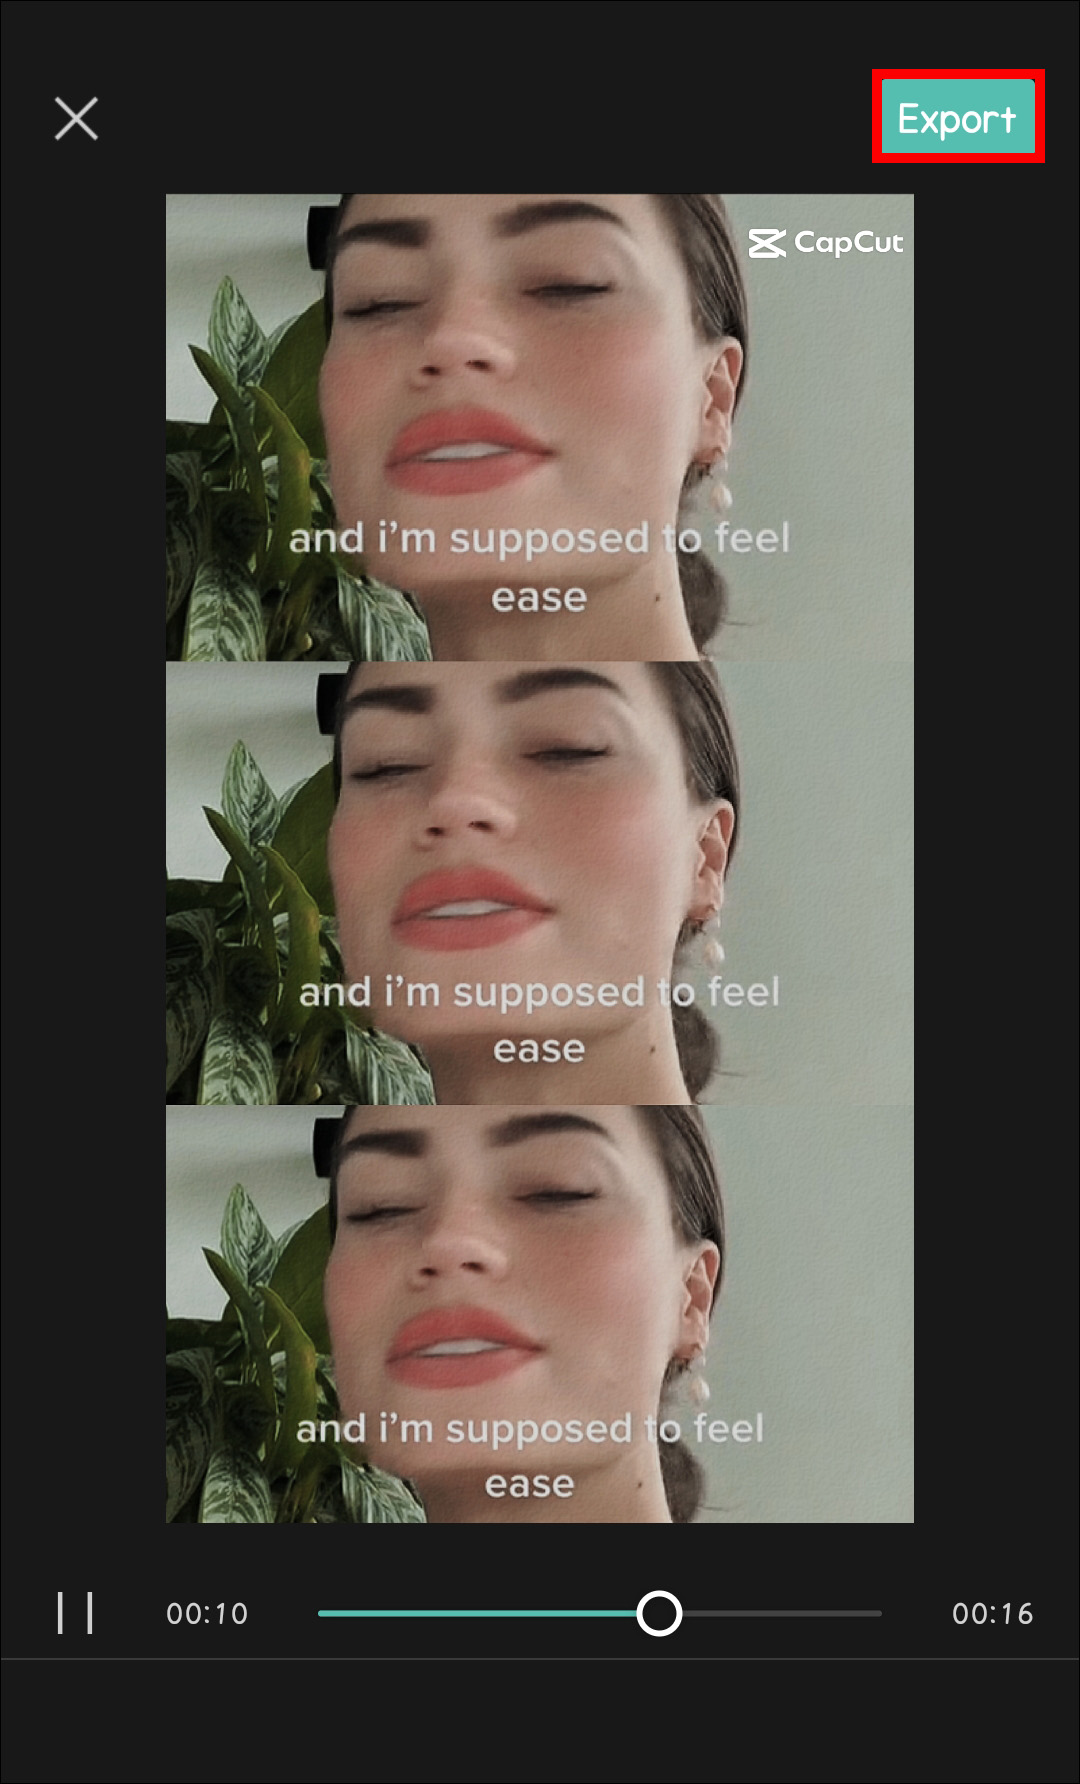
- At the top of the screen, tap on “Export.”
- Click on the button that says, “Export without watermark.”


The ShortCut feature isn’t just limited to videos. You can also use the feature with photos or even a combination of both.
Unfortunately, the ShortCut feature can get a little clunky sometimes and take a while to load the templates. But considering what you get, it’s hard to complain.
Add Transitions to Your Videos Like a Pro
A great transition can really add some life to your videos, especially if you’re working with multiple clips. Fortunately, you don’t need to have exquisite video editing skills to add a transition to a video. In fact, you can easily automate the whole process by letting the ShortCut feature do everything for you. However, if you want to hone your video editing skills and gain more control over the clip, you can take the manual route.
Have you tried adding transitions to your videos with CapCut yet? Please let us know in the comments section below.
Disclaimer: Some pages on this site may include an affiliate link. This does not effect our editorial in any way.