Device Links
Keyframes are an essential part of video editing, as they allow you to create smooth animations and transitions between various visual effects. CapCut, one of the most popular video editing apps around, allows users to add keyframes to their projects.
In this tutorial, we’ll discuss the various ways you can use keyframes in CapCut.
How to Use Keyframes
Keyframes on CapCut are a powerful and versatile editing features that allow users to create smooth, customized animations and effects within their videos. As an essential element of CapCut’s comprehensive video editing platform, keyframes provide greater control over the timing, movement, and aesthetic transformations throughout the duration of a clip.
In essence, keyframes serve as anchor points within a video’s timeline that dictate specific changes in parameters such as position, scale, rotation, and opacity. By defining these attributes at particular instances, users can create seamless transitions between the keyframes as CapCut automatically generates the intermediate frames, resulting in intricate visual effects and animations.
Let’s look at four distinct ways you can use keyframes on CapCut.
Zooming in on a Video
Enhancing your videos using the zoom effect can create a dramatic and immersive visual experience. CapCut allows you to leverage keyframes to zoom in at specific moments in your video.
Here’s a step-by-step guide.
Step 1: Install and Open CapCut
First, download and install CapCut from the App Store or Google Play Store if you haven’t already. After installation, open the app and allow the necessary permissions to access your media.
Step 2: Create a New Project
After launching CapCut, tap the “New Project” button to start a new video project. Select the clip you want to add the zoom effect to from your gallery, and then tap ‘Add.’
Step 3: Position the Playhead
Position the playhead, which is the vertical line that appears on the timeline, at the specific moment in your video where you want the zoom effect to start. You can do this by dragging the playhead left or right.
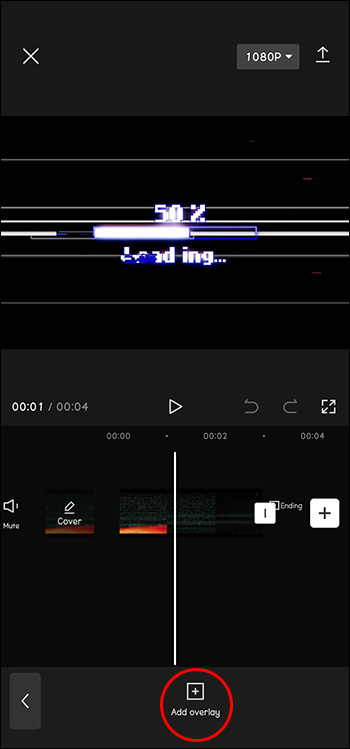
Step 4: Add Keyframes
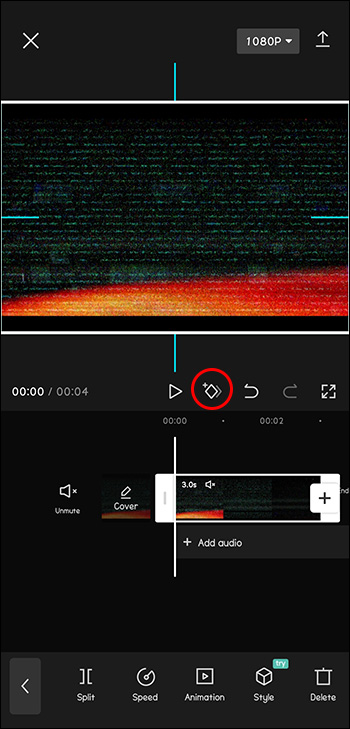
Tap on the video clip on the timeline to reveal the editing options. From there, scroll to the right, select “Animation,” and choose “Keyframe.” A keyframe will be automatically added at the current position of the playhead.
Step 5: Set the Initial Zoom Level
With the keyframe added, pinch your fingers on the video preview to set your initial zoom level. This zoom level represents the starting point of the zoom effect.
Step 6: Add a Second Keyframe
Move the playhead to the point where you want the zoom effect to end. You can do this by dragging the playhead or playing the video and pausing at the desired moment. Once the playhead is in the correct position, tap the ‘+’ icon to add another keyframe.
Step 7: Set the Final Zoom Level
With the second keyframe added, pinch your fingers on the video preview to set your desired zoom level. This will be the final point of the zoom effect. The keyframes will now create a smooth zoom effect between these two positions.
Step 8: Preview the Zoom Effect
Play your video to preview the zoom effect. If the outcome isn’t as intended, tap the keyframes and change the zoom levels as needed.
Step 9: Export and Save the Video
If you’re satisfied with the zoom effect, tap the “Export” button in the top-right corner of the screen. Choose the desired resolution for your video, and then tap “Export” again. CapCut will render your video with the added zoom effect and save it to your gallery.
Animating Objects
CapCut allows you to use keyframes to animate the position, scale, and rotation of objects in your video. This can be useful for creating dynamic effects and adding depth to your project.
Here’s a step-by-step guide on how to animate objects using keyframes in CapCut:
- Open CapCut and create a new project, then import the video clip you want to edit.

- Select the video clip on the timeline and tap on the “Overlay” option.

- Add the object (image, sticker, or shape) you want to animate by tapping the “+” icon and selecting the specific element.
- Tap on your added object, then tap on the “Keyframe” button, which resembles a small diamond icon.
- Move the timeline playhead to the point where you want the animation to start, and tap the “Add” button to create a new keyframe.
- Adjust the object’s position, scale, and rotation to set its initial state for the animation.
- Move the playhead to the point where you want the animation to end, then tap on the “Add” button again to create another keyframe.
- Modify the object’s position, scale, and rotation to set its final state for the animation.
- Preview your animation by scrubbing through the timeline and make any necessary adjustments.
- Export your video once you’re satisfied with the result.


Creating Text Animations
You can also use keyframes in CapCut to create text animations for your video project, adding life and motion to your captions or titles.
Follow these steps to create a text animation using keyframes:
- Open CapCut, create a new project, and import the video clip you want to modify.
- Tap on the video clip on the timeline and select the “Text” option to add a text overlay.
- Enter your desired text, choose a font, and adjust the text size and position accordingly.
- Tap on your text box, then tap the “Keyframe” button (the small diamond icon).
- Move the timeline playhead to the point where you want the text animation to begin, and tap the “Add” button to create a new keyframe.
- Set the initial position, scale, and rotation of the text to start the animation.
- Move the playhead to where you want the text animation to end, then tap on the “Add” button again to create the second keyframe.
- Adjust the text’s position, scale, and rotation to define the final state of the animation.
- Preview the text animation by scrubbing through the timeline and making any necessary adjustments to perfect it.
- Export your video once you’re happy with the animation.


Creating a Video/Photo Parallax Effect
At its core, the parallax effect is a motion technique that adds an extra layer of depth and interest to your video projects. It’s achieved by having one layer move faster than another, creating a 3D-like effect where objects seem to move within each other as if they were separate layers in your composition. The term “parallax” comes from Greek words meaning “to change” or “to alternate.”
To create a video or photo parallax effect on Capcut using keyframes, follow these steps:
- Make sure you have 4K videos or photos prepared for your project. If you don’t have 4K content, you can still achieve good results with at least HD-quality materials (1080p or higher).
- Open the CapCut app on your device and create a new project. To do this, tap the “+” icon and select “New project.”
- Browse your media files to find the video or photo you want to use for the parallax effect and import it into your project.
- Once your media file is imported, you should see it in the main timeline. Tap on the timeline to ensure that the clip you want to work on is selected.
- You will now create a keyframe at the beginning of the clip to set the starting position of the parallax effect. To do so, ensure the white vertical line (playhead) is at the beginning of the clip in the timeline. Now, zoom in on the video preview by placing two fingers on the screen and spreading them apart. This will allow you to focus on a specific area of the video or photo.
- Tap on the “Keyframe” button at the bottom of the screen. This will create a starting keyframe for the parallax effect.
- Next, you’ll need to create an endpoint keyframe. To do this, move the white vertical line (playhead) to a different position in the timeline, ideally toward the end of the clip. Then, slide the video preview screen to the left or right, depending on the direction you want your parallax effect to move.
- Tap the “Keyframe” button again to create the endpoint keyframe. Make sure that the white vertical line (playhead) is still at the position you have chosen for the endpoint.
- Finally, tap the “Play” button at the bottom of the screen to watch your video or photo with the parallax effect.


And that’s it! The media will smoothly transition from the starting position to the endpoint, creating a stunning and professional parallax effect that adds depth and dimension to your project.
You can further fine-tune the timing and movement of the effect by adjusting the keyframes in the timeline. For example, you can move the keyframes closer together or further apart to change the speed of the effect or create additional keyframes for more complicated movements.
Once you achieve the desired parallax effect, you can export your project to save the final video or photo.
The Possibilities Are Endless
CapCut offers a dynamic way of taking video editing to a whole new level with its keyframe feature. Whether you just want to add a special effect or apply some dynamic change to your video, keyframes are a powerful tool for creativity within your video projects.
Better still, working with keyframes in CapCut isn’t complicated once you get a hang of the process. The more comfortable you get with this tool, the better your approach toward editing and creating engaging visuals.
Have you tried using keyframes yet? Feel free to share tips and tricks with other CapCut enthusiasts in the comments section below.
Disclaimer: Some pages on this site may include an affiliate link. This does not effect our editorial in any way.